|
text by Steph Sign up to get Mother Daughter Projects updates in your email!
About six months ago we discovered a local sawmill where they had live edge wood at a great price. We found a really neat piece that we thought would make a great hanging table. The wood has been sitting in my bedroom (where the finished table will be placed) since that time. This gave ample time for the wood to dry out and acclimate to the space. The time came to make the table and this how we did it.
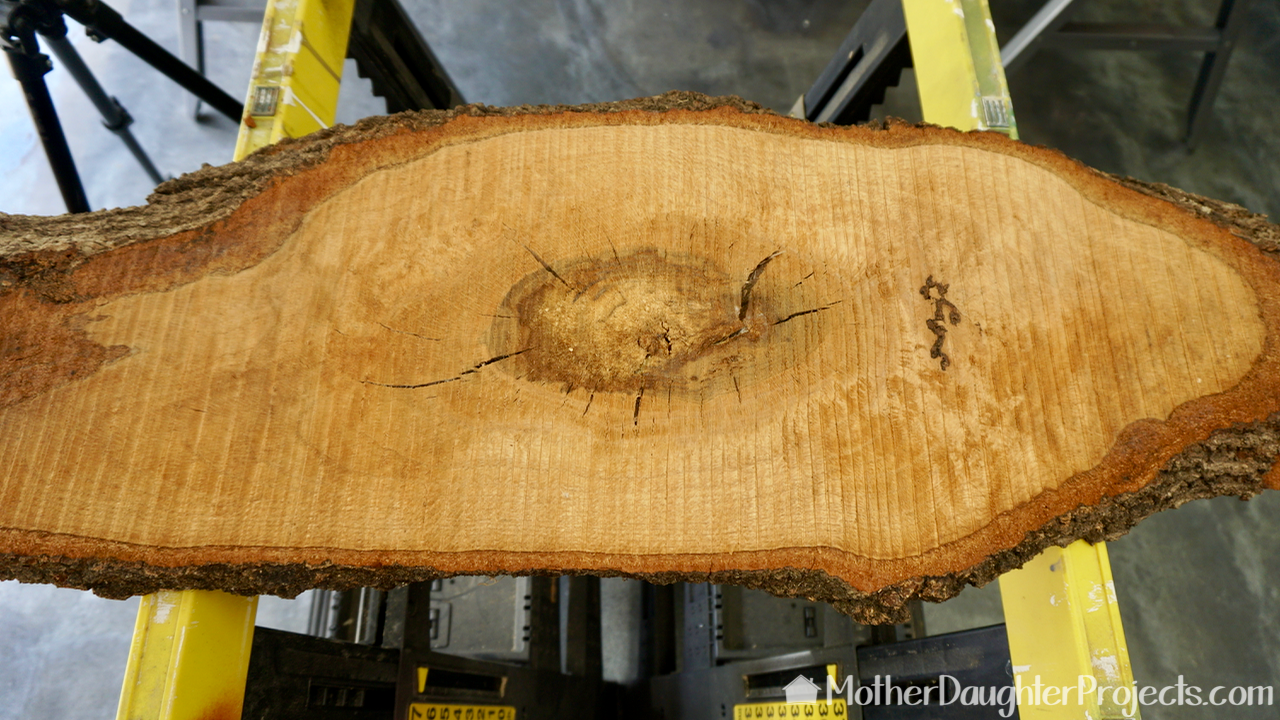
Live edge wood before
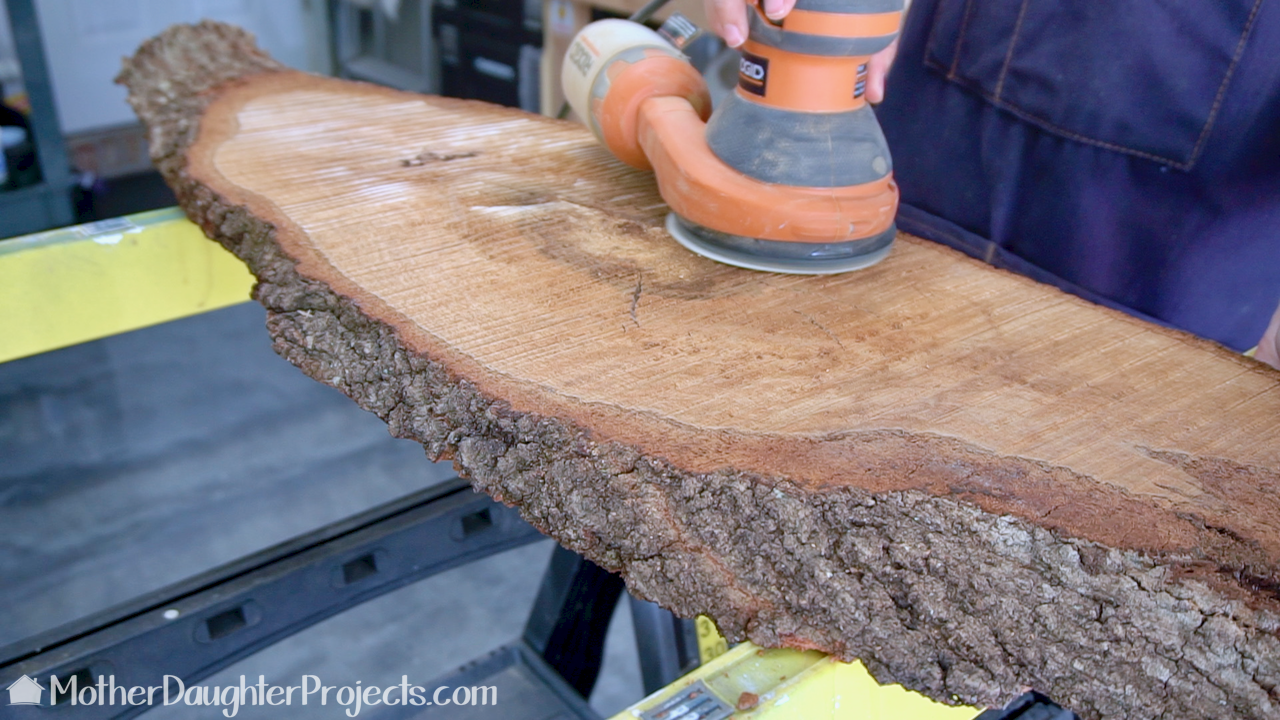
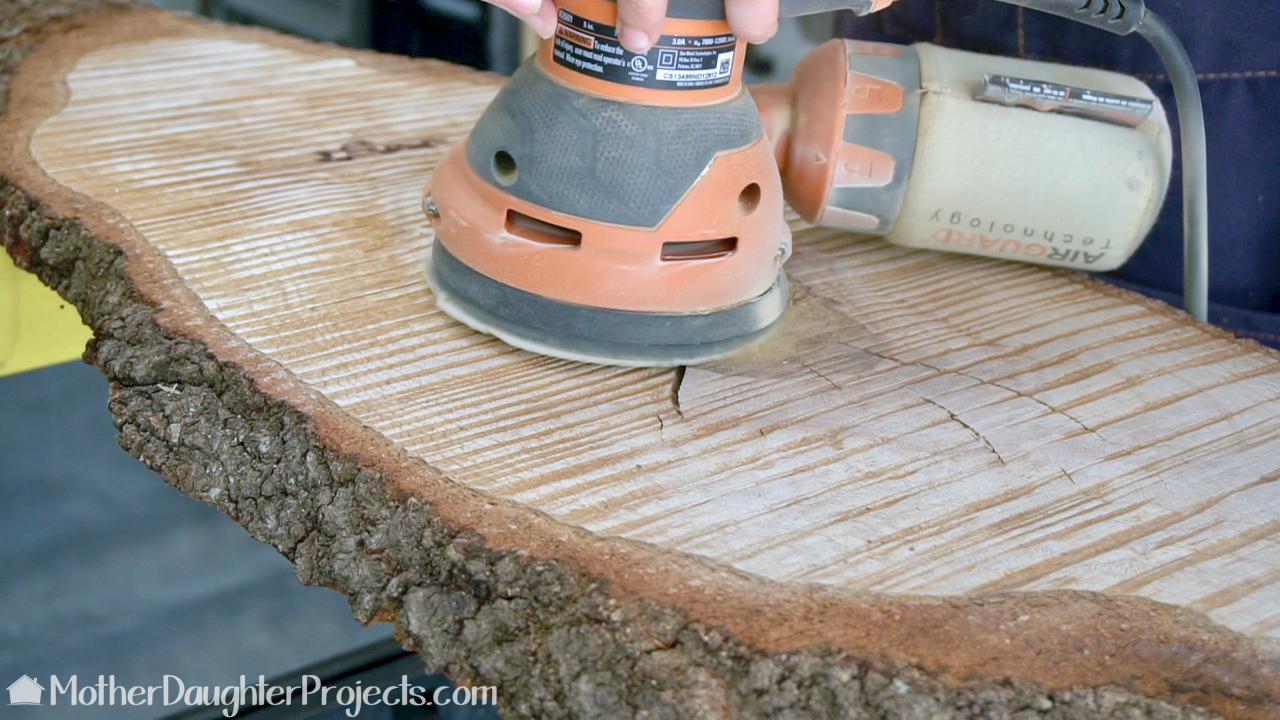
There were many ridges on this piece of wood so I started with a 60 grit sandpaper. I went over the surface many times and really tried to get into the raised ridges.
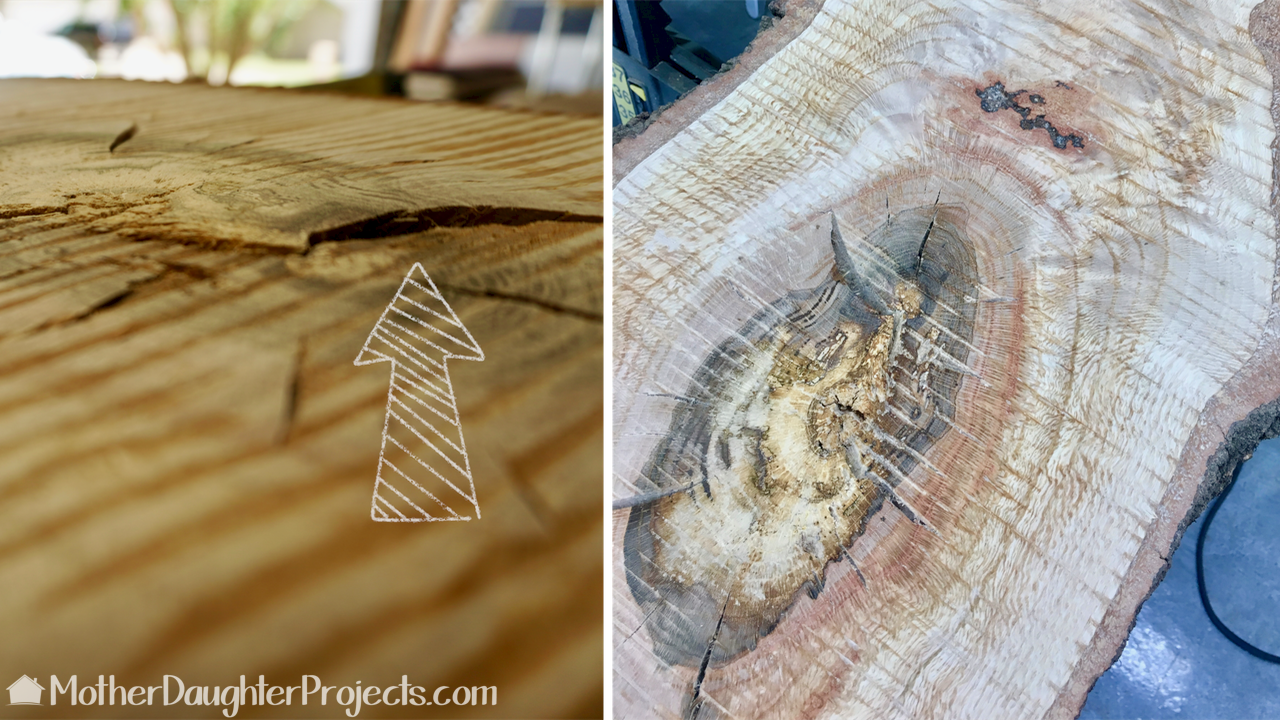
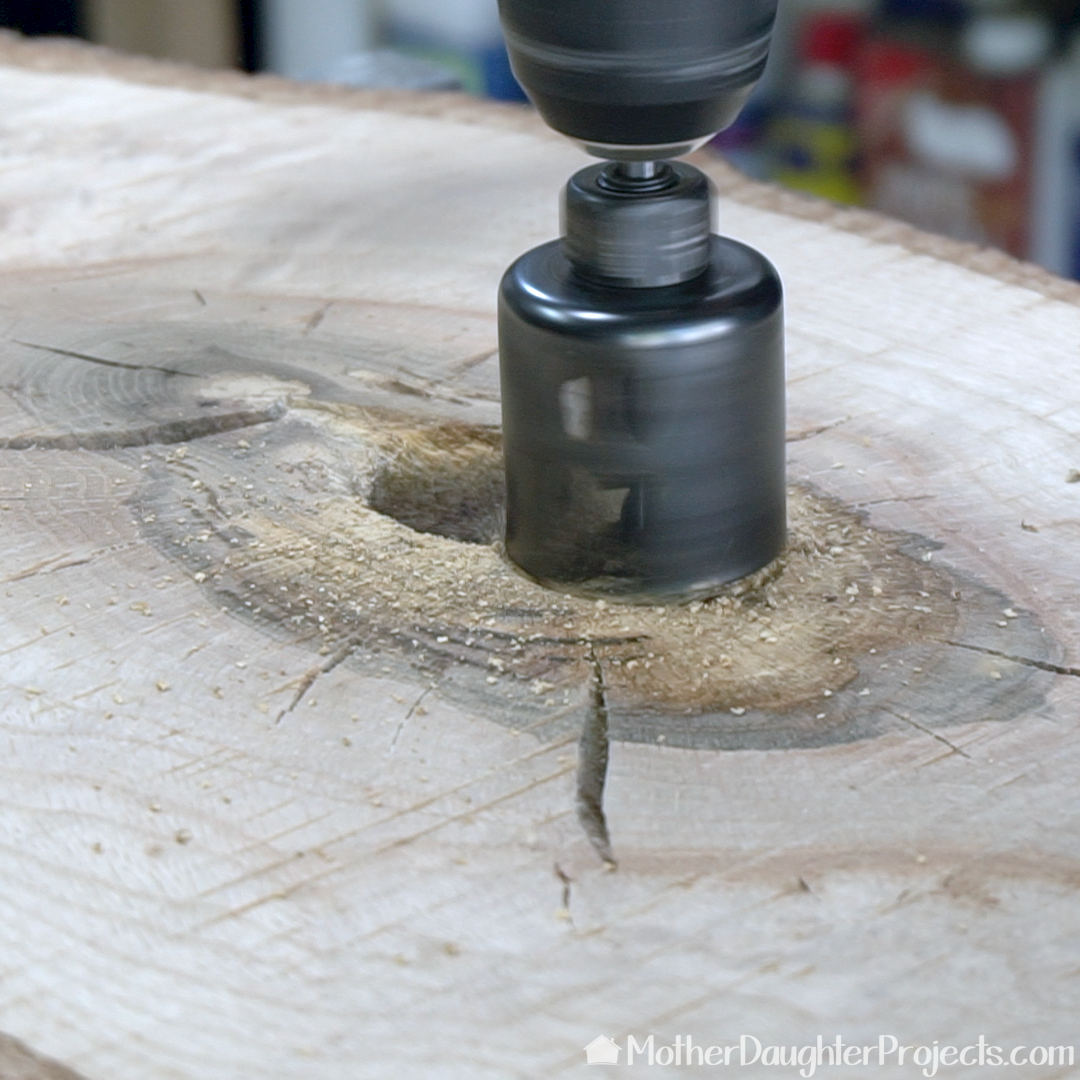
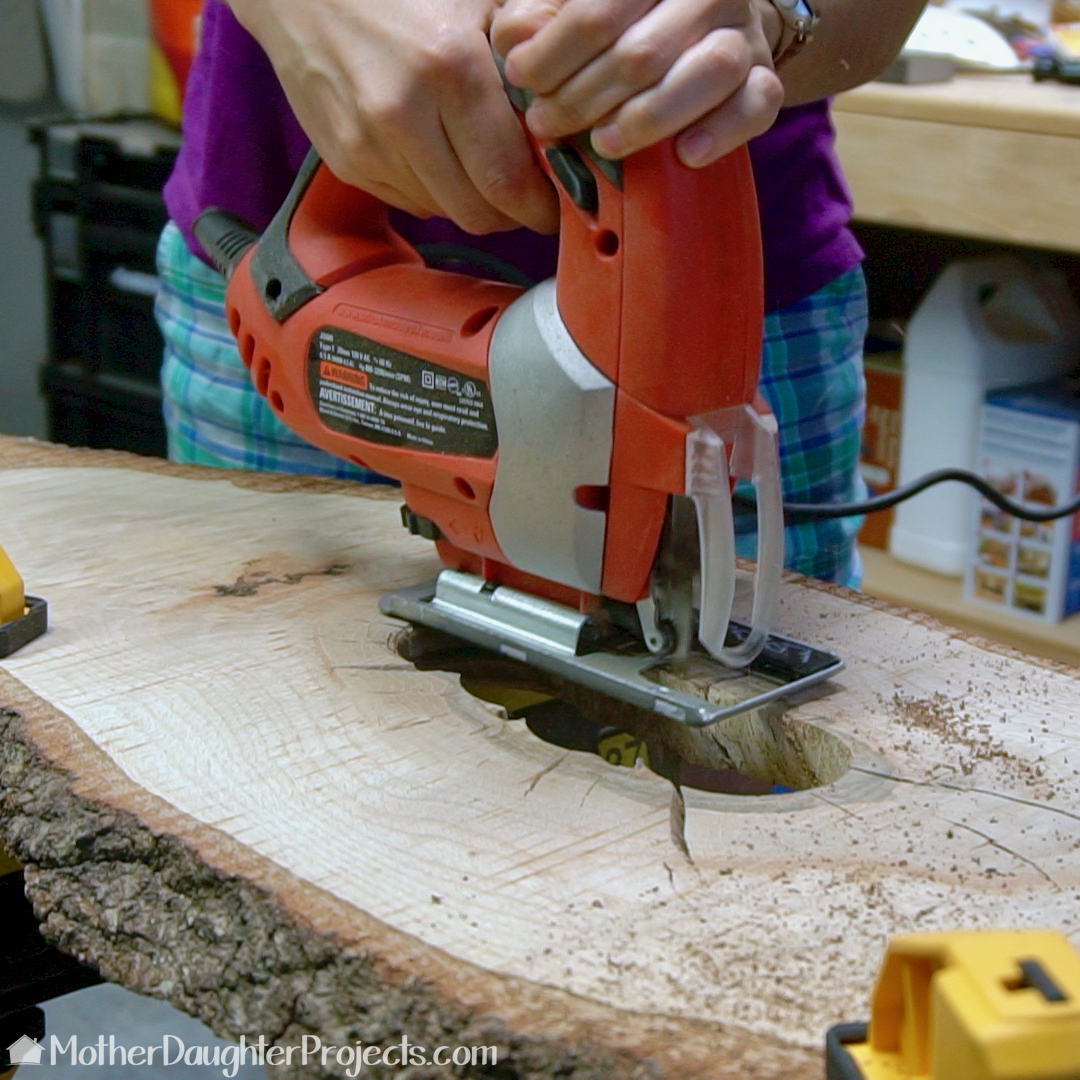
After it was sanded down I noticed the center of the wood was raised and looked, not so pretty. I decided to use a hole saw to cut out the middle section and then use a jig saw to clean it up.
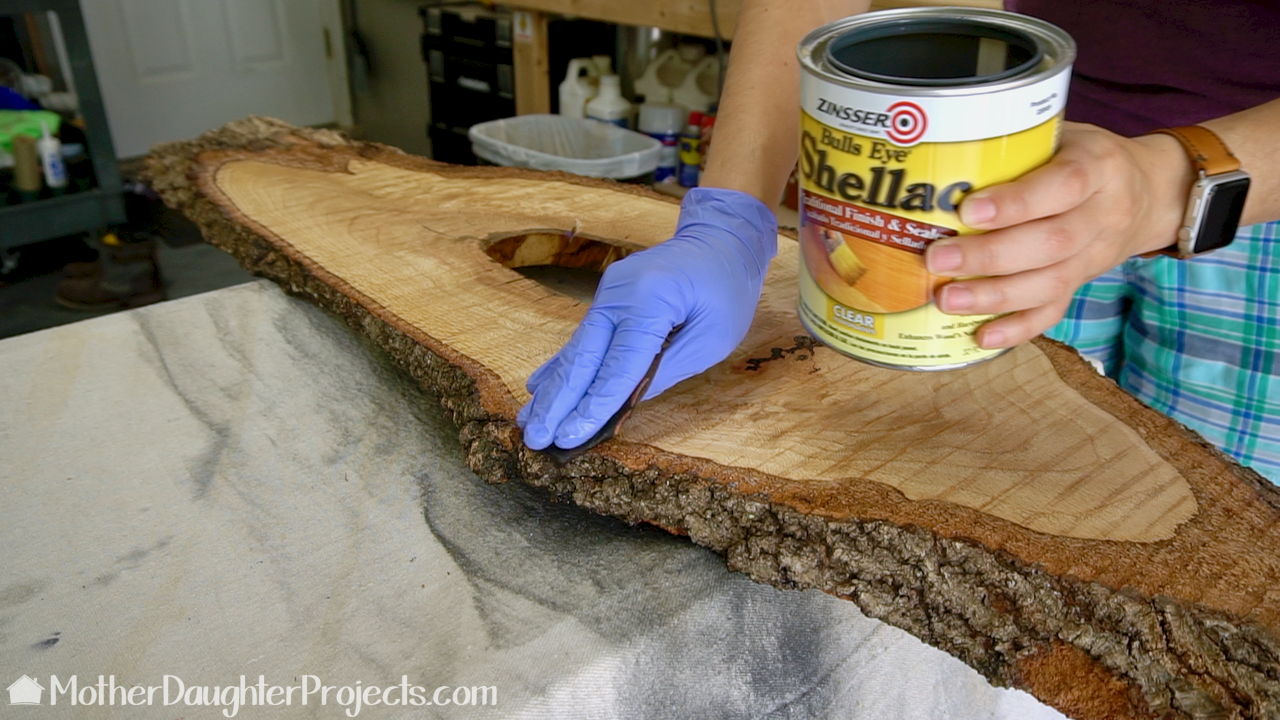
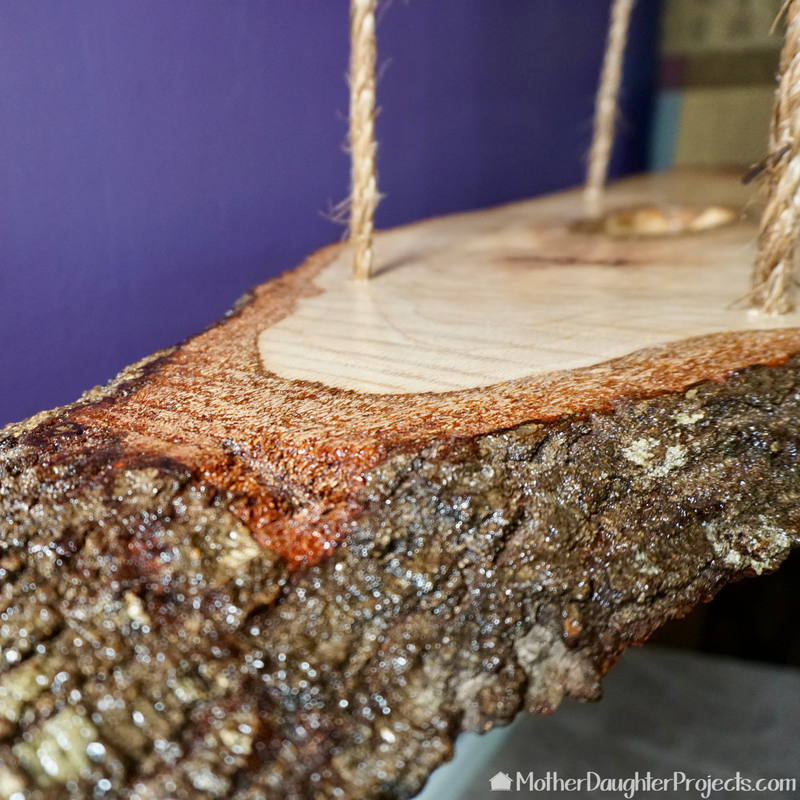
We love the look of this wood and wanted to warm it up a bit so we used shellac to finish it. Between thin coats I used 220 grit sandpaper and removed the dust with a tack cloth. I did three coats of shellac on the top and bottom of the wood.
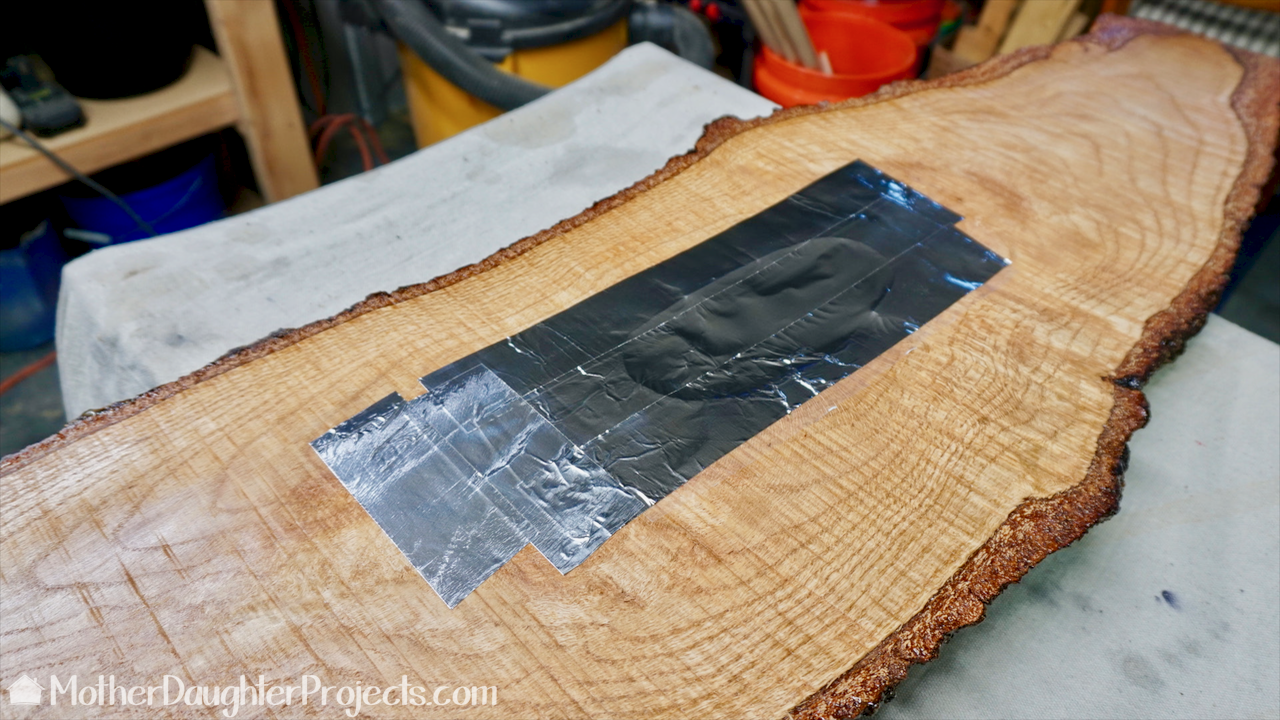
Now what to do with the hole in the middle—I decided to use it as a place to store small items. We thought clear epoxy would be perfect to accomplish this. First I cut a piece of contact paper to the size of the hole and then cut a bigger piece, placing the hole size one sticky sides together and then put the two layers sticky side down onto the wood to seal the holes so the epoxy would not leak through. Then I further sealed the area with aluminum tape.
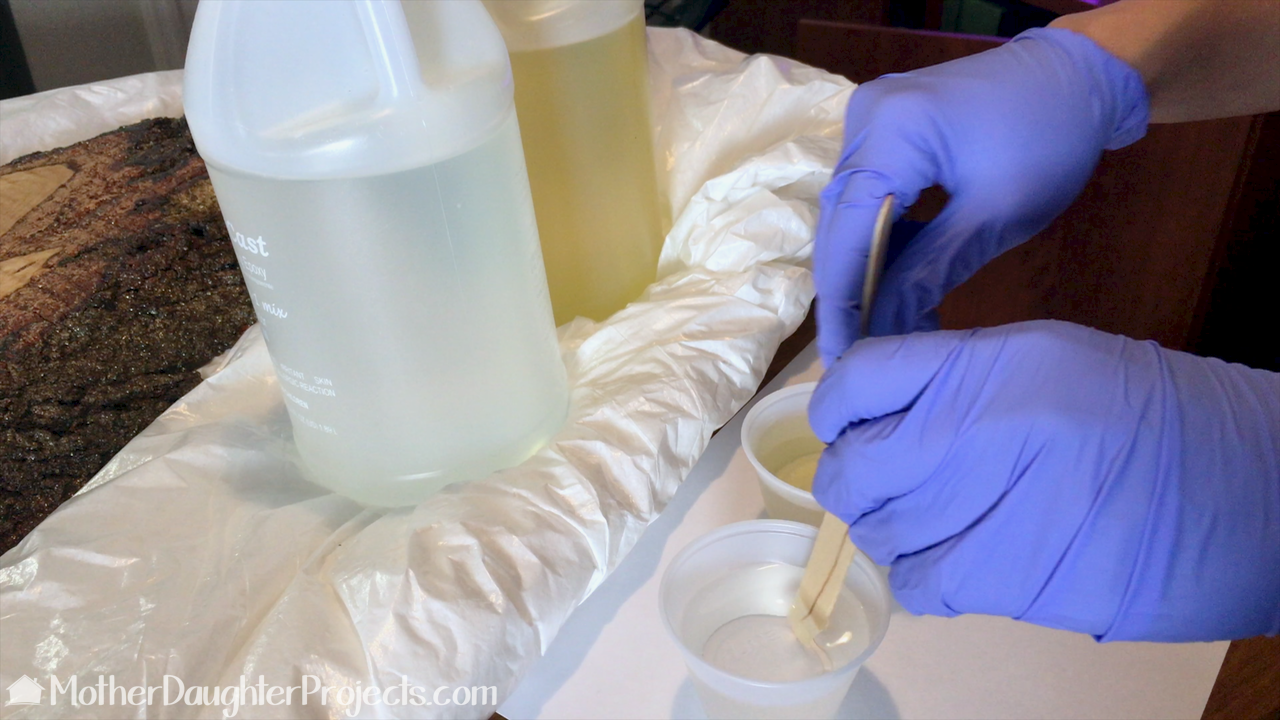
I mixed equal parts of the epoxy and hardener and mixed them together.
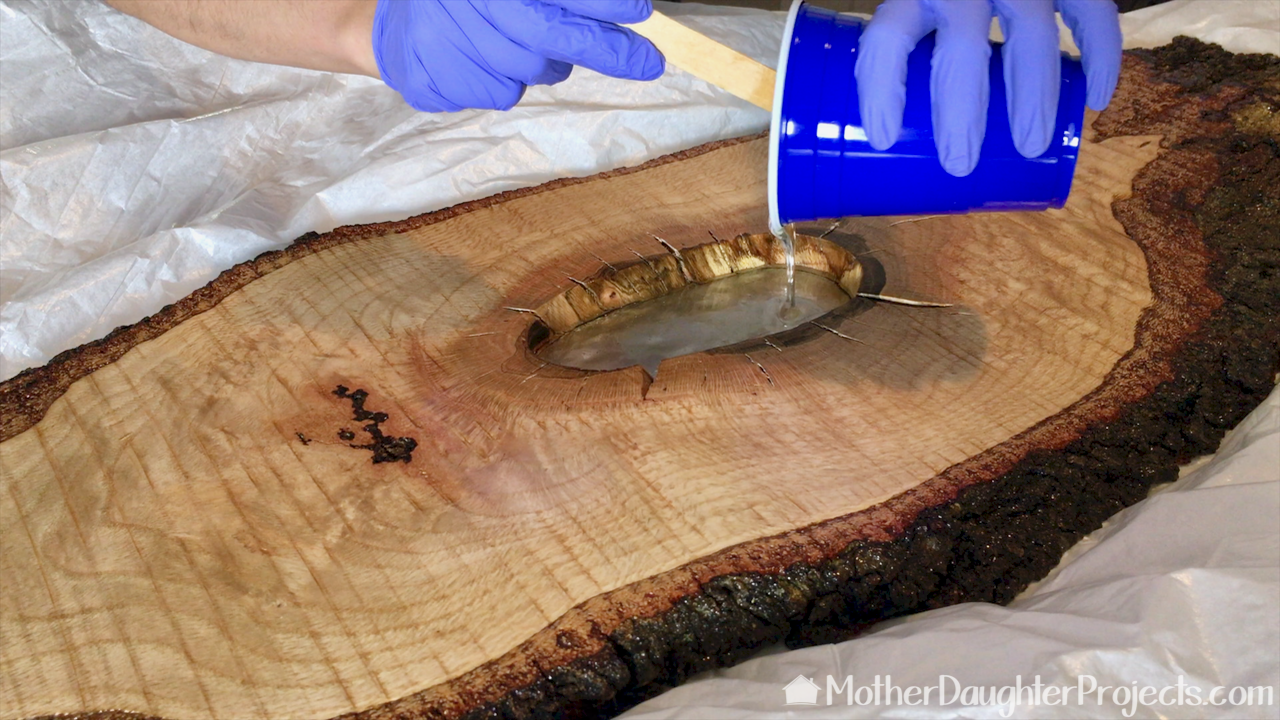
Then I just poured it into place. I didn’t want it to fill the hole completely, as I wanted to use it as a compartment to hold small items.
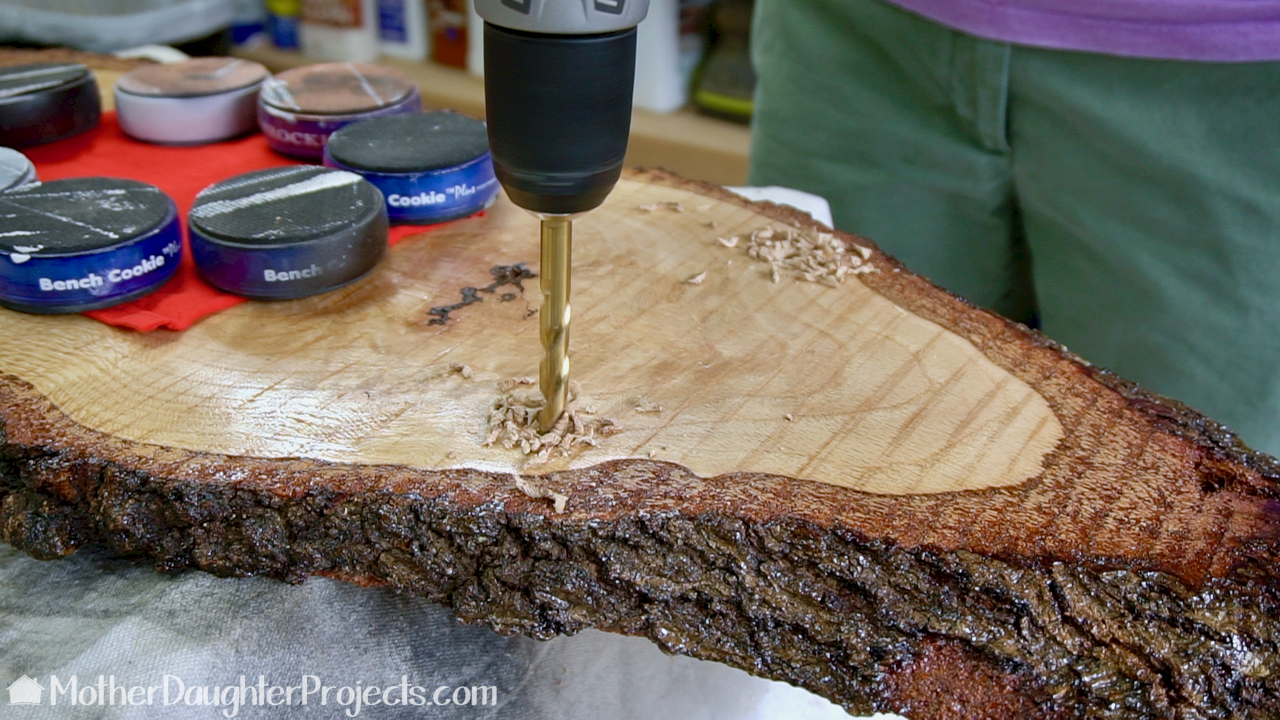
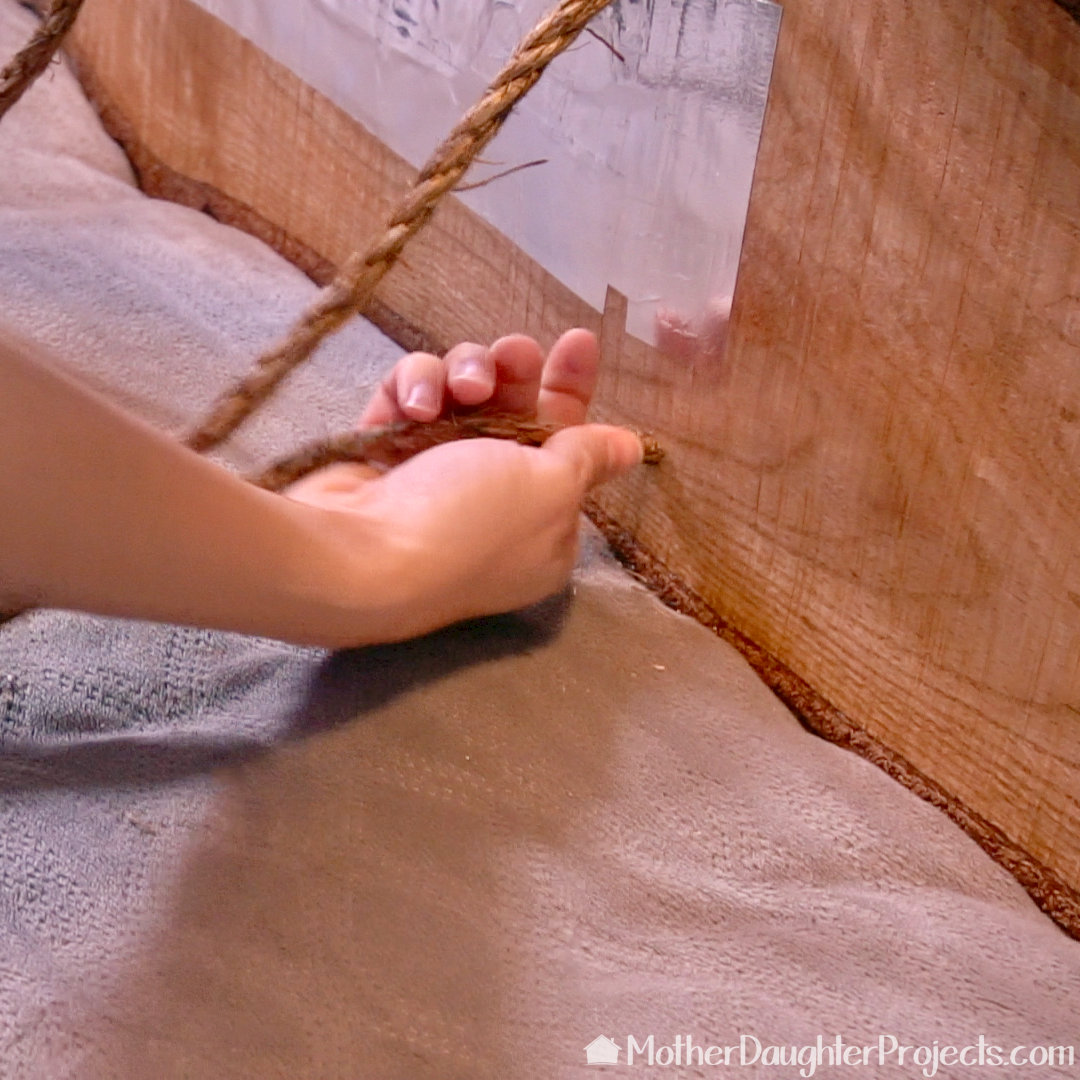
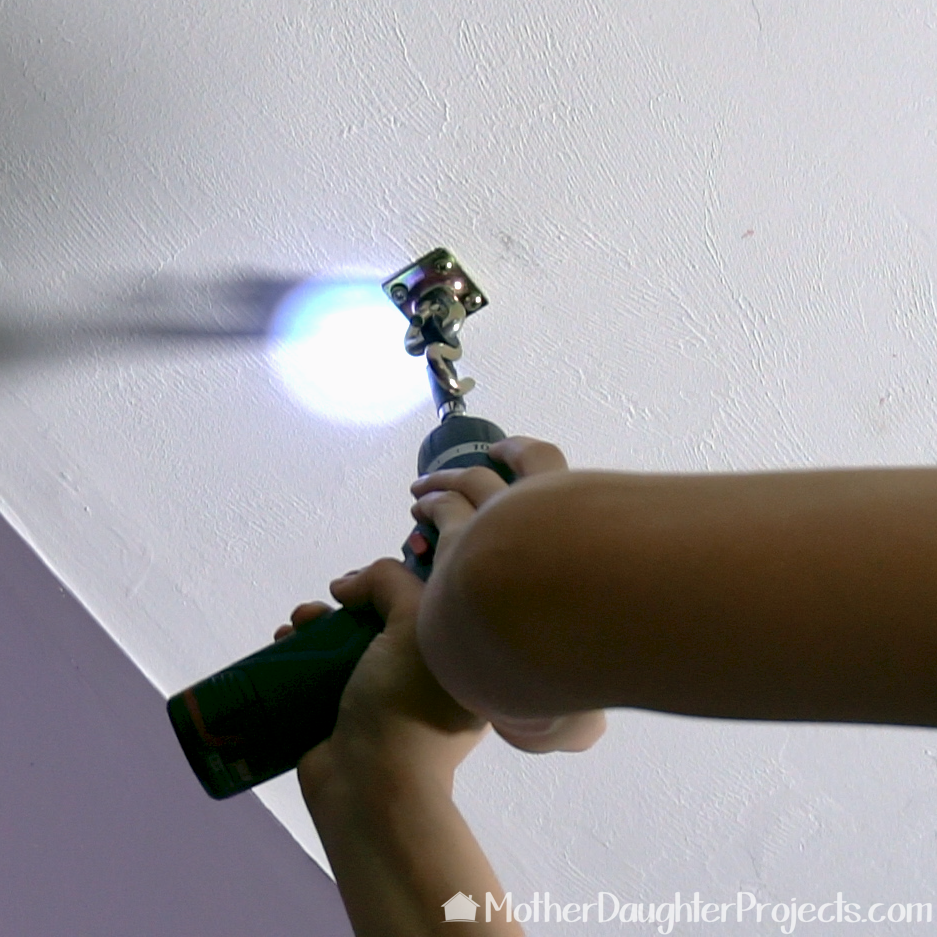
In my bedroom I found two studs on the ceiling and marked their location. Then I marked where to drill holes into the wood. I drilled a smaller hole and then a hole the size of the rope.
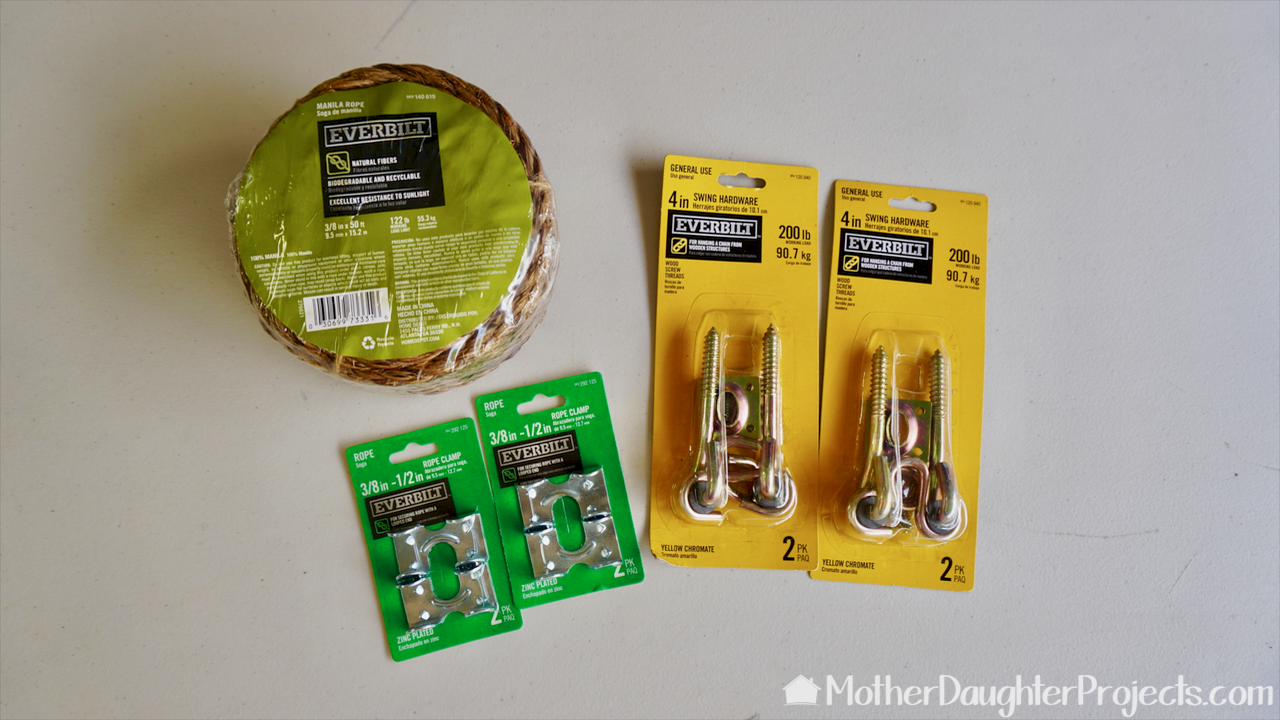
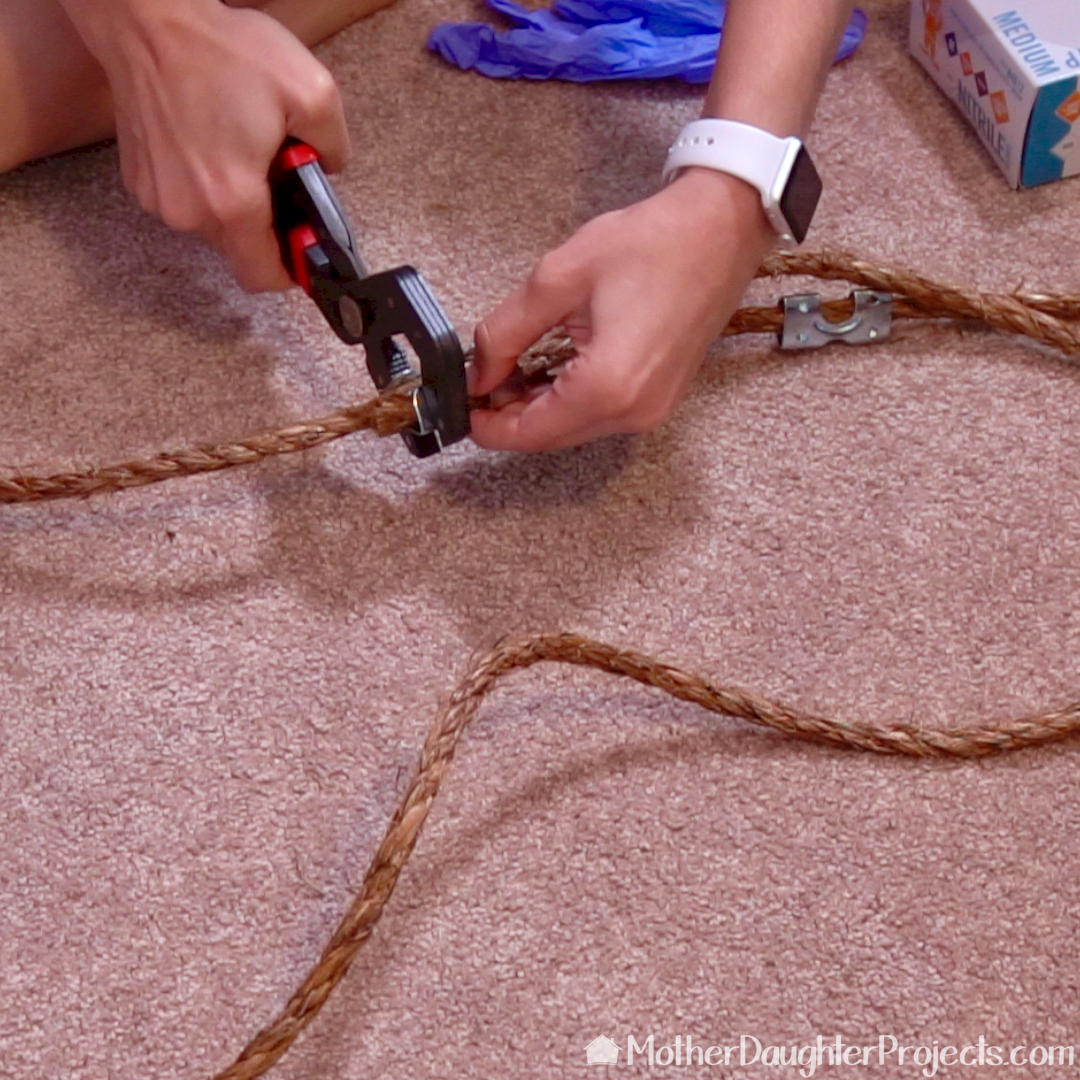
We used natural fiber rope, rope clamps, and swing hardware to attach the board.
I pushed and pulled the rope through the holes and figured out the final length. We attached the end with glue and rope clamps.
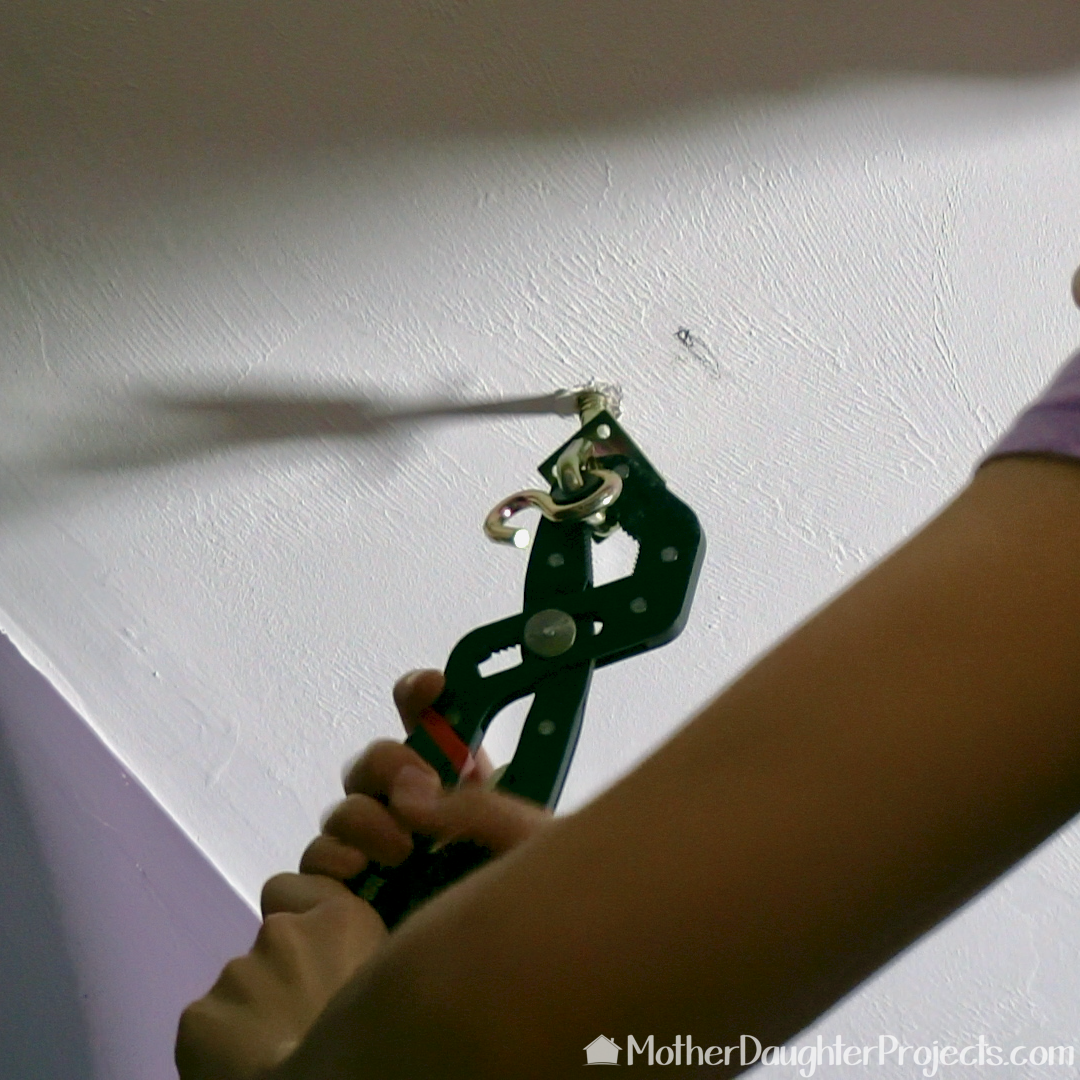
We held it up and figured out where the swing hardware needed to be placed on the ceiling. I drilled a pilot hole and screwed the hardware into place.
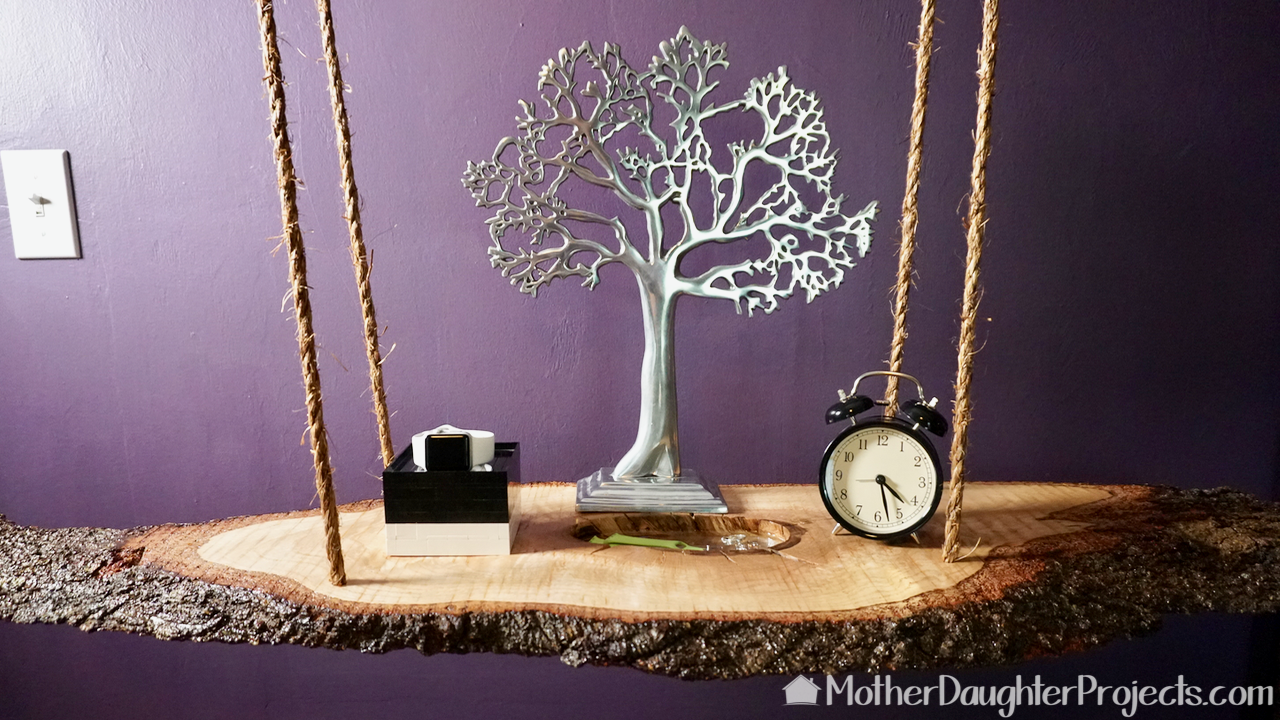
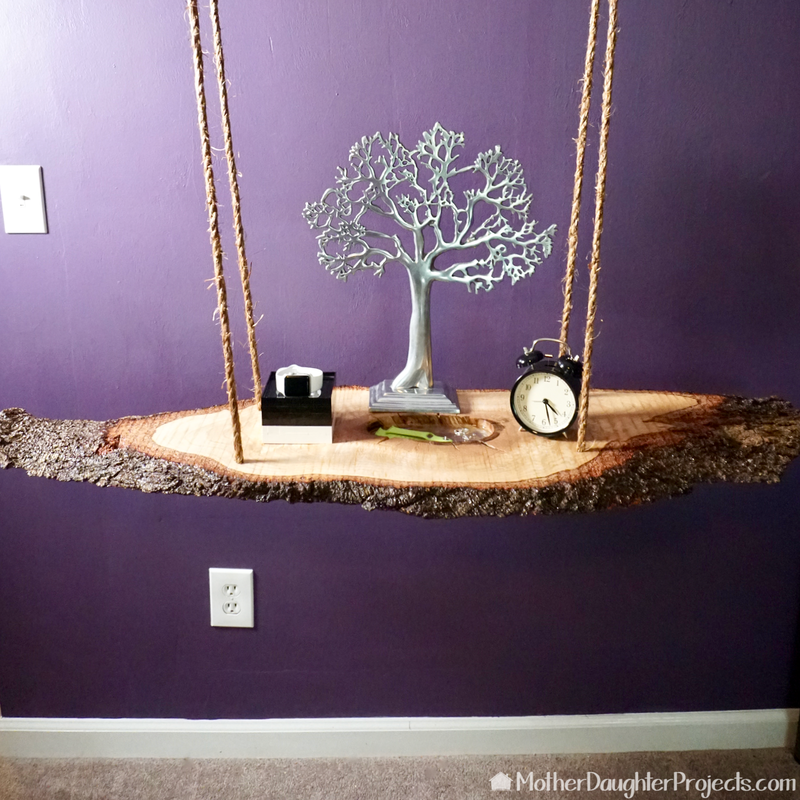
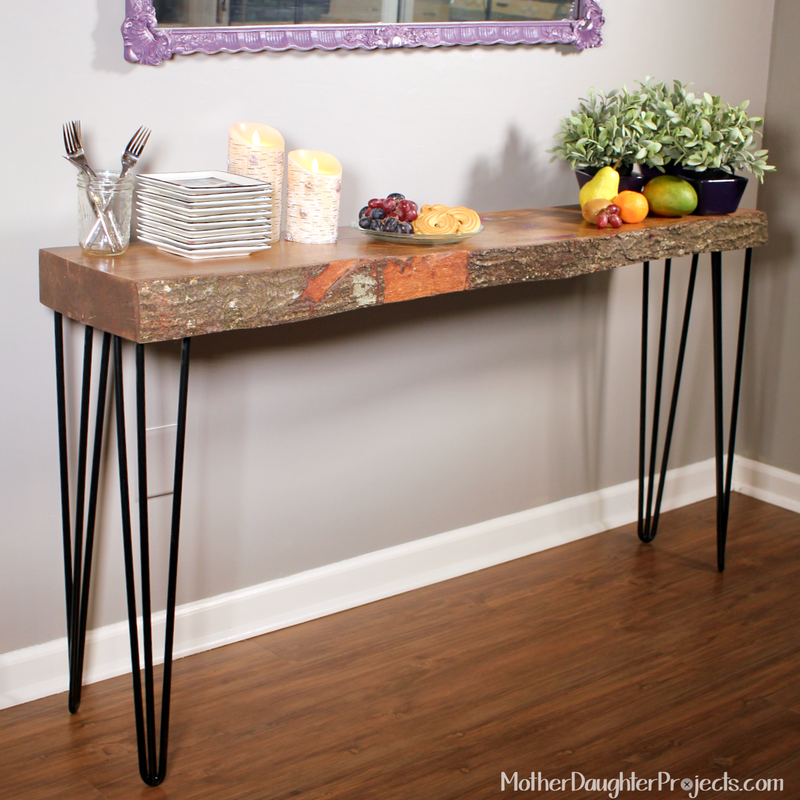
We love when a projects turns out just as we envisioned, if not better. This is a great table to charge my Apple Watch and to hold some small accessories. One place where we differ on opinion is I love the movement when the table is touched but mom, not so much.
What do think of the hanging table? Love the look or impractical? Let us know in the comments below. Please note: We are not sponsored by any of the companies/products that we used. These products were picked and bought by us. FYI: We are not professionals, and we don’t claim to be. This is what we found worked for our project. Yours may need a little different approach. Safety first! FYI: Affiliate links are being used on this page. Purchasing via these links help support MDP! Related Projects
4 Comments
Joni
5/17/2017 04:59:45 pm
This is so pretty and though I don't think I'd like the movement at my bedside (especially with cats) I could see this in front of my kitchen window or in the living room. Quite pretty!
Steph
5/17/2017 08:58:51 pm
Thanks! It could be a cat surf board :)
WaveyDavey
11/24/2017 11:11:36 am
Whate were you using to mark and measure on the ceiling: couldn't quite make it out, and no sound.
Steph
11/24/2017 12:21:38 pm
To find the studs, we used a magnetic stud finder then drilled pilot holes and screwed in swing hardware. The hardware comes with a hook and a plate to secure it to the ceiling. Leave a Reply. |

Mother Daughter Projects
|