Mother Daughter Projects

  • Blog
  • About
    • Contact
    • Privacy Policy
  • Tools
    • Tool Tuesday
  • Maintenance
  • Improvement
  • Decor
  • Tech
  • Blog
  • About
    • Contact
    • Privacy Policy
  • Tools
    • Tool Tuesday
  • Maintenance
  • Improvement
  • Decor
  • Tech

DIY for Homeowners

Custom Weathered Finish for Vintage Mirror

10/28/2015

0 Comments

 
​Sign up to get Mother Daughter Projects updates in your email!
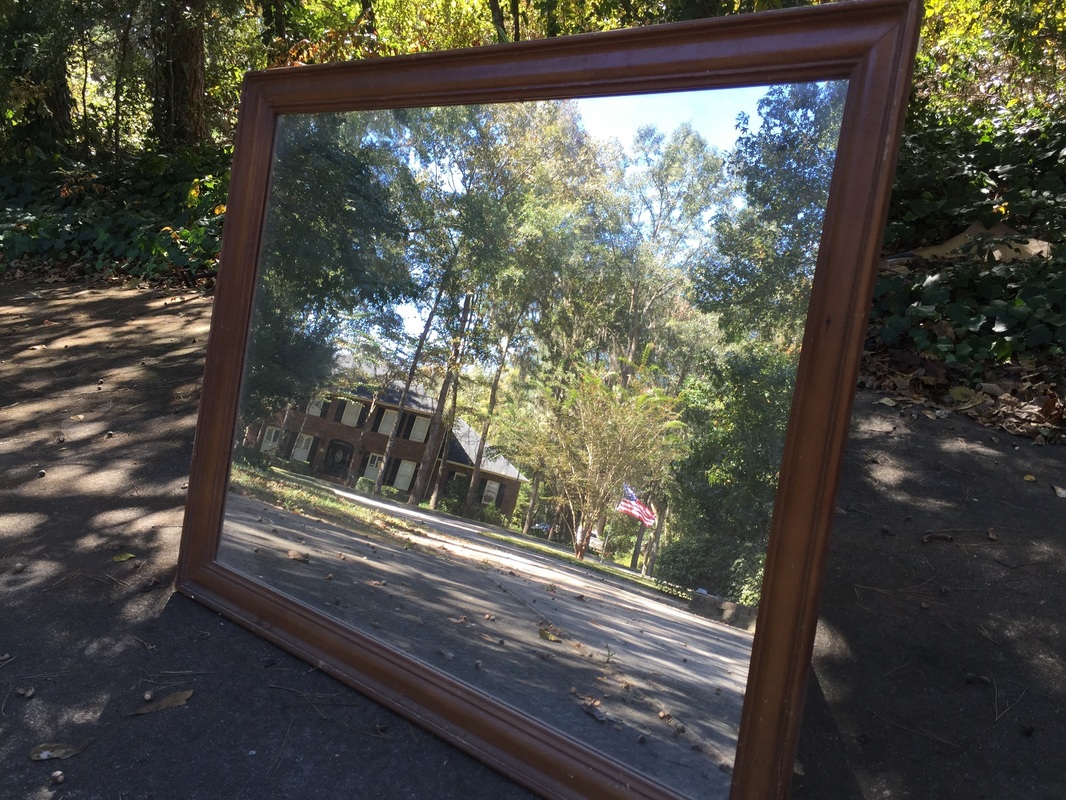
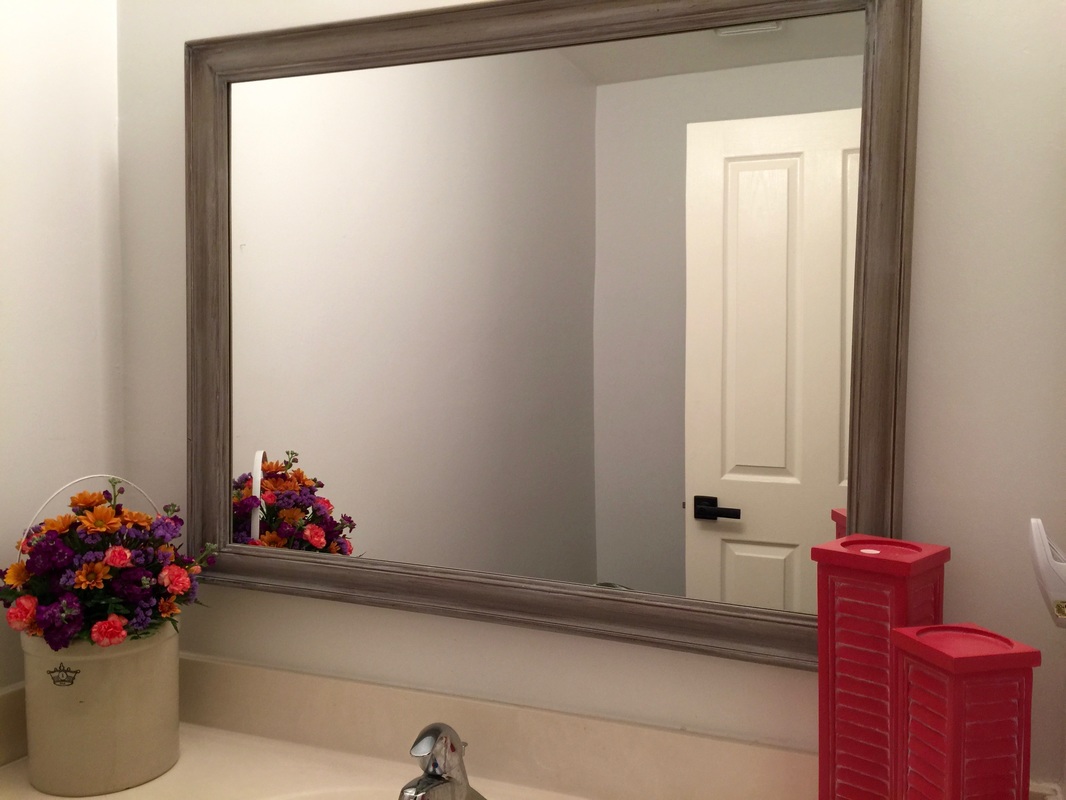
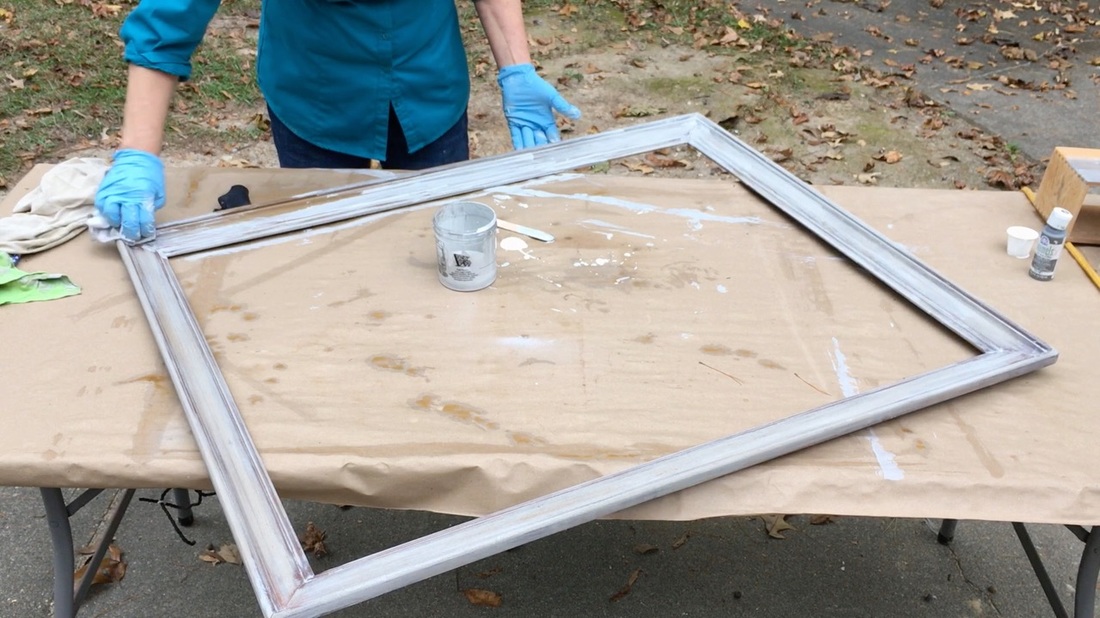
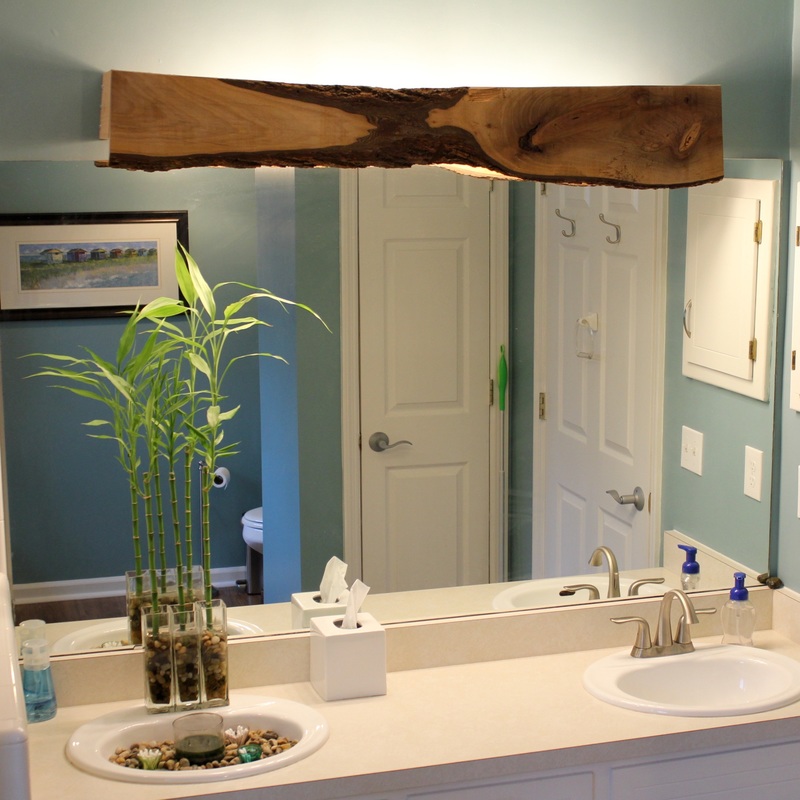
In this video we use a homemade stain to create a weathered look for a bathroom mirror. This is the first step in remodeling Vicki's guest bathroom.
Custom Weathered Finish. MotherDaughterProjects.com
Before
Custom Weathered Finish. MotherDaughterProjects.com
After
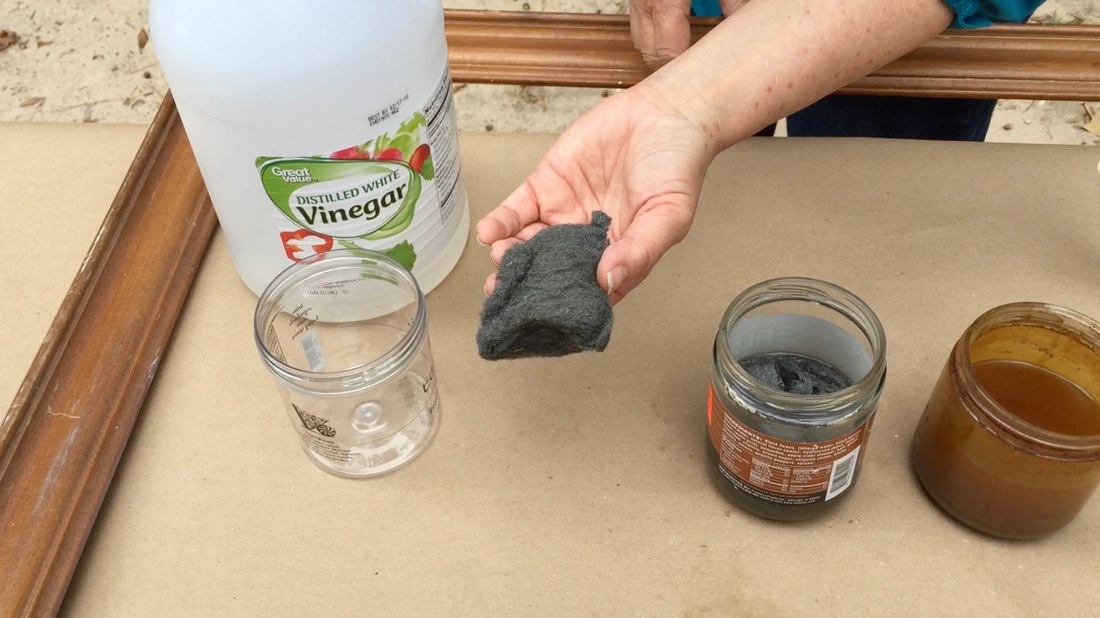
This is a two step process stain process. We started by making our steel wool/vinegar stain.

Materials for the Vinegar/Steel Wool Stain:
  • White vinegar
  • Steel wool
  • Jar with lid
  • T-shirt rags

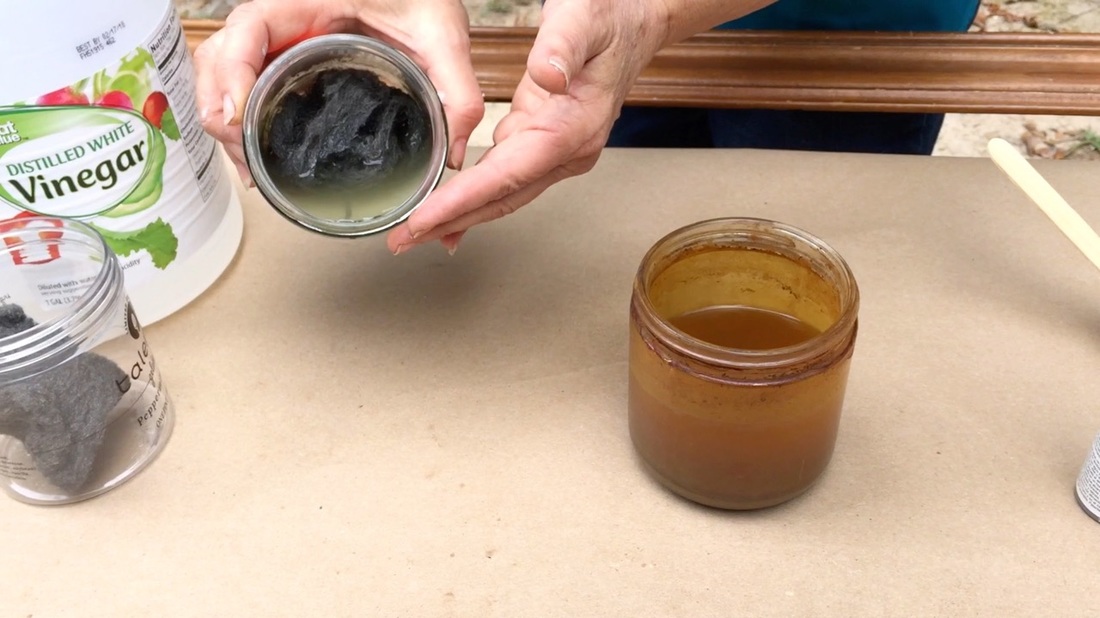
For the vinegar/steel wool weathering stain, pour about a 1/2 to 3/4 cup white vinegar into the jar, add the steel wool & submerge. Let this sit at least 24 hours to marinate--the longer the better. I'm using a stain I mixed up that is 2 months old. 
Custom Weathered Finish. MotherDaughterProjects.com
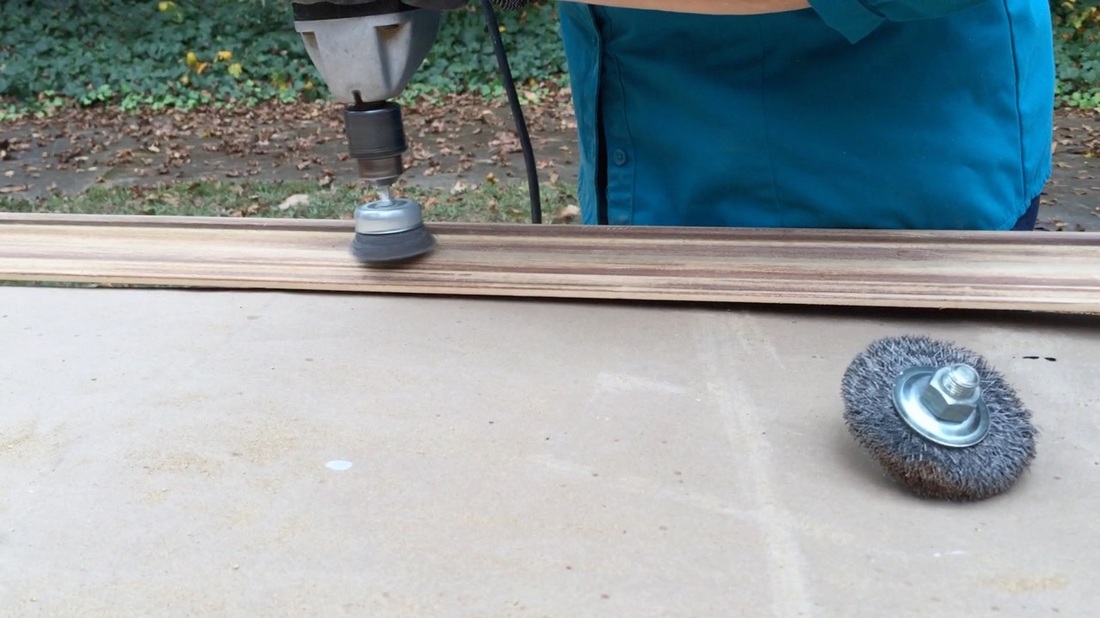
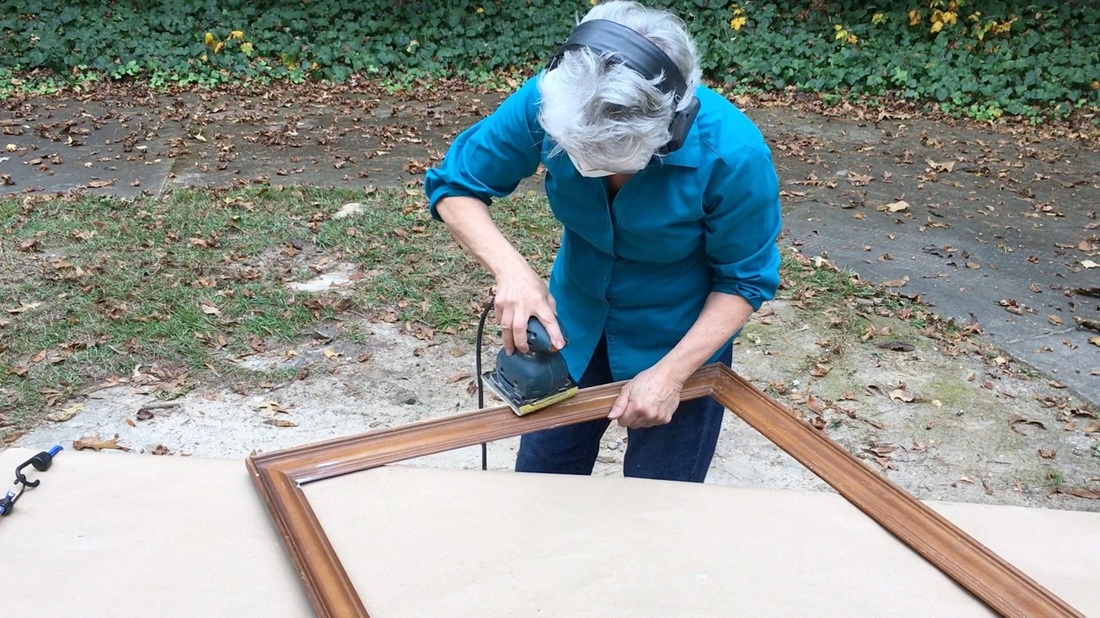
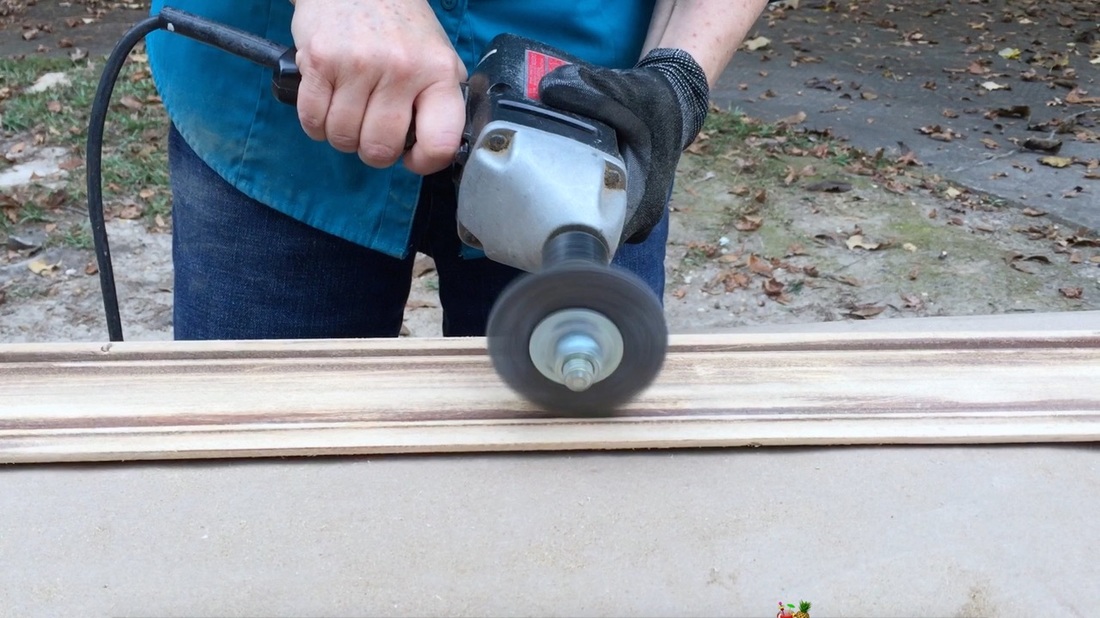
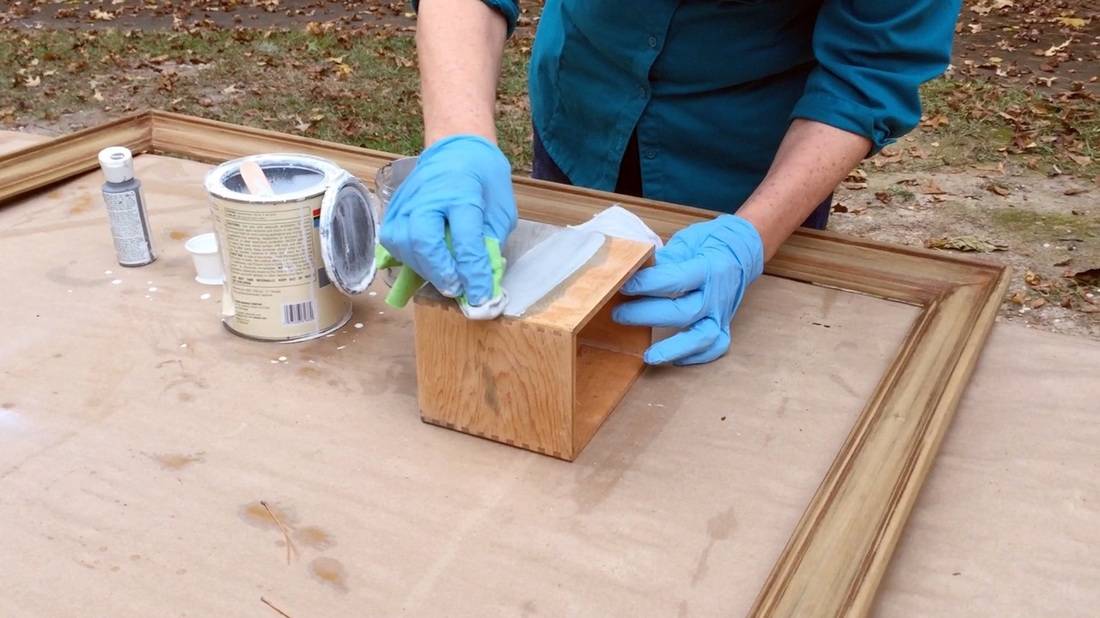
Next we roughed up the frame with different tools.
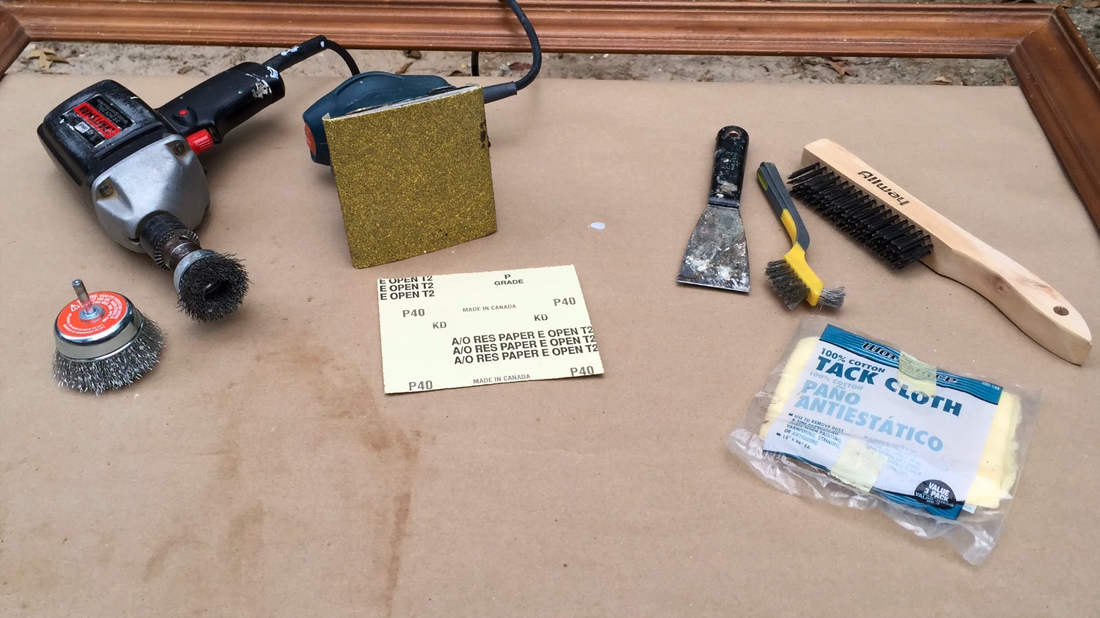
Tools/Materials
  • 40 grit sandpaper & sander
  • Assorted wire wheels for power drill
  • Wire brush
  • Tack Cloth
  1. Using the 40 grit sandpaper & sander, remove as much of the finish as possible. Continue with handheld sandpaper & lots of elbow grease. We decided to leave some of the original finish as naturally aged wood variations.
  2. Use the wire brush to further remove finish & to "beat up" the wood. Use the wire wheels with the drill to continue to distress the wood. A straight edge tool like a scraper can be used to gouge the wood if desired.
  3. When you are satisfied with the finish, wire brush one more time & finish with a tack cloth to remove dust. 
Custom Weathered Finish. MotherDaughterProjects.com
Application
  1. Using a t-shirt rag with a generous amount of the vinegar/steel wool stain, wipe mixture onto the wood. Work quickly. If you start & stop there will be a noticable line between the dried stain & unstained wood. We used a small crafting paintbrush to get into small crevices.
  2. Work from bottom to top if you are working vertically so the stain, if it drips, drips onto already wet wood.
  3. Continue with as many coats to reach your desired look. We used three.
  4. Once the vinegar/steel wool stain is dry, use a t-shirt rag to apply the white/gray stain. Again, working quickly, wipe the stain on & just as quickly remove as much as possible. You are trying to achieve a transparent look, not an opaque "painted" look. Continue working until you are satisfied with the overall look.
Custom Weathered Finish. MotherDaughterProjects.com
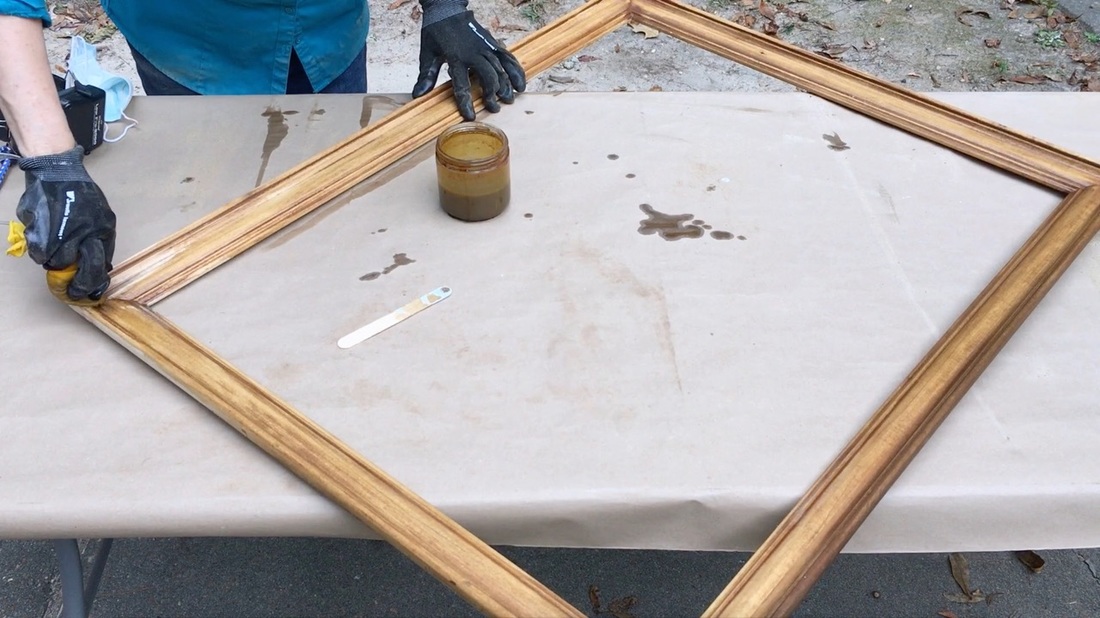
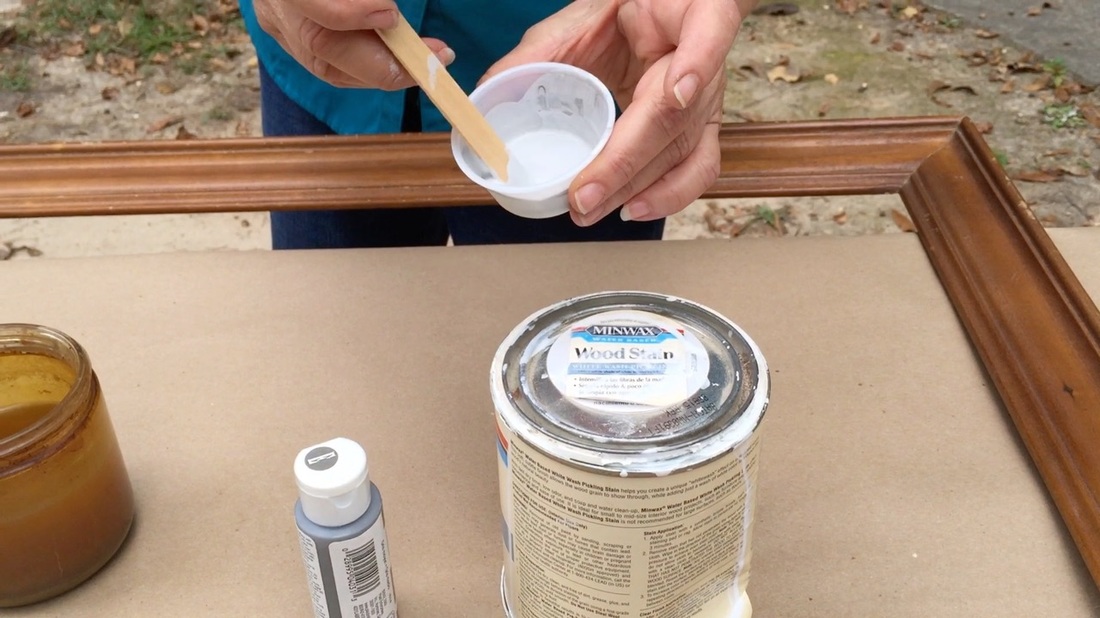
Tools/Materials for the White/craft paint stain
  • Water-based white stain (must be water based)
  • Gray craft paint
  • Jar with lid
  • Stirring stick
  • T-shirt rags

Pour the amount of white stain into the jar that you think will complete your project. It is best to err on the side of too much. Add the gray craft paint to tint the white stain a pale to darker gray & stir so that the gray is incorporated but not totally blended. We wanted the white/gray stain to have some variation.
​
Tip: Experiement with the two stains on scrap wood or the back of your project to perfect the look you're wanting to create. 
Custom Weathered Finish. MotherDaughterProjects.com
Since this mirror will hang in a guest/half bath & will not be subjected to shower steam, it does not need a sealer. If further down the line it does, we will finish it will Danish wood oil or a flat clear spray coating.

Please note: We are not sponsored by any of the companies/products that we used. These products were picked and bought by us.

FYI: We are not professionals, and we don’t claim to be. This is what we found worked for our project. Yours may need a little different approach. Safety first!

Related Projects

MotherDaughterProjects.com
WOW with a light cover
Picture
Floating Shelf for Small Items
Picture
Lightsaber Headboard
0 Comments


Leave a Reply.

    MotherDaughterProjects.com

    Mother Daughter Projects
    ​
    Steph & Vicki

    We're homeowners sharing our DIY adventures as we learn to maintain, improve, decorate, and ​use tech in our homes.
    Share your projects with us here:  
    ​#trylearnshare
    MotherDaughterProjects.com
Mother Daughter Projects, LLC ∙ est. 2015 ∙ Tallahassee, FL by Vicki & Steph ∙ Privacy Policy