A recent question on Hometalk about filling in a sunken living room floor prompted me to write up my own experience with this. Filling in a sunken floor was definitely NOT a do-it-yourself project at my house. It was part of a 'pretty much' entire house remodel we did in 2012.
The reason my husband and I decided to remodel, and especially fill in the floor, was that we wanted to be able to “age-in-place” in our home. As we all know, aging sometimes comes with physical difficulties, poorer eyesight, etc, and we felt that a sunken living room was a “hip breaking” accident just waiting to happen! 
Yep, that's Vicki from 2002
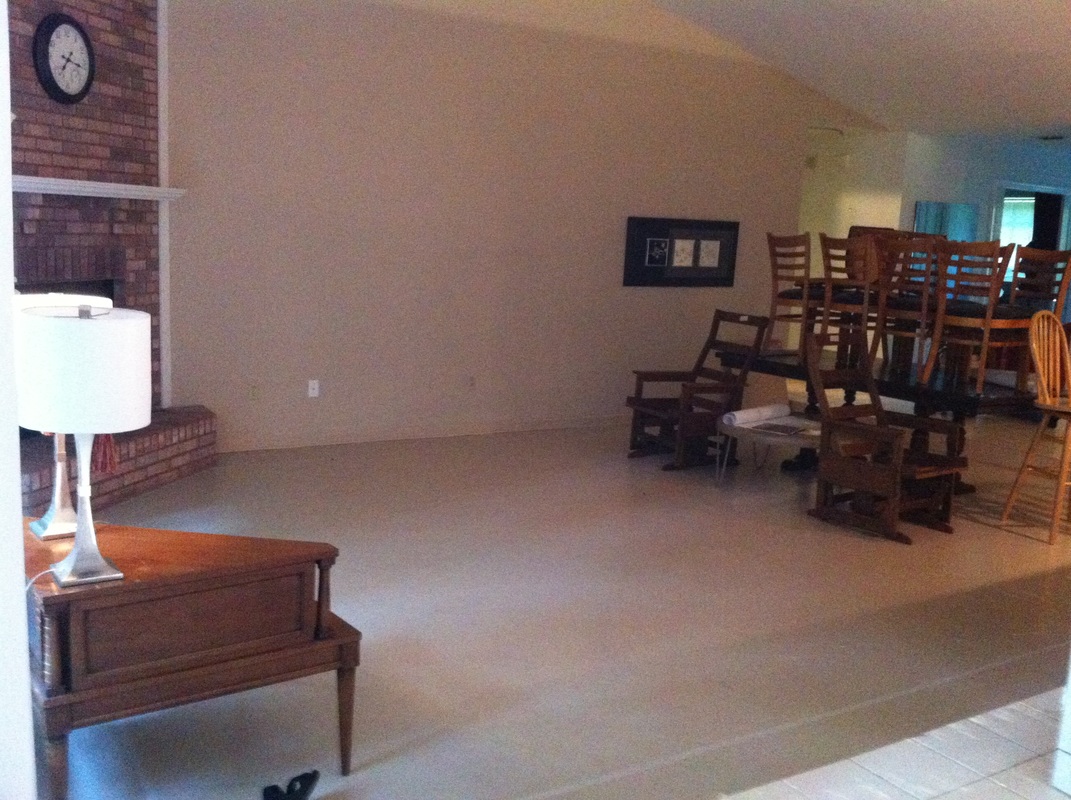
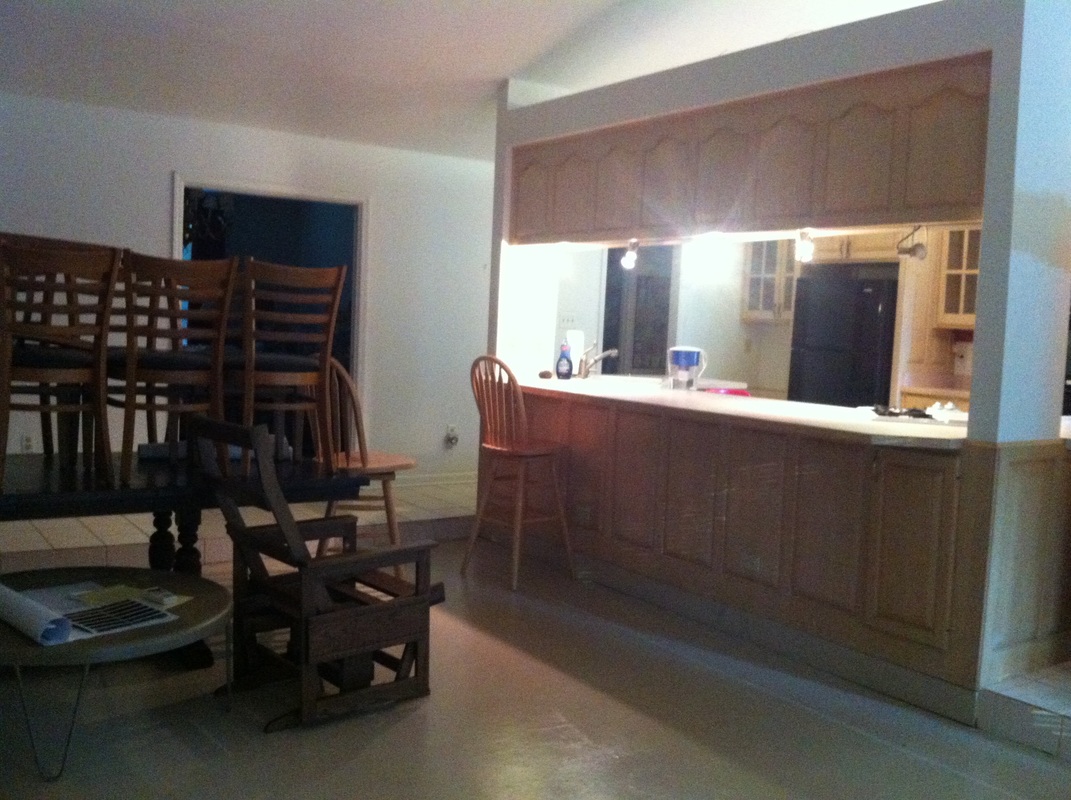
Before:
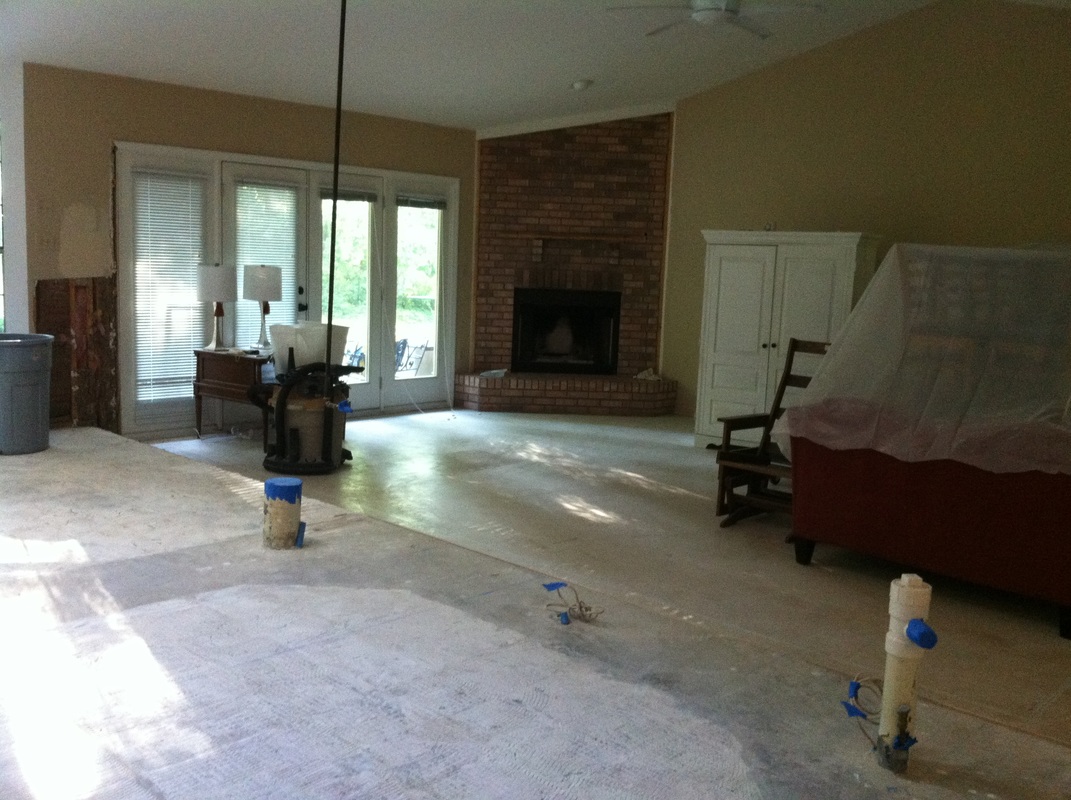
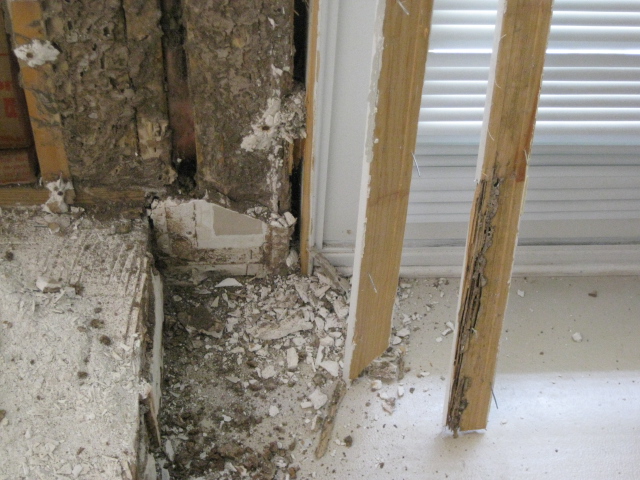
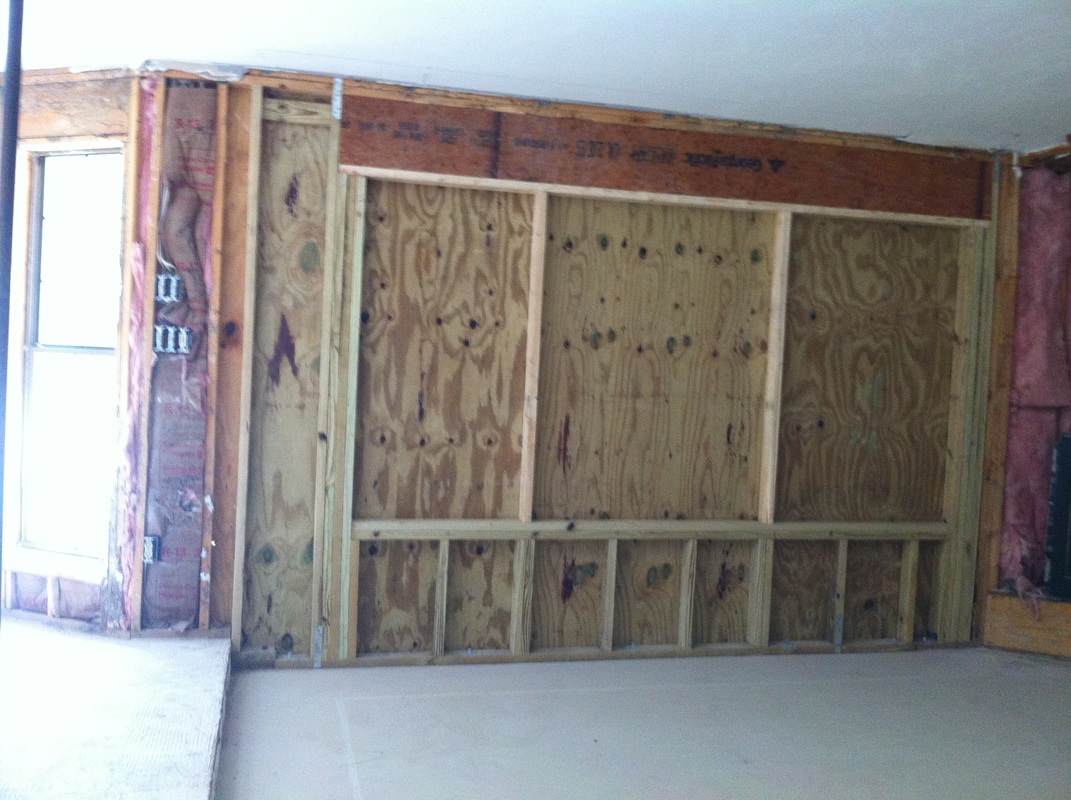
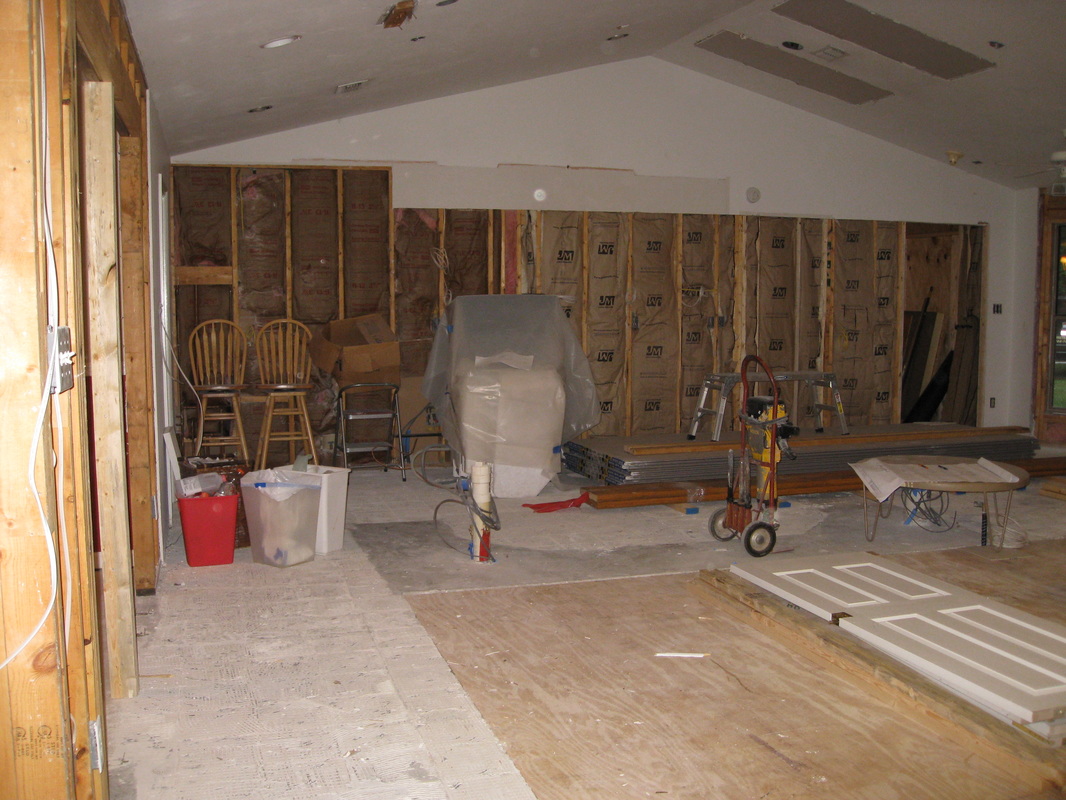
From the pictures you can see the living room is right off the foyer. Despite warning after warning, people visiting our home continued to “fall” into the sunken area! Demo: My husband and I were gone during the initial two weeks of demo. We came home to a gutted kitchen and the removal of the tile. I was very happy we were not home for this step! During the demo they found a not so nice surprise—termite damage—which of course added another level of cost to the project!
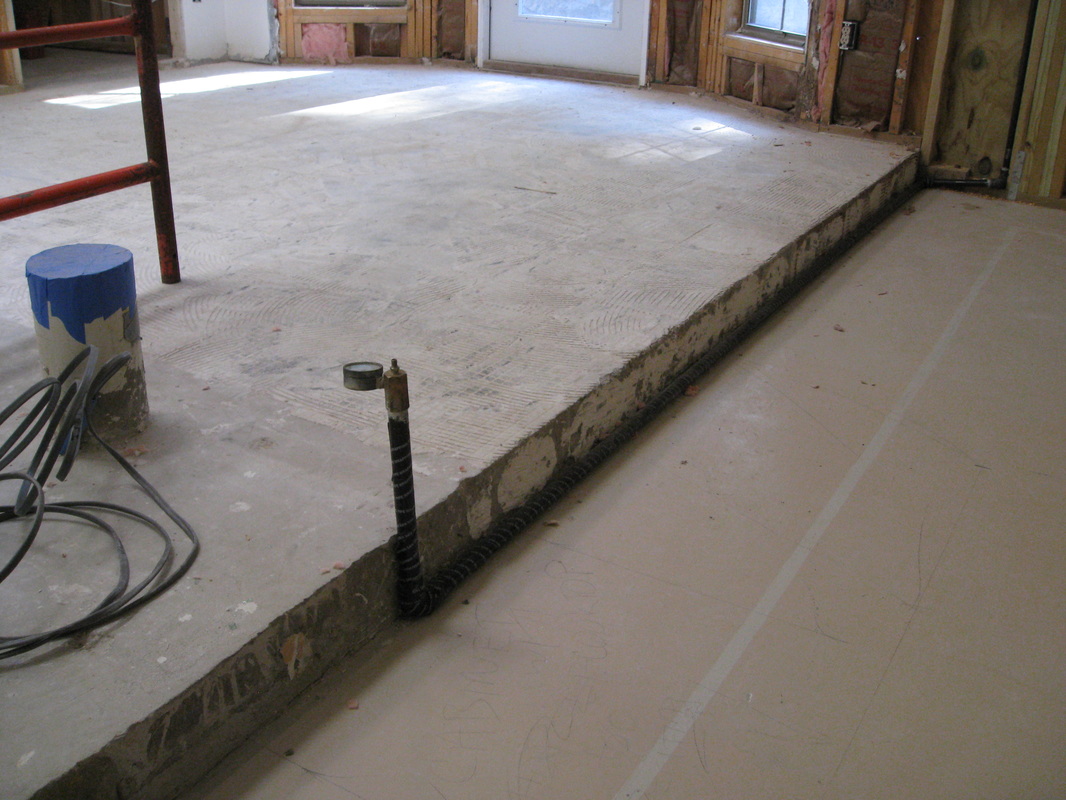
Pre-fill: Before the floor could be filled in three things had to happen.
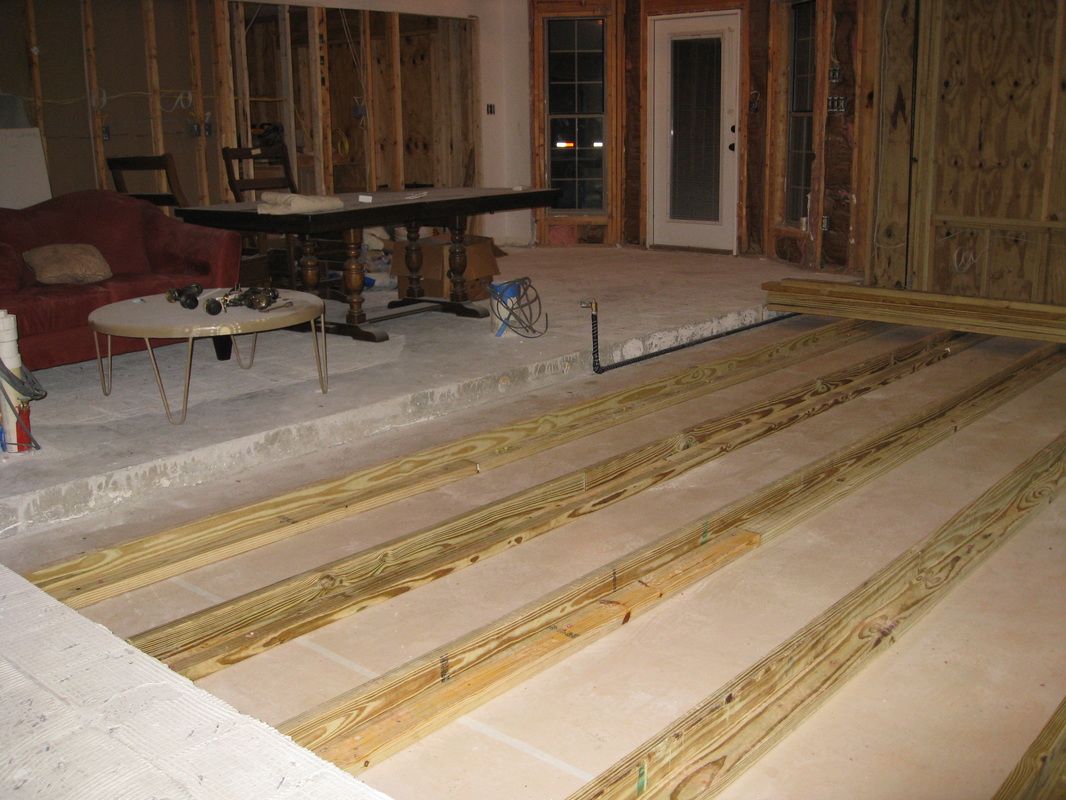
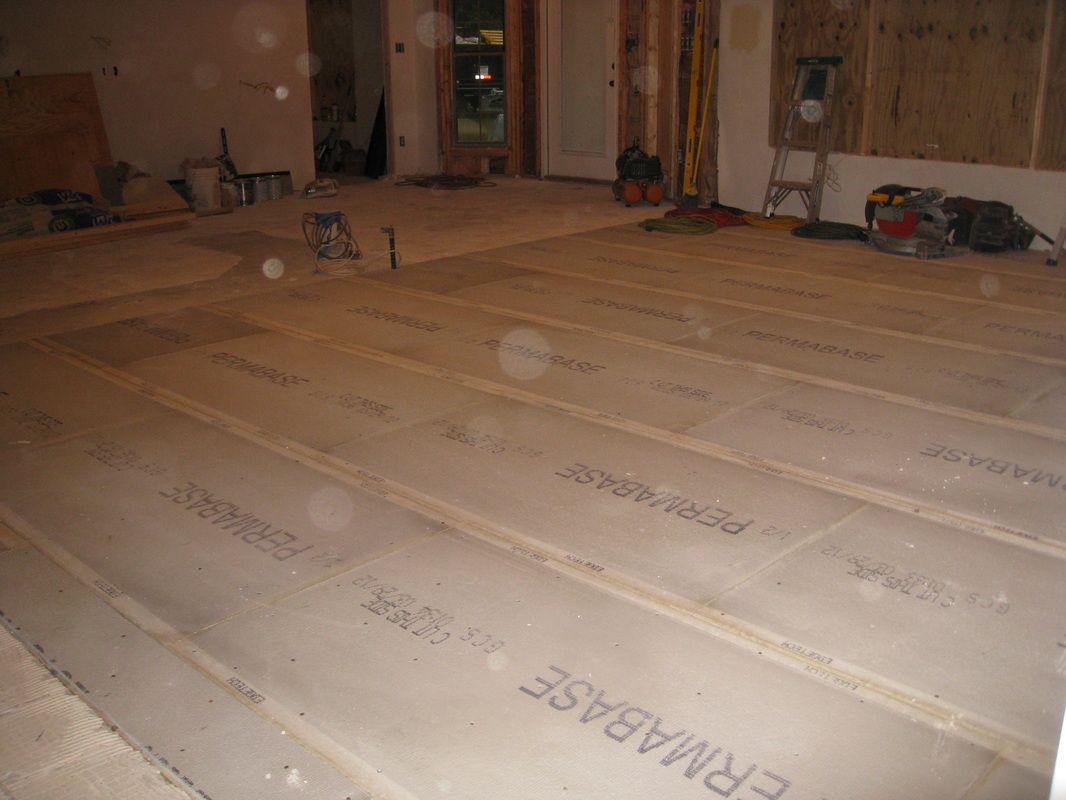
Fill: After all this was done, the fill-in began.
As best as I can tell they used a layer of support beams that looked much like studs in a wall. To this they added insulation (or at least it looked like insulation to me), then a layer of plywood, followed by cement board, then finally tile which they covered in construction paper to keep it clean.
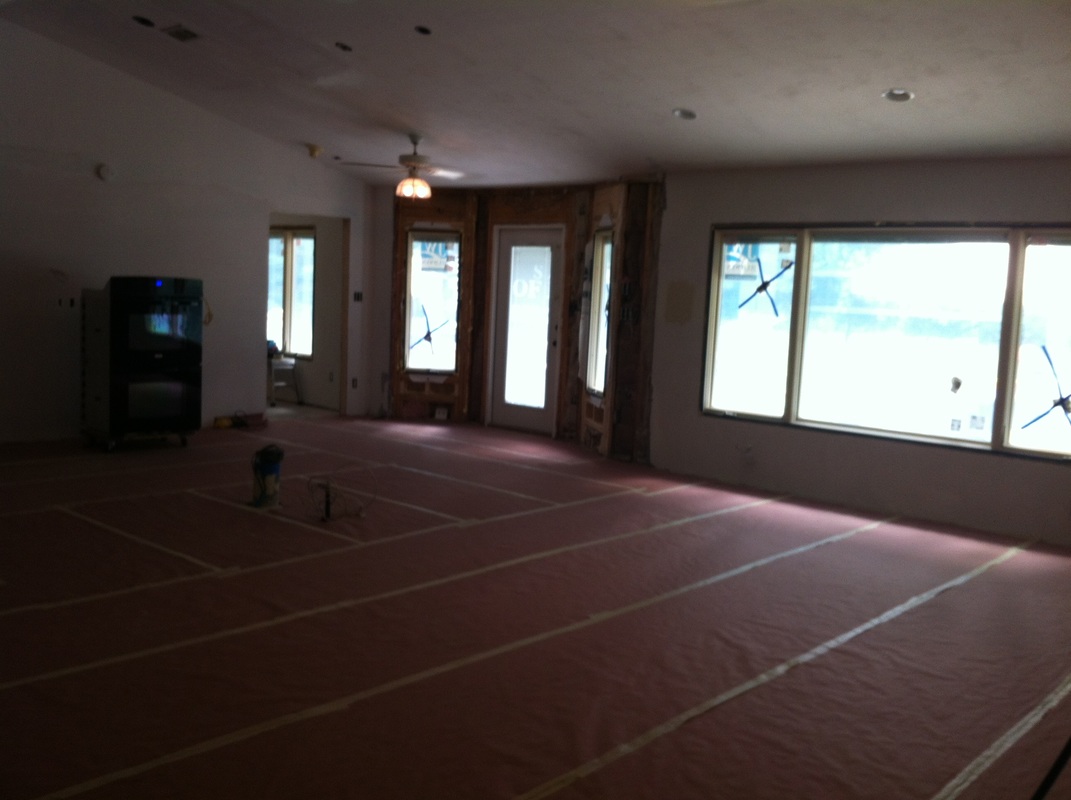
After—not quite yet!
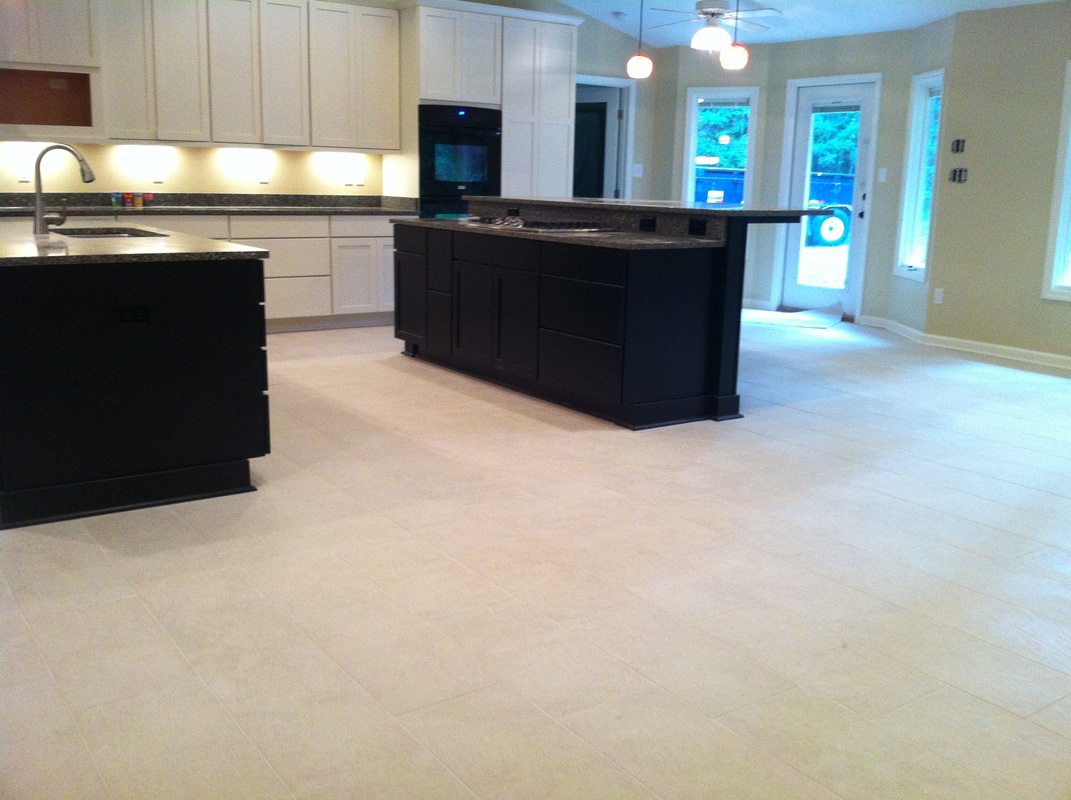
After the paper was pulled up we discovered that at least 90 of the floor tiles were flawed due to a manufacturing problem. Those tiles had to be pulled up, replaced, re-grouted, etc. Ug! (It took them at least a month to realized they used the wrong color grout even though I told the guy who was grouting initially that the grout did not look right! He gave me that “you don’t know what you’re talking about honey” look.) Finally, we had an AFTER. It was such a pleasure to be able to walk from the hallway straight across to the kitchen without falling into the living room. Despite all the cost and subsequent difficulty we are glad we took the plunge!
Please note: We are not sponsored by any of the companies/products that we used. These products were picked and bought by us.
FYI: We are not professionals, and we don’t claim to be. This is what we found worked for our project. Yours may need a little different approach. Safety first! Related Projects
9 Comments
Meredith
3/12/2016 05:58:32 pm
Thanks for posting this. Who even thought of the sunken living room anyway?! I love learning about aging in place and universal design. Even though I'm still young, I have family that needs extra attention to tripping hazards, and it's just a good idea to make your house easier for everyone (like your falling guests!) One thing I liked about our house when we bought it is that all the doorknobs are levers rather than round, which is better for weak and arthritic hands. Also better if you have two arms full of groceries and only have an elbow free! :) I'd love to see any more improvements you've made to age in place!
Steph
3/14/2016 10:30:52 am
Vicki will be posting more updates on her home remodel. Stay tuned :)
Alice Wilson
3/10/2017 11:09:18 pm
I enjoyed looking over the projects that you and your parents have accomplished! It is inspirational and a very creative and functional way to share your love for each other!
Steph
3/11/2017 10:34:03 am
Thanks so much!
D Longo
3/15/2017 03:03:17 pm
Vicki, do you mind me asking what the avg cost was to fill in the living room? Just an estimate. Thanks so much!
Vicki
3/15/2017 04:36:45 pm
I don't know how much it cost to fill in the living room floor. It was part of a huge remodel/repair project on my home. Unfortunately, I did not hold my contractor accountable to give me an accurate accounting of what he was spending--if you ever use a contractor, make him or her specify what is being spent. I would get a few estimates and recommendations before choosing a contractor.
Craig
7/27/2018 03:27:34 pm
Have there been any problems with the tile or grout cracking because of different expansion rates of the filled space versus other slab area?
Vicki Kubiak
7/27/2018 07:37:10 pm
Great question. There have been almost no issues with the exception of a little cracking in the grout in one area of the floor where the original floor meets up with the newly raised floor. That's it. The cracking in the grout could easily be repaired. Actually a rug covers it so it is not an issue. Filling this in was one of the best part of my home remodel. ~Vicki
Linda Larrick
11/27/2019 09:29:17 am
Vicki we live in southern Florida and it seems that all the homes in our area have a sunken this or that, we are dealing with a boiling alley which was originally was a screen room aka Florida room which is now part of the main house under air, it is sunken about 5 inches and slops slightly I suppose because it was a screen room . And then i have a wall of 9’ impact sliding glass doors on on one side any ideas how to incorporate keeping the sliding doors (they were a fortune) and build a “beam” up to it? Hope I’m making myself clear I could send a pick, I love all your wonderful ideas Leave a Reply. |

Mother Daughter Projects
|