On today's show:
Show Links:
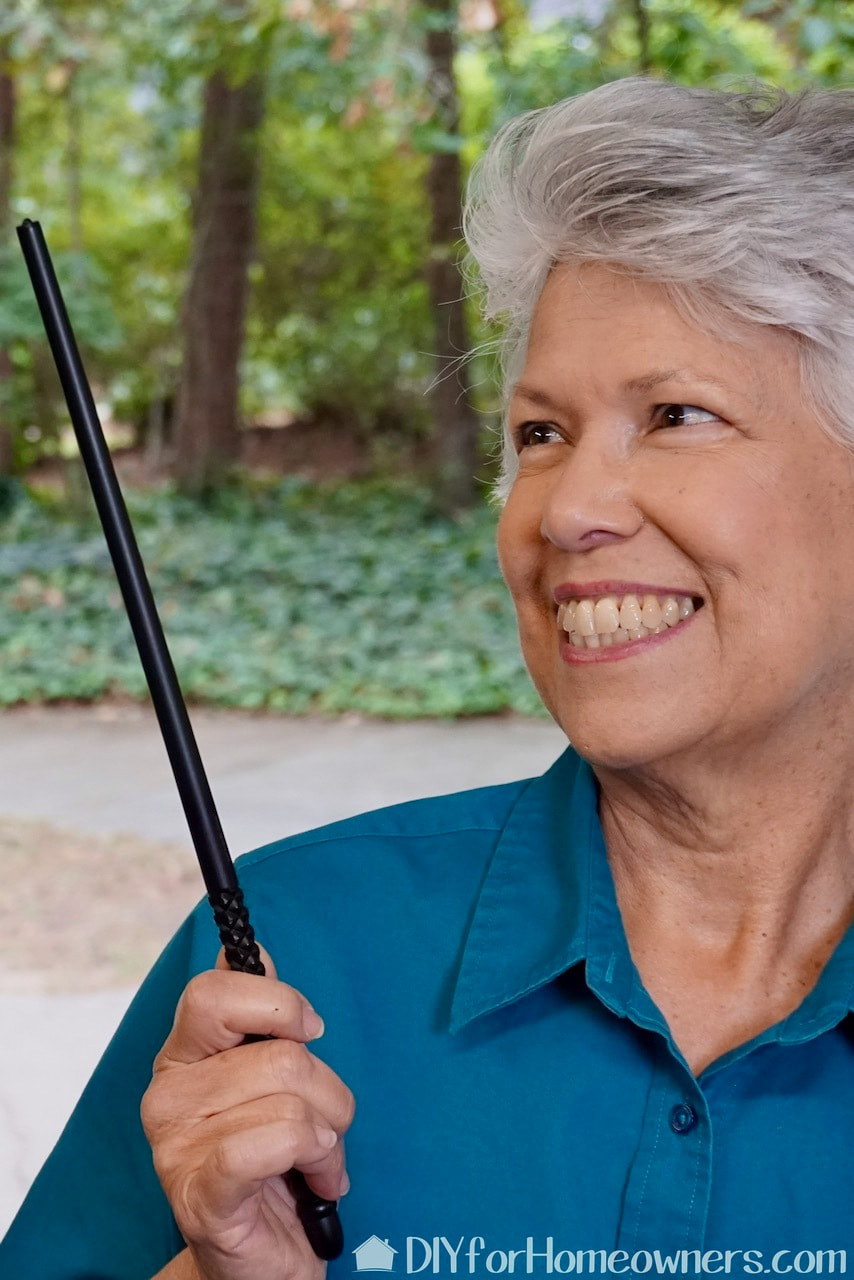
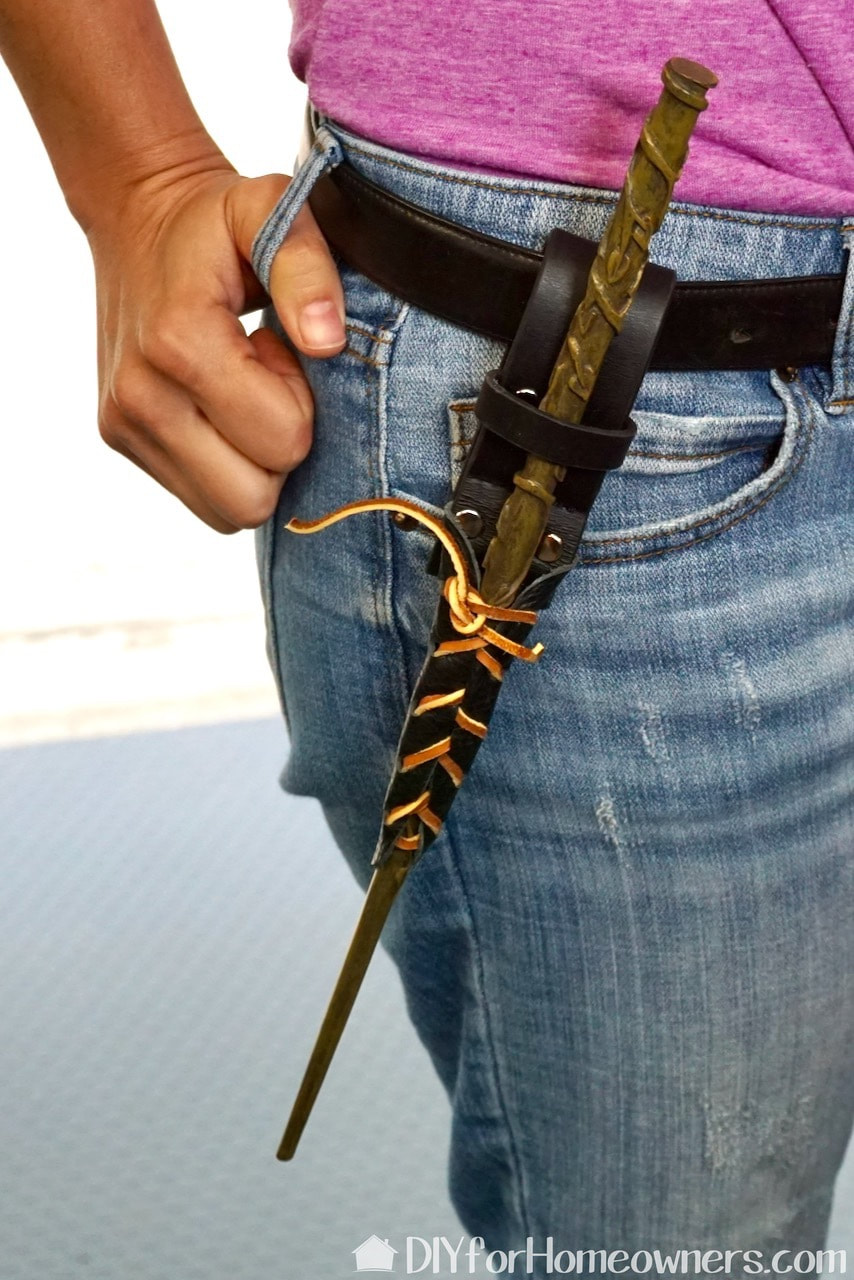
Are there any Harry Potter fans out there? Steph and her friends are so when they took a trip to the Wizarding World of Harry Potter, they needed holsters for their wands! Steph found a picture of a holster and asked if I could make it. Since I already had leather working tools, I said I'd try. Using the picture as a guide, I sketched up a design in a word processing program and then made a full size model of felt. That worked, so it was on to creating in leather. Take a look at this Fast DIY from Workshop Wednesday.
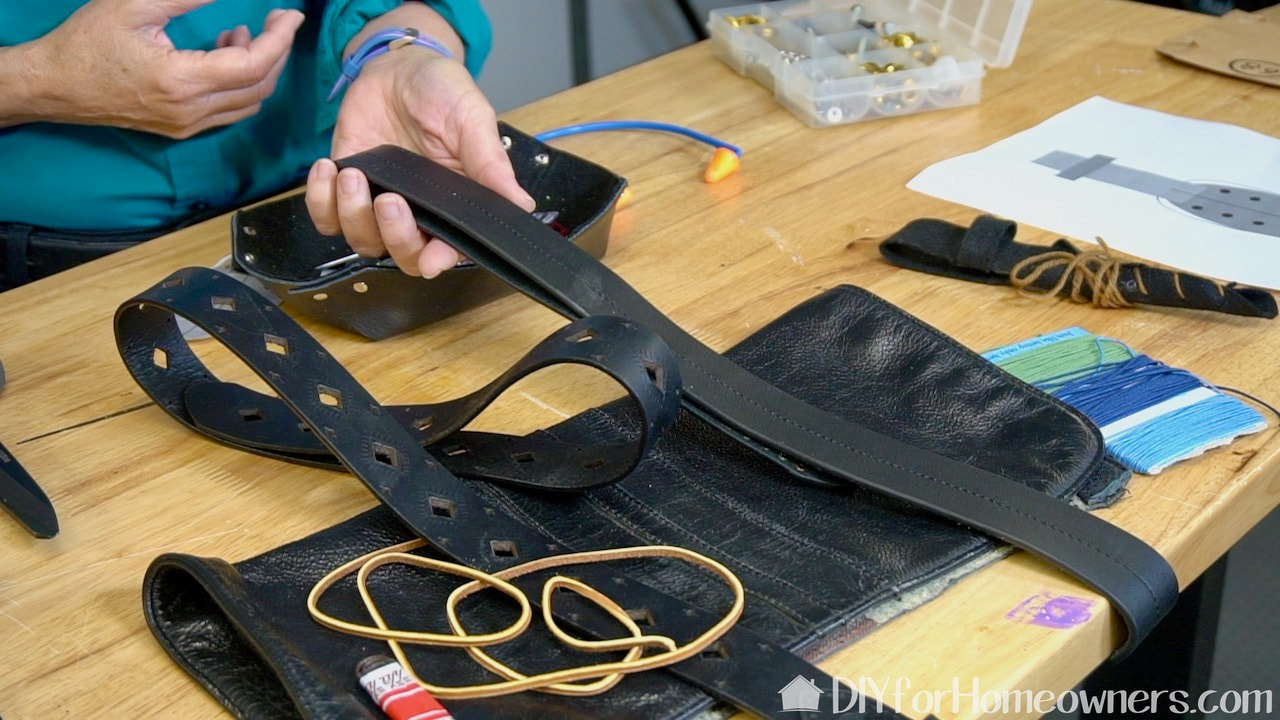
All the leather in this DIY craft is upcycled. I'm using a leather belt as well as leather from an old computer bag.
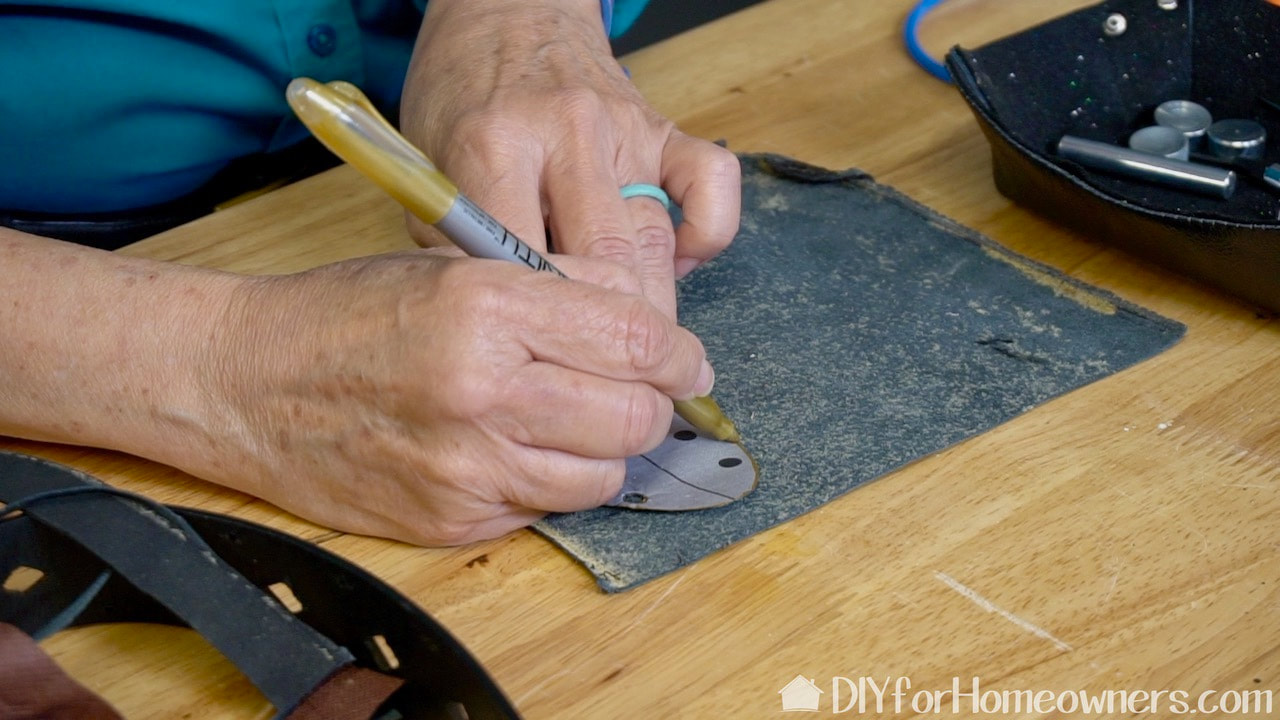
The first step is to trace the pattern onto the backside of the leather, mark the hole placement, and then cut it out with sharp scissors.
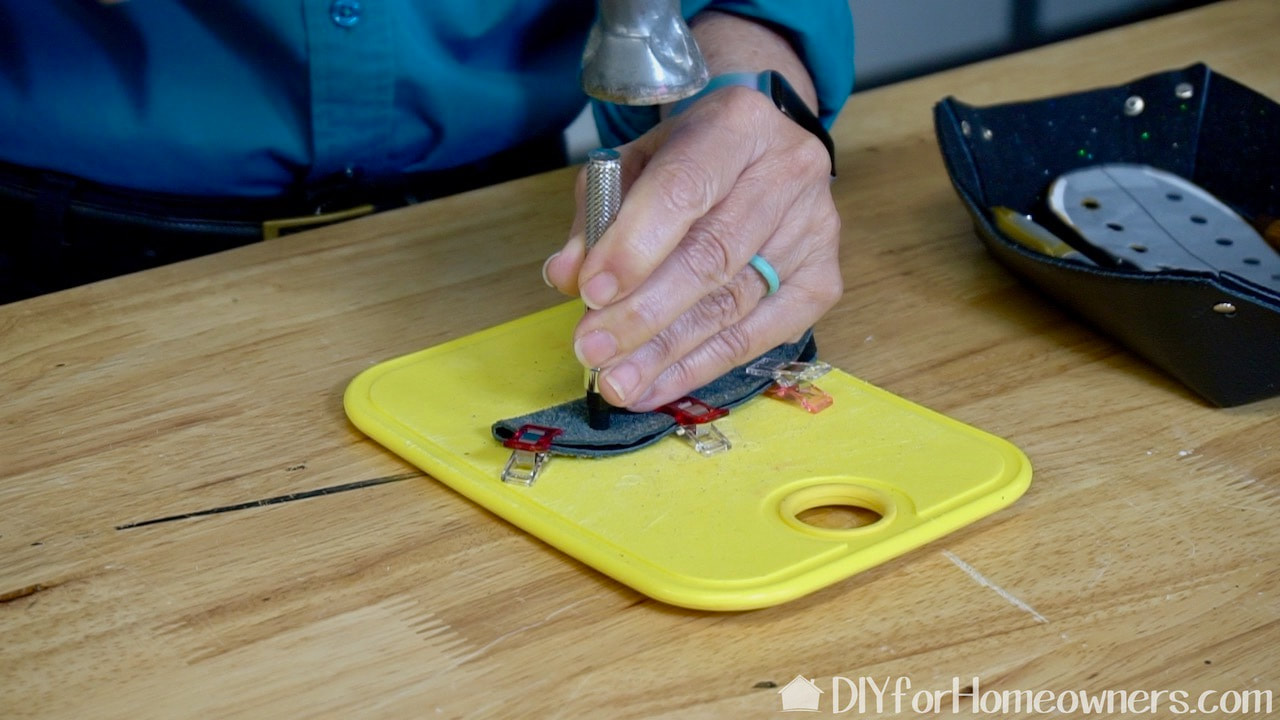
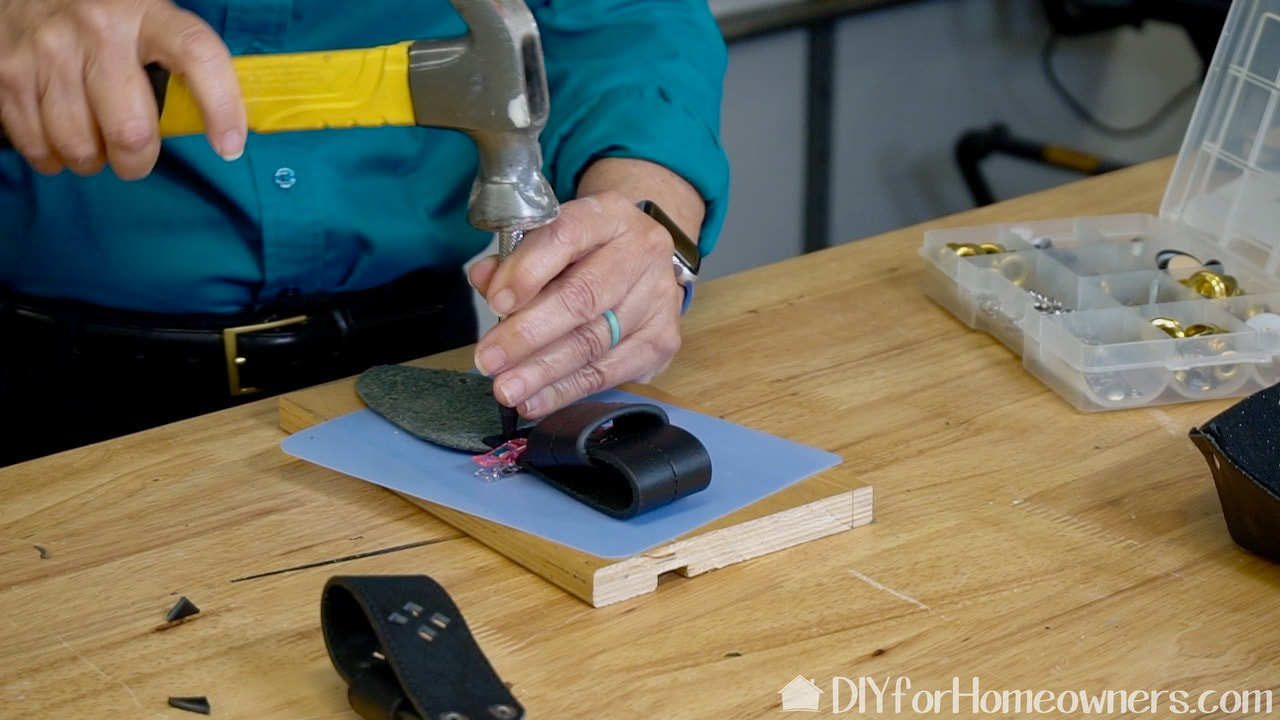
Fold the piece in half with right sides (the good side) together. Use a leather punch to make the holes. Center the punch, then tap with a hammer until the punch goes all the way through. Protect your work surface. Here I'm using an old cutting board. Those plastic things are quilting clips that are helping to hold the folded piece in place.
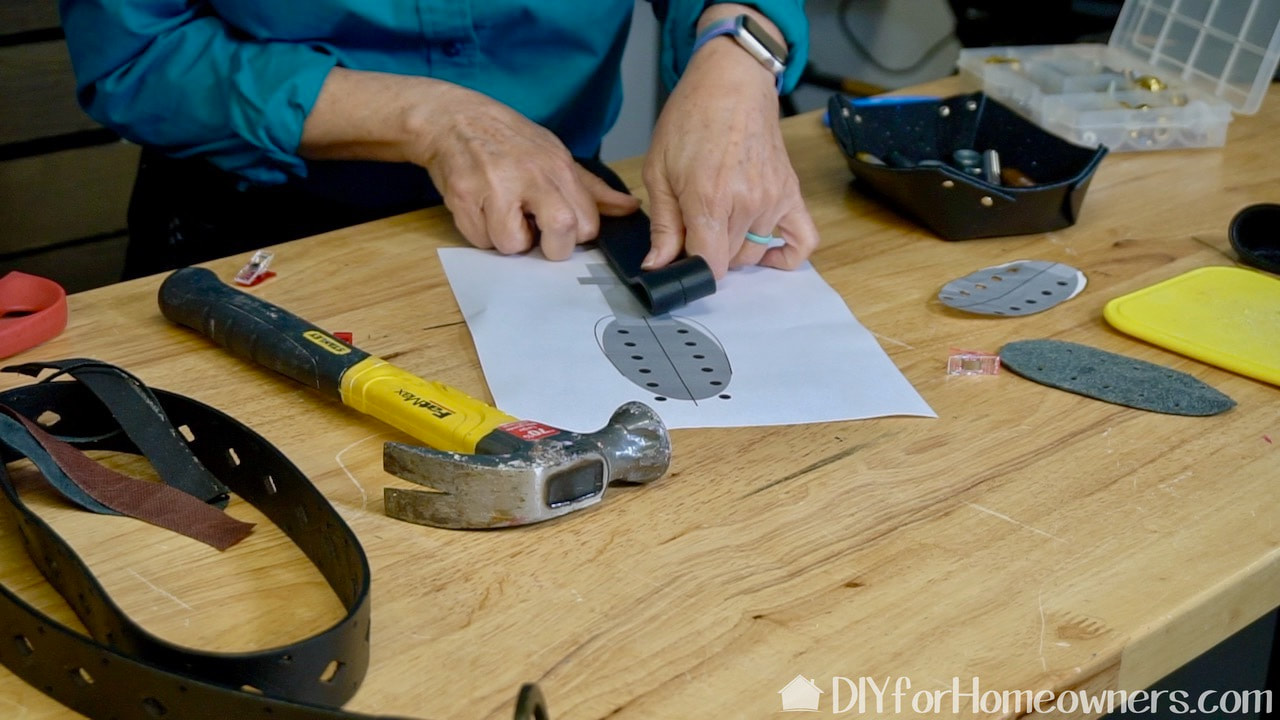
Here I'm measuring out how much of the belt I need for the top of the holster. You'll need double the length as this is what is creating a loop so this will hang from the wizard's belt.
Cut another piece that will go all around the width of belt with enough overlap that a rivet can be secured into it.
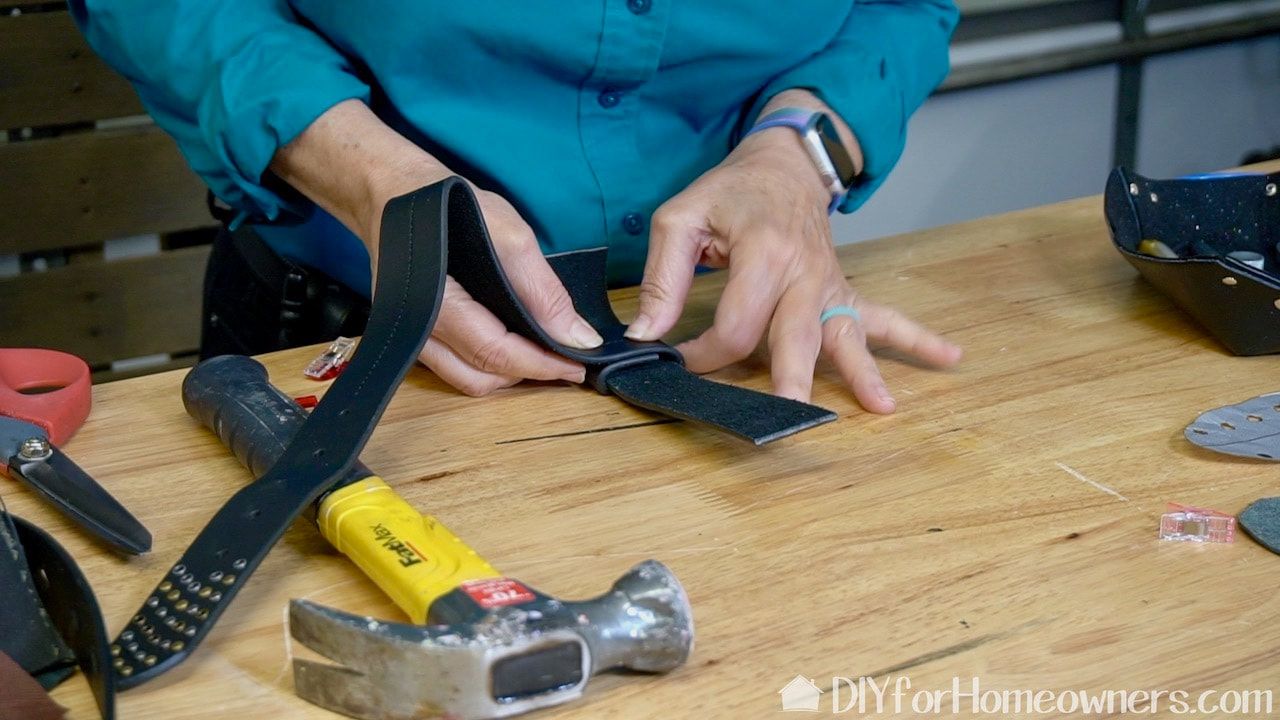
Punch holes in the overlap as well as where this will be secured to the top of the holster. Insert a rivet from the back. Put the cap into place, you'll hear a little click when it connects. Cover the leather with a scrap piece of leather (you don't want to damage the holster when you pound the rivet cap into place) and tap with a hammer until secure.
Set the bottom part of the holster into the top part and use the punch to make holes.
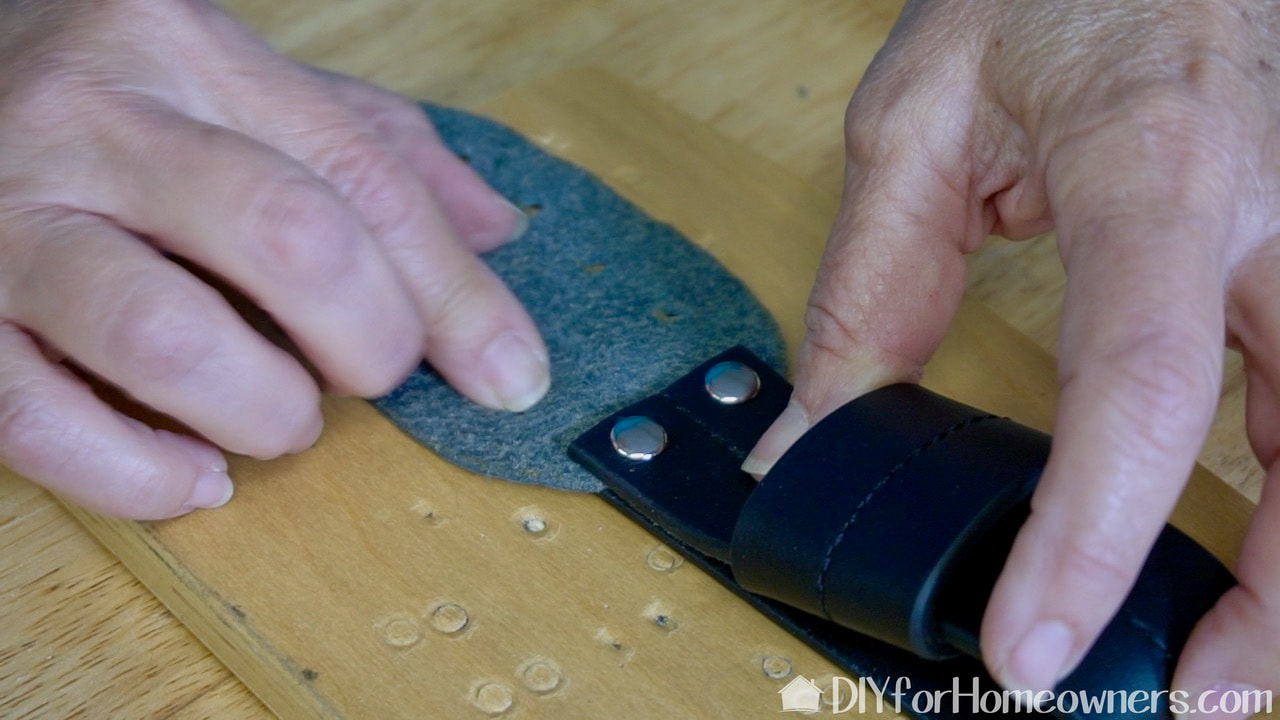
Here the rivets have been set into place. Notice I sandwiched the softer leather between the two ends of the belt leather.
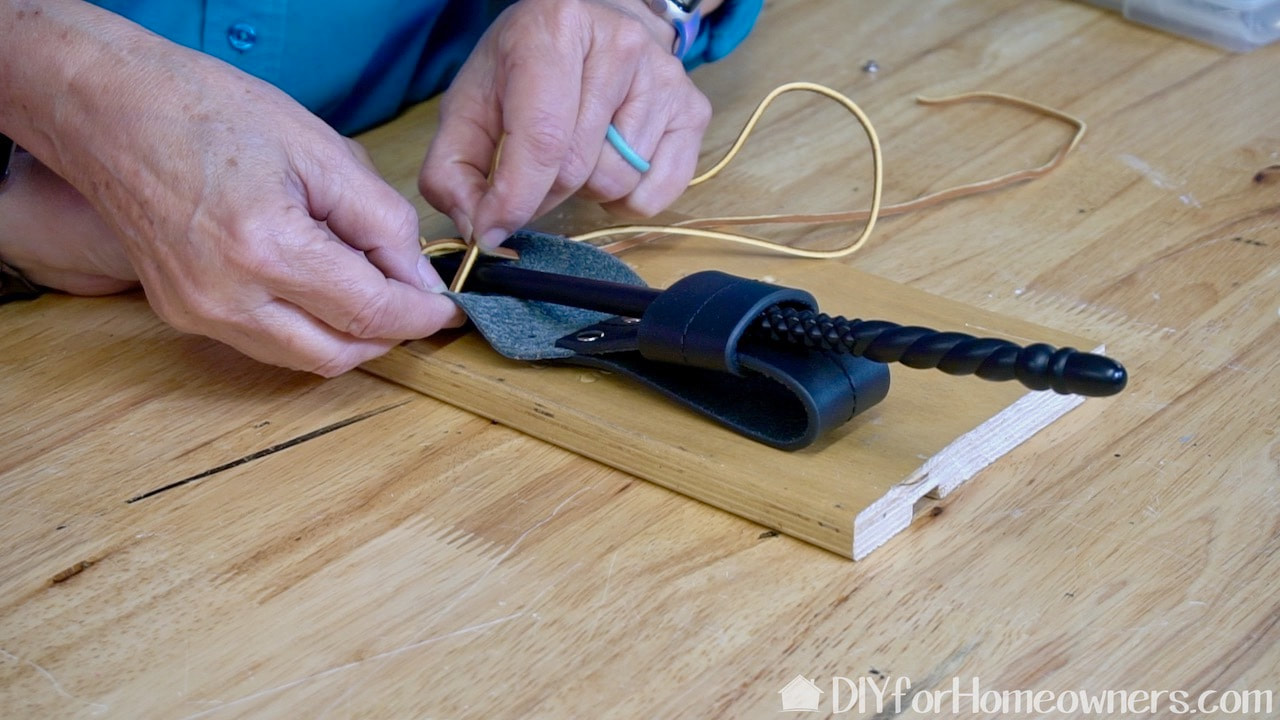
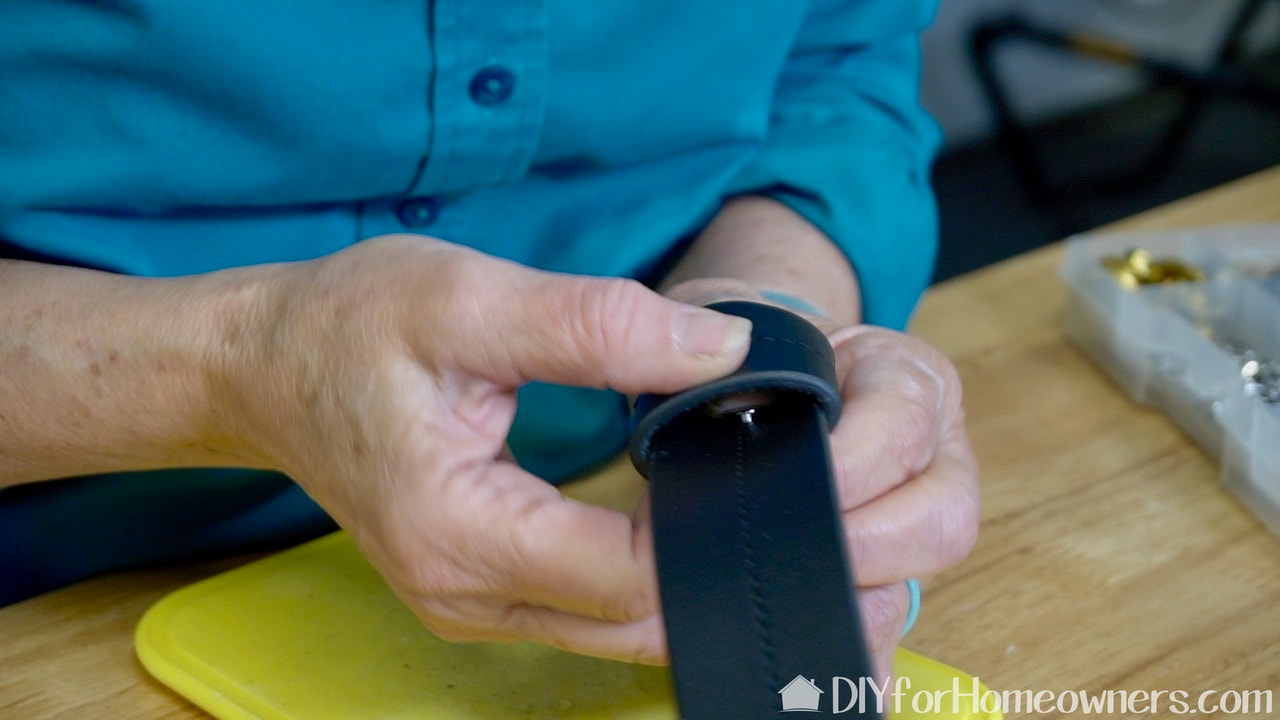
Time to lace it up! I'm using leather cording but there are many different things you can use. If you have a buddy to help, let her hold the wand in place while you lace. Snug up the lacing as you go.
I loved the challenge of trying to figure out how to make this from a picture only. It was very gratifying to actually see it come together in leather. I'm sort of hooked on many things in leather now!
Rather than buy new leather products, look for leather items at yard sales and thrift stores. Often, near the end of winter, thrift stores will drastically cut the prices on their all leather coats. Snatch those up as they provide lots of material to upcycle! Also look for all leather belts in those same places. Avoid any belt that says it is made of bonded leather. Those will eventually peel (just like those bonded leather sofas) and will not hold up. "Be on the lookout" checklist for leather to craft with:
0 Comments
Leave a Reply. |

Mother Daughter Projects
|
||||