|
text by Vicki Sign up here to join our weekly email newsletter!
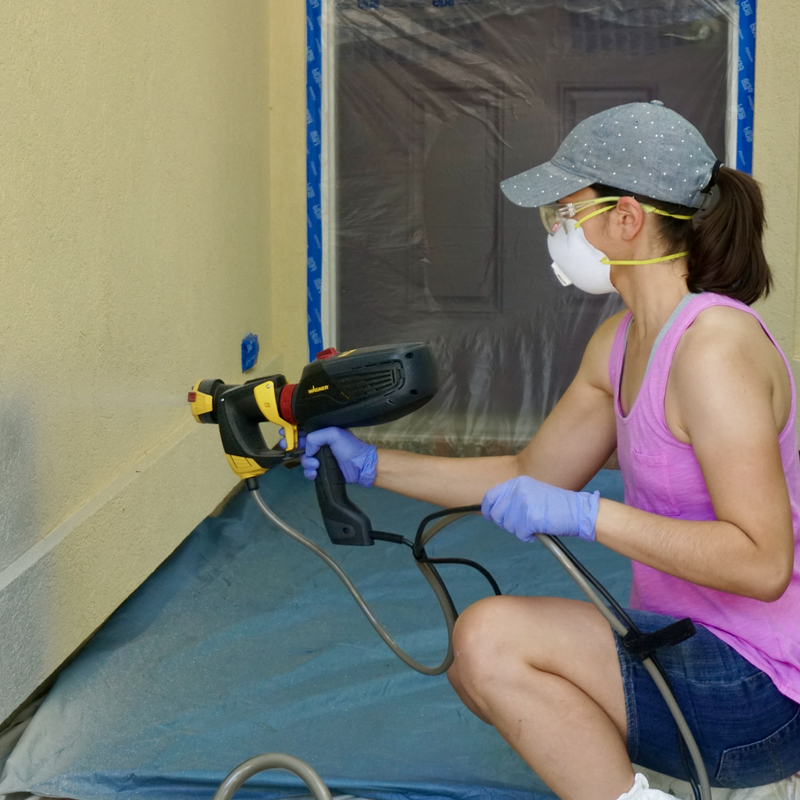
The lights outside Steph's garage were way overdue for replacement. We really should have changed them out when we painted the house a few years back. House painting took place over a hot couple of Florida June days and last thing we wanted to do was more work outside! So it never got done.
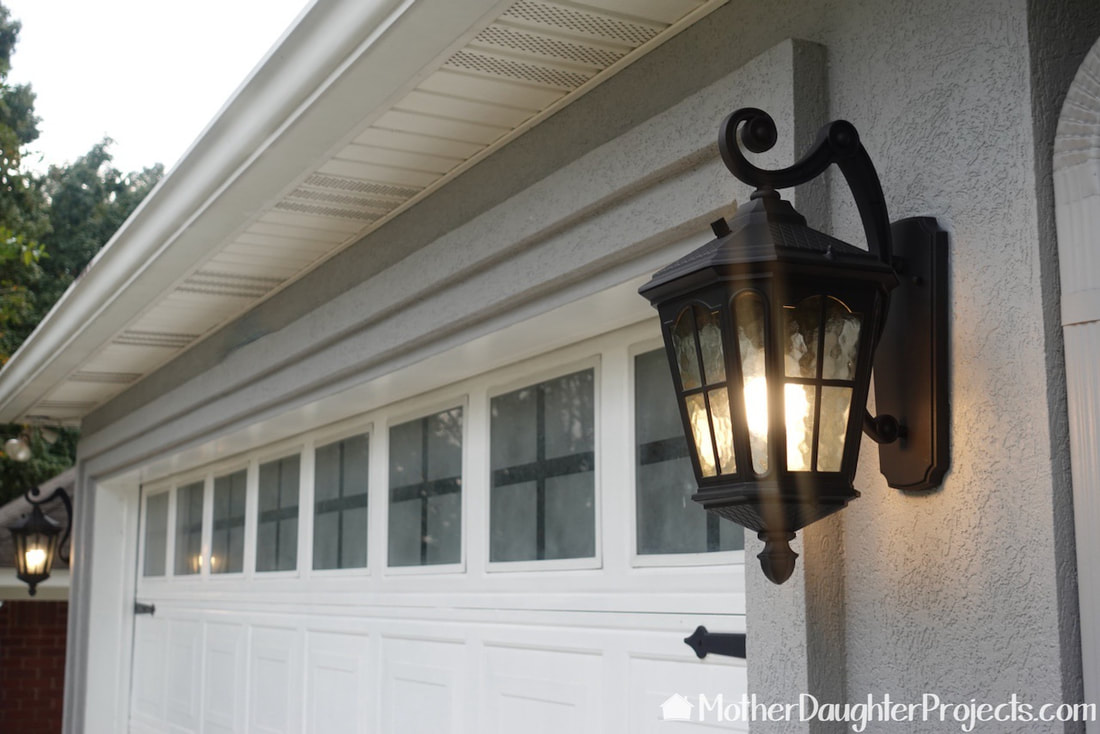
But after seeing these fixtures at Costco, we decided these would look great and it was time for a replacement. 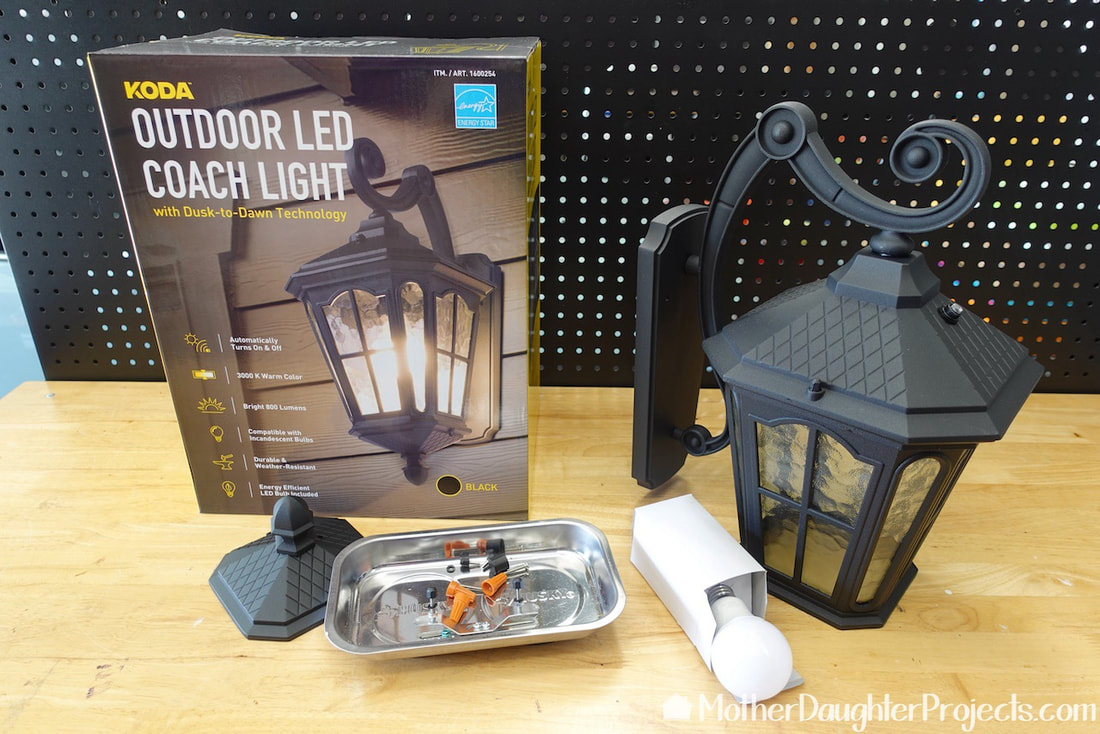
Everything needed, including a LED bulb, is included in the box. (but not silicone)
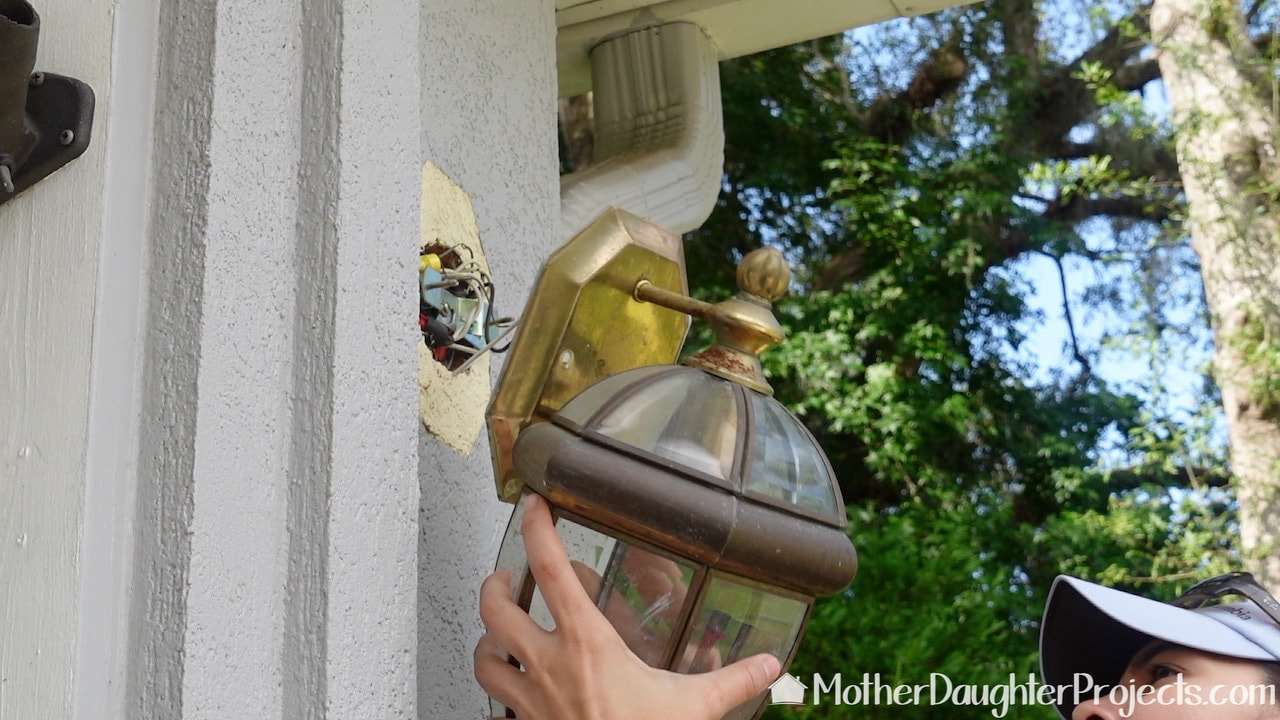
The first step was to turn off the power and then remove the old brass and glass fixture. Ahhhh, there's that old house color! A simple touch up with the grey paint took care of that eyesore!
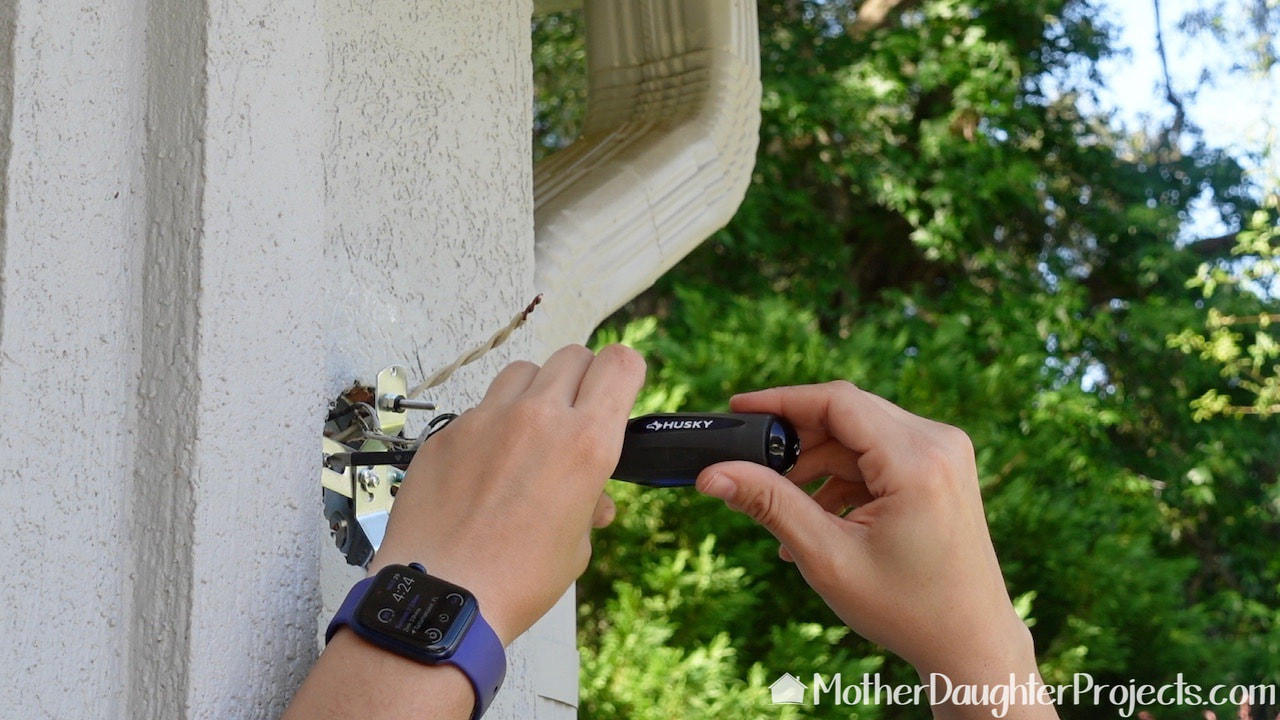
Steph removed the old mounting hardware and installed the new hardware.
The mounting hardware in place. Those little black O-rings on the mounting screw are easy to lose. Put something on the ground to catch them in case you drop one or more!
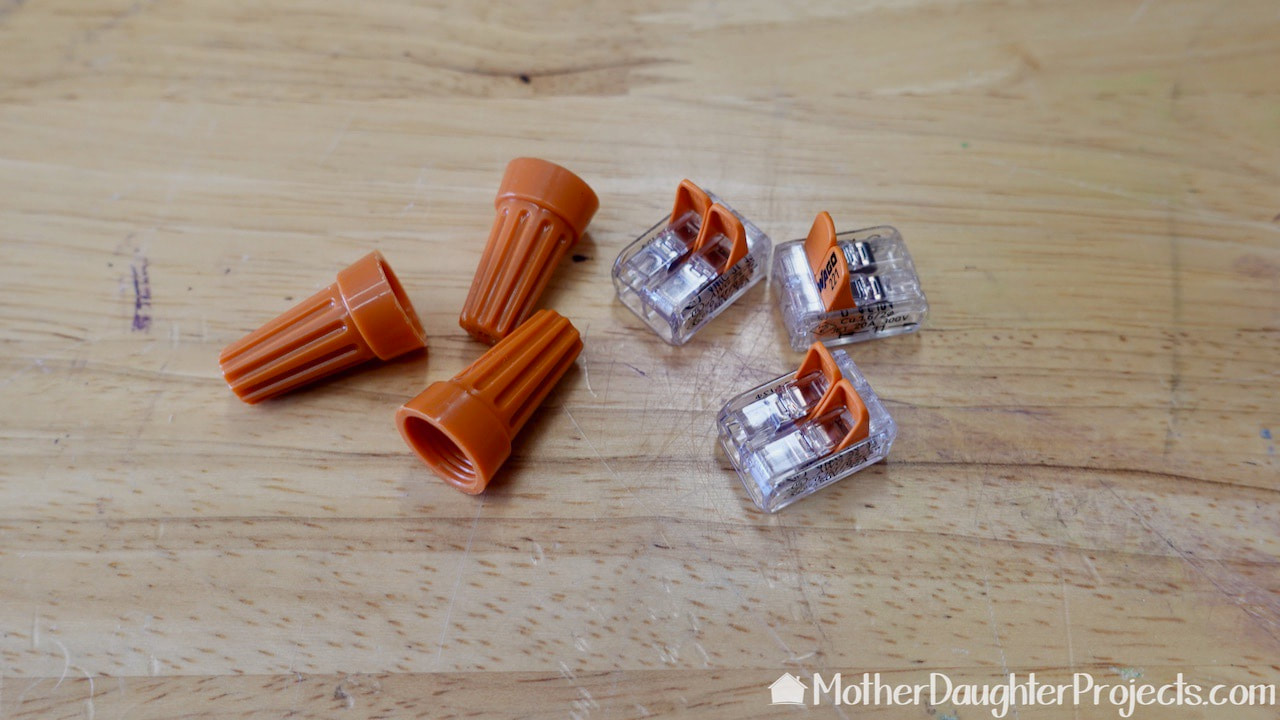
The installation hardware included wire nuts, but we decided to use these Wago connectors. They are super easy to use.
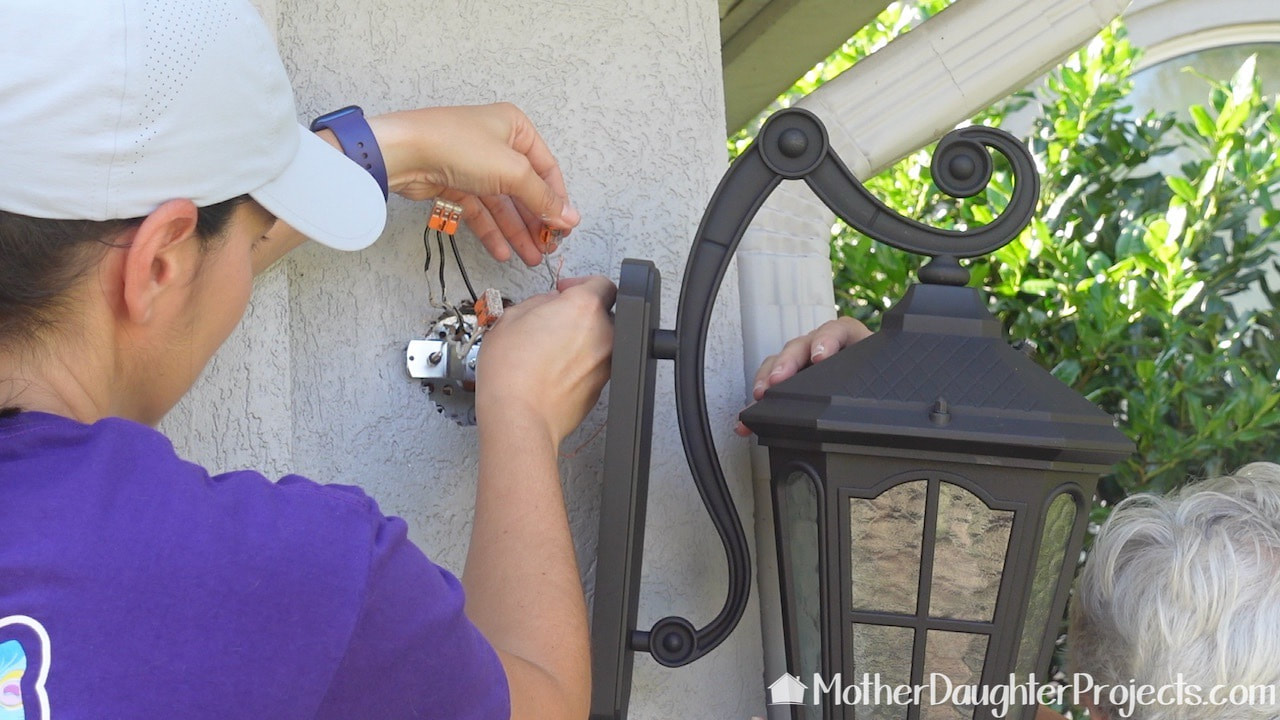
This was a team effort--one to wire, the other to hold the fixture. Here Steph is using the Wago connectors to secure the wires.
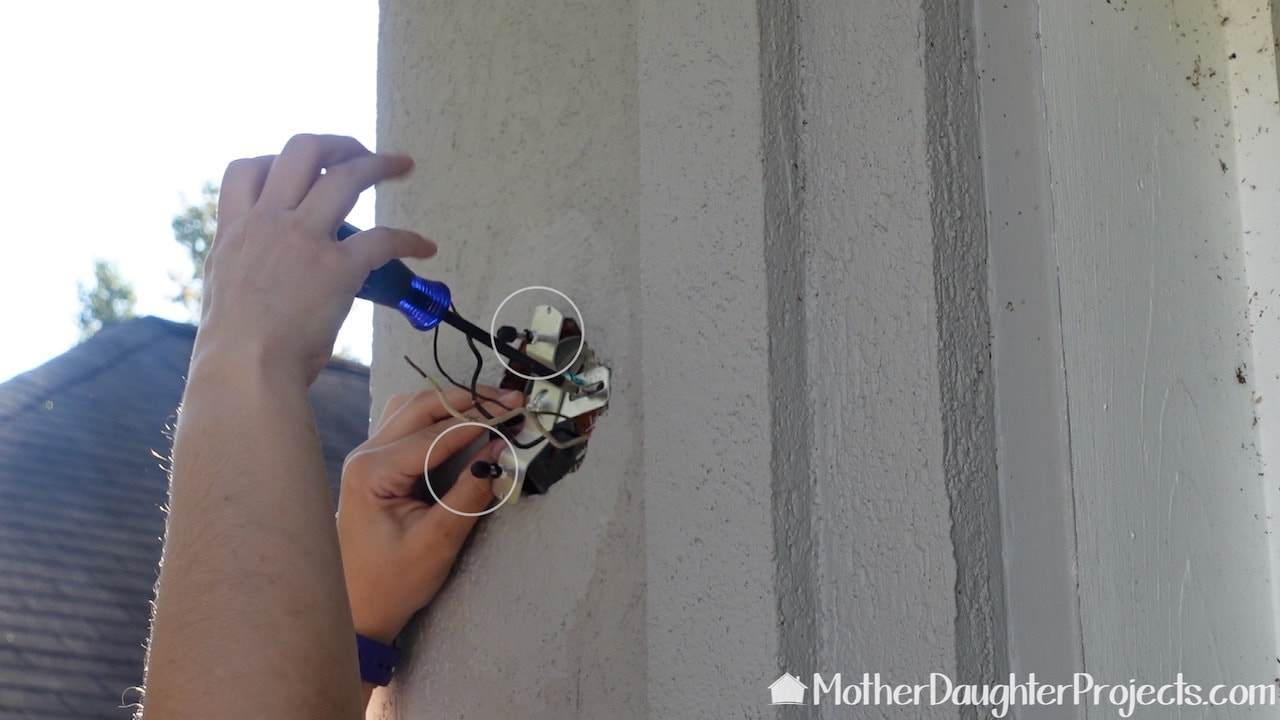
Those circle are the mounting screws. Through trial and error we realized those screwed needed to be backed out about a quarter of an inch before the mounting plate is secured into place. This will make it easier to get the fixture to sit securely on the wall.
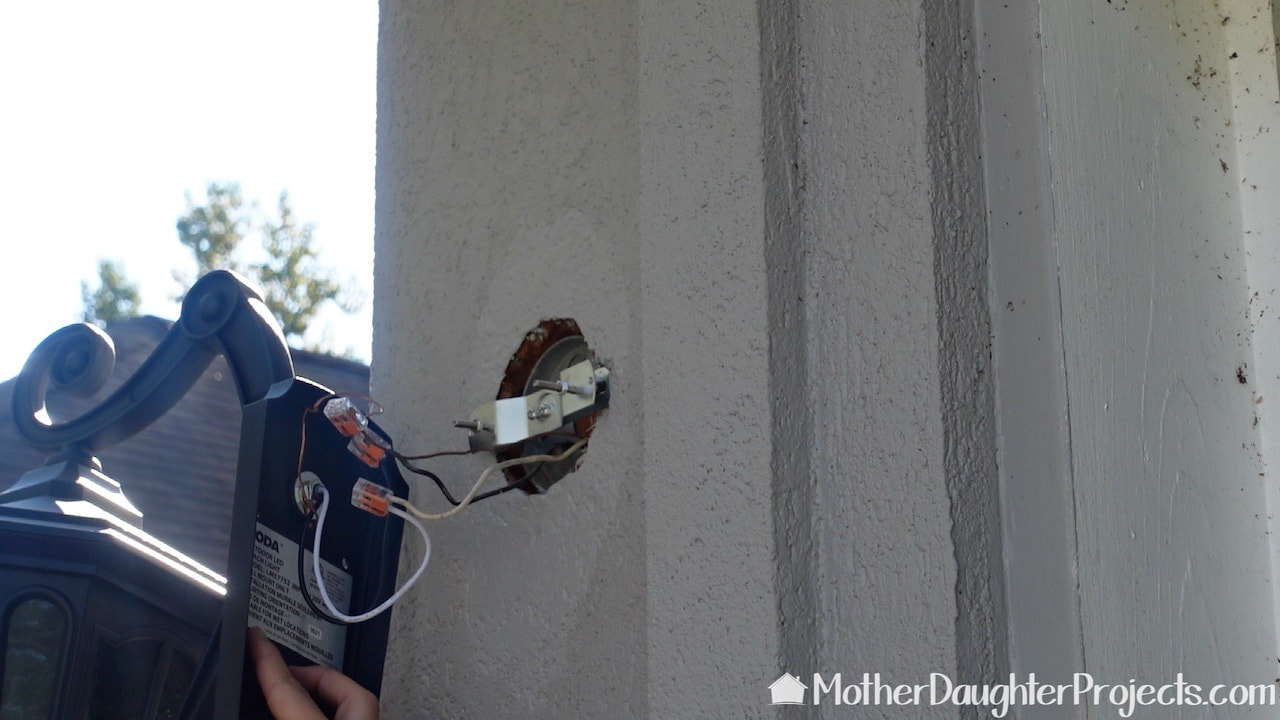
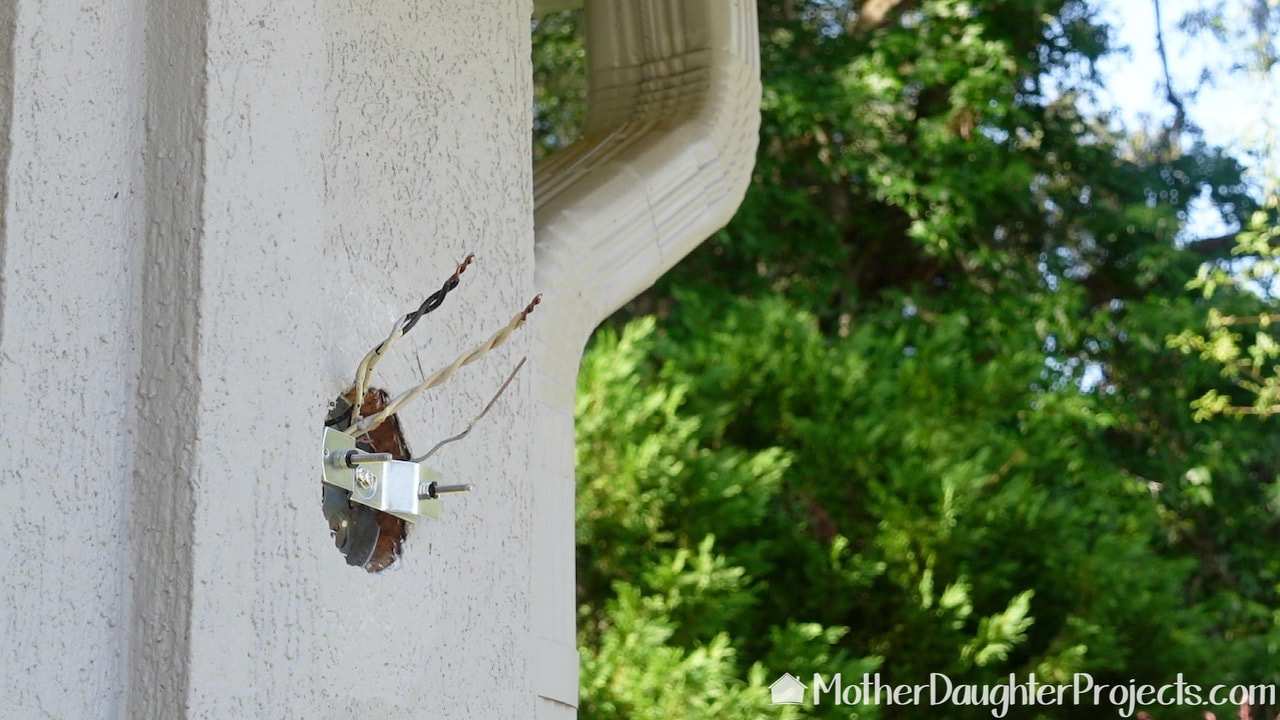
The wires are arranged into the box and then the fixture is placed on the two mounting screws and tightened down from the front of the fixture.
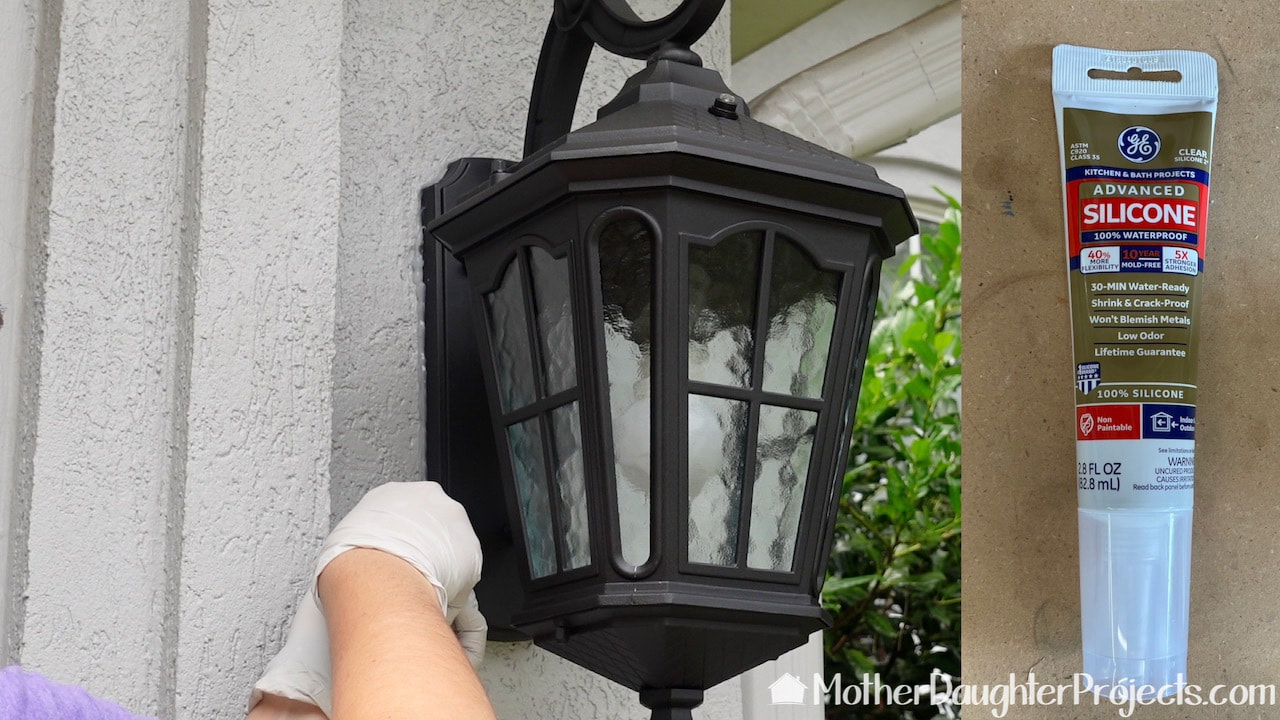
We used a bit of clear silicone, not included, to seal the top of the fixtures.
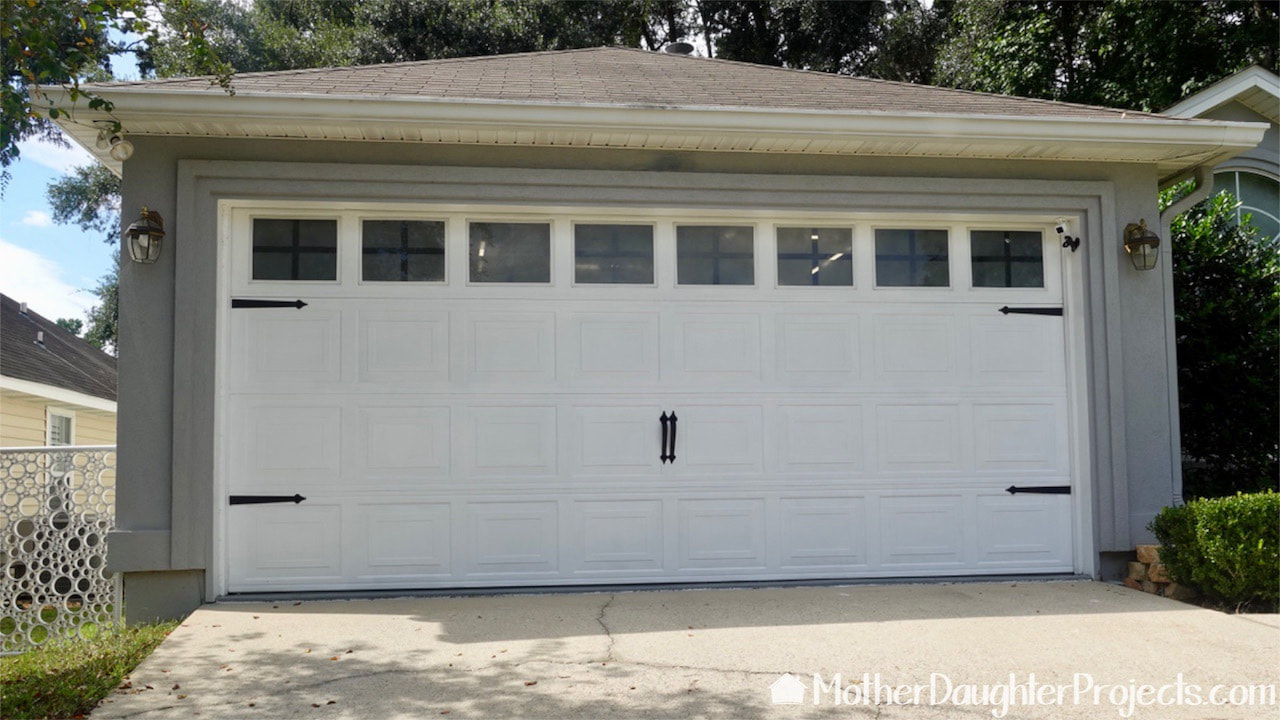
BEFORE

And AFTER
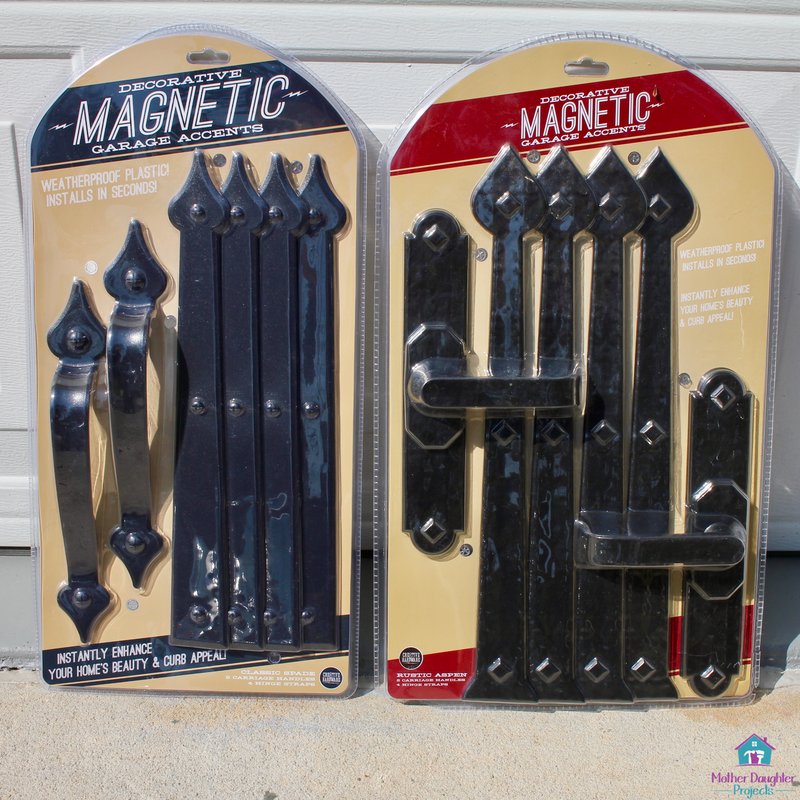
The new lights go well with the existing hardware on the garage. That hardware, by the way, is magnetic. The "handles" and "straps" are basically large magnets.
There were some bumps along the way in the installation of these fixtures, but with a little patient troubleshooting, we were able to get the job done.
These lights are a really nice upgrade to the garage and look like they always belong here. These are dusk to dawn fixtures that come on and off automatically. Please note: This is not a sponsored post. FYI: We are not professionals, and we don't claim to be. This is what we found worked for our project. Yours may need a little different approach. Safety first! FYI: Affiliate links are being used on this page. Purchasing via these links help support MDP Related Projects
0 Comments
Leave a Reply. |

Mother Daughter Projects
|