|
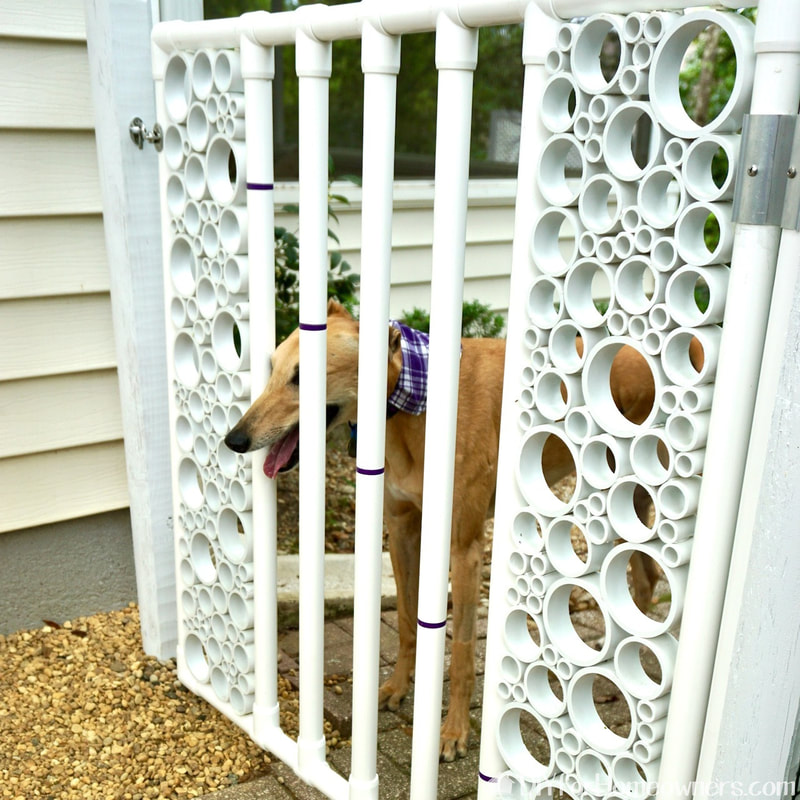
text by Vicki Sign up here to join our weekly email newsletter! It doesn't happen very often, but we sometimes have to revisit a project. This time, we had to tweak the PVC pipe gate due to damage it sustained. With few exceptions, there are very few unannounced visitors to Steph's backyard, but recently there have been a few neighbors back there. It was nothing bad, they had come into the yard to look for their cat. Unfortunately, the gate was broken in the process. You see, the gate opens inward, but the neighbors pulled it out causing damage. The damage was extensive enough that we had to take it down to make repairs.  Pulling the gate in the opposite direction caused the decorative panel on the left to completely separate from the support post. 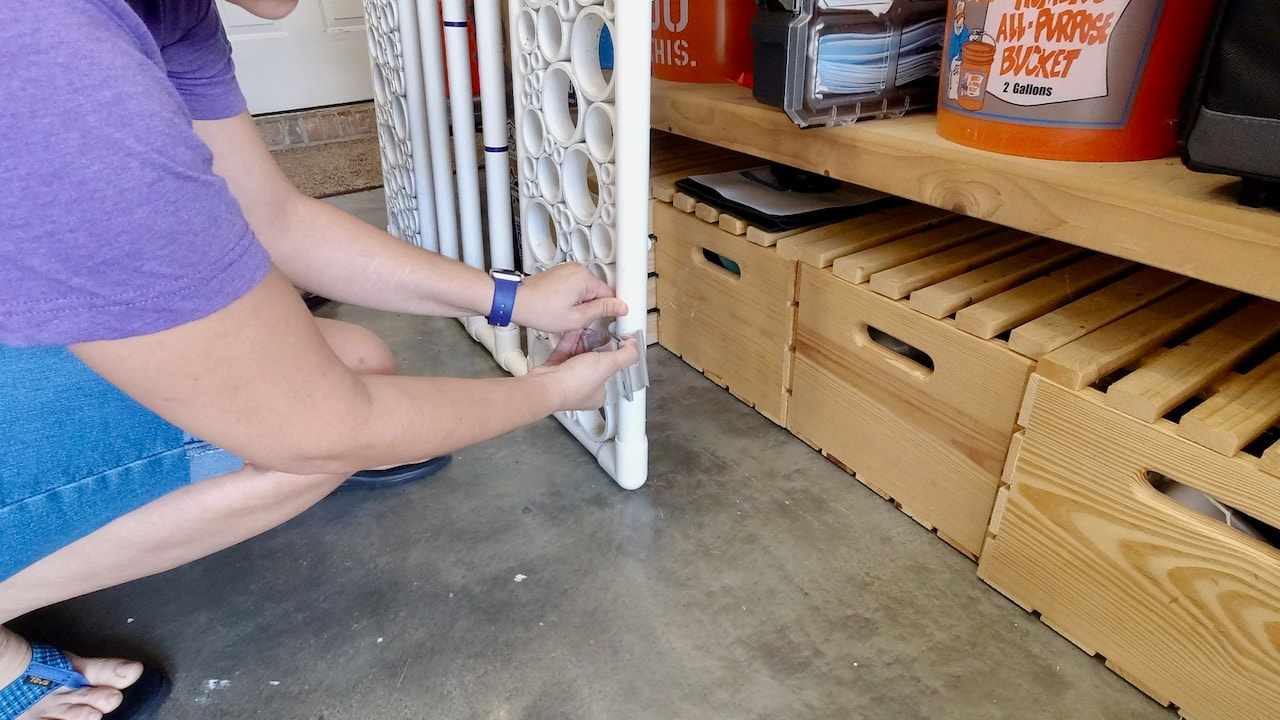 Once inside, we removed the hinges as they will be placed in a different place once the gate goes back up. 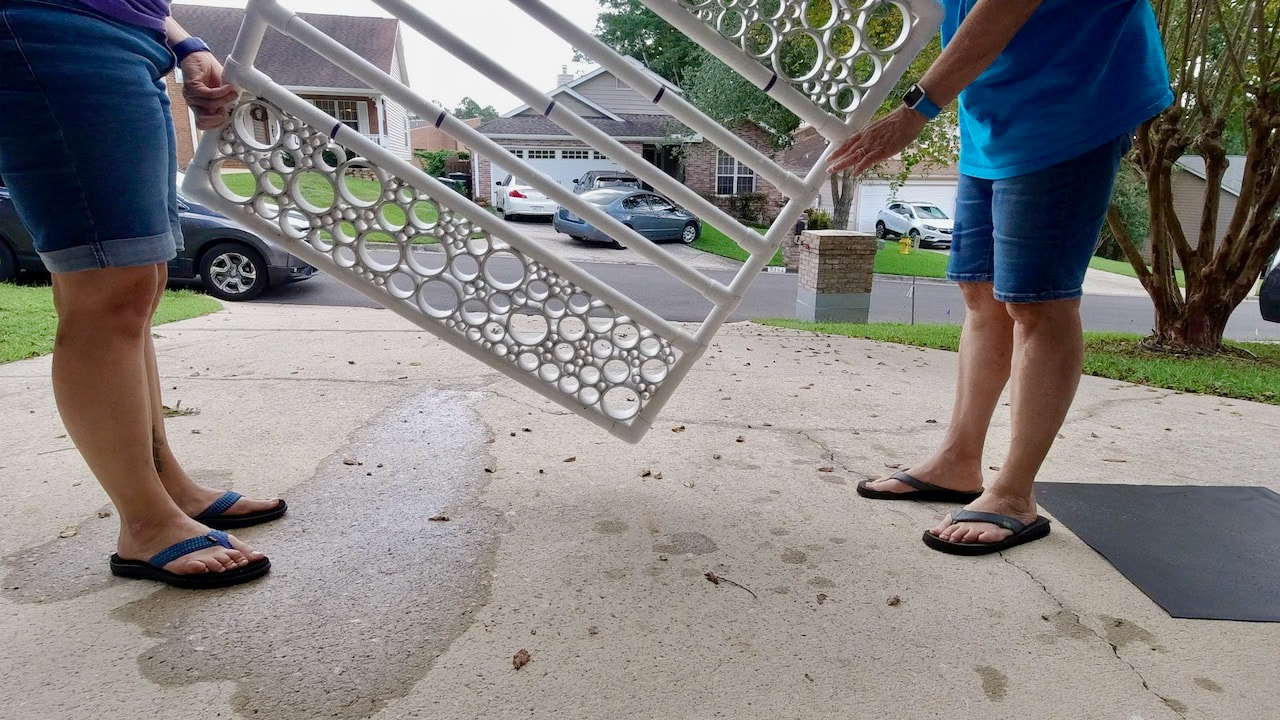 Whoops! We discovered the gate had been holding water! We didn't seal the connections so water was getting into the pipes and since there were no drainage holes, the water had no place to go. 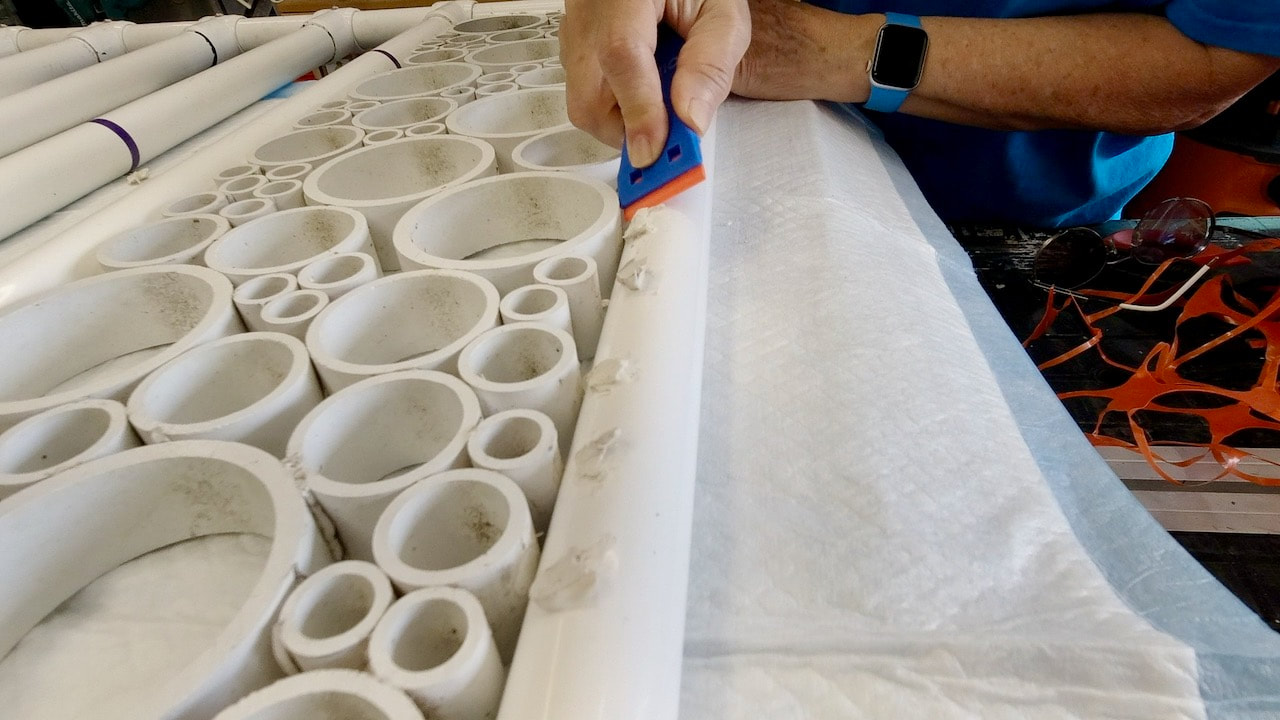 The first step in making the repairs was to remove the old construction adhesive. This was a simple process with the use of our favorite plastic scraper tool. 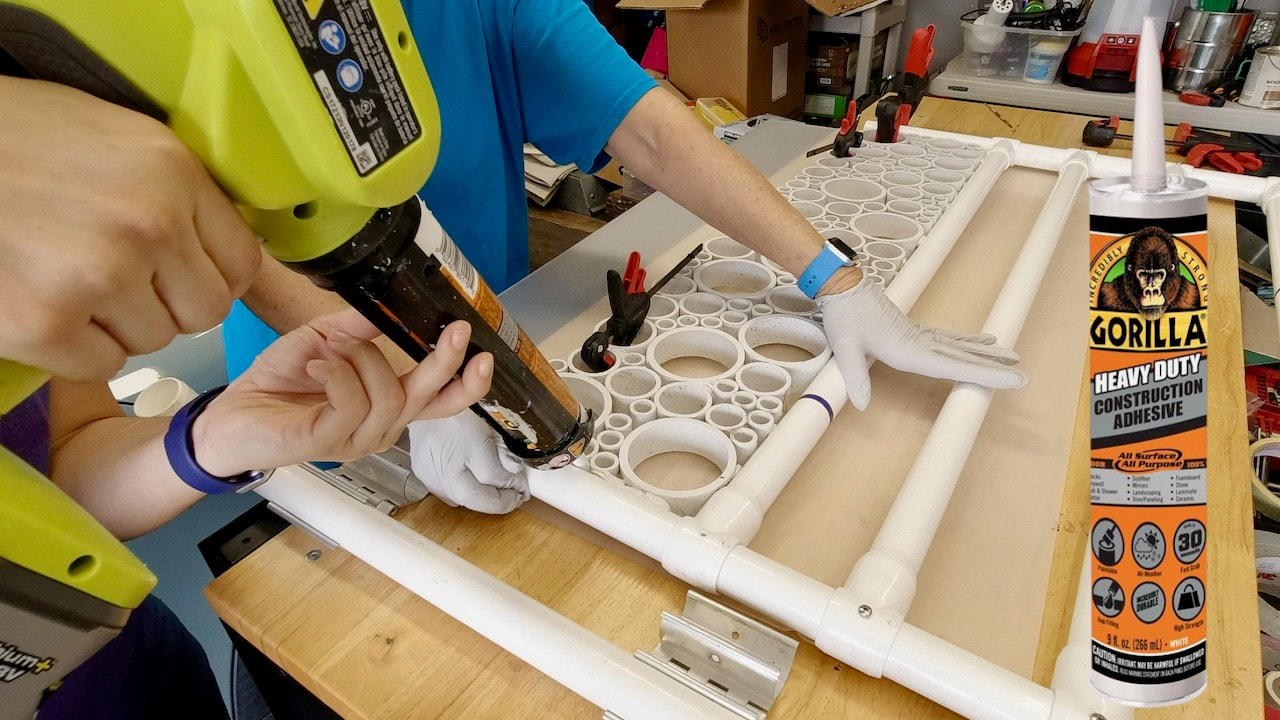 Once the old construction adhesive was removed, it was time to start the reassembly. We used clamps to hold the pieces while the new adhesive dried. 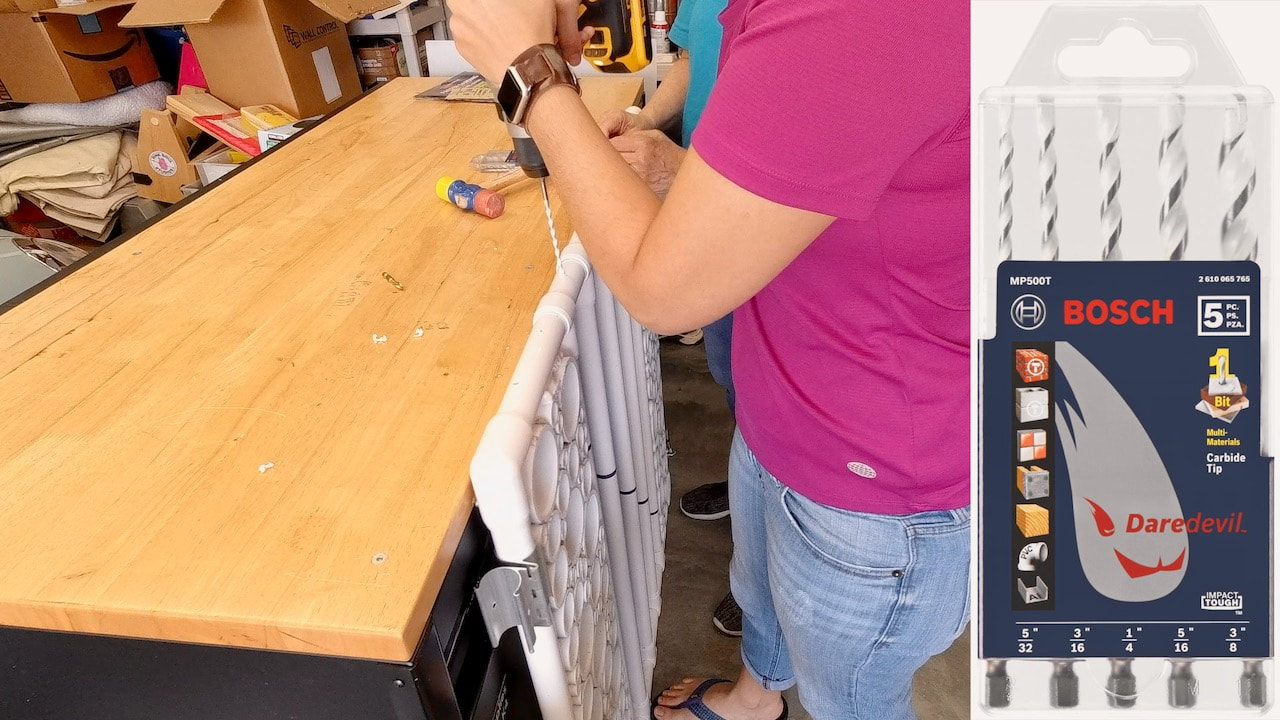 To deal with the water issue, we drilled a number of drainage holes in the bottom piece of pipe with Bosch Daredevil bits. 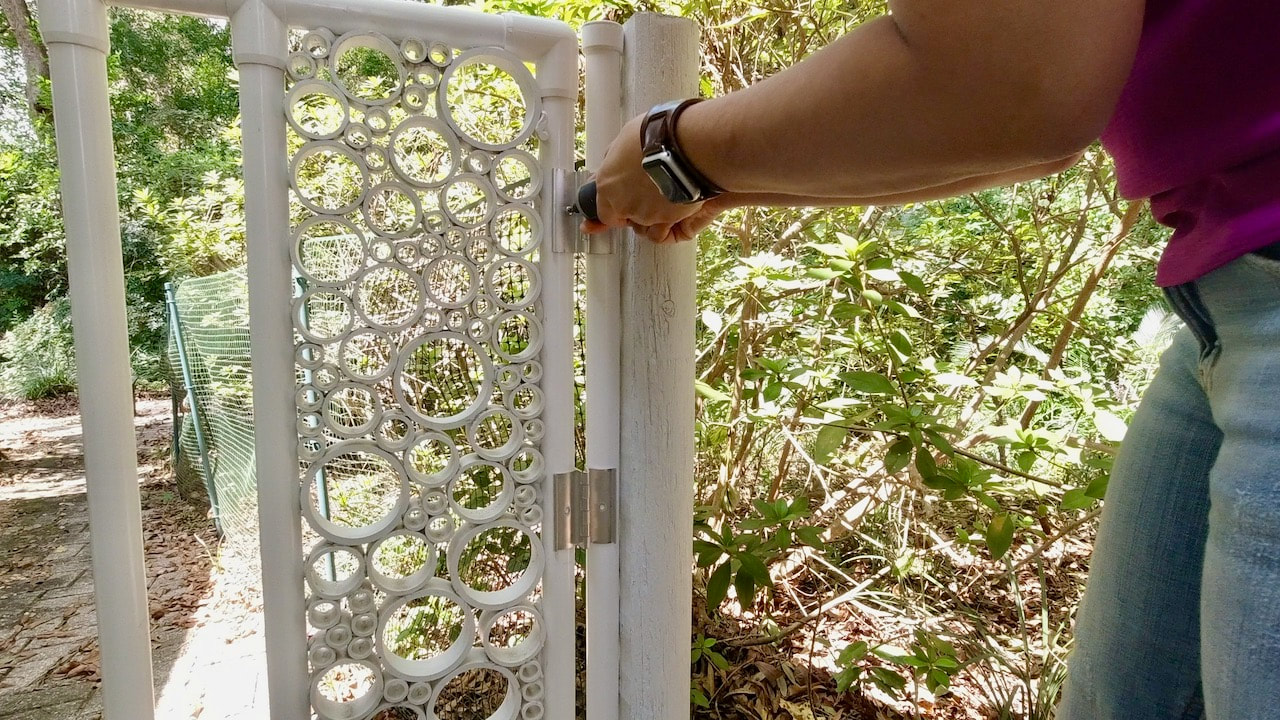 We changed the hinges so that the gate now opens out rather than in. We also added a third hinge for even more support and to prevent sagging. 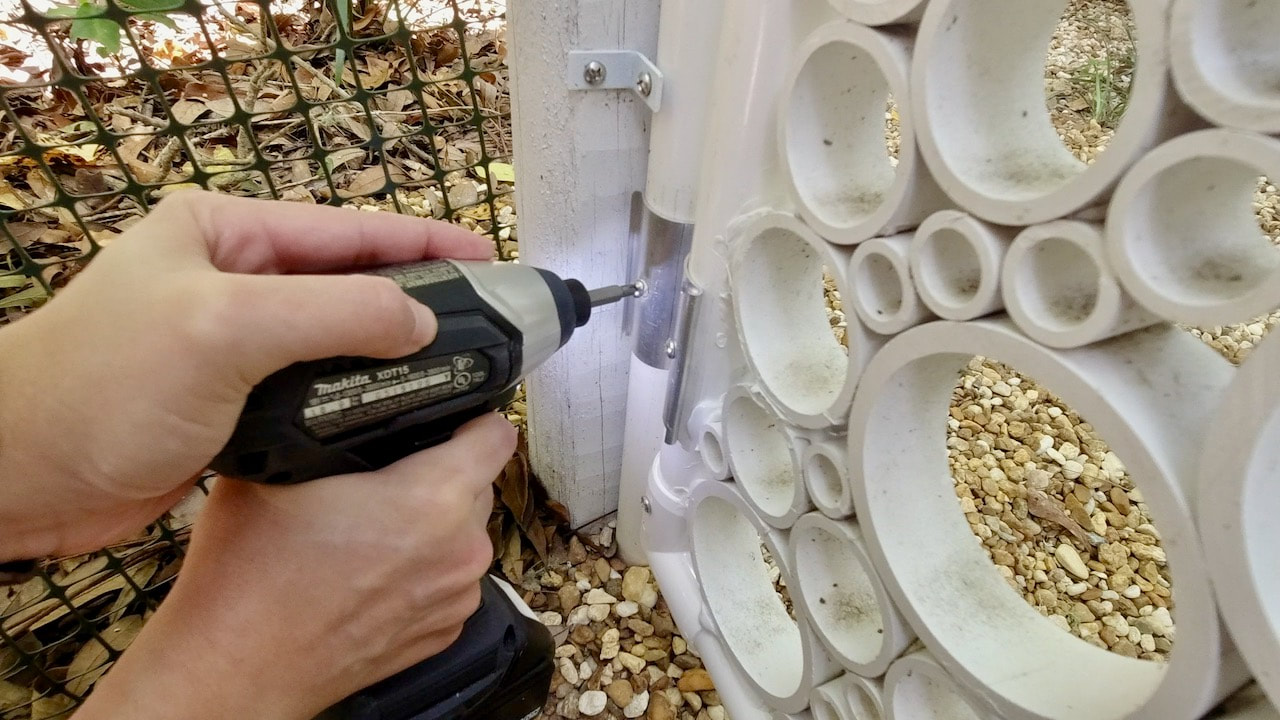 We added some larger screws to the hinges and added screws to each of the connectors in the top of the gate to keep them from pulling apart. 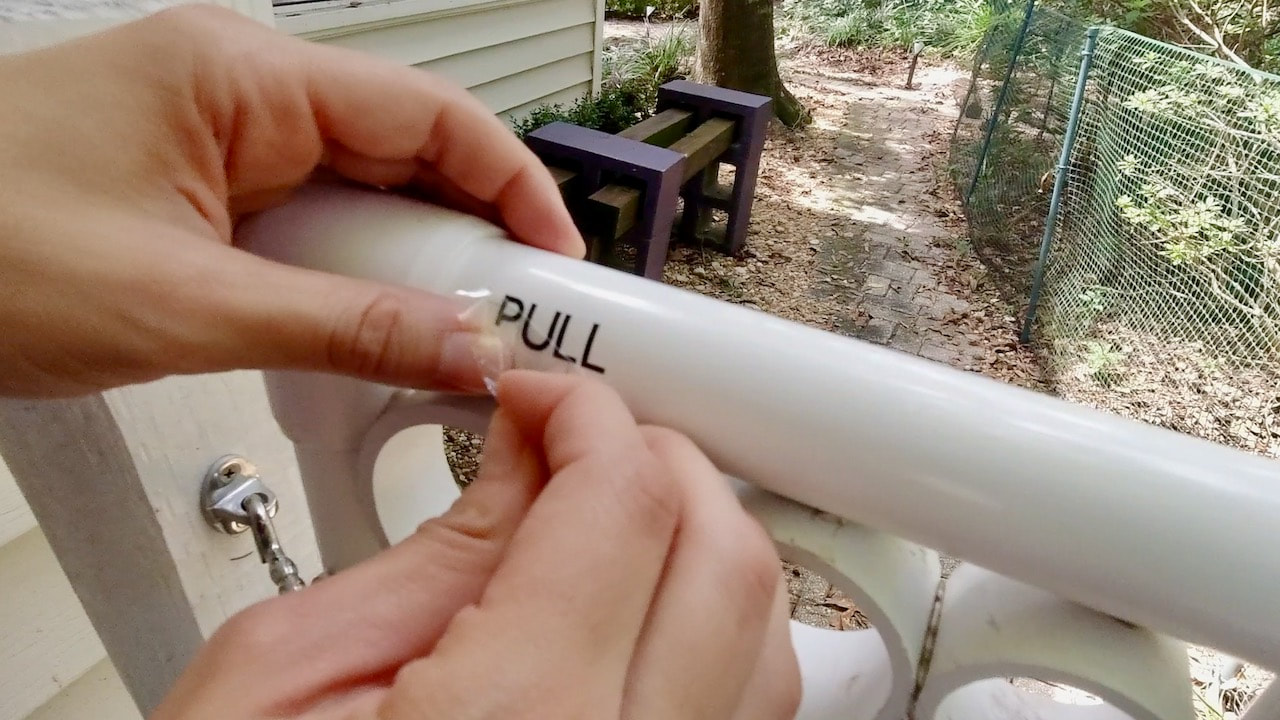 And so there is no question about how to open the gate, Steph added the word "PULL!" We are hopeful that the new repairs will prevent any further damage. In hindsight, we realized we should have used the third hinge from the beginning and should have used screws on all the connections. The water collection was a surprise, so we would never have thought to put those in originally. Please note: This is not a sponsored post. FYI: We are not professionals, and we don't claim to be. This is what we found worked for our project. Yours may need a little different approach. Safety first! FYI: Affiliate links are being used on this page. Purchasing via these links help support MDP! Related Projects
0 Comments
Leave a Reply. |

Mother Daughter Projects
|