Mother Daughter Projects

  • Blog
  • About
    • Contact
    • Privacy Policy
  • Tools
    • Tool Tuesday
  • Maintenance
  • Improvement
  • Decor
  • Tech
  • Blog
  • About
    • Contact
    • Privacy Policy
  • Tools
    • Tool Tuesday
  • Maintenance
  • Improvement
  • Decor
  • Tech

DIY for Homeowners

Hallway Play Tent @ Camp Oma

6/25/2016

4 Comments

 
​​​​​by Vicki      ​Sign up to get Mother Daughter Projects updates in your email!
Play Camp Tent. Mother Daughter Projects.
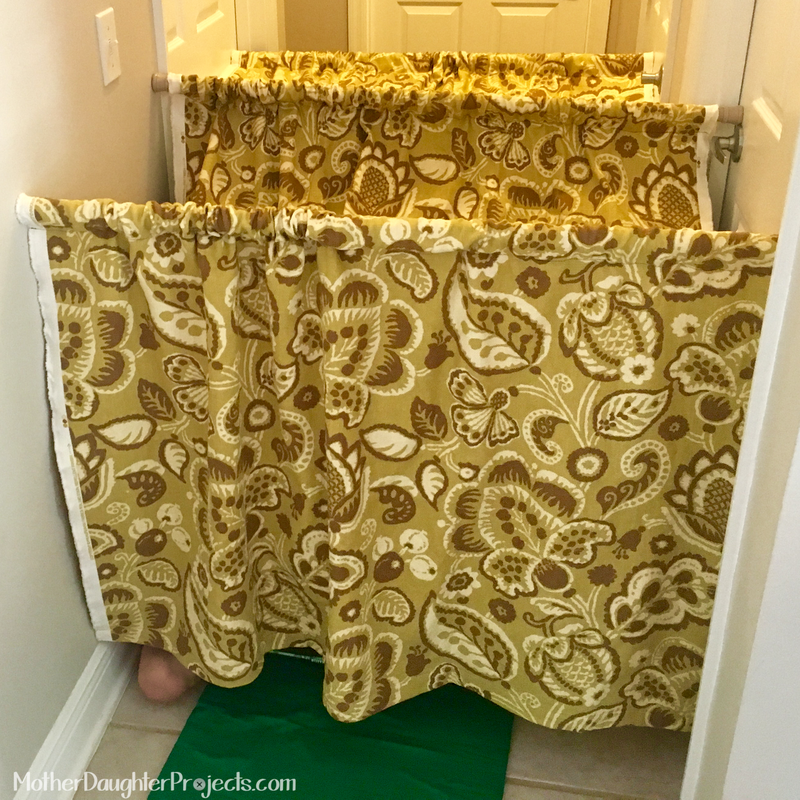
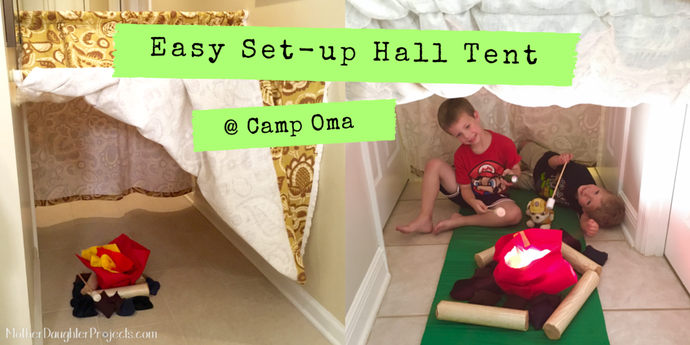
For a play date at Camp Oma, a tent is a must. I designed one that is super portable, easy to store, and sets up in a hallway. It’s adjustable to fit most any hallway.

Materials/Tools:
  • Three tension rods--I used short shower curtain rods
  • Fabric—four to five yards
  • Thread, pins
  • Sewing Machine
  • Sewing tools as needed
Play Camp Tent. Mother Daughter Projects.
If the fabric frays, it needs to be finished with a hem.
Play Camp Tent. Mother Daughter Projects.
Fusible web was used to create a finished hem.
​Step 1: Mark and sew fabric casings 

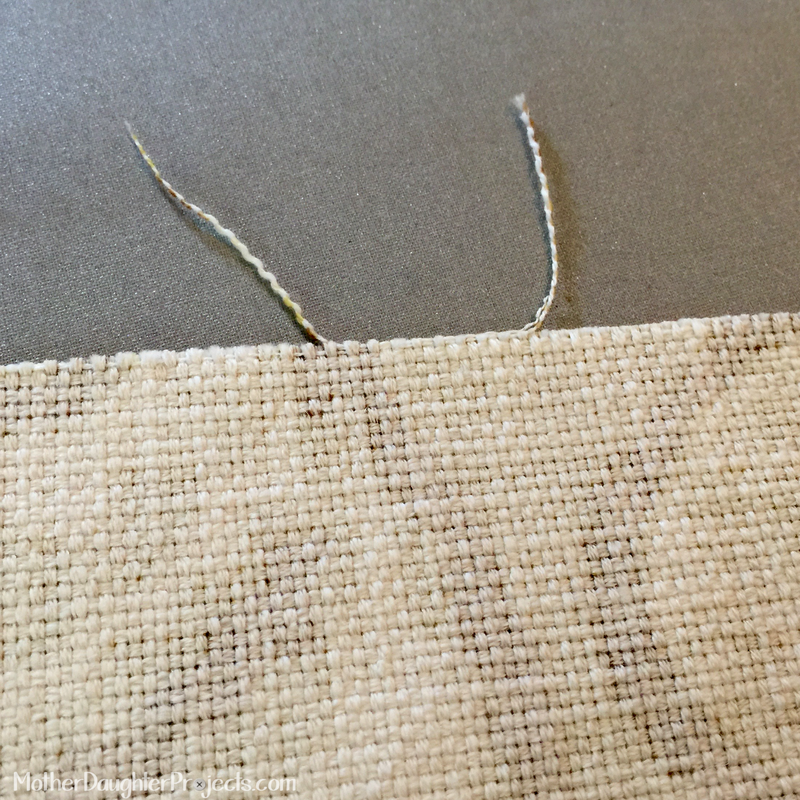
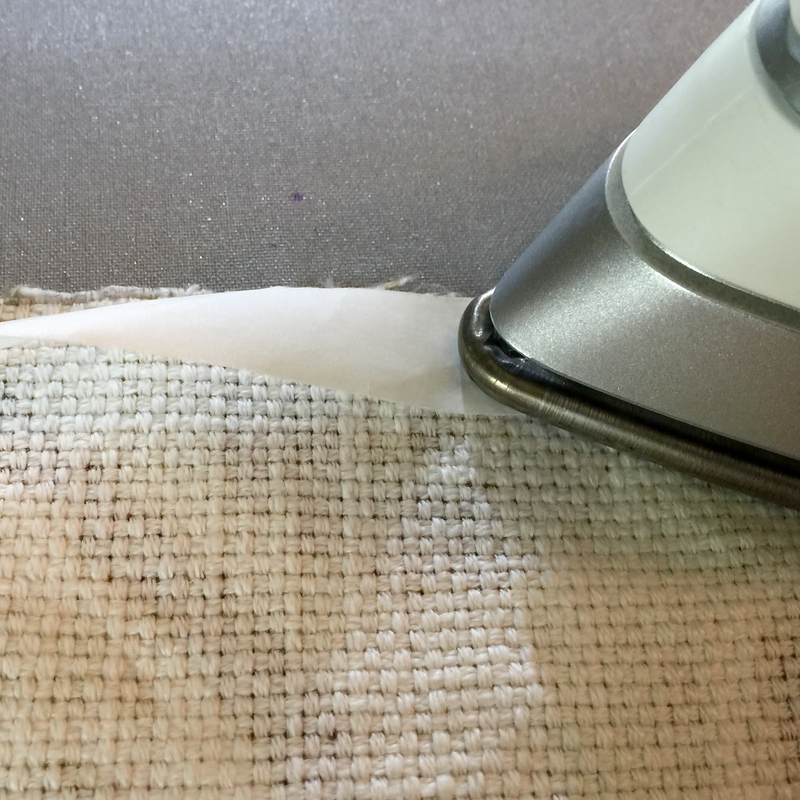
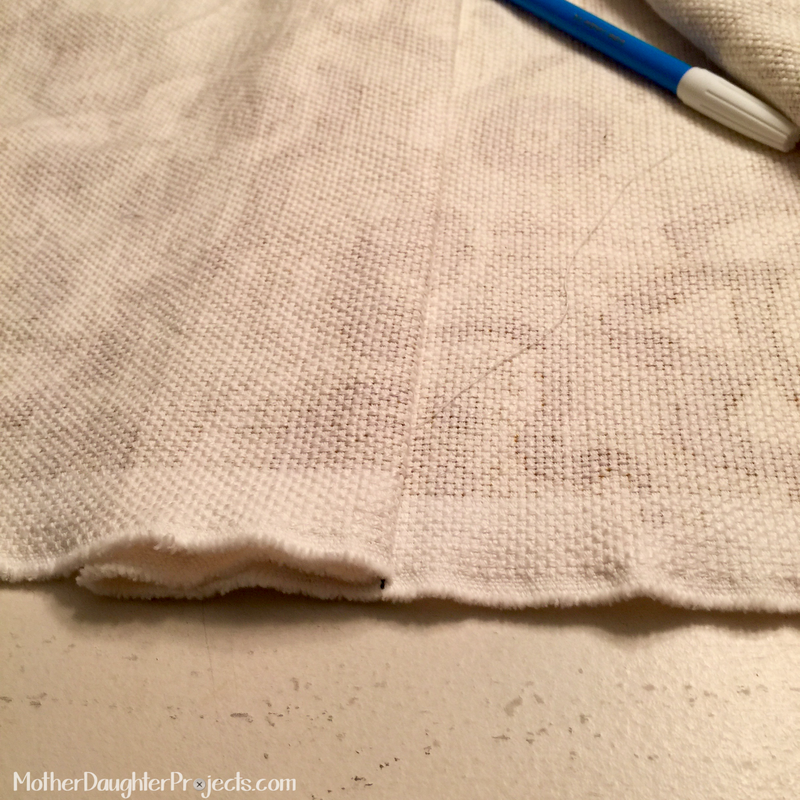
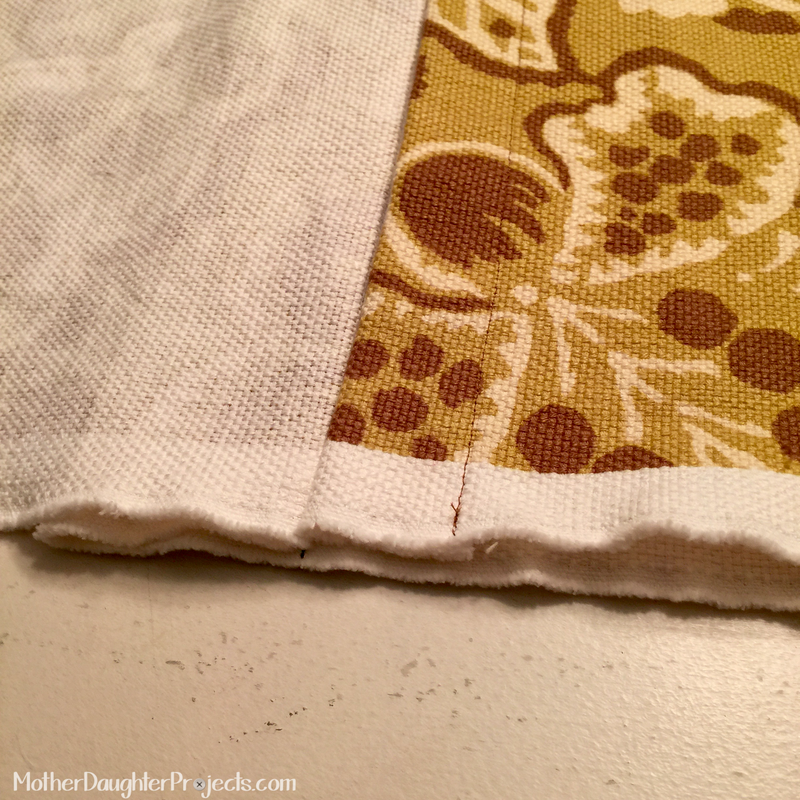
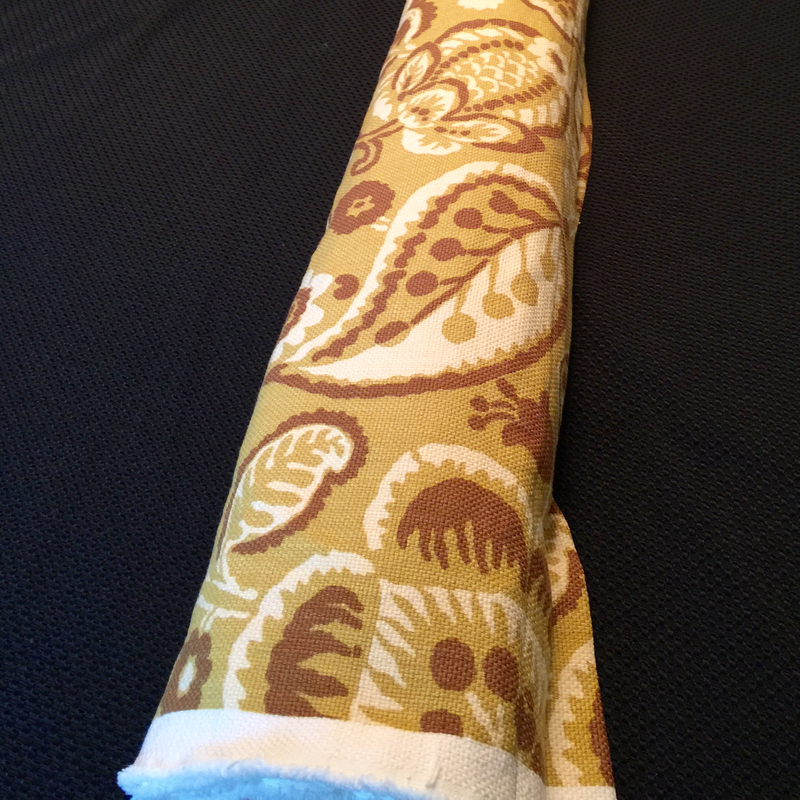
The tent is made by simply sewing three casings and optional hem in the fabric yardage of your choice. Non-fraying fabrics, such as knits, do not have to be hemmed. Those that fray will need a hem.

There are two ways to mark the casings. 
Play Camp Tent. Mother Daughter Projects.
Measuring and pinning the hem.
Play Camp Tent. Mother Daughter Projects.
Stitching the hem. Those are mini sewing clamps used in place of pins. They are a really handy tool.
Step 2: Mark the casing without measuring

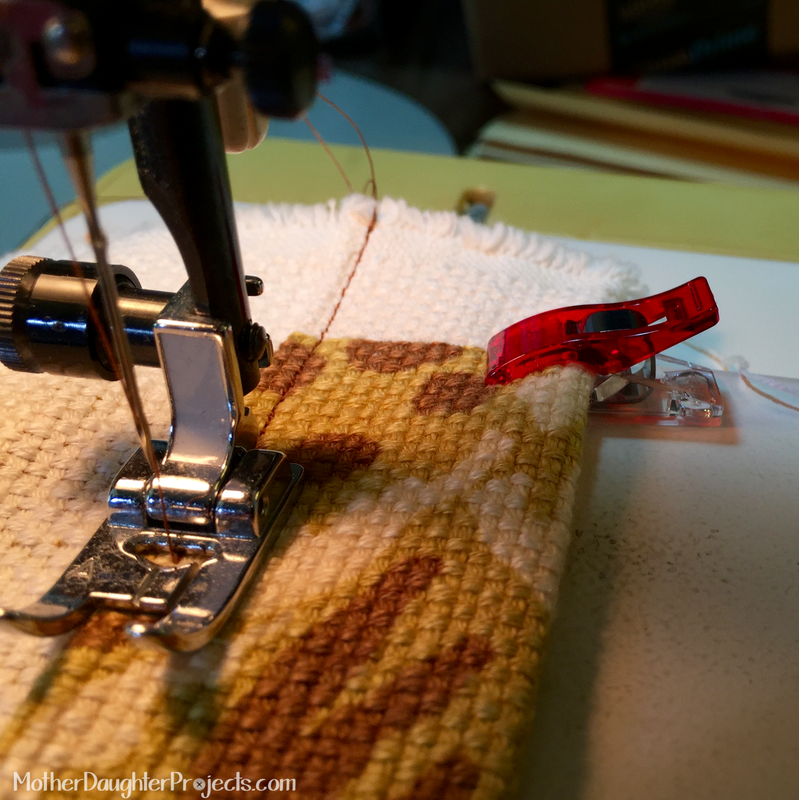
Place the three tension rods about three feet apart with the middle one about a foot above the others. Drape the fabric over the rods with one side just brushing the floor or if you are going to hem the edge leave enough extra to make a hem. On each of the rods pin the fabric under each pole to mark a casing. Mark a hem or cut off where it touches the floor.

Take the fabric to the sewing machine and sew the casings and optional hem. Casing are about 1 1/2” wide. Make them wide enough so that the tension rod you are using will easily fit through.
Play Camp Tent. Mother Daughter Projects.
Measuring and marking the hem. The center one was marked and sewn first.
Play Camp Tent. Mother Daughter Projects.
Once the center casing was sewn it was easy to fold the hem edge up even with the center casing to mark the side casings. No measuring needed although you can. Here you see the hem edge aligned with the center casing. The side casing would be on the edge you don't see in this picture.
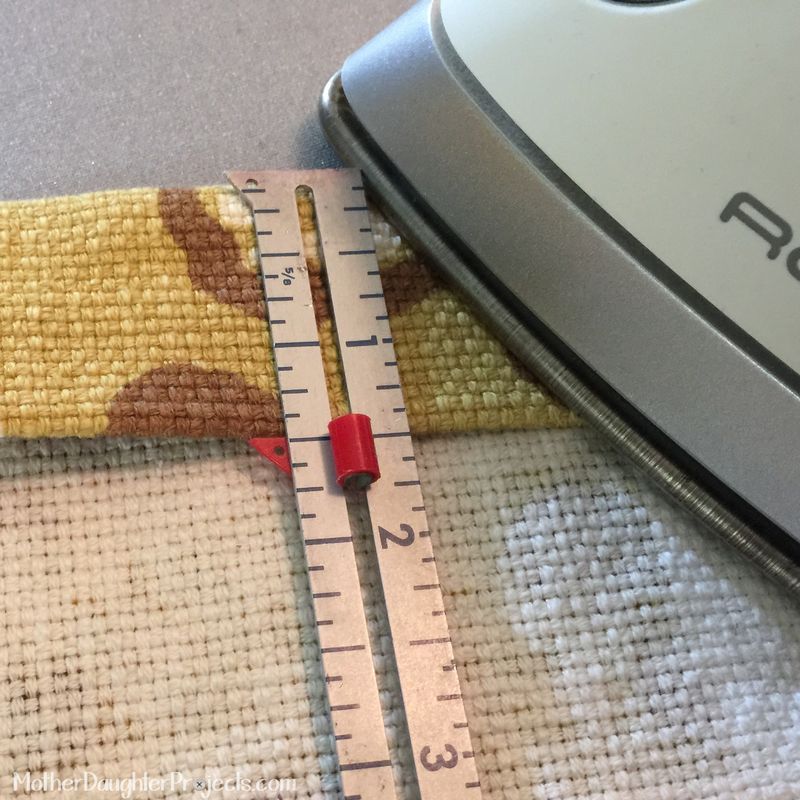
​Step 3: Mark the casings by measuring

On each end of the fabric, mark the desired height--mine is about 3 feet from floor to each side rods. Fold the fabric wrong sides together, stitch about 1 1/2” from fold to form casing.

Fold fabric again wrong sides together to find middle of the fabric, mark and sew the middle casing. Hem the fabric if desired.
Play Camp Tent. Mother Daughter Projects.
This is the finished tent with the poles inserted.
Play Camp Tent. Mother Daughter Projects.
Ready to store or set up. All rolled up in a nice, neat bundle.
Step 4: How to set up tent

To use: Thread the poles through the casings. Position the first pole at a height so the side just brushes the floor, and continue putting the others into place or however high you want it. Twist the poles to tighten or loosen.

Please note, on certain wall paint finishes the rod ends may mark the finish. Take note and use some kind of protective pad, such as felt, to protect finish. ​
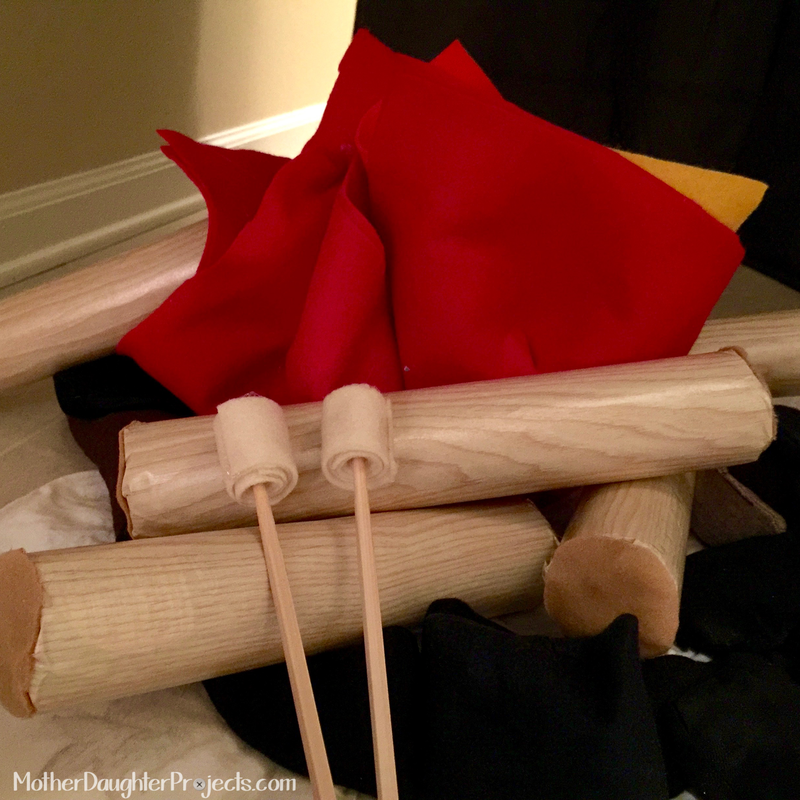
Play Camp Tent. Mother Daughter Projects.

Bonus: DIY Campfire

Fire Materials/Tools:
  • 2 pieces of red felt about 2’ square
  • fusible web
  • hot glue gun
  • small plastic bowl—about 6” in diameter about 2” high
  • Iron
  1. Following the manufacturer’s instructions for the fusible web, fuse the two pieces of felt together. Let cool.
  2. Place the plastic bowl off-center on the felt. Artistically gather and hot glue the felt into something that resembles a fire. For added authenticity, place a couple of pieces of orange and yellow felt in among the red folds.

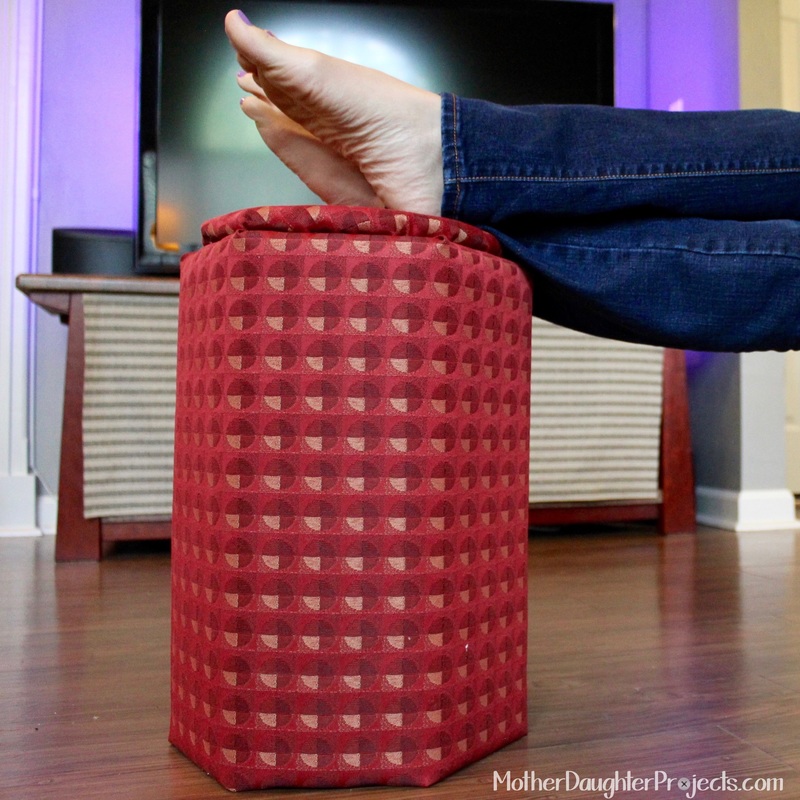
Logs Materials/Tools:
  • Pool noodle
  • Serrated knife or electric knife
  • Wood grain wrapping paper
  • Felt
  • Clear contact paper
  • Hot glue gun
  1. Cut pool noodles to size with serrated knife.
  2. Cover with wrapping paper & then clear contact paper.
  3. Cut felt circles & hot glue onto the end of the logs.

Rocks AKA beanbags Materials/Tools:
  • A variety of rock colored fabrics such as wools, felt, knits (I used the legs from a pair of child size leggings to make some), heavy weight woven fabrics.
  • Beans or stuffing beads
  • Sewing machine
  1. For each rock, cut two pieces of fabric into random rock shapes.
  2. Pin right sides together, sew with a 1/4” seam leaving about 2” open.
  3. Turn right side out, fill with beans or beads.
  4. Hand or machine stitch the opening closed.
  5. Make enough to go all around your fire!
Play Camp Tent. Mother Daughter Projects.
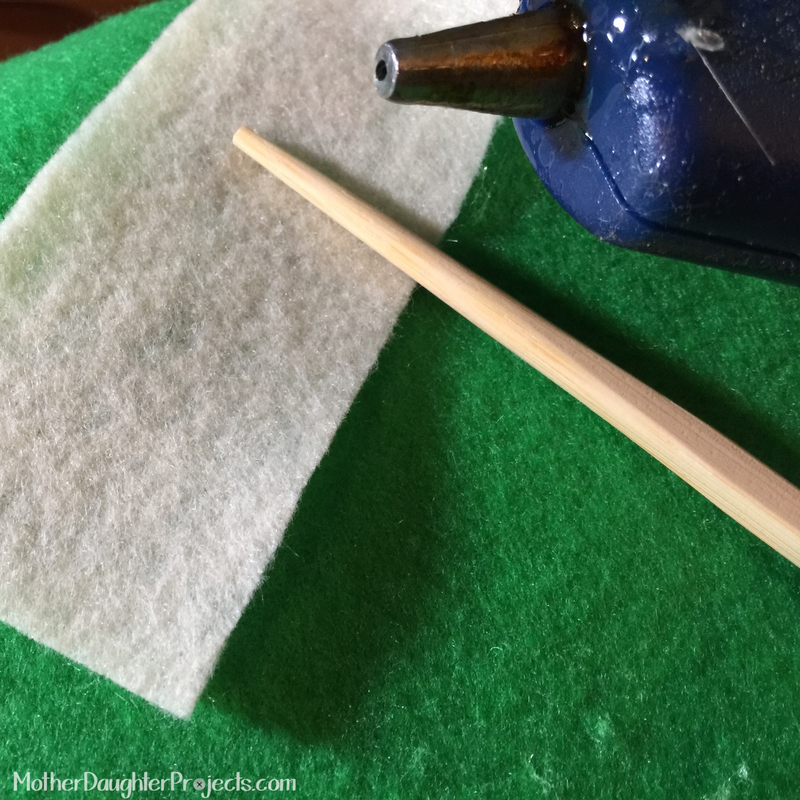
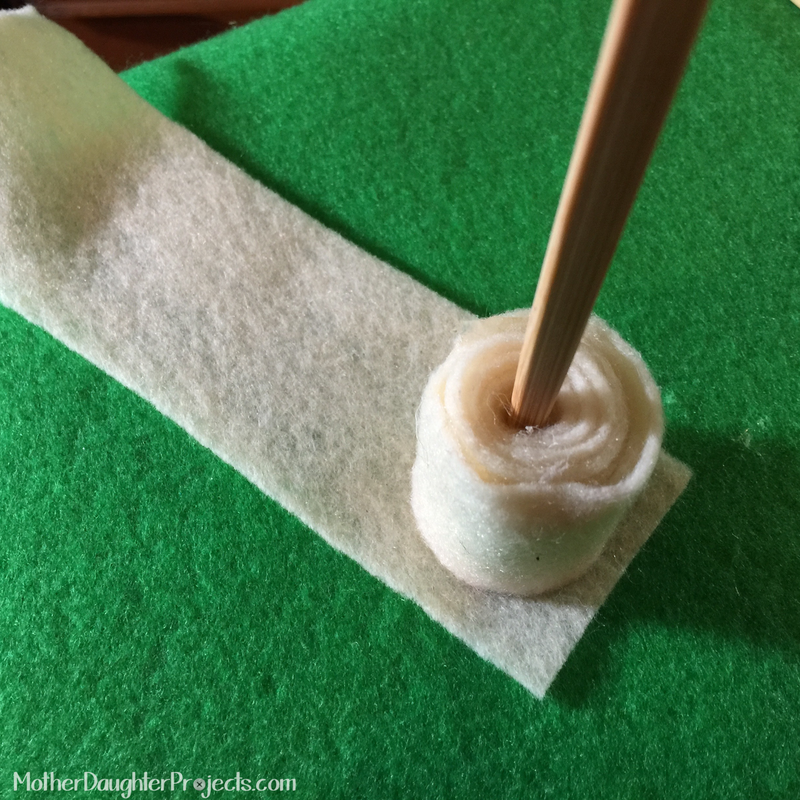
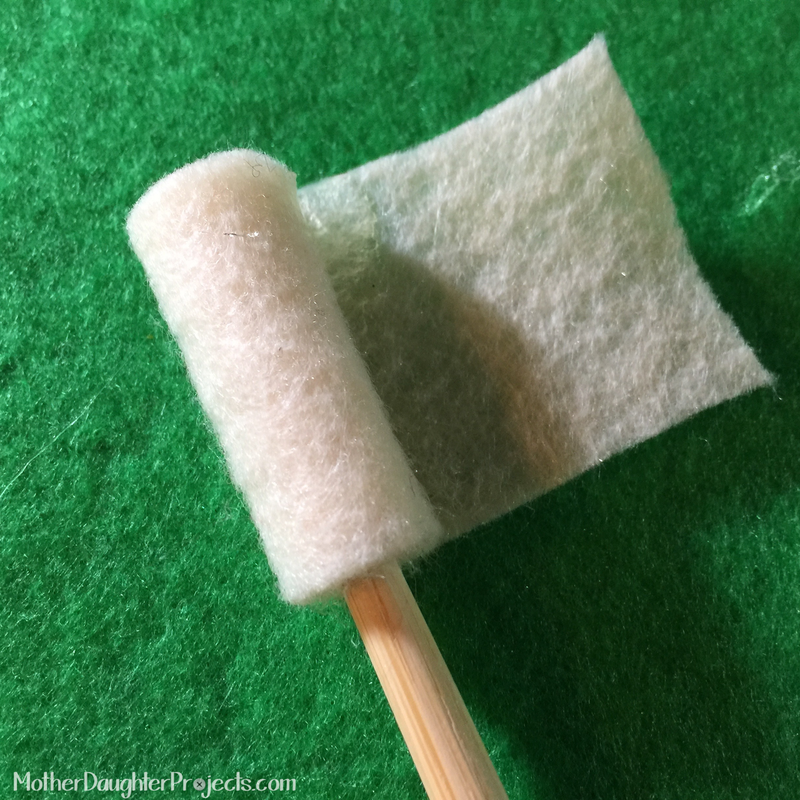
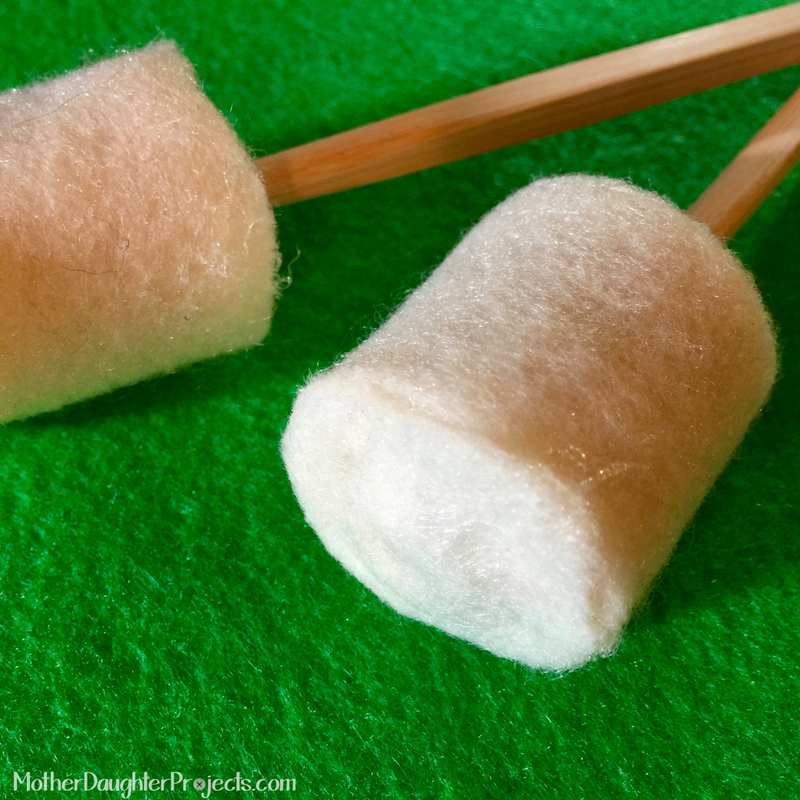
​Marshmallow sticks Materials/Tools:
  • Chopsticks
  • White felt
  • Hot glue gun
  • Scissors
  1. ​Cut a strip of white felt about 2” wide by x” long.
  2. Starting at one end, glue and roll until marshmallow is the diameter you want.
  3. Put hot glue on the end and immediately glue it to a piece of white felt. When cool, trim the excess.​

A nice fluffy green rug makes a great place to sit and read by flashlight. The rug is simply a piece of green fabric spray glued to a memory foam rug pad. 
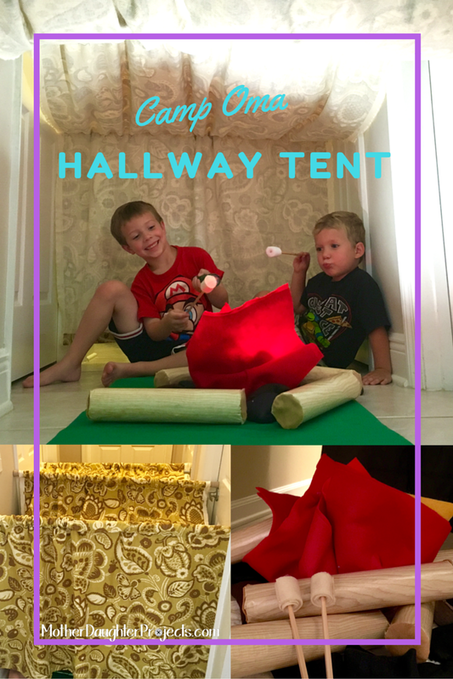
Play Camp Tent. Mother Daughter Projects.

Related Projects

MotherDaughterProjects.com
7 ways to DIY a pool noodle
MotherDaughterProjects.com
Everything is AWESOME with a Lego Pallet Table
MotherDaughterProjects.com
Izzy Costume Bandana with Yarn Hair
4 Comments
jacqui
6/25/2016 06:55:08 pm

Really like the tent idea. Two young GGSONS would enjoy it immensely.

Reply
Steph
6/26/2016 05:28:26 pm

Thanks Jacqui! Glad you like the idea!

Reply
jacqui
6/25/2016 06:56:30 pm

Looking forward to seeing other projects.

Reply
jacqui
6/25/2016 06:57:57 pm

Looking forward to making some new items for the Grandchildren.

Reply


Leave a Reply.

    MotherDaughterProjects.com

    Mother Daughter Projects
    ​
    Steph & Vicki

    We're homeowners sharing our DIY adventures as we learn to maintain, improve, decorate, and ​use tech in our homes.
    Share your projects with us here:  
    ​#trylearnshare
    MotherDaughterProjects.com
Mother Daughter Projects, LLC ∙ est. 2015 ∙ Tallahassee, FL by Vicki & Steph ∙ Privacy Policy