Mother Daughter Projects

  • Blog
  • About
    • Contact
    • Privacy Policy
  • Tools
    • Tool Tuesday
  • Maintenance
  • Improvement
  • Decor
  • Tech
  • Blog
  • About
    • Contact
    • Privacy Policy
  • Tools
    • Tool Tuesday
  • Maintenance
  • Improvement
  • Decor
  • Tech

DIY for Homeowners

Hidden Jewelry Box & Jewelry Board

4/24/2016

0 Comments

 
​​​by Vicki    ​Sign up to receive project updates by email!
Hidden Jewelry. MotherDaughterProjects.com
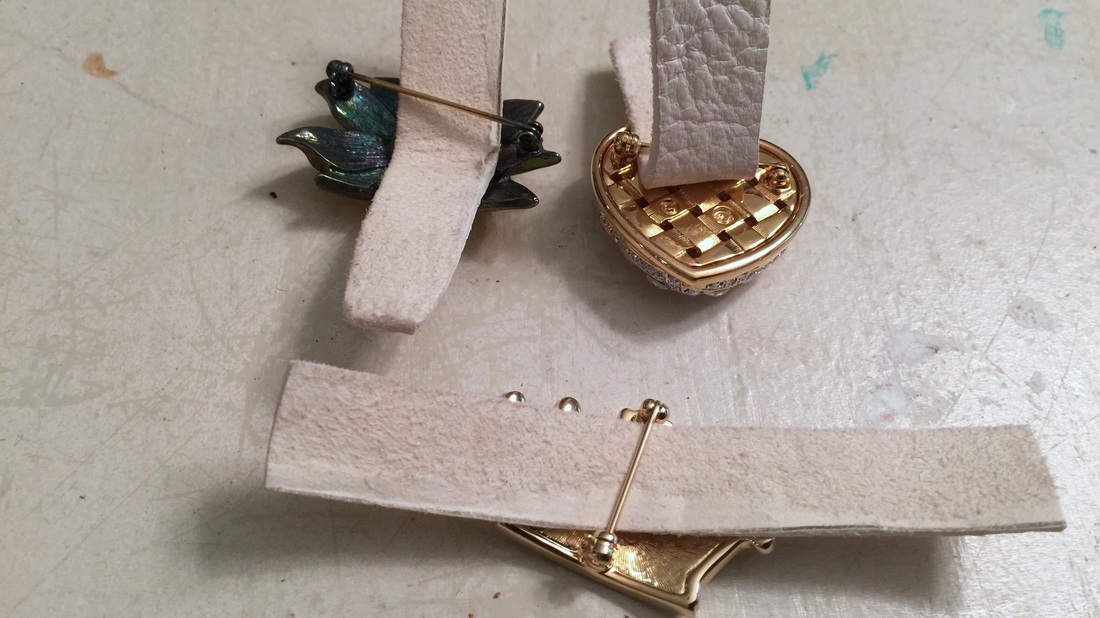
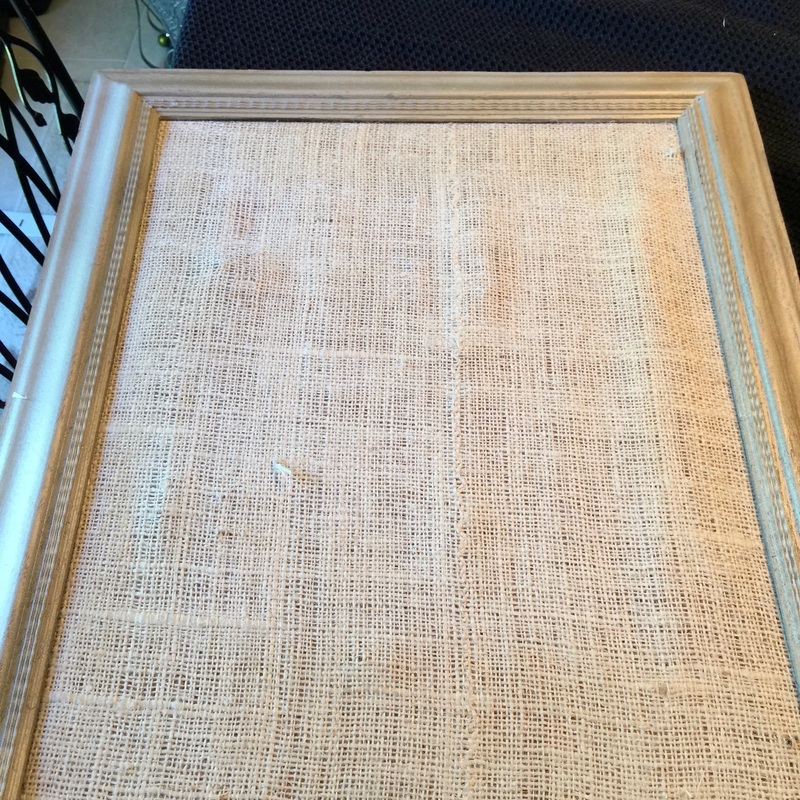
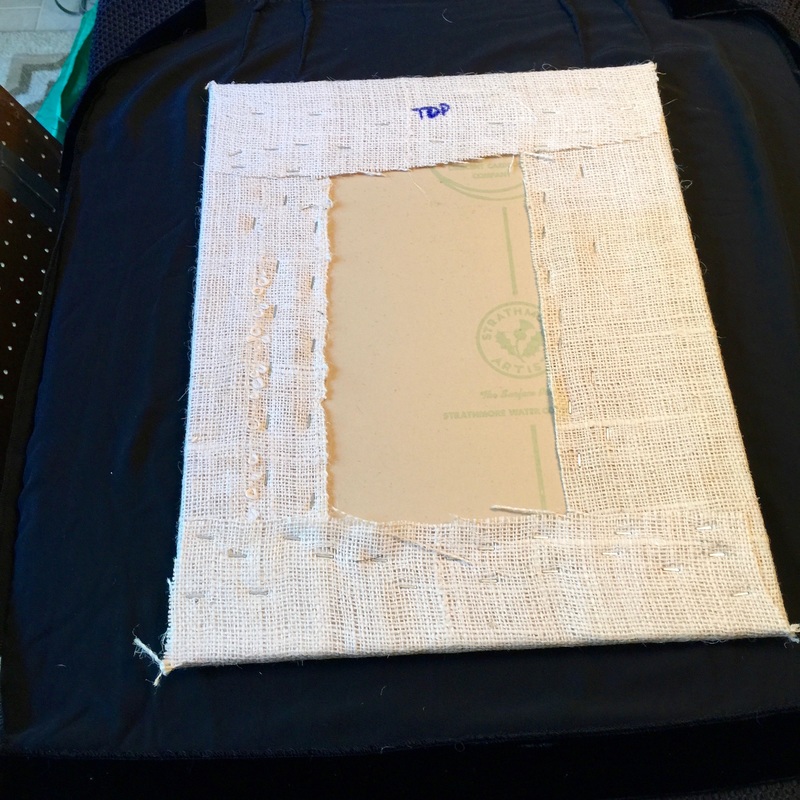
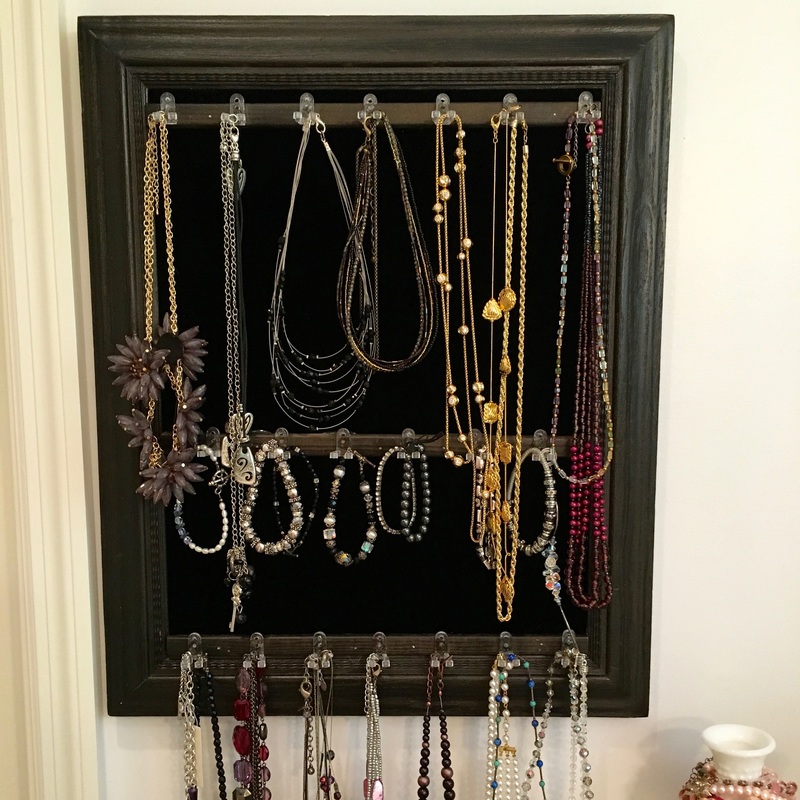
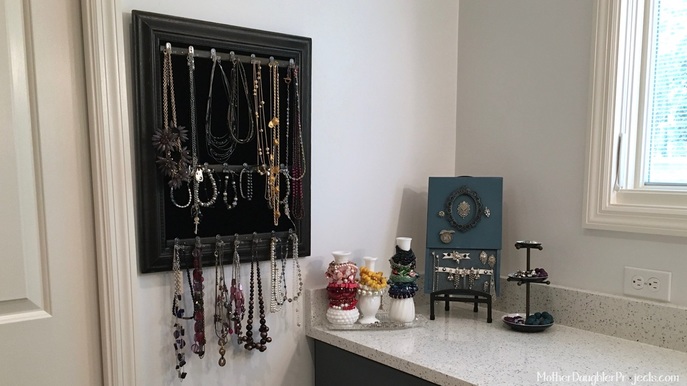
Finding more and more of my jewelry laid on my dresser rather than hung, I realized it was time to revamp my jewelry board. The framed board, which is actually a bulletin board, was given to me by a former colleague. I had painted the frame previously, but now I wanted to paint again, change out the fabric, and add permanent hooks as opposed to the push pins I was previously using. ​
Hidden Jewelry. MotherDaughterProjects.com
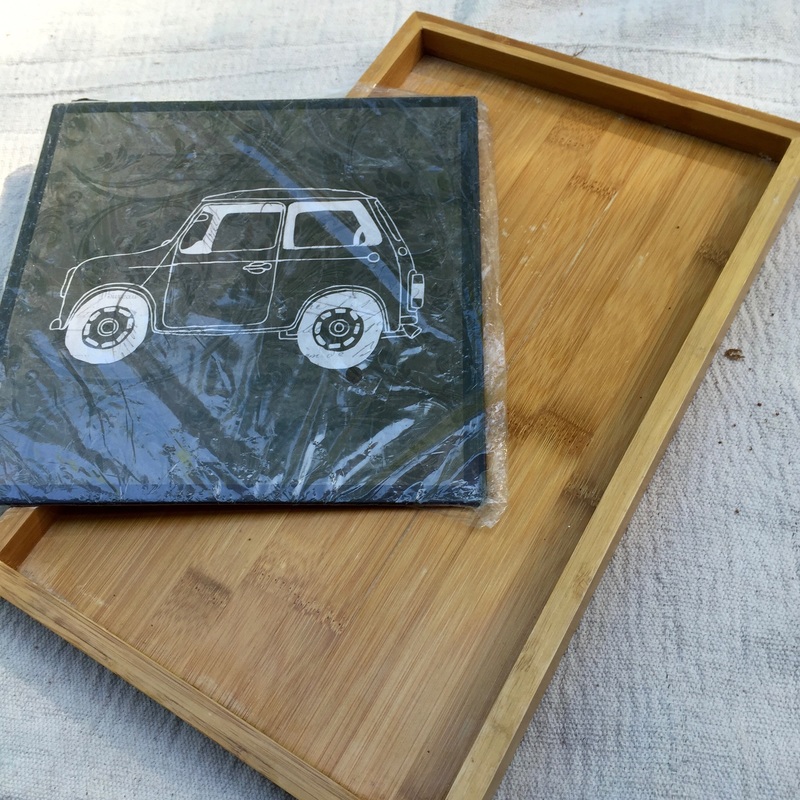
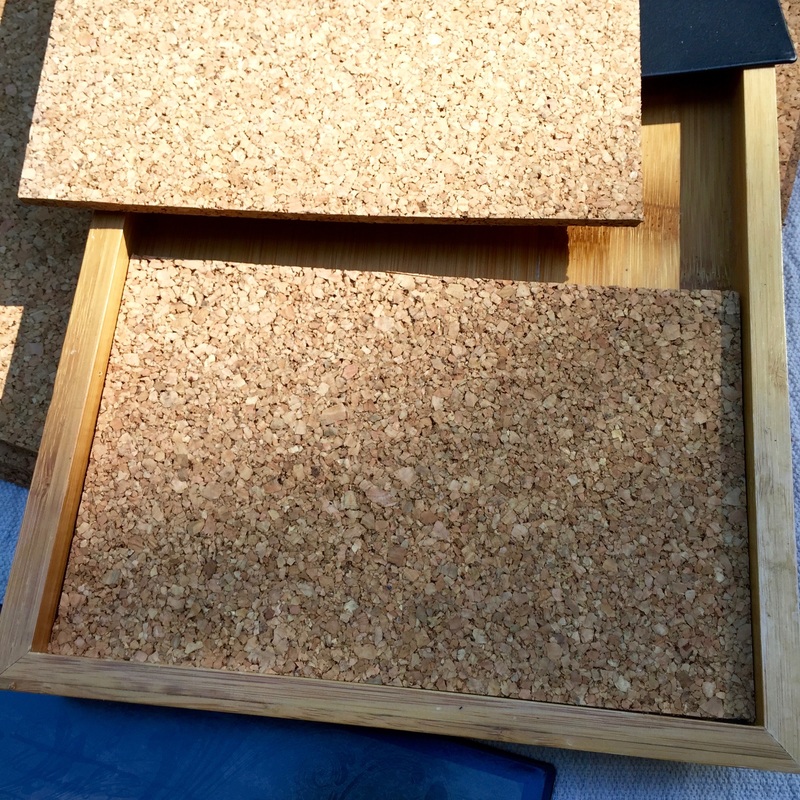
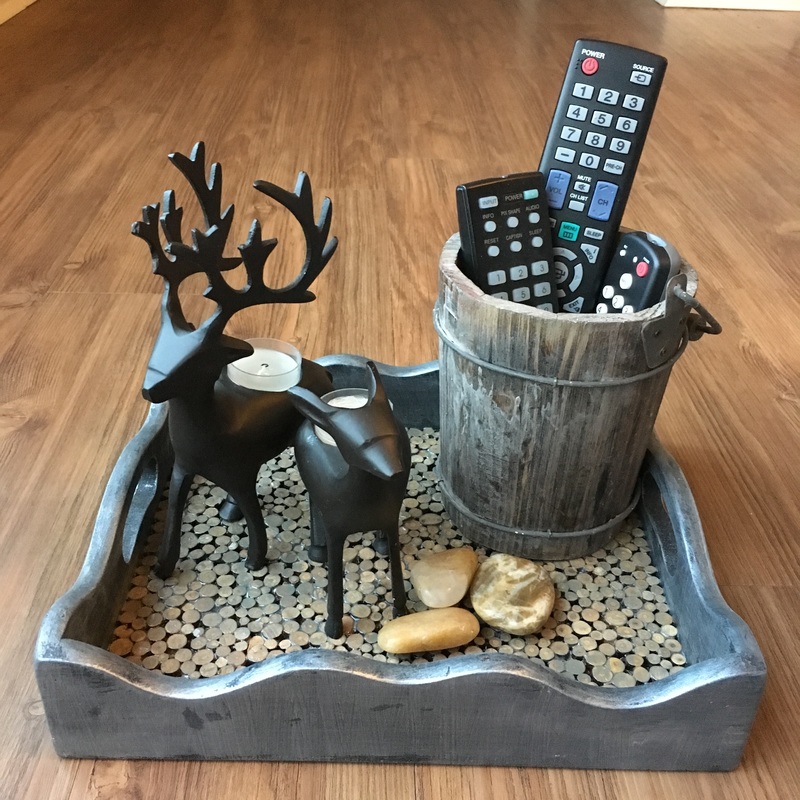
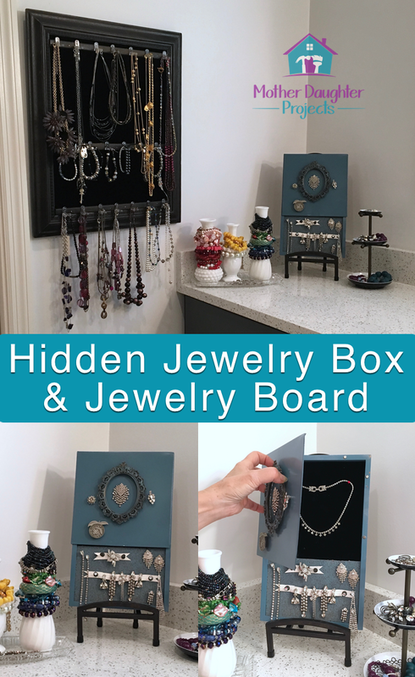
I also was inspired to make another display with a humble bamboo tray from the thrift store. It had seen better days, but still had another life in it. It’s funny how ideas evolve—when I brought it home, my first thought was to add wine corks to the bottom and use it as a serving tray. I tried the corks, but was unhappy with the look as corks are not a consistent size, plus I had fewer than I thought so the corks only covered about 1/3 of the way. Then I remembered I had sheets of cork and two thickness would work as a mini cork board, and then I thought it would be cool to add a hinged magnet board so stuff could be hidden behind it, then, then, then, this happened…

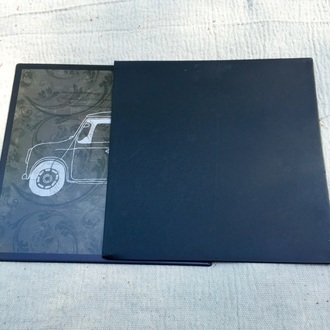
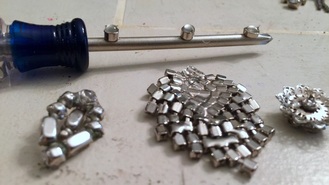
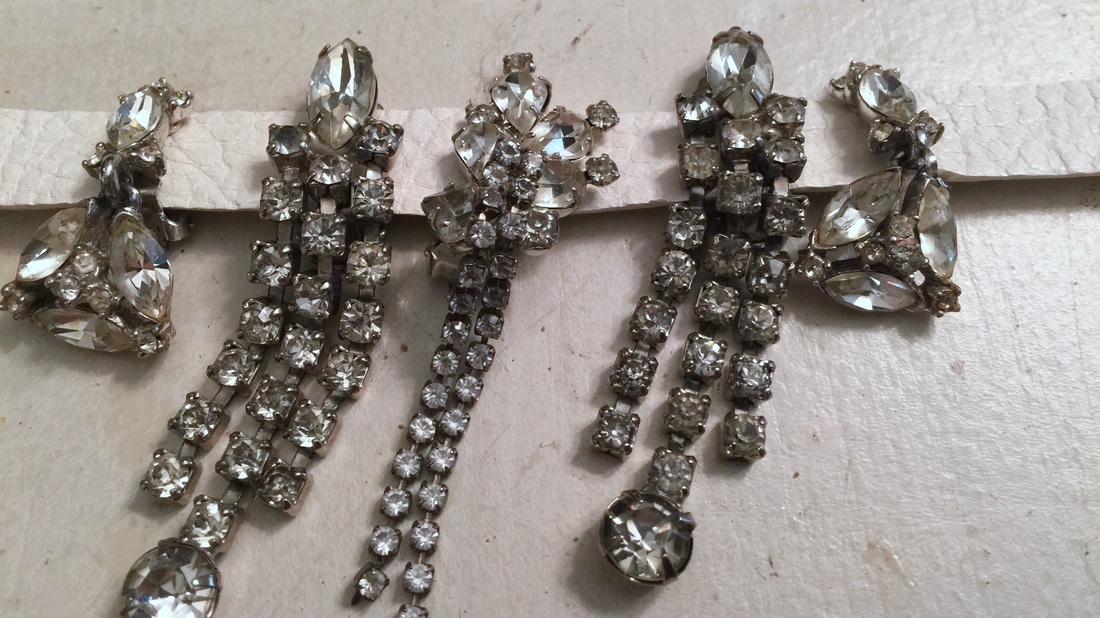
…I totally went from mini bulletin board to jewelry display with a secret compartment. This really is a display as I don’t actually wear all this rhinestones jewelry but I do like to look at it. (I’ve always been attracted to shiny things—I still have rhinestones I removed from jewelry as a kid!) ​
Materials/Tools:
  • Bamboo or wood tray—this one is 8” X 13"
  • Metal sign—this one is 8” X 8” from Michaels and just happened to fit perfectly, I soaked it in water and used Goo Gone to remove the picture which was actually a large sticker
  • Cork sheets—these are 12" x 12” tiles.
  • Spray paint—Rust-Oleum seaside
  • Magnets—5mm Neodymium Disc Magnets
  • E 6000 Craft Glue (toxic—use in well ventilated area)
  • Scrap of velvet from the other project
  • Cardboard
  • Small frame
  • Rub 'n Buff in patina
  • Spray adhesive
  • ​Glue gun/hot glue
Hidden Jewelry. MotherDaughterProjects.com
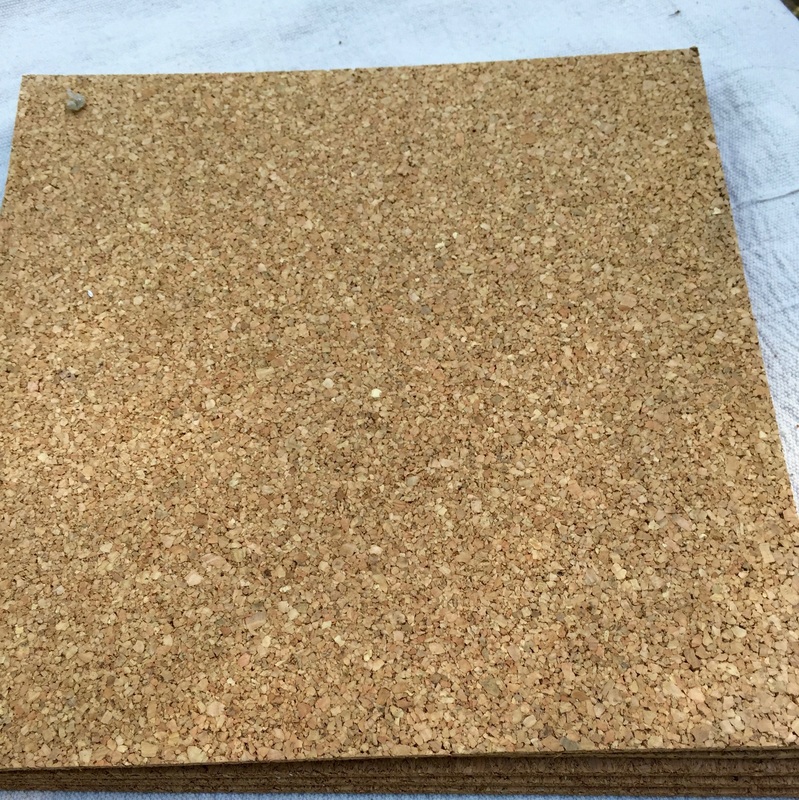
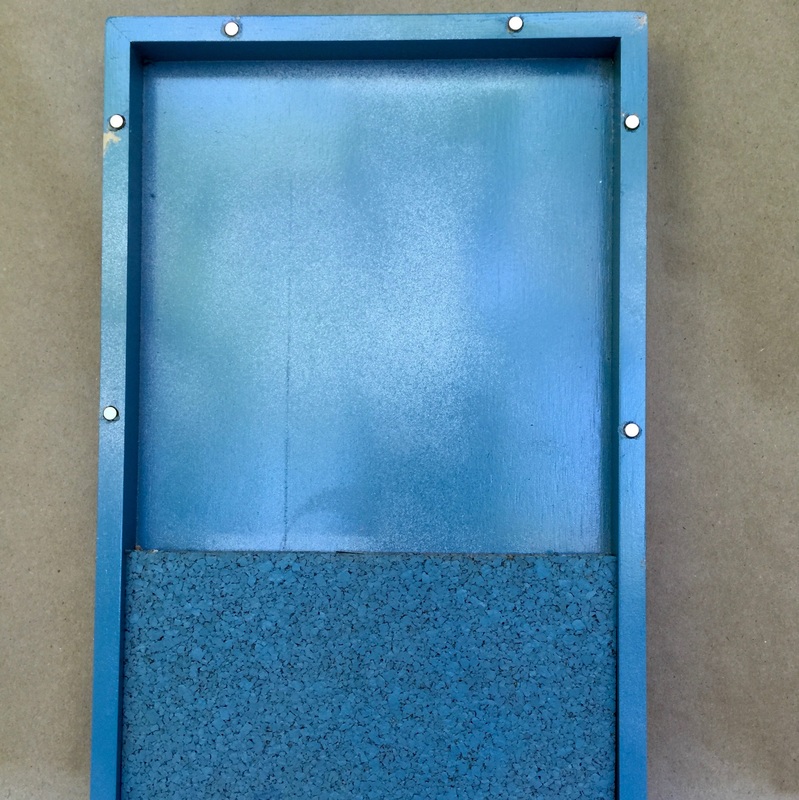
Step 1: Cut two pieces of cork to fit the tray. Glue together, glue into place in the tray.
Hidden Jewelry. MotherDaughterProjects.com
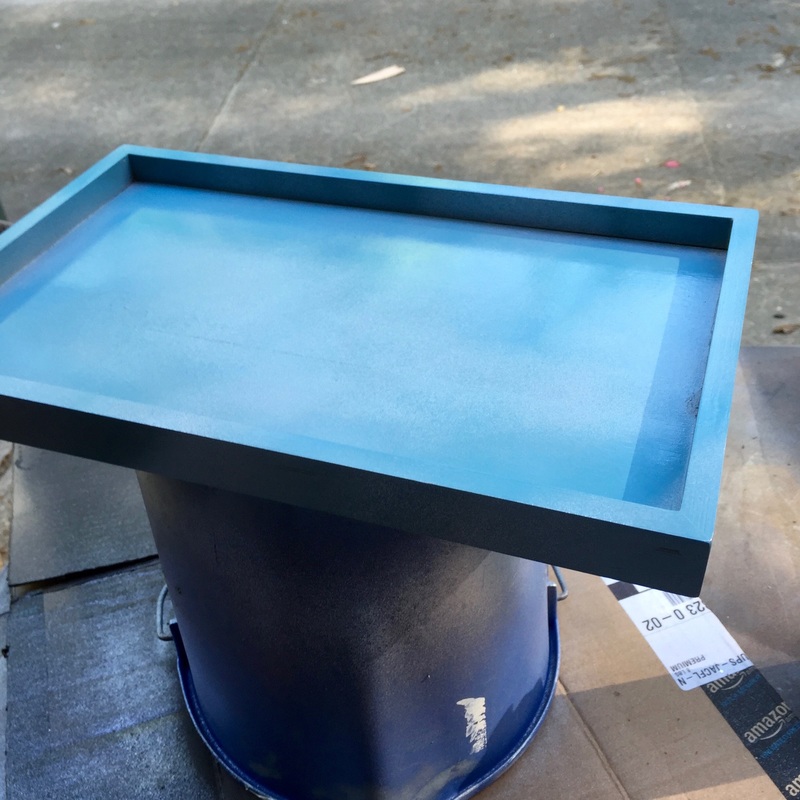
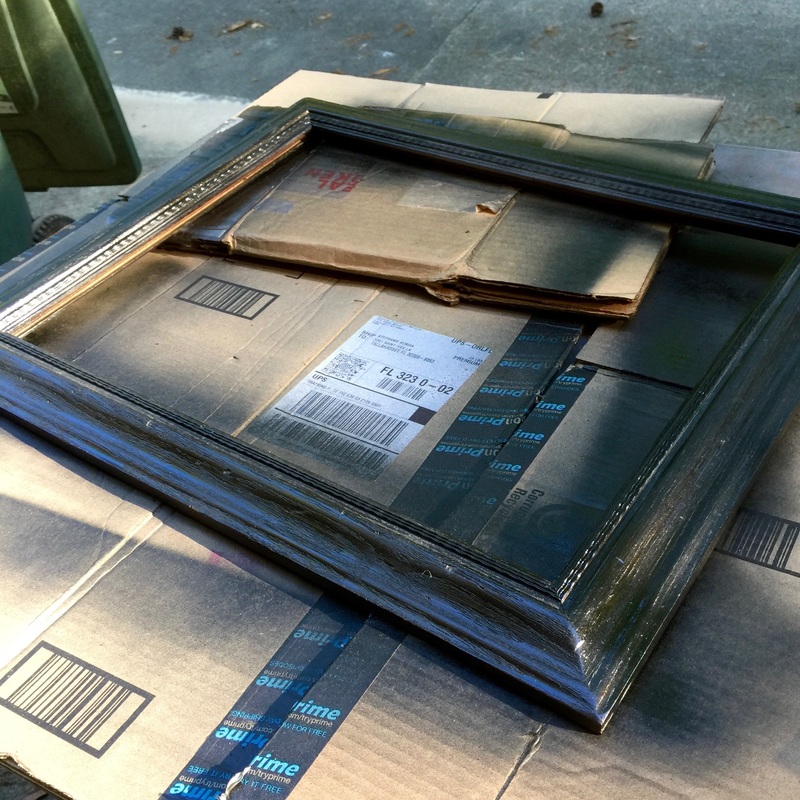
Step 2: Spray paint all the parts, tray, metal sign (after the sticker is removed), frame, & cork. Use the Rub ’n Buff on the frame if desired. 
Hidden Jewelry. MotherDaughterProjects.com
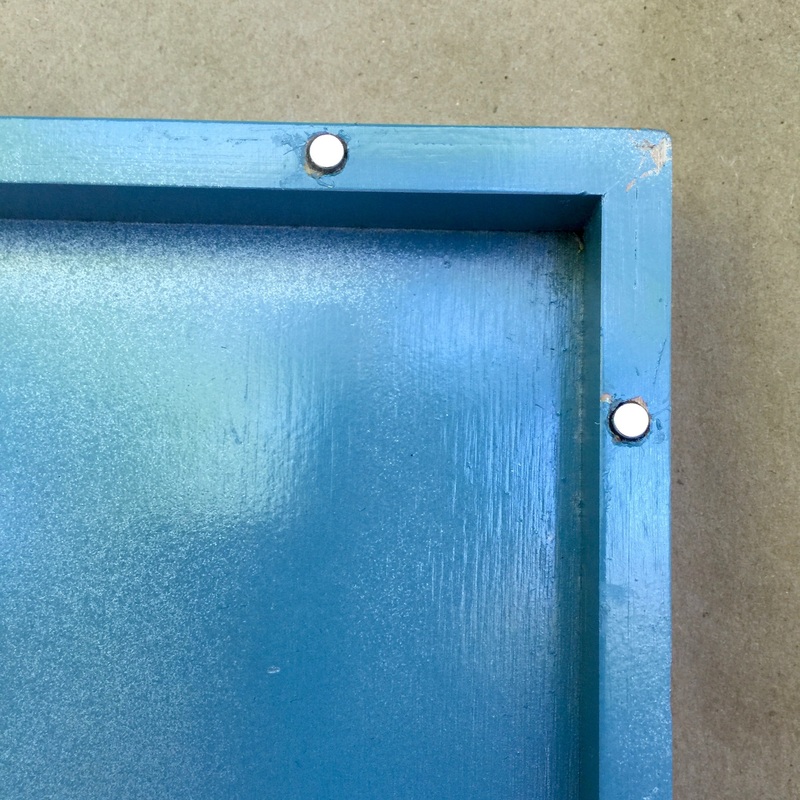
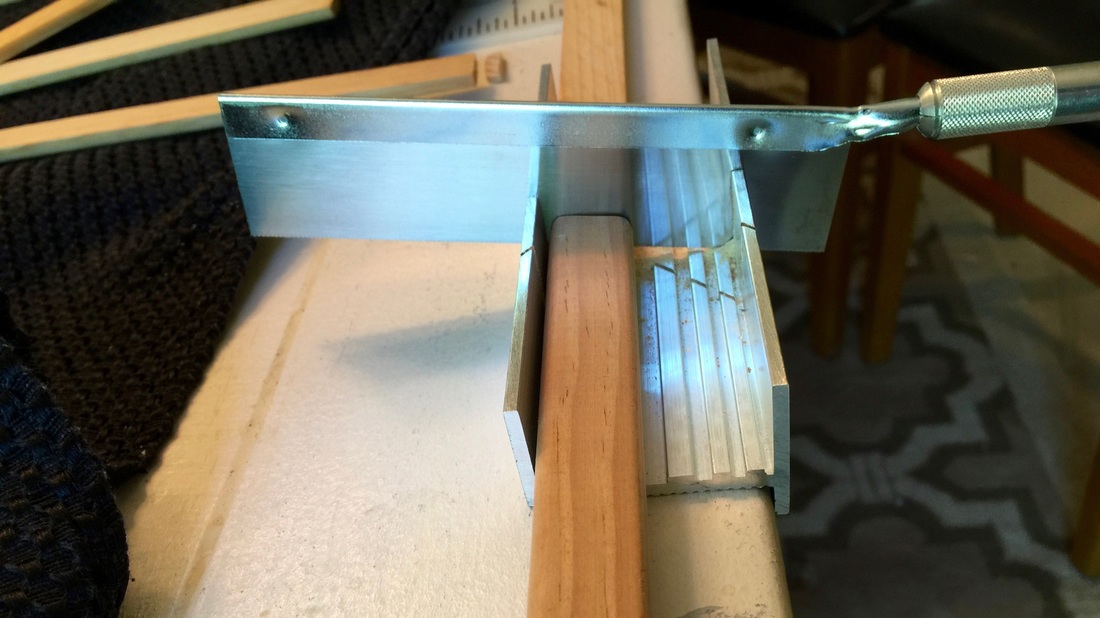
Step 3: Drill holes in which to fit the magnets. Go slowly as you don’t want the holes to deep. Follow the instructions for the E6000 glue and glue into place. Let dry overnight or for the time recommended in the instructions. ​
Hidden Jewelry. MotherDaughterProjects.com
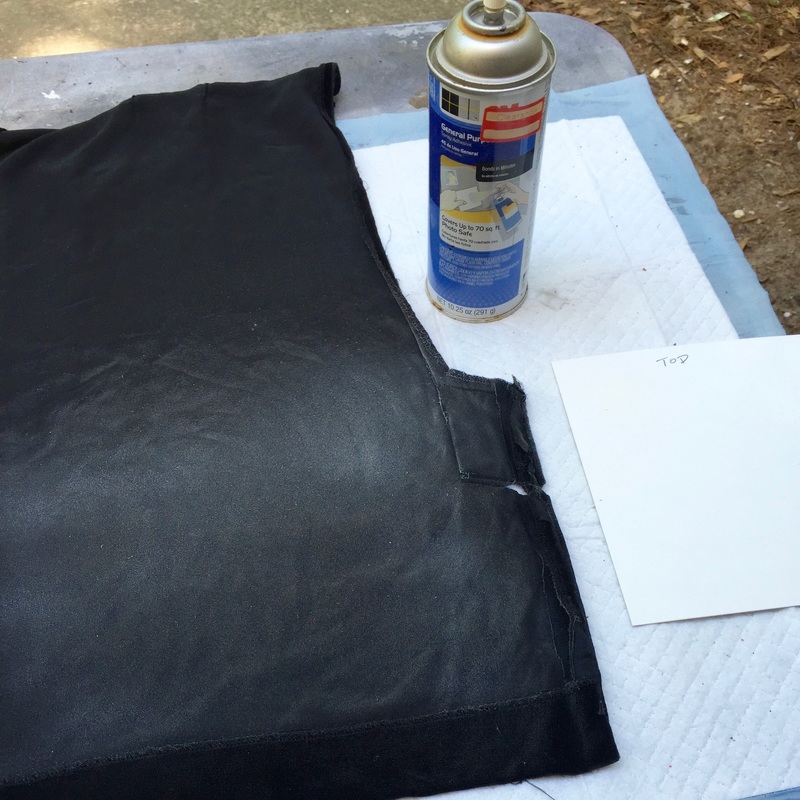
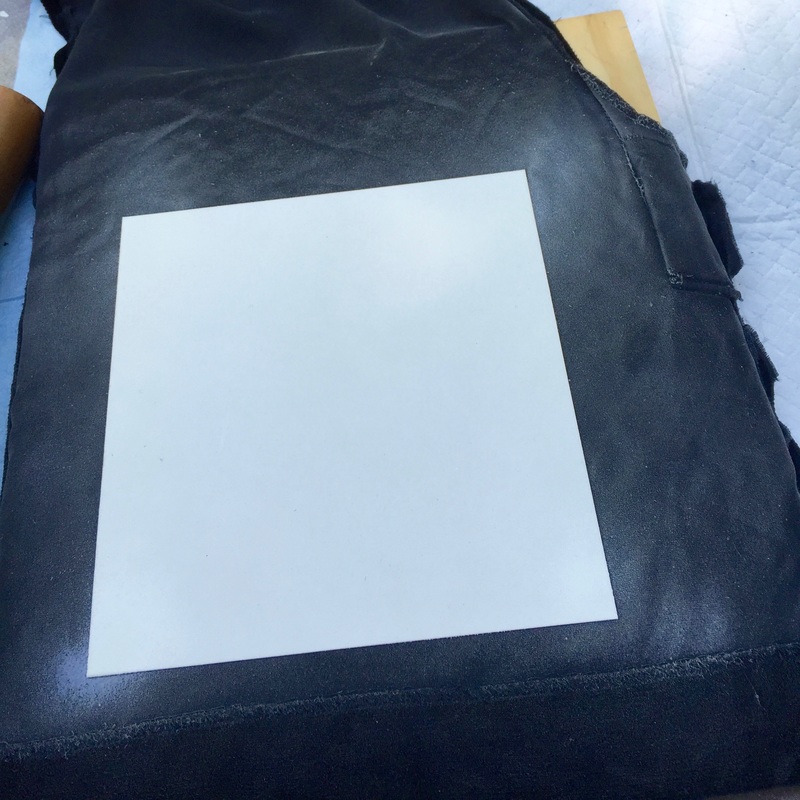
Step 4: Cut the cardboard to size, spray with spray adhesive, attach velvet. Glue this in place in the tray. I used a couple of map pins to hang the necklace on in the secret compartment.
Hidden Jewelry. MotherDaughterProjects.com
I glued the same small magnets to a couple of orphan earrings
Hidden Jewelry. MotherDaughterProjects.com
Clipped some earrings to white leather for display
Hidden Jewelry. MotherDaughterProjects.com
Attached some pins to white leather for display
Hidden Jewelry. MotherDaughterProjects.com
Attached some pins to white leather for display

Jewelry Board

Jewelry Board. MotherDaughterProjects.com
Before
Jewelry Board. MotherDaughterProjects.com
After
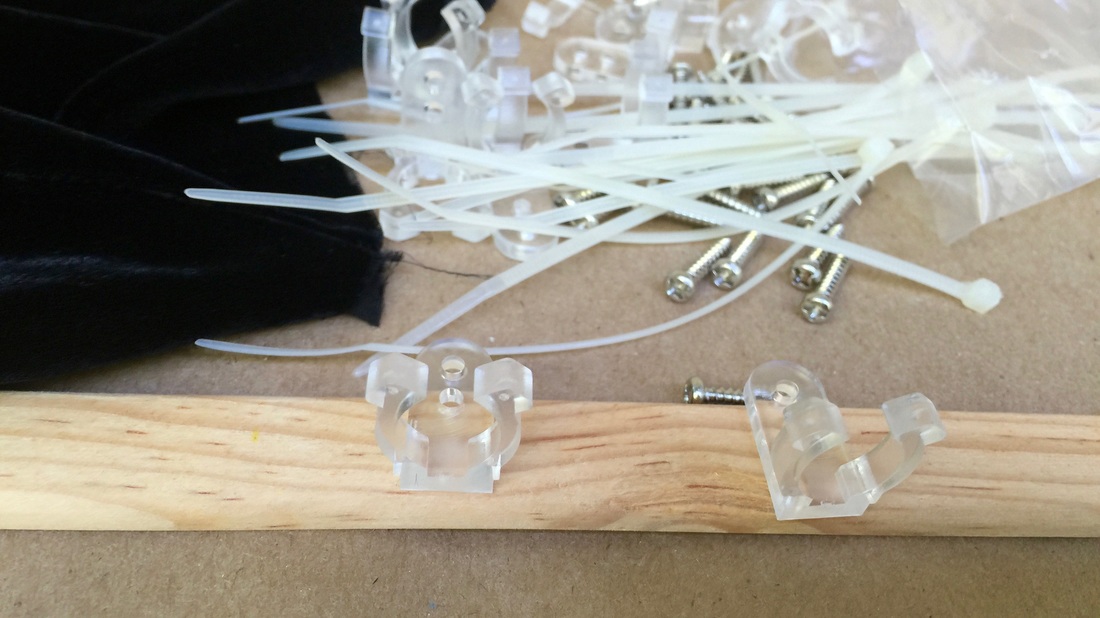
Materials/tools for Jewelry Board:
  • Existing frame with backing
  • Black velvet—upcycled from a skirt
  • Oil rubbed bronze spray paint
  • Wood pieces—not sure what these are but assuming moulding pieces—they are about 5/8” wide
  • Hardware hooks from rope lights
  • E 6000 craft glue (toxic—use in well ventilated area)
  • Hot glue
  • Staple gun/staples/brads
Jewelry Board. MotherDaughterProjects.com
  • Label the top of the frame and backing board to make it easier to put back after removal.
  • Remove the board from the frame.
  • This was easy as it was screwed into place.
  • I did not remove the old fabric. ​
Jewelry Board. MotherDaughterProjects.com
  • Spray paint frame using oil rubbed bronze spray paint.
  • Cut the velvet to size, place face down (make sure the nap of the fabric runs down).
  • Fold towards the back and staple into place.
  • Put the board back into the frame making sure the “top” labels are at the top.
Jewelry Board. MotherDaughterProjects.com
  • Cut the wood to size. I used a fun little mini miter box & knife that I found at the thrift store. This is now a must-have item in my crafting arsenal. 
Jewelry Board. MotherDaughterProjects.com
  • Spray paint wood strips.
  • Using the E6000 (follow the label instructions) glue the hardware rope light hooks onto the boards.
  • I placed mine two inches apart.
  • Notice the second row of hooks are offset to allow items to hang on either side of the hooks below. (After completing the project, I glued two more hooks to the top and bottom rows.)
Jewelry Board. MotherDaughterProjects.com
  • After the hooks are dry, attach the wood/hooks to the front of the frame.
  • I used a staple gun fitted with brads.
  • These were not quite long enough to hold securely so I added hot glue to the underside of the wood.
  • Don’t use too much as it will squeeze out under the wood and become hopelessly attached to the velvet. 
Jewelry Board. MotherDaughterProjects.com
Please note: We are not sponsored by any of the companies/products that we used. These products were picked and bought by us.

FYI: We are not professionals, and we don’t claim to be. This is what we found worked for our project. Yours may need a little different approach. Safety first!

FYI: Amazon affiliate links are being used on this page.

Related Projects

Picture
Rustic Look for Thrift Store Tray
Picture
Before/After Sink Update
Picture
Vintage Radio for Modern Tech
0 Comments


Leave a Reply.

    MotherDaughterProjects.com

    Mother Daughter Projects
    ​
    Steph & Vicki

    We're homeowners sharing our DIY adventures as we learn to maintain, improve, decorate, and ​use tech in our homes.
    Share your projects with us here:  
    ​#trylearnshare
    MotherDaughterProjects.com
Mother Daughter Projects, LLC ∙ est. 2015 ∙ Tallahassee, FL by Vicki & Steph ∙ Privacy Policy