|
text by Vicki Sign up to get Mother Daughter Projects updates in your email!
This post is sponsored by The Home Depot. THD provided the Bosch bits used in this project.
If I asked you what home maintenance problem you have put off, I would venture a guess that probably 100% of you would immediately name one or more items! We all have them (those little pesky issues, we think that are going to be hard) that we need to get done so we can check them off the to-do list!
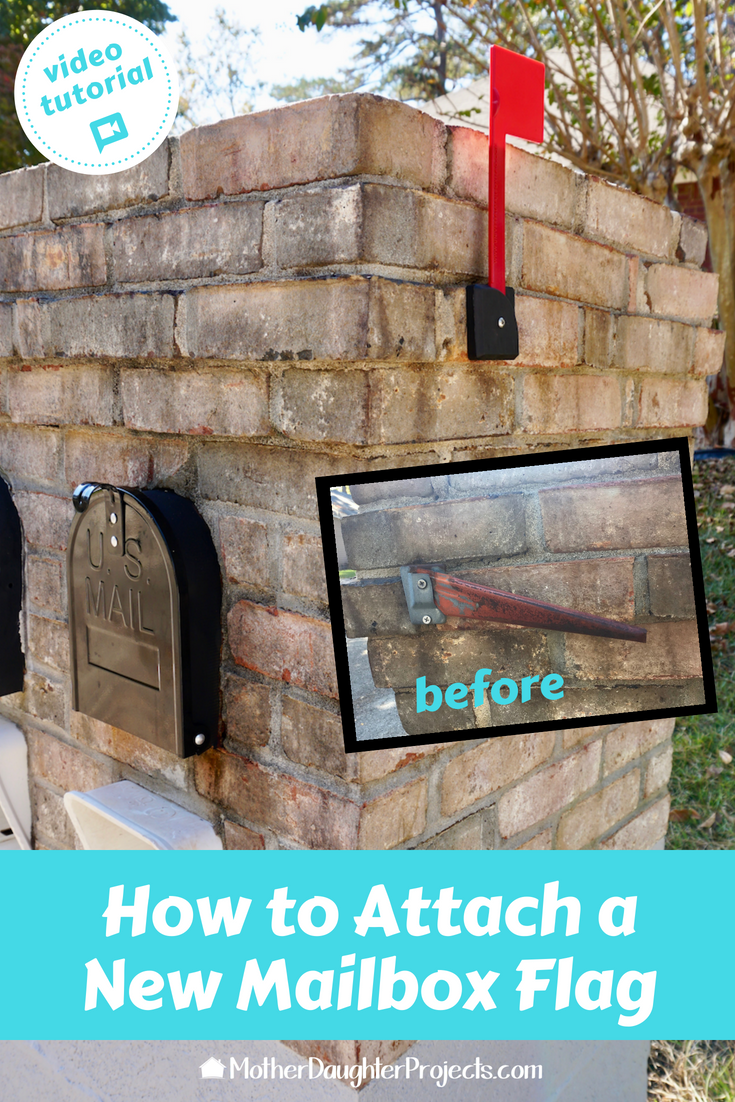
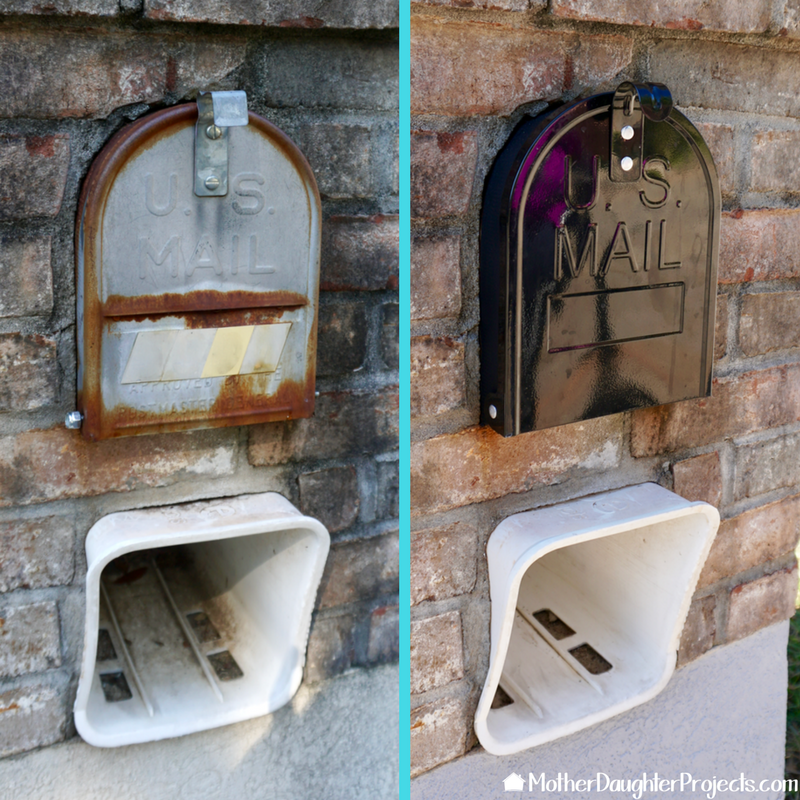
The replacement of the flag on Steph's mailbox was her small, but difficult seeming problem. You know, "how do you drill into brick?" It was kind of embarrassing, her sad rusted and dull flag on the mailbox. Definitely a home maintenance issue that needed to be fixed. When we got these Bosch drill bits, that can drill into all kind of material including brick, we knew we could finally take care of replacing that flag! 
Tools:
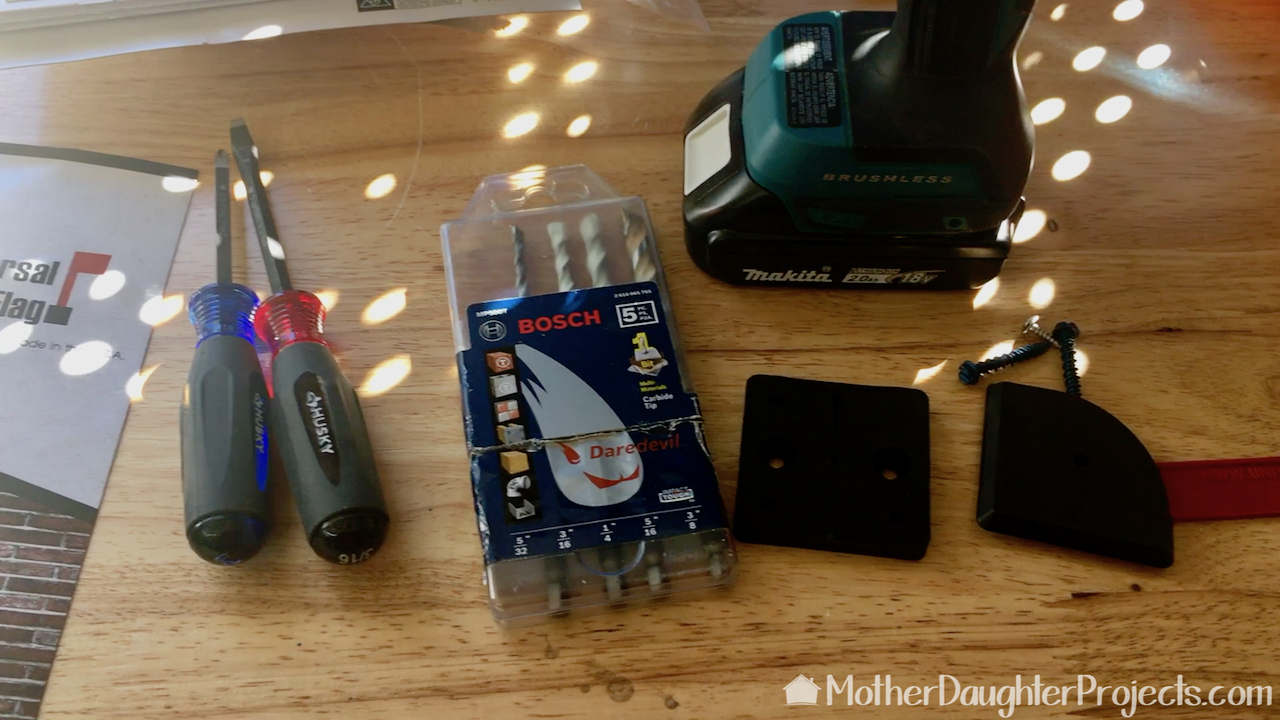
Here's everything we needed for replacing the flag. Screwdrivers, Bosch drill bits, drill/driver, and a replacement flag with included mounting hardware.
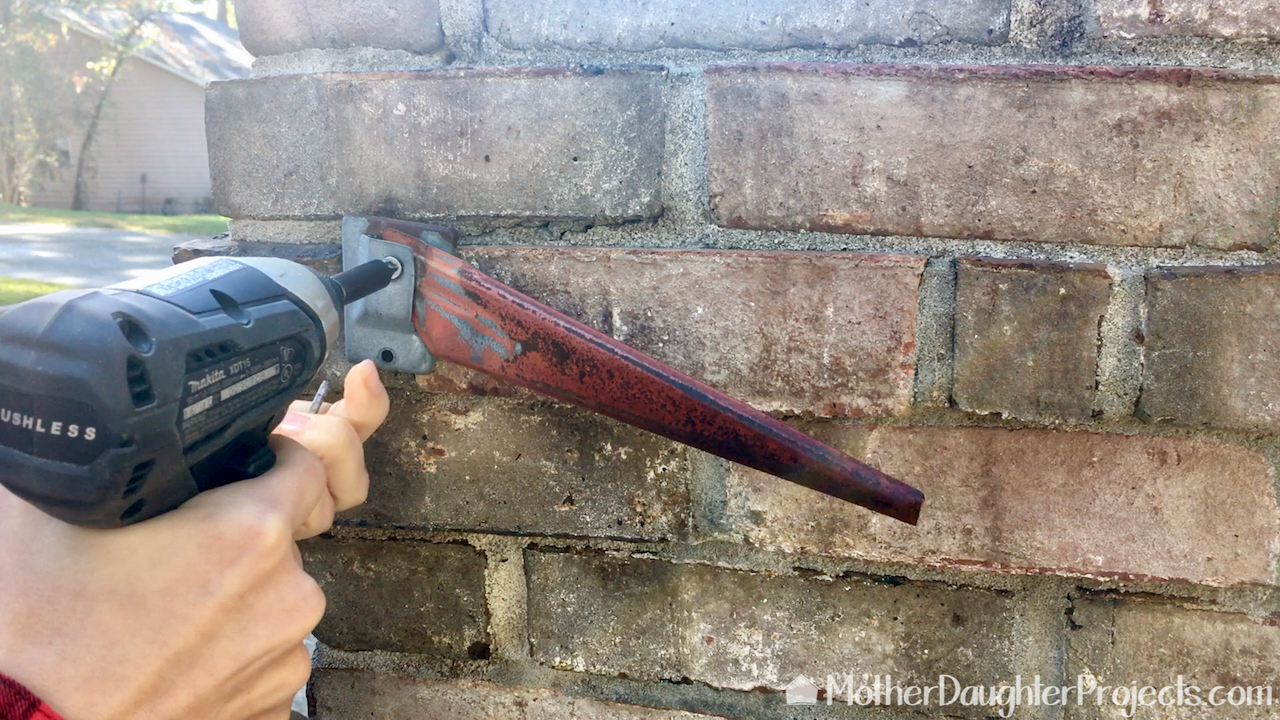
Removing the old flag was easy as it was pretty much falling off all ready.
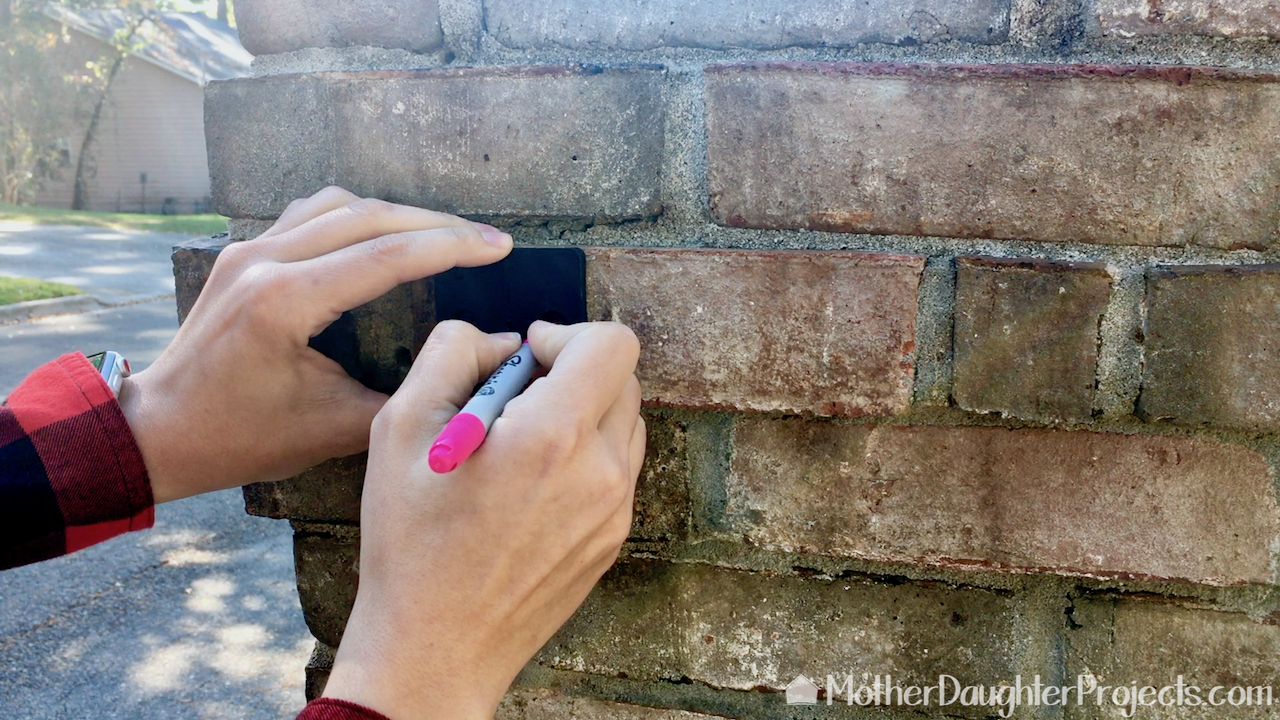
After deciding where the mounting hardware should go, Steph marked the screw hole placement.
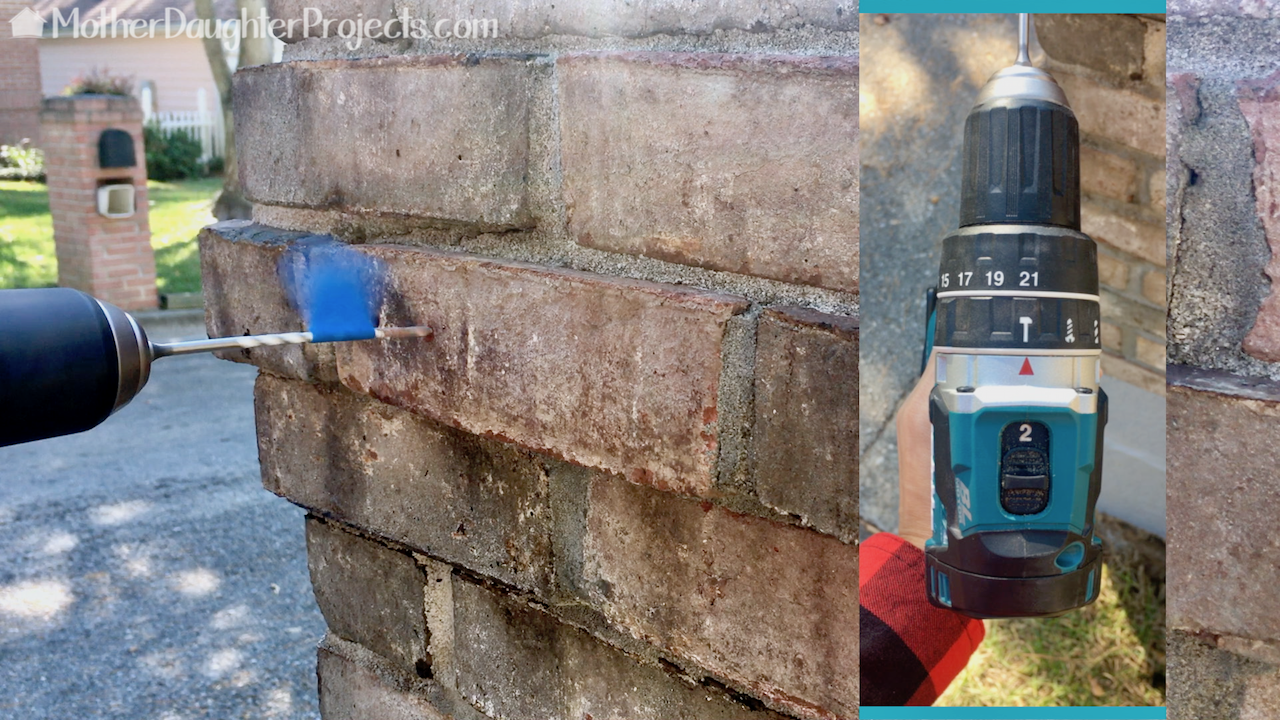
Steph used the appropriate sized drill bit for the screws. She marked the depth needed with a bit of painter's tape. This insured she drilled both holes to the same depth. Steph tried various settings on the drill to be able to drill into the brick. She settled on setting 2 in hammer mode on this Makita drill.
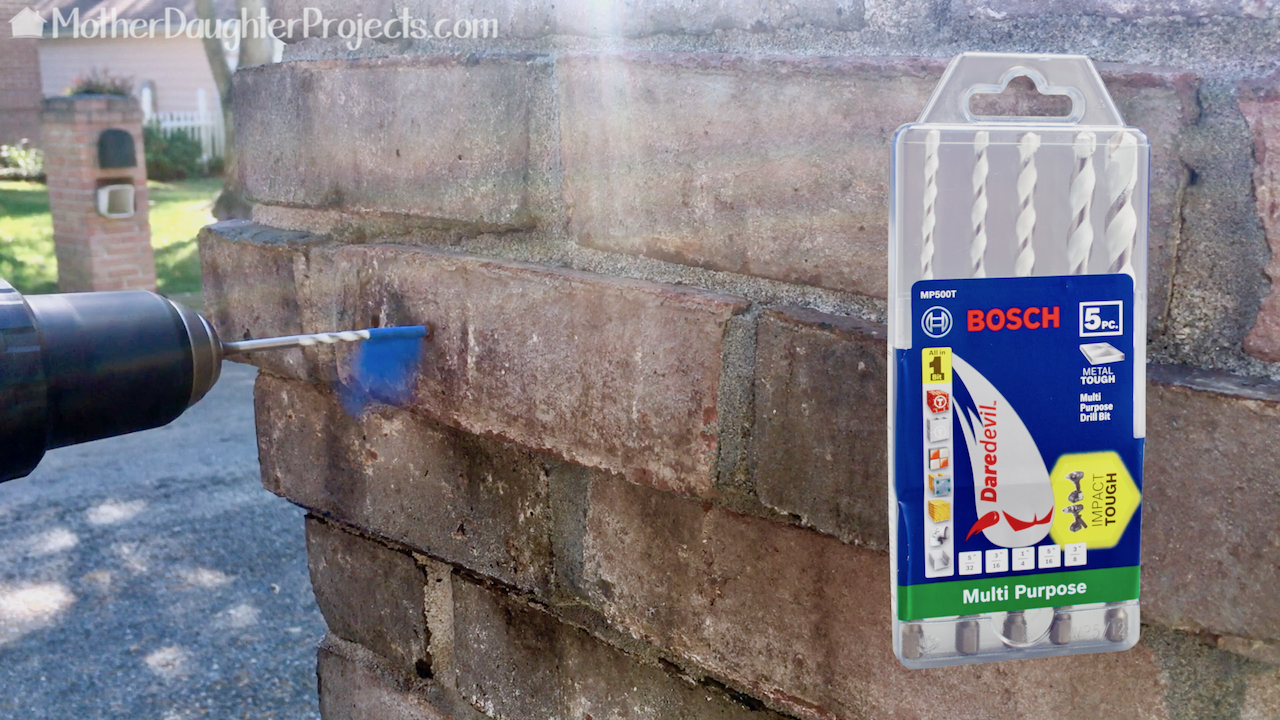
The Bosch bits are designed to drill into various hard to drill surfaces including brick, concrete, and PVC.
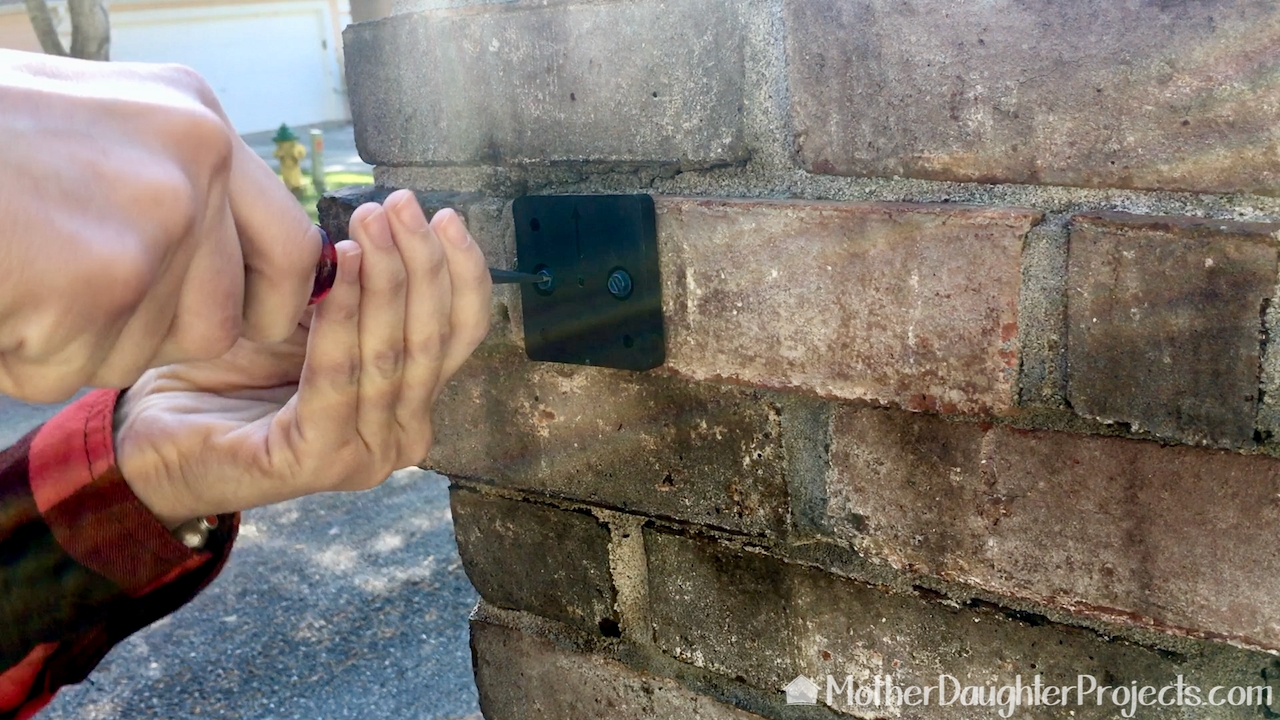
Once the holes were made, Steph used the included Tapcon screws to hand drive the screws into place.
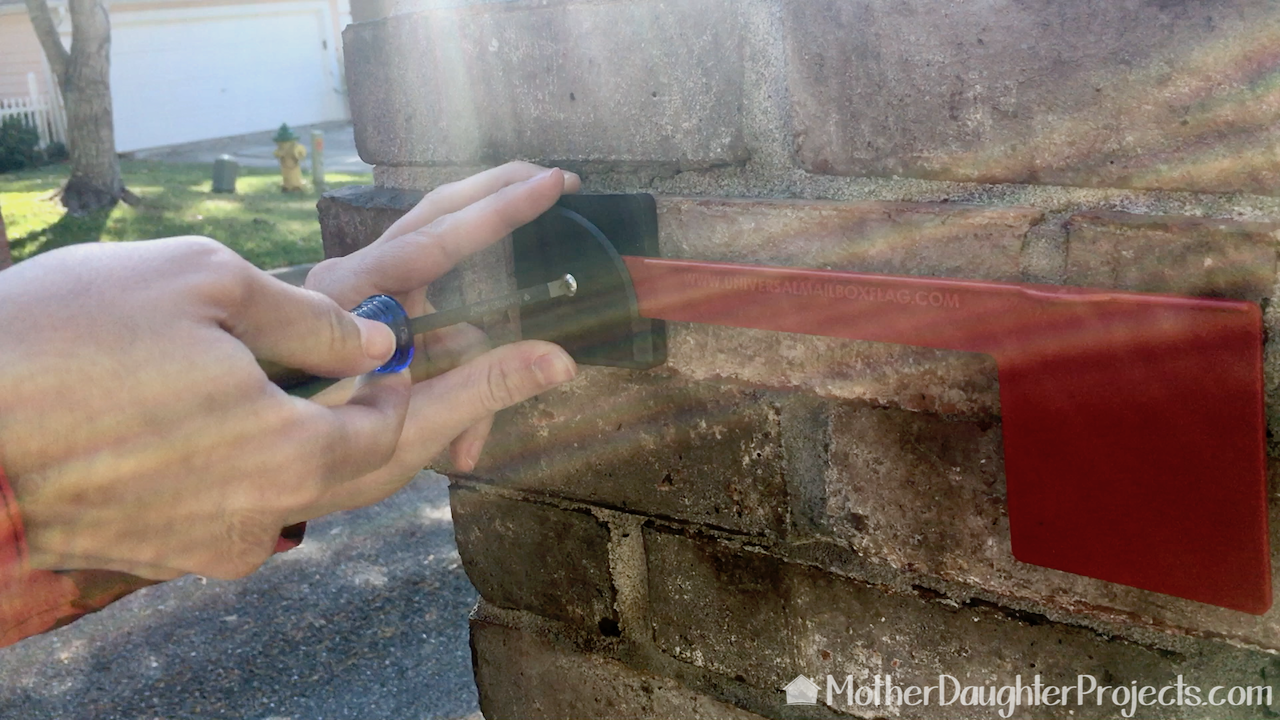
Steph hand tighten the flag in place, and with that last step, this overdue maintenance project was done!
This maintenance project was made very easy by having the right tools to use. The Bosch bits are really handy to have on hand because of the many materials you can use them on.
Anyone want to share what home maintenance problem you've put off? Add your dreaded job to the comments below. (This is a judgment free zone!) We acknowledge that The Home Depot is partnering with us to participate in the ProSpective 2018 Campaign. As a part of the Program, we are receiving compensation in the form of products and services, for the purpose of promoting The Home Depot. All expressed opinions and experiences are our own words. Our post complies with the Word Of Mouth Marketing Association (WOMMA) Ethics Code and applicable Federal Trade Commission guidelines. FYI: We are not professionals, and we don’t claim to be. This is what we found worked for our project. Yours may need a little different approach. Safety first! FYI: Affiliate links are being used on this page. Purchasing via these links help support MDP! Related Projects
2 Comments
Cathy
7/6/2018 04:51:51 pm
In case your screws ever start to loosen, there is a way to make them secure without drilling a new hole. A trick my Daddy taught me. Fill the hole with a bunch of round or flat toothpicks Break them off at the edge of the brick) and then put the screw(s) back in place. There should be no more wiggle.
Steph
7/8/2018 08:51:51 am
Great tip Cathy- thanks for sharing! Leave a Reply. |

Mother Daughter Projects
|