|
In 2014, I (Vicki) made 16 dresses for Dress a Girl that were distributed in Africa through a NYC church mission group. For 2015, I set a Lenten goal to make 40 dresses in 40 days. I reached my goal before the end of Lent! Whether you sew for charity or for a special little girl in your life, these pillowcase-style dresses are a great way to express your creativity. 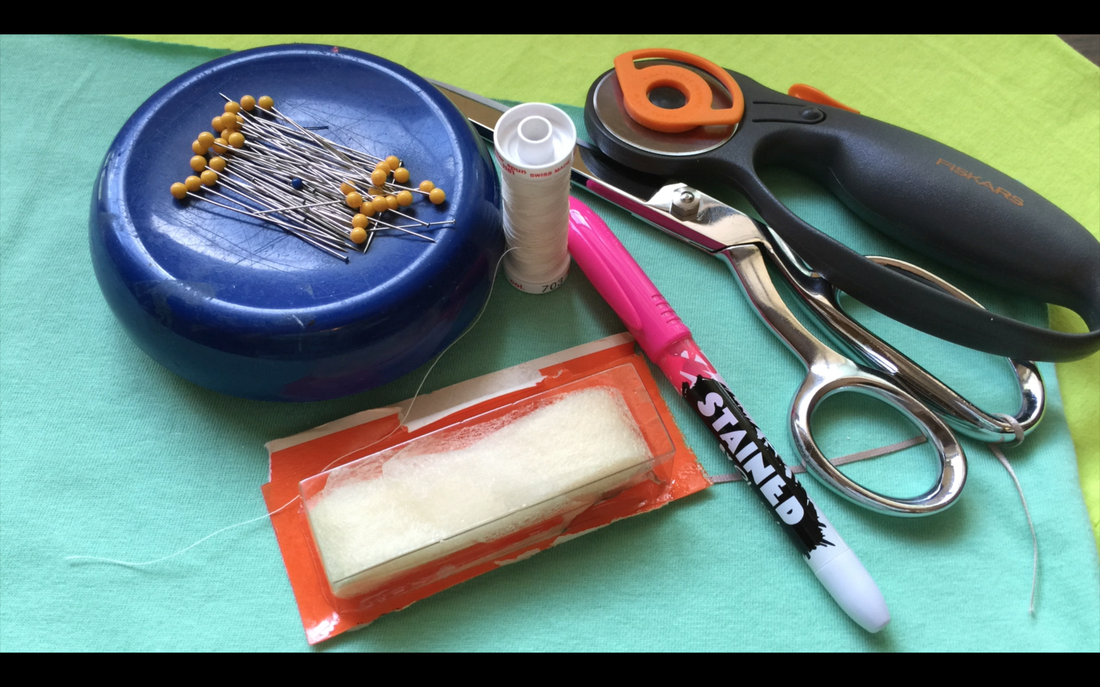 Tools: - Sewing Machine, thread - Pressing supplies: iron, ironing board, Pounding Block (i.e. Tailor's Clapper) - Cutting supplies: Dressmaker scissors, Pinking shears, Rotary cutter - Pins, Sewing clips (Clover Wonder Clips) - Marking pen *FYI: that is a piece of ribbon tied to my dressmaker shears--it identifies them as my fabric cutting shears. I have another pair that has a piece of plastic tied to them which identifies them as paper shears. That way I can easily tell them apart. 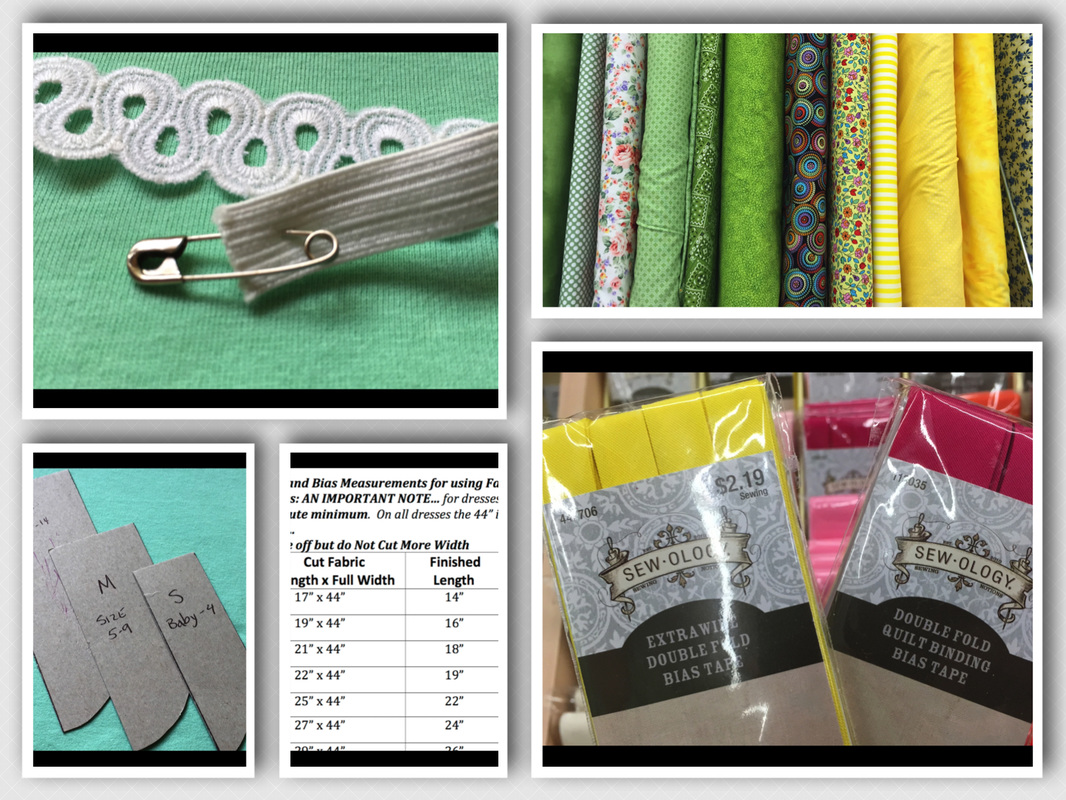 Materials needed: - Armhole patterns, Sizing guide and label from DAG website: dressagirlaroundtheworld.com - 100% cotton fabric or a pillow case - Extra wide double fold bias tape 1/2” wide - 3/8” or 1/2” wide elastic - Small scrap fusible web (Stitch Witchery) Fusable Web A Note About Sewing for Charity: The DAG organization as well as other charities that distribute dresses around the world have specific guidelines for their dresses. Be sure to become familiar with what each charity specifies. Dress A Girl Around the World Website DAG wants dresses of 100% cotton, nothing see through, in a child appropriate print or solid. (Personally, I don't think American themed or cartoon character prints are appropriate. You can't go wrong with a nature inspired print. I DO prewash all the fabrics I use.) There should be no raw edges and everything needs to be backstitched. 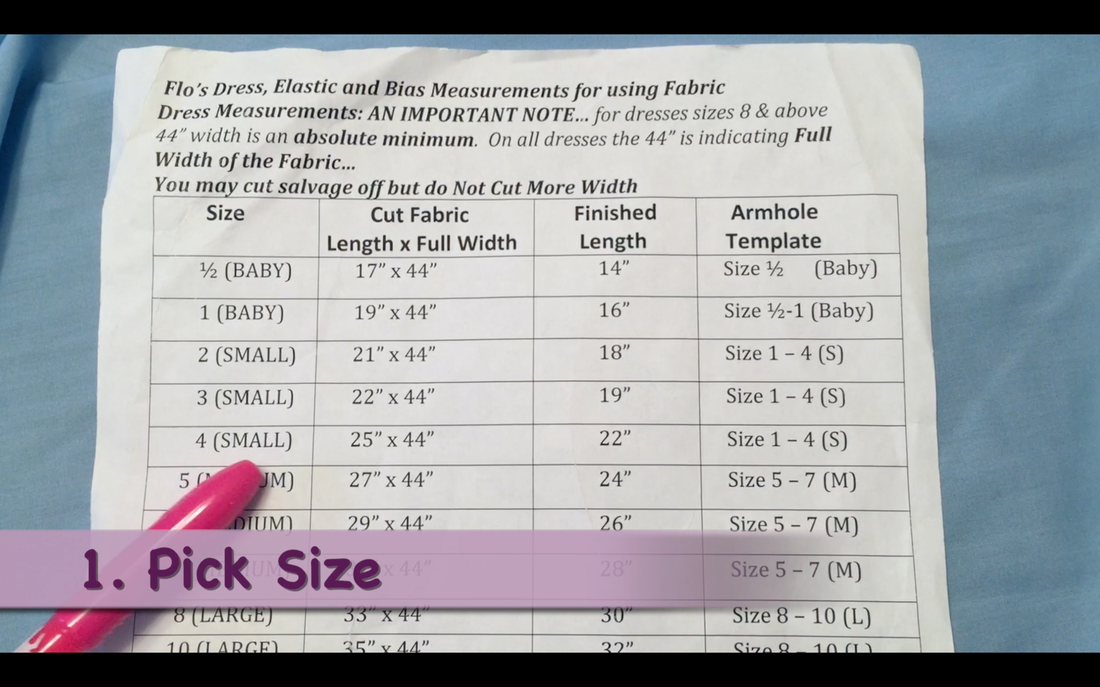 1. Using the Sizing Guide, choose the size dress you will be making. For our example we used size 4 (small) for which we needed the entire width of the fabric cut to a length of 25". Click here for a link to the Sizing Guide. 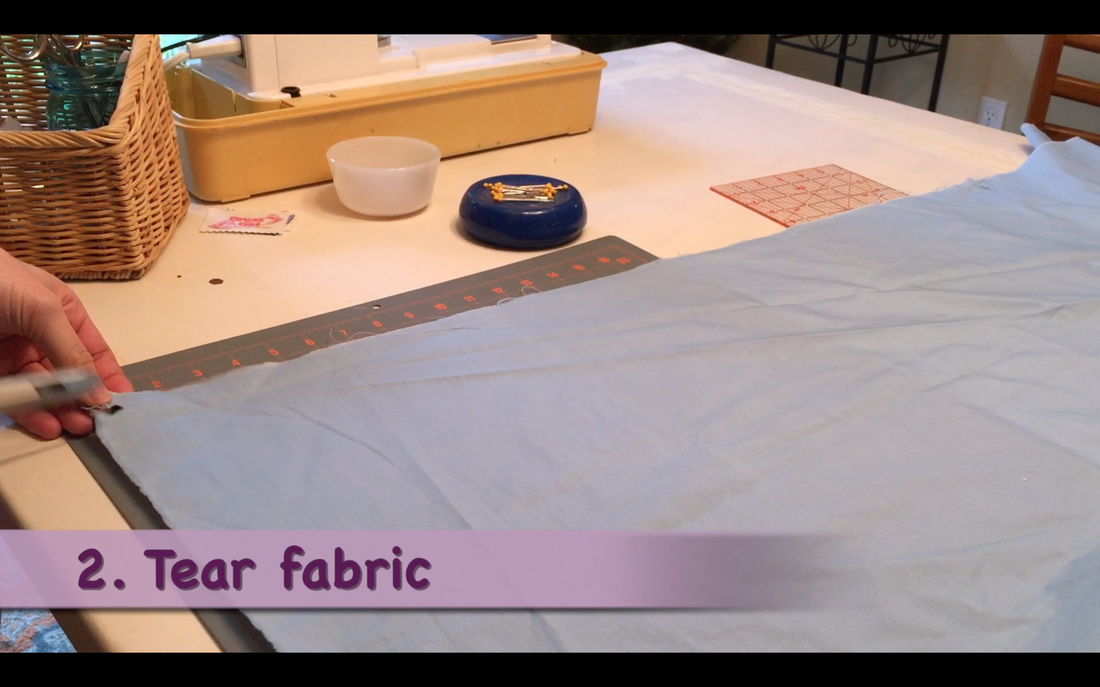 2. Always check to see that the fabric you are using is "on grain" meaning everything is square and lined up correctly. I do this by making a small cut in one end of the fabric and tearing it quickly across grain. This creates a straight cut across the end of the fabric... ...sometimes tearing across makes the torn end curl up. Go ahead and press the torn end so everything is nice and flat. Fold the fabric in half lengthwise with the newly torn edges together, and then line up the selvages. Put the folded edge on vertical line on a cutting mat and the torn edge on a horizontal line. If the fabric is on grain the selvage edges will come together nicely. 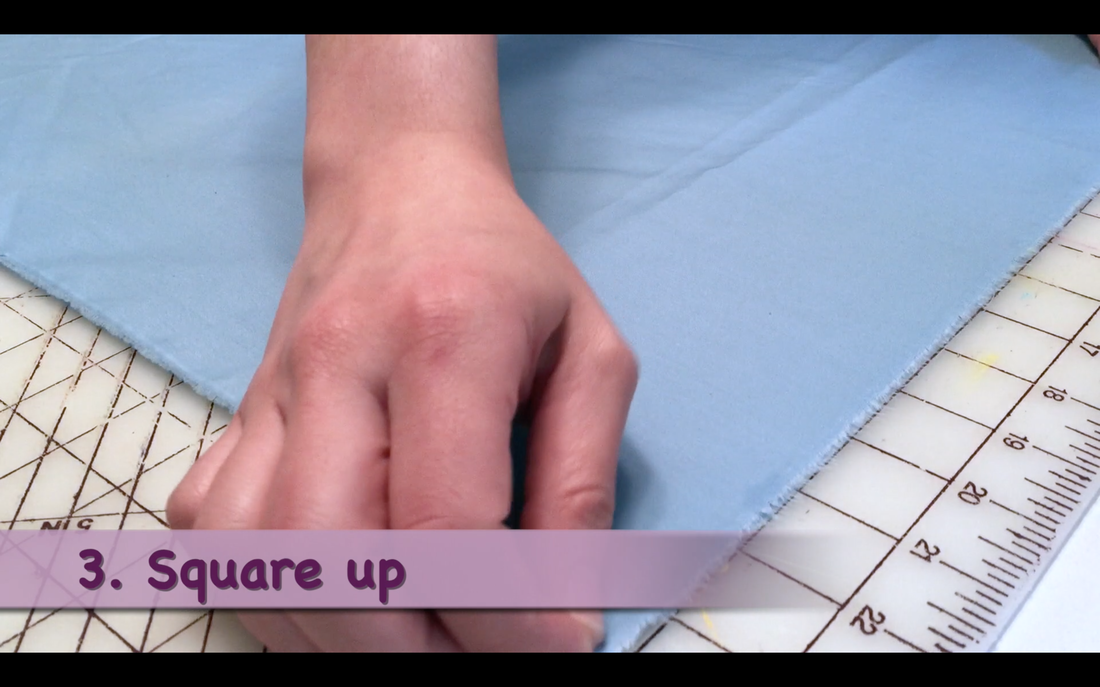 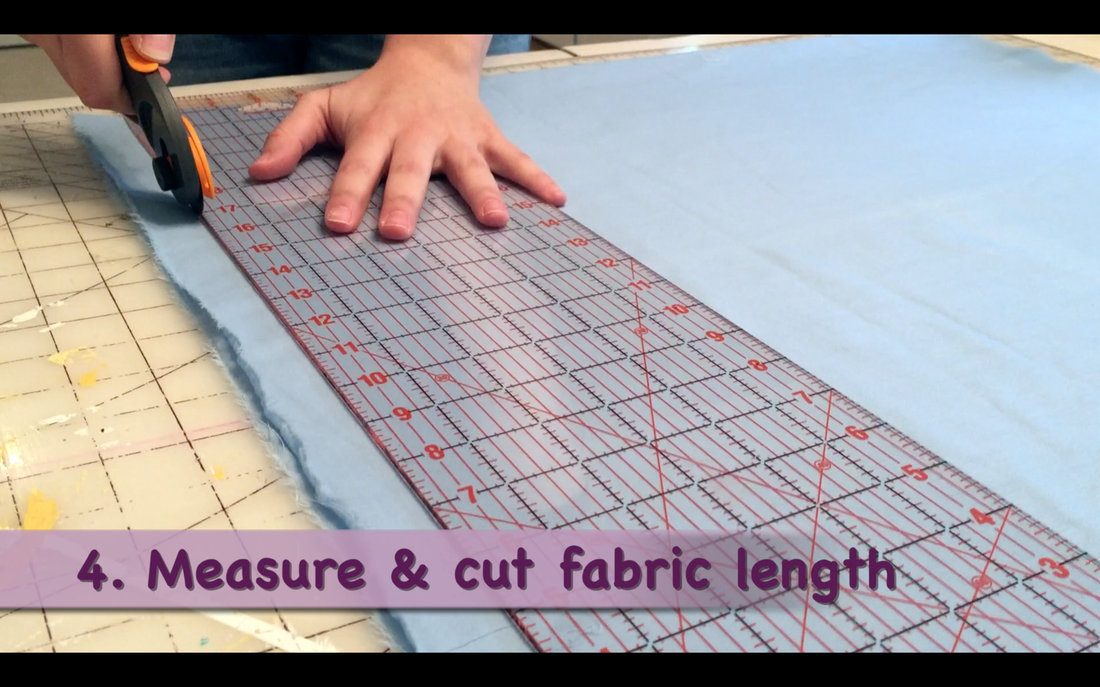 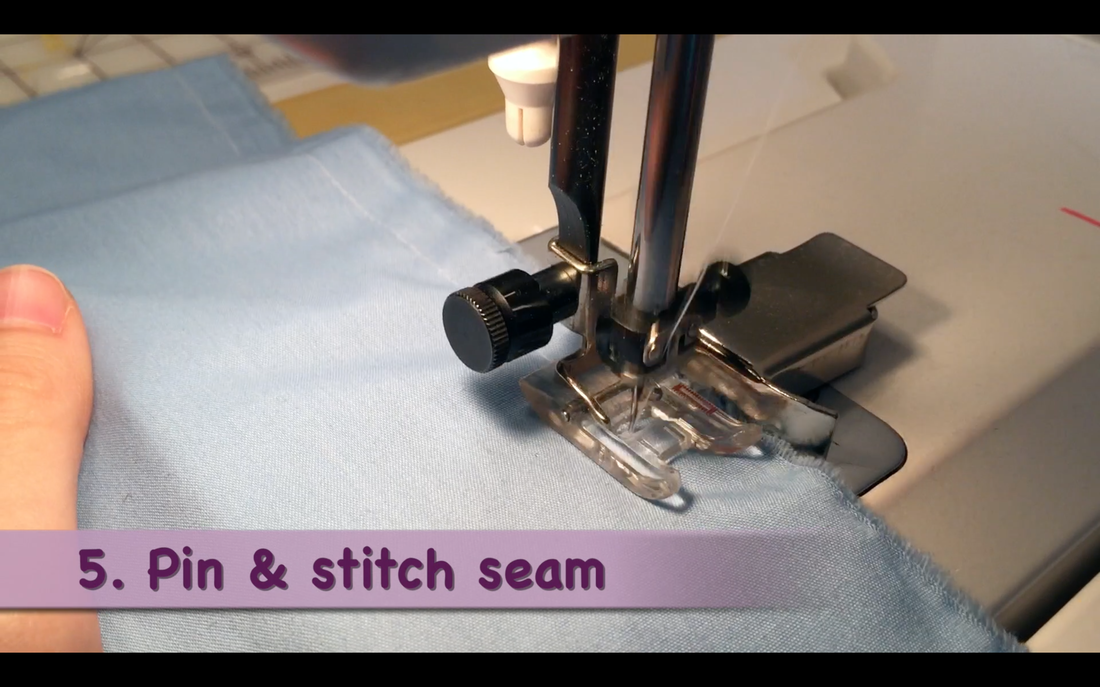 4. Measure and mark the length for the dress you are making. Use a ruler and rotary cutter to cut off the excess fabric. If you don't have these tools, mark with a marker and use scissors. 5. There is only one seam in this dress. Pin the selvage edges together and stitch with a 3/8" seam allowance. 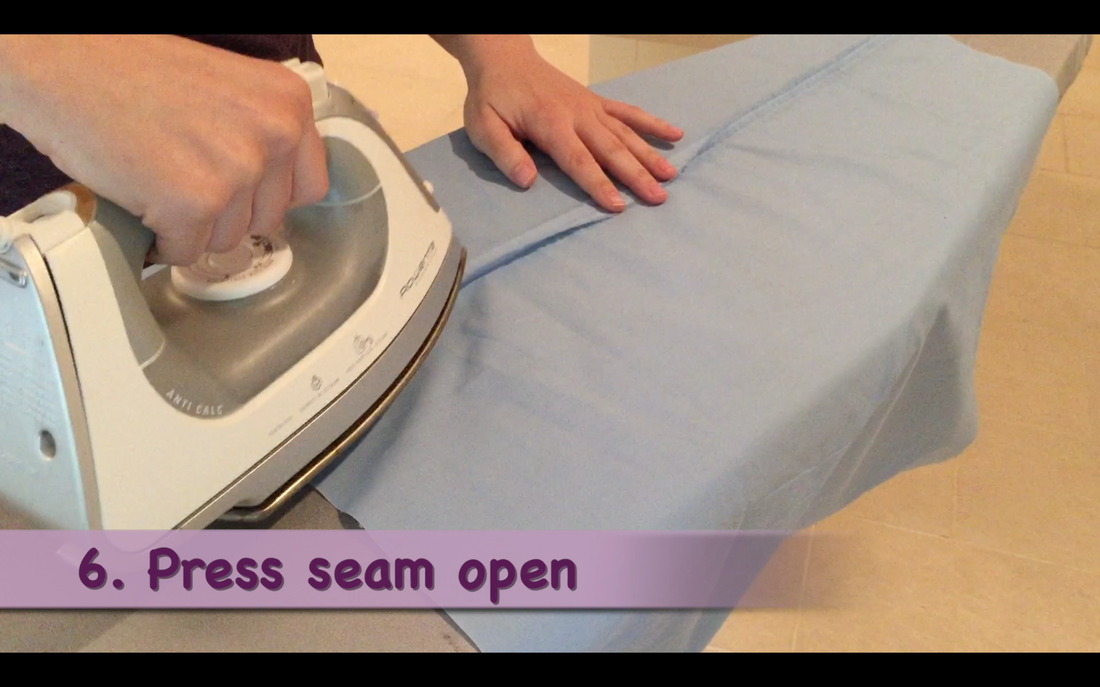 6. Press the seam open about 12" or so. You'll press open the rest after marking the armholes. 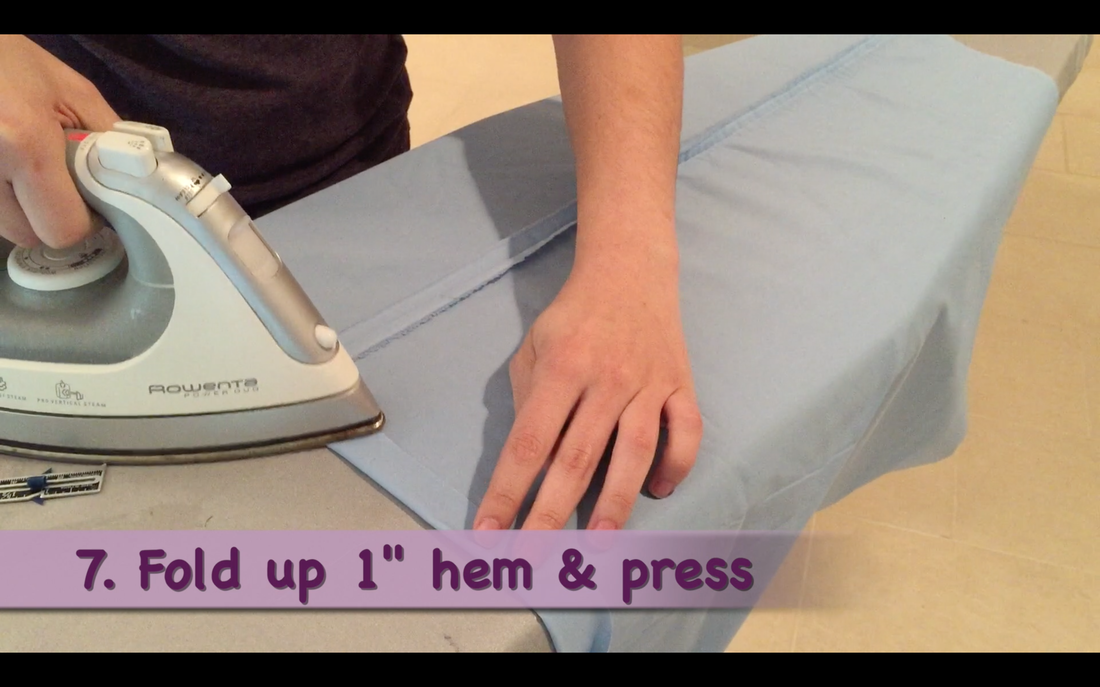 7. The hem is simply made by folding up 1" at the bottom and pressing... 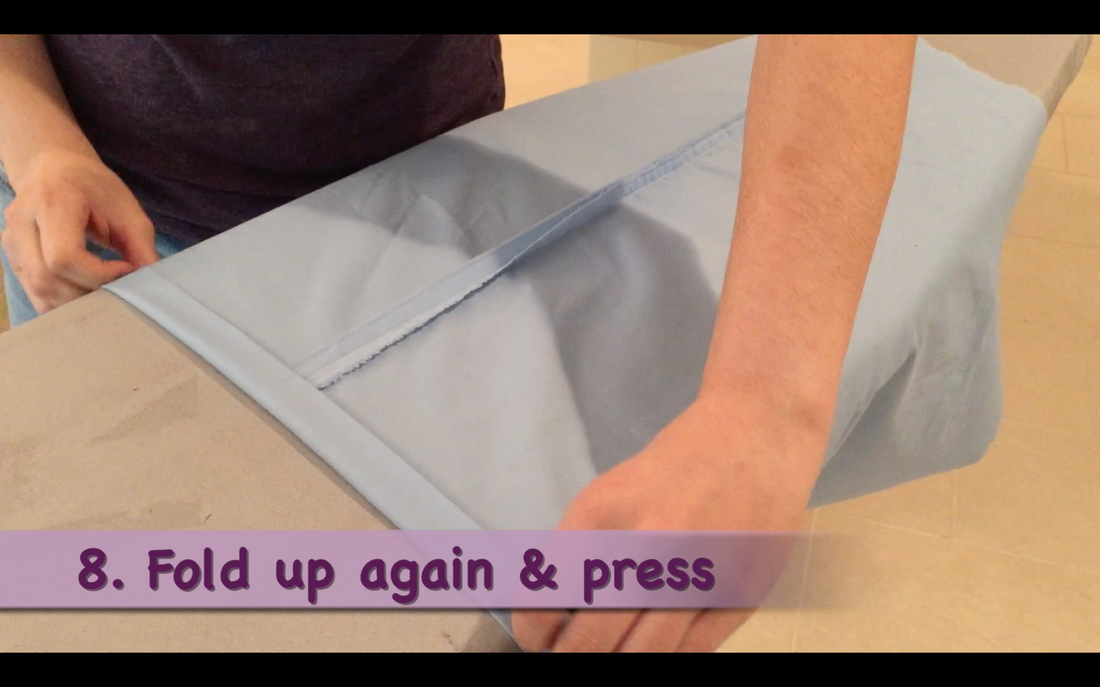 ...and then folding up another 1" and pressing well. This would be a good place to use the pounding block to help heat set the hem. 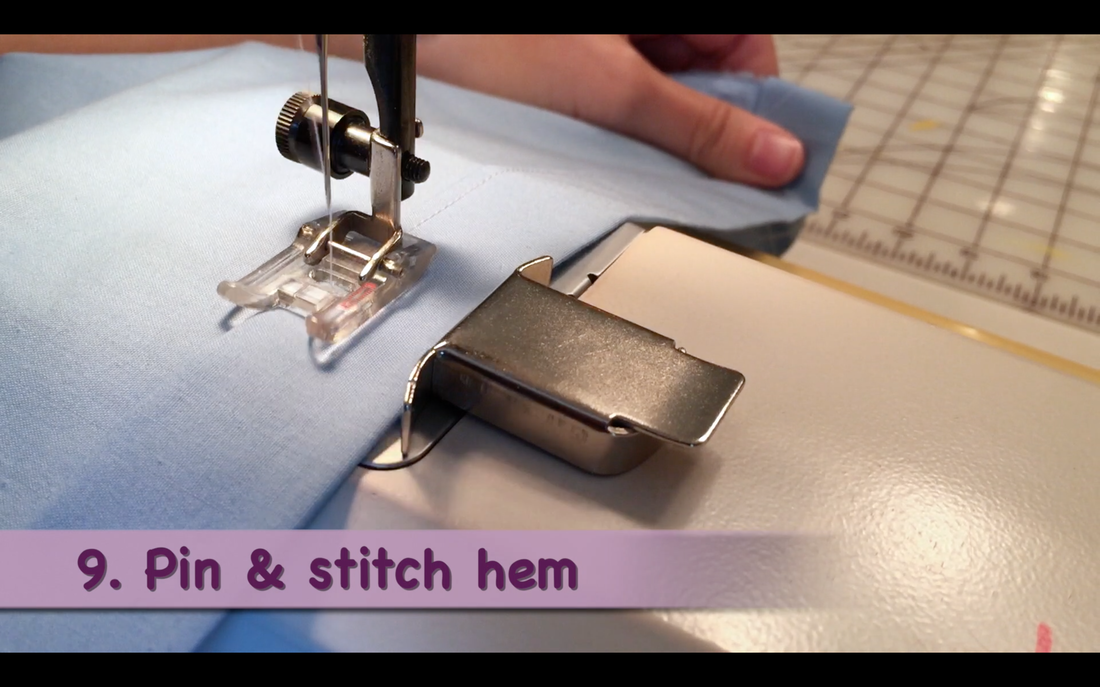 9. Stitch close to the edge making sure not to sew off the edge. I use a magnetic seam guide to help insure I don't sew off the edge. 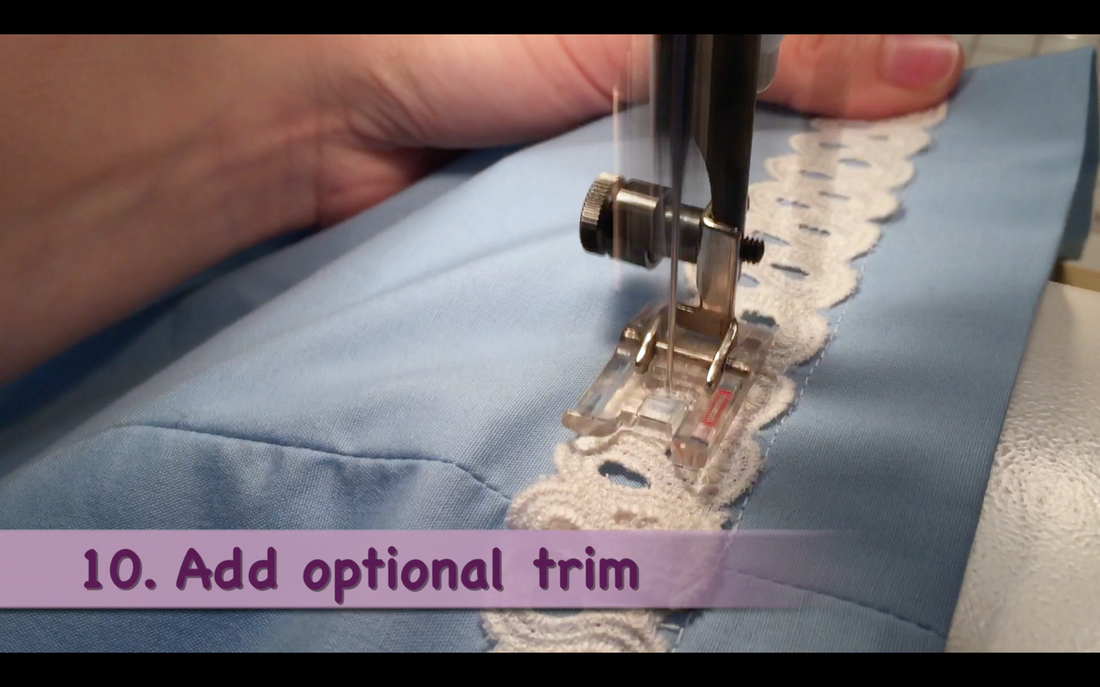 10. At this point, decorative trim can be added. Be sure to tuck the raw edges of the trim under, sew, and backstitch to secure. 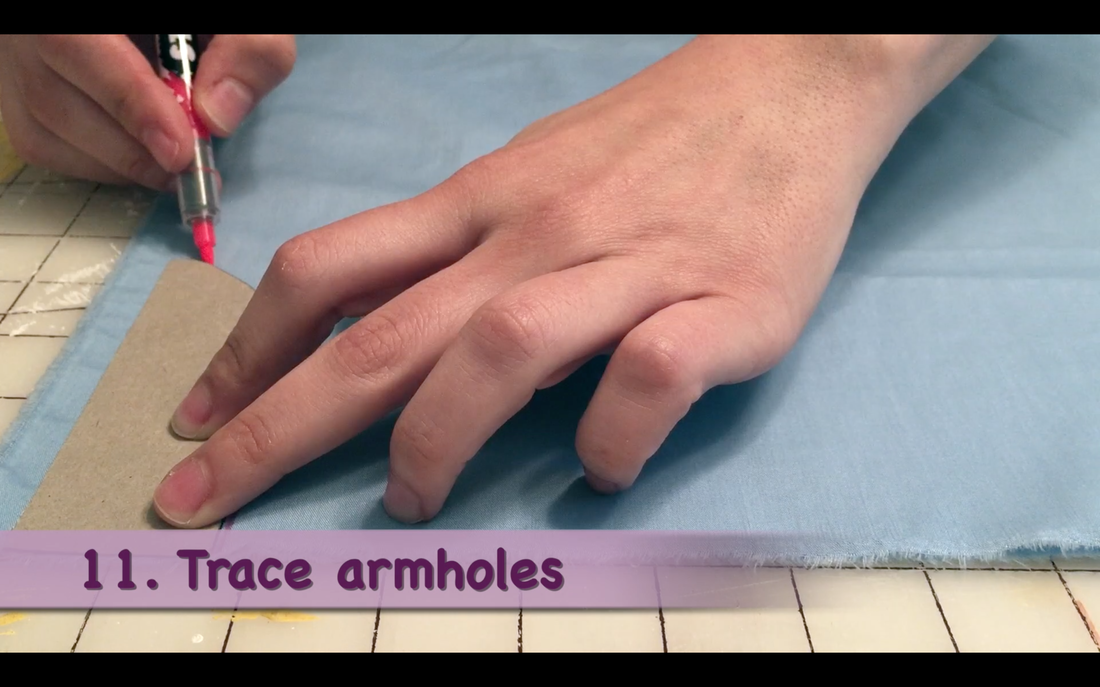 11. Refer to the Sizing Guide to determine which armhole template to use. Armholes go at the folded edge and the seam side. At the seam side, place the straight edge of the template on the seam, NOT at the selvage edge. Click here for a link to the Armhole Template. 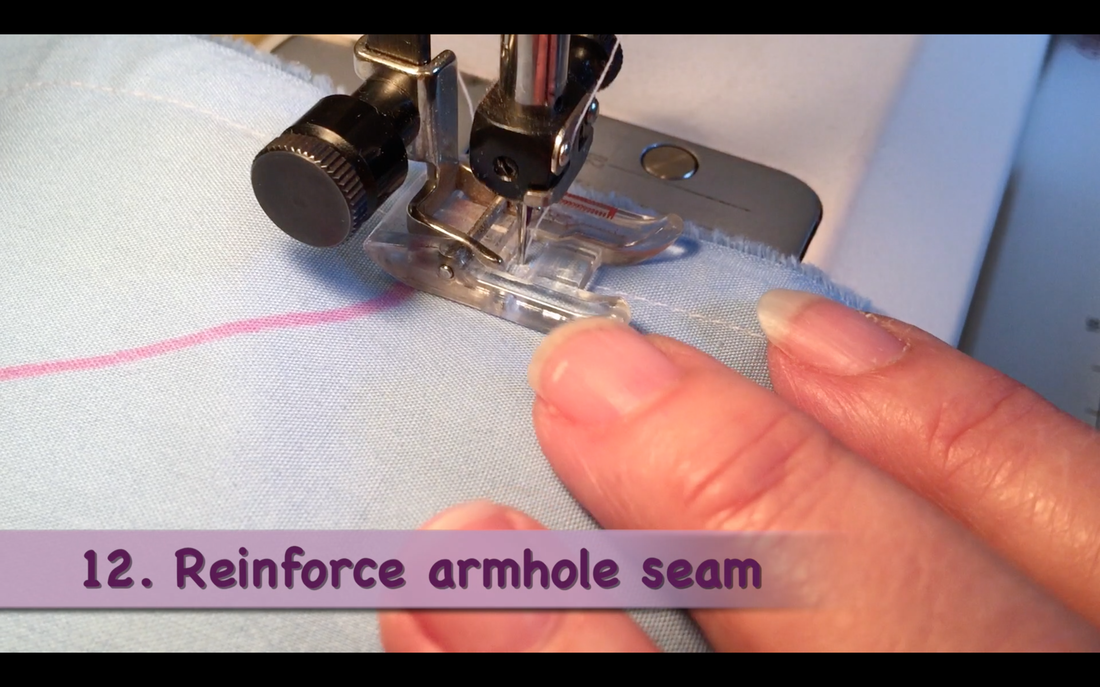 12. Once the armhole is cut on the seam side the stitching will start to come out, reinforce the seam where the armhole cuts across to remedy this. 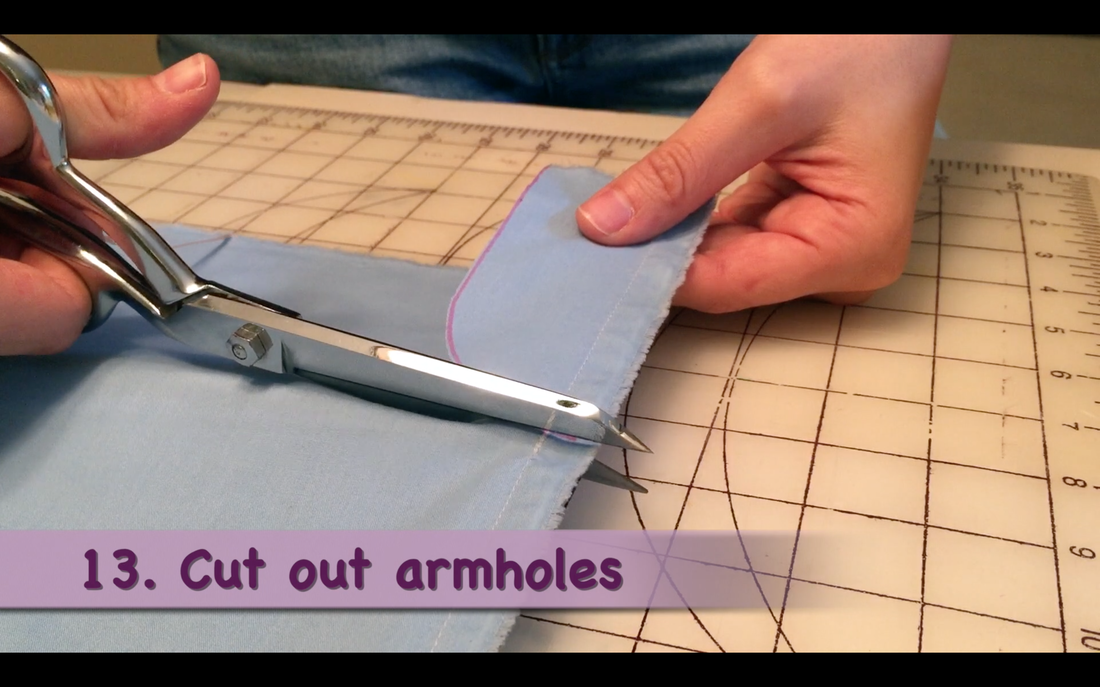 13. Cut out the armholes on each side. On the folded side make a small cut mark to mark with a pen to indicate the center of the armhole. 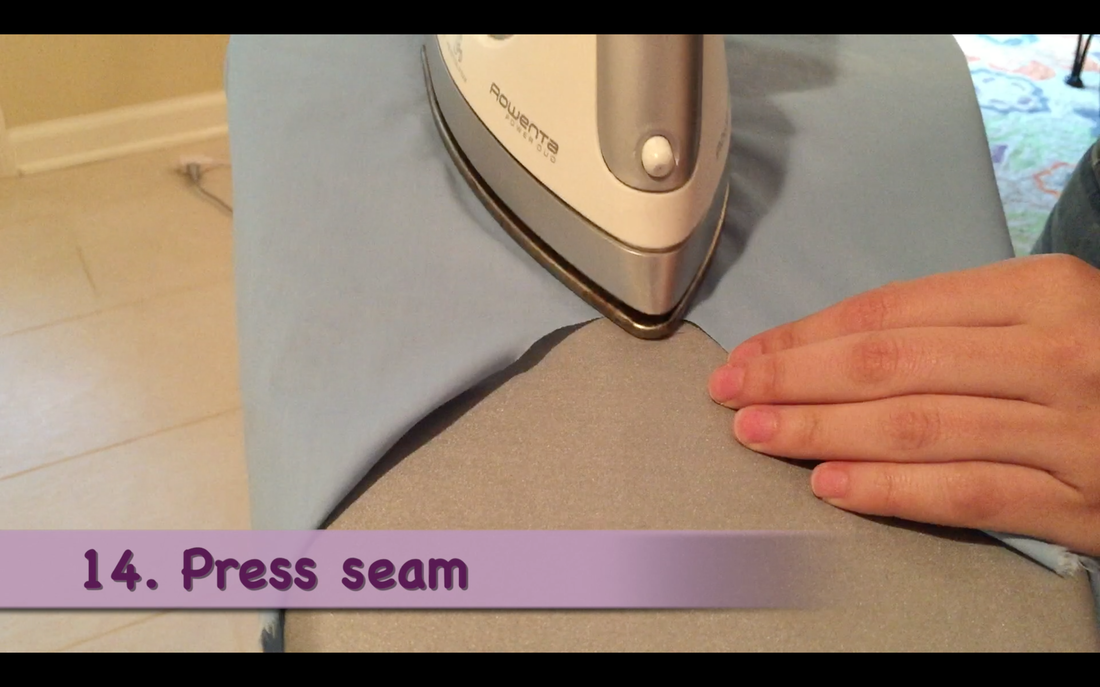 14. Finish pressing the seam. 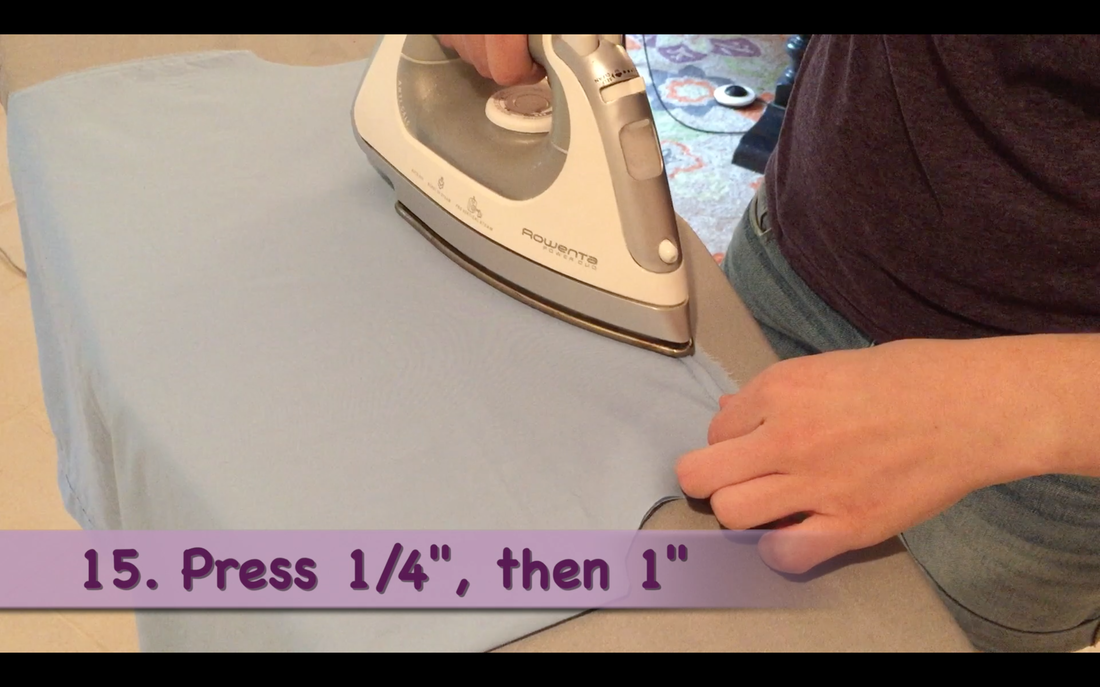 15. To create the top passing for the elastic, press under 1/4" and then fold down 1" and press on both the front and back sides. 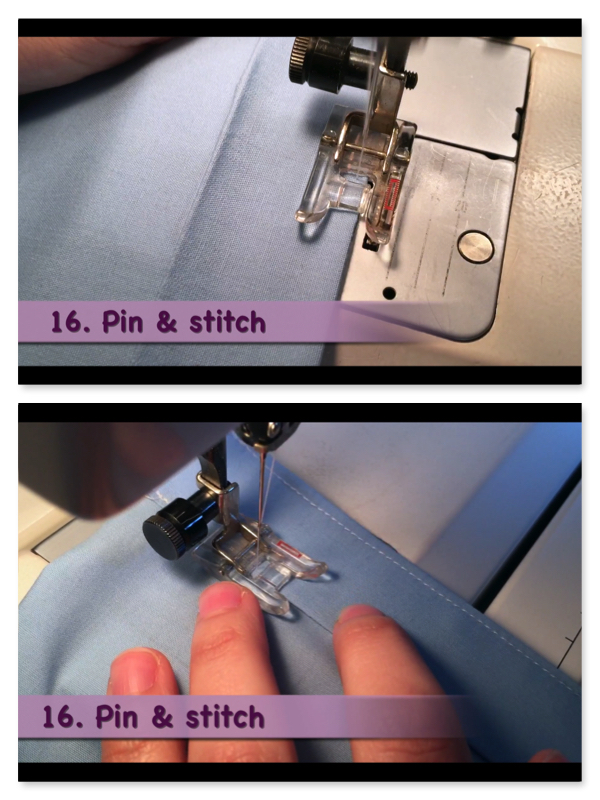 16. Pin the casing in place (or use clips). Stitch very close to the outside edge and then again close to the inside folded edge. 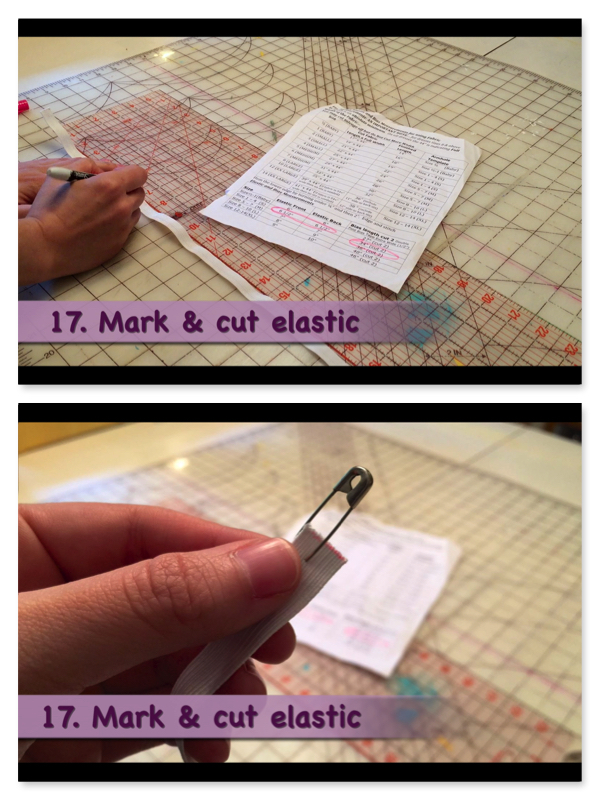 17. Refer to the Sizing Guide for the length of elastic need and cut. Two pieces are needed, I leave the entire piece together, marking the center. 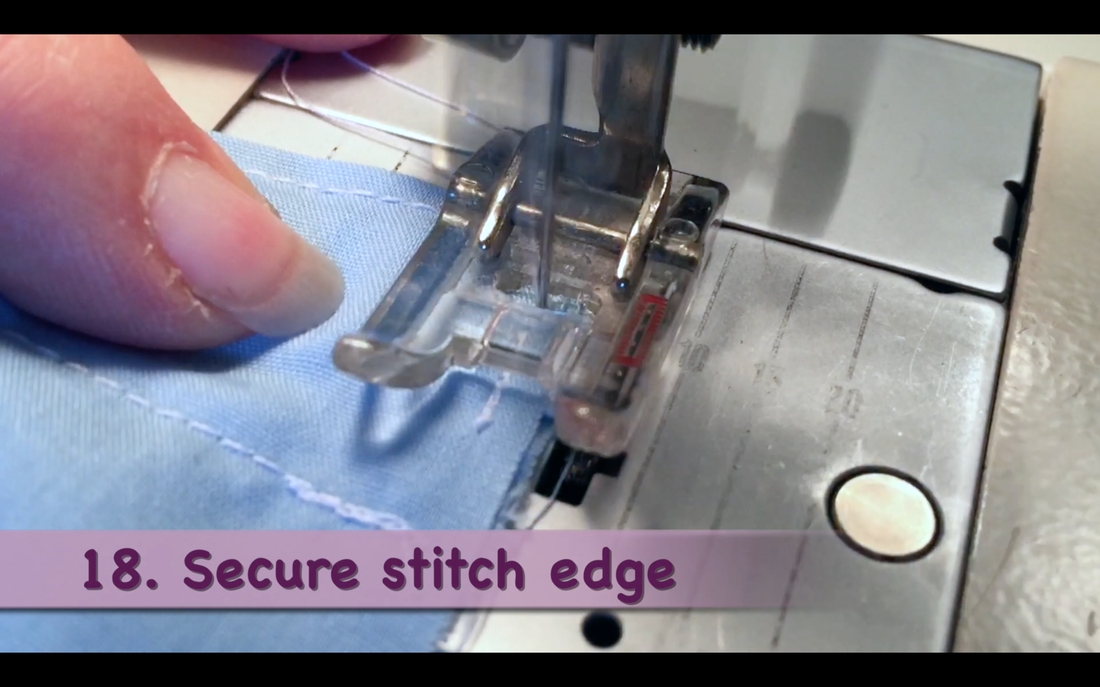 18. Feed the elastic through the casing. Secure stitch (stitch back and forth several times) the elastic in place. 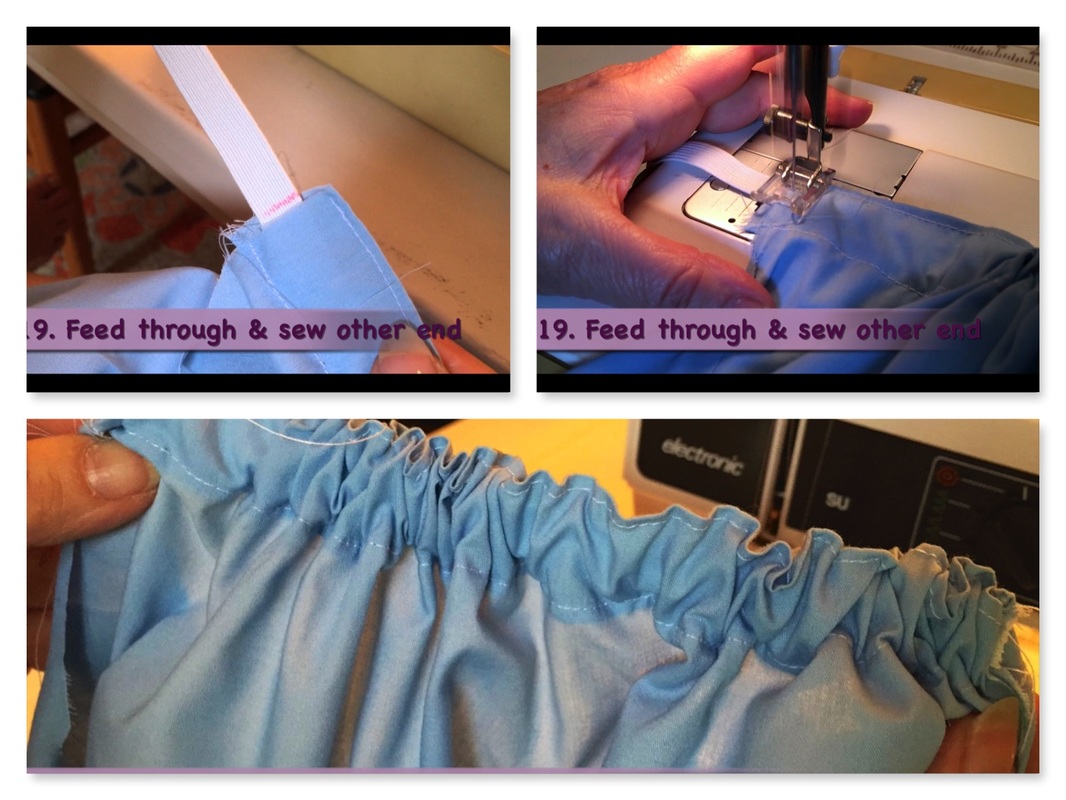 19. Continue to feed the elastic through, when you see the center mark, secure stitch the elastic at this end and cut off the elastic. Use the remaining piece to finish the second casing. 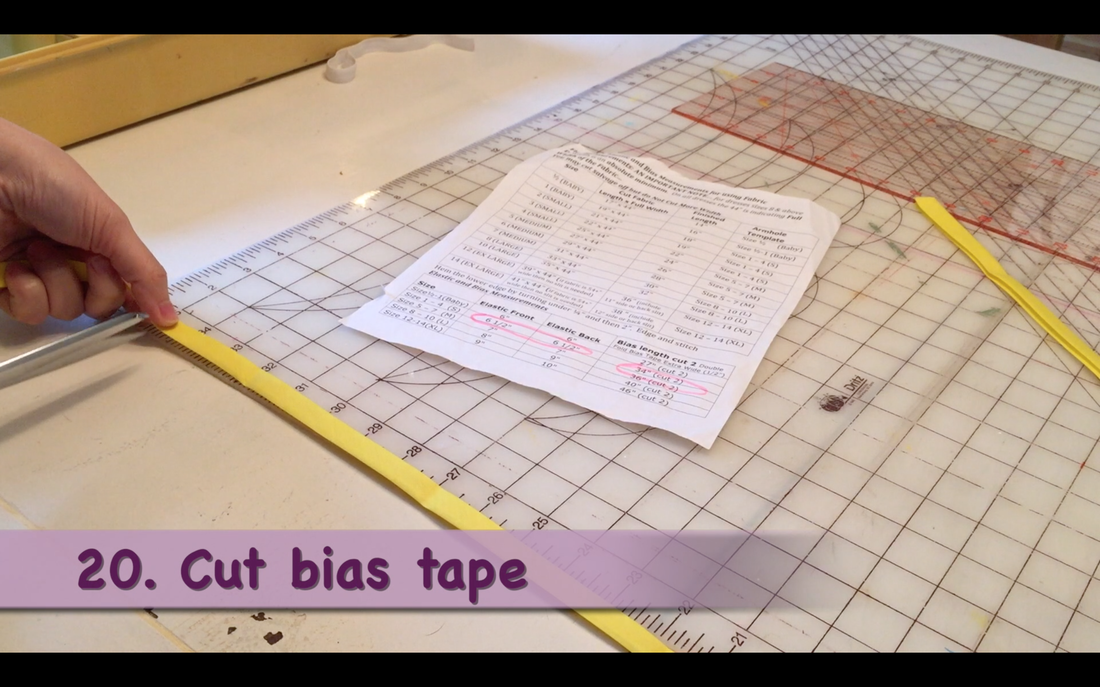 20. Refer to the Sizing Guide again for the length of bias tape needed. You'll cut two pieces the same length. 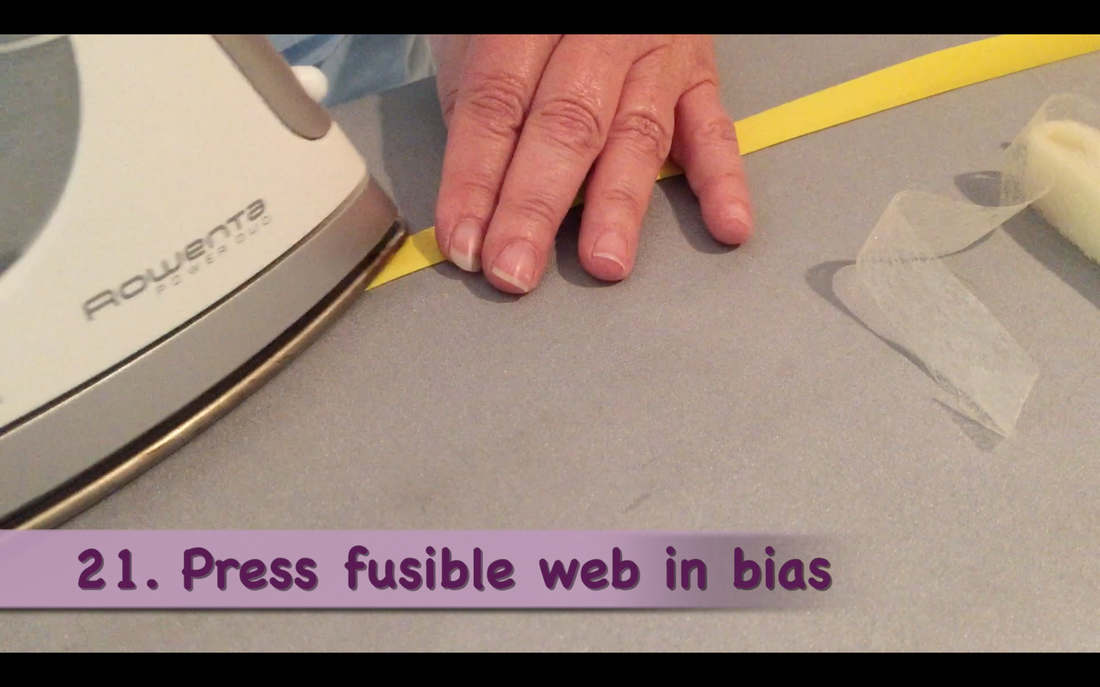 21. It's important to finish the ends of the bias tape so they don't unravel. I've tried a couple of methods, but find this works best. Cut small pieces of fusible web (which turns to glue when heated), place the fusible web inside the end of the bias (on all four ends), and heat.  22. Use pinking shears to finish the ends. If you don't have pinking shears, zig zag the ends. 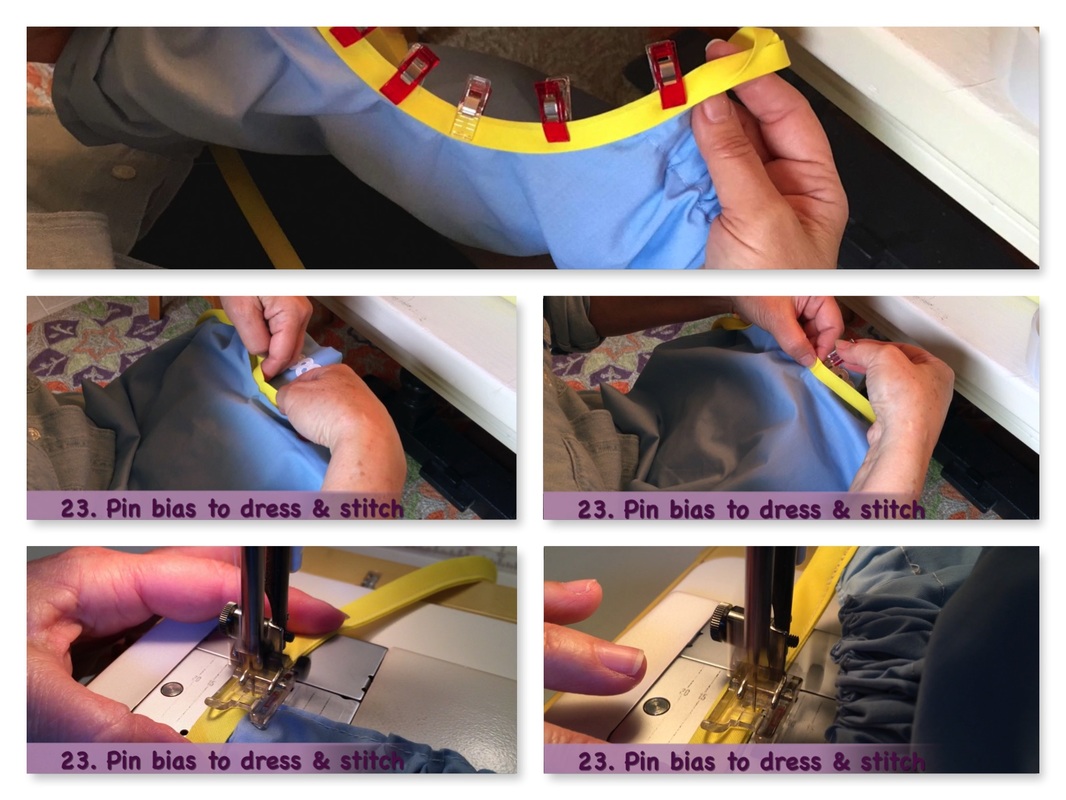 23. Bias tape has a wider and narrower side. The wider side goes inside the garment. (This is a design feature so that when you sew the narrower side, the wider side is automatically caught in the stitching) Find the center of the bias strip, with the right side of the dress facing up, match the bias center with the side seam or folded side cut or mark previously made. Fold the bias in place and clip, continue clipping into place and stitch starting at the end. Secure stitch the bias at the top of each casing. 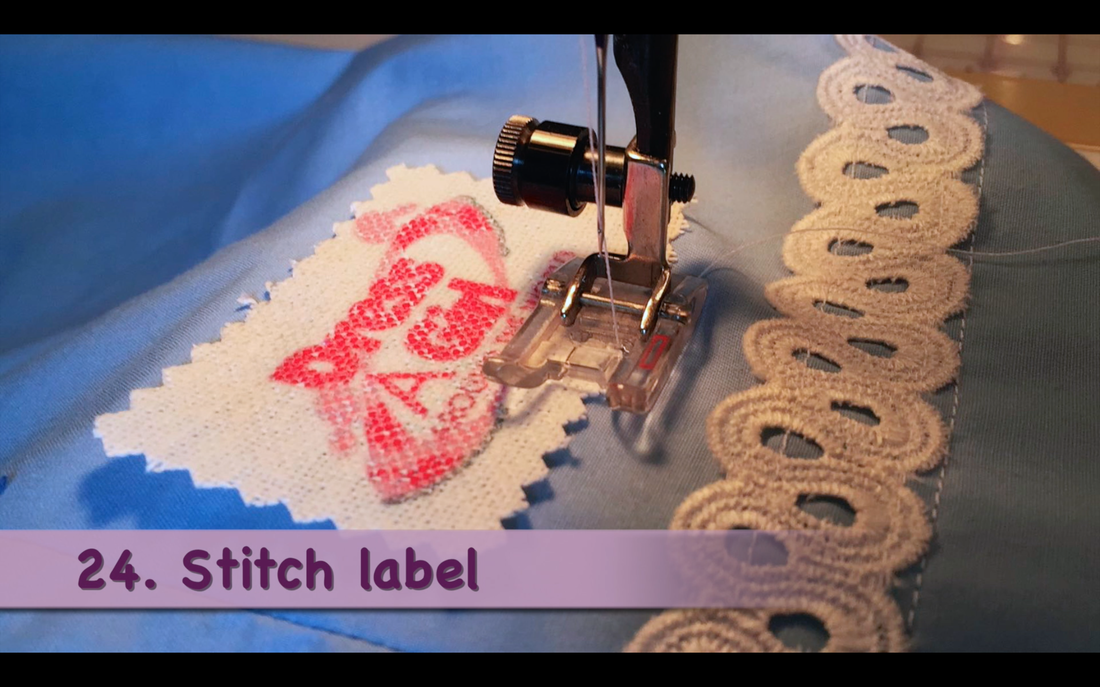 24. Add the Dress A Girl label if you are sewing for this charity. (The label on the outside shows others that the recipient of your dress is under the care of an organization.) 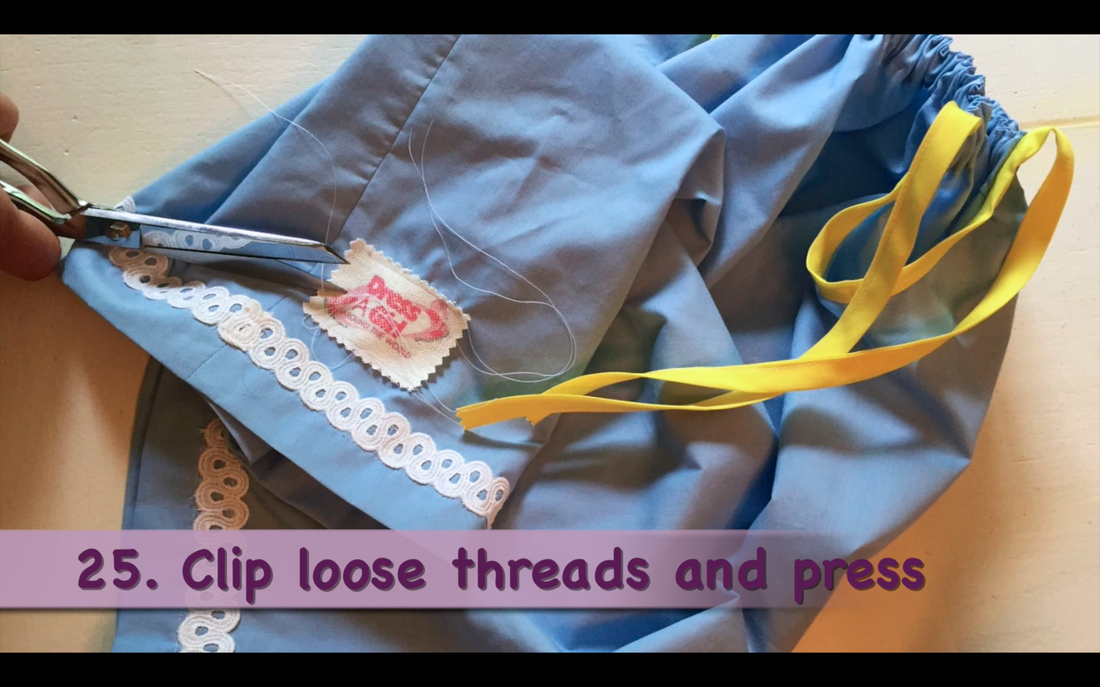 25. Examine the dress for loose threads and do a final pressing on the armhole bias. 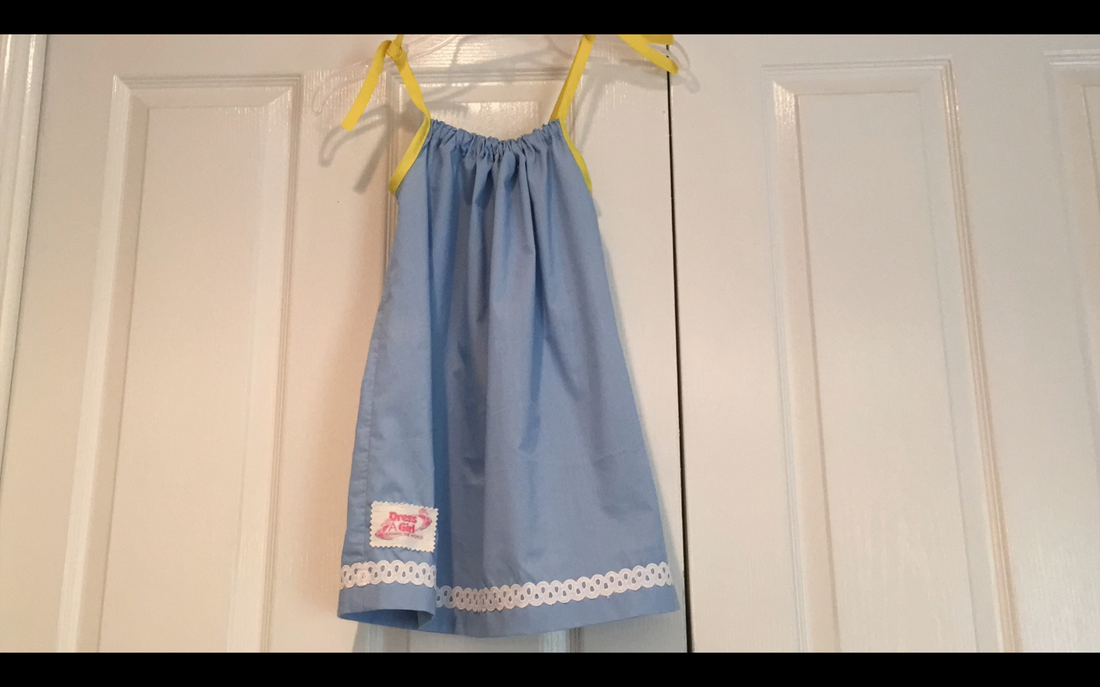
2 Comments
Judith Hall
12/4/2015 01:28:18 pm
I just found your site and I'm thrilled by how detailed your instructibles are. These are the kind of projects I try to do. The two of you are so enthusiastic! I'm looking forward to learning more from you.
Steph
12/7/2015 04:03:59 pm
Thank you so much Judith! If you have any projects you would like to see let us know! Leave a Reply. |

Mother Daughter Projects
|
