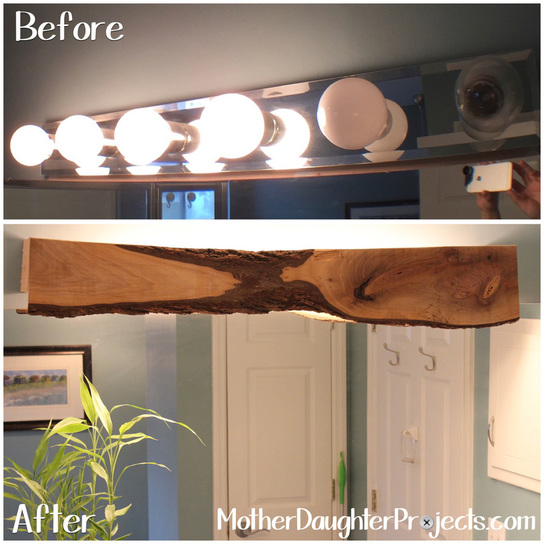
We both have those builder's grade row lights in our bathrooms—you know the ones with the bare bulbs that are ubiquitous in almost every home?! Steph was unable to find a new fixture she liked, so we came up with a plan to disguise the light. Much like you’d make a cornice in a window treatment, we decided to do the same for the light.
We decided to use a piece of live edge wood to bring a bit of nature into Steph’s bathroom.
Materials/tools:
We made our plans up as we went and had a few bumps in the process, but in the end we were pleased with the results. This is how we got from bare lights to covered.
First we replaced all the incandescent bulbs with LED lights for these reasons: 1. LED are cool to the touch & with the wood covering we didn’t want a buildup of heat. 2. The bulbs last a long time, so changing them will not be an issue for many, many years. 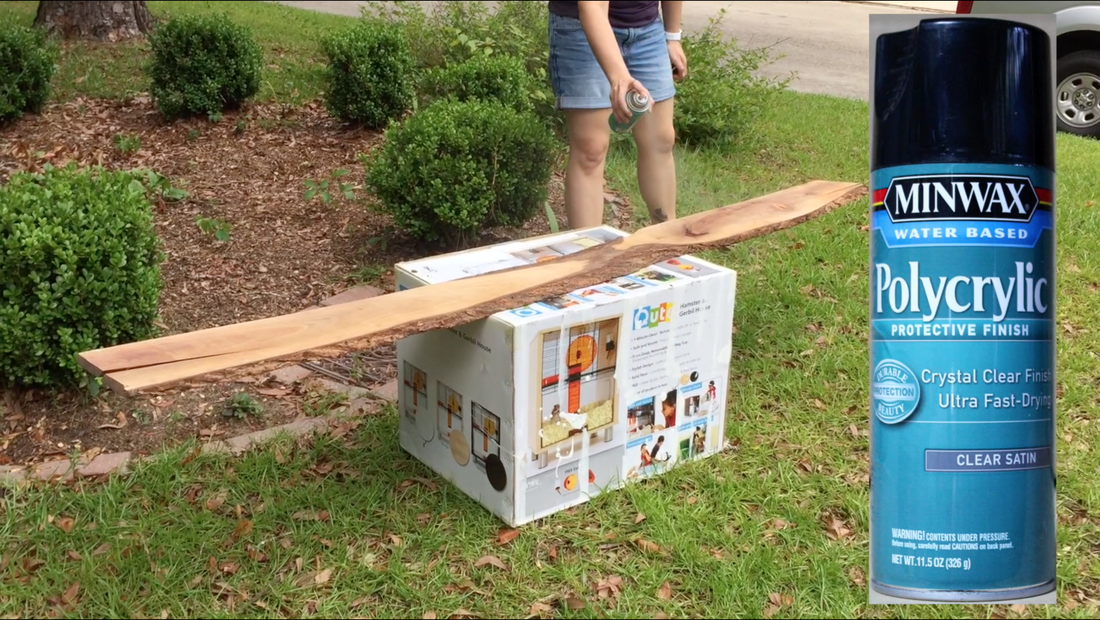
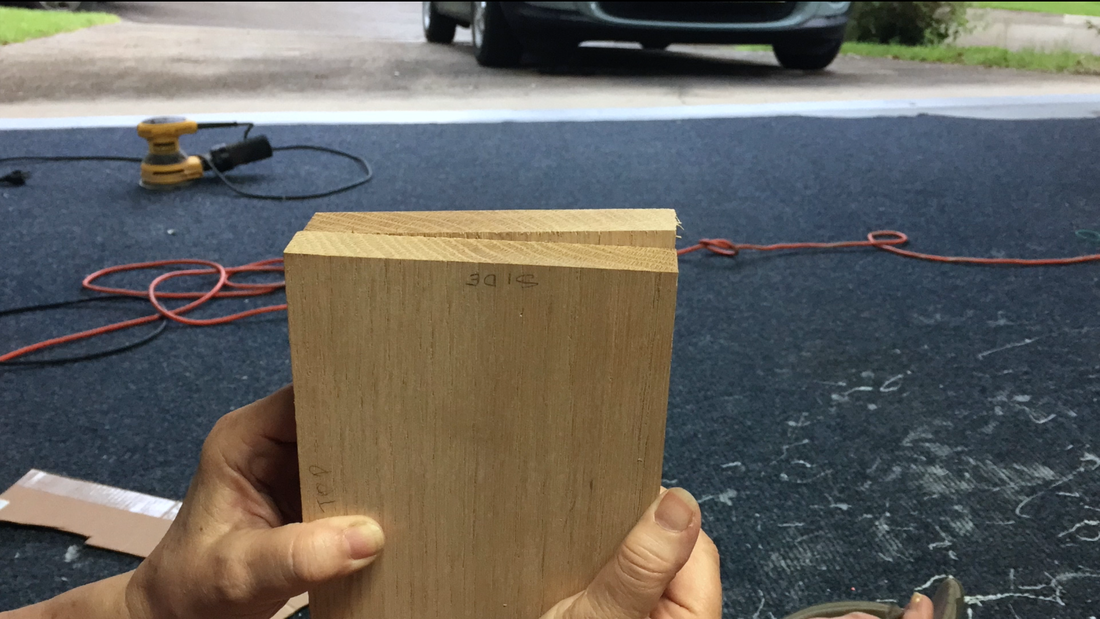
Before making our cuts we sanded and sprayed a protective finish on the wood.
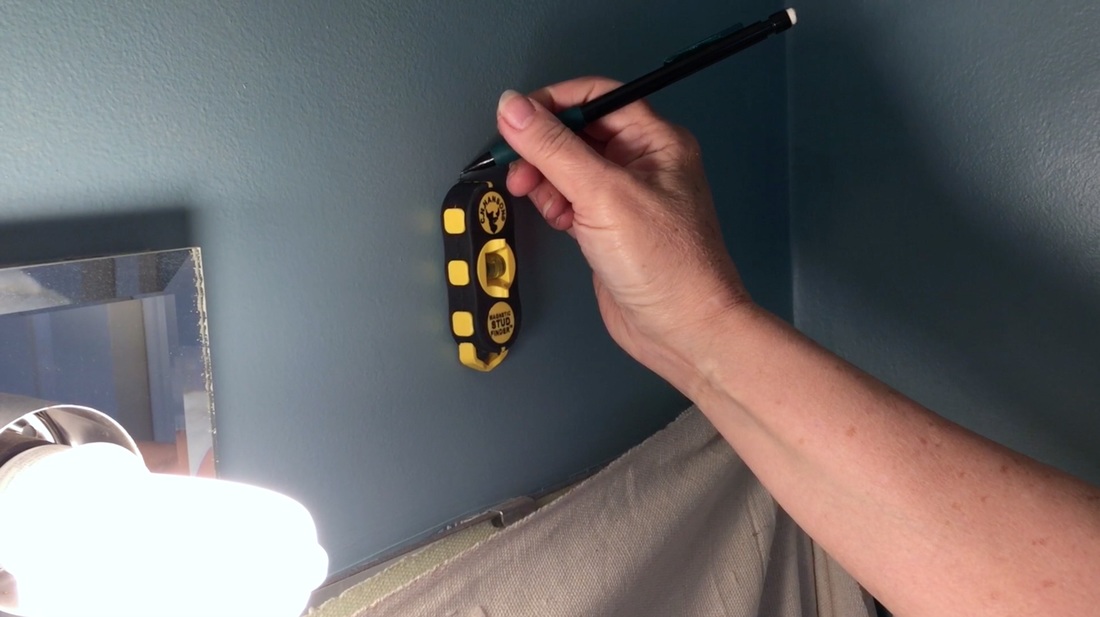
Next, we needed to determine how long we wanted the cover. Finding the closest stud on both sides of the fixture determined the length as we knew we needed to screw it into a stud for support.
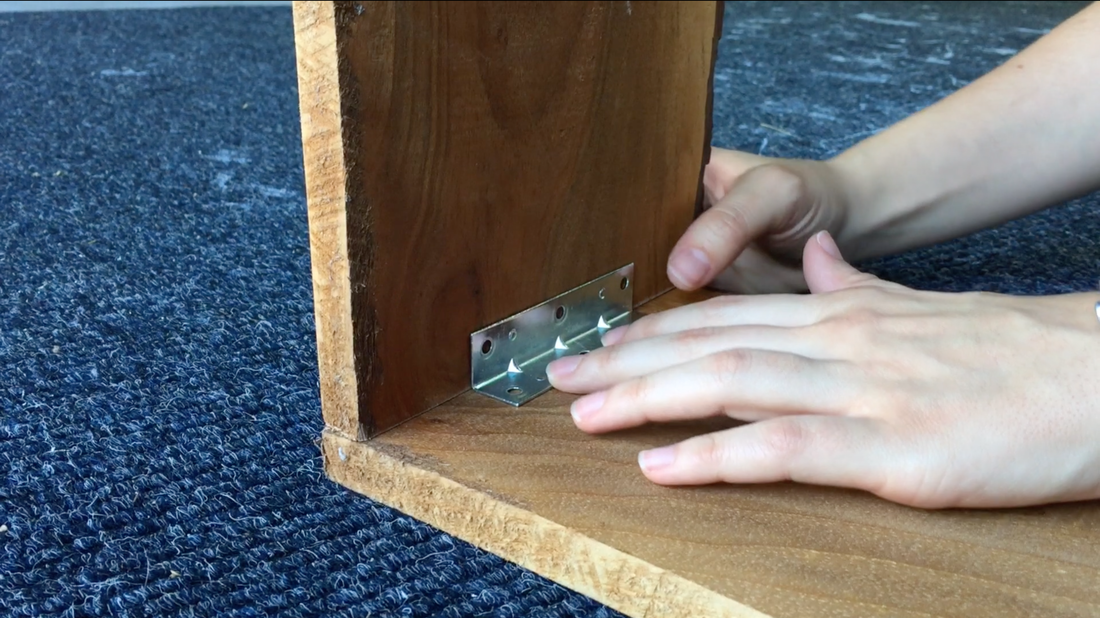
After making our cuts, we attached the corner brackets to the front/sides of the board. We first marked the placement & drilled pilot holes, then screwed everything in place.
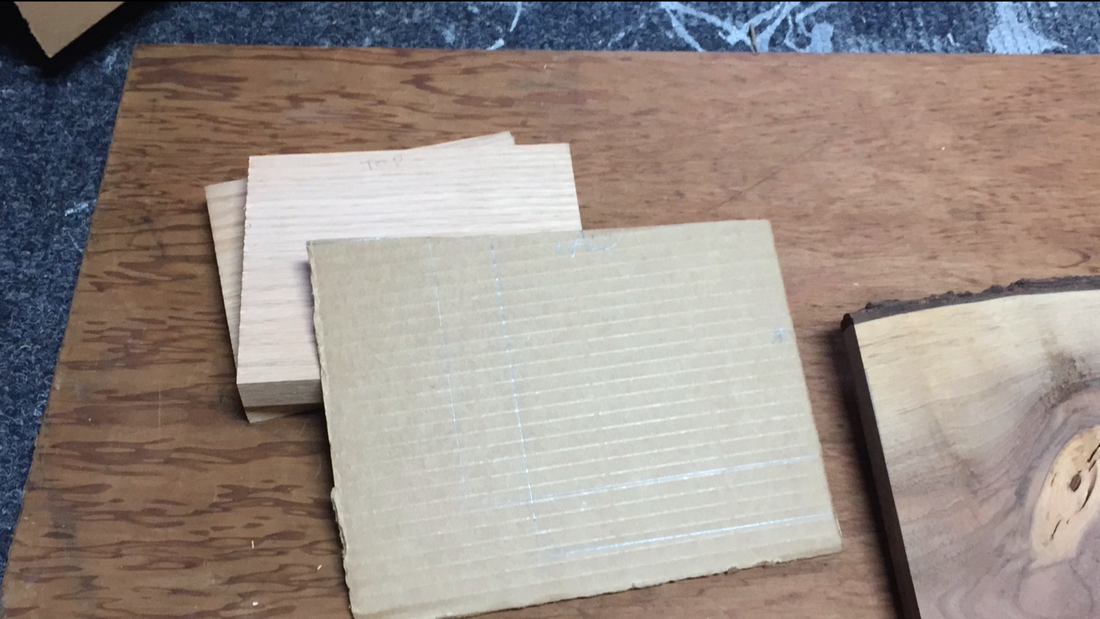
It took a while to get the angle right. We ended up making a cardboard template to play around with the angle before making the cuts.
Once we got all our cuts made we realized the live edge wood was not level, which caused it to not lay flat on the bathroom wall. Back to the drawing board we realized we needed to make new side pieces and make one slightly angled to compensate for the uneven live wood cover.
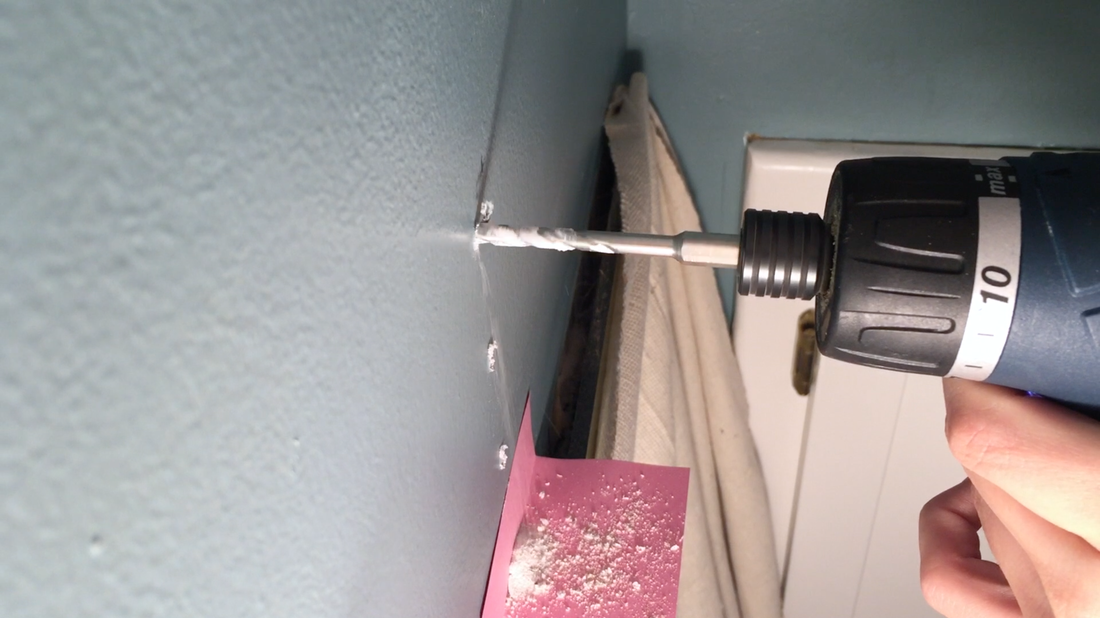
We drilled our pilot holes and screwed the L bracket into the wall first.
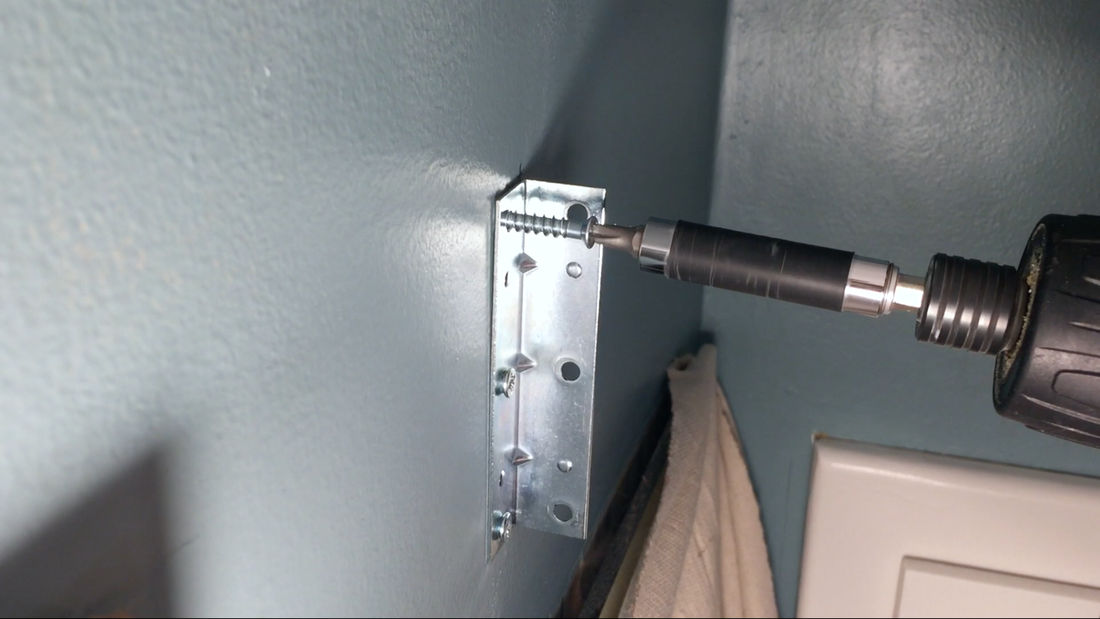
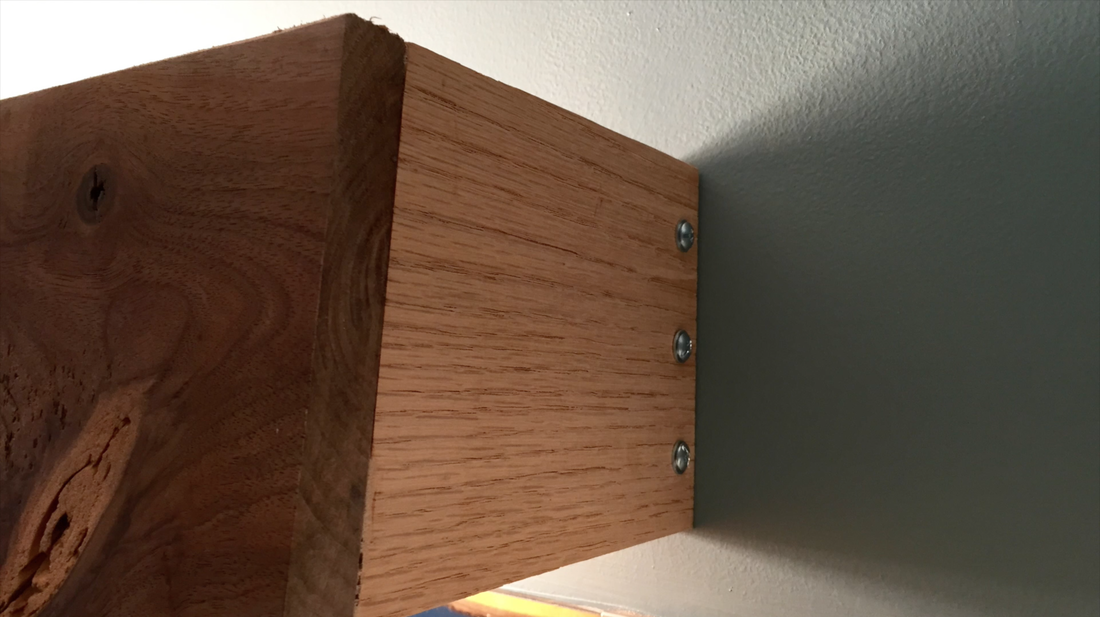
We held the wood in place and used bolts to attach the cover to the wall. This will allow us to remove the cover easily if we need to replace the lights.
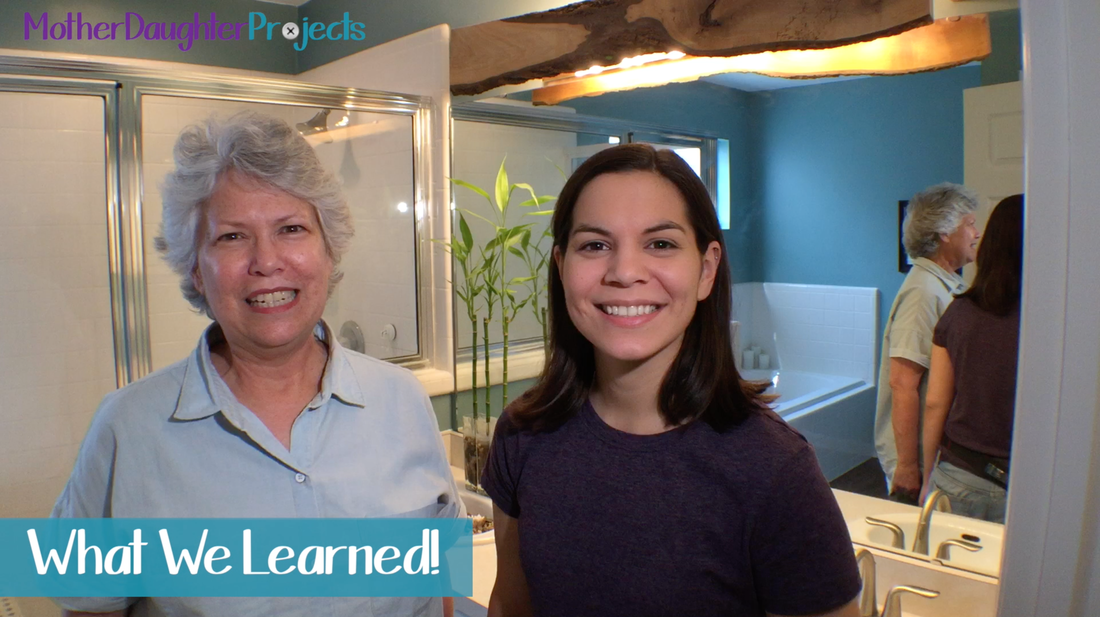
What we learned:
4 Comments
Lori Jones
2/16/2017 12:41:12 pm
Does this cut down on the amount of light?
Steph
2/16/2017 05:29:17 pm
Hi Lori! I thought it might but it really doesn't. Maybe like 10% less light than before but its really not noticeable.
Pam
2/9/2018 01:07:06 pm
Hi. I have TWO bathrooms with these strip lights and despise them both. I have thought and thought and thought about ways to make a cover for them using similar design to yours but have yet to secure it. I bought the LED lights for coolness factor (cool to the touch, that is, because they aren't cool to look at if you get my drift and I am sure you do since you have the same light fixture!) ...but I digress. I am no t a DIY person but have aspirations to be so seeing your gorgeous live wood light cornice has been a definite boost to my creative juice and I am willing to revisit the project. I had thought to use craft wood from Hobby Lobby or Michaels so the cover wouldn't be as heavy but seeing your design opens more doors for me. Thank you for the inspiration.
Steph
2/10/2018 06:02:13 pm
Thanks for sharing that Pam! We are so excited you got inspired by the project! Leave a Reply. |

Mother Daughter Projects
|

