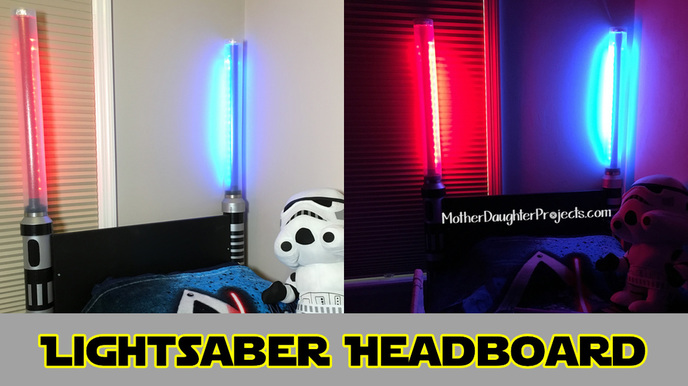
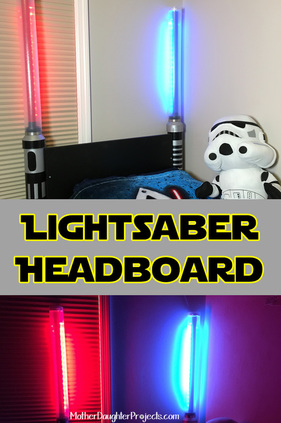
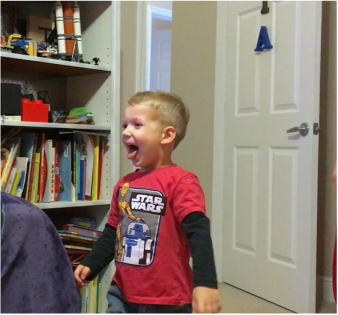
Steph and our nephews/grandsons are big Star Wars fans! The idea for this project came to Steph one day while we were driving in the car. She saw a pile of newspaper end rolls and tried to think of DIY projects they could be used in. She came up with a lightsaber headboard of course! Making this special, unique gift for our nephews/grandsons motivated us to move forward! We started figuring out the plans together (and ultimately didn't use the end rolls, as PVC worked better).
Check out the video below to see how this project came together!
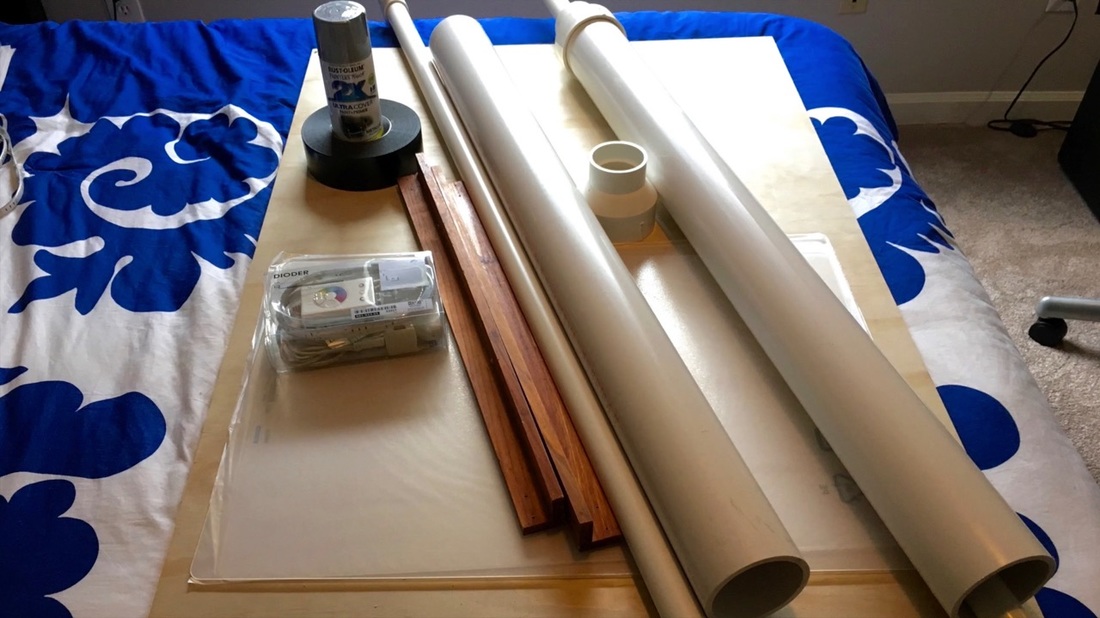
Materials:
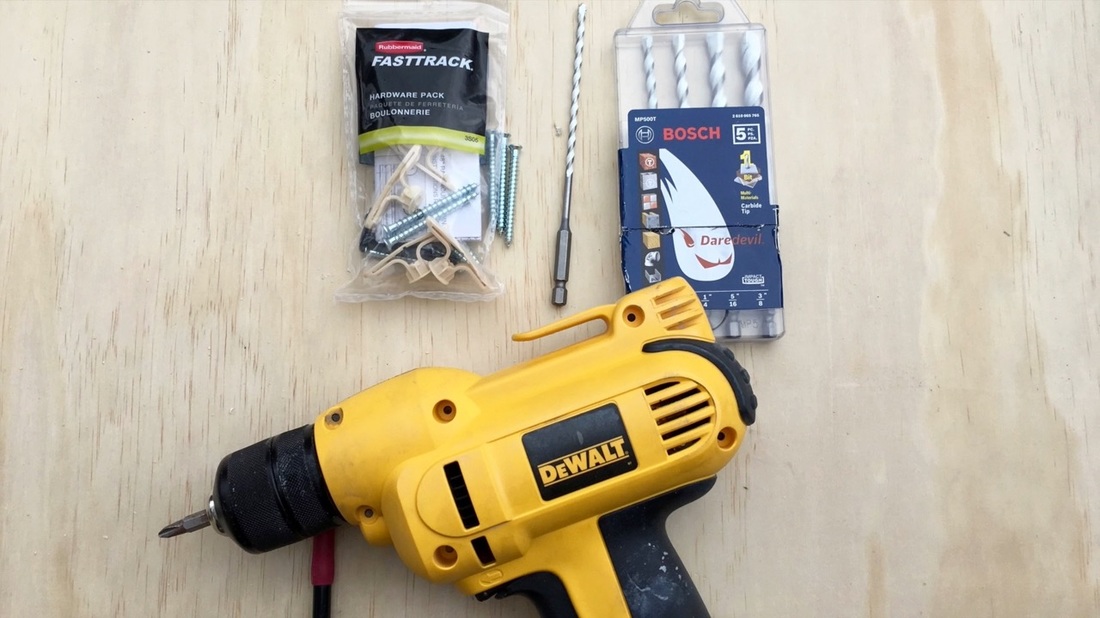
Tools:
Measurements we used for twin bed:
How-To Steps
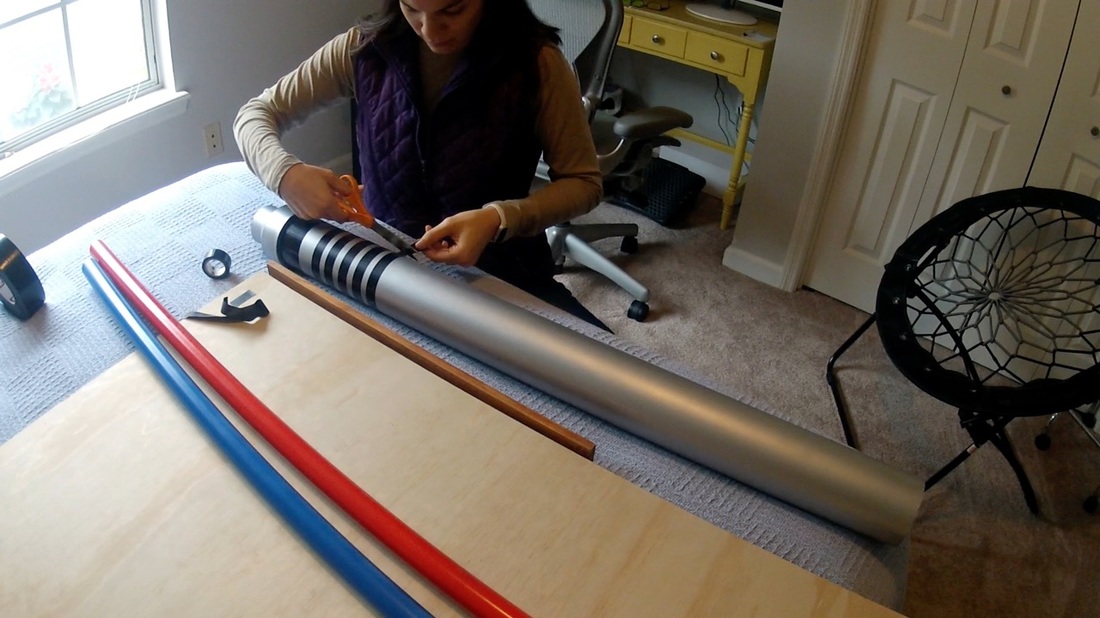
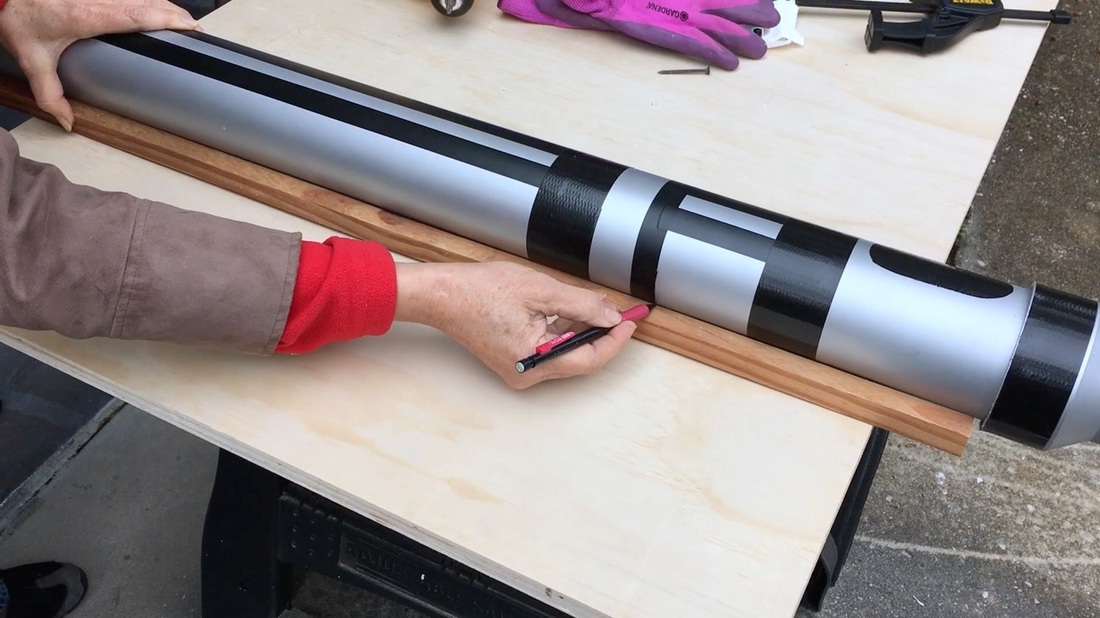
After we gathered our materials, we spray painted the two large PVC pipes silver and the two smaller PVC pipes red/blue. Then we used electrical and duct tape to make the lightsaber handles.
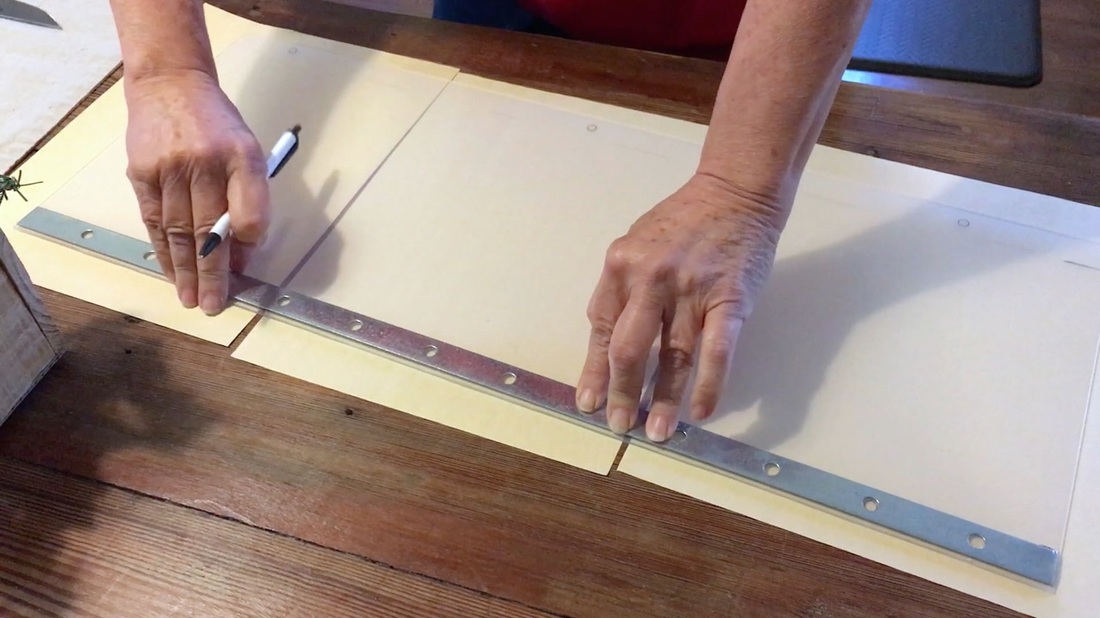
We laid out the wood connecting board and wood side pieces. We marked our measurements.
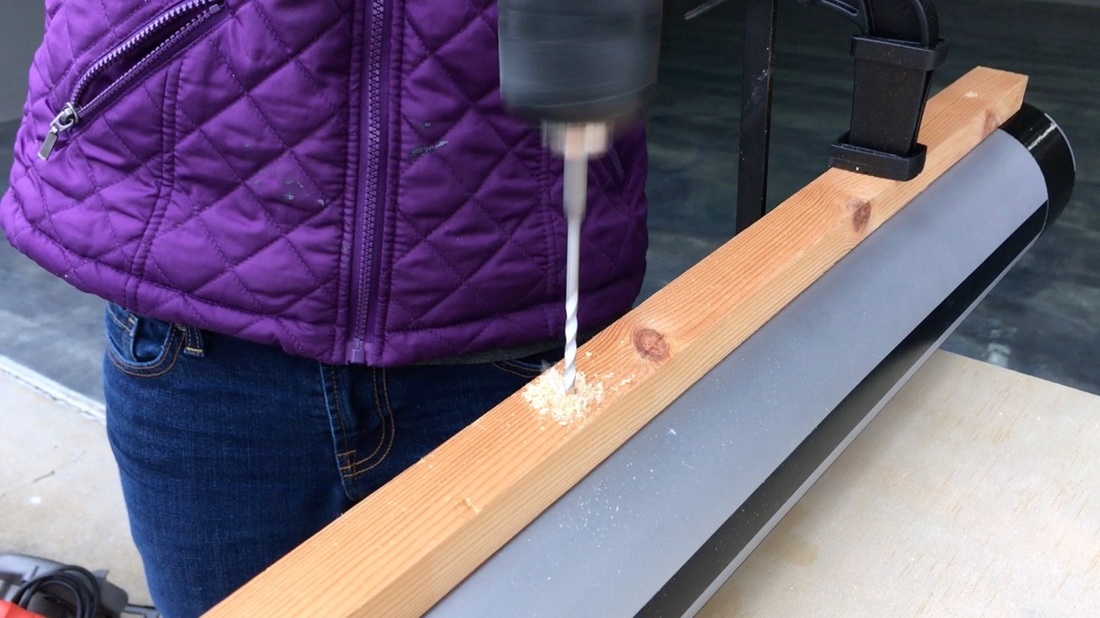
We clamped the lightsaber and side pieces to a board and used the PVC drill bit to make pilot holes. Then we used wood screws for a nice strong hold.
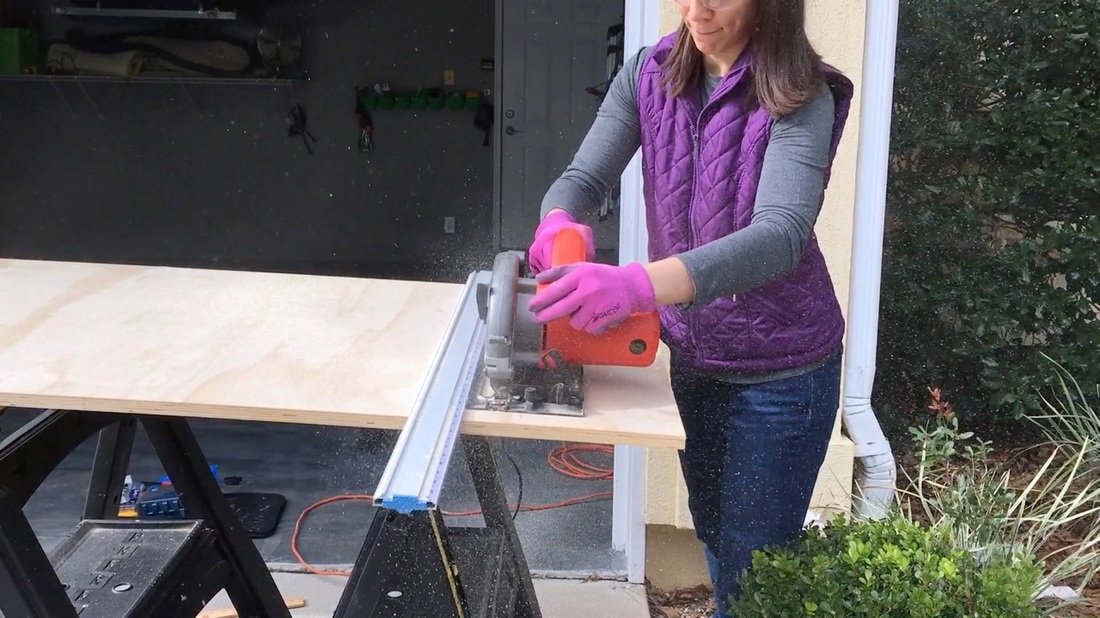
We cut our connecting board to size with a circular saw, but we could have gotten this done at Home Depot when we bought the wood.
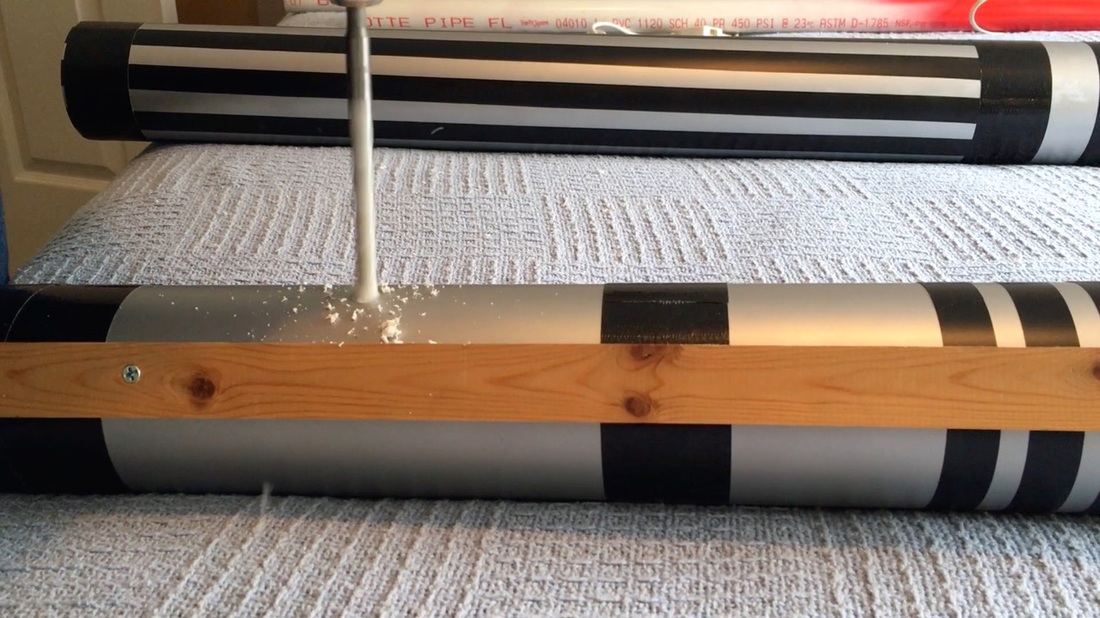
We used the PVC safe drill bit again to make a hole, half way down the back of the lightsaber. This is for the LED light power cable. We needed the hole a little bigger so we followed that with a typical 1/2" drill bit.
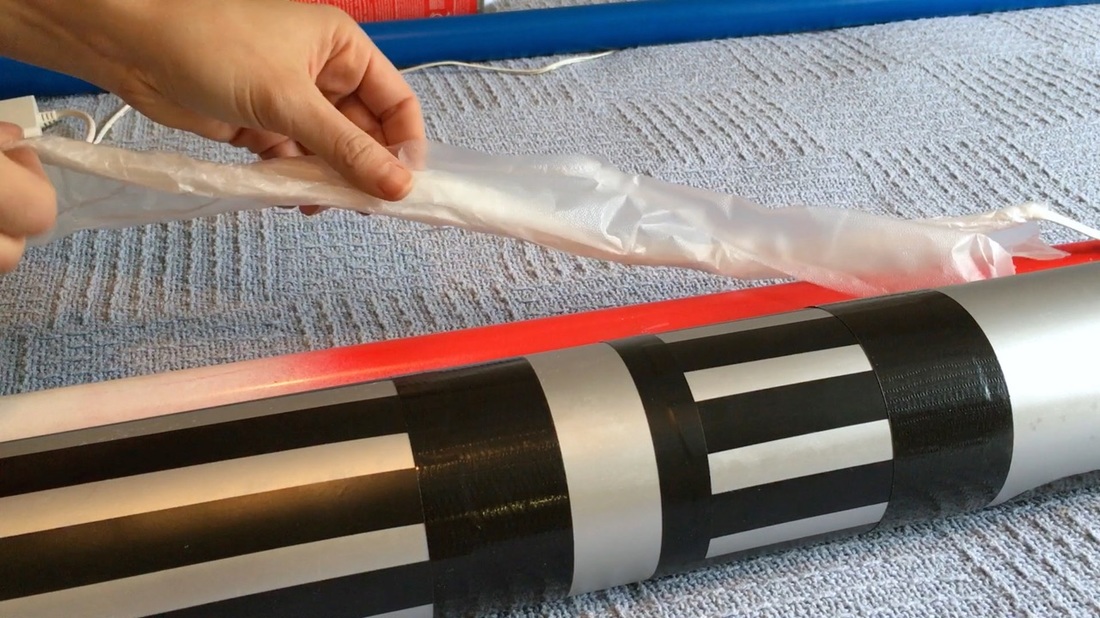
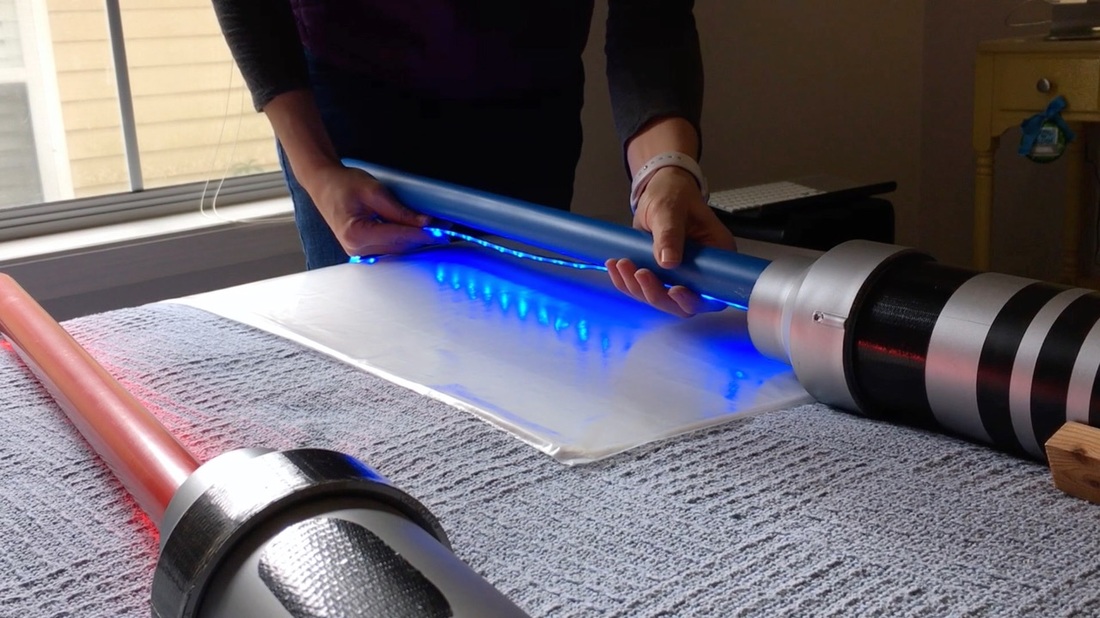
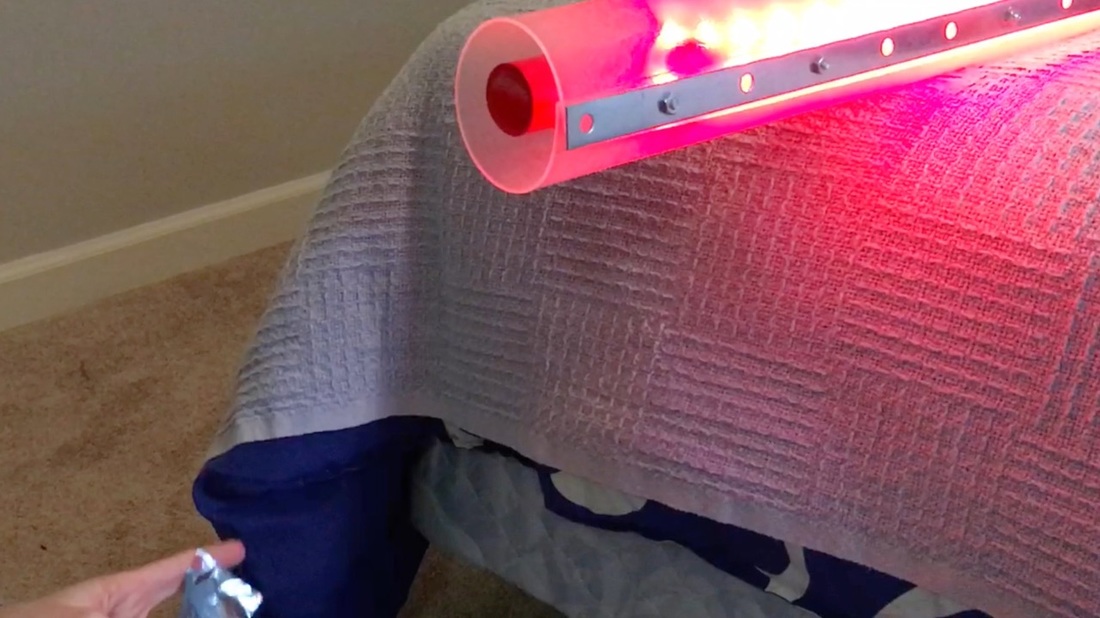
We covered the LED cables that would be inside the pipe with clear wrap. We thought this would be helpful as we would be using Great Stuff foam to secure the PVC pipes inside. Then we fed the lights through the hole. We connected the lights and turned them on.
We set the middle PVC pipe in place and attached the lights. We bought adhesive color changing ribbon lights from Ikea. They are probably over kill for this project but we have used them in many projects and have never had an issue.
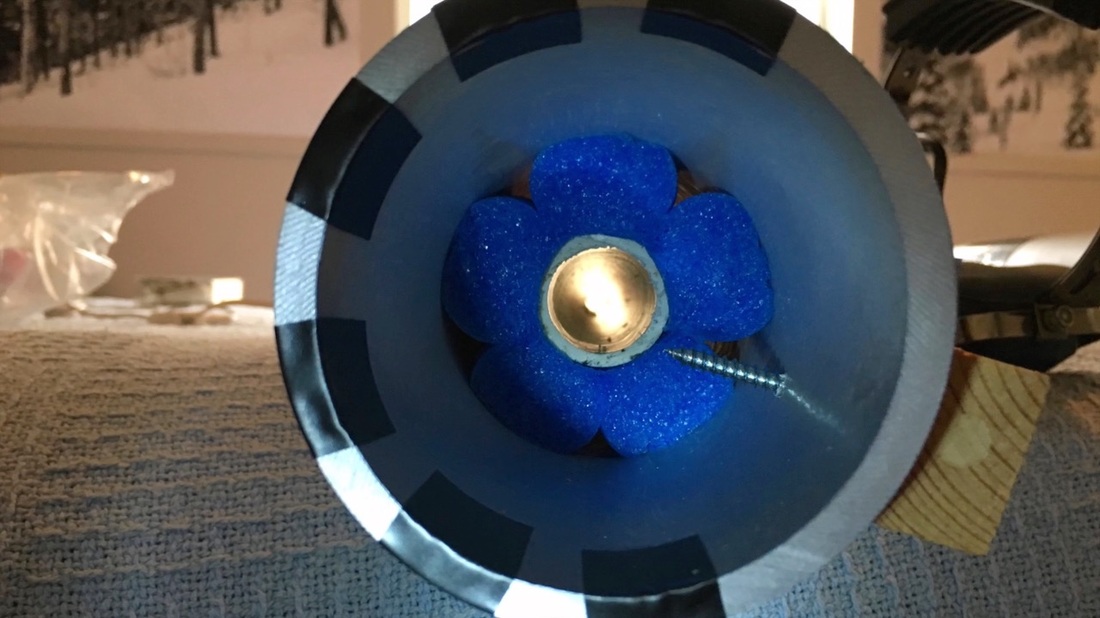
We realized a cut pool noodle was a great way to keep the middle PVC pipe centered. If we did this again, we would also add one to the top end. (we only had a flower shaped pool noodle which we trimmed, but a regular, round noodle would probably work better)
Next we took the lightsabers outside to spray Great Stuff foam in the bottom and top to keep the middle PVC pipe in place. Note: you might not need to do this if the pool noodle at the top and bottom make the lightsaber secure enough.
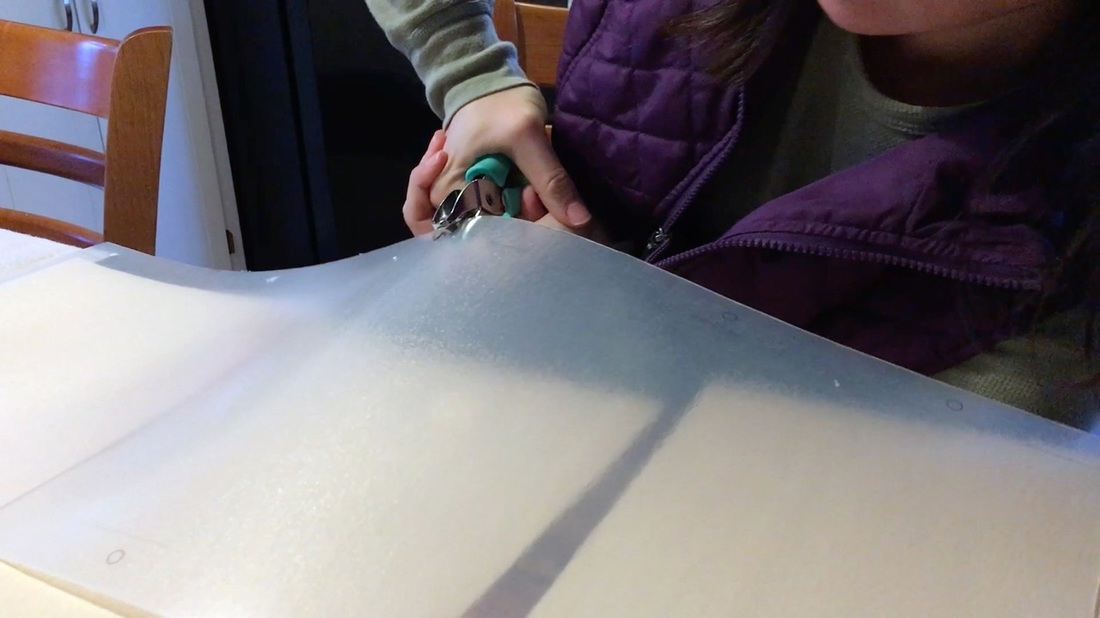
After the Great Stuff dried, we moved on to making the top of the lightsaber. We used a piece of paper to make a template to determine how much overlap we needed for the cover. Then we marked our cover, which is a desk mat from ikea, and made our cuts.
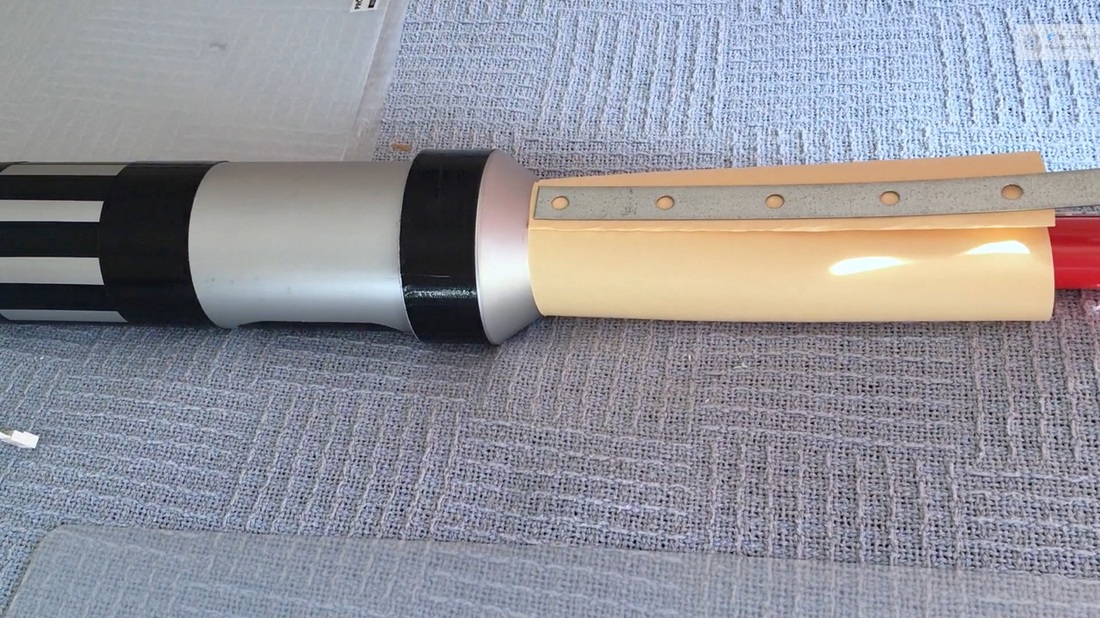
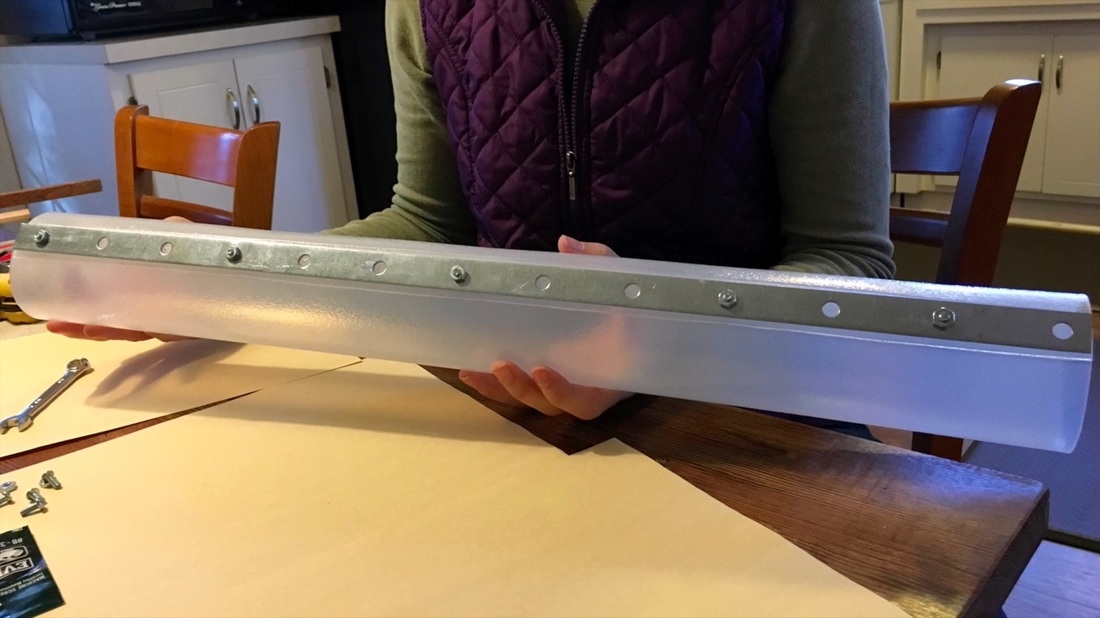
We marked where the bolts would go and used a hole punch to start the holes. We rolled the plastic and used bolts to keep them together. We used a flat metal bar to make the plastic secure.
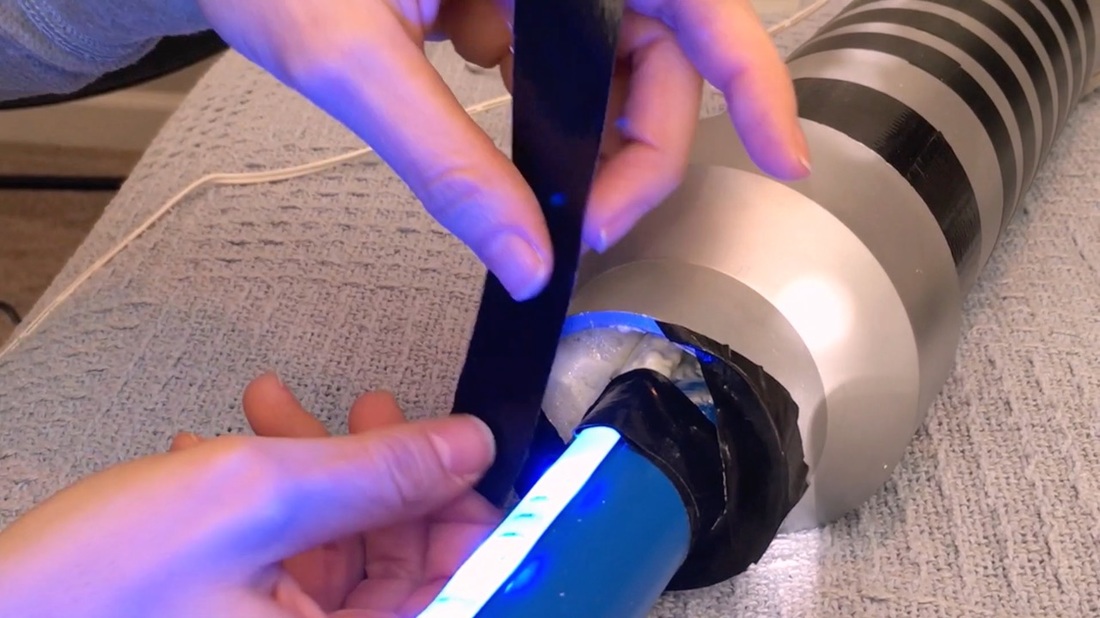
We finished off the top with black duct tape. This covered up the Great Stuff foam and gave a nice finished look.
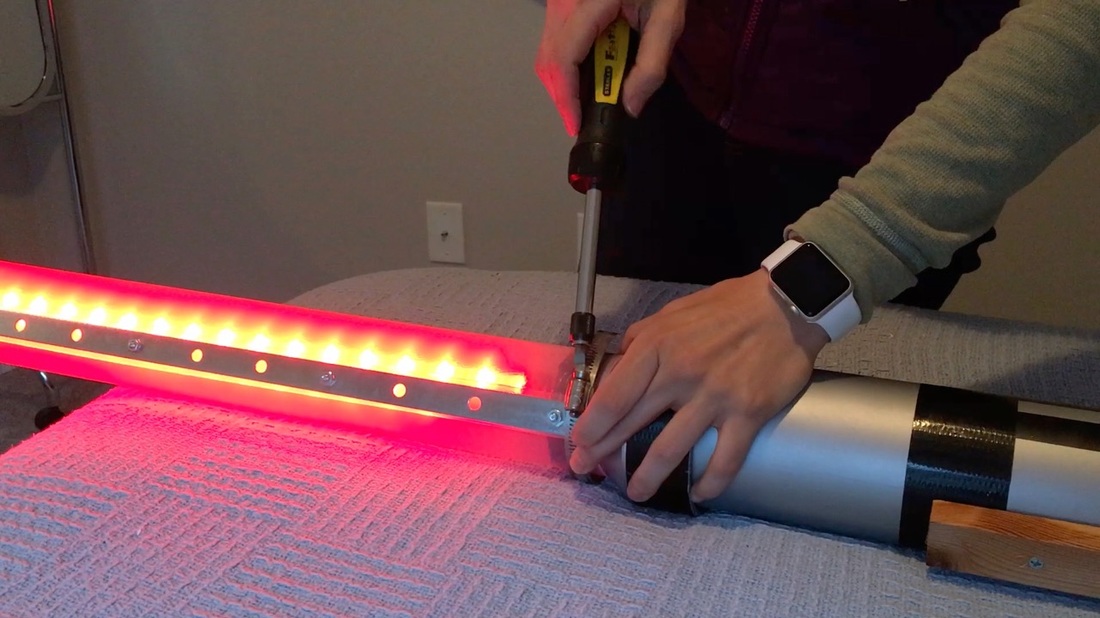
We slid the cover on and used a 3" clamp to keep it in place. We cut the excess off and covered up (with duct tape) the sharp edge for safety.
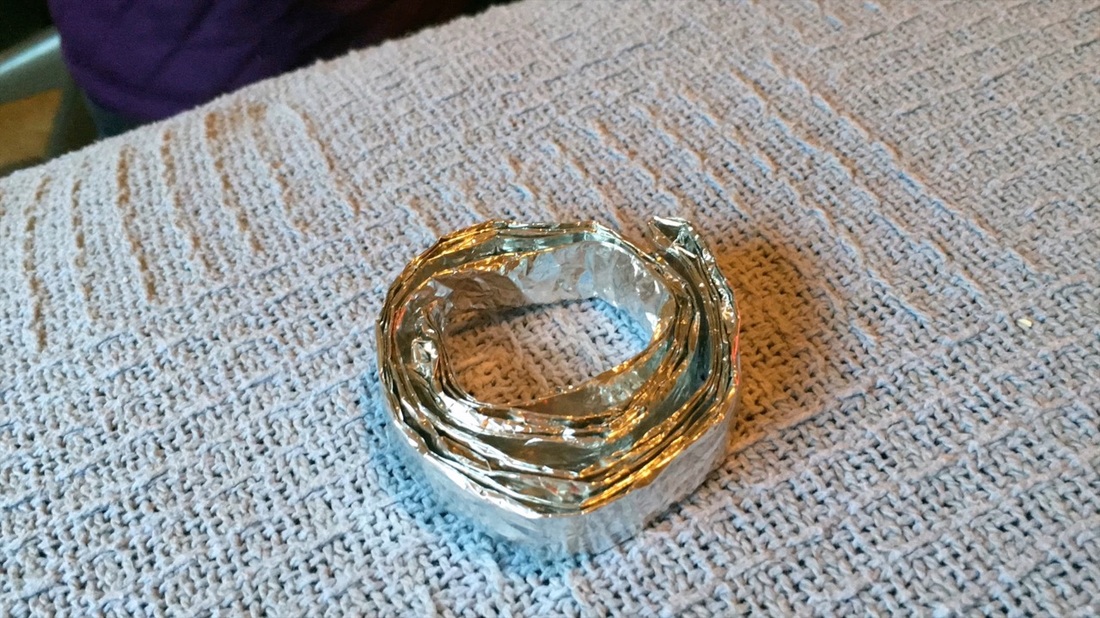
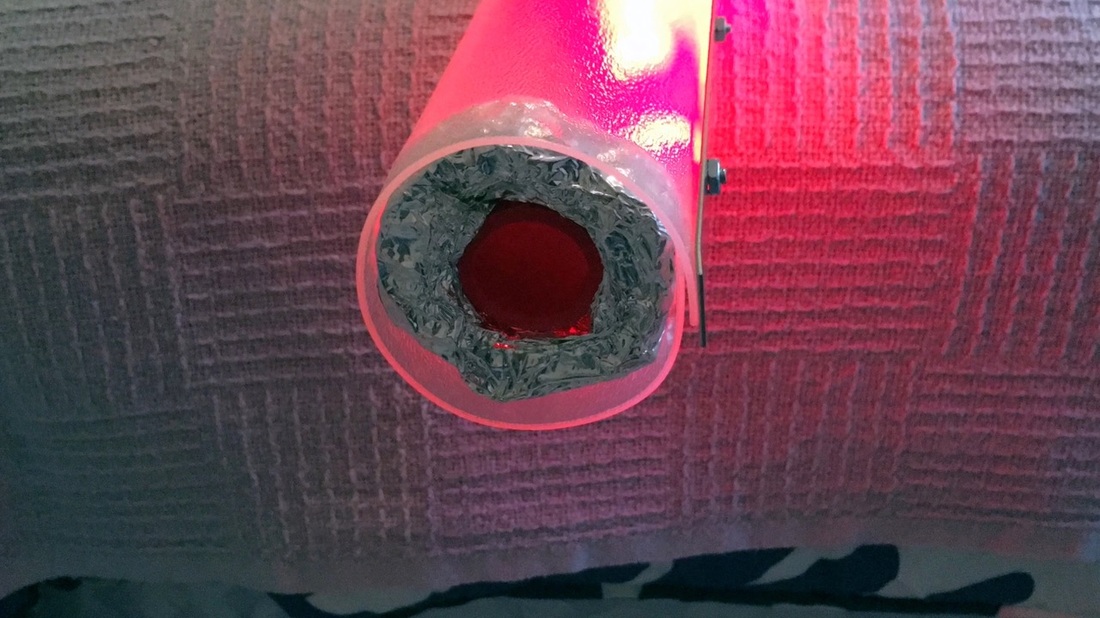
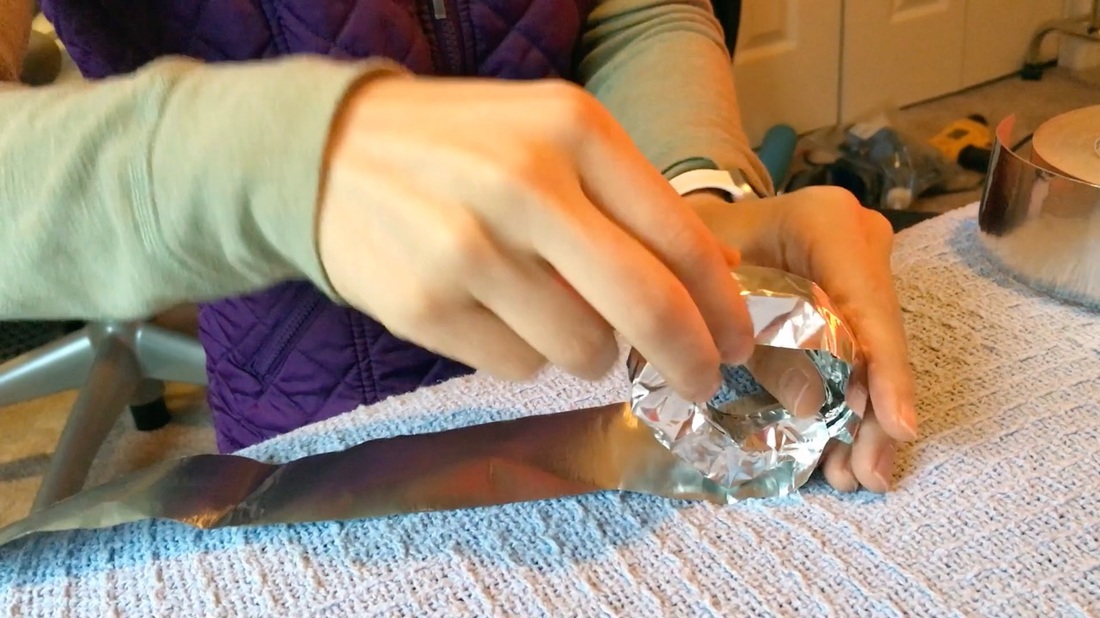
Lastly, we needed a way to keep the middle PVC pipe secure with the outside cover. We tried different ideas (like pool noodle) but ended up wrapping aluminum foil in a circle and wrapping aluminum foil tape around that. This is the only part we are not so sure about. It works, and we were out of ideas so we let it be. But we know there is probably a better solution so get creative with your own!
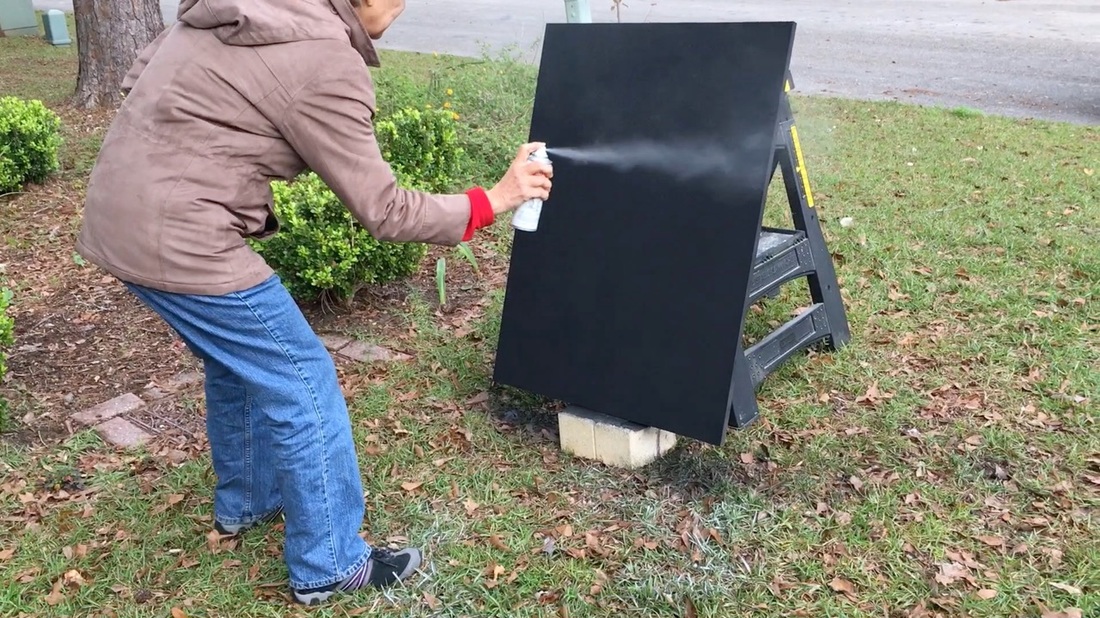
We also painted the connecting board black and sprayed glitter stars on it. We considered writing Andrew's name on it in Star Wars letters but we kept it plain if the kids switch beds overtime.
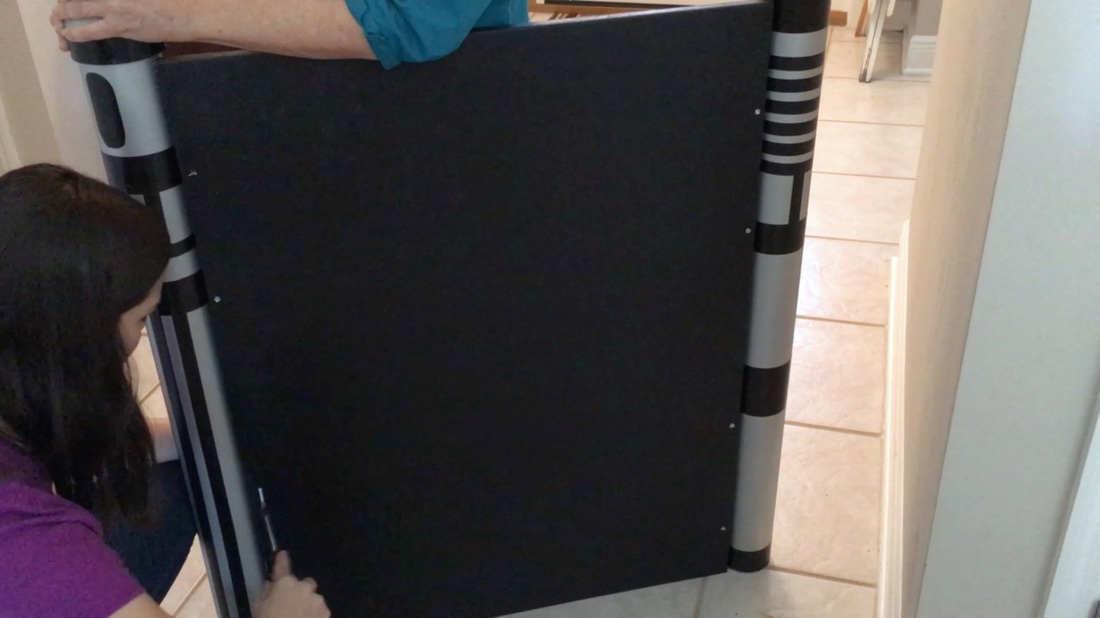
We packed the lightsabers and board in the car and headed to nephew/grandson Andrew's house. We attached the board to the side pieces on the lightsabers and got the headboard in place!
Please note: We are not sponsored by any of the companies/products that we used. These products were picked and bought by us.
FYI: We are not professionals, and we don’t claim to be. This is what we found worked for our project. Yours may need a little different approach. Safety first! FYI: Amazon/Home Depot affiliate links are being used on this page. Related Projects
7 Comments
Steph
1/21/2016 12:19:39 pm
Thanks Melissa!
Reply
Graham
2/2/2016 11:51:19 pm
You certainly made that little guys day! That looks just great.
Reply
Steph
2/3/2016 09:11:47 am
Thanks Graham!
Reply
Steph
2/13/2018 07:39:26 am
Thanks so much Ivory :)
Reply
Wow. This is awesome. I wish I would have seen your website prior to my making a Halloween light sabre candy chute. I would have used the black duct tape and electrical tape instead of spray paint. The spray paint kept dripping and my lines were not straight and I kept having to do repaint work.
Reply
Leave a Reply. |


