Mother Daughter Projects

  • Blog
  • About
    • Contact
    • Privacy Policy
  • Tools
    • Tool Tuesday
  • Maintenance
  • Improvement
  • Decor
  • Tech
  • Blog
  • About
    • Contact
    • Privacy Policy
  • Tools
    • Tool Tuesday
  • Maintenance
  • Improvement
  • Decor
  • Tech

DIY for Homeowners

Mid-Century Chair Makeover

4/11/2016

0 Comments

 
​​by Vicki    ​Sign up to receive project updates by email!
Mid-Century Chair Makeover. MotherDaughterProjects.com
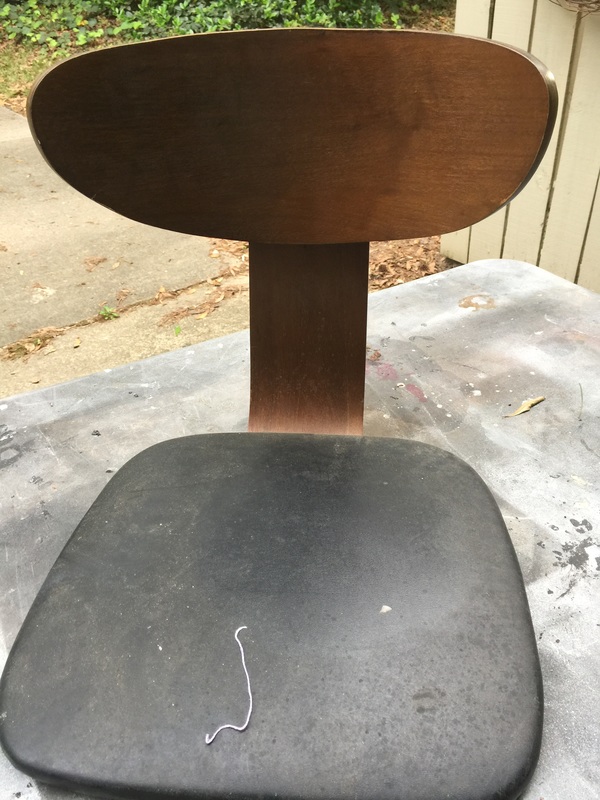
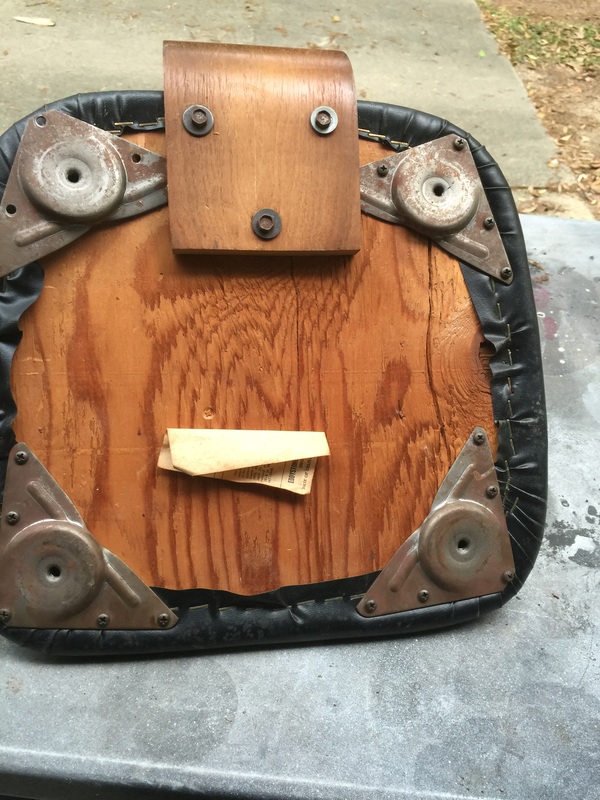
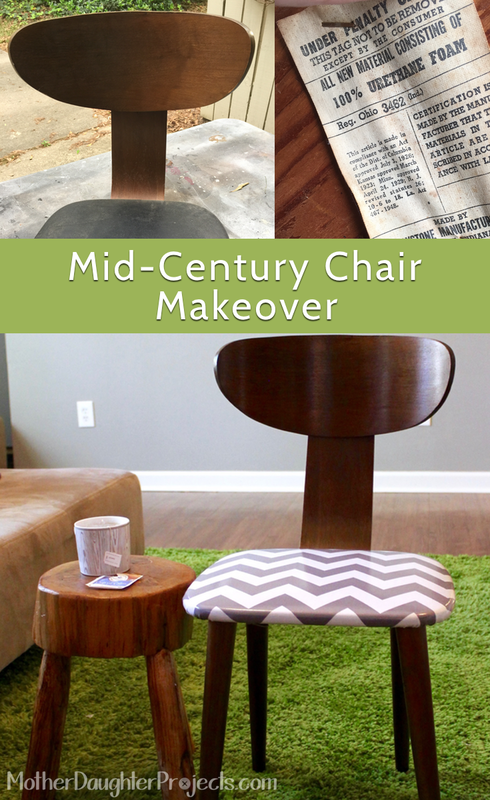
With the spring weather we are having here in Florida, I’ve been able to work in the garage on projects. This chair has languished in my garage far to long. Originally a yard sale find, I put off doing anything because one of leg brackets was bent. Fast forward a few years, I pulled it out to look and found if I moved the bracket that was bent to one of the other corners, I could work around the problem!​
Mid-Century Chair Makeover. MotherDaughterProjects.com
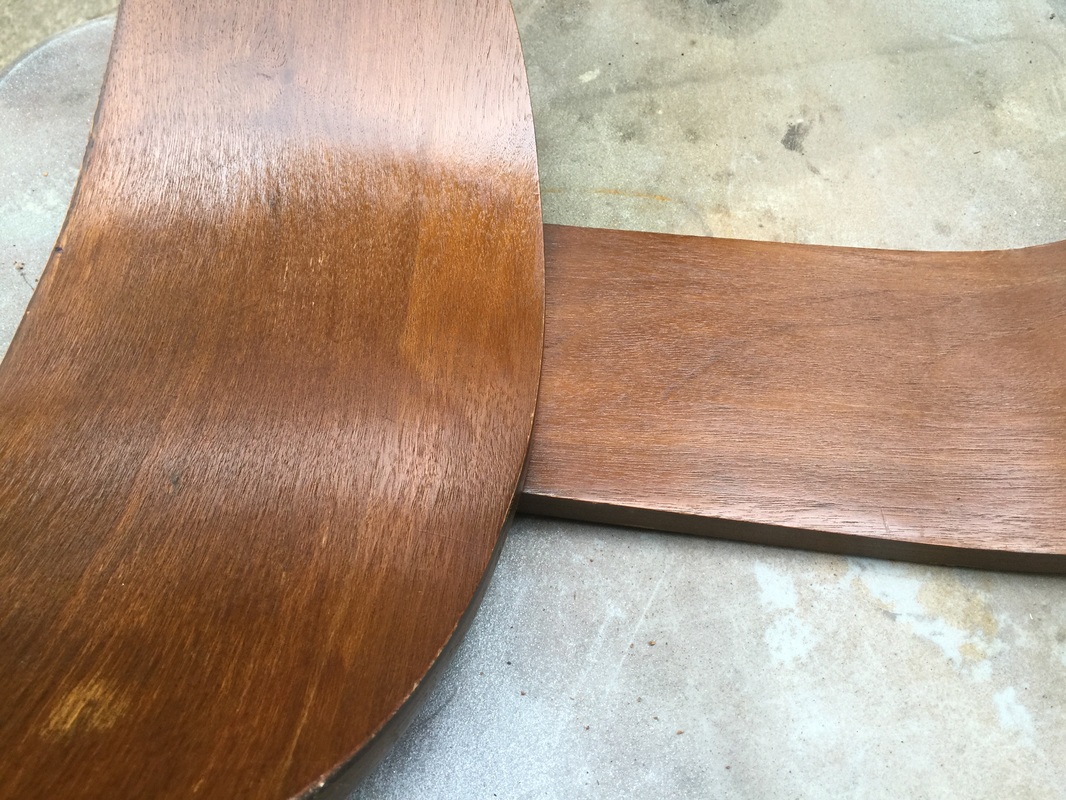
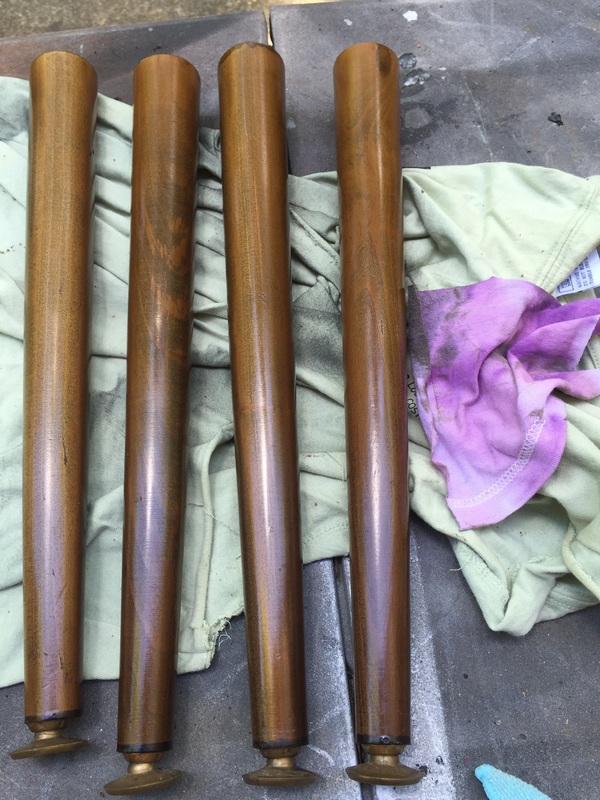
The chair really only needed refreshing, no stripping of the wood was needed. I used a product called Howard Restore a Finish on the back and legs and they turned out beautifully. It’s an easy product to use by either wiping on with a soft cloth or using 0000 steel wool. Follow the manufacturer’s instructions and be sure to work in a well-ventilated area. This stuff is potent! ​
Mid-Century Chair Makeover. MotherDaughterProjects.com
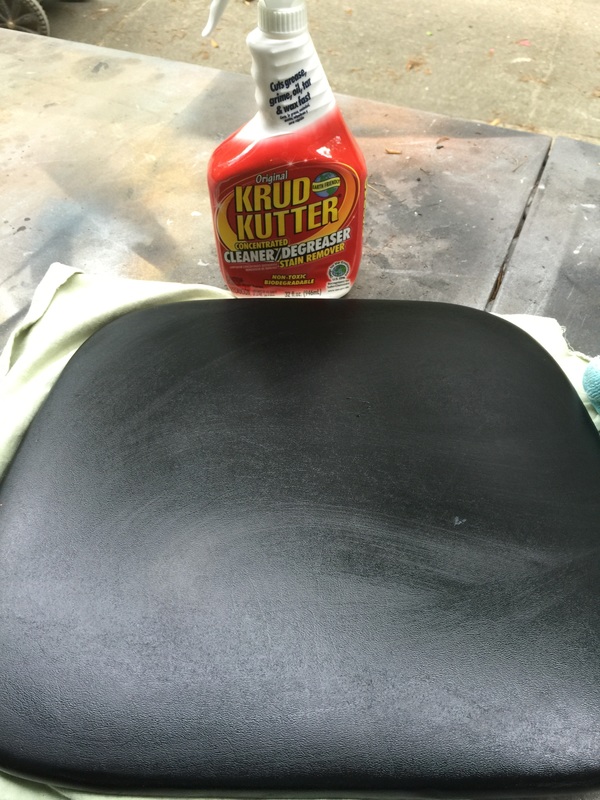
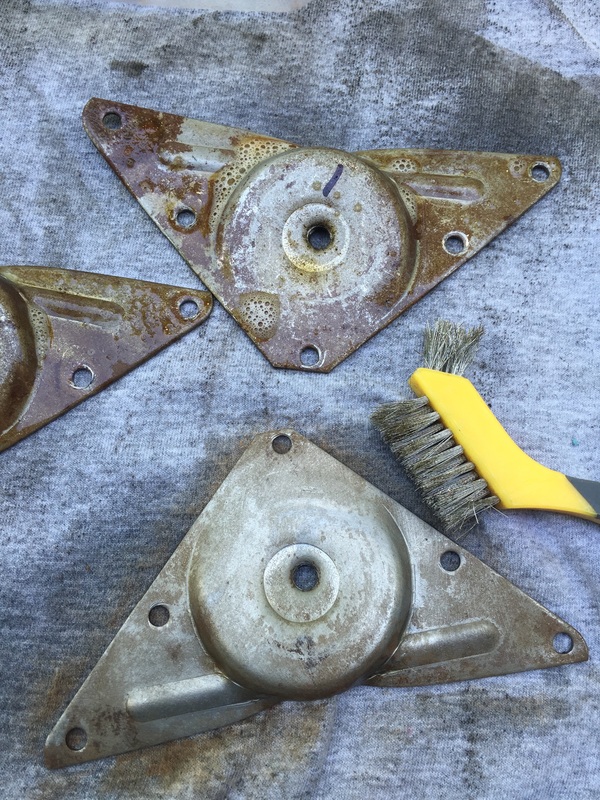
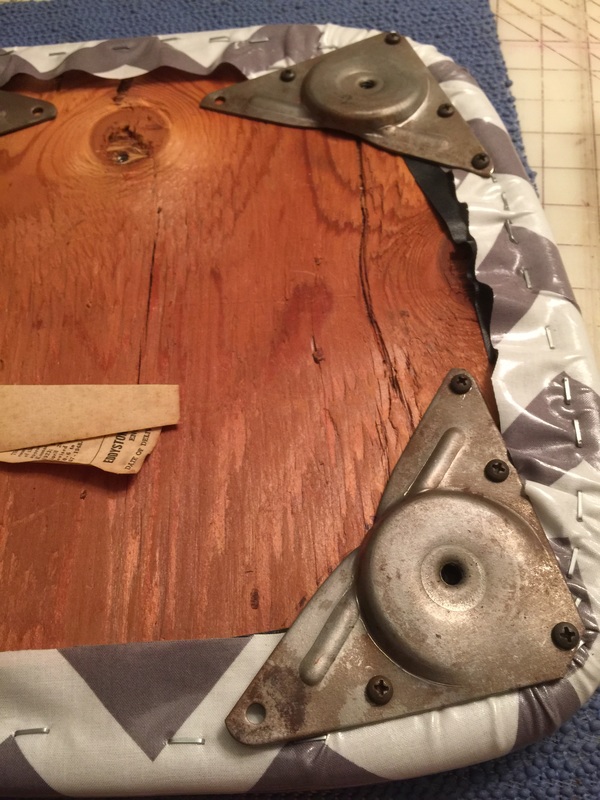
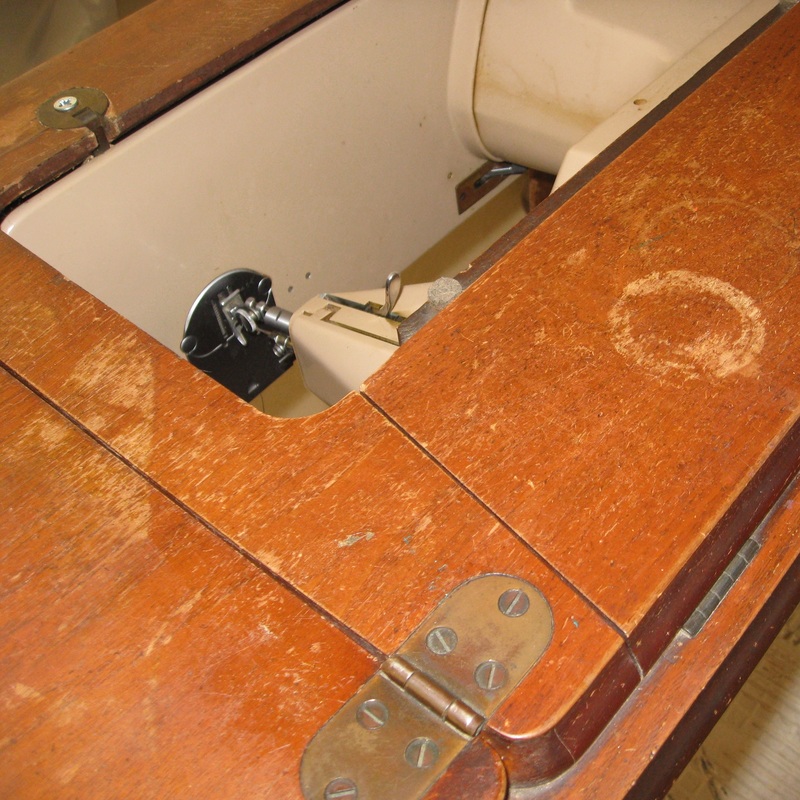
I cleaned the vinyl upholstery with Krud Kutter which did a great job, but decided to recover the bottom as there were a few tiny holes in the vinyl. I did not remove the vinyl before recovering. Krud Kutter was also used on the rusty chair brackets with great results. I helped things along by scrubbing with a wire brush and wiping up with an old t-shirt.
Materials/Tools:
  • Howard Restore a Finish—I used ebony brown
  • Krud Kutter
  • Rags—old t-shirts are always a good choice
  • 0000 Steel wool (optional)
  • Wire brush
  • Staples and staple gun
  • Fabric for reupholstery—I used a laminated cotton
Mid-Century Chair Makeover. MotherDaughterProjects.com
Steps:
  1. Take everything apart. Wipe down wood parts with Howard’s Restore a Finish in a well ventilated area. Let dry.
  2. Re-assemble back
  3. Recover the seat cushion. 
  4. Attach the leg brackets. 
  5. Reattach the back to the seat
  6. Screw in the legs
  7. Done—sit and admire and wonder why you procrastinated so long!
Mid-Century Chair Makeover. MotherDaughterProjects.com
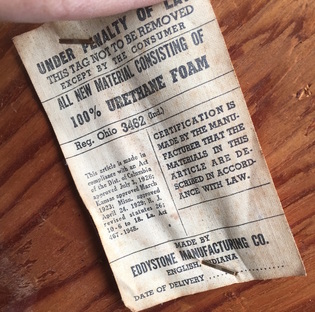
​FYI: When reupholstering furniture, be sure to reattach the manufacturer’s label if you have removed as it is part of the piece’s history. No need to guess who the manufacturer is when the information stays with the furniture. 
Mid-Century Chair Makeover. MotherDaughterProjects.com
Please note: We are not sponsored by any of the companies/products that we used. These products were picked and bought by us.

FYI: We are not professionals, and we don’t claim to be. This is what we found worked for our project. Yours may need a little different approach. Safety first!

Related Projects

Picture
Mid-Century Stool Refresh
Picture
Mid-Century Singer Sewing Machine Cabinet 
Picture
Custom Weathered Finish
0 Comments


Leave a Reply.

    MotherDaughterProjects.com

    Mother Daughter Projects
    ​
    Steph & Vicki

    We're homeowners sharing our DIY adventures as we learn to maintain, improve, decorate, and ​use tech in our homes.
    Share your projects with us here:  
    ​#trylearnshare
    MotherDaughterProjects.com
Mother Daughter Projects, LLC ∙ est. 2015 ∙ Tallahassee, FL by Vicki & Steph ∙ Privacy Policy