This project was so much fun! I’ve been wanting to try my hand at creating these since noticing them on Pinterest. There is no right or wrong way to create the bottles & wands—use your imagination & your treasure trove of crafting stuff. (What? not everyone has bins & boxes of totally random stuff to craft with?!)
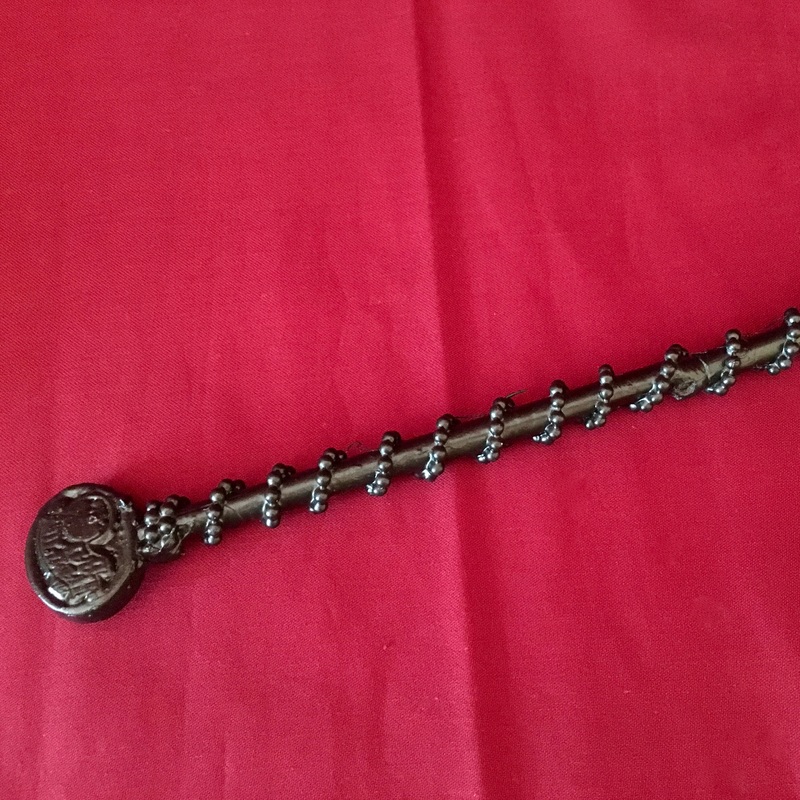
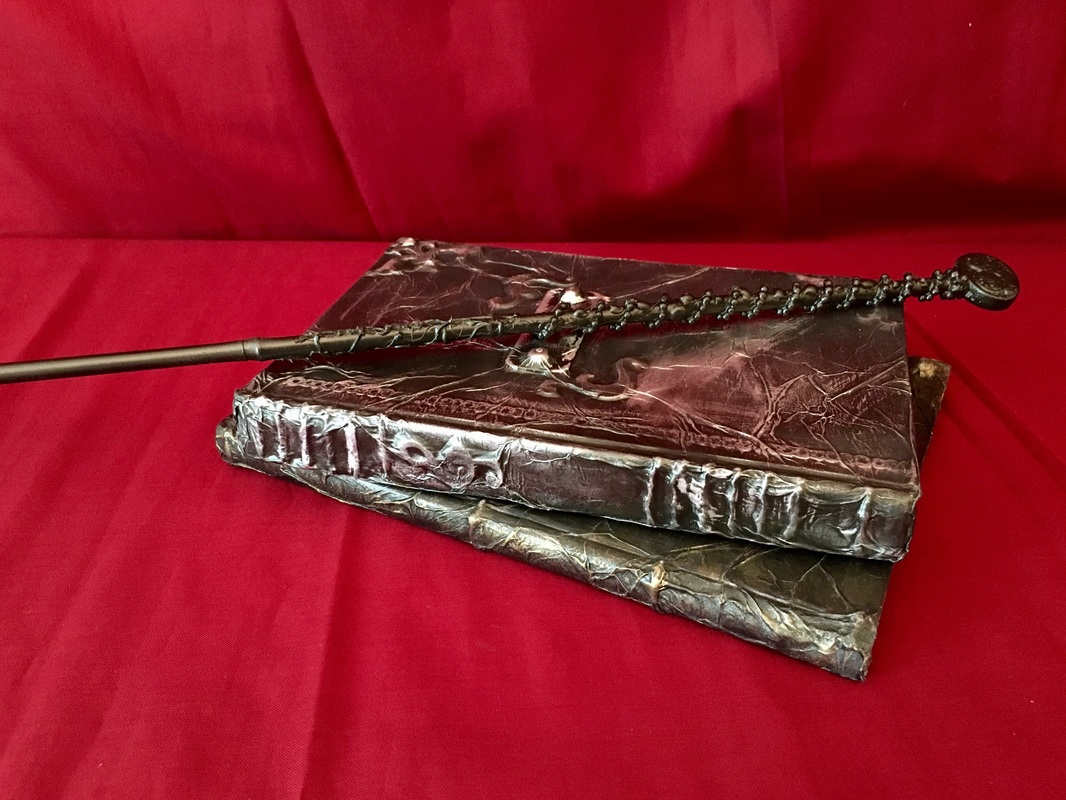
Harry Potter Style Wands
Raw Materials:
Purchased or from personal craft stash
I made a wand box following these instructions & Steph dug out an authentic bag from the wand shop at Universal Studios!
Harry Potter Style Potion Bottles
Raw Materials:
Purchased or from personal craft stash
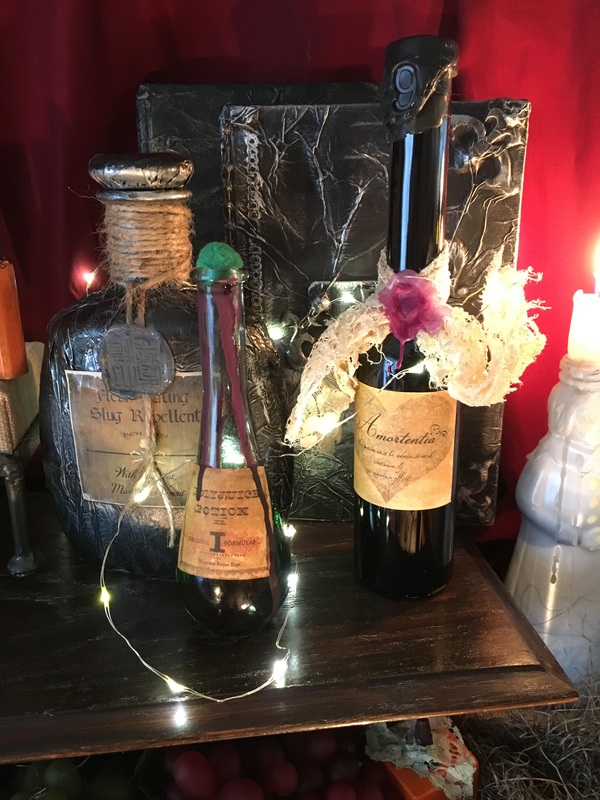
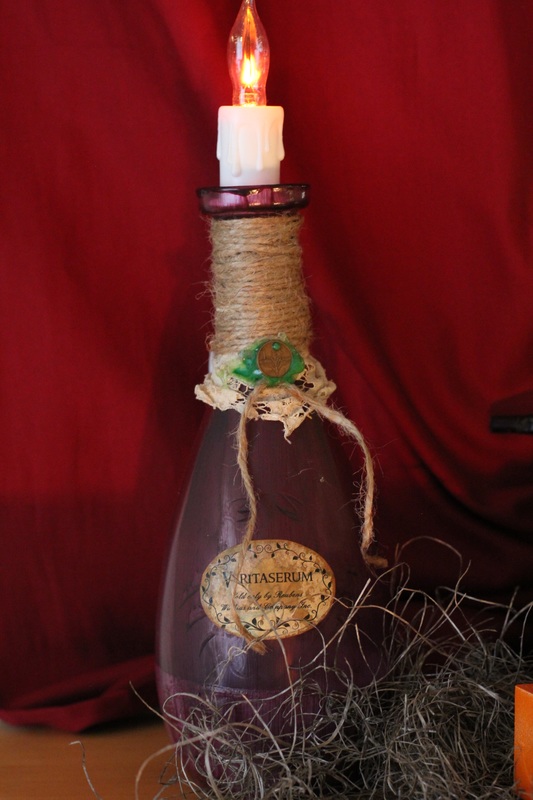
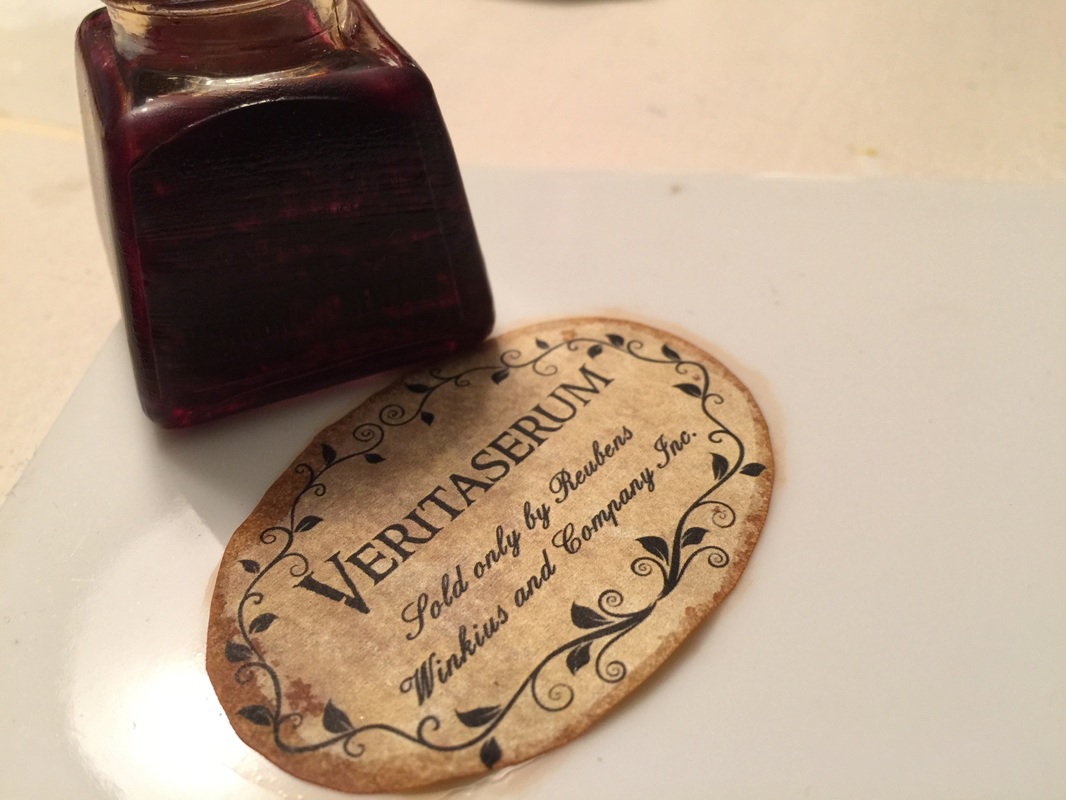
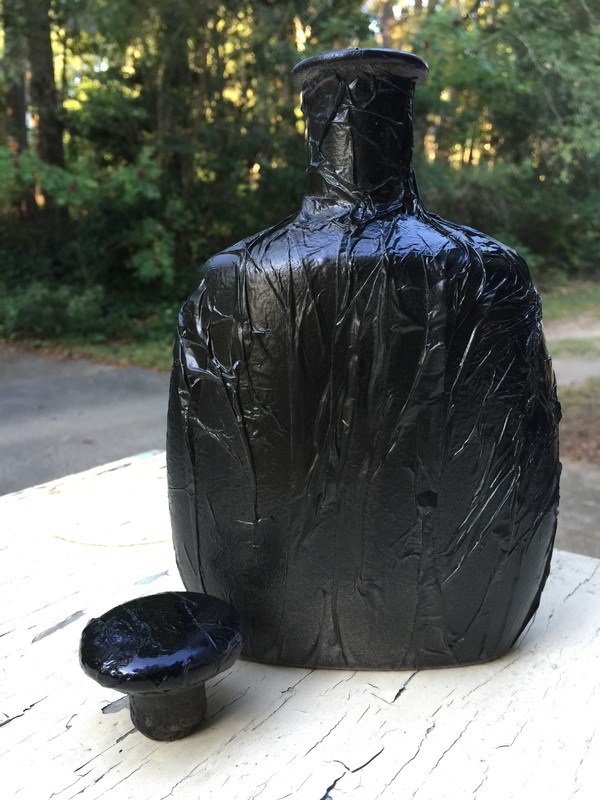
Veritaserum Potion
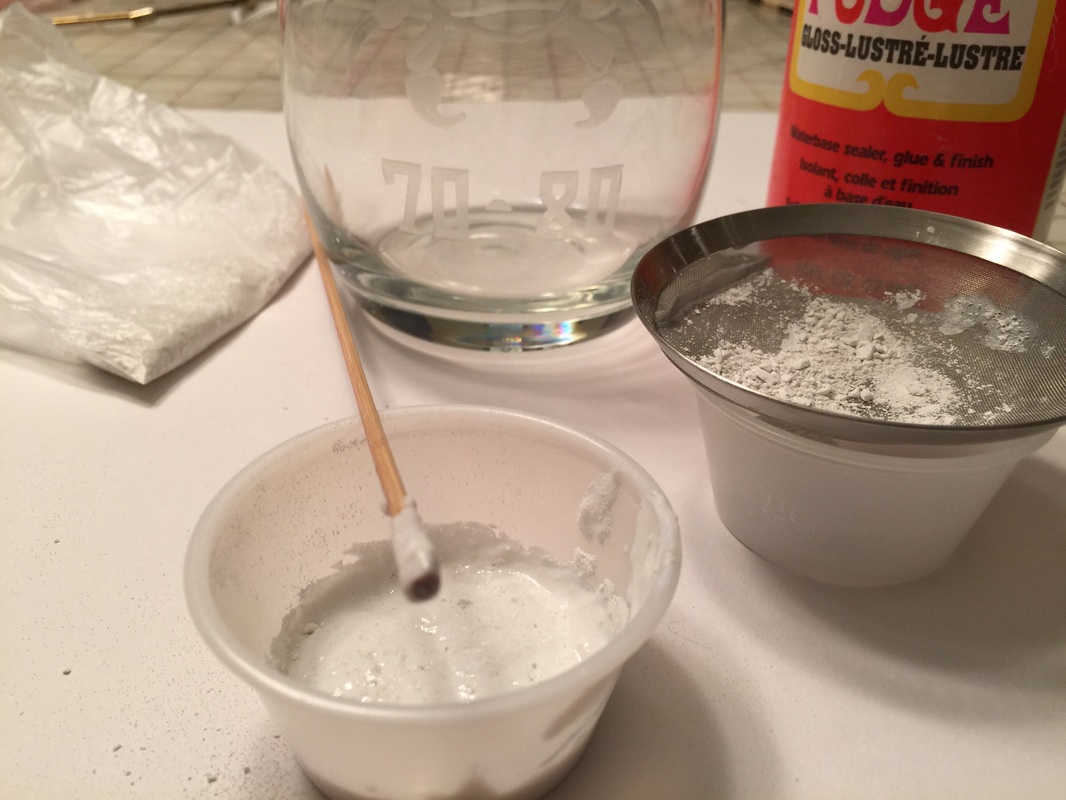
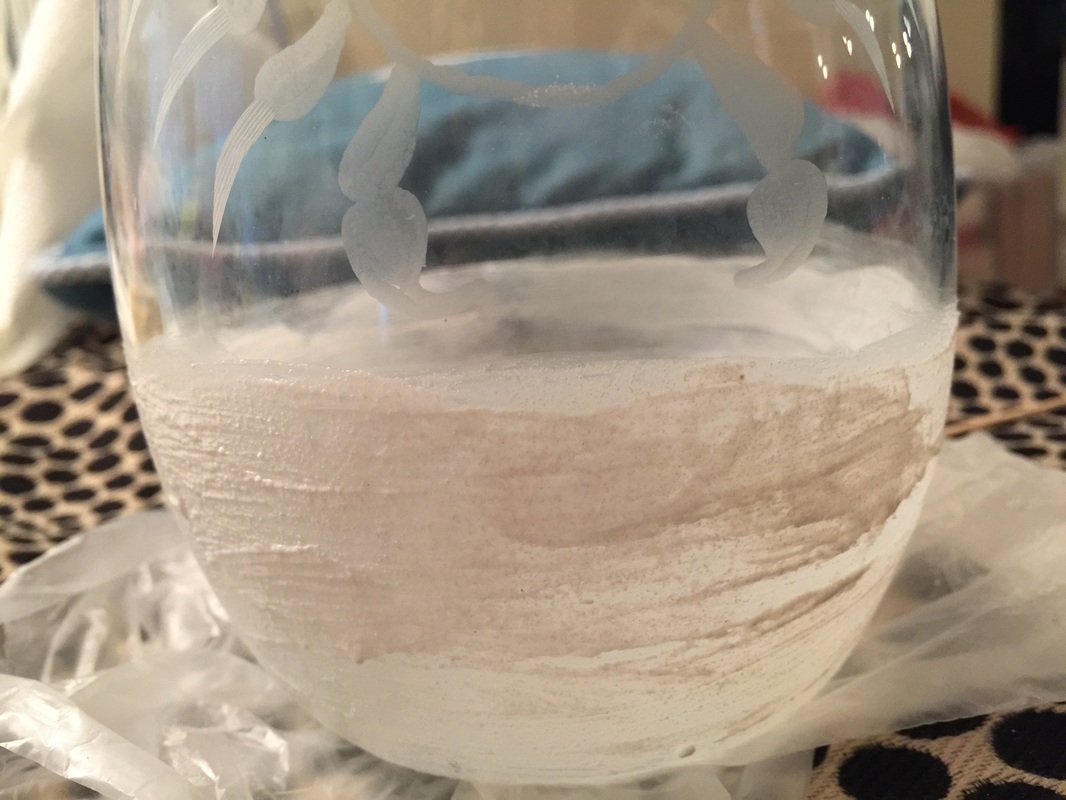
This was the “reunion” decanter. Since it had engraving on it, I wanted to do something to it to cover up the writing. I mixed up a little Modge Podge with some finely ground chalk. (I crushed it, then pressed it through a fine sieve using a pestle like tool—yes it was tedious, but I got the consistency I wanted.) I brushed this on the bottom where the engraving was & let it dry.
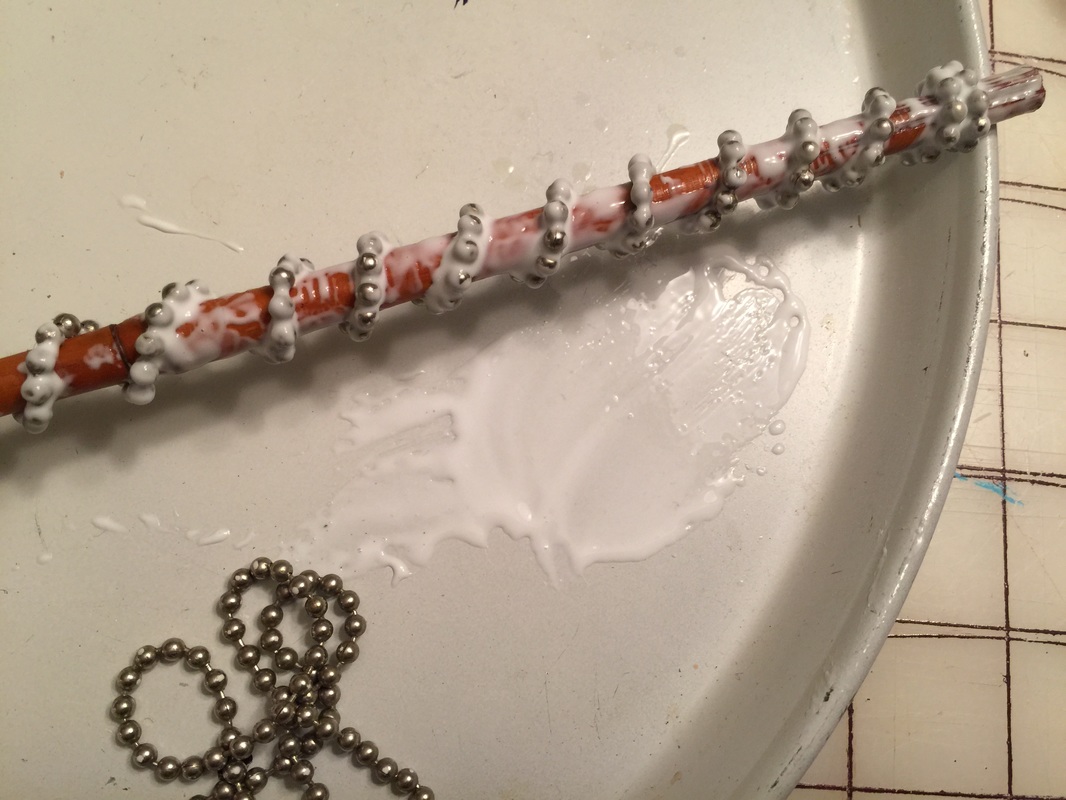
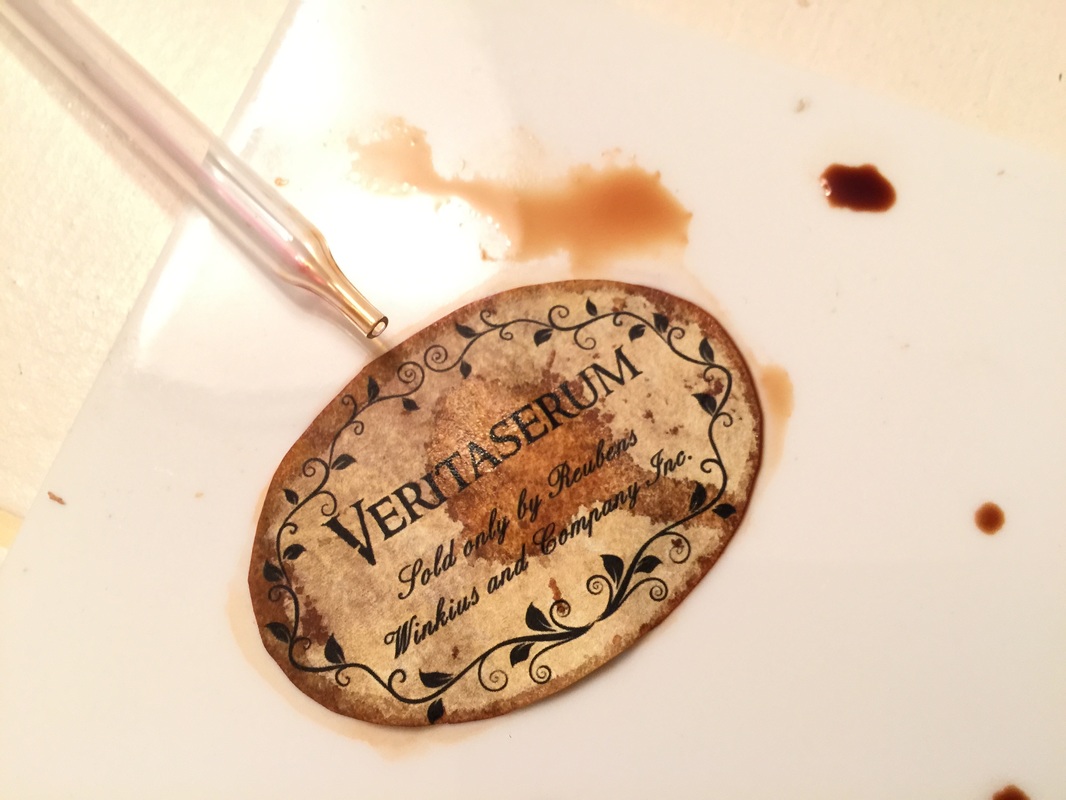
Next I mixed a bit of the burnt carmine paint with Mod Podge and brushed it vertically onto the bottle making sure to add a little extra to the engraved crab on the bottle. Once dry, I glued a bit of vintage lace onto the neck of the bottle, wrapped it in twine starting at the top. I tied a knot in the twine to hold it in place. I squirted a blob of hot glue onto the knot, mixed in a little green crayon, & pressed a coin into it once it cooled a bit. (Again, watch your fingers—it’s hot!) The label margins were cut away & the entire thing distressed with the brown ink. I used Mod Podge to glue it in place.
For the pictures I added a flickering bulb from a craft store.
Polyjuice Potion
Amortentia
Slug Repellent
0 Comments
Leave a Reply. |

Mother Daughter Projects
|