Mother Daughter Projects

  • Blog
  • About
    • Contact
    • Privacy Policy
  • Tools
    • Tool Tuesday
  • Maintenance
  • Improvement
  • Decor
  • Tech
  • Blog
  • About
    • Contact
    • Privacy Policy
  • Tools
    • Tool Tuesday
  • Maintenance
  • Improvement
  • Decor
  • Tech

DIY for Homeowners

“Not So Scary” Halloween: Spell Books

10/12/2015

0 Comments

 
by Vicki
Halloween Books. MotherDaughterProjects.com
Hogwarts Student
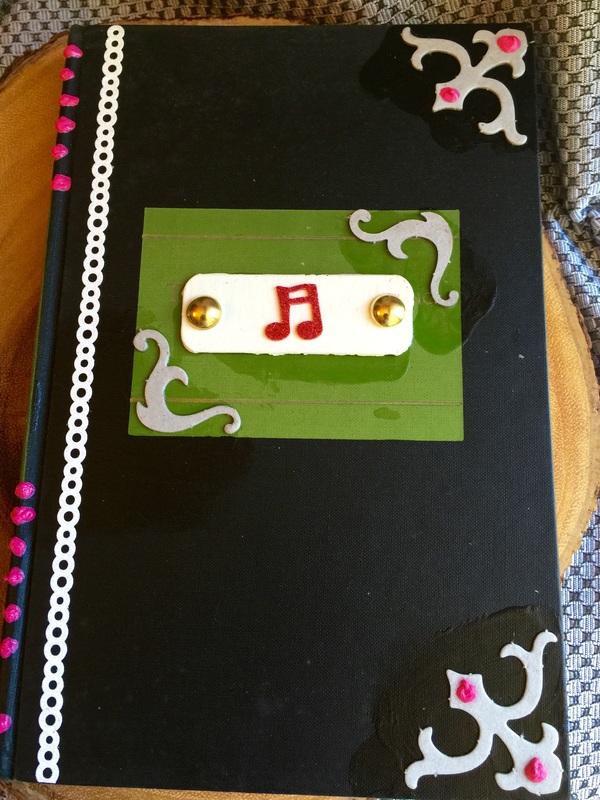
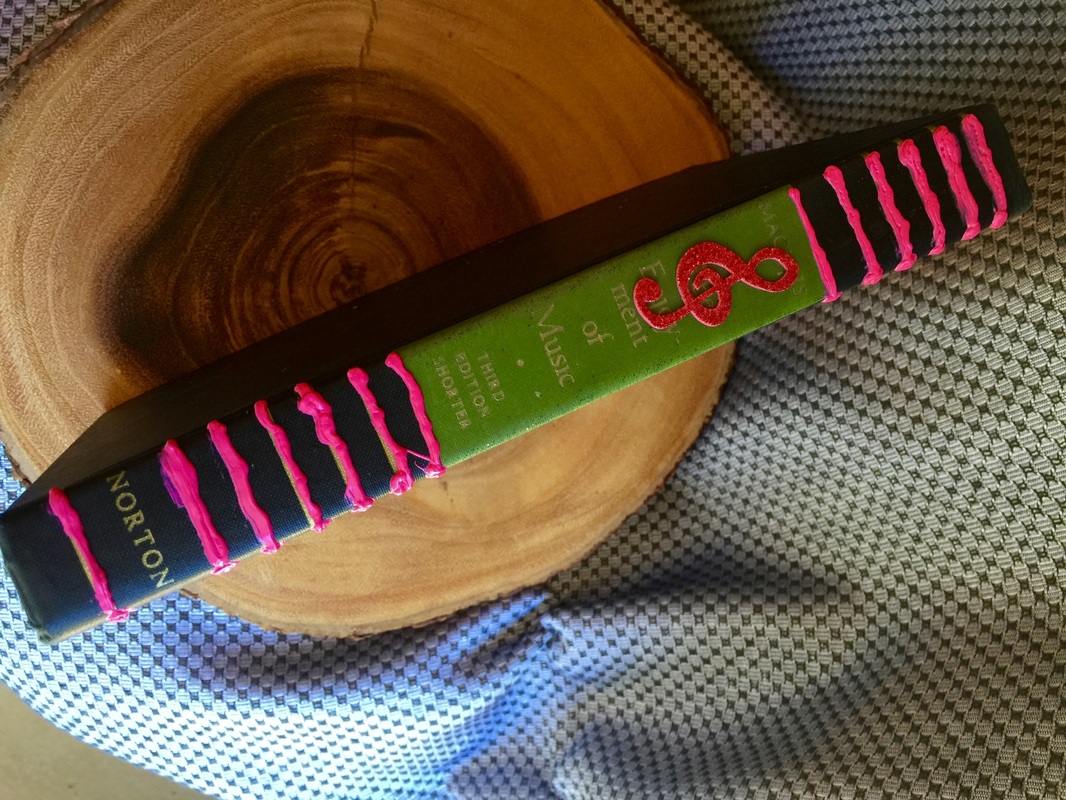
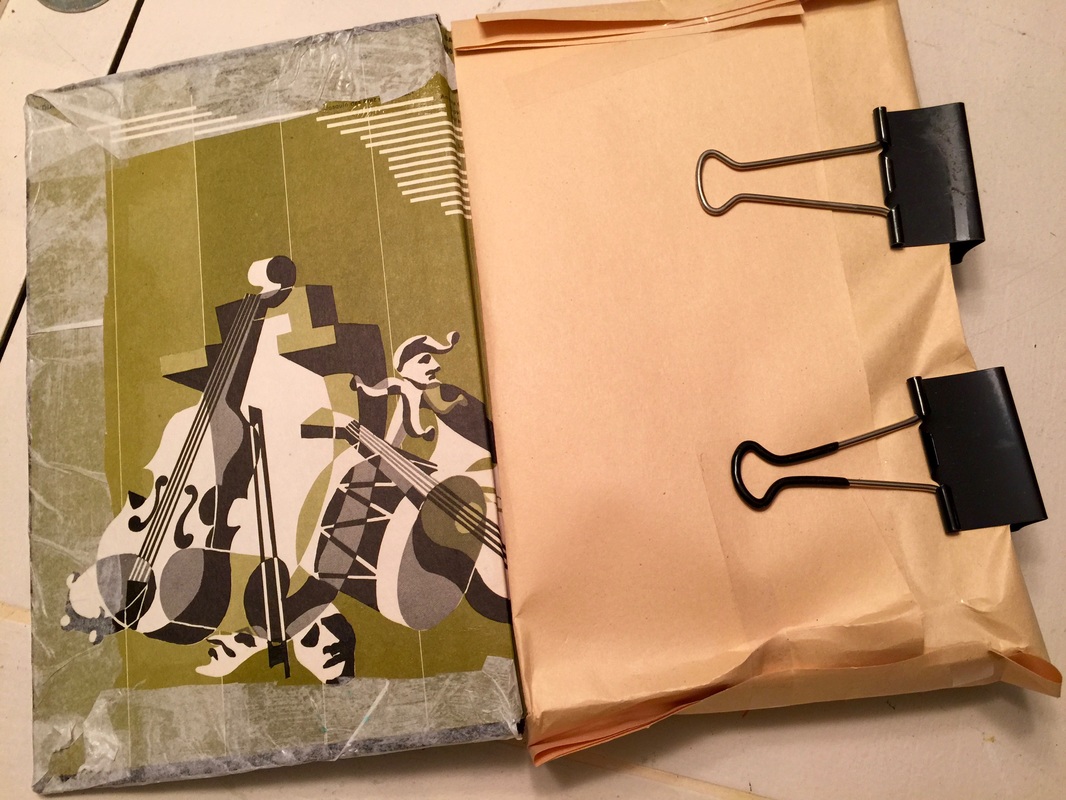
I pinned this idea a year ago. I loved the technique although not the subject matter. Just don’t like the creepy aspect of Halloween—never have. I wanted my books to be classic with no creepy elements & to be able to read them following the cover transformations. The music book is the one & only college text book that I saved. “The Enjoyment of Music” 3rd edition—loved that class. That’s where I learned about Bach’s Little Fugue in G minor & the Brandenburg Concertos. Give them a listen if you’re not familiar with them. 
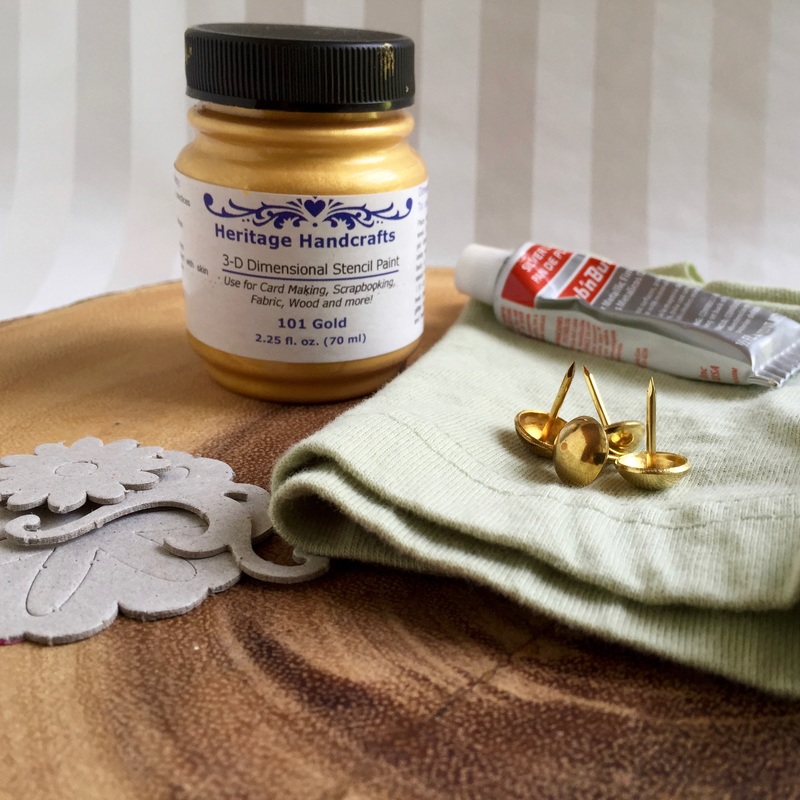
Raw Materials:
  • Books—the first one I chose because it has a wonderful coat of arms embossing on the cover which I wanted to highlight. The second is the music book. I thought it was a fitting way to save this particular book
  • Cardboard elements, stickers, upholstery tacks with the point removed, other flat items as desired

Purchased or from personal craft stash
  • Oil rubbed bronze spray paint
  • Mod Podge
  • Heritage handcrafts gold stencil paint or Rub ’n Buff in silver and/or gold. Any metallic paint should work
  • Hot glue gun/glue sticks
  • Large Binder clips
  • Large scrap paper/tape to cover inside pages
  • White Tissue paper 
  • Brush & rags for gold paint or Rub ’n Buff
Picture
Picture
Halloween Books. MotherDaughterProjects.com
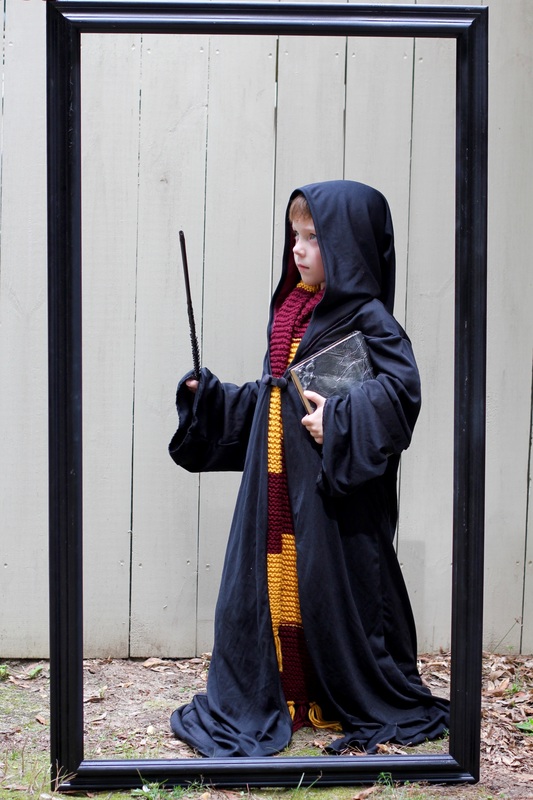
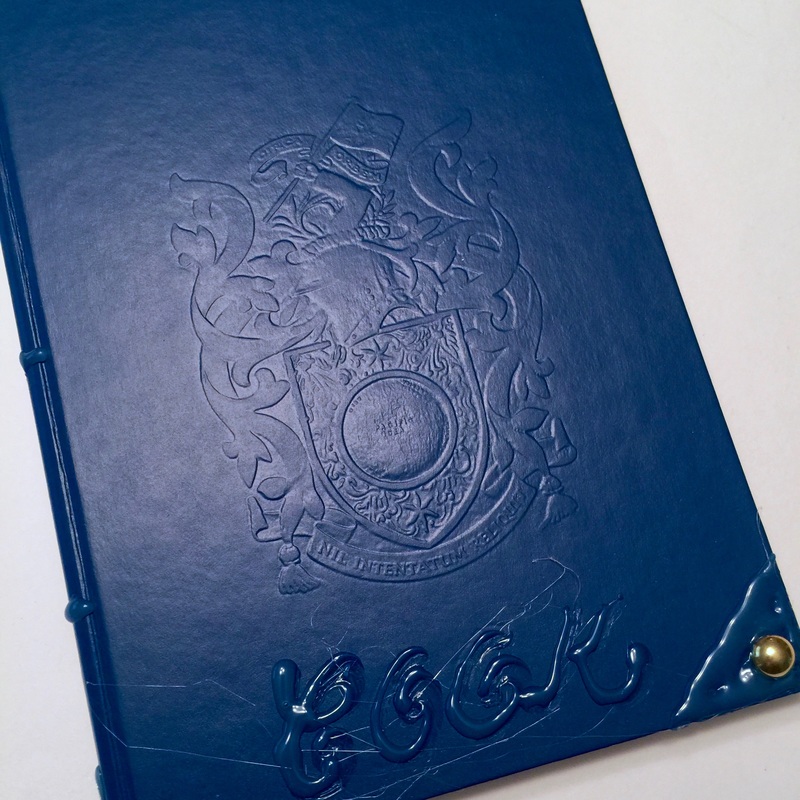
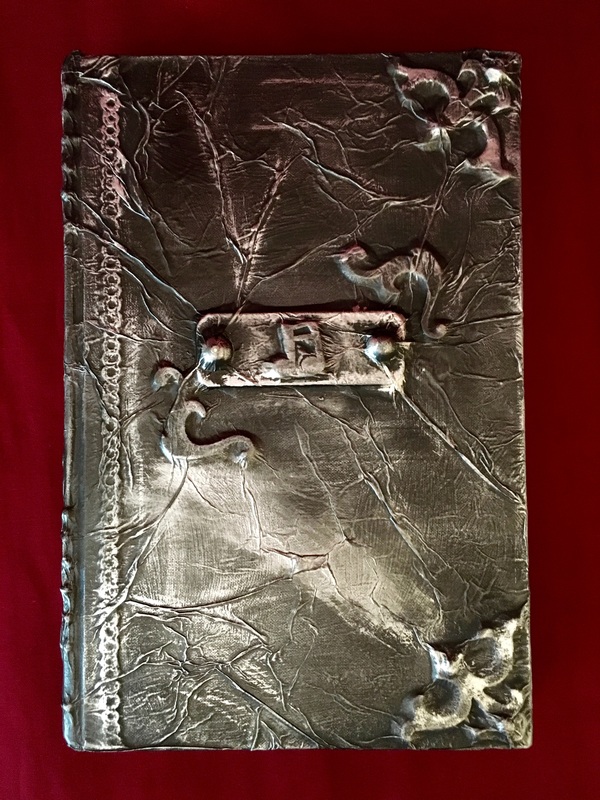
1. Hot glue elements to cover & spine of book. I used hot glue to write the name of the main character on the front. 
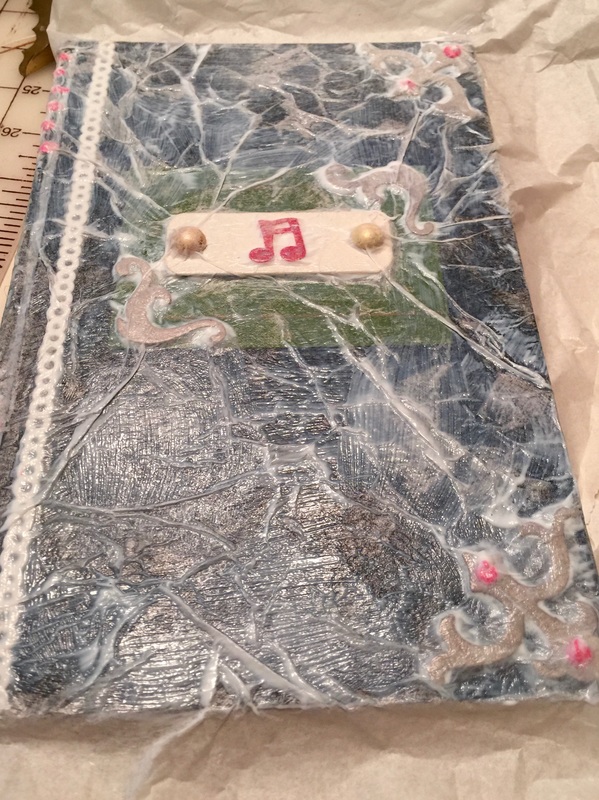
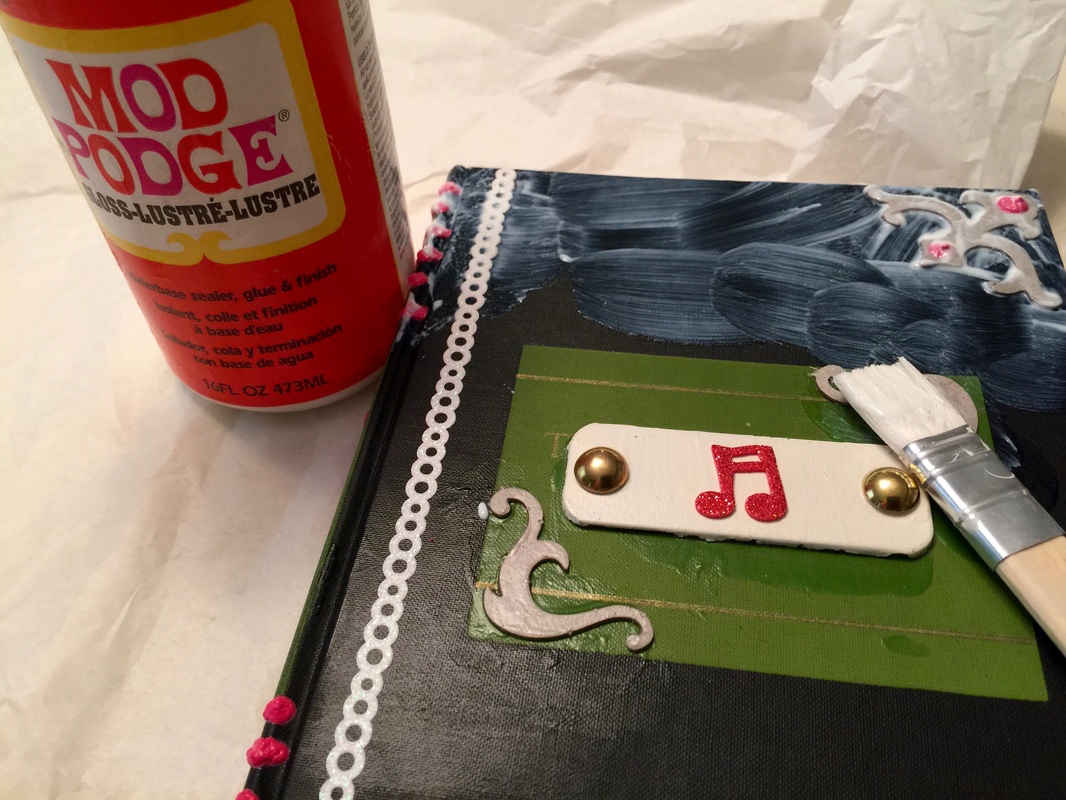
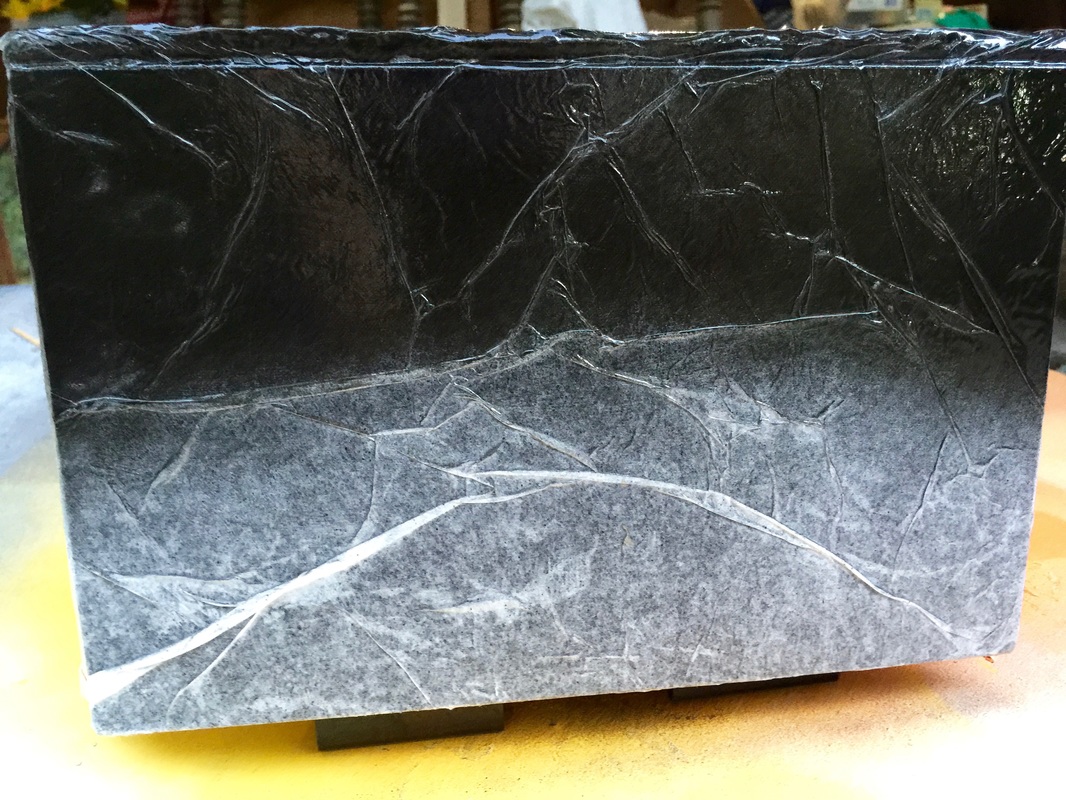
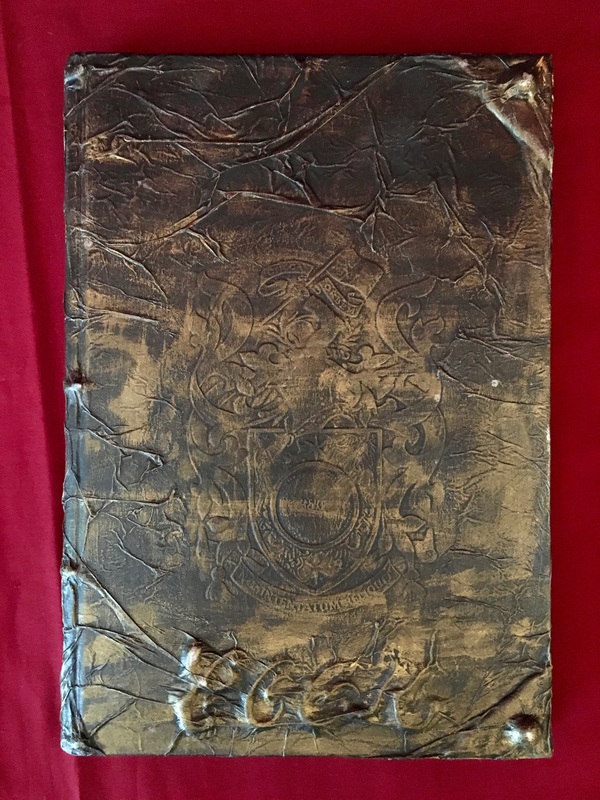
2. Lay book on top of tissue paper, rough cut to size. Lightly crumple tissue paper. Mod Podge cover over book, press tissue paper firmly over & into elements on cover. Let dry.
Halloween Books. MotherDaughterProjects.com
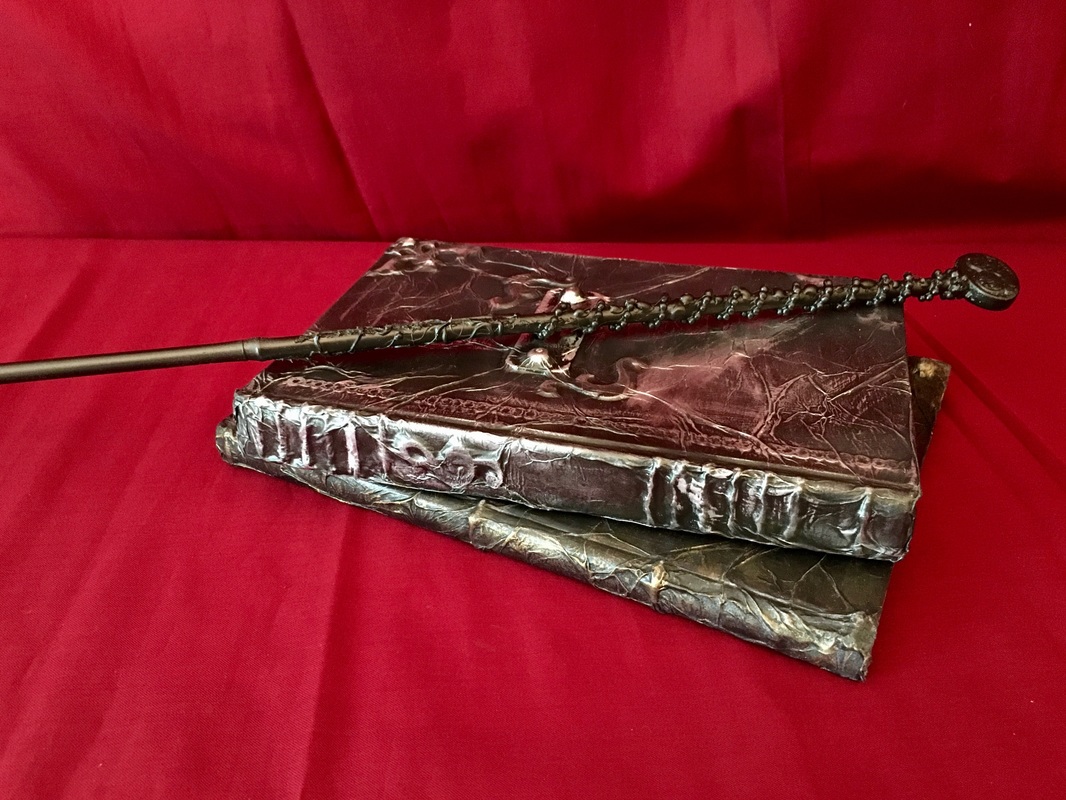
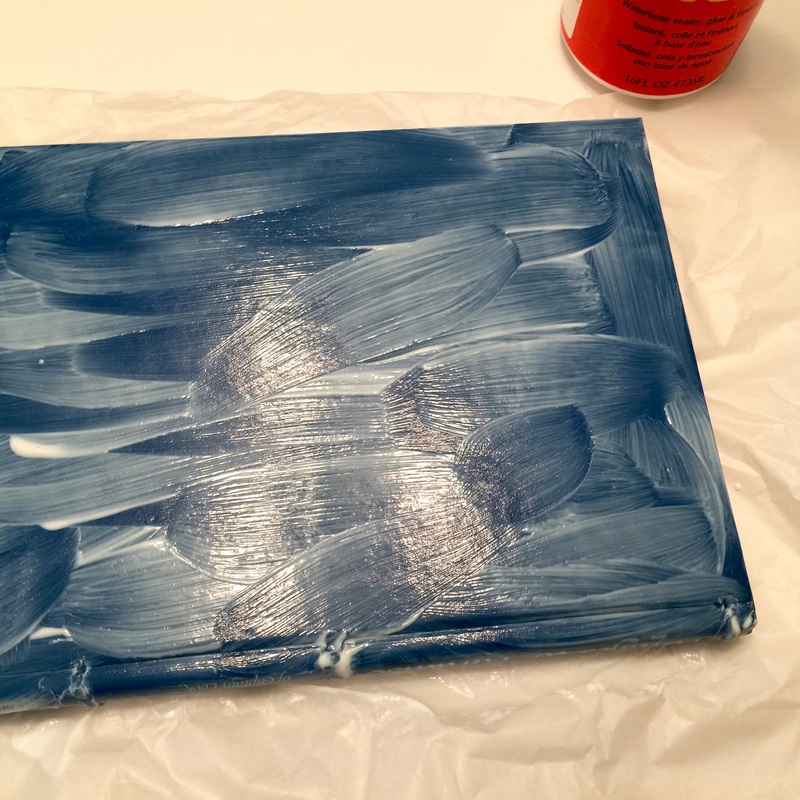
3. Once dry, cover the pages with paper & seal with tape if you don’t want the pages to get paint on  them. Use the binder clips to stand book on edge and spray with oil rubbed bronze spray paint.
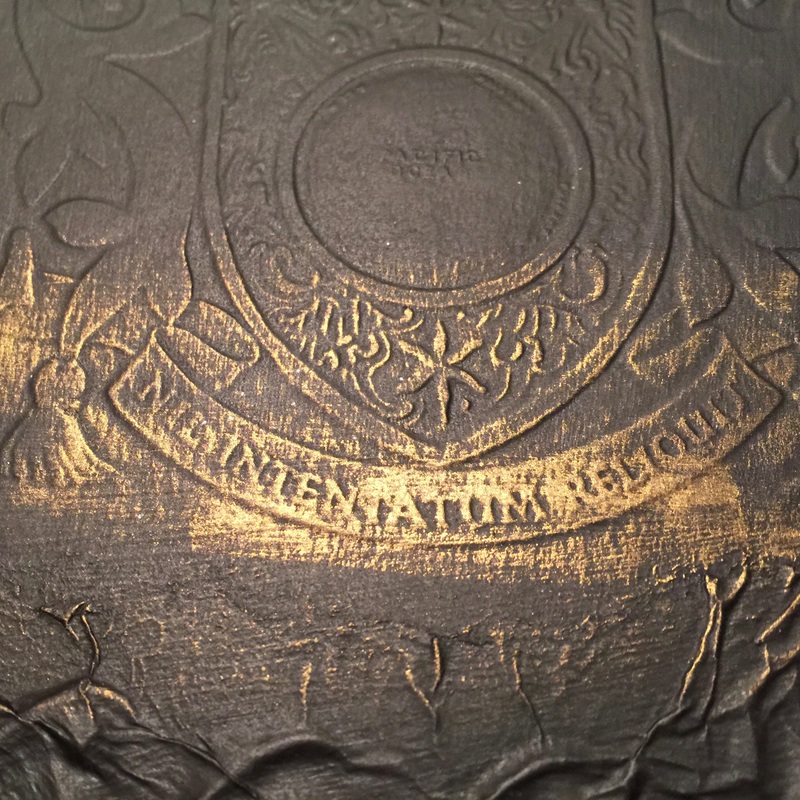
​4. When dry, use the metallic paint to highlight elements & creases in the paper. Practice first to learn the technique. It’s not hard, but it takes a little finessing to not get to much on.
Picture
Picture
Picture
Halloween Books. MotherDaughterProjects.com
0 Comments


Leave a Reply.

    MotherDaughterProjects.com

    Mother Daughter Projects
    ​
    Steph & Vicki

    We're homeowners sharing our DIY adventures as we learn to maintain, improve, decorate, and ​use tech in our homes.
    Share your projects with us here:  
    ​#trylearnshare
    MotherDaughterProjects.com
Mother Daughter Projects, LLC ∙ est. 2015 ∙ Tallahassee, FL by Vicki & Steph ∙ Privacy Policy