|
text by Vicki Sign up to get Mother Daughter Projects updates in your email!
This post is sponsored by The Home Depot as a part of The Home Depot’s ProSpective Campaign. THD provided the mechanics tool set and inspection scope used in this post.
When Steph moved into her home four years ago she needed some display shelves for her growing collection of Lego sets. We put up a couple of pre-made shelves using white brackets. They solved the storage problem but were not attractive by any stretch of the imagination. Fast forward a few years; Steph was ready for something a little more stylish to replace them!
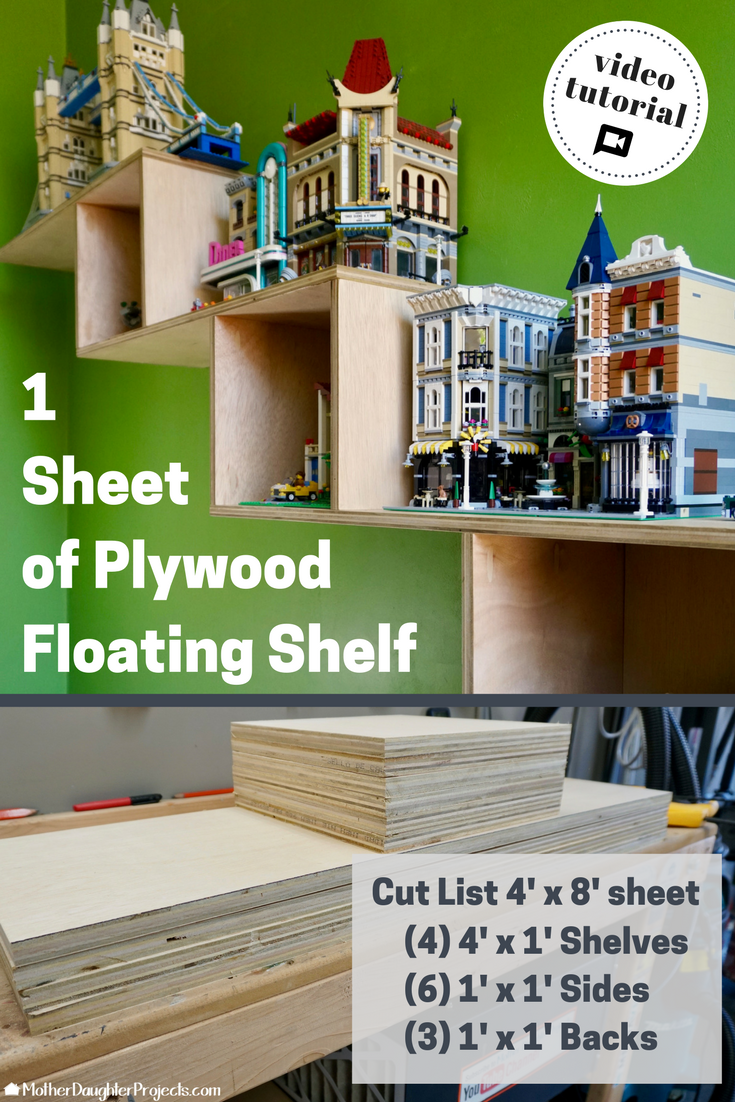
The step-like design stretches 9 feet long against the wall and is 3 feet high and provides lots of storage for small and large Lego sets.
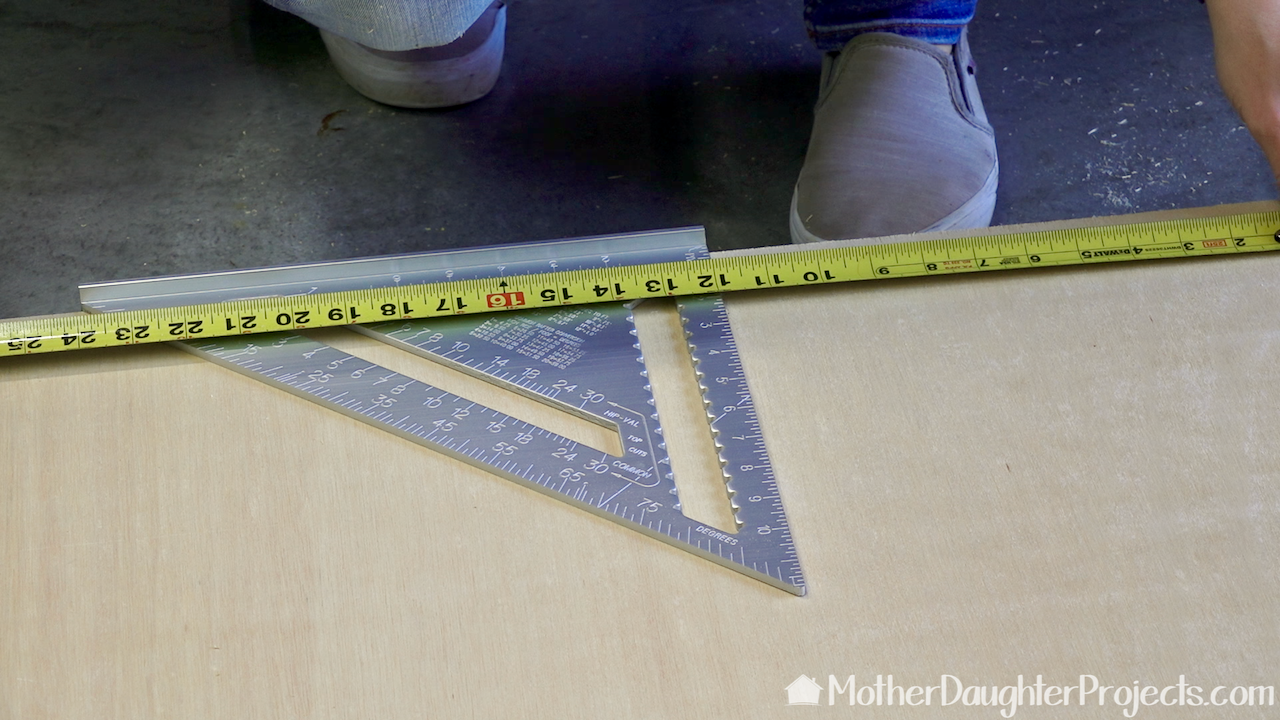
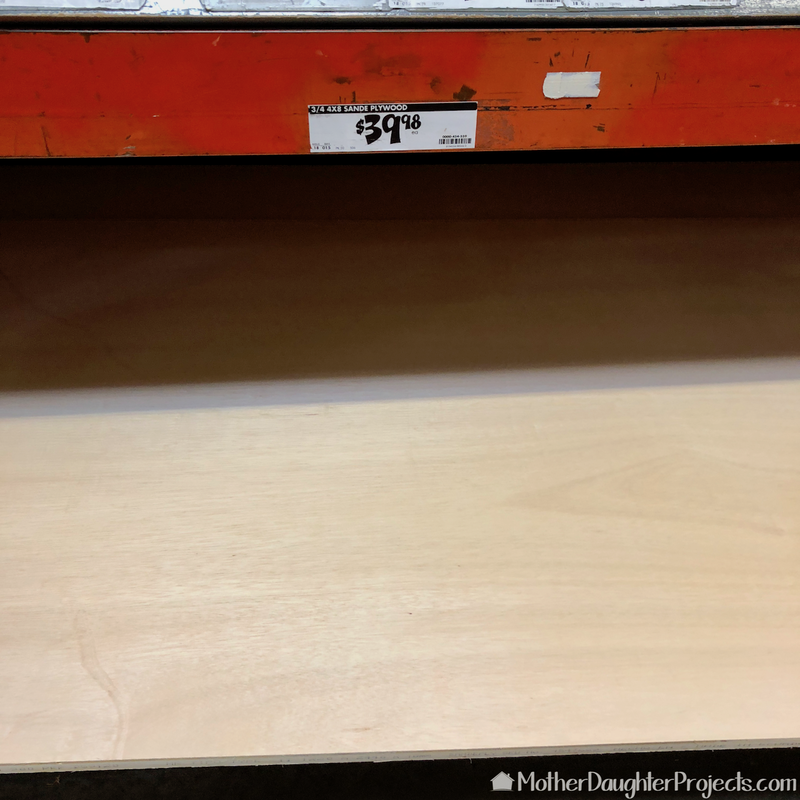
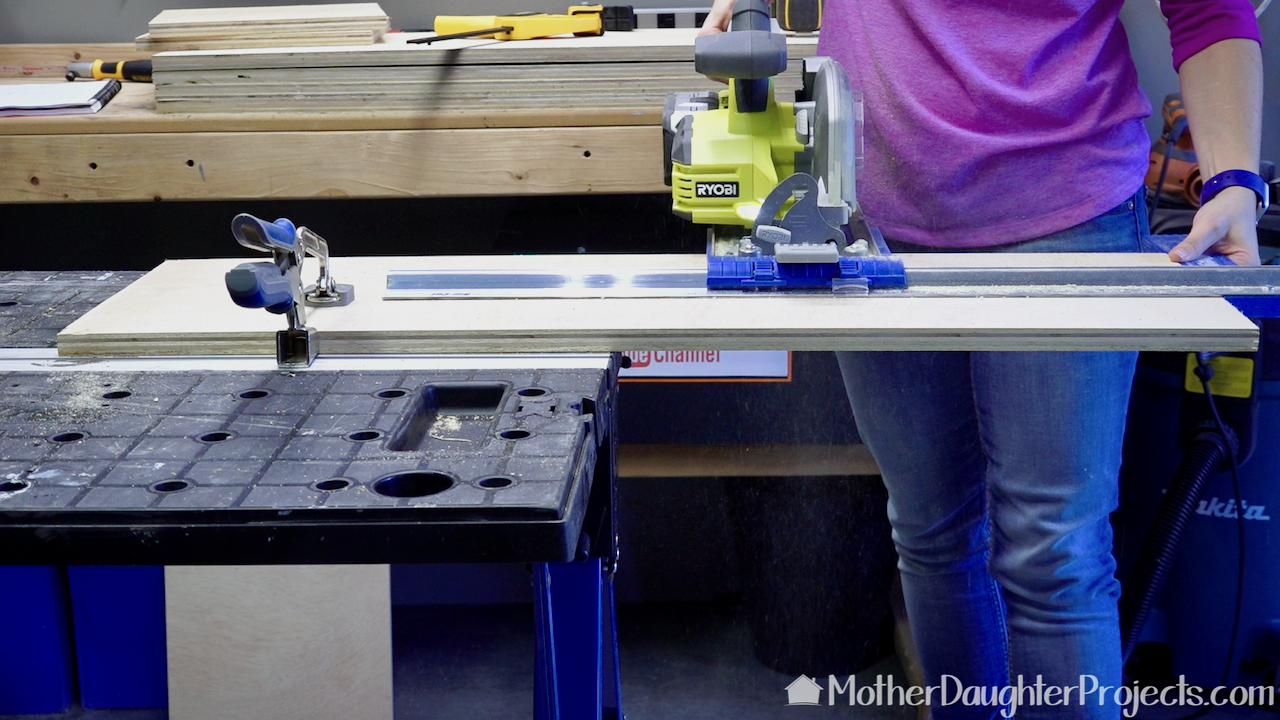
We had the large piece of plywood cut in half at The Home Depot for easier handling and so it would fit in my car. One halve was cut into (4) 3' lengths and the other (4) 4' by 1' lengths in our shop.
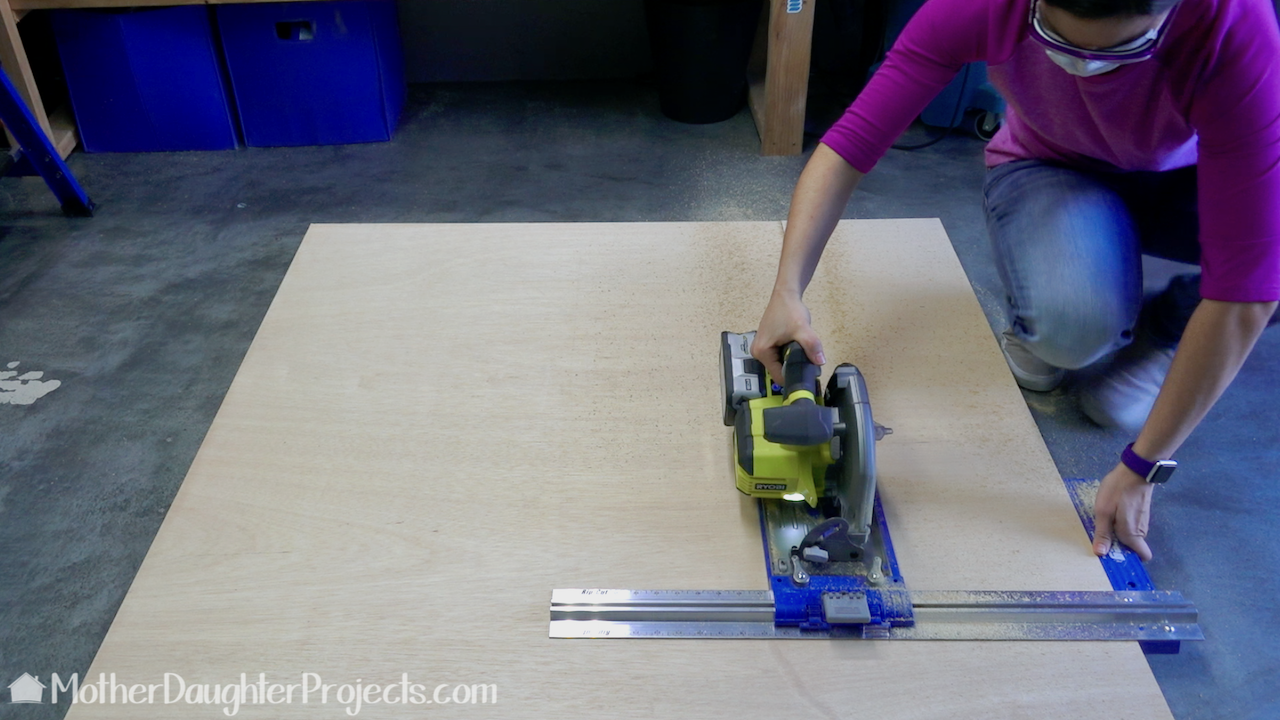
Steph used the Kreg Rip-Cut to cut perfect 12" widths from the board.
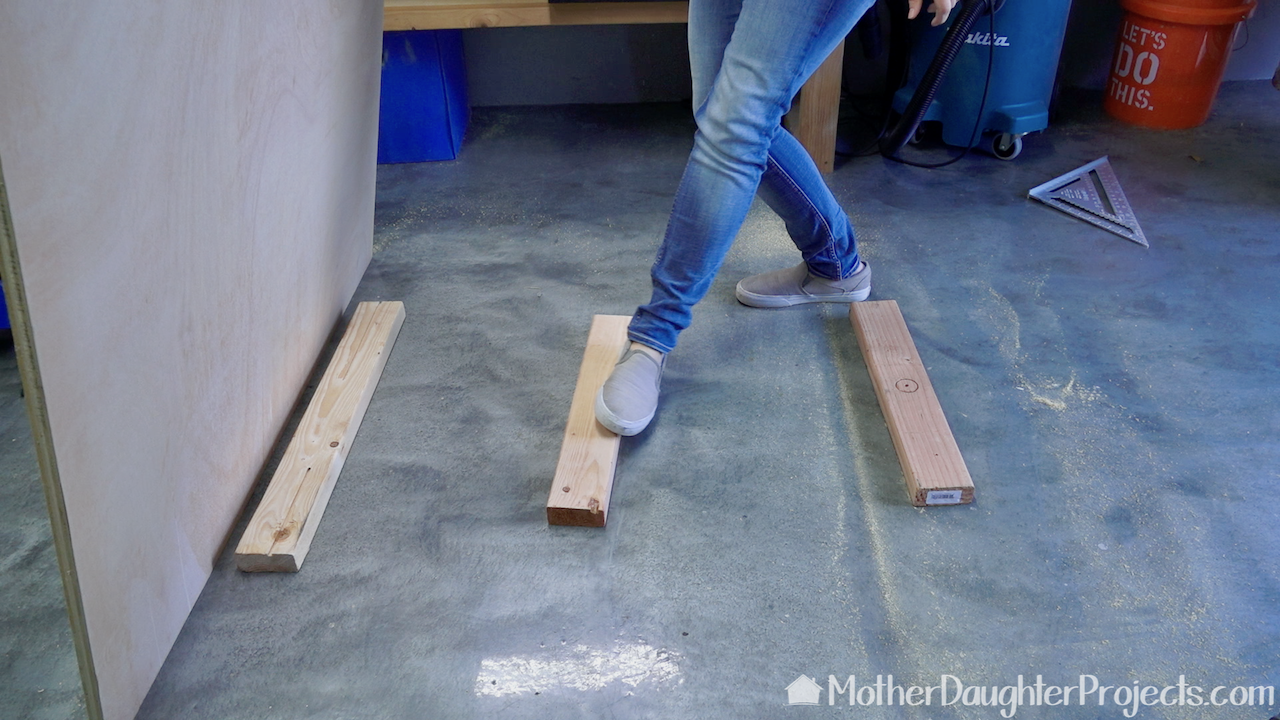
To cut such a large piece of plywood, she laid 2x4s on the floor to help elevate the piece while it was being cut. The garage floor is not the best place to cut, but we do not have a large enough workbench to do this kind of cutting.
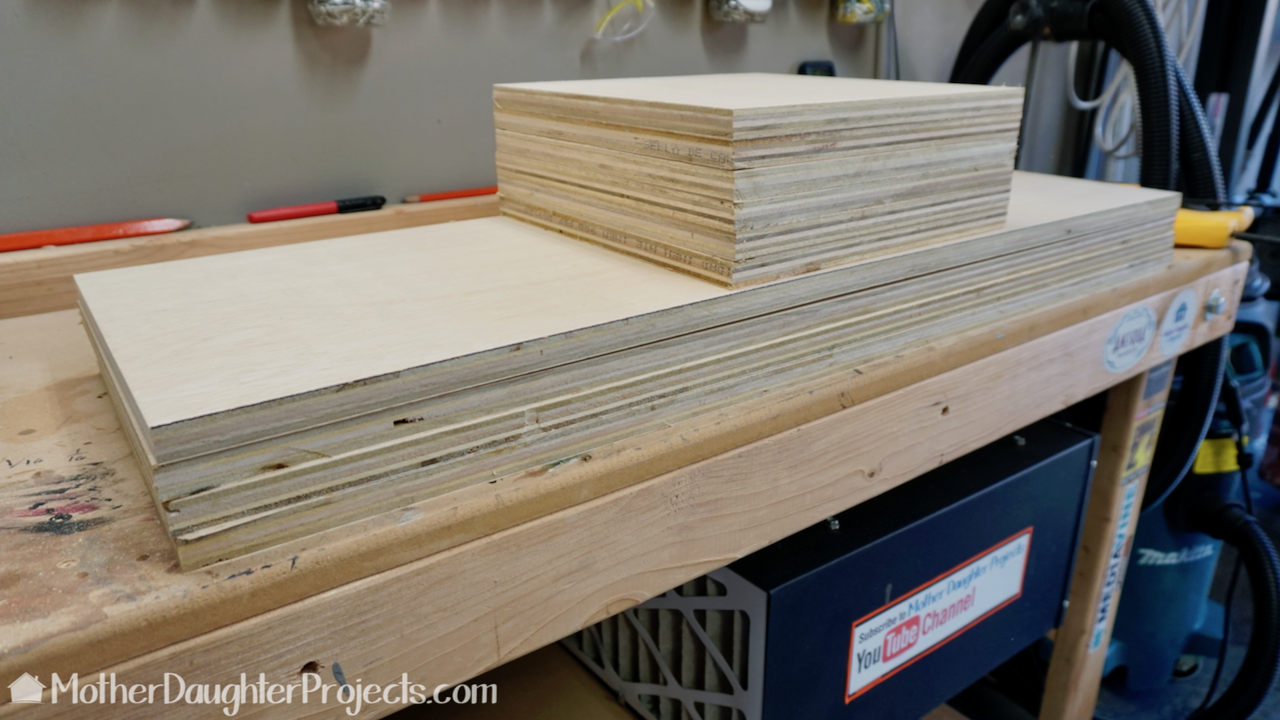
Nine 12x12 inch squares were cut from the boards. Six will be the sides of the cubes and the other three will be the backs of the cubes.
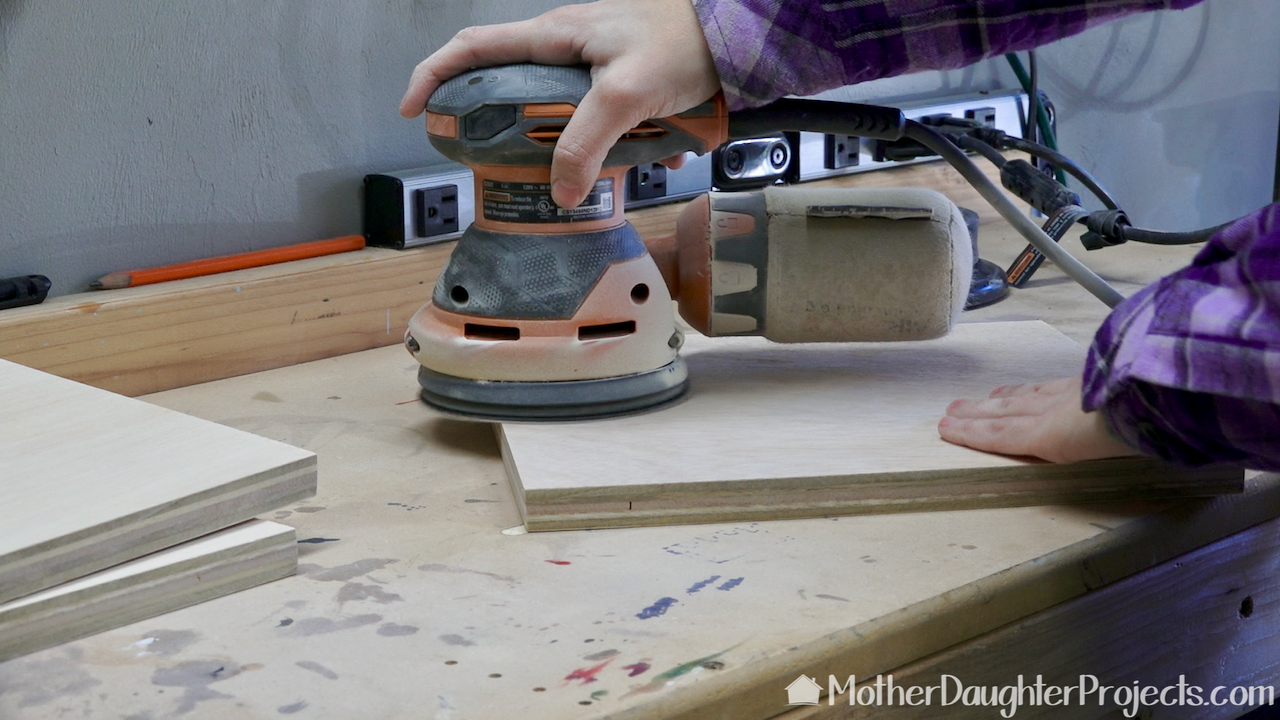
Everything was sanded with 120 and 220 grit sandpaper with an orbital sander.
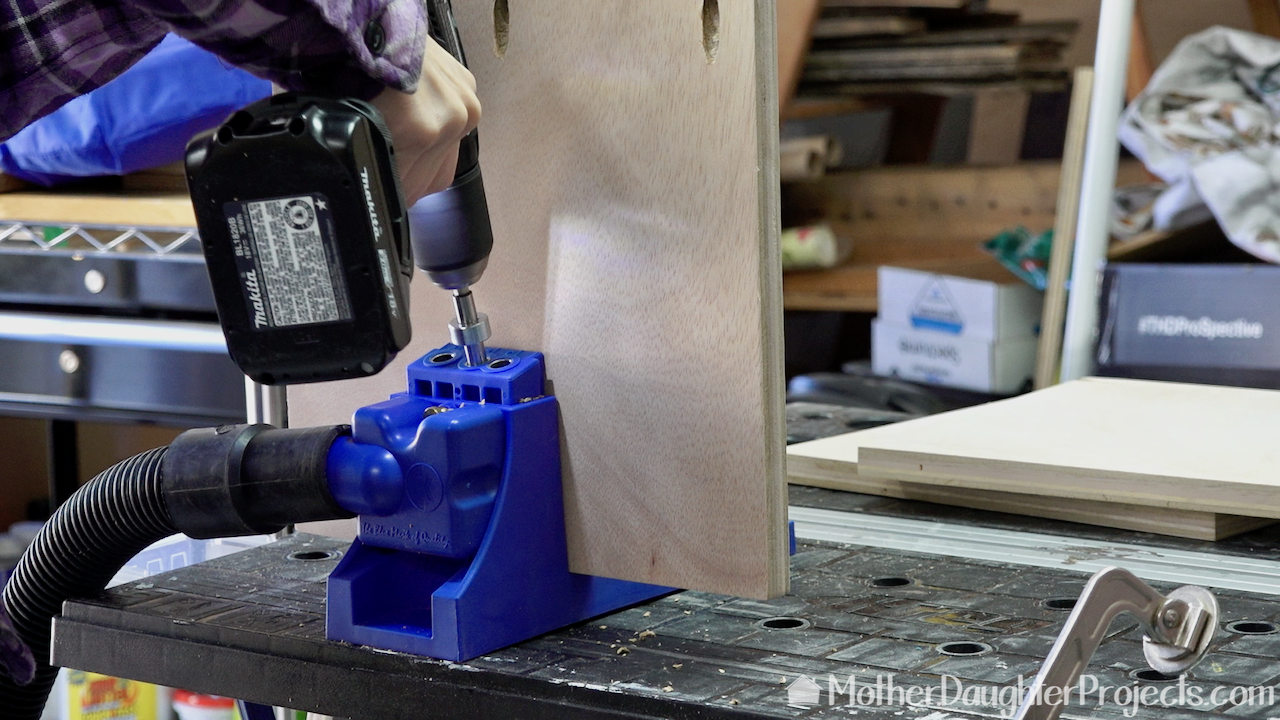
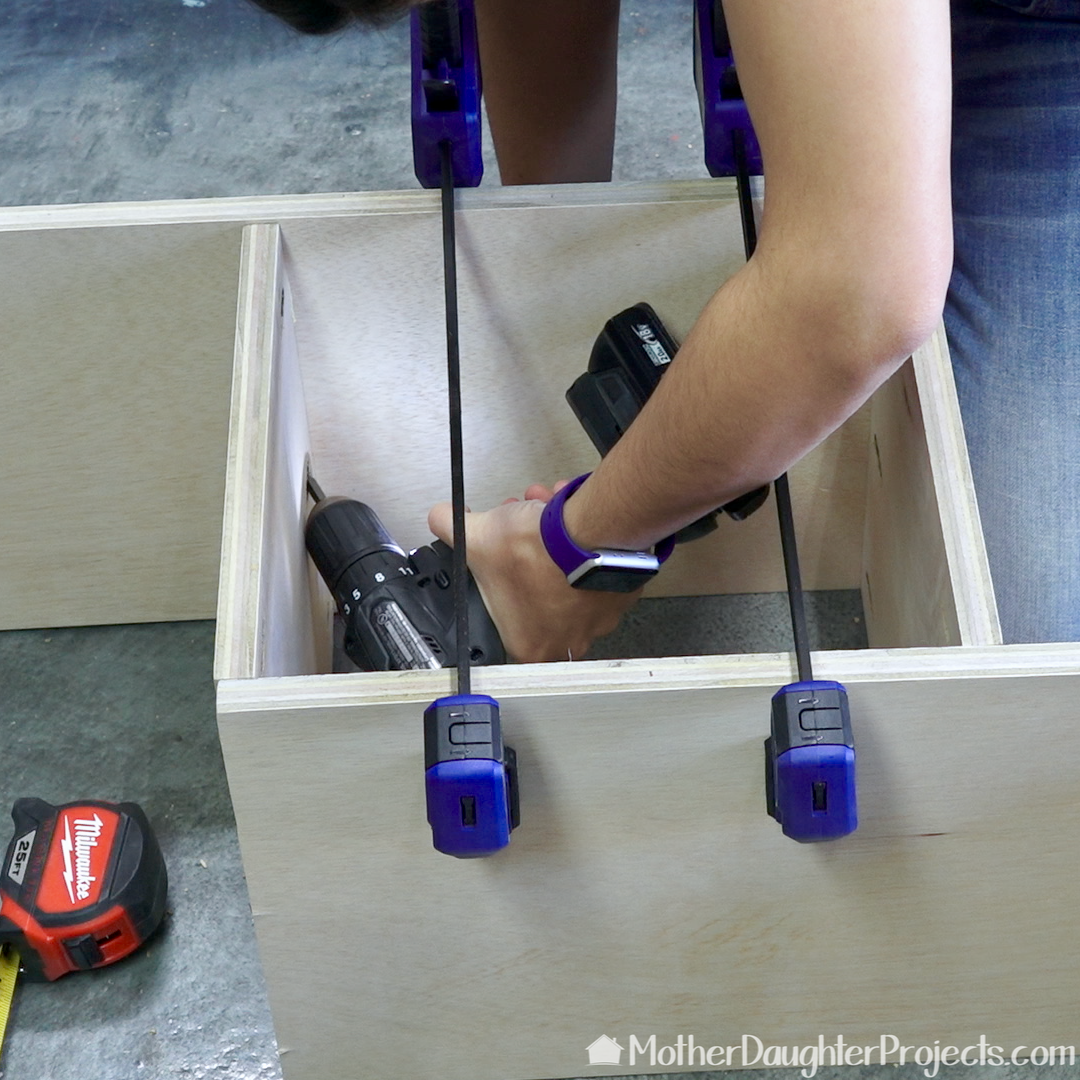
Six of the 12"x12" inch boards each got six pocket holes, which makes for easy wood joinery.
2 of the 3' board got 1 square attached, and 2 got two boards attached.
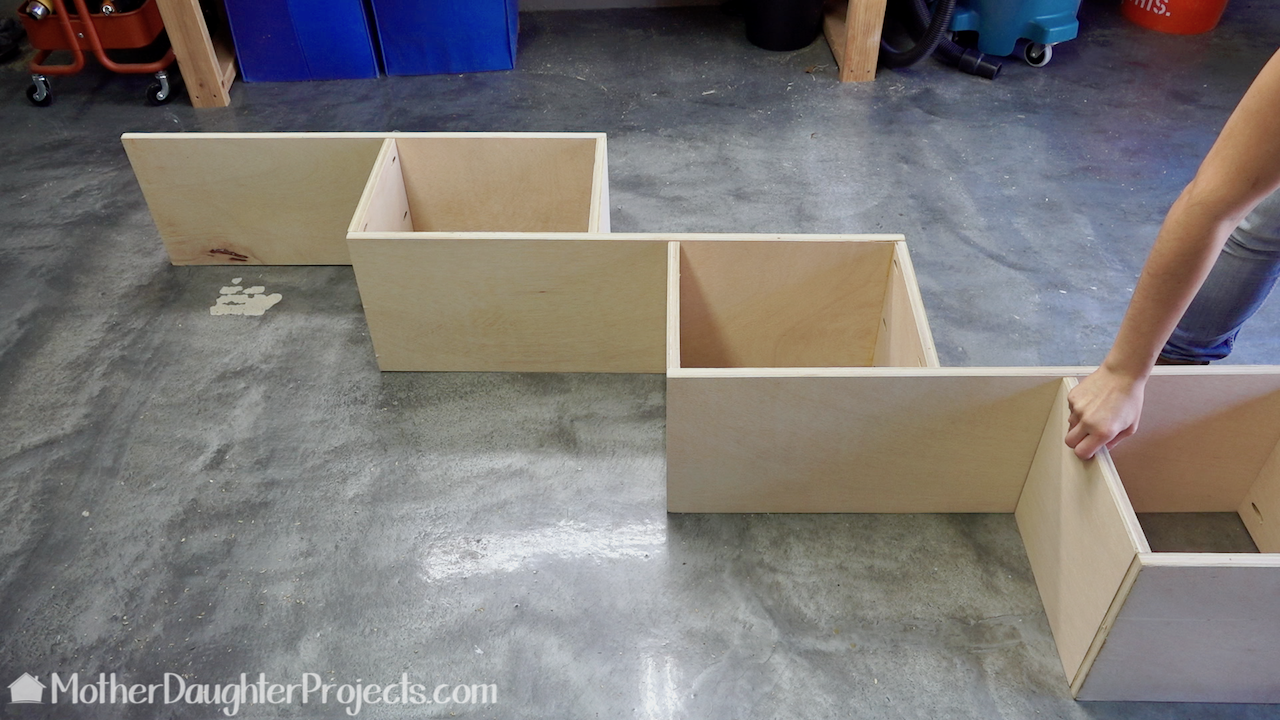
Steph laid it all out on the floor. She made sure all the cubes were 12" square before screwing everything together.
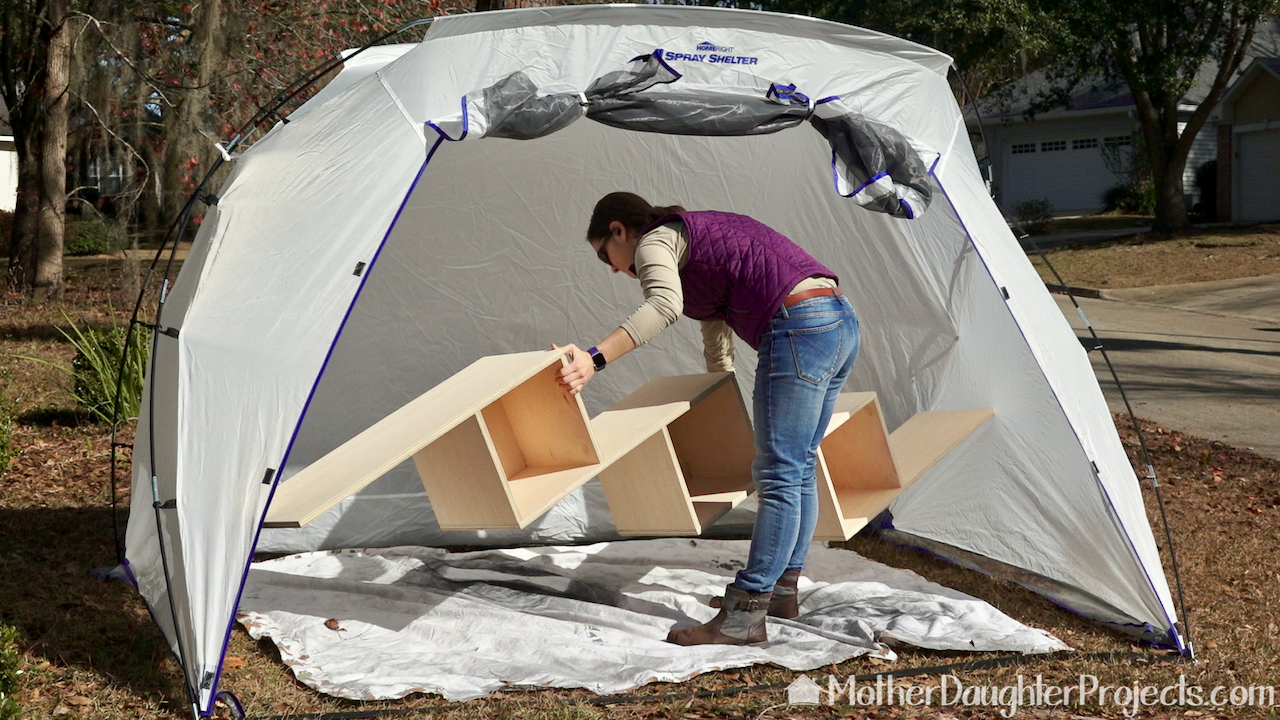
Although the shelf could be finished in any number of ways, we wanted a raw plywood look. We took it outside to the spray shelter to clear coat it.
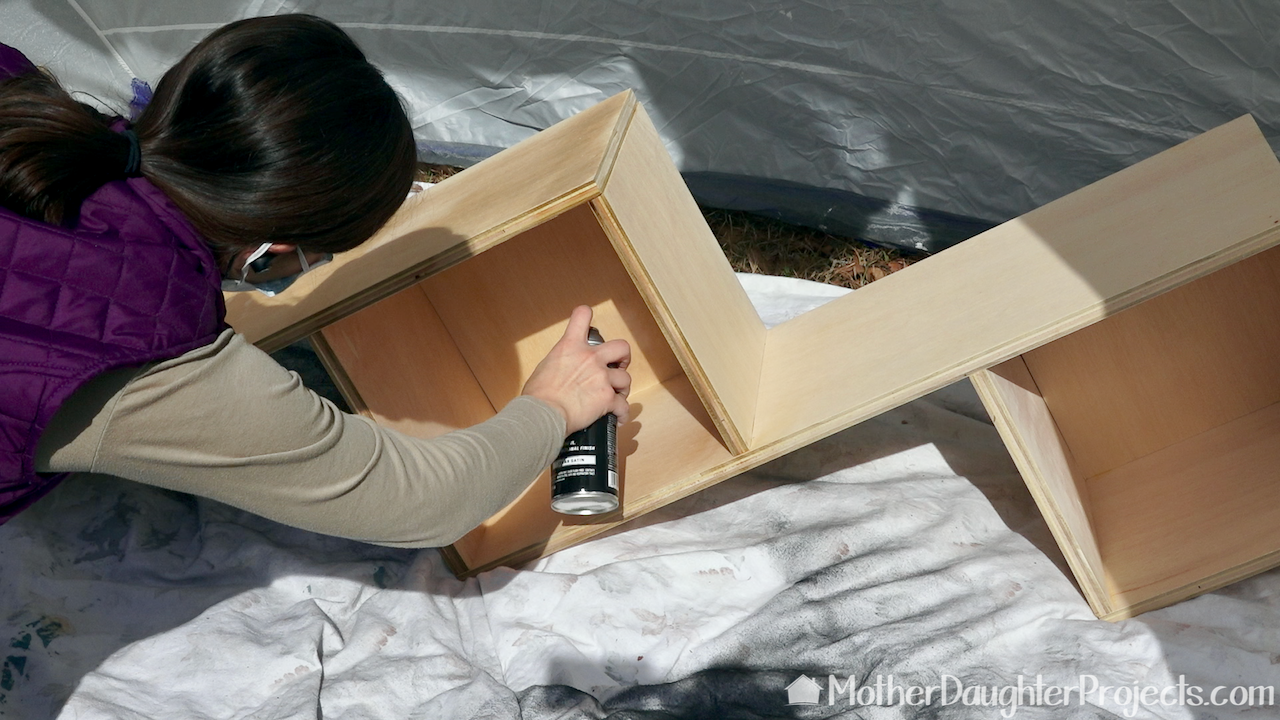
We used a clear Minwax lacquer spray.
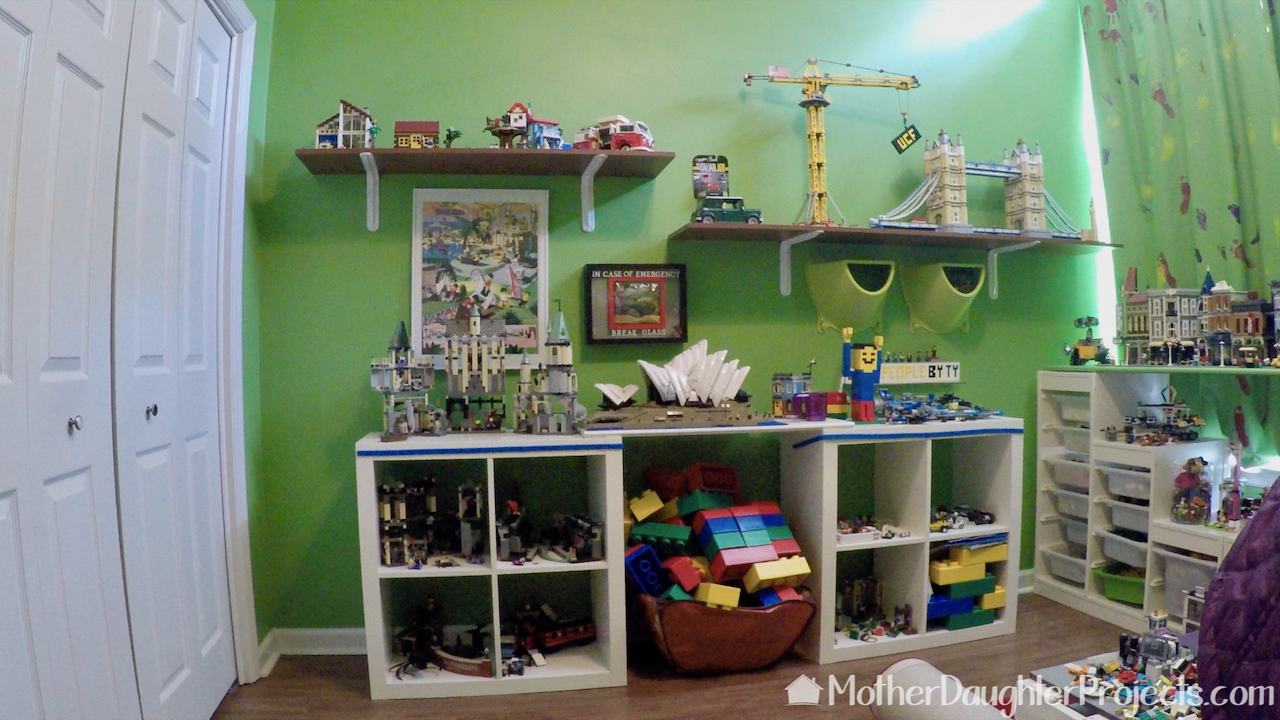
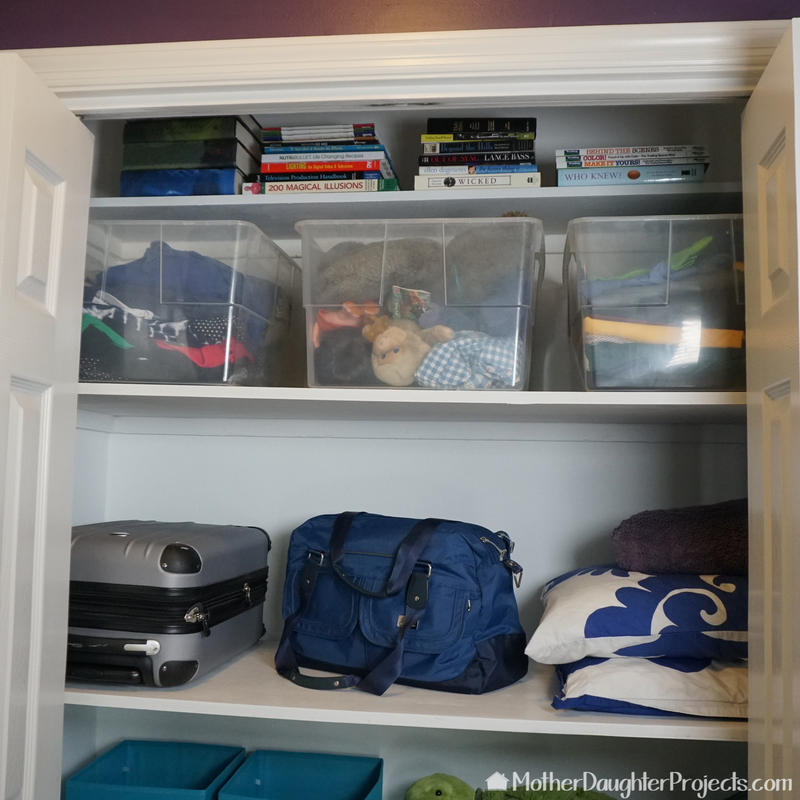
The final home for the shelf is Steph's lego room to replace this assortment of shelving. Everything came off the wall, we filled the holes from the previous anchors and repainted where needed.

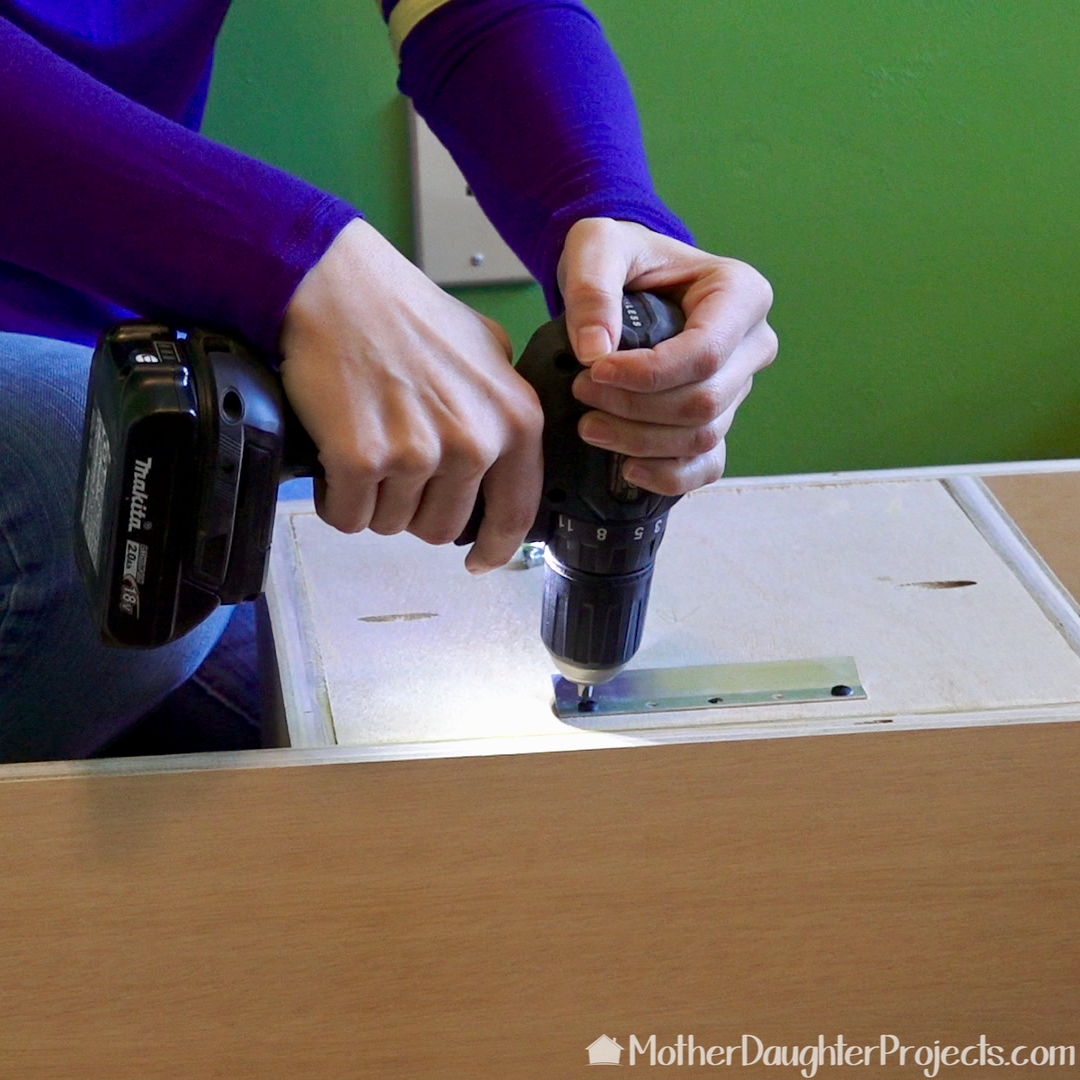
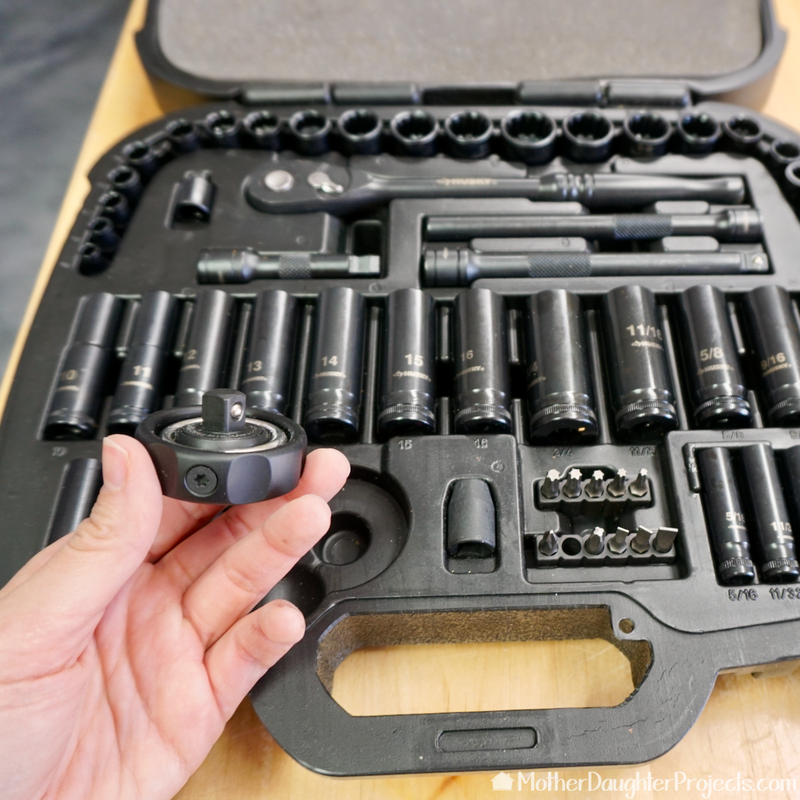
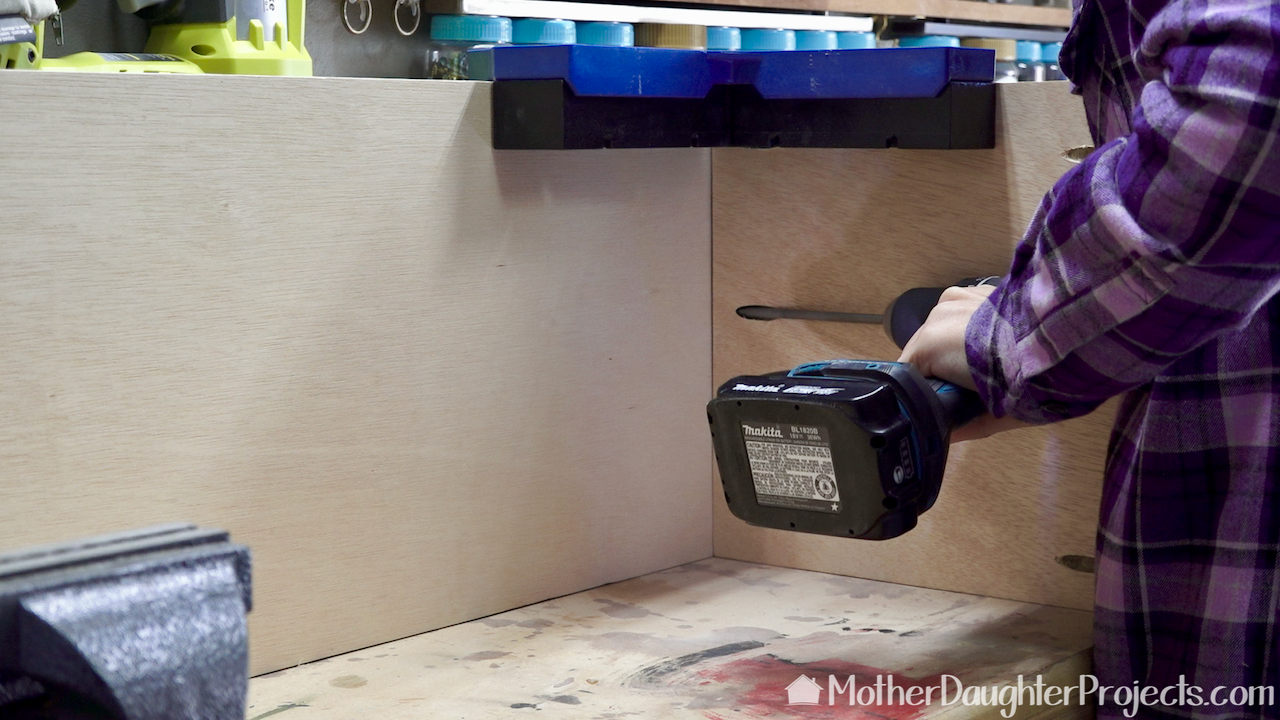
We added a French cleat to the back of each cube to attach the shelf to the wall. The wall part of the French cleat needs to be hand screwed into the wall. This build allowed us the use of one of the tools included in the Husky 1/4in. and 3/8in Universal Mechanics Tool Set (60 piece). We used the gimbal palm ratchet to attach the cleat to the wall.
Most homeowners need to have a set of sockets and screw driving bits in their tool inventory. This set includes pretty much what most homeowners would need. It includes 42 sockets which can be used with the two included ratchets or hand screwed if needed. Also included are 11 screwdriving bits. The ratchets are especially designed for tight spaces and helping you to access hard to reach spaces. The sockets work on six different types of fasteners. It's important to note that Husky mechanics hand tools are guaranteed forever; if your Husky hand tool ever fails, bring it back to The Home Depot and they will replace it for free!
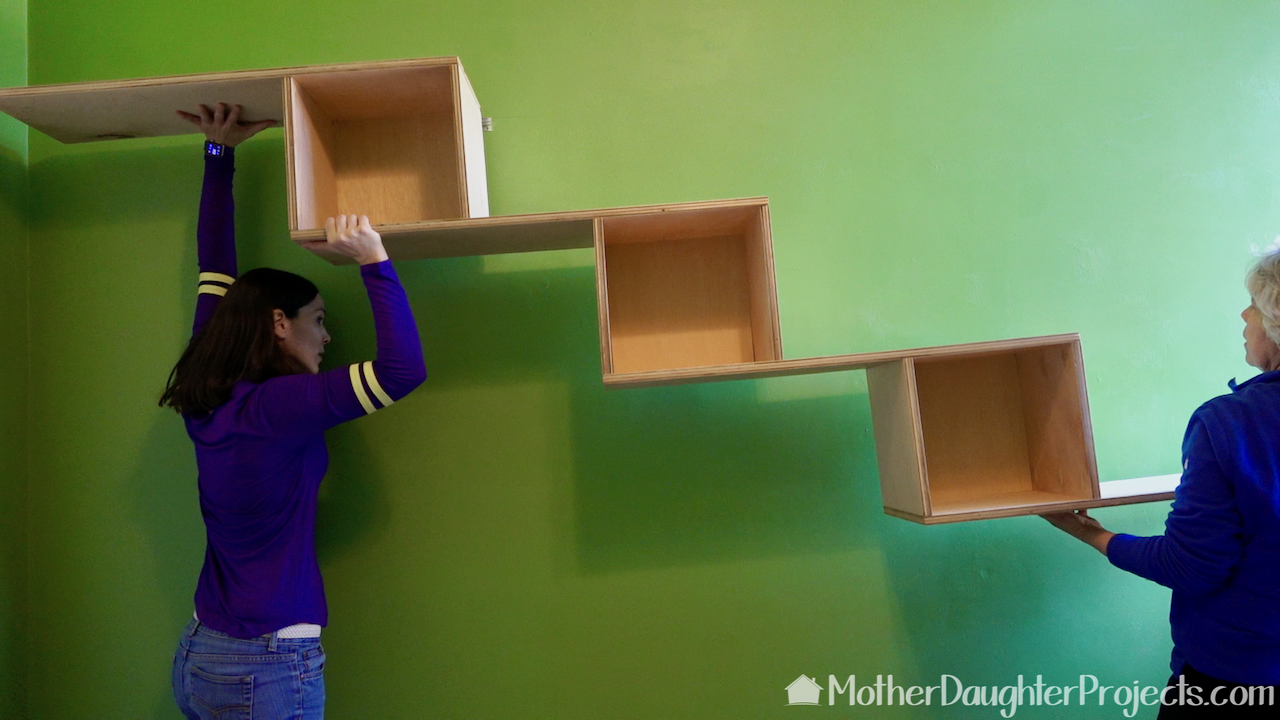
Once the French cleats were in place we put it into place and checked to see that all were seated correctly.
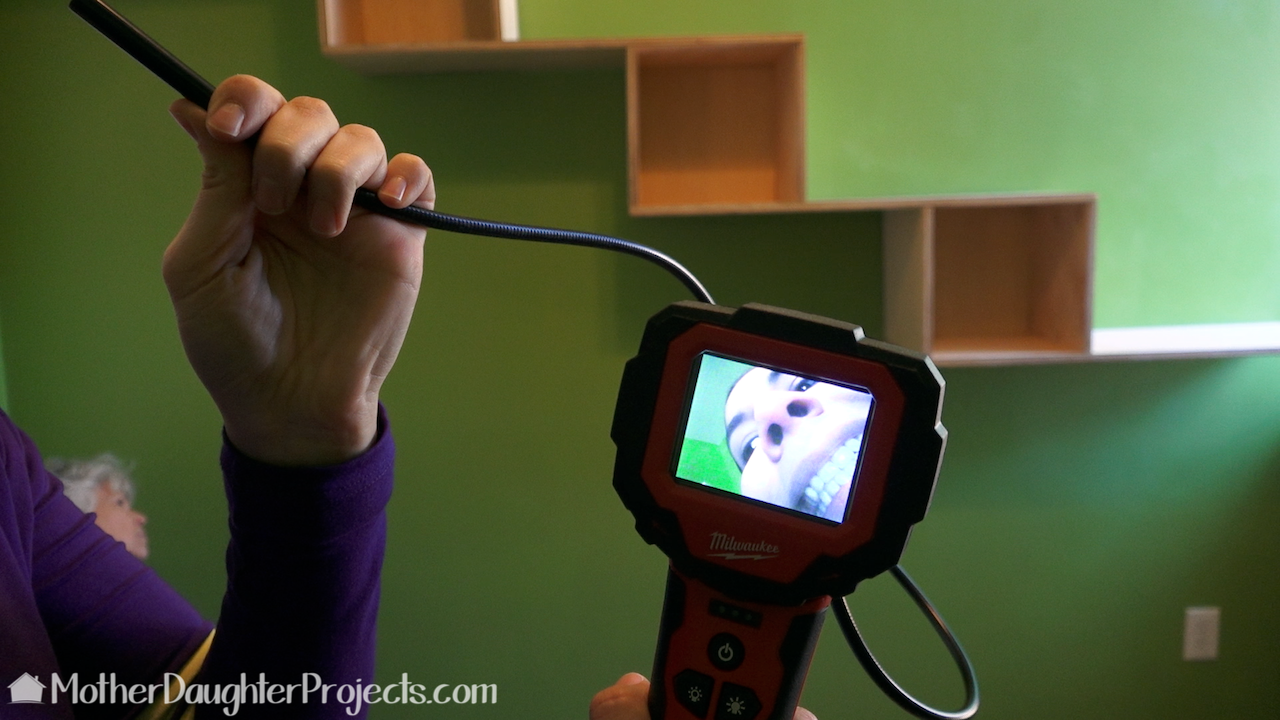
We used an inspection scope to make sure the cleats were securely in place.
We are big fans of using French cleats to hang large heavy items. One of the problems we’ve had in the past is assuring the cleats are centered and fully seated onto the two parts. It’s very difficult to see behind whatever we’ve hung to be sure the parts are meeting as they should be. Because of this, we requested an inspection scope camera from The Home Depot to try out.
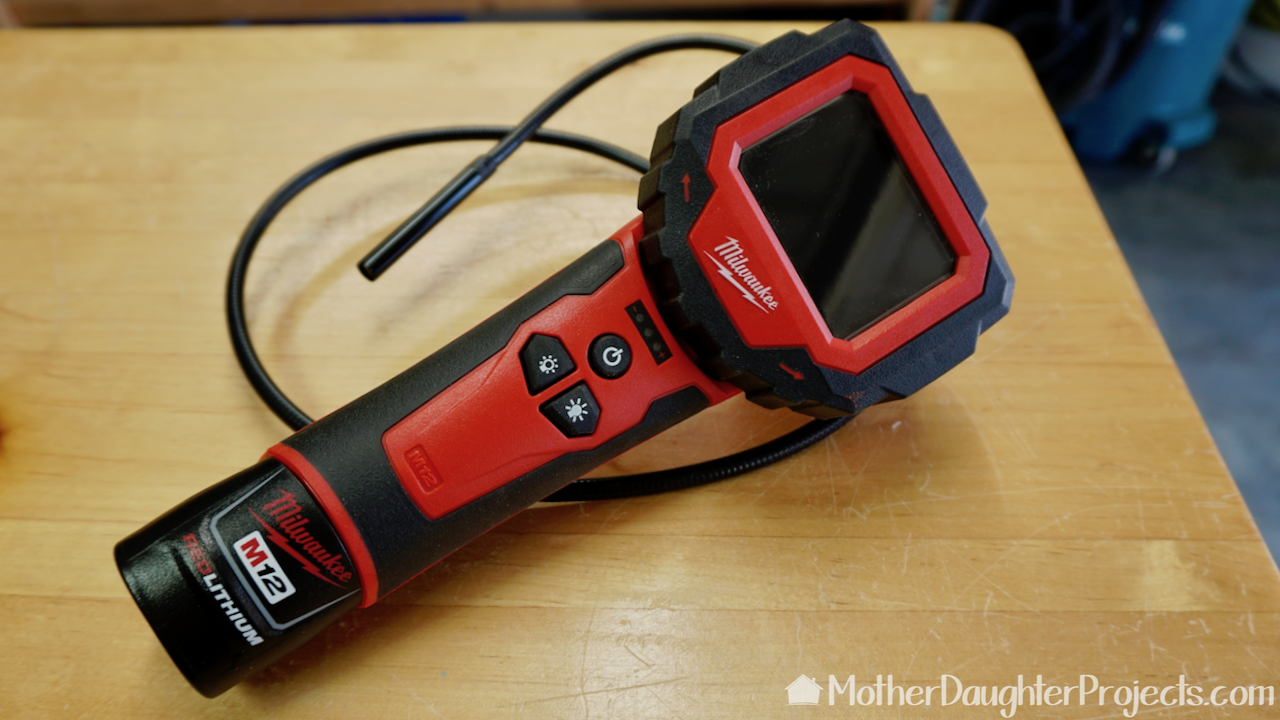
We were sent the Milwaukee 12 -Volt Lithium-Ion Cordless M-Spector 360 Degree Digital Inspection Camera Kit. It has a flexible camera that can be positioned to see where you can’t see. The image shows up on the 2.7 inch LCD screen in color. We have already used this many times to check french cleats, and it gives us piece of mind to see they are secure on the wall. 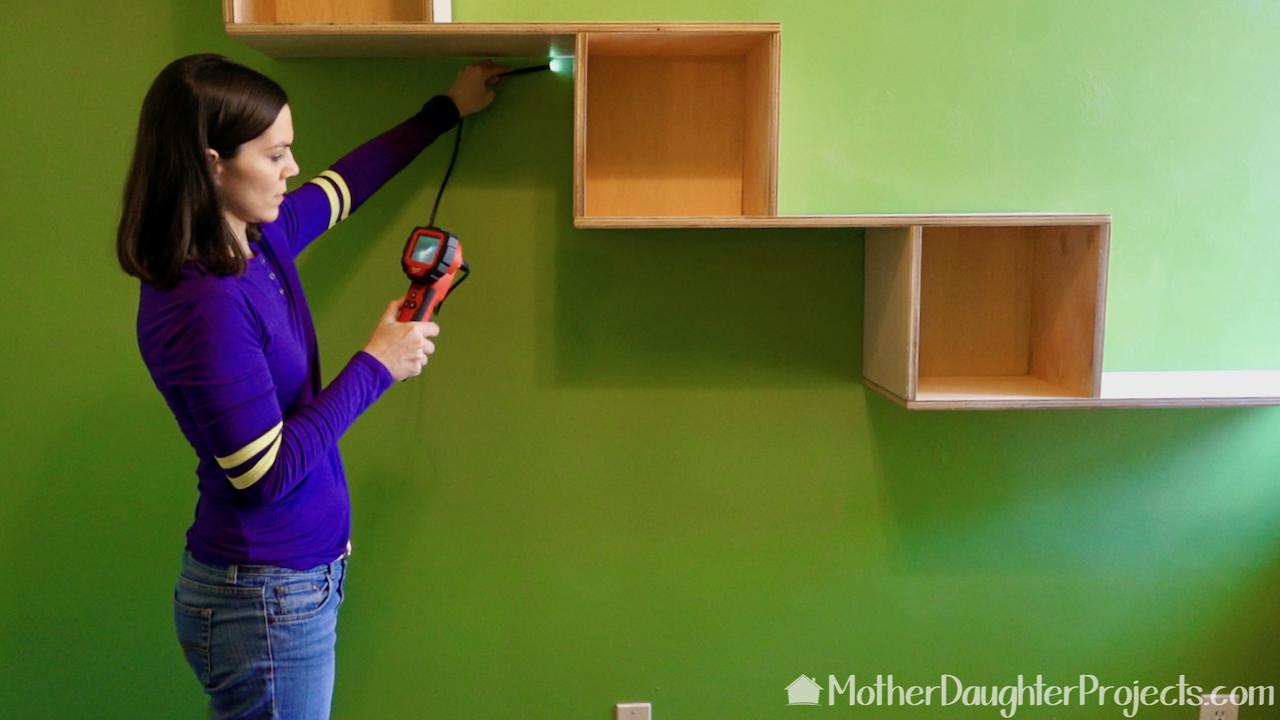
When dealing with something as heavy as this shelf, it was very important that we knew exactly the status of each of the three cleats. Failure of anyone of them would mean the shelf would probably not hold. The inspection camera was invaluable for determining this.
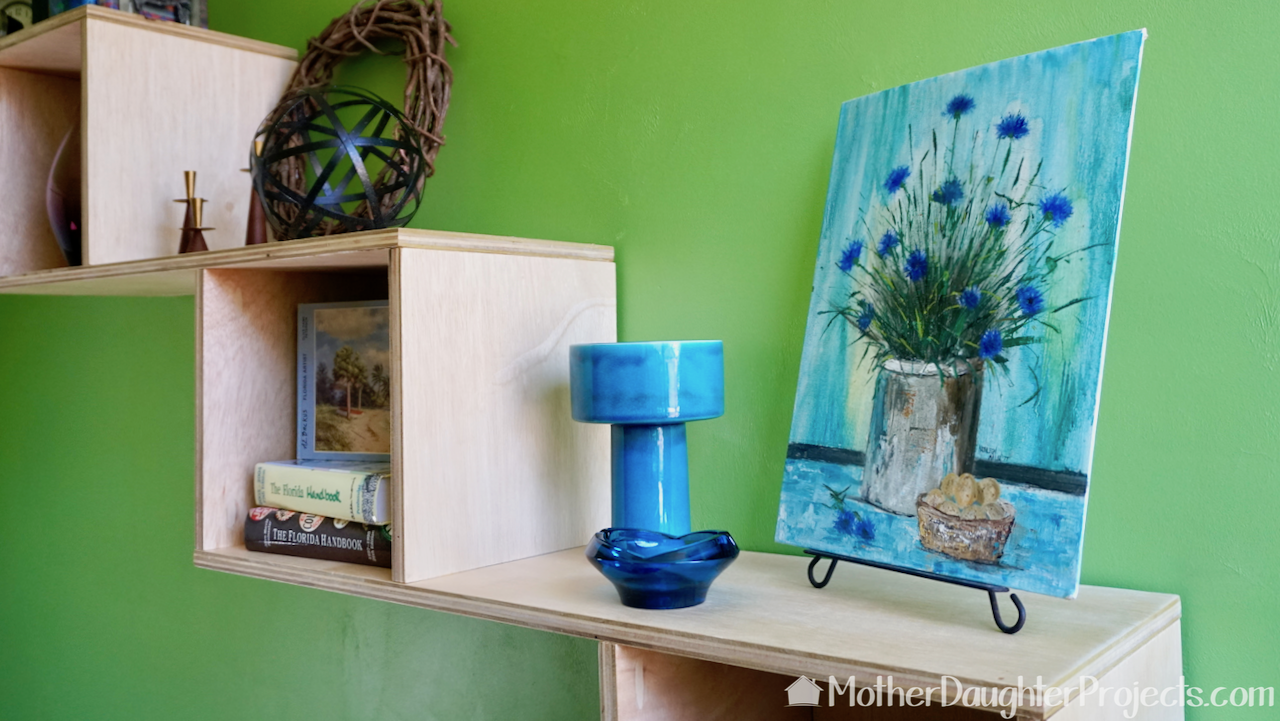
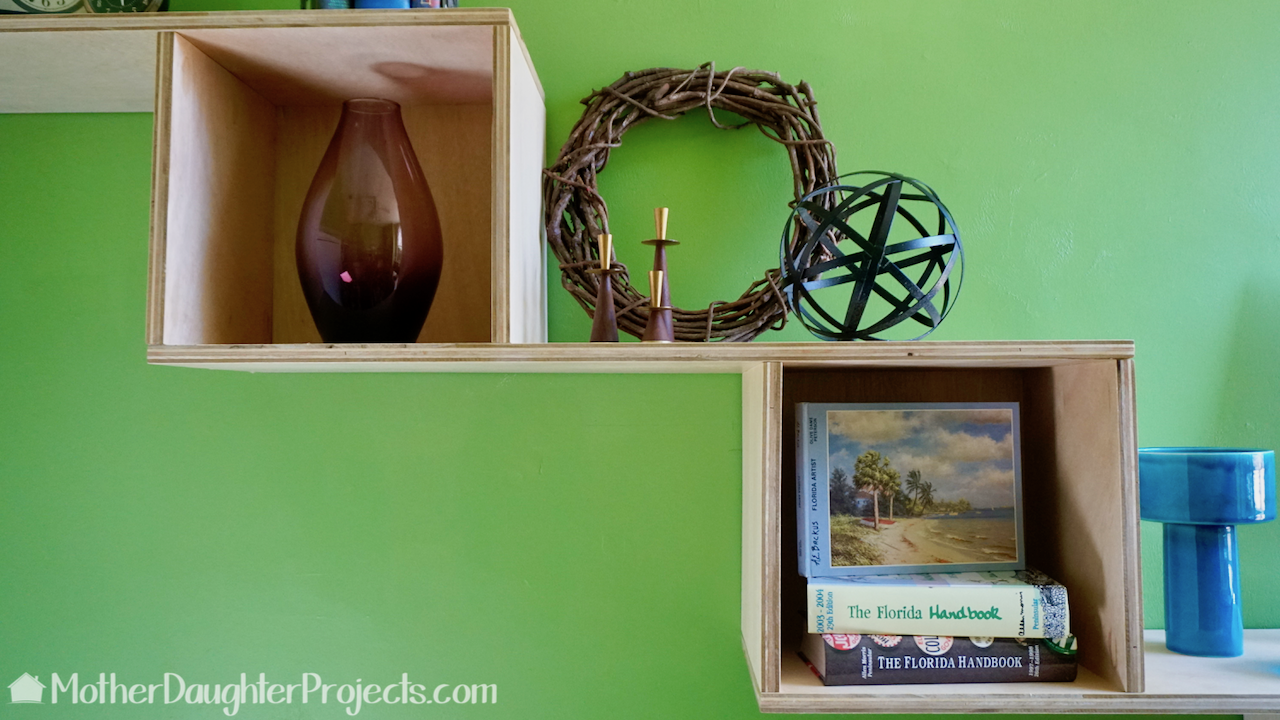
All styled and in place! It can hold decorative items, books, and more.
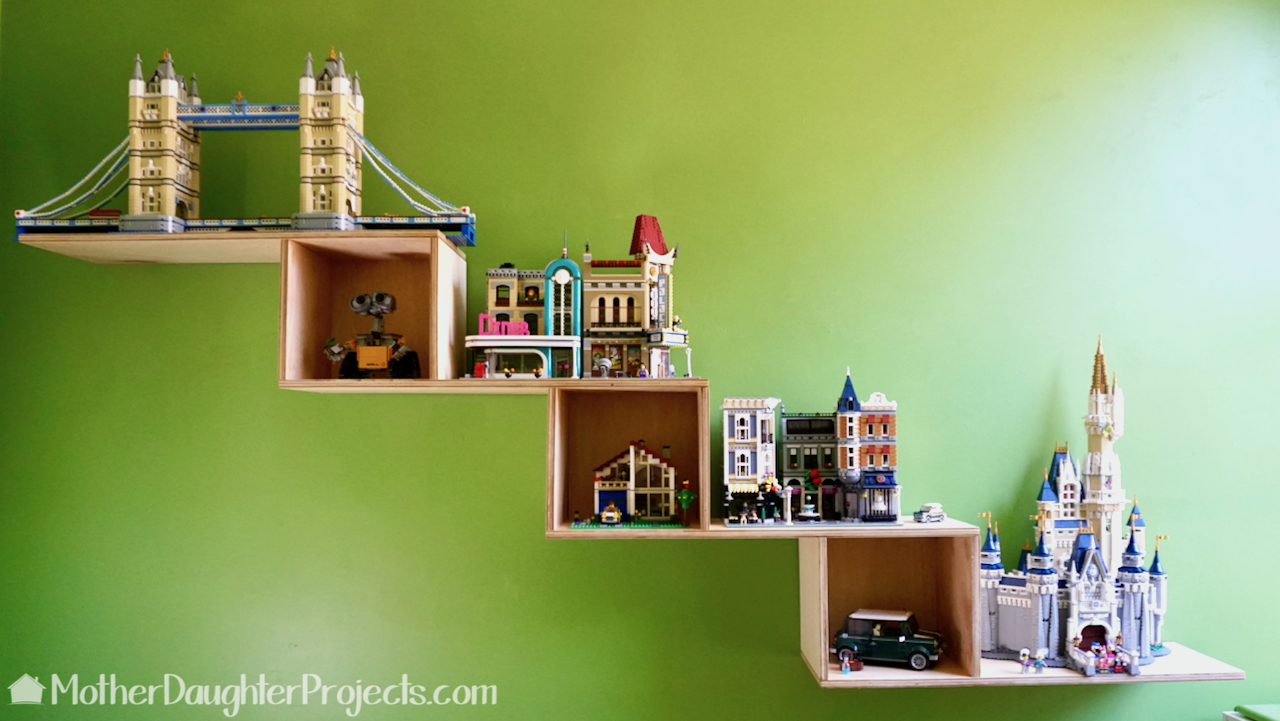
Here it is all styled with Steph's Lego sets. Perfect!
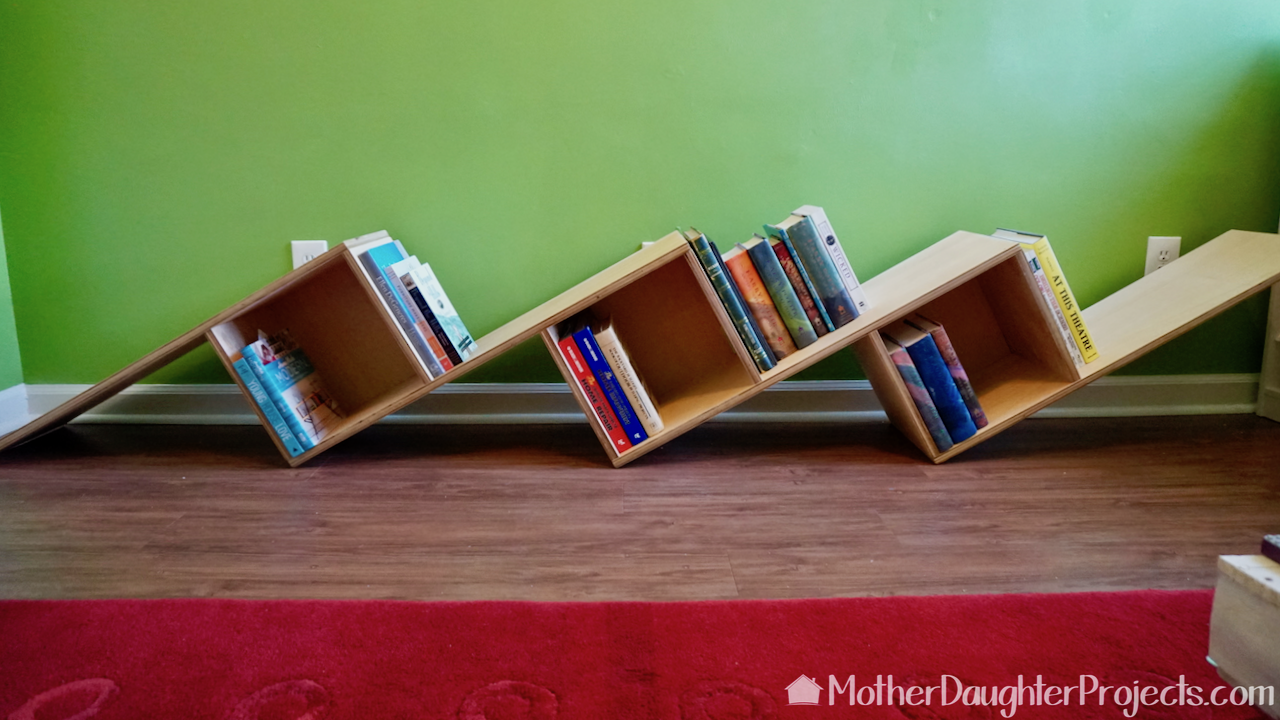
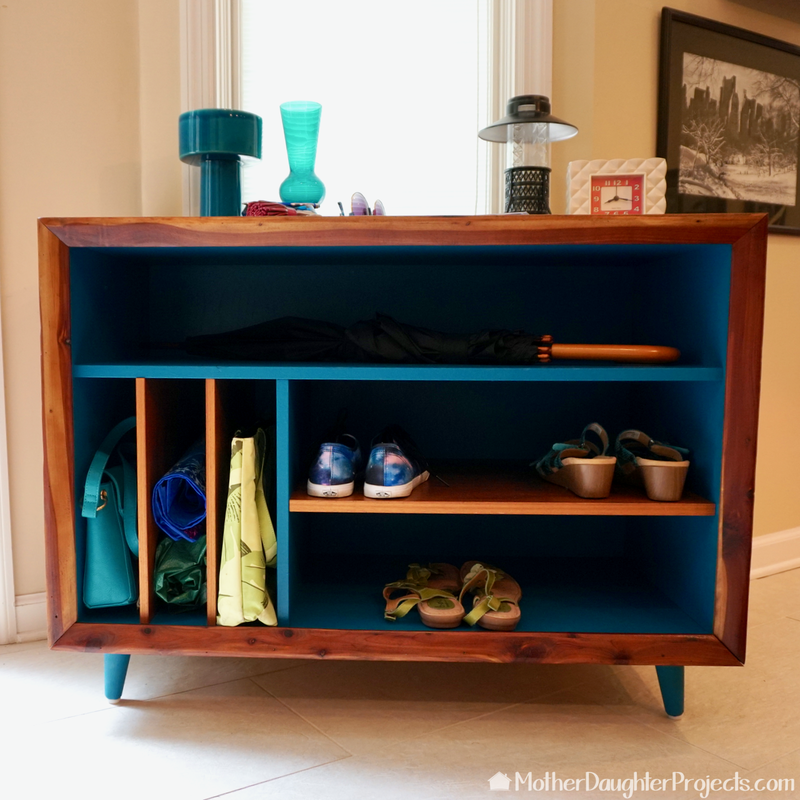
We noticed as it sat on the floor that it could be positioned this way on the wall to be used as a fun, modern bookshelf!
Steph did a great job designing and bringing her idea to life. I was no help at all as this was the week I was dealing with the flu and aftermath. I did help with the hanging of the shelf and subsequent styling of it. Because of the length of the shelf we knew there was a good chance we would NOT get all three French cleats exactly where they needed to be on the first try. No surprise, it took three tries to get it right, but we eventually did. We did add a small L bracket to the very left hand side of the shelf as it was sagging and needed a little extra support. Because it is so high this fix is not obvious.
I love the way the shelf turned out. If I had a place in my house for one I would not hesitate to put one up. I like the clean, modern lines and the raw look of the plywood!
We acknowledge that The Home Depot is partnering with us to participate in the The Home Depot ProSpective Campaign. As a part of the Program, we are receiving compensation in the form of products and services, for the purpose of promoting The Home Depot. All expressed opinions and experiences are our own words. Our post complies with the Word Of Mouth Marketing Association (WOMMA) Ethics Code and applicable Federal Trade Commission guidelines.
FYI: We are not professionals, and we don’t claim to be. This is what we found worked for our project. Yours may need a little different approach. Safety first! FYI: Affiliate links are being used on this page. Purchasing via these links help support MDP! Related Projects
6 Comments
Becky
1/23/2018 06:28:23 pm
Looks great! I also don't have a large work bench for cutting ply so I use pink foamboard on the floor and cut on that. Love the finishing tent!
Steph
1/24/2018 09:02:52 am
Hi Becky- yeah, that's a great idea. We have been meaning to pick some up for projects like this!
Steph
1/24/2018 09:37:04 am
Hi Ashley! Thanks so much! We do like the shelter- it's really nice to have for big spray paint projects. We used the small one more often but it's nice to have both for all kinds of projects.
Reginald
1/25/2018 05:11:14 pm
Really good idea and intelligent way of saving space in small rooms.
Steph
1/28/2018 04:45:46 pm
Thanks Reginald! Leave a Reply. |

Mother Daughter Projects
|