|
text by Vicki Sign up to get Mother Daughter Projects updates in your email!
You know when you’re all comfy and cozy in bed; the last thing you want to do, is get up and walk down the hall to adjust the temperature at the thermostat! Here in Florida the weather varies--a lot! Sometimes it’s too cold, sometimes too warm and it varies the most when you’re trying to get comfortable at night. The solution to my on-going temperature problems are as close as my phone!
For a few years, my kids have been trying to convince me that I “need” a smart thermostat. Well, with the wacky hot/cold weather we’ve had this winter, I’ve finally been convinced that: 1. It would be a nice convenience and 2. It might save some money as it can be programmed to run more efficiently.
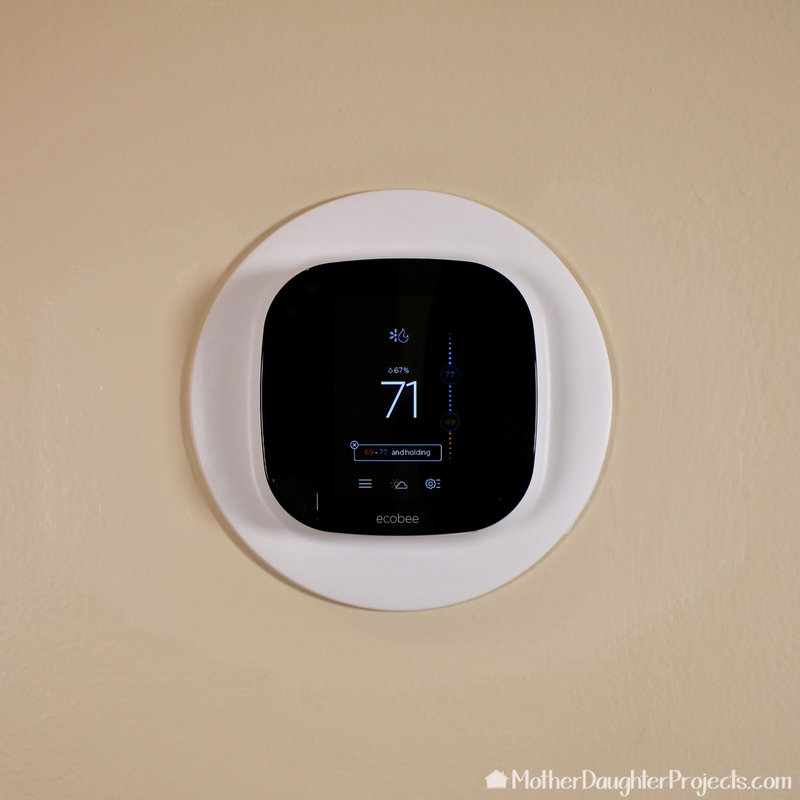
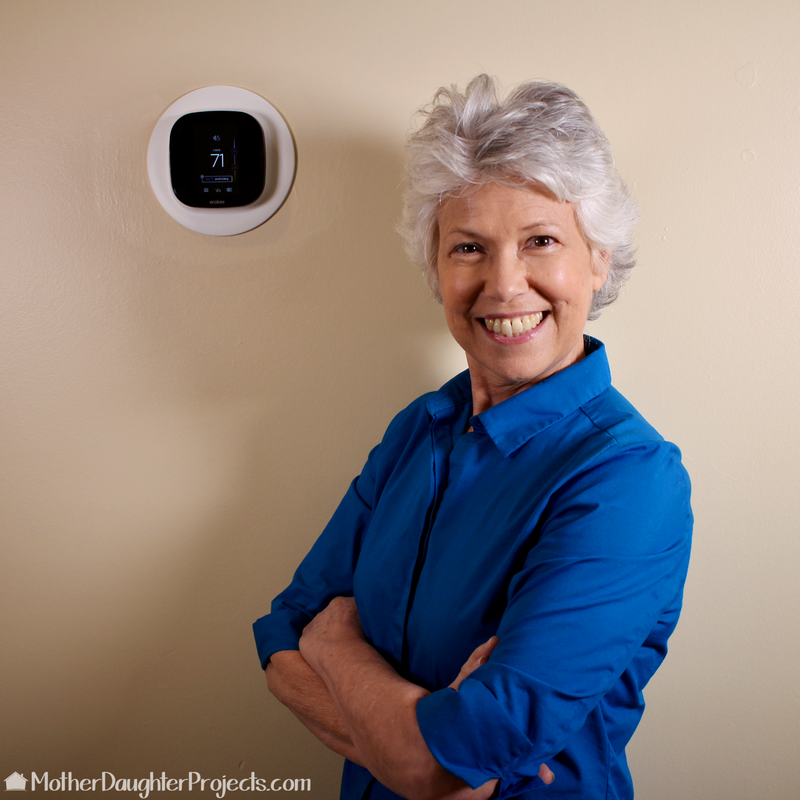
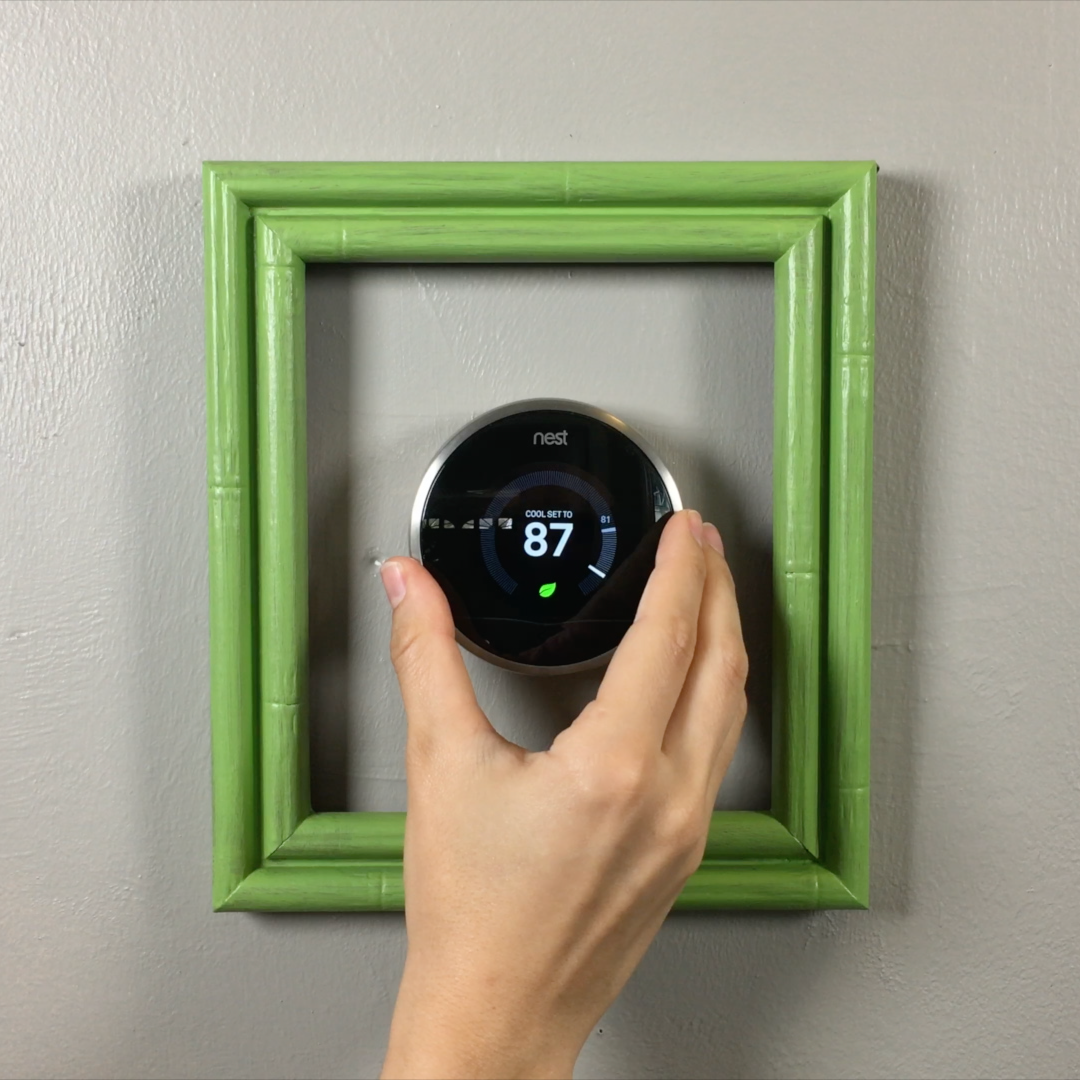
This past week, the installation of a smart thermostat at my house made it to the top of our “to do” list! Yay! BUT, unknown to me, Steph had decided I would be the one to actually physically install the thing. You can see from the video that I was taken off guard when she told me her plan. Well, I’m game for pretty much anything (except for a trip to the attic which occurred mid-install, but that’s a later story.) Steph had previously installed The Nest smart thermostat at her home so we decided to try another brand, the Ecobee3, at my house. Her install went without a hitch, but mine hit one little snag!
Installation:
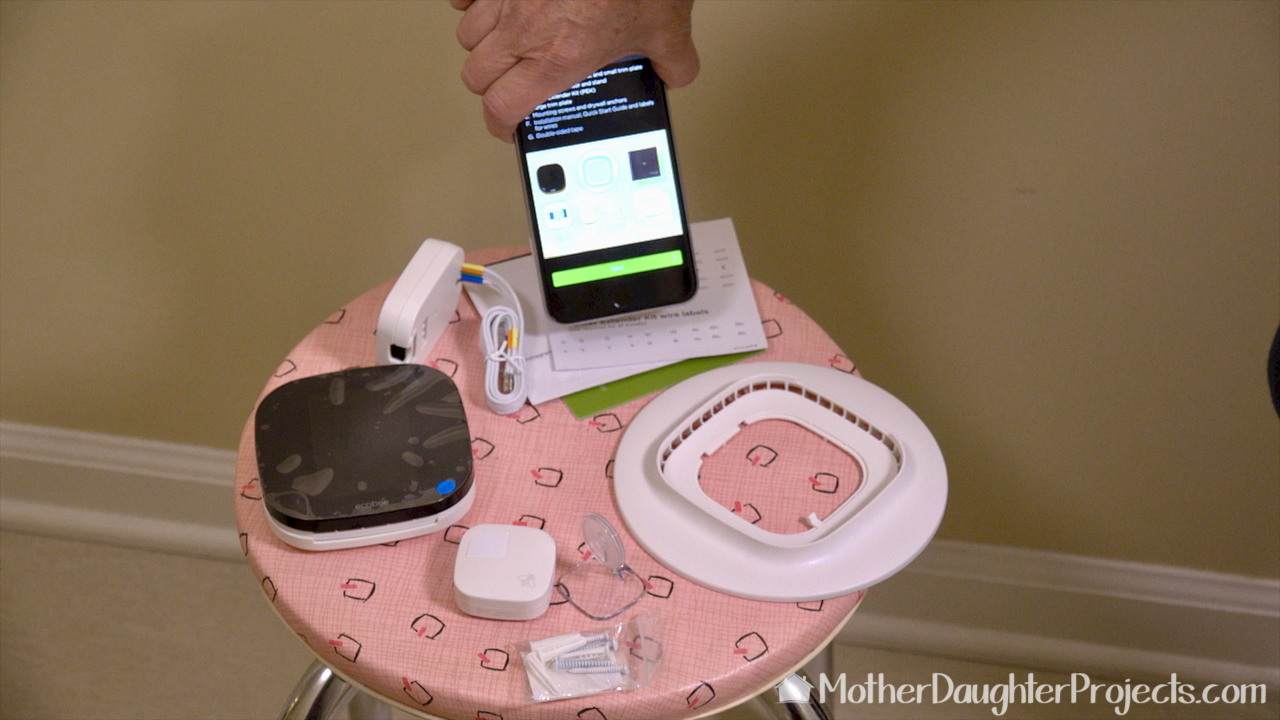
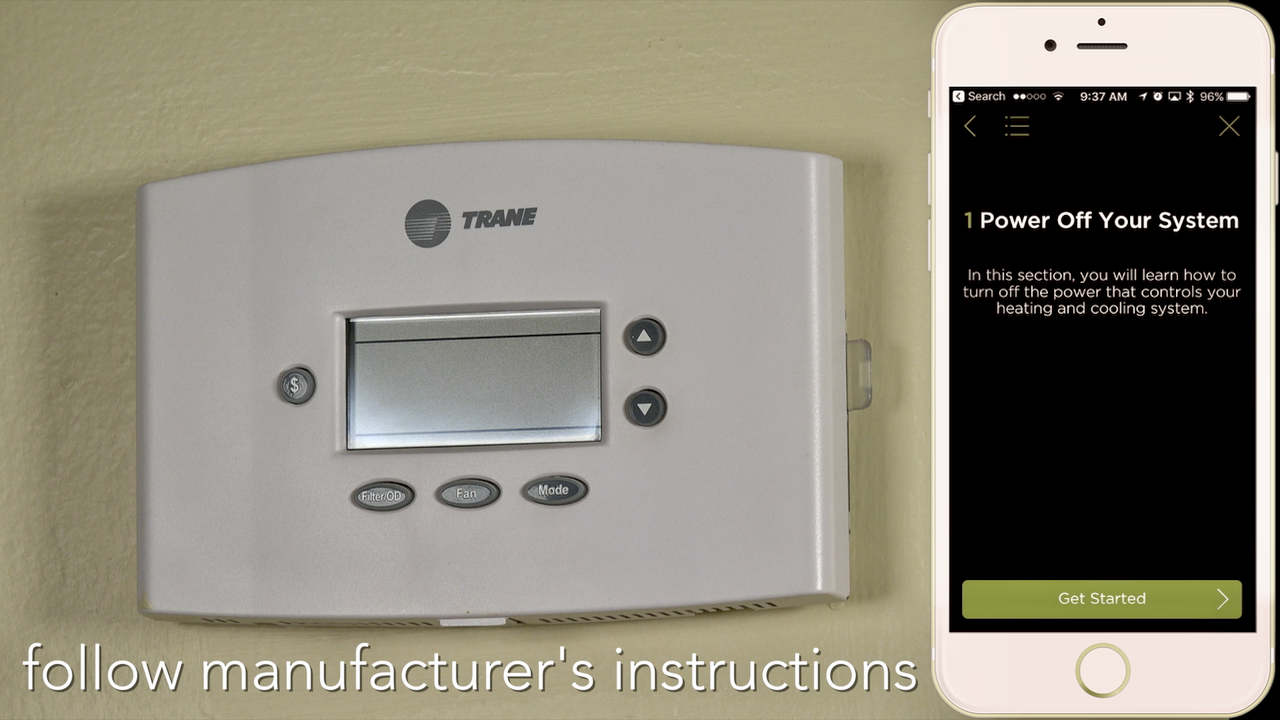
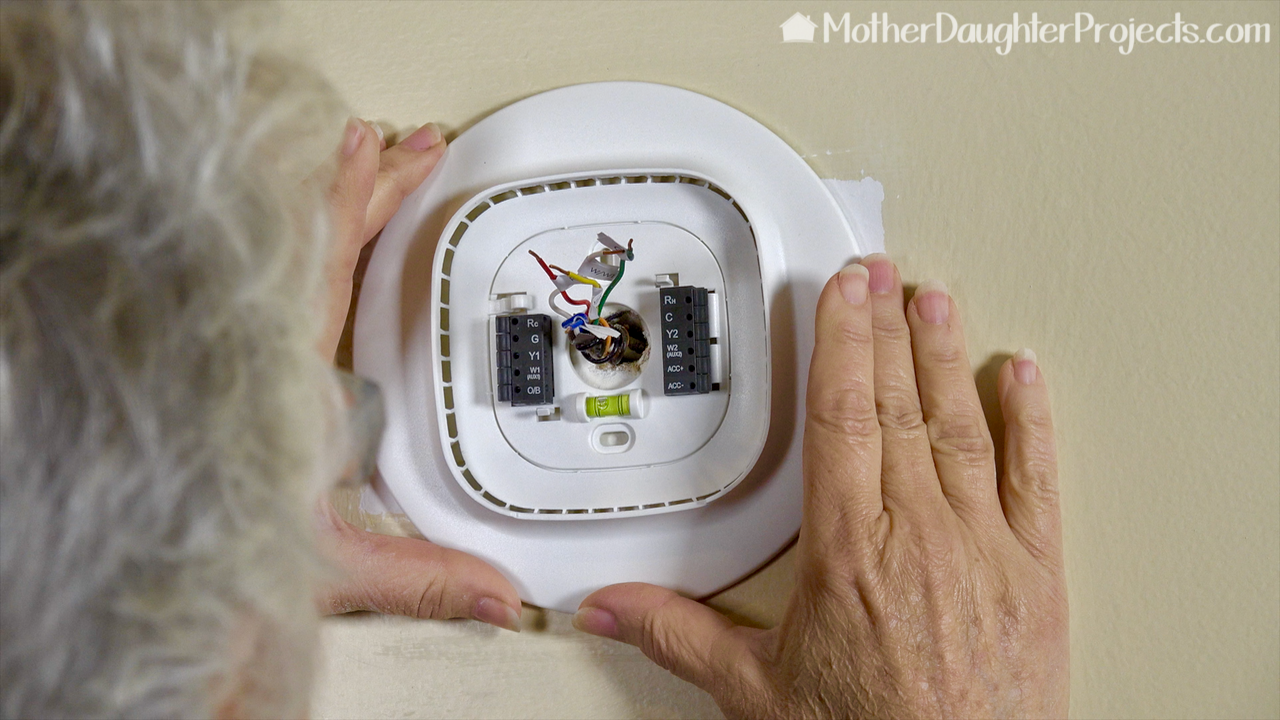
A quick lift of the box revealed directions to download the app for step by step install instructions. The app systematically led me through the installation showing me pictures of what I was doing as well as videos when necessary. At one point, the app even had me take a picture of the process so that I could refer back to it. After install, the app continued to walk me through the registration process as well as installing the remote sensor. It couldn’t have been easier, except for THE SNAG!
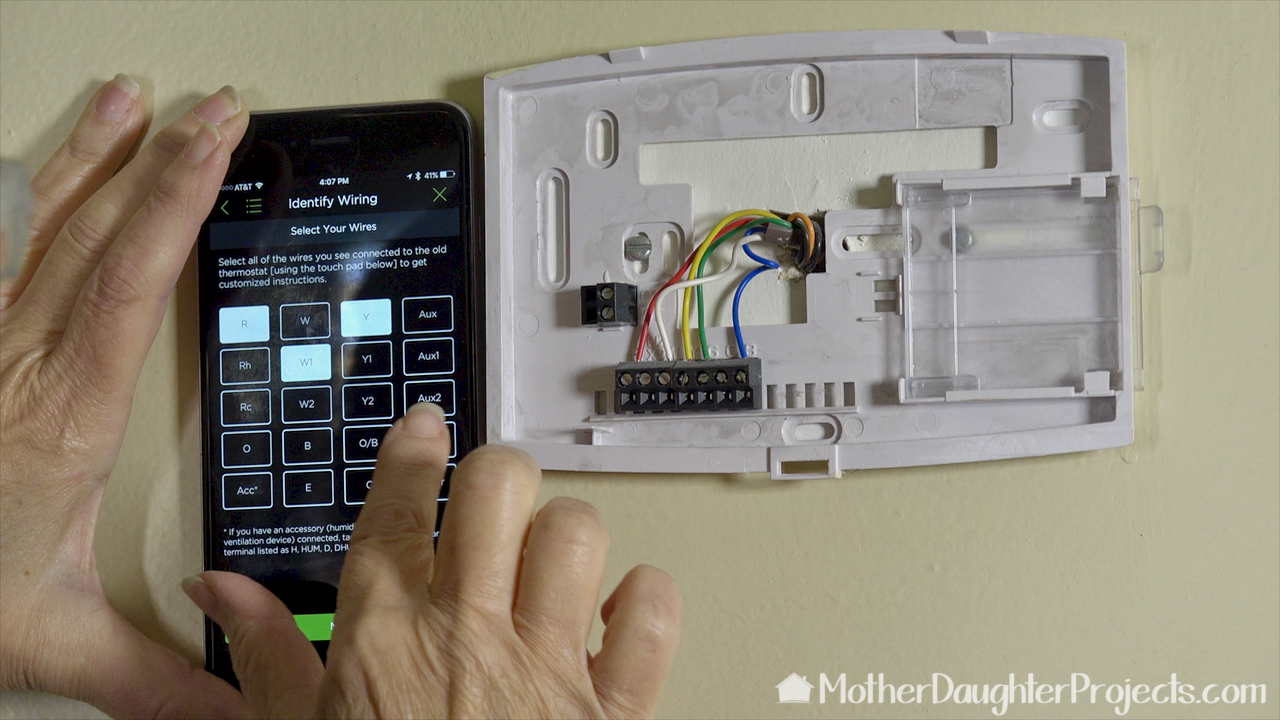
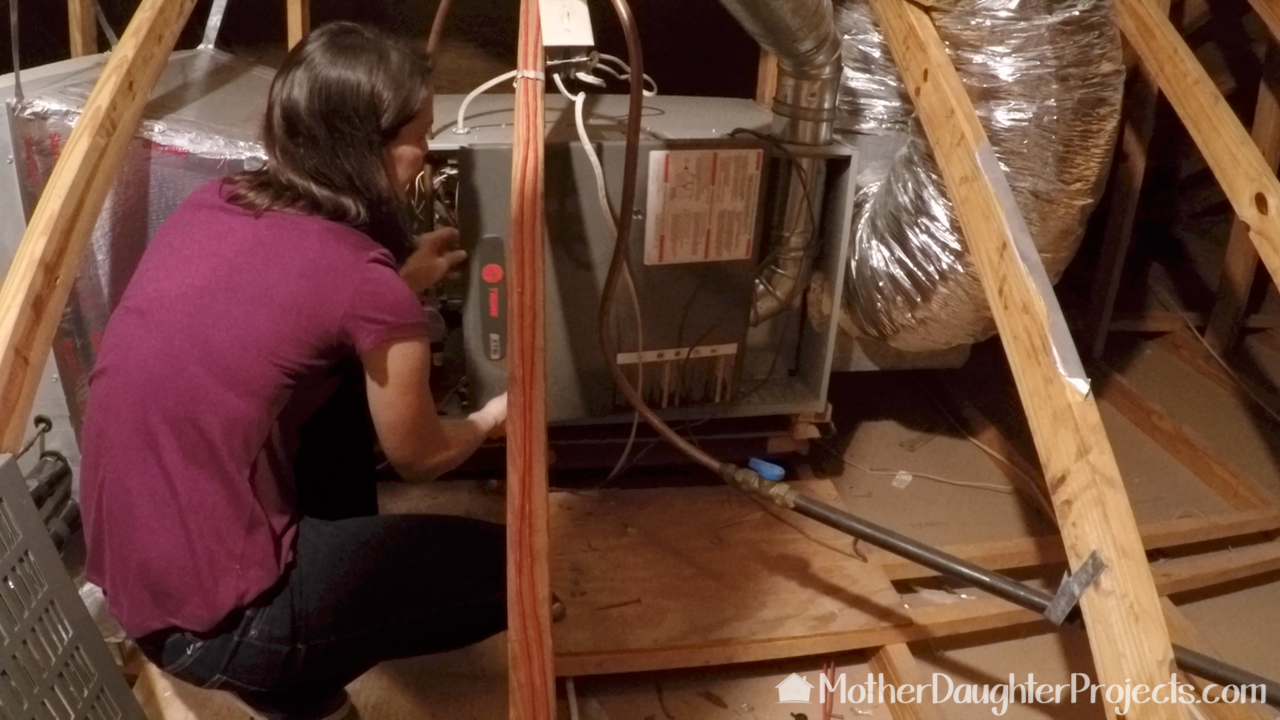
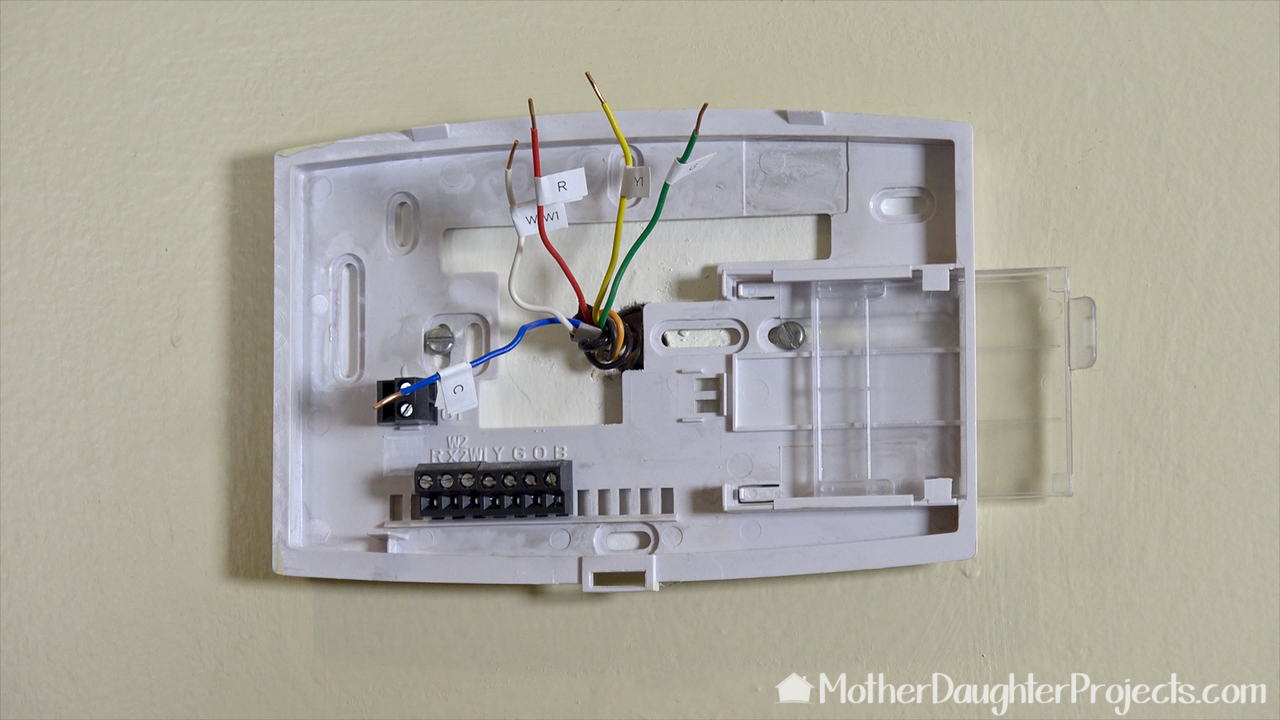
This installation required something called a “c” wire. It was apparent from the old thermostat wiring that there was no “c" wire. This is where things went a little off course. The app instructed us to go to the HVAC unit and remove the access panel to reveal the wiring. Unfortunately the HVAC unit at my house is in the attic, so this is where I let Steph take over.
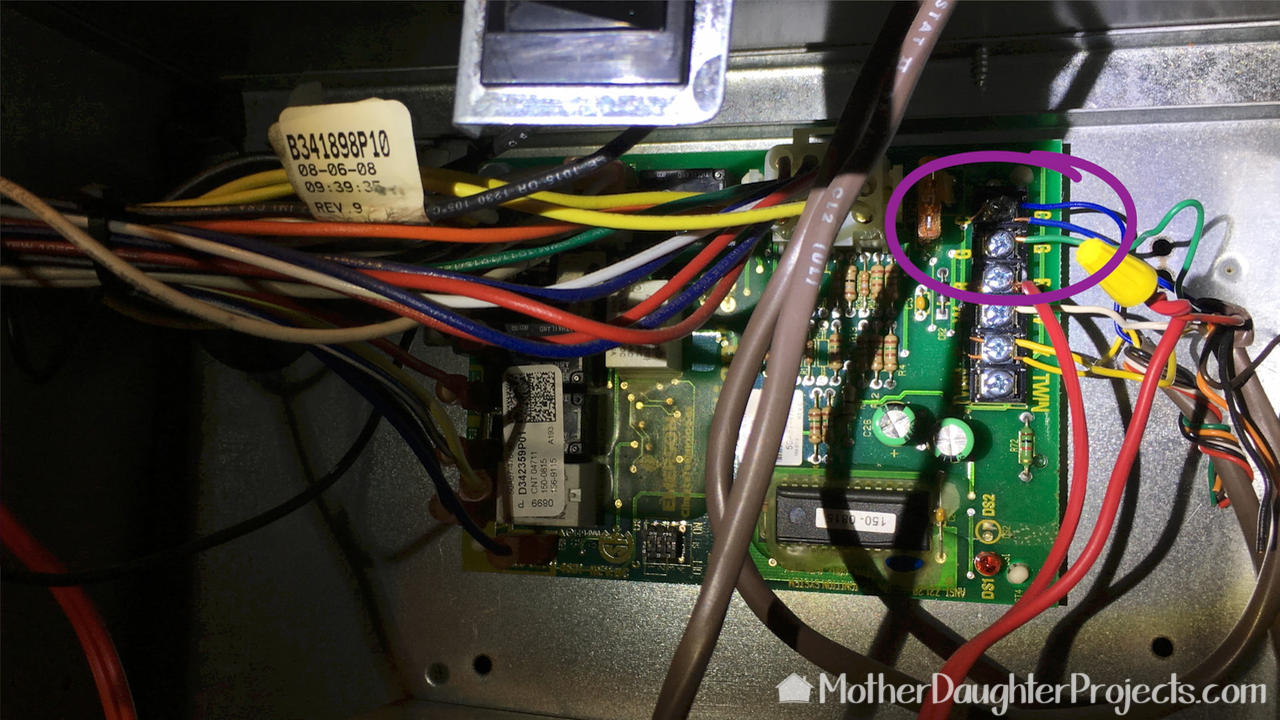
When we got to the attic we realized the HVAC was gas powered. I don’t know about you, but gas scares me ‘just a little!’ A quick call to Ecobee support assured us that as long as we had the power off (which we did) we could safely open the access panel on the HVAC. Once Steph got the panel open, she found a little surprise! Lo and behold there was a blue wire, wired to the “c” terminal!
This information required an email with pictures to Ecobee to see what we needed to do now. It was good news! Having the blue wire, now identified as the “c” wire meant we could just close up the panel and proceed with the installation—no extra wiring needed!
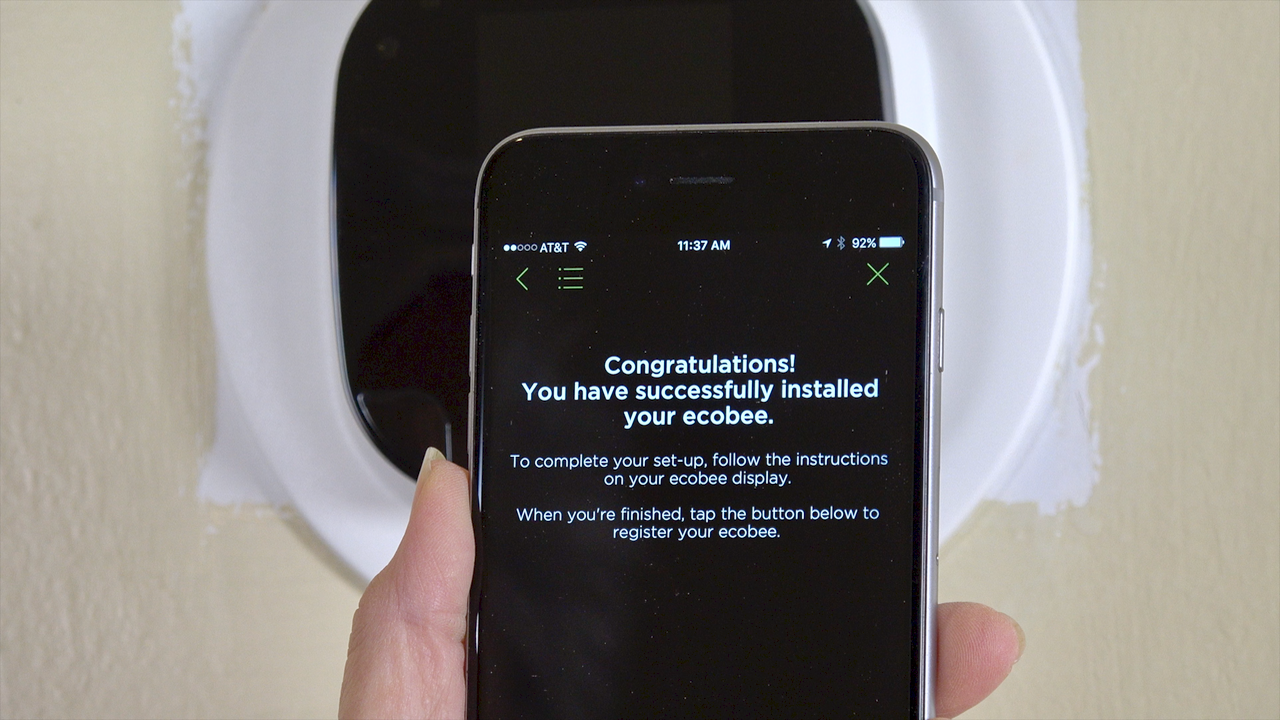
The remainder of the installation went smoothly and once powered on, worked perfectly!
The Ecobee3 installation proved to be very straight forward. The instructions via the app were easy to follow. The pictures and videos in the app assured us that we were doing everything right every step of the way. This is a very doable DIY project for homeowners. Oh and by the way, the first night, I did adjust the temperature from the comfort of my bed.
Please note: We are not sponsored by any of the products that we used. These products were picked and bought by us.
FYI: We are not professionals, and we don’t claim to be. This is what we found worked for our project. Yours may need a little different approach. Safety first! FYI: Affiliate links are being used on this page. Purchasing via these links help support MDP! Related Projects
0 Comments
Leave a Reply. |

