|
text by Vicki Sign up here to join our weekly email newsletter!
This post is sponsored by The Home Depot.
On today's show:
Show Links:
What's the ultimate picture hanging tool? It's this Bosch laser level! It's not really for hanging pictures--it's true purpose is to quickly square the layout of a room. We aren't doing any major building anytime soon, so we did a quick demo just so you can see it in action.
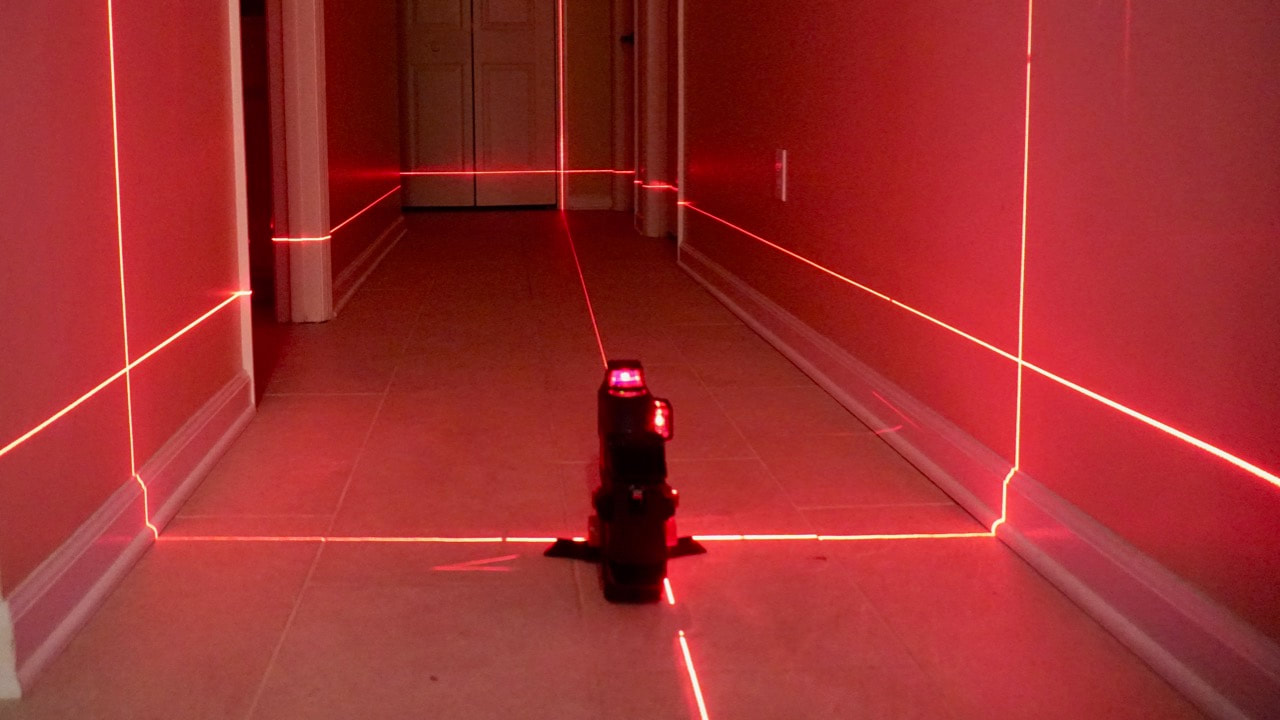
It's like an episode of Mission Impossible! You can easily see how the different planes can help with complex layout issues.
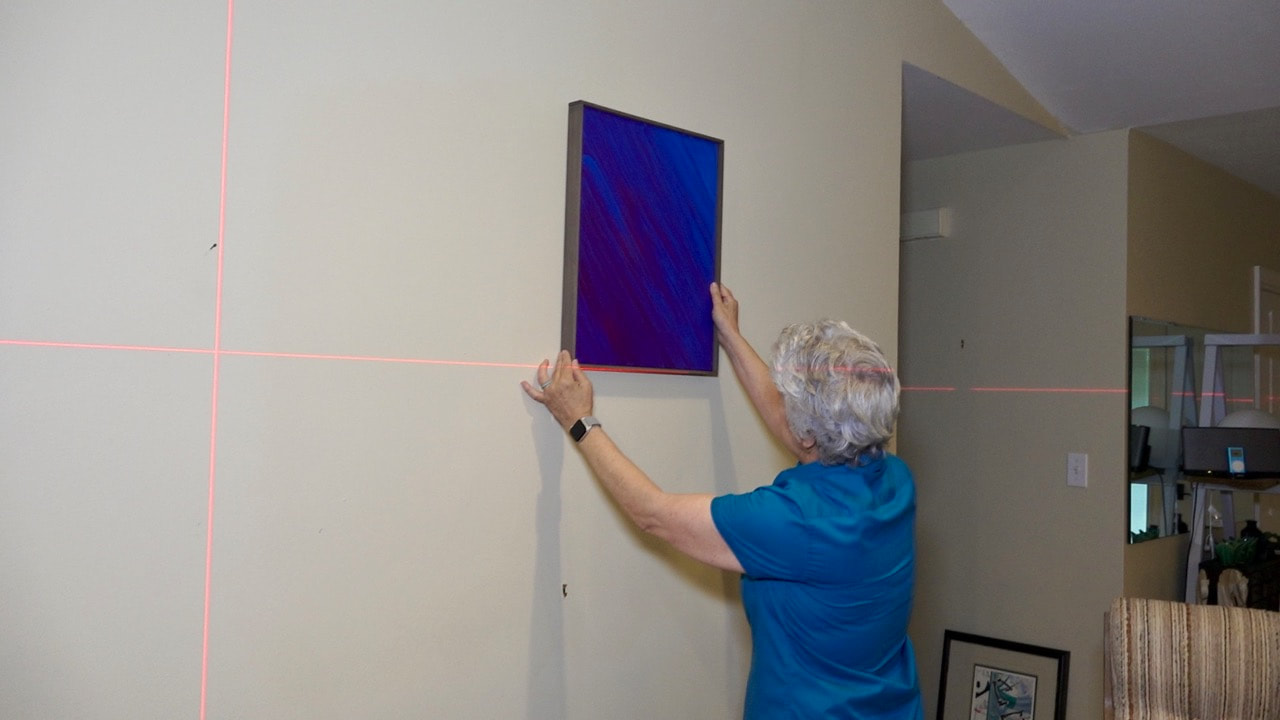
The horizontal line is literally projected onto every wall in this room! If I wanted all pictures to be level on every wall, I could do that. I could line up a piece here...
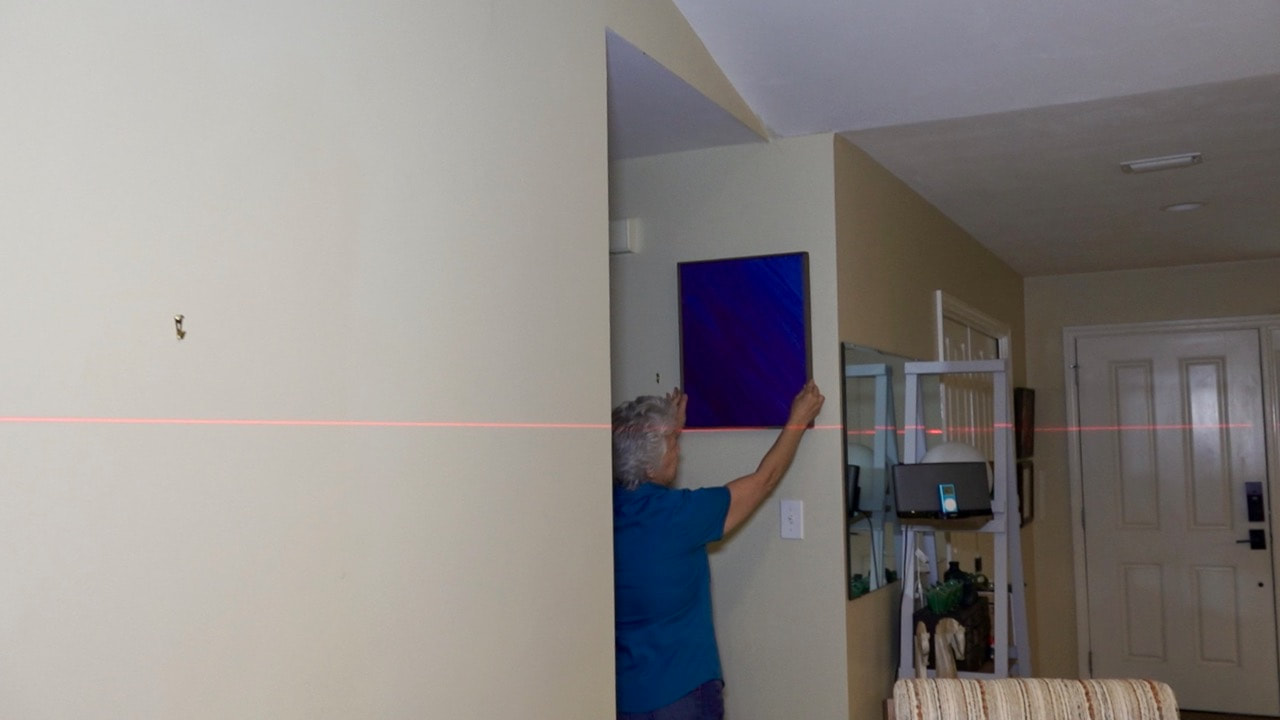
...and then follow the pattern here. (I would never place the wall art this high though! It needs to come down about 12" or so!)
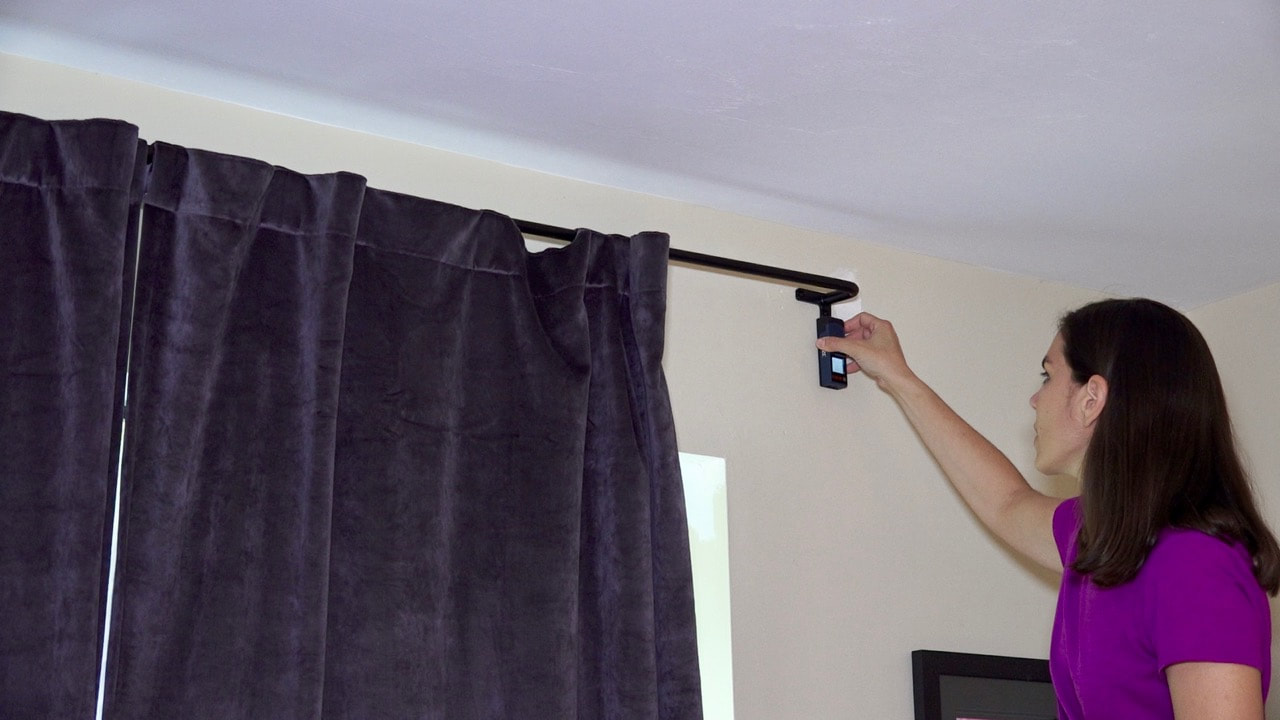
Steph shared a tip on how she leveled this curtain rod with the Bosch laser measure. With this rod, the brackets are attached first and then the rod is added. She made sure the brackets were placed at the same distance from the floor, as a way of assuring the rod would then be level.
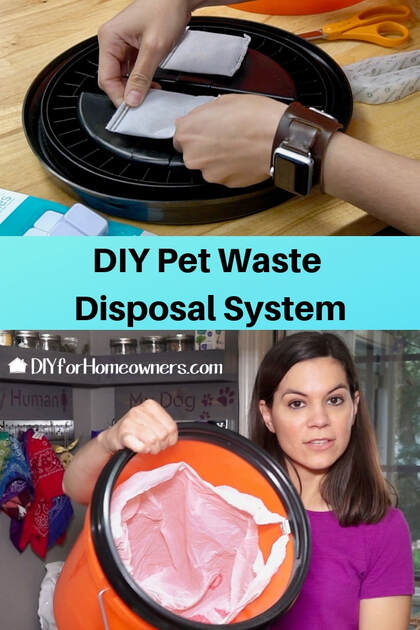
DIY Pet Genie
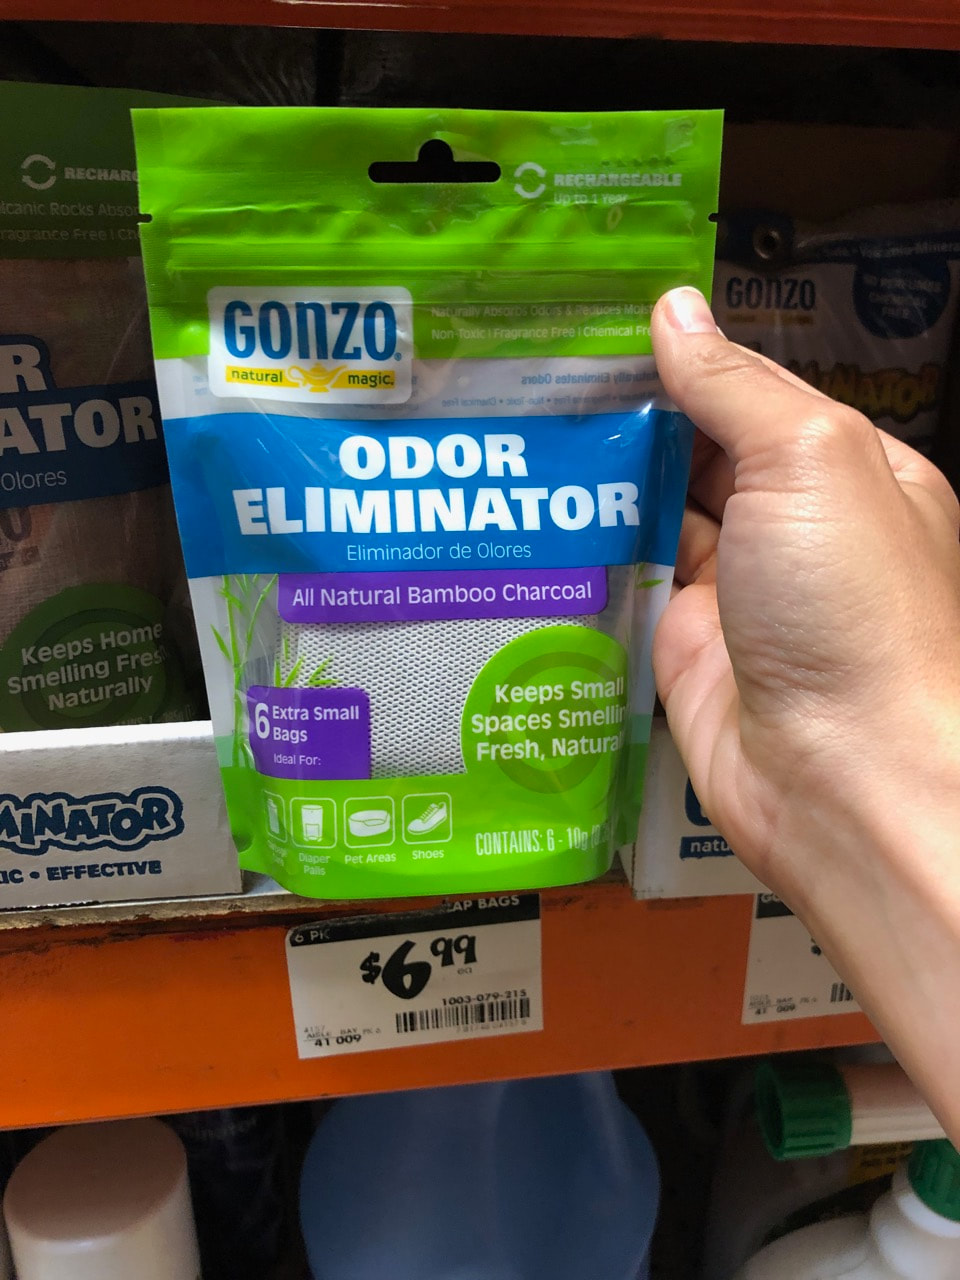
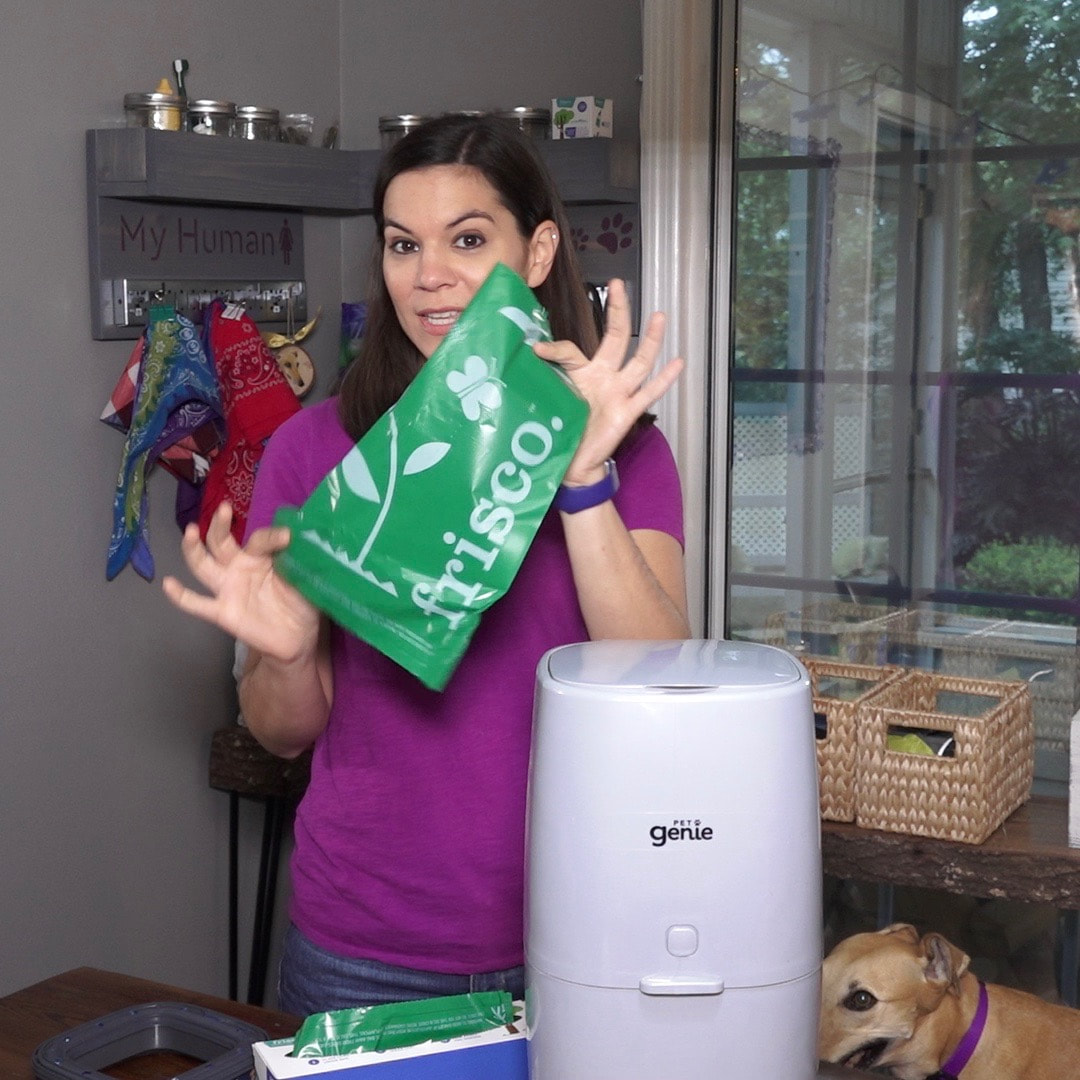
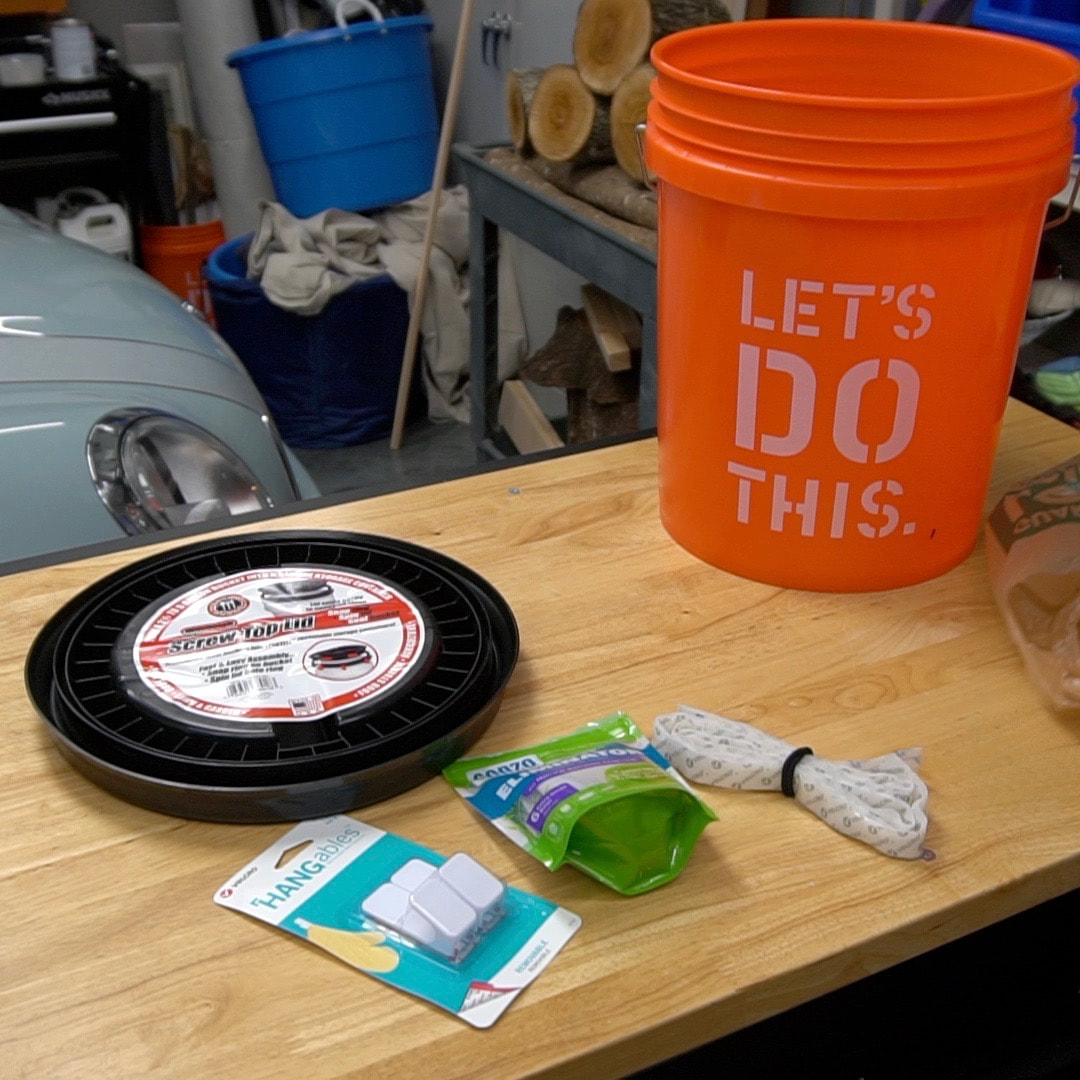
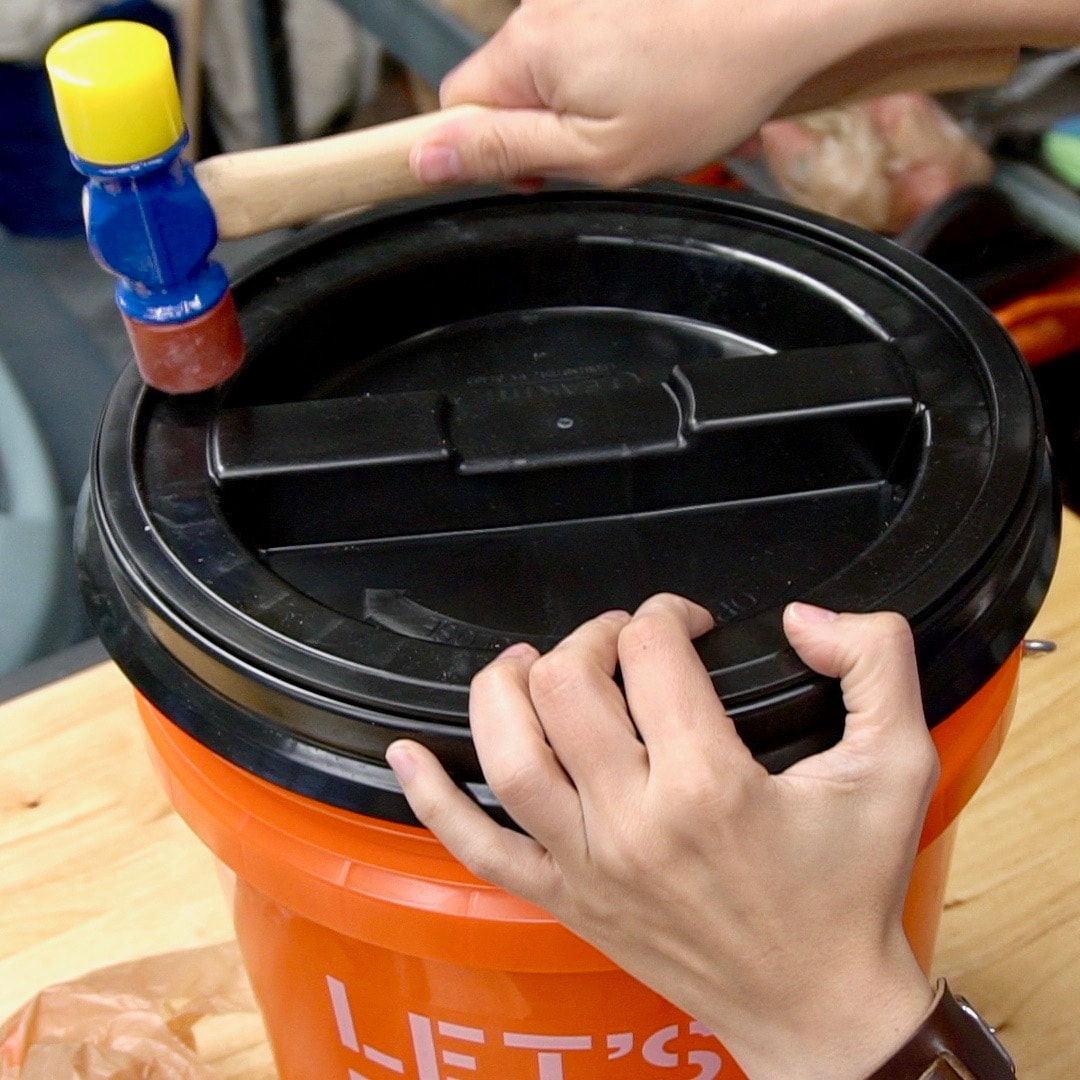
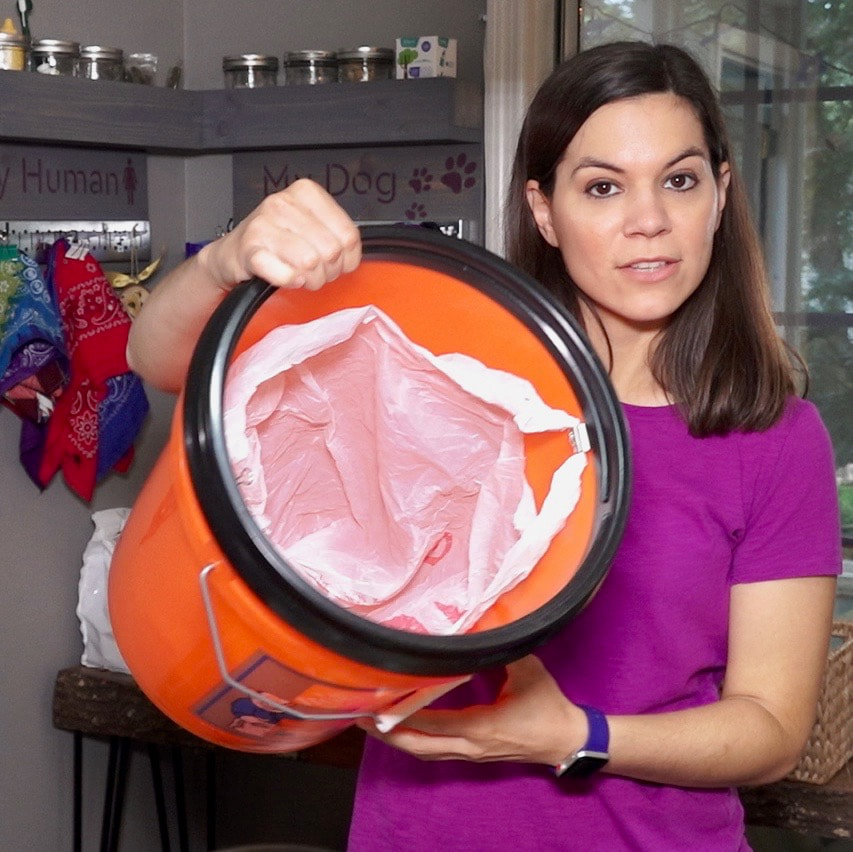
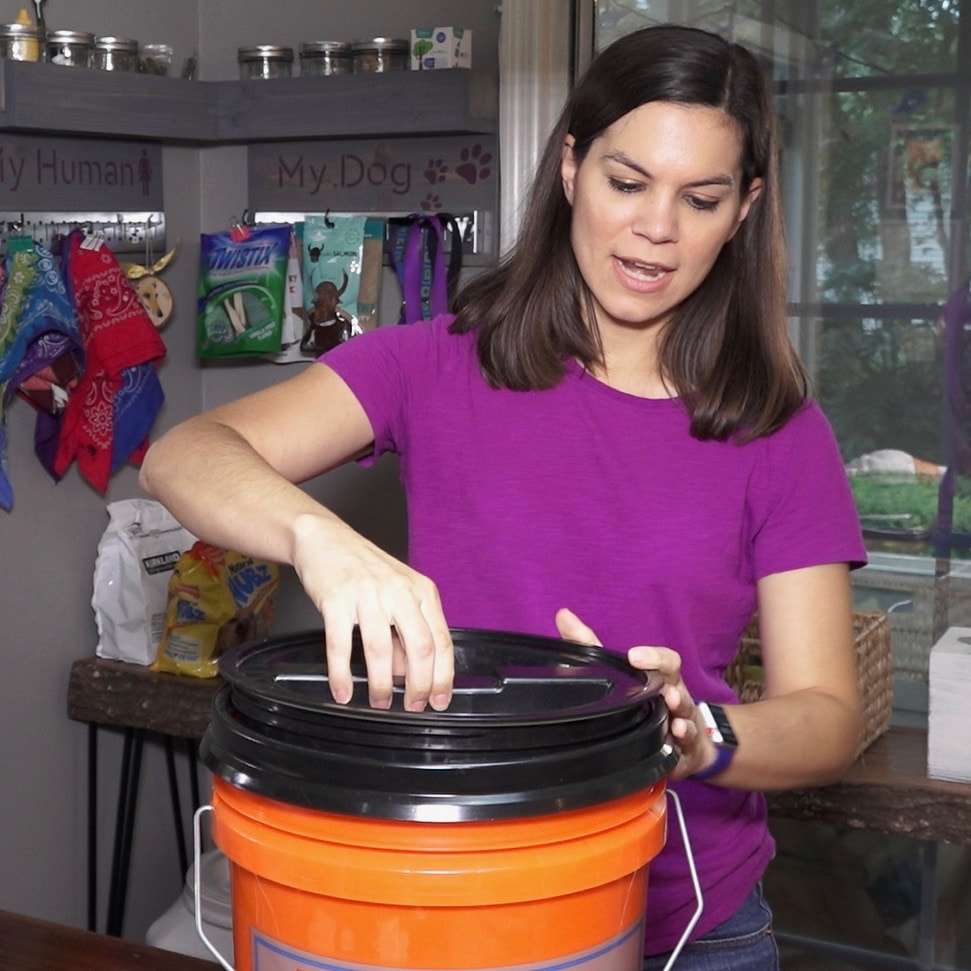
Next, Steph showed how to make your own DIY pet genie to store pet waste! If you have a dog, you deal with dog poo in your own yard and when you're out for a walk. Steph places the plastic bags of poo into a container she bought, but she came up with an idea to DIY your own waste storage system.
Tools:
We acknowledge that The Home Depot is partnering with us to participate in the ProSpective 2019 Campaign. As a part of the Program, we are receiving compensation in the form of products and services, for the purpose of promoting The Home Depot. All expressed opinions and experiences are our own words. Our post complies with the Word Of Mouth Marketing Association (WOMMA) Ethics Code and applicable Federal Trade Commission guidelines.
FYI: We are not professionals, and we don’t claim to be. This is what we found worked for our project. Yours may need a little different approach. Safety first! FYI: Affiliate links are being used on this page. Purchasing via these links help support MDP!
6 Comments
Cheryl DeKoevend
7/25/2019 11:50:50 am
Hi
vicki
7/26/2019 05:46:20 pm
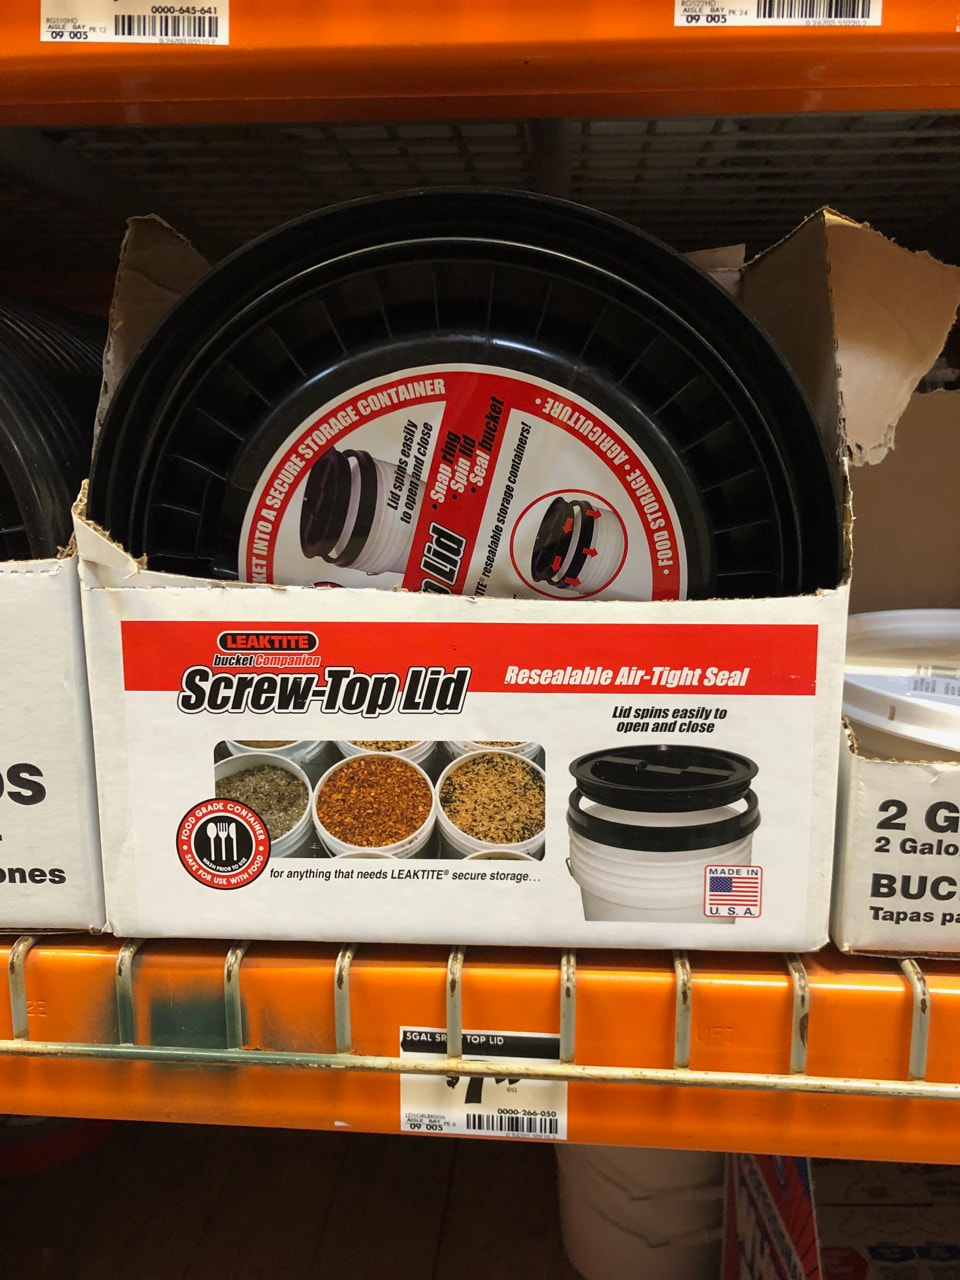
Hi Cheryl, Thank you for your comment. The five gallon buckets are sold without the matching lid at The Home Depot. The lid you mentioned fits both a 3-gal and 5-gal bucket. (The name is a little confusing.) This project is part of the Workshop Wednesday and does not stand alone. Although, that is a good idea to pull out the Fast DIY segments as individual videos--we'll see! We do have a DIY pet playlist on YouTube that might be helpful. https://www.youtube.com/watch?v=QPO0mY6qbPw&list=PL2Otpo8plohs_9Am76A5bJgWRUSesIDQB If you're having trouble searching for the time code, this is how you do it. Once the "skip ad" message shows up, click that so it goes away, now put your mouse over the red line which will then become a circle, just drag that to the time code you want. A little box will show up making it easy to move through the video. Hope that helps! ~Vicki
Jan
7/25/2019 12:51:42 pm
This is just brilliant Steph! I am so making this. And so economical. I never got a litter genie due to cost of consumables. I already use store bags plus you can also use regular old garbage bags you have on hand & use anyway. I love HD buckets but never knew about these tops. Probably looked right at them in the store & never knew what they were 😂. You could also paint these or cover with contact paper to pretty them up. Great Christmas gift idea too for family/friends with fur babies. Thanks so much, great tutorial!
vicki
7/26/2019 05:47:58 pm
Yeah, I don't know when we finally "saw" them in the store. We buy buckets all the time but never noticed anything but the orange tops. These lids make them really handy for all kinds of storage. Thanks for sharing your ideas. ~Vicki
g bryan
7/28/2019 03:01:54 am
I have been using a 5 gallon pail for 22 years but not a screw on one,just a snap on one. Kitchen bag with kitty litter in it. Never a problem. If I smell anything I just shake it abit & it's fine. Those bags you use aren't very good usually have holes or they tear. Then you just have crap everywhere. Plus kitty litter is cheater & works great.
Steph
7/28/2019 12:51:07 pm
Great idea! Thanks for sharing! Leave a Reply. |

Mother Daughter Projects
|