Mother Daughter Projects

  • Blog
  • About
    • Contact
    • Privacy Policy
  • Tools
    • Tool Tuesday
  • Maintenance
  • Improvement
  • Decor
  • Tech
  • Blog
  • About
    • Contact
    • Privacy Policy
  • Tools
    • Tool Tuesday
  • Maintenance
  • Improvement
  • Decor
  • Tech

DIY for Homeowners

Trash Sewing Bench to Clothes Hamper

7/21/2016

4 Comments

 
​​by Vicki      ​Sign up to get Mother Daughter Projects updates in your email!
Trash Sewing Bench to Clothes Hamper. MotherDaughterProjects.com
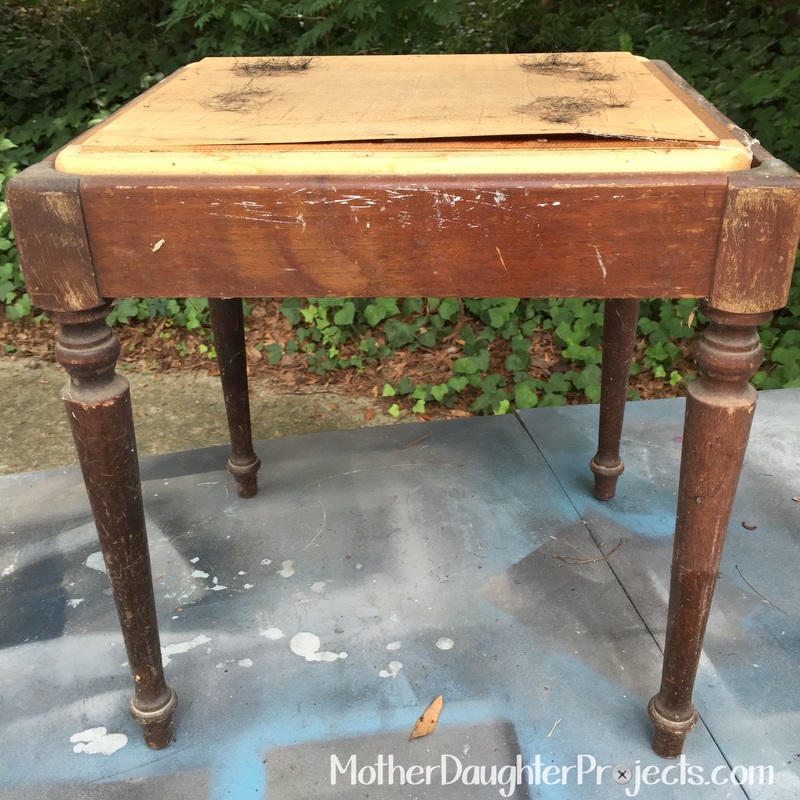
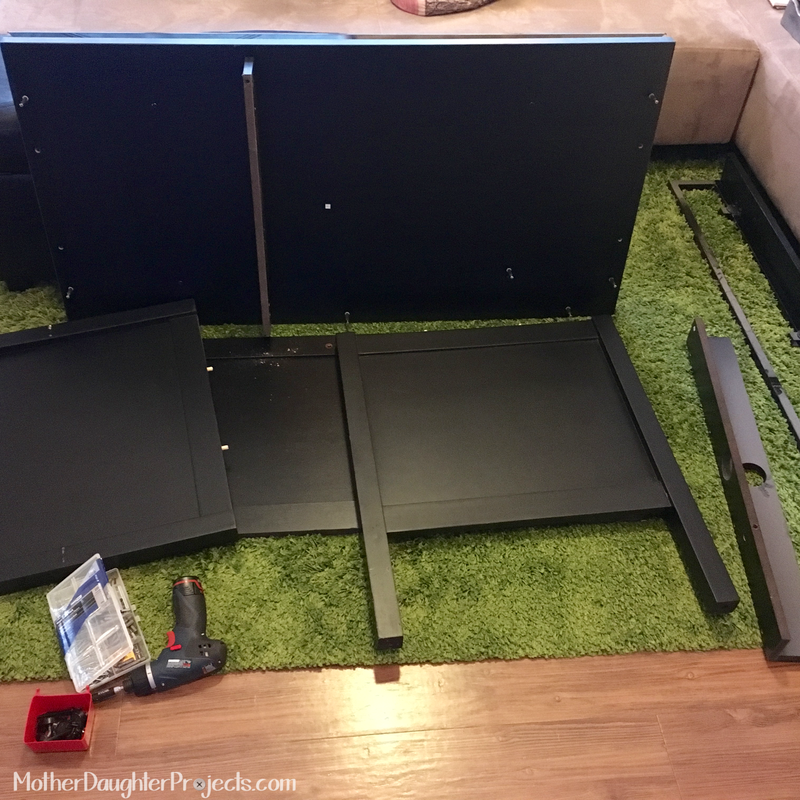
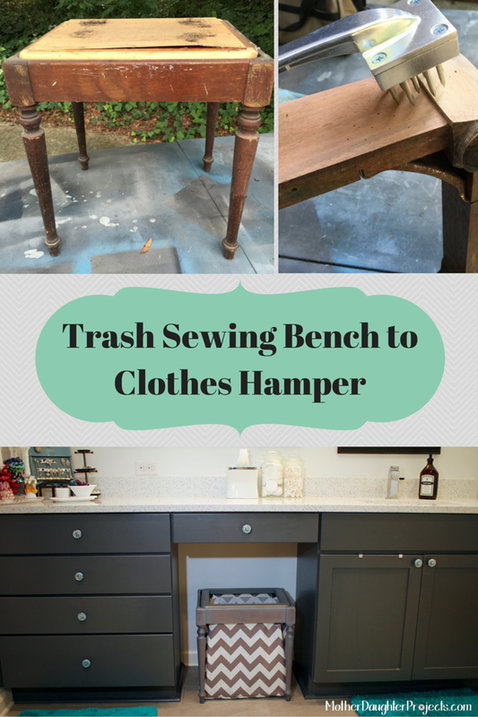
I have been known to stop and pick up trash along the road, not just any trash—I’m particular about my trash. It needs to be a piece of furniture in terrible shape that the owner has determined is not even fit to donate to a thrift so out to the curb it goes. This little sewing machine bench was on the curb in my neighborhood  along with its water damaged,  beyond repair sewing machine cabinet buddy. I passed this sad little pair three times before I decided to load up the bench. The cabinet was just in too bad of shape to take and try to rehab. 

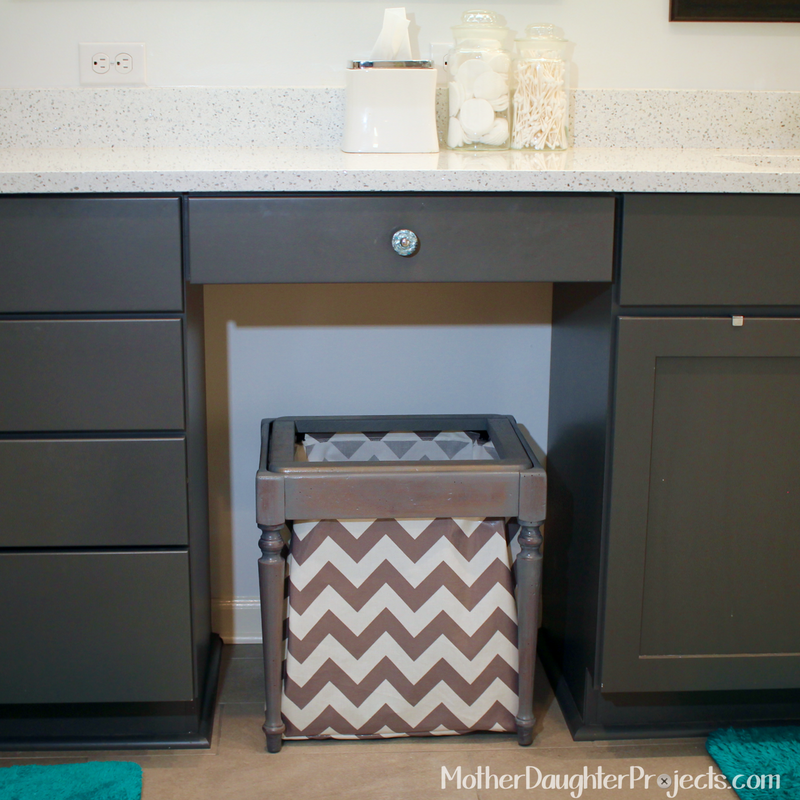
The bench sat outside another week before I had a idea for its transformation. I decided it would make a great clothes hamper for my bathroom. I’ve needed one for a while and just hadn’t found anything I’d want sitting out in the open where it can be seen. 
Materials:
  • Really dirty sewing bench
  • ​Krud Kutter
  • Varathane Distressing and Wormhole Kit
  • Varathane Stain in Weathered Gray
  • Rust-Oleum Crystal Clear Enamel
  • T-shirt rags for staining
  • Small paintbrush & mineral spirits for cleaning
  • ​Velcro Sticky Back
  • Mini-Binder Clips
  • Laminated Cotton (this is a link to an example--I got mine from a thrift store for $2.00)
Trash Sewing Bench to Clothes Hamper. MotherDaughterProjects.com
Step 1: clean the bench with Krud Kutter or cleaner of your choice.
Trash Sewing Bench to Clothes Hamper. MotherDaughterProjects.com
Step 2: sand the bench and the removable top with 150 grit sandpaper. I used a power sander on the flat areas and hand sanded the rest.
Trash Sewing Bench to Clothes Hamper. MotherDaughterProjects.com
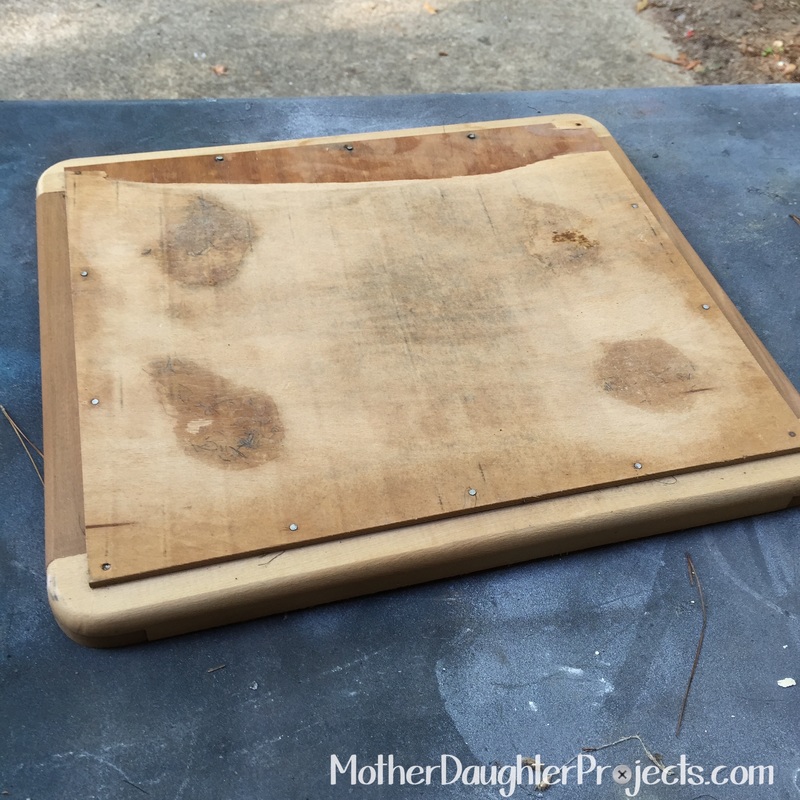
Step 3: Remove the plywood panel from the top of the stool--the seat part of the stool is not hinged but sits nestled into a recessed area about half an inch into the base of the stool. (See pictures for details) Also, remove the bottom of the bench base--it simply unscrewed making this really easy!
Trash Sewing Bench to Clothes Hamper. MotherDaughterProjects.com
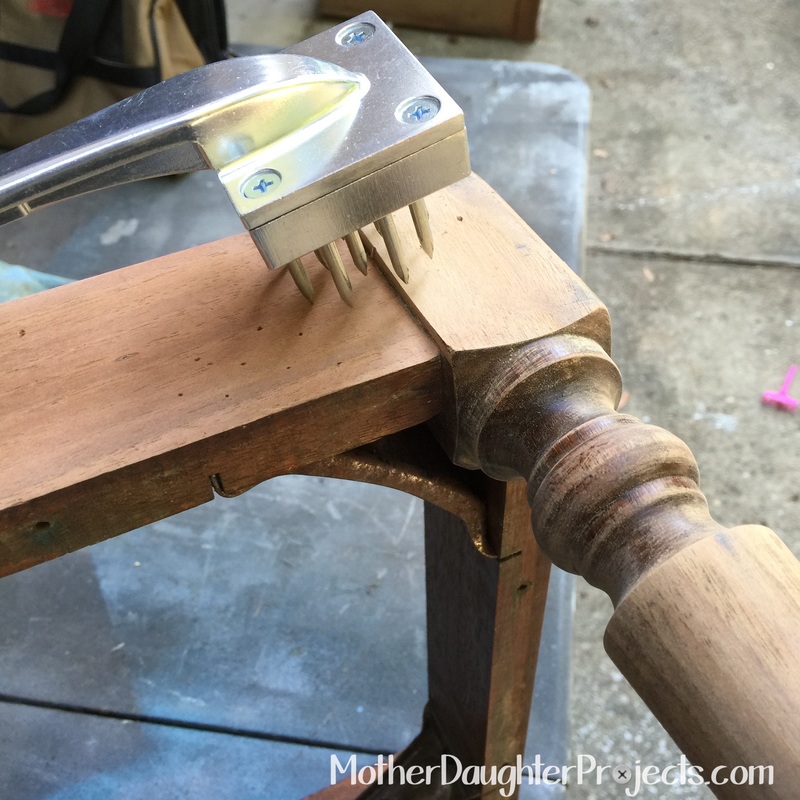
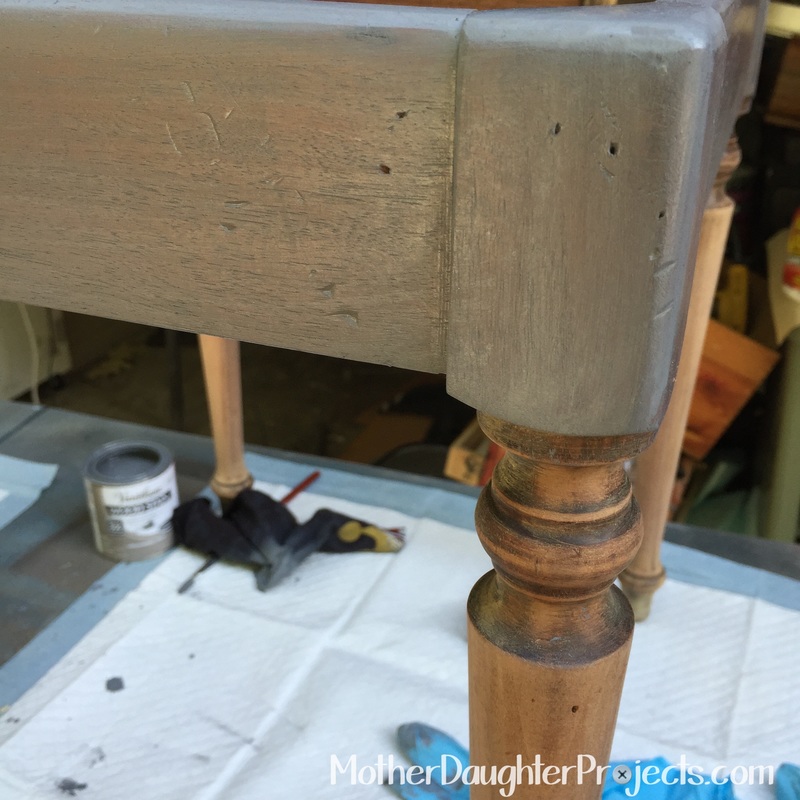
​Step 4: Distress the newly sanded base and top. I used commercially available distressing tools, but you can make your own.
Trash Sewing Bench to Clothes Hamper. MotherDaughterProjects.com
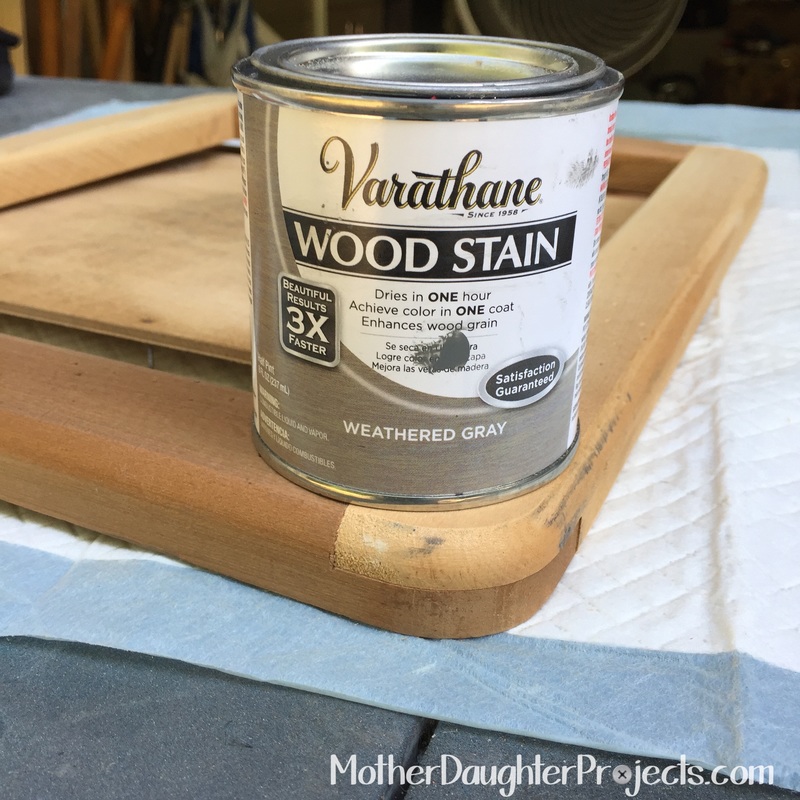
​Step 5: Stain the bench and the top. See that small brush in the background? I used that to apply paint to the "wormholes" as the t-shirt rag doesn't get into those areas. 
Trash Sewing Bench to Clothes Hamper. MotherDaughterProjects.com
Step 6: Spray the entire piece including unstained areas with clear coat. Since this is going into a damp area, I felt a protective coating was necessary.
Trash Sewing Bench to Clothes Hamper. MotherDaughterProjects.com
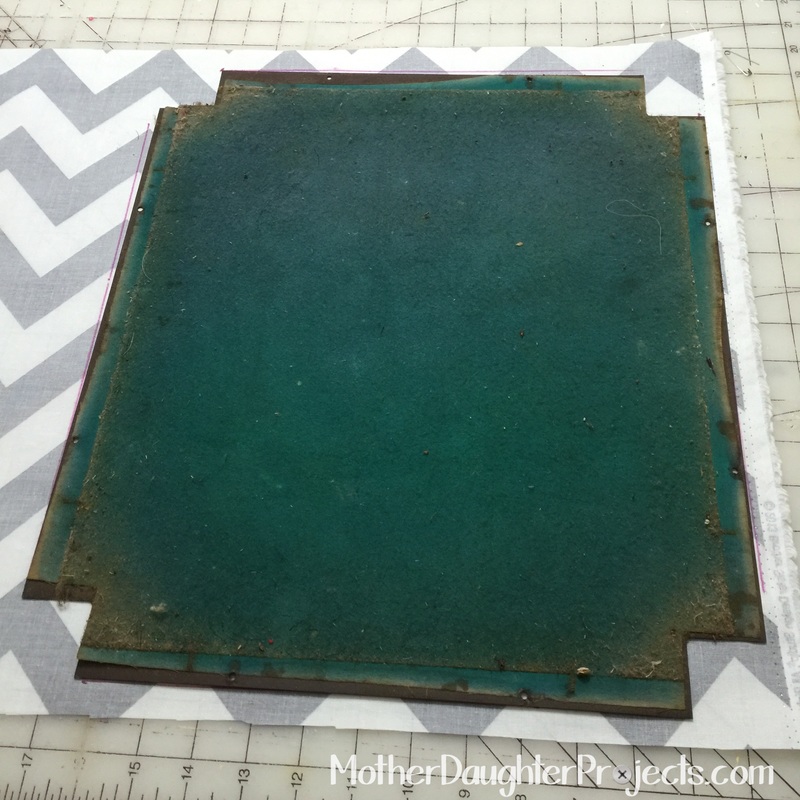
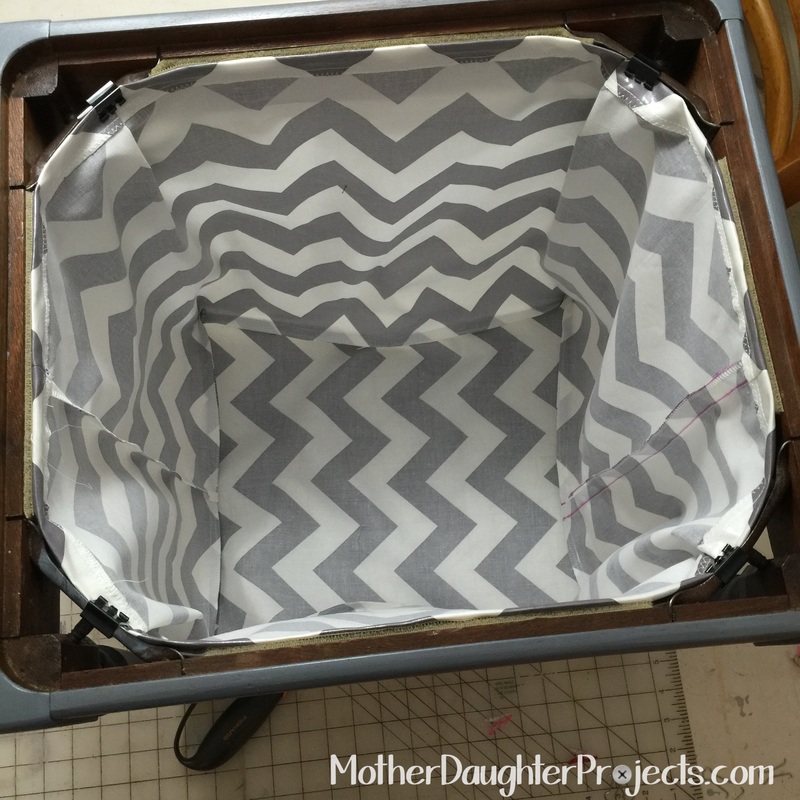
Step 7: Make the laundry bag. Attach with velcro and mini binder clips to the top of the base. (Pictured above: this is the bottom of the bench that was removed. I used it as a template to mark and cut the bottom of the hamper bag from the fabric.)

Inside Bag

  • Cut a piece of fabric the same dimensions as the bottom that was removed.
  • The side pieces  are 18" tall by the width and length of the bottom.
  • Cut two pieces for the sides taking care to match up the pattern so once it was seamed it would be less noticeable.
  • When using laminated cotton, which is essentially cotton laminated with plastic, it's important to not use pins or if you do, pin in the seam allowance otherwise the pins will leave holes.
  • I used sewing clips to keep the pieces together.
  • Sew the bottom to the sides right sides together. I did not press the seams but finger pressed them to one side. Fold down the top 1/2" for the hem and topstitch into place. 
Trash Sewing Bench to Clothes Hamper. MotherDaughterProjects.com
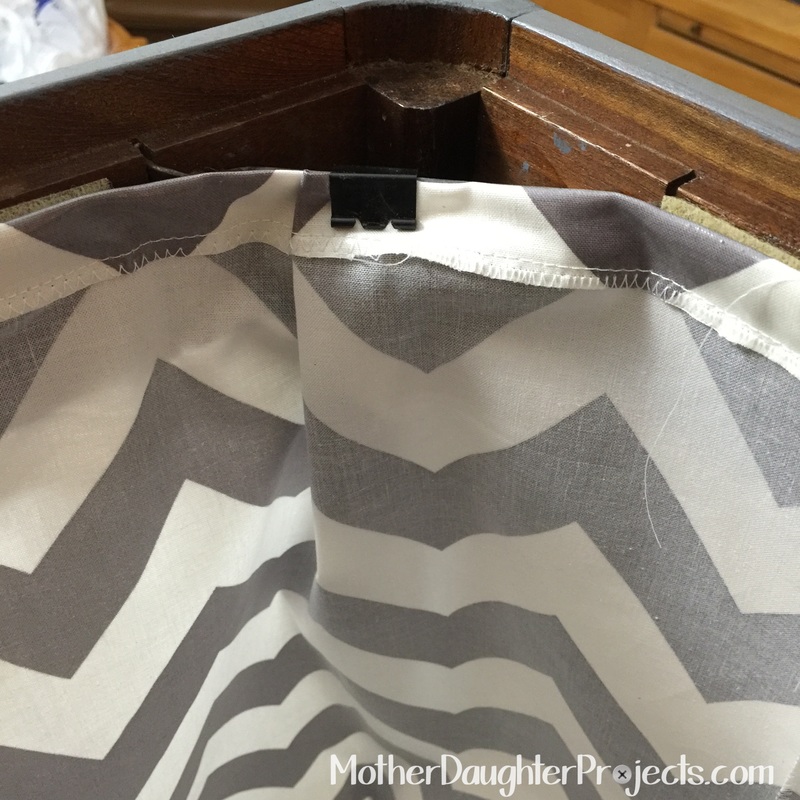
​The hamper bag was attached to the bench with sticky back velcro along the flat sides and binder clips on the corner brackets. Because there are corner braces, the frame is octagon shape, but the bag is rectangular.

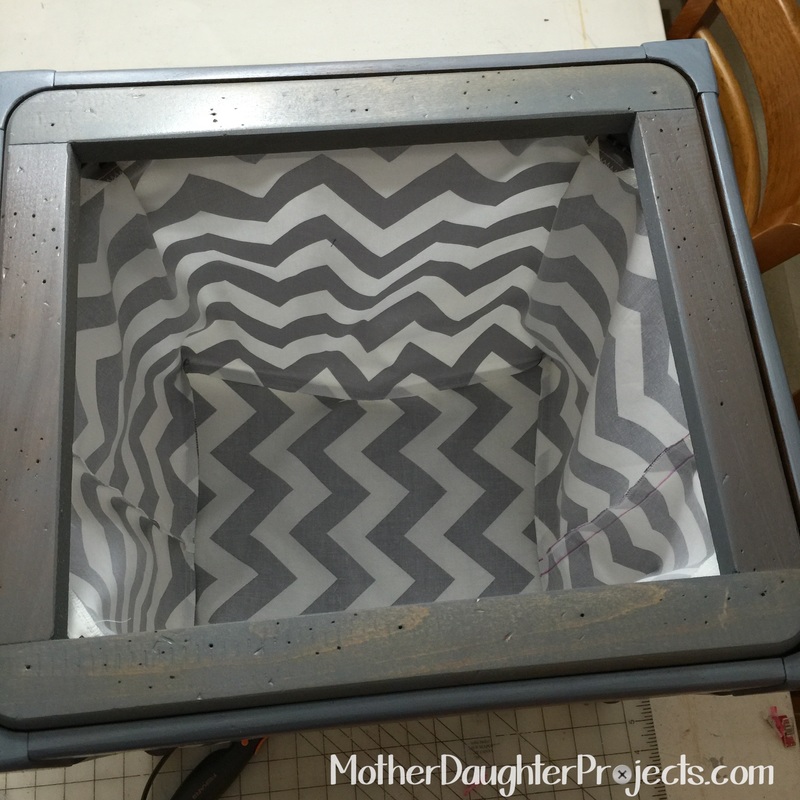
To make the bag fit, I made a tuck at each angle and attached a mini binder clip. After the clip was in place I removed the silver handles. The handles can be removed by simply squeezing the silver part together and lifting them out of the channel at the closing end of the binder clip. After the bag is attached, place the seat top in place.
Trash Sewing Bench to Clothes Hamper. MotherDaughterProjects.com
​With the seat piece in place it gives the hamper a finished look.
Trash Sewing Bench to Clothes Hamper. MotherDaughterProjects.com
Please note: We are not sponsored by any of the companies/products that we used. These products were picked and bought by us.

FYI: We are not professionals, and we don’t claim to be. This is what we found worked for our project. Yours may need a little different approach. Safety first!

FYI: Affiliate links are being used on this page. Purchasing via these links help support MDP!

Related Projects

MotherDaughterProjects.com
Upcycle Bulletin & Marker Board
MotherDaughterProjects.com
Rust-Oleum ReColor
MotherDaughterProjects.com
7 ways to DIY a pool noodle
4 Comments
Anita C Lupfer
7/22/2016 03:55:10 pm

Now that's cool; great re-purpose! It would also make a great trash receptacle by just using a plastic trash bag inside the pretty liner.

Reply
Steph
7/22/2016 04:51:37 pm

Thanks Anita! Great idea!

Reply
Virginia Bittinger link
7/30/2016 09:19:11 am

What a unique idea that you came up with! And, the end result is fantastic.

Reply
Steph
7/30/2016 06:22:20 pm

Thanks Virginia!

Reply


Leave a Reply.

    MotherDaughterProjects.com

    Mother Daughter Projects
    ​
    Steph & Vicki

    We're homeowners sharing our DIY adventures as we learn to maintain, improve, decorate, and ​use tech in our homes.
    Share your projects with us here:  
    ​#trylearnshare
    MotherDaughterProjects.com
Mother Daughter Projects, LLC ∙ est. 2015 ∙ Tallahassee, FL by Vicki & Steph ∙ Privacy Policy