Mother Daughter Projects

  • About
    • Contact
    • Privacy Policy
  • Maintenance
  • Improvement
  • Decor
  • Tech
  • Tools
  • About
    • Contact
    • Privacy Policy
  • Maintenance
  • Improvement
  • Decor
  • Tech
  • Tools

DIY for Homeowners

Upcycle a Printer's Tray for Awesome Dremel Storage

8/15/2017

0 Comments

 
text by Vicki     Sign up to get Mother Daughter Projects updates in your email!

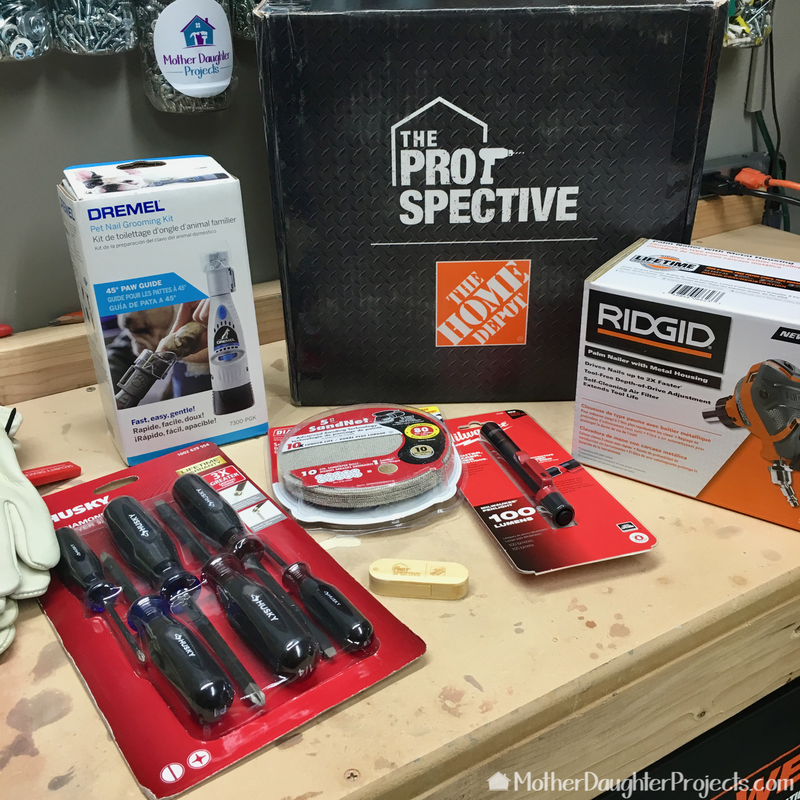
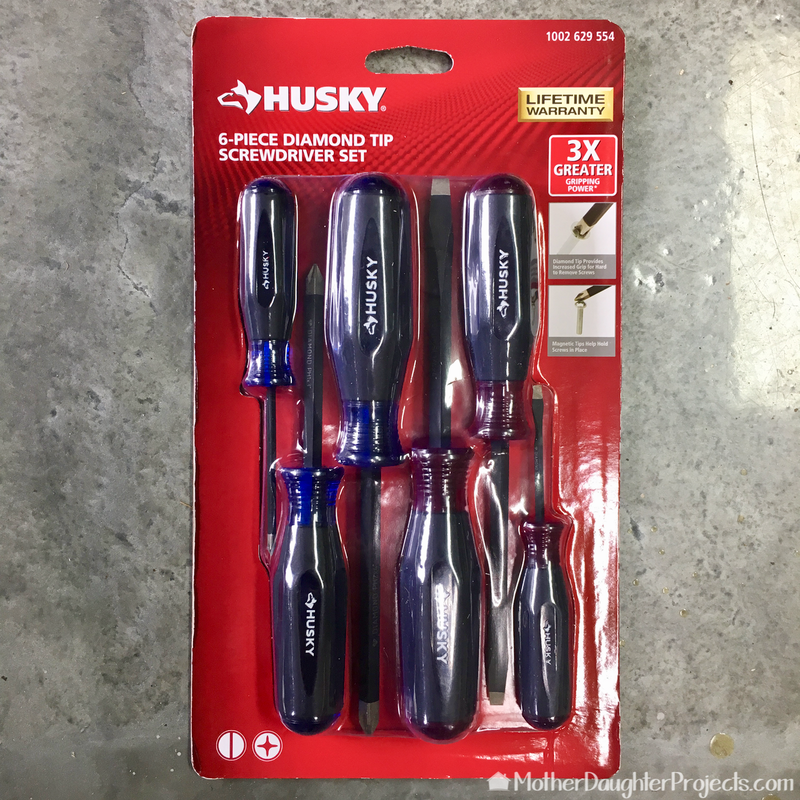
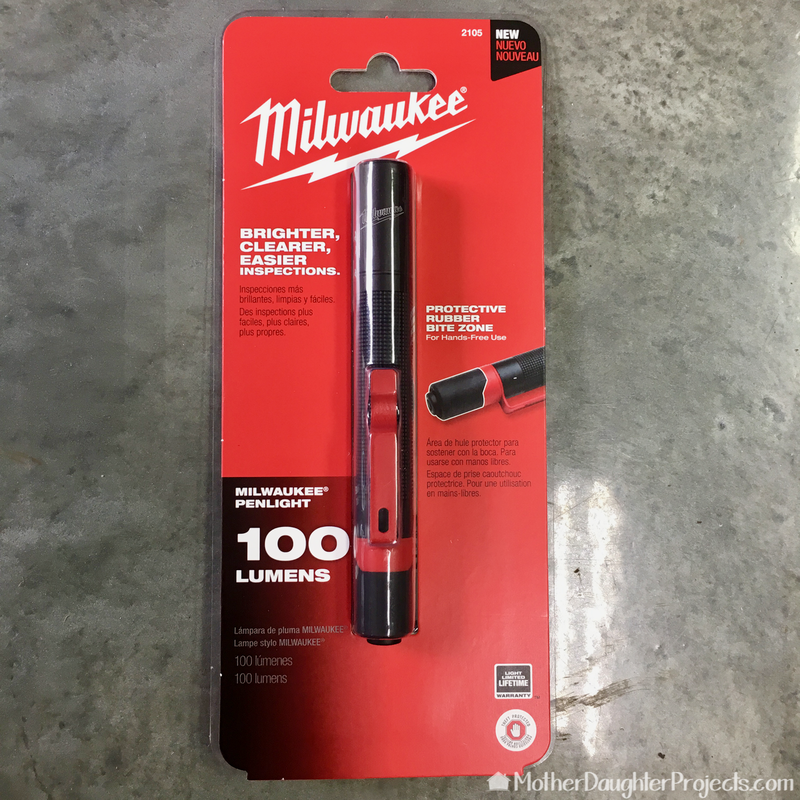
This post is sponsored by The Home Depot as a part of The Home Depot’s ProSpective Campaign. THD provided the Milwaukee Penlight and Husky Diamond Tip Screwdrivers used in this post.
Learn how to take a vintage printer's tray and turn it into storage for small knick knacks, screws, or accessories.
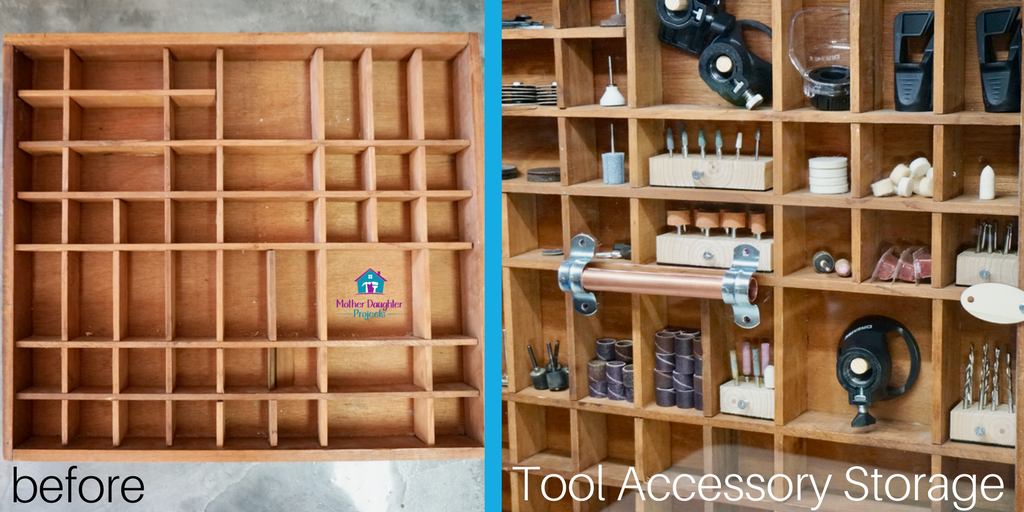
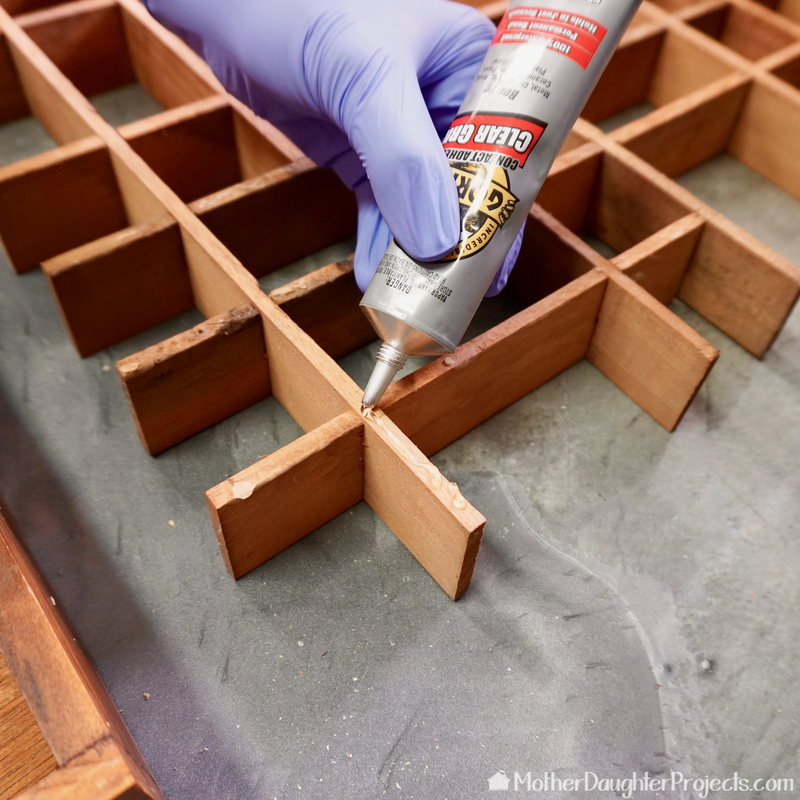
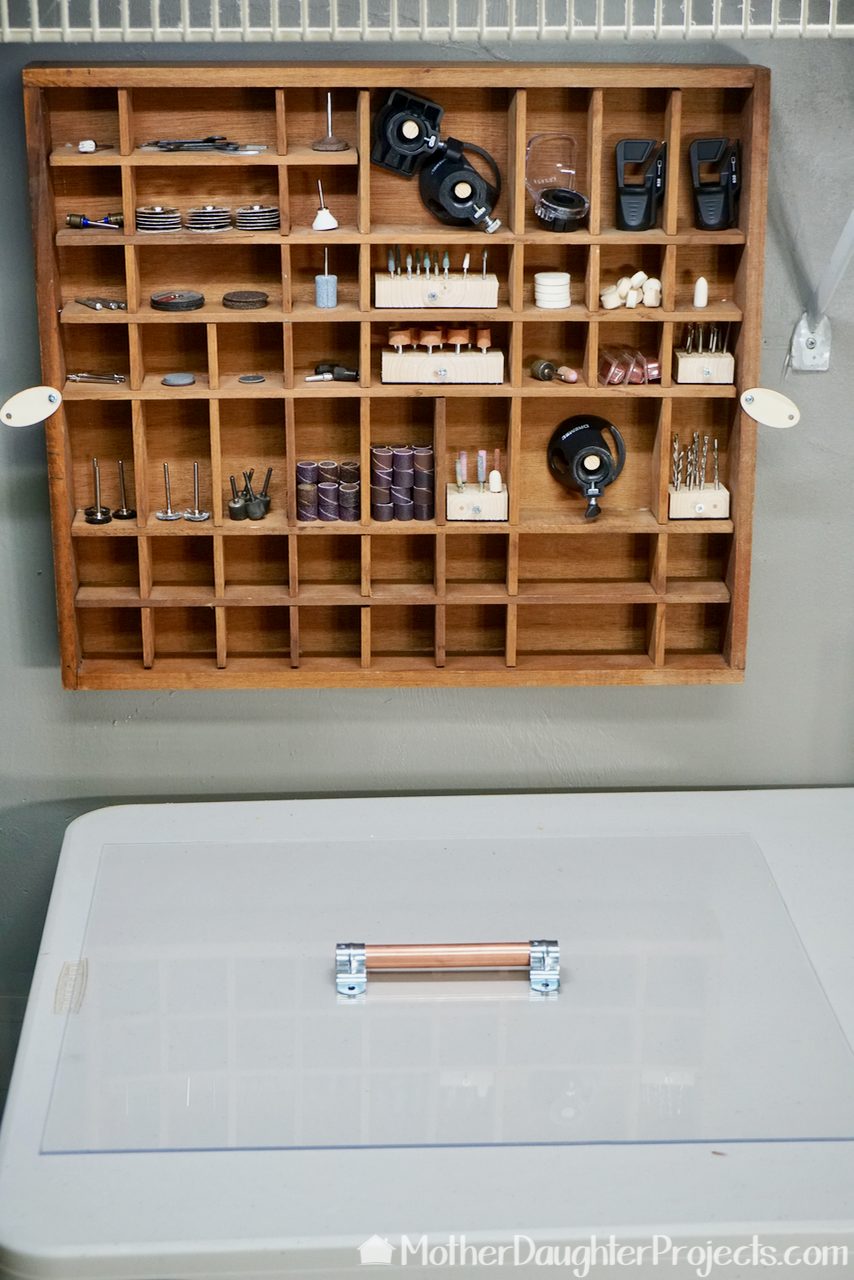
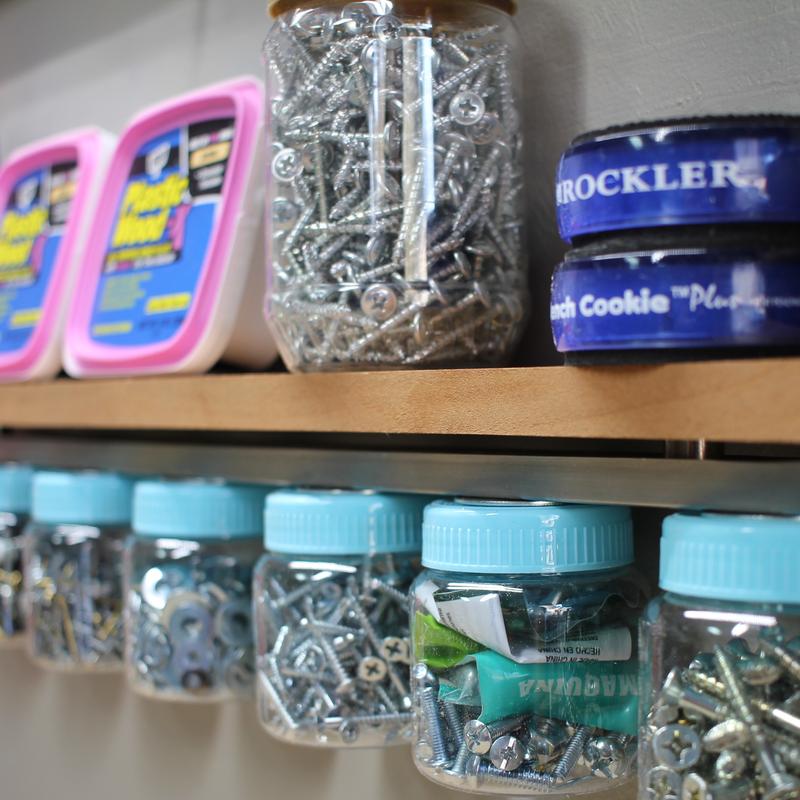
We have been using our Dremel for more and more applications, but have been frustrated on many occasions because we couldn't find the accessory we needed. Steph decided once and for all she was going to get all the accessories organized in a way to make them visible and accessible. I found a reproduction printer's tray from a yard sale, for next to nothing, a few months ago. Steph has been trying to think up a project for it and she found it with this!
Learn how to take a vintage printer's tray and turn it into storage for small knick knacks, screws, or accessories.
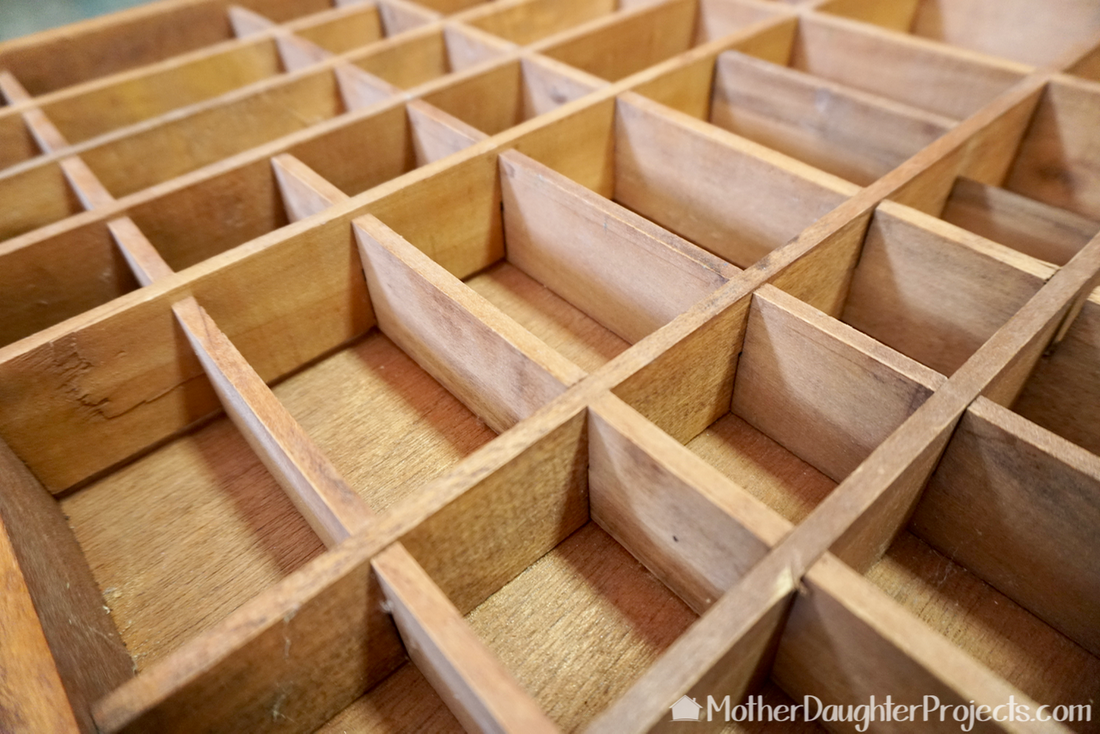
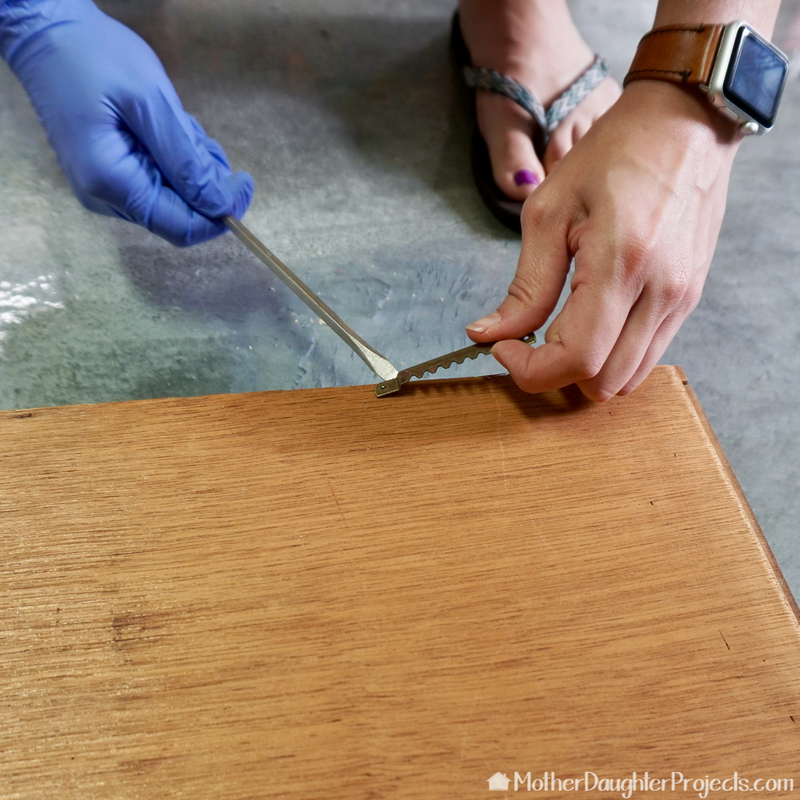
We started with this printer's tray (or what at least looks like a printer's tray). Printer's trays were used to hold metal type to use in printing presses.

Materials:


  • Printer's Tray (Yard Sale)

  • Acrylic sheet (Home Depot)

  • Wood Dowels (Home Depot)

  • Gorilla Glue (Home Depot)

  • French cleat (Home Depot)

  • Sticky back felt

Tools:


  • Plastic Sheet Cutting Tool (Home Depot)

  • Husky Dimond Tip Screwdriver Set (Home Depot)

  • Milwakee Penlight (Home Depot)

  • Milwakee Inkzall Marker (Home Depot)

  • Makita Drill and Drill bit (Home Depot)

  • Dremel Accessories

Learn how to take a vintage printer's tray and turn it into storage for small knick knacks, screws, or accessories.
We started by removing the hardware from the back. We also reinforced the back piece with staples but you could just use glue.
Learn how to take a vintage printer's tray and turn it into storage for small knick knacks, screws, or accessories.
The insert needed to be re-glued so we removed it and glued it back into place.
Learn how to take a vintage printer's tray and turn it into storage for small knick knacks, screws, or accessories.
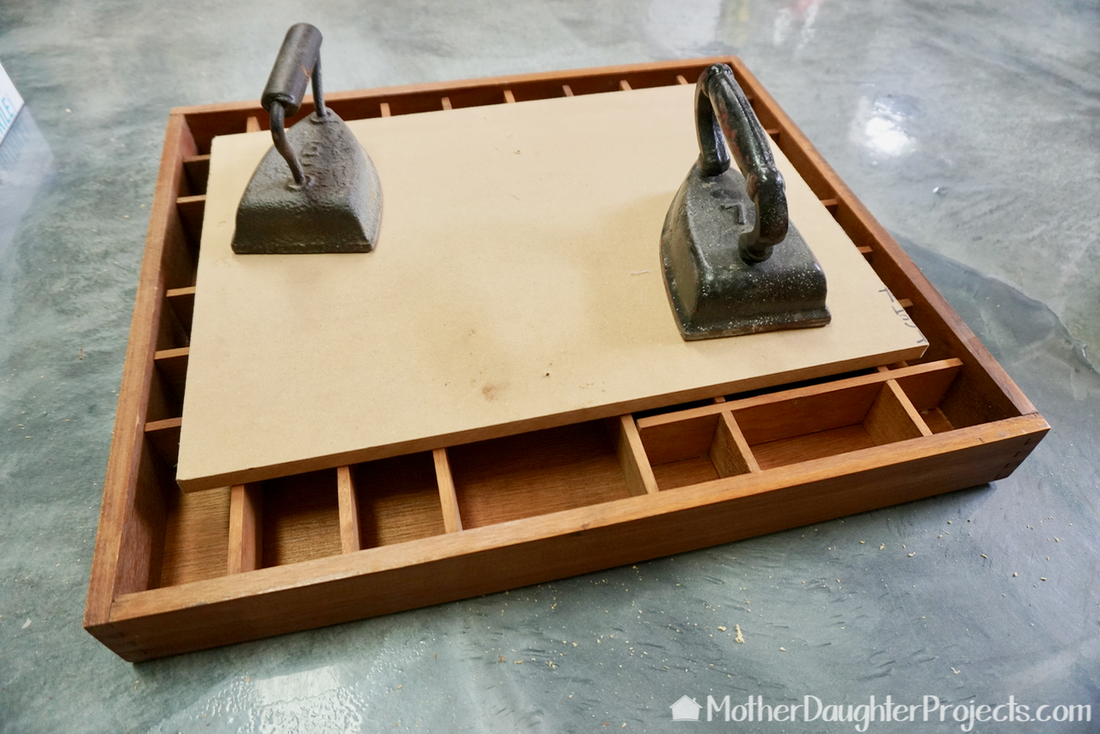
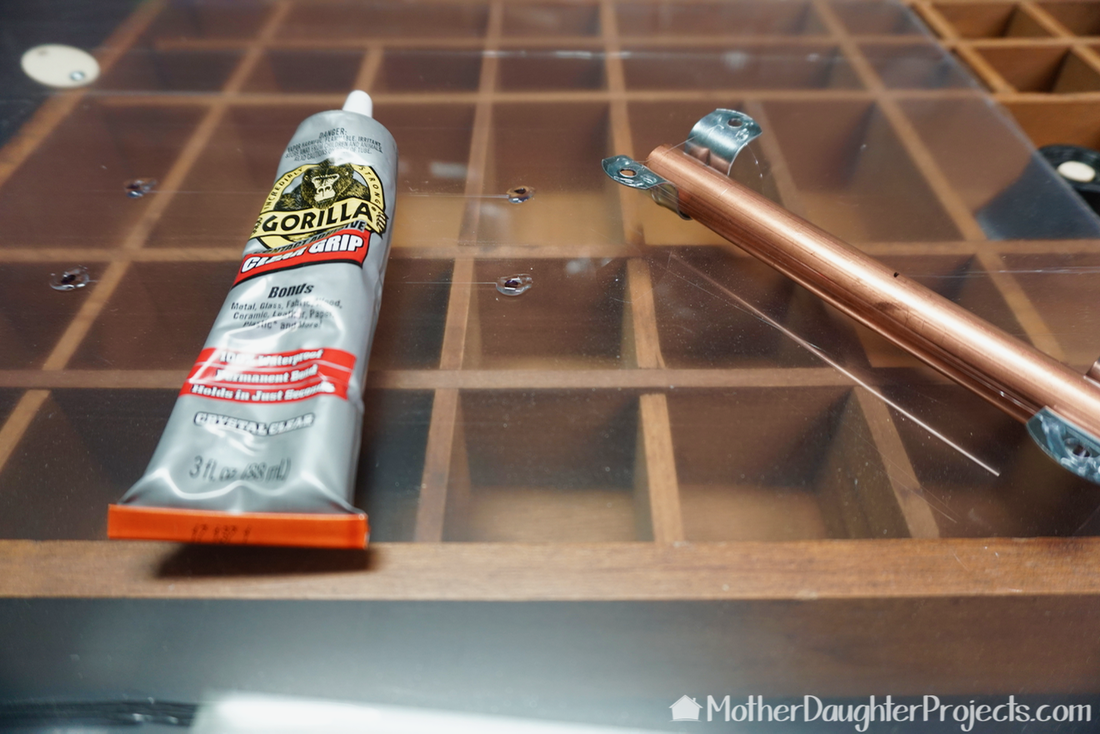
A sheet of MDF and a couple of our vintage irons helped hold everything in place while the glue dried.
Learn how to take a vintage printer's tray and turn it into storage for small knick knacks, screws, or accessories.
While we were working on this project, we got our second quarter ProSpective box of goodies from The Home Depot.
Learn how to take a vintage printer's tray and turn it into storage for small knick knacks, screws, or accessories.
Inside was this package of Husky diamond tip screwdrivers--game changers! The tips are magnetic.
Learn how to take a vintage printer's tray and turn it into storage for small knick knacks, screws, or accessories.
Also included was this Milwaukee penlight. Sometimes in our garage we need a bit of concentrated light and this is perfect.
Learn how to take a vintage printer's tray and turn it into storage for small knick knacks, screws, or accessories.
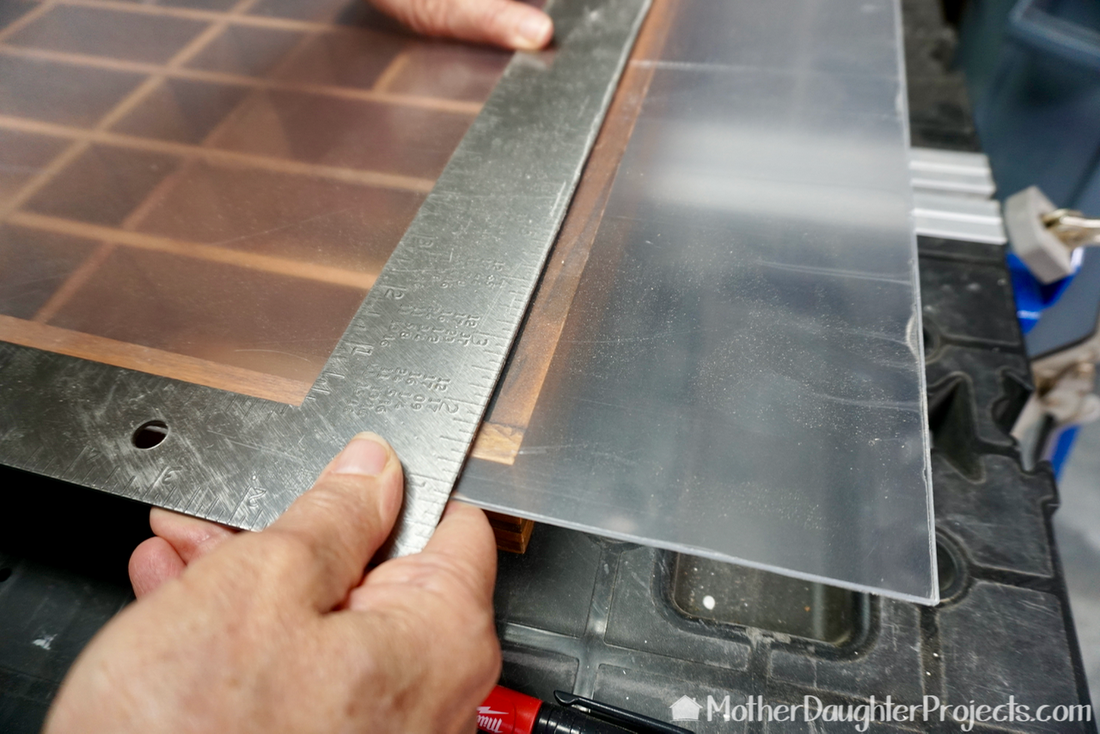
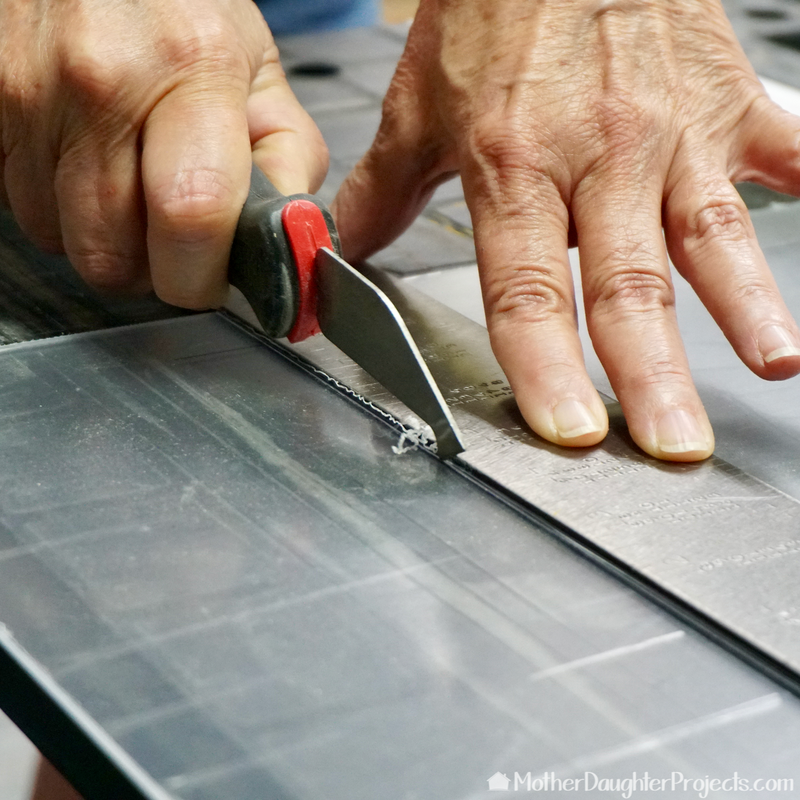
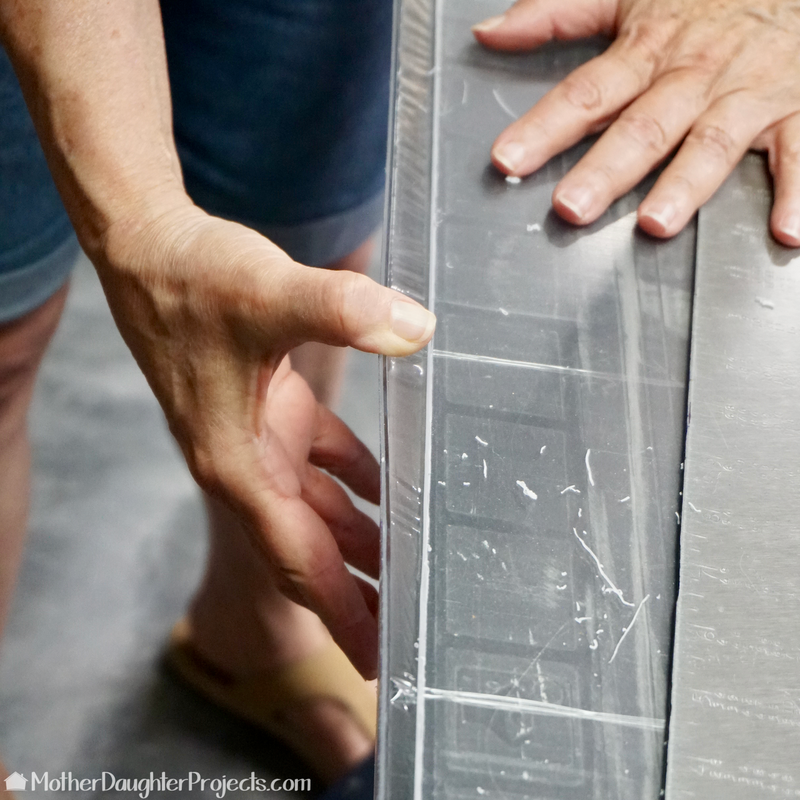
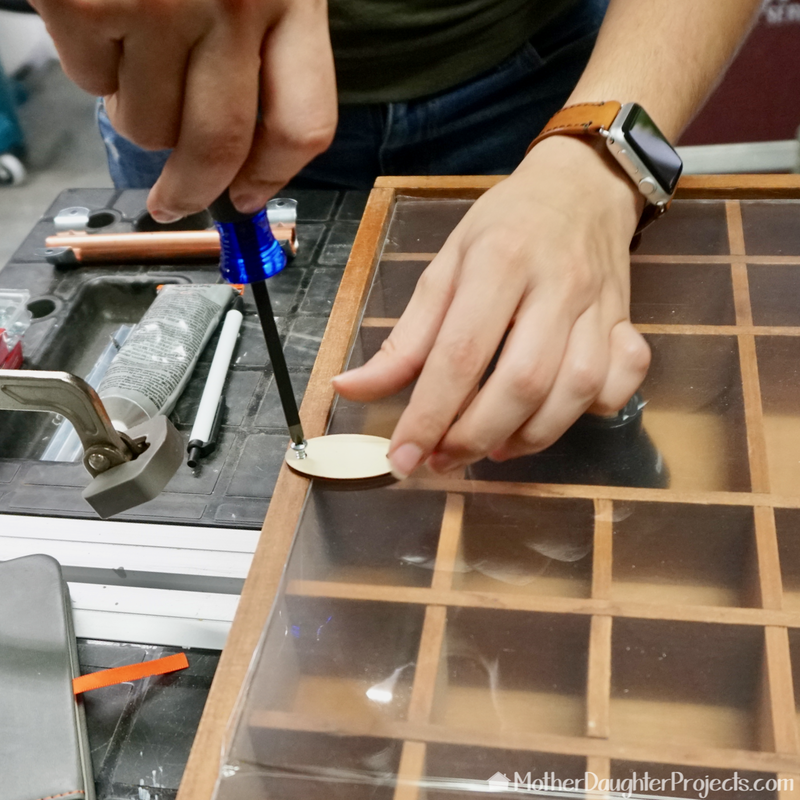
To keep everything in place, we used a sheet of plexiglass to cover the front. We measured and cut it to size.
Learn how to take a vintage printer's tray and turn it into storage for small knick knacks, screws, or accessories.
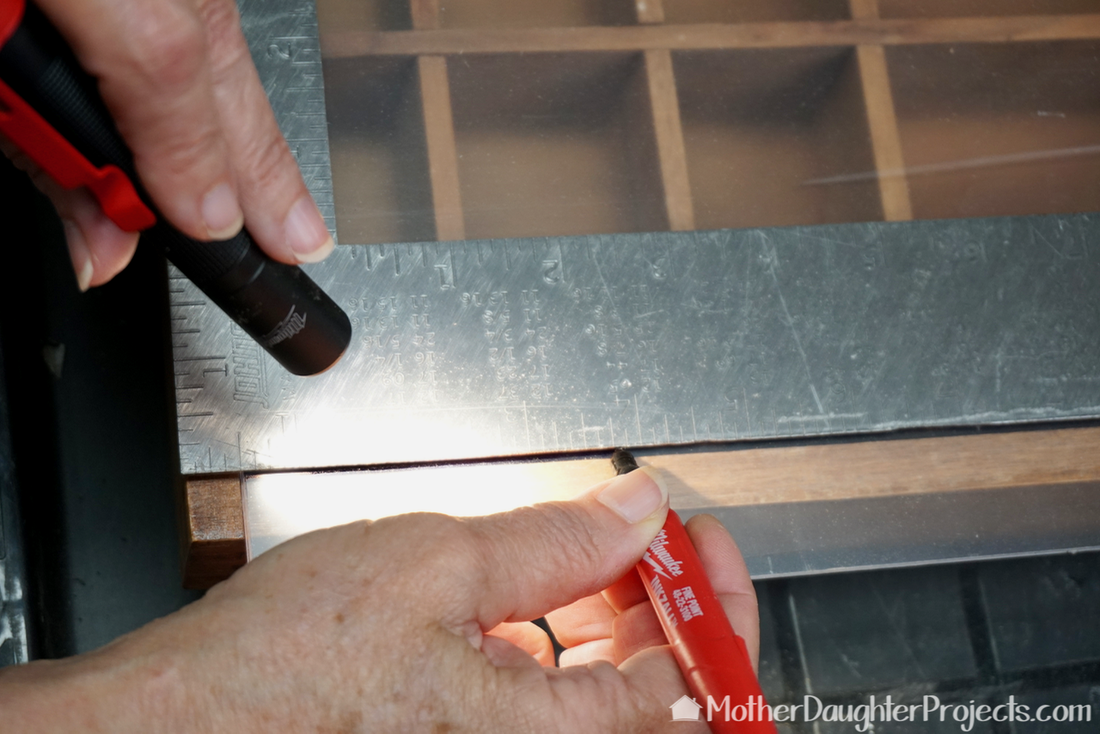
We used the Milwaukee inkzell marker to mark where we needed to score the plastic for cutting. Unlike the Sharpie it replaces, the Milwaukee marker can be left uncapped for a while without drying out. The penlight helped me to see exactly where I needed to mark the line. Older eyes need a bit more light!
Learn how to take a vintage printer's tray and turn it into storage for small knick knacks, screws, or accessories.
This knife is designed especially for cutting plastic. You score the marked line several times...
Learn how to take a vintage printer's tray and turn it into storage for small knick knacks, screws, or accessories.
...then you place the scored line over a straight edge and hope that it will break cleanly! Yay, this one did.
Learn how to take a vintage printer's tray and turn it into storage for small knick knacks, screws, or accessories.
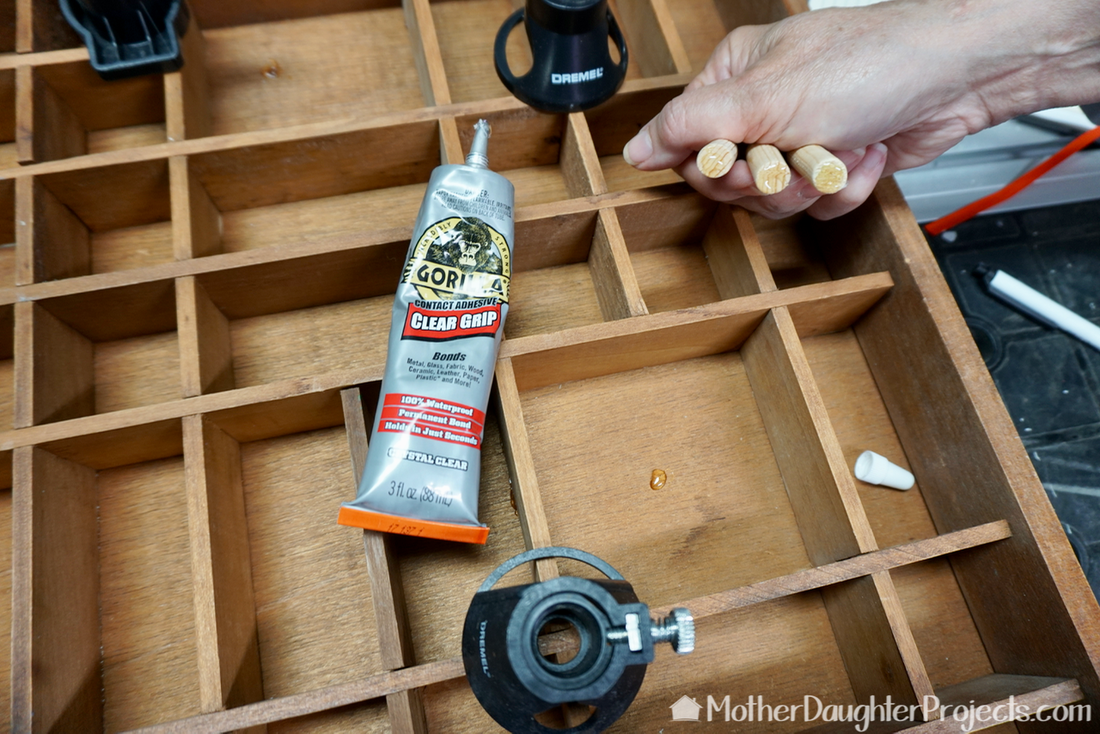
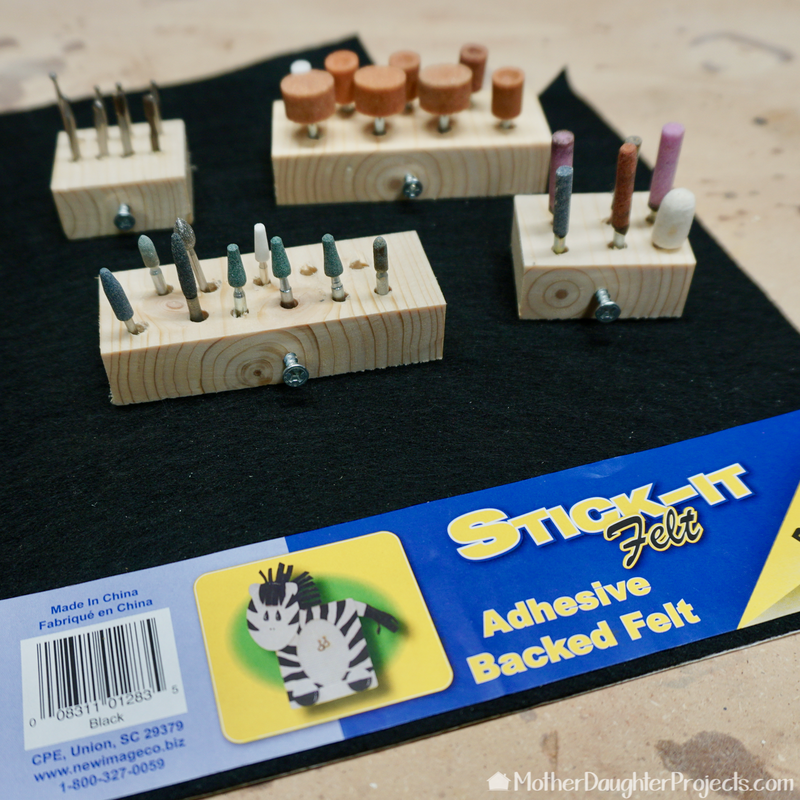
We cut and glued short pieces of dowel in the larger boxes on which to hold some of the Dremel attachments.
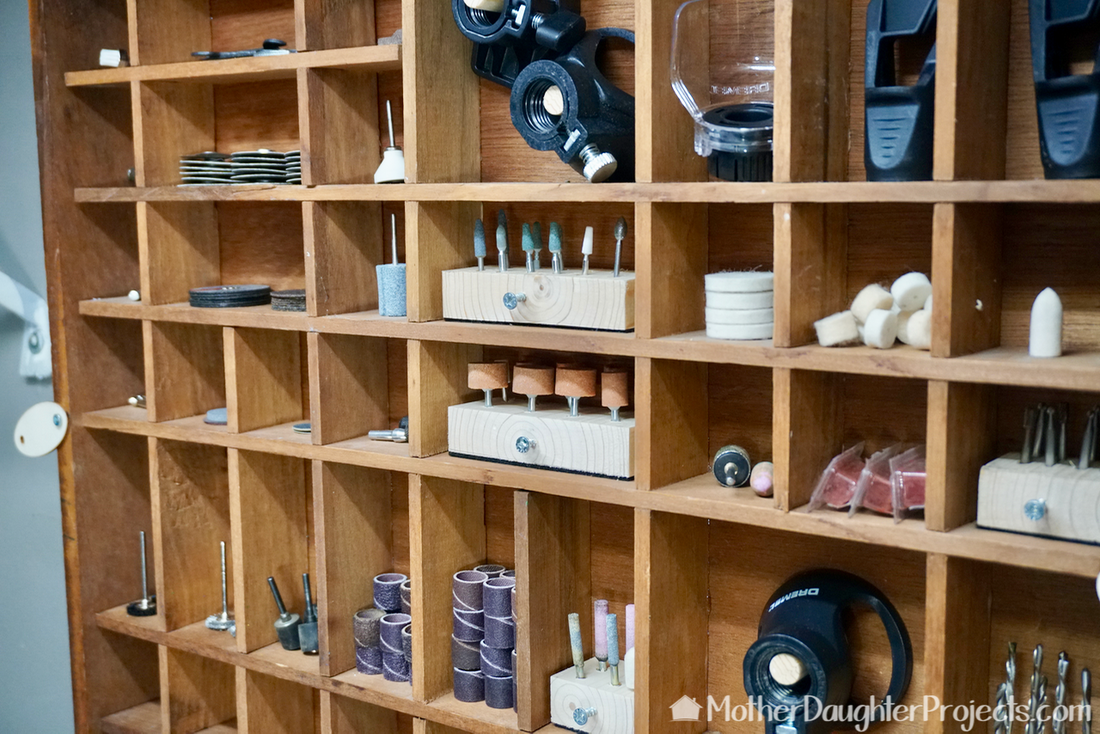
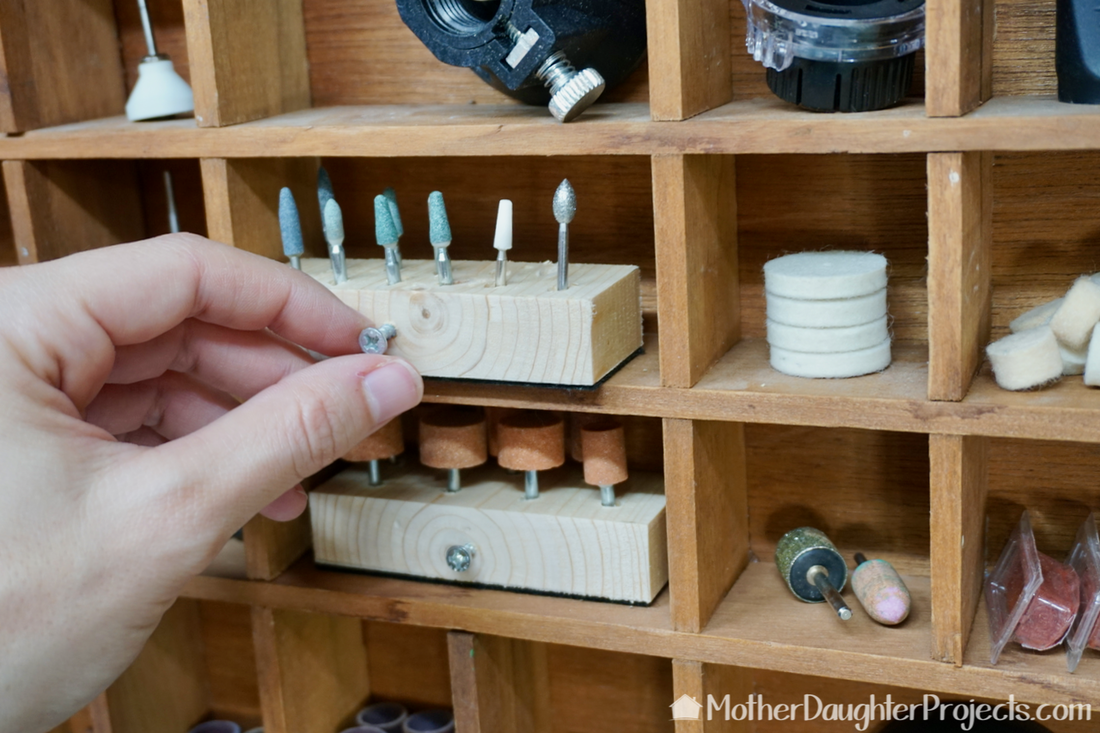
Learn how to take a vintage printer's tray and turn it into storage for small knick knacks, screws, or accessories.
We made a handle of copper pipe and pipe straps. This was just scrap we had around the shop that seemed like they'd make a good handle. We then glued it to the front of the plexi.
Learn how to take a vintage printer's tray and turn it into storage for small knick knacks, screws, or accessories.
We drilled pilot holes into the sides and then screwed small pieces of wood to each side to act as holders for the plastic front.
Learn how to take a vintage printer's tray and turn it into storage for small knick knacks, screws, or accessories.
Our new Husky Dimond tip screwdrivers really came in handy here. They magnetically hold the screw to the tip and the grip on the handle is amazing. We never knew we needed a better screwdriver, but Husky has done it! We used a French cleat to attach the storage to the wall. The wall part of a French cleat was added to the wall...
Learn how to take a vintage printer's tray and turn it into storage for small knick knacks, screws, or accessories.
...and the other part was glued to the back of the storage box.
Learn how to take a vintage printer's tray and turn it into storage for small knick knacks, screws, or accessories.
Using scrap wood, we drilled holes to fit some of the various attachments.
Learn how to take a vintage printer's tray and turn it into storage for small knick knacks, screws, or accessories.
A screw was added as a 'handle' and felt was added to the bottom so they would slide easily.
Learn how to take a vintage printer's tray and turn it into storage for small knick knacks, screws, or accessories.
Time to fill it up!
Learn how to take a vintage printer's tray and turn it into storage for small knick knacks, screws, or accessories.
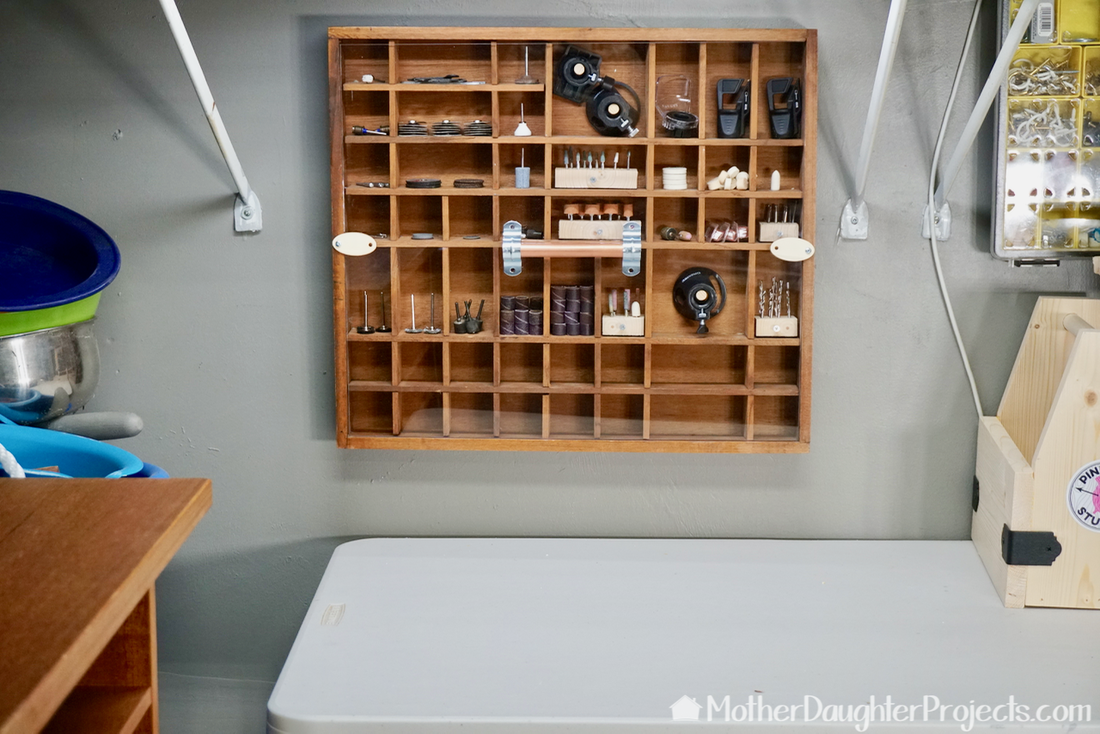
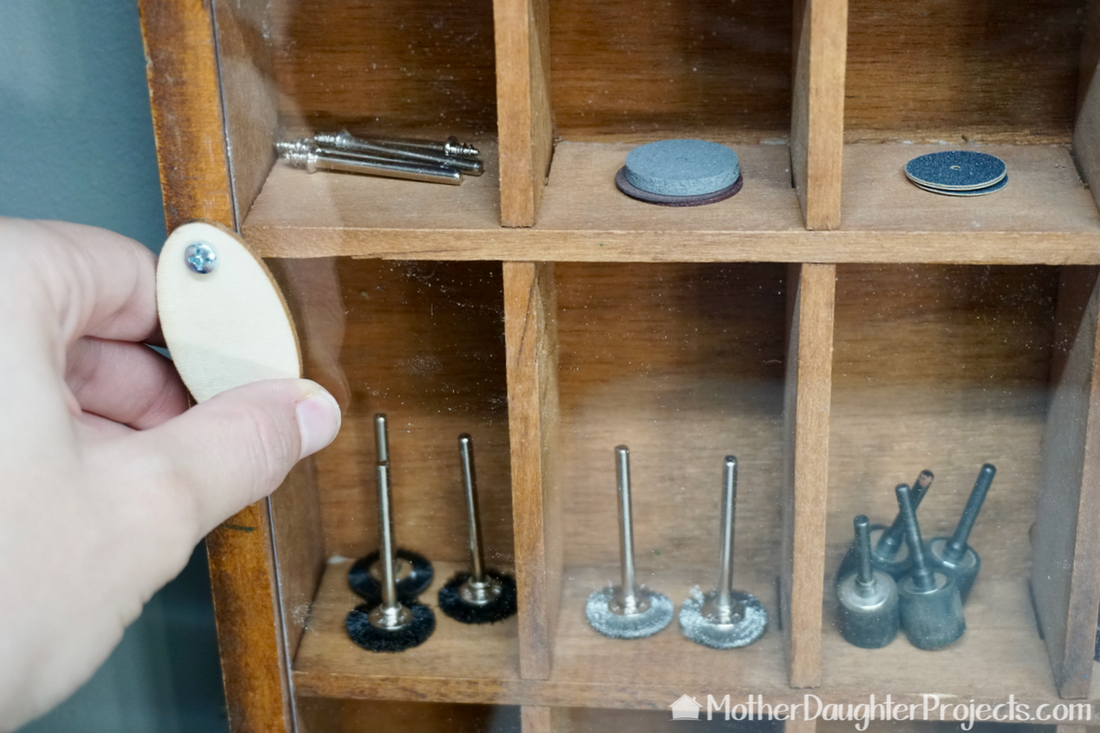
Everything now has a place. To use, the small wood hinges are rotated out of the way and the plastic front lifted out of place. We left room for any new accessories we might get.
Learn how to take a vintage printer's tray and turn it into storage for small knick knacks, screws, or accessories.
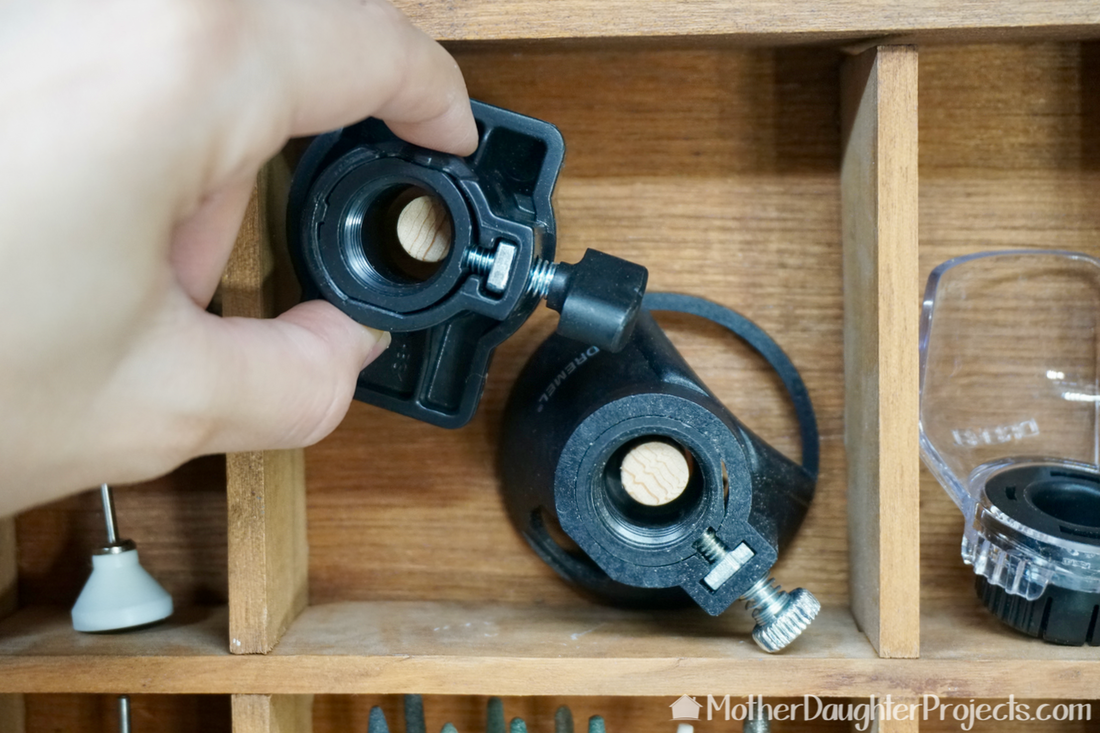
The dowels keep some of the larger attachments in place so they lay flat when the front is attached.
Learn how to take a vintage printer's tray and turn it into storage for small knick knacks, screws, or accessories.
Ahhh, it's nice to have all these little pieces in a proper organized space. This arrangement will make finding and using the needed Dremel accessory so much easier. I did suggest to Steph that we hinge the plexiglass instead of having to take off the front each time, but she didn't think it was an issue to take the front off. So far, so good! 

This could be used to store other small accessories or items. What would you store in this? Let  us know in the comments below!

We acknowledge that The Home Depot is partnering with us to participate in the The Home Depot ProSpective Campaign. As a part of the Program, we are receiving compensation in the form of products and services, for the purpose of promoting The Home Depot. All expressed opinions and experiences are our own word. Our post complies with the Word Of Mouth Marketing Association (WOMMA) Ethics Code and applicable Federal Trade Commission guidelines. 

FYI: We are not professionals, and we don’t claim to be. This is what we found worked for our project. Yours may need a little different approach. Safety first!

FYI: Affiliate links are being used on this page. Purchasing via these links help support MDP!

Related Projects

Picture
Log Fire Pit Bench
Picture
Magnetic Garage Organization
Picture
How to make a Stand from Scrap Wood
0 Comments


Leave a Reply.

    MotherDaughterProjects.com

    Mother Daughter Projects
    ​
    Steph & Vicki

    MotherDaughterProjects.com
Mother Daughter Projects, LLC ∙ est. 2015 ∙ Tallahassee, FL by Vicki & Steph ∙ Privacy Policy