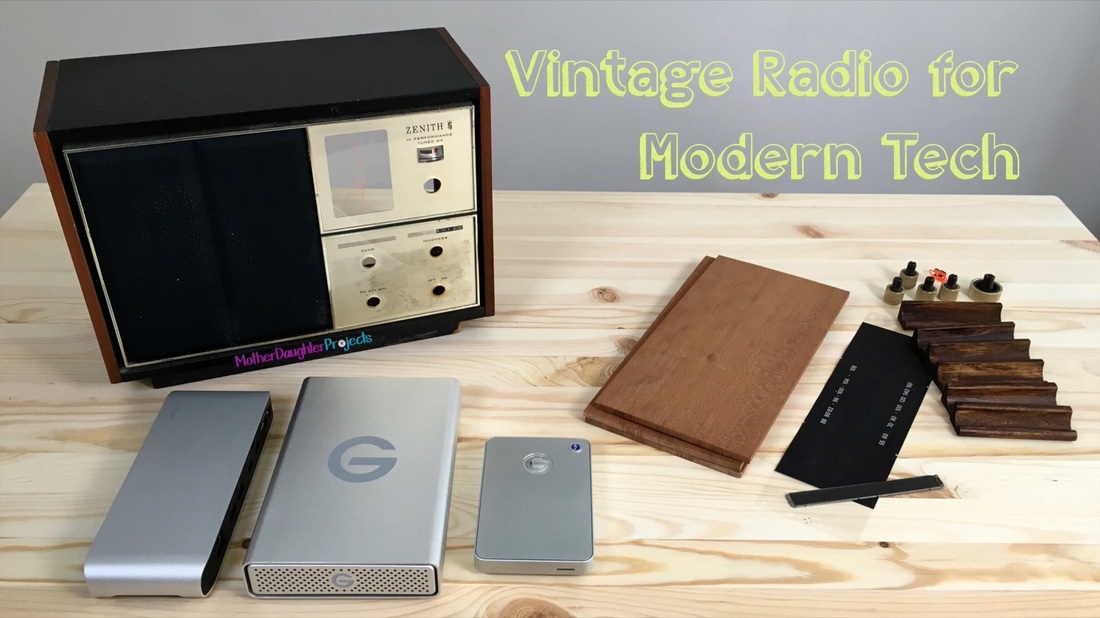
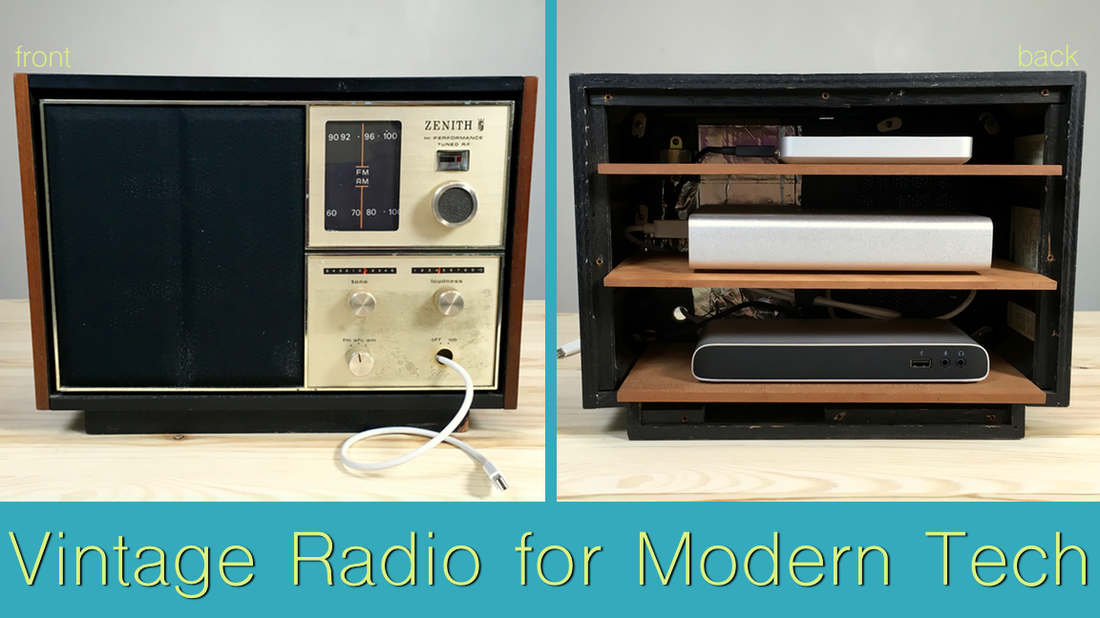
Mom volunteers at a thrift store and she grabbed this find before anyone else! She took it home where I spotted it and took it to my house to see what I could make. After some thought, I realized it would be a great spot to put my computer hard drives and dock. The front would look like a radio and the back could be open (for ventilation) and hide some of my tech gear. I’m working on a new office desk so this radio came along at the perfect time.
Materials:
Tech:
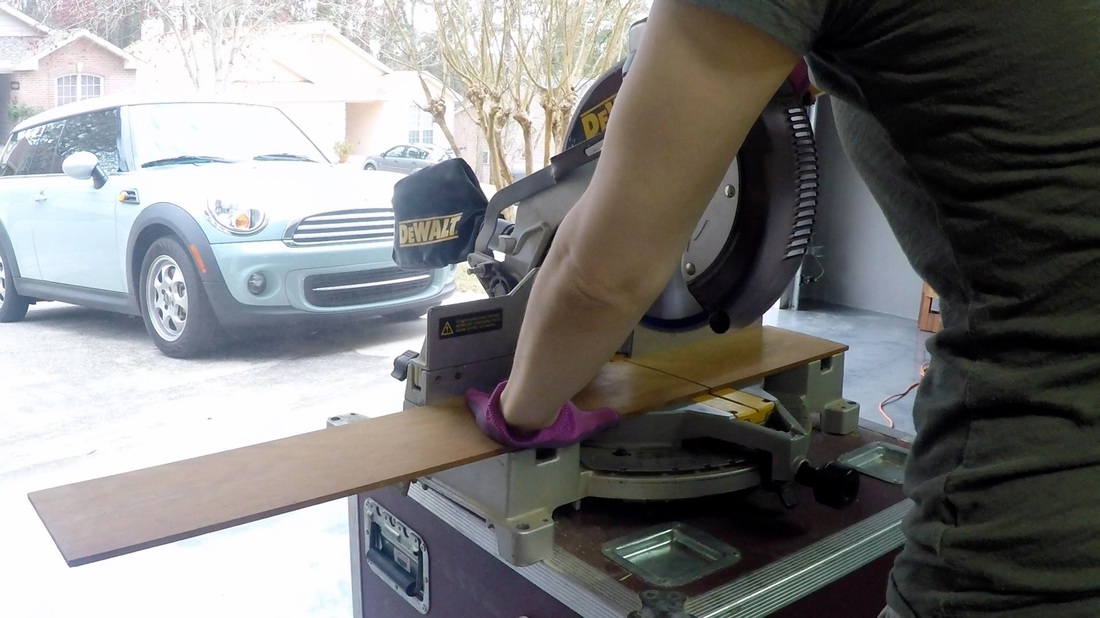
I started by cutting some scrap wood to size for the shelves.
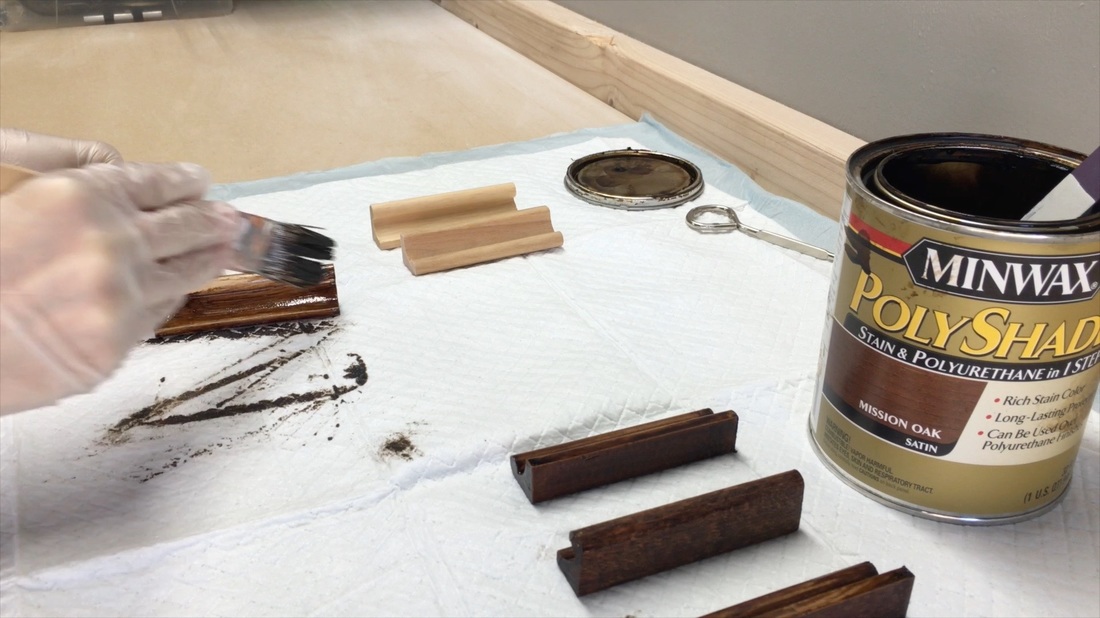
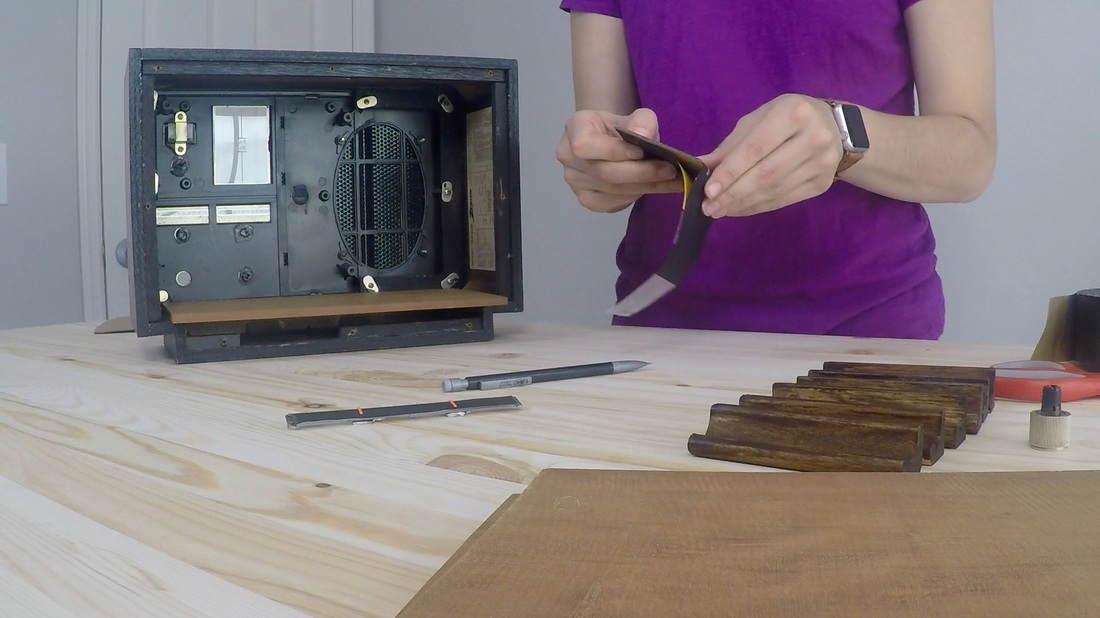
Mom thought scrabble tile holders would make a perfect bracket for my shelves, so I cut them to size and covered them with a dark stain.

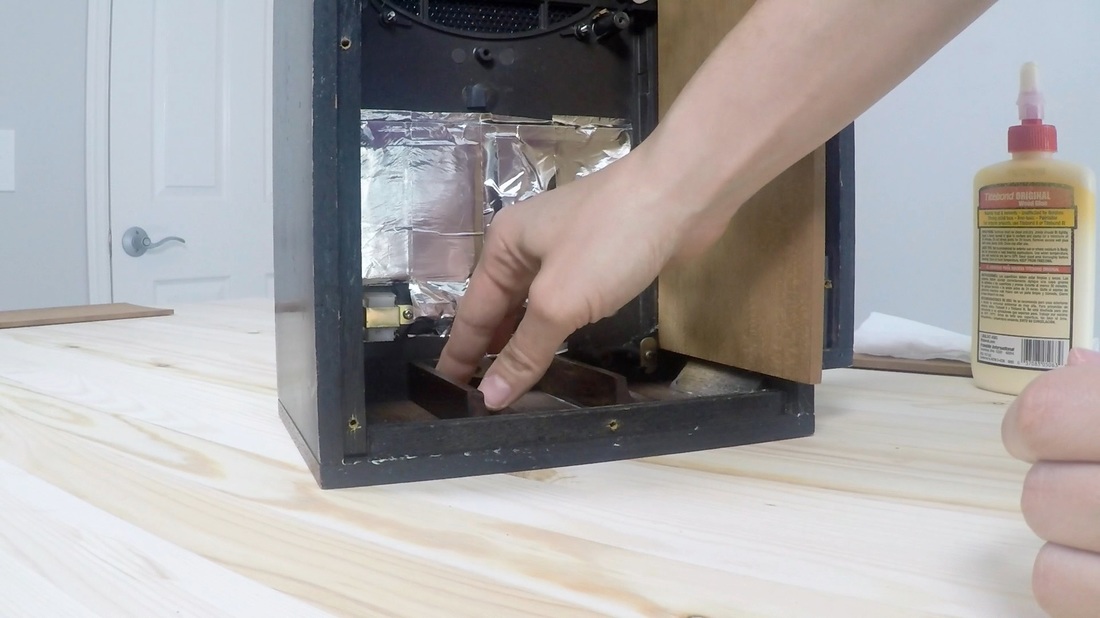
I unscrewed the guts from the radio and kept a few parts to add back in place.
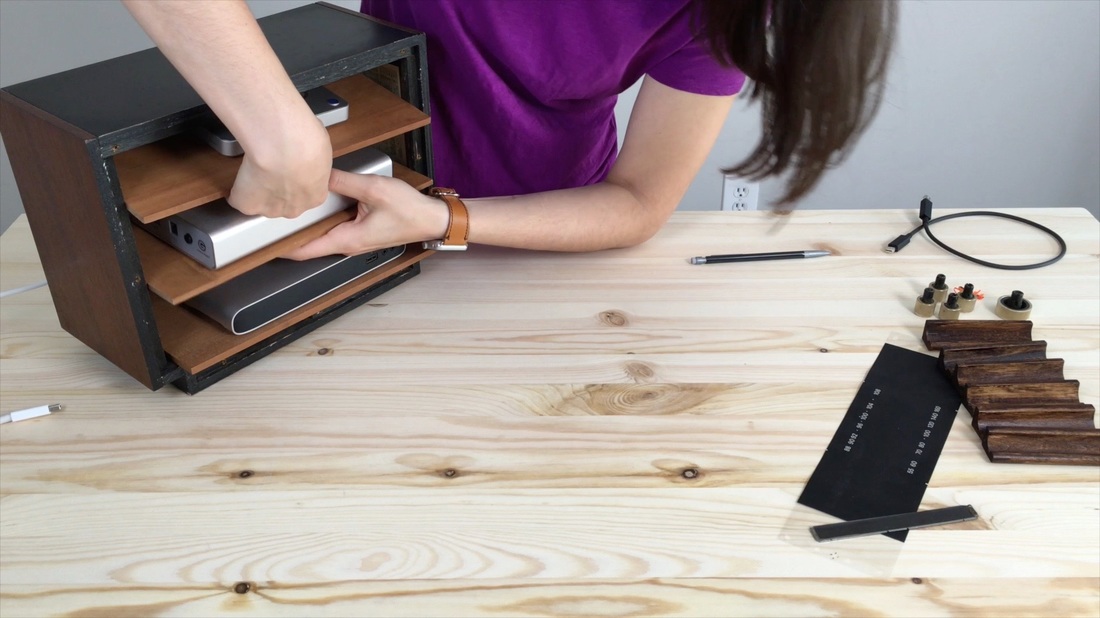
I figured out the placement of the shelves and brackets. With the drives plugged into my dock I only need one cable to connect everything to my computer.
I used hot glue to attach the bottom shelf and the radio knobs back in place.
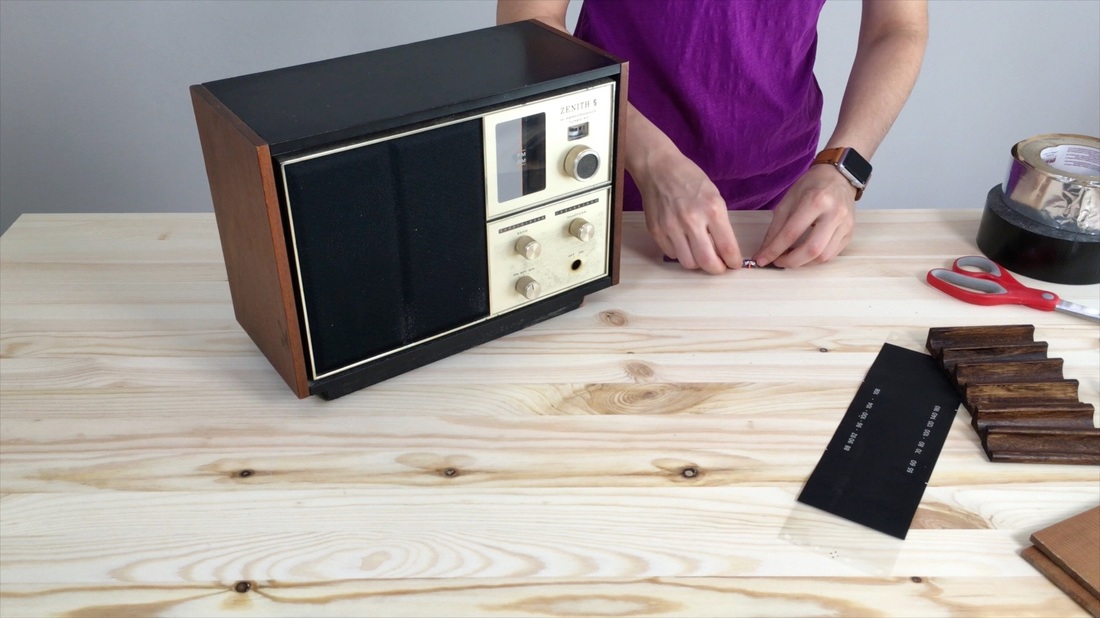
I used aluminum tape to attach the dials in place. Even though these parts will not function anymore, I wanted to attach them back for the full vintage radio feel.
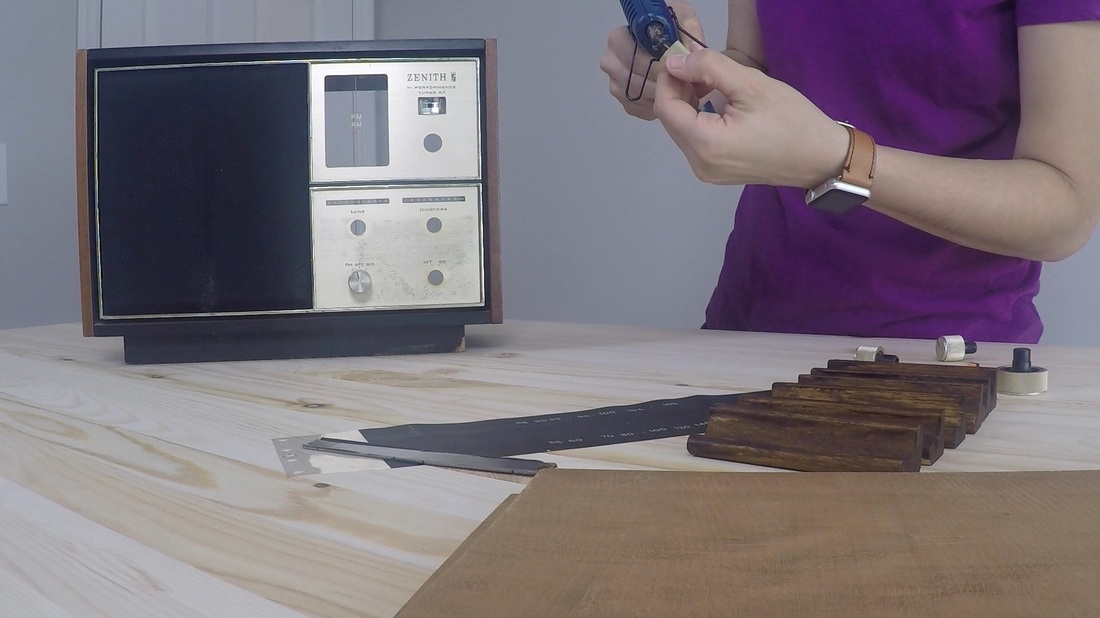
I cut the radio station graphic down and used double sided tape to attach it to a cut piece of card board.
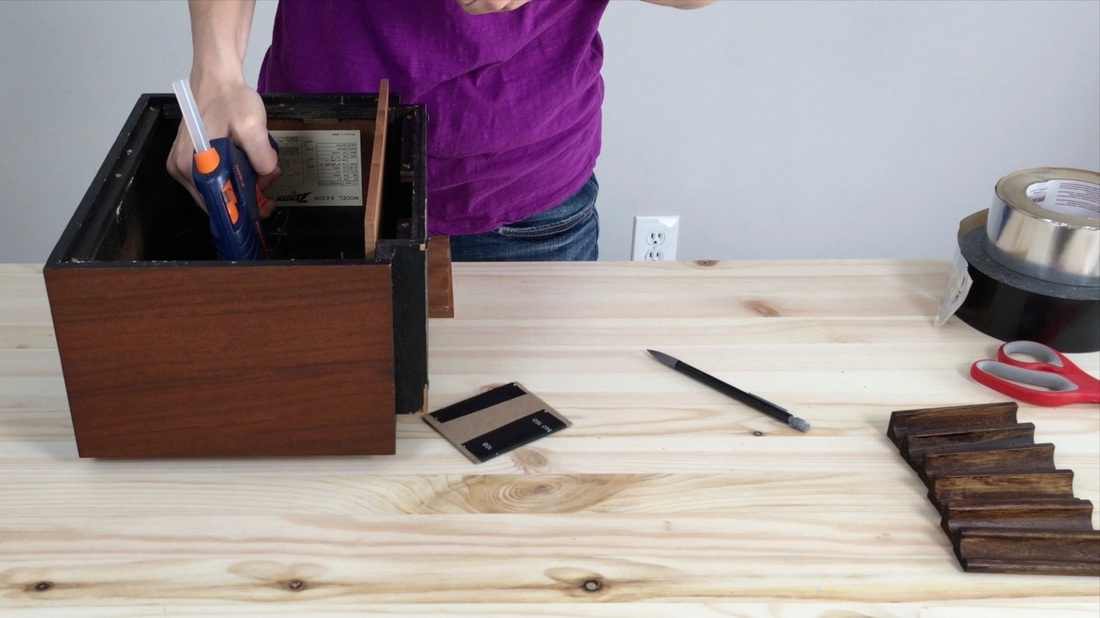
I hot glued those parts in place.
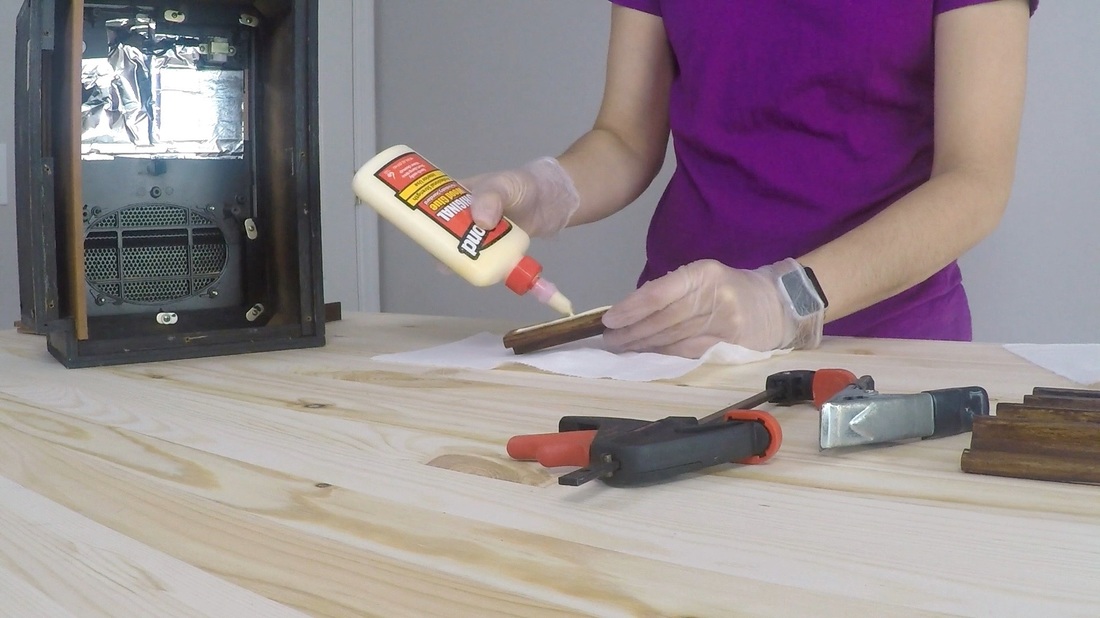
I used wood glue to attach the brackets to the inside of the radio.
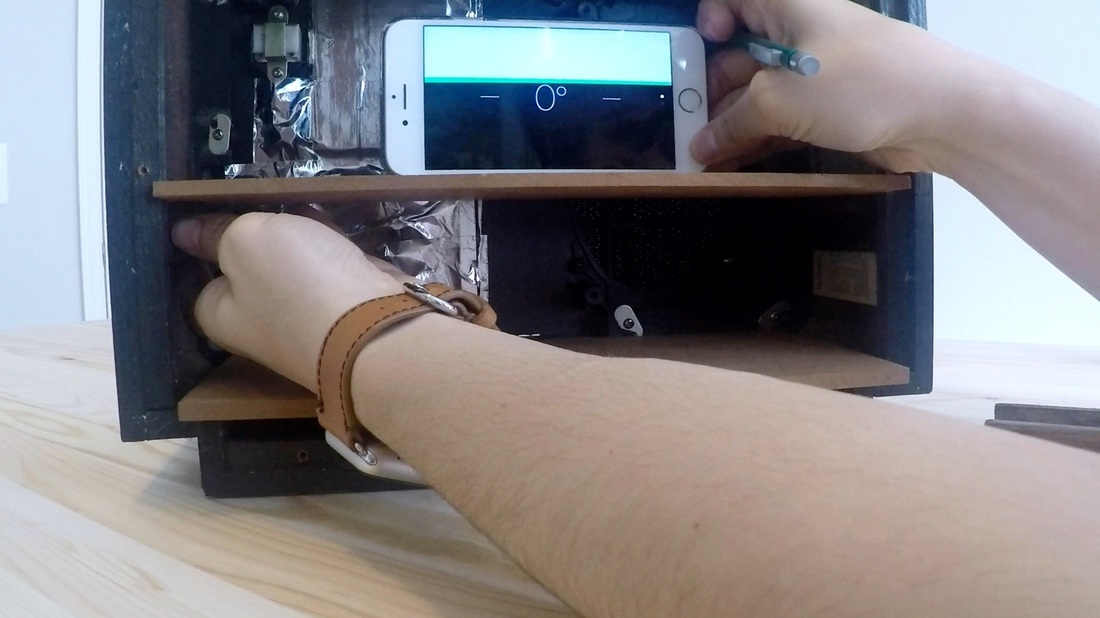
After that dried, I leveled out the shelf to get the left side bracket location.
I glued the other brackets in place and let dry.
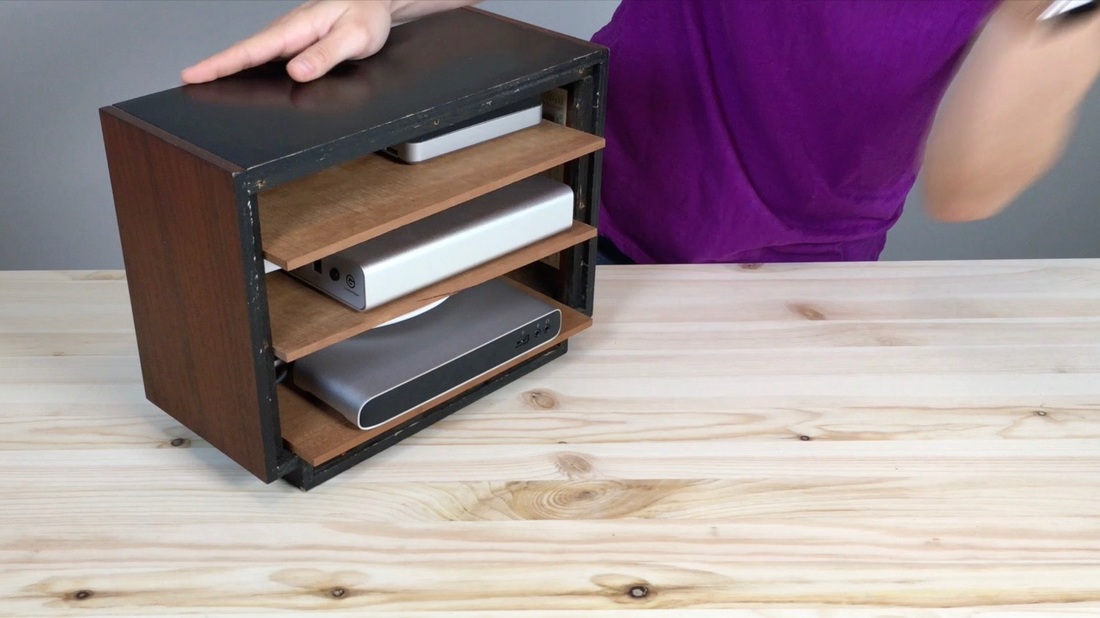
I decided not to glue the shelves in place in case I need to move them for cables. I can easily use wood glue in the future if I need to secure them.
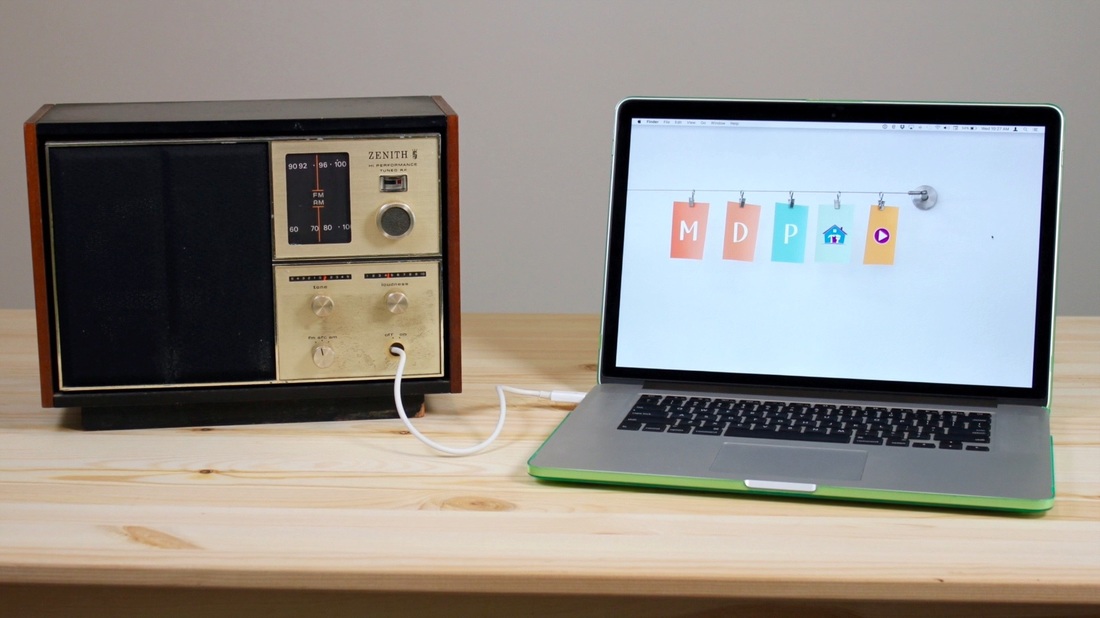
I put my dock and hard drives in place, connected everything together, grabbed my computer and done! A vintage radio to hide my modern tech.
Have an other ideas for hiding tech/cables/desk storage? Let us know in the comments!
Please note: We are not sponsored by any of the companies/products that we used. These products were picked and bought by us. FYI: We are not professionals, and we don’t claim to be. This is what we found worked for our project. Yours may need a little different approach. Safety first! FYI: Amazon/Home Depot affiliate links are being used on this page. Related Projects
0 Comments
Leave a Reply. |

Mother Daughter Projects
|