Although this is not a sponsored post, we were given concrete from Quikrete. It was delivered right to the garage! Now we want all the heavy things delivered.
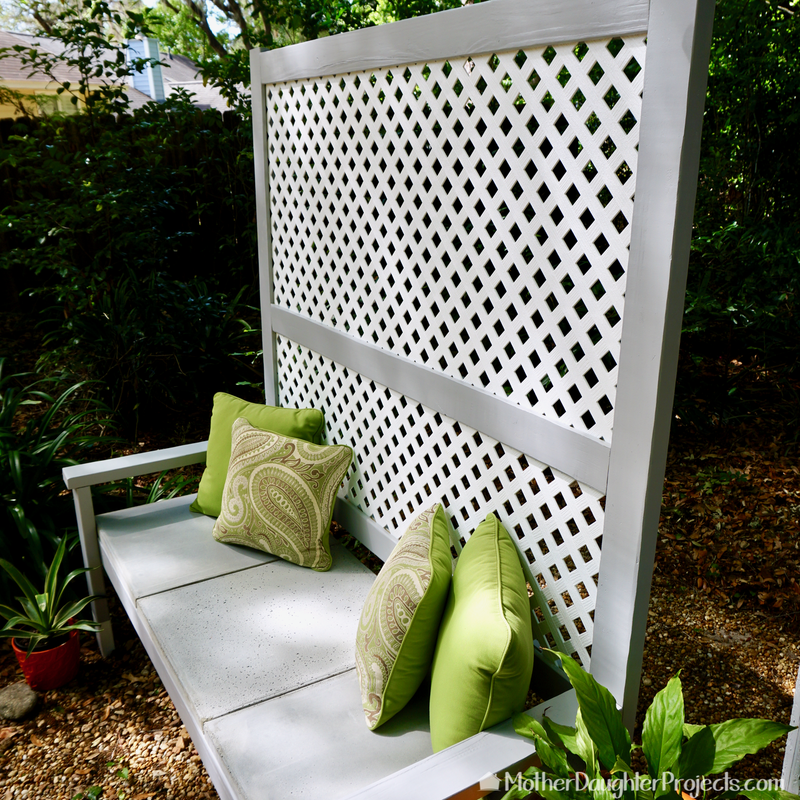
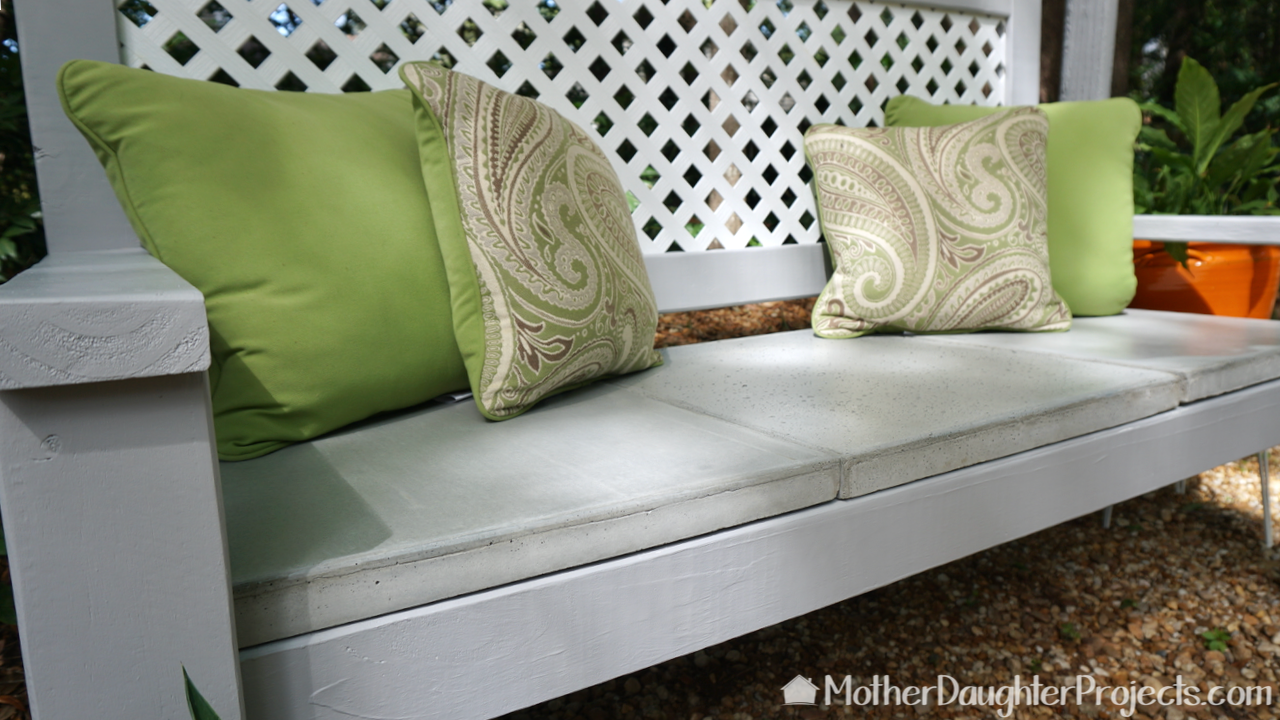
Our bench entry for the Instagram Builder’s Challenge deviated from Ana White’s plan (everyone in the challenge had to use her plan) in that we used concrete for the bench seat rather than wood. We’ve used concrete before, but not in this large a project. We initially planned on doing one large piece of concrete, but changed to casting three separate pieces. The change was to accommodate my (Vicki) inability to lift or bend due to cataract surgery recovery during the bench build. We decided that Steph would be able to carry one piece at a time without needing extra help. I think even if I had not been recovering from surgery, we would have come to the conclusion that three smaller pieces rather than one was much more DIY friendly. We really enjoying using concrete. It’s a versatile and creative product plus you don't know how something is going to turn out so you always have that surprise to look forward to! 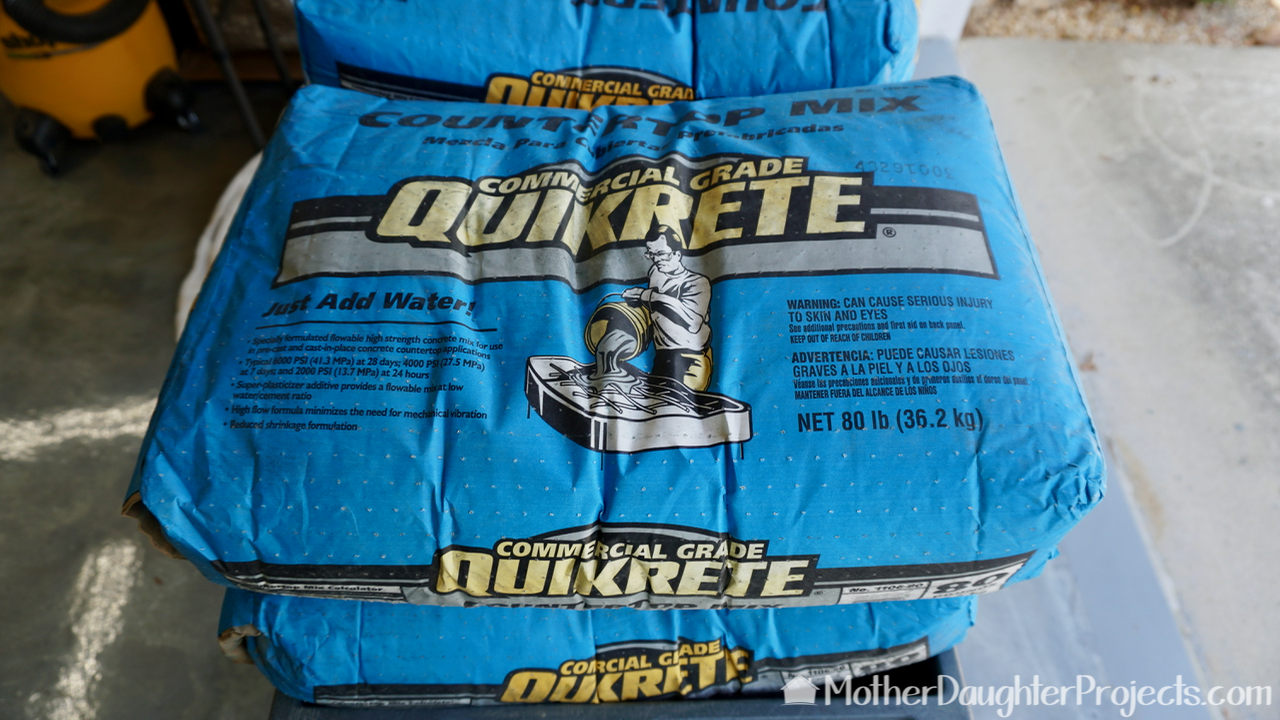
Step 1
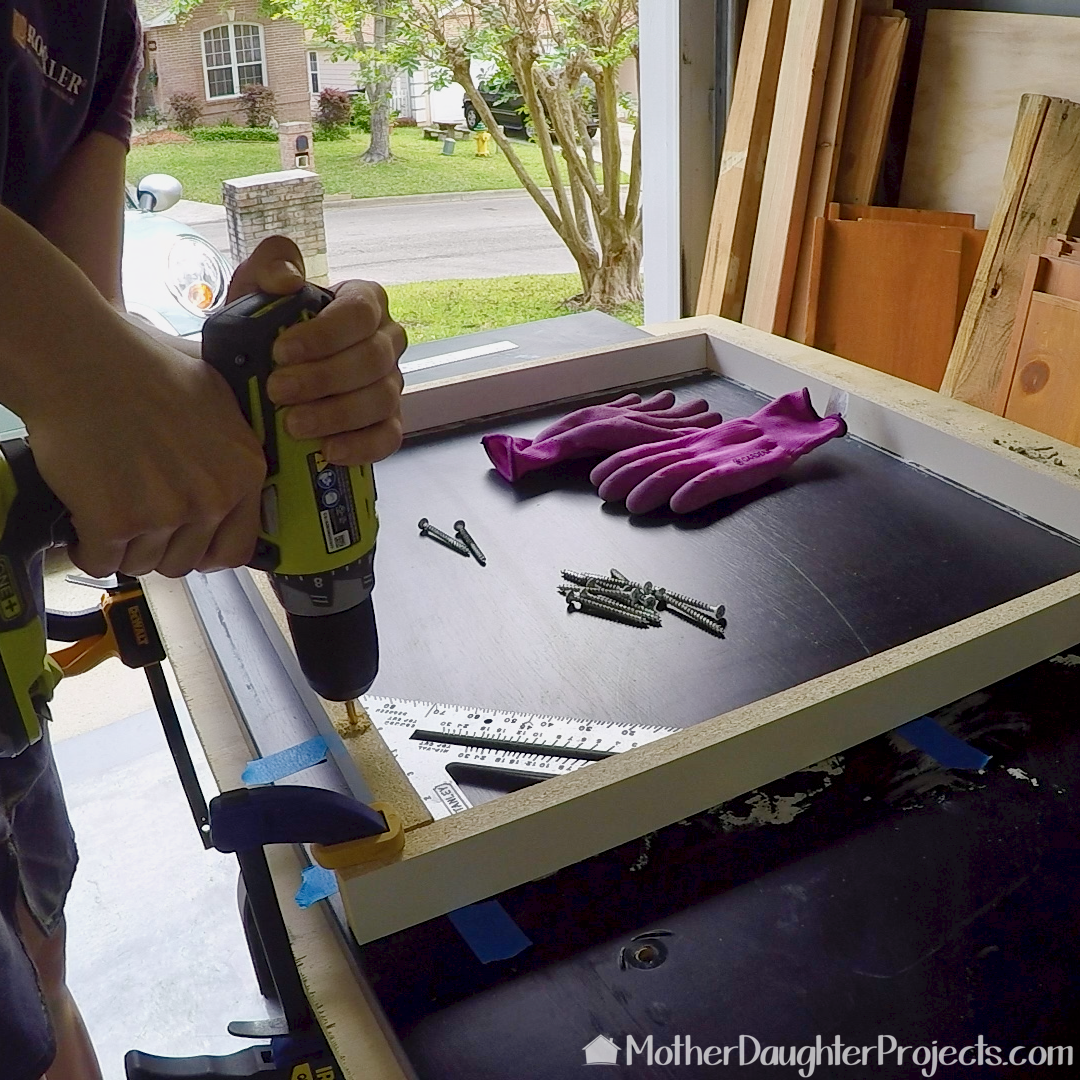
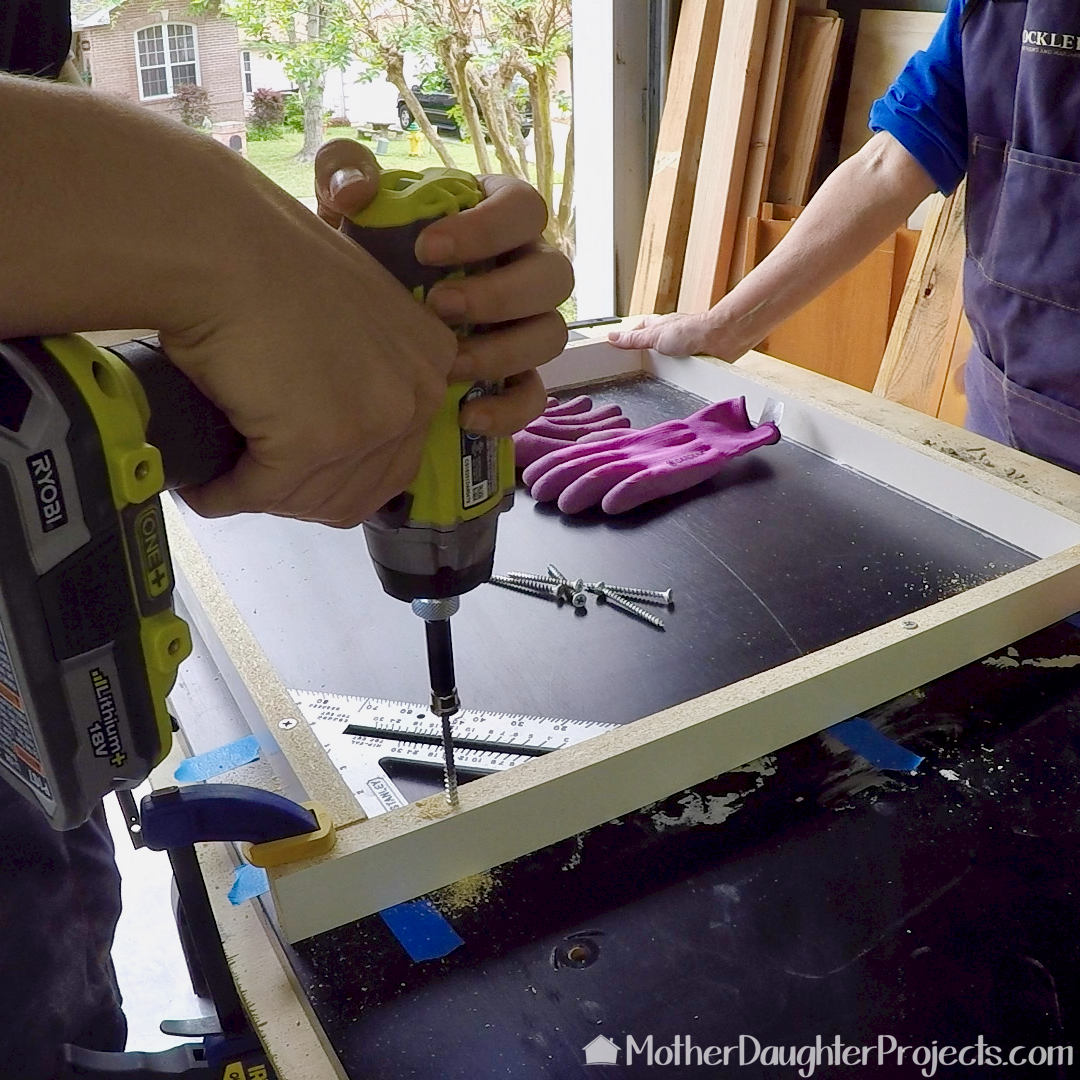
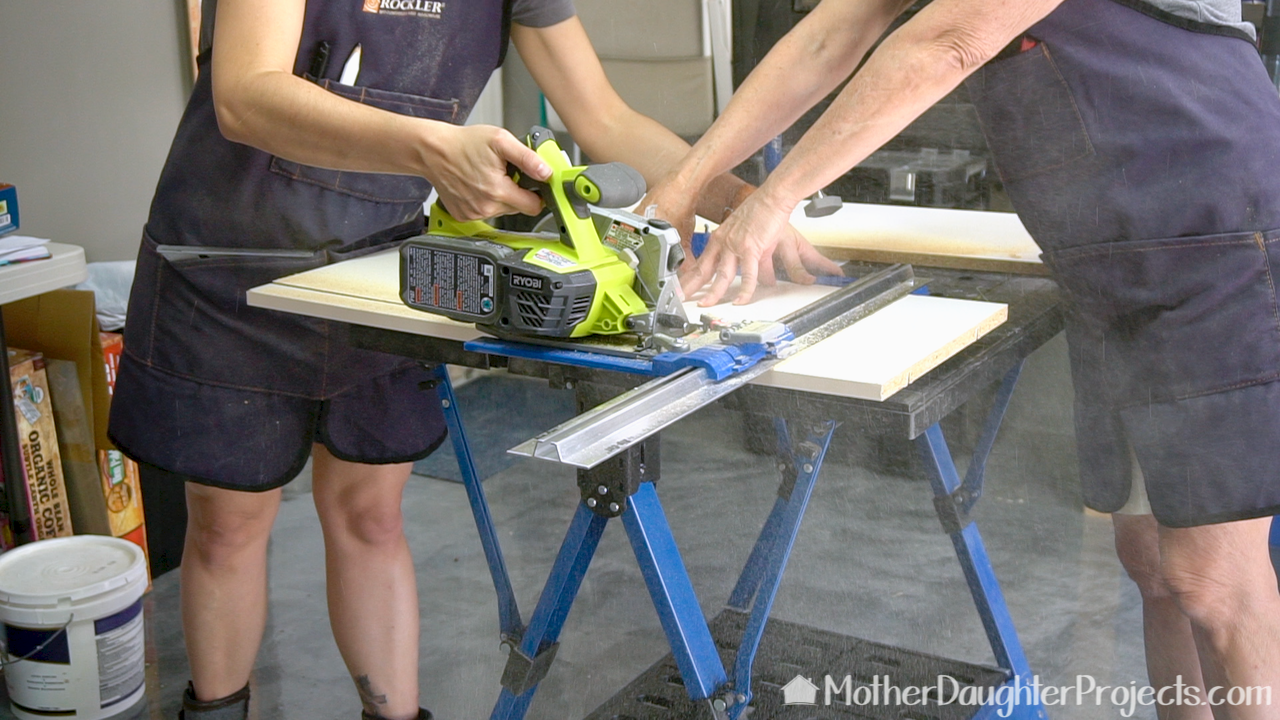
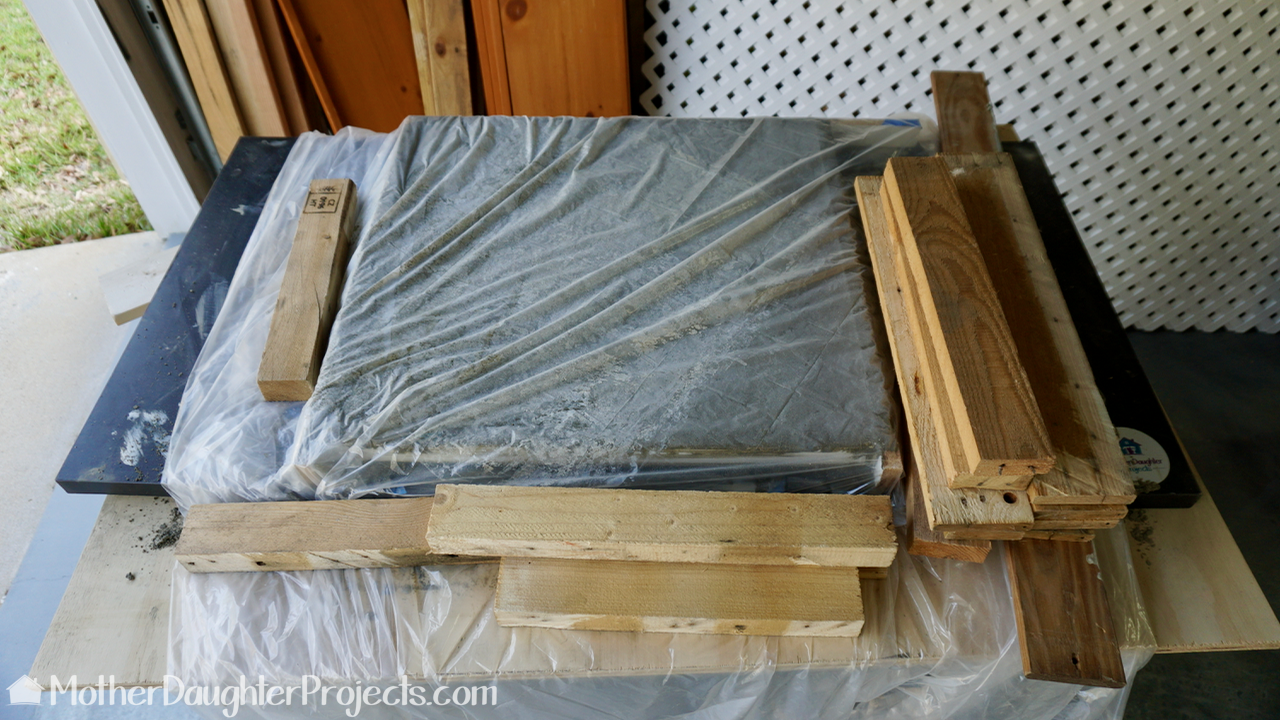
Create the concrete form from melamine. Although you can purchase 4'x8' sheets of melamine or shelf size pieces, we used reclaimed materials. For the base we used an old desk tabletop and we sourced the smaller pieces curbside on trash day. Our concrete forms were 21.25” wide by 23.5” tall with 1.5” sides. Look at the picture to see how we laid them out. We cut three sets of edges because the melamine edges are not reusable. We used the same base, cleaning between pours, for all three.
Step 2
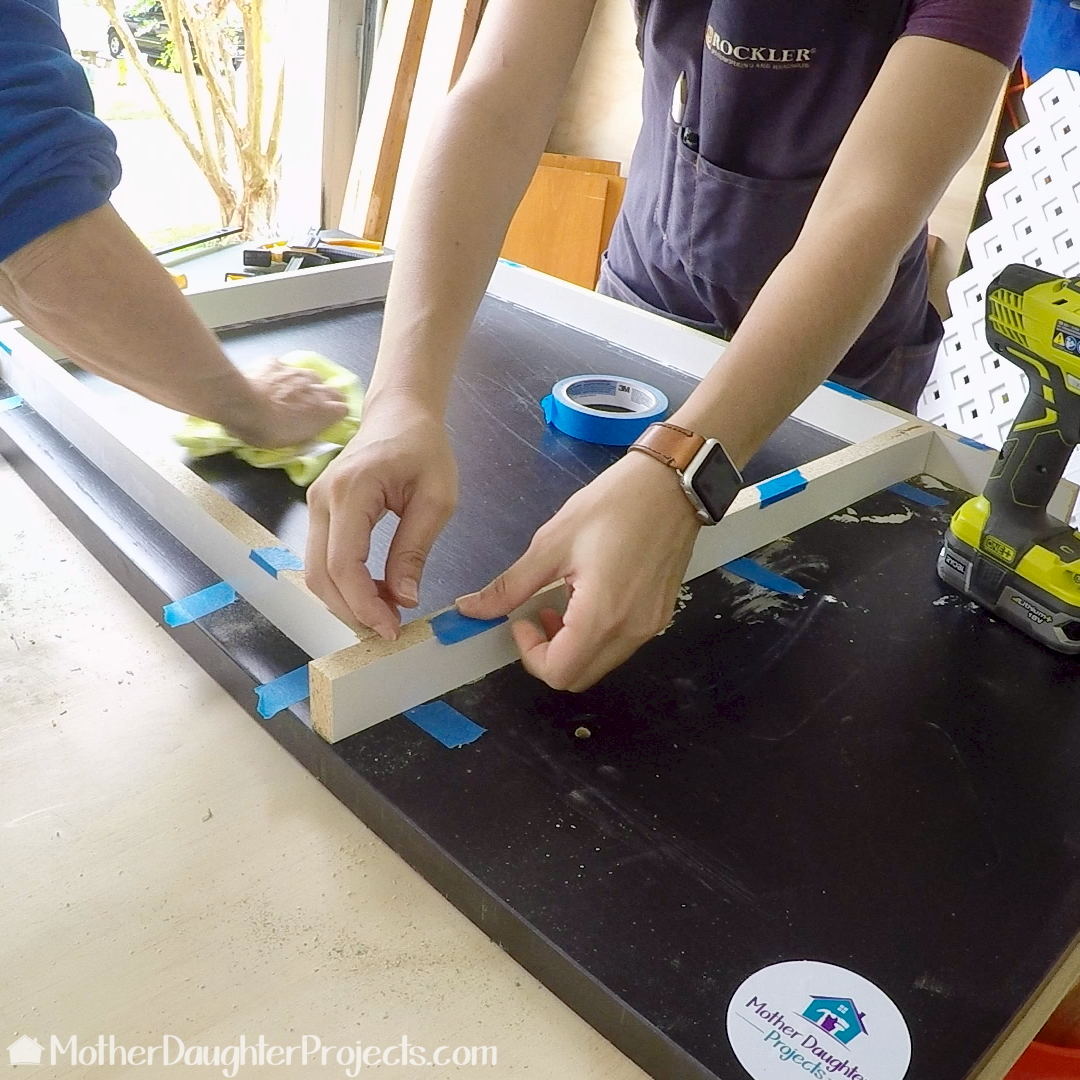
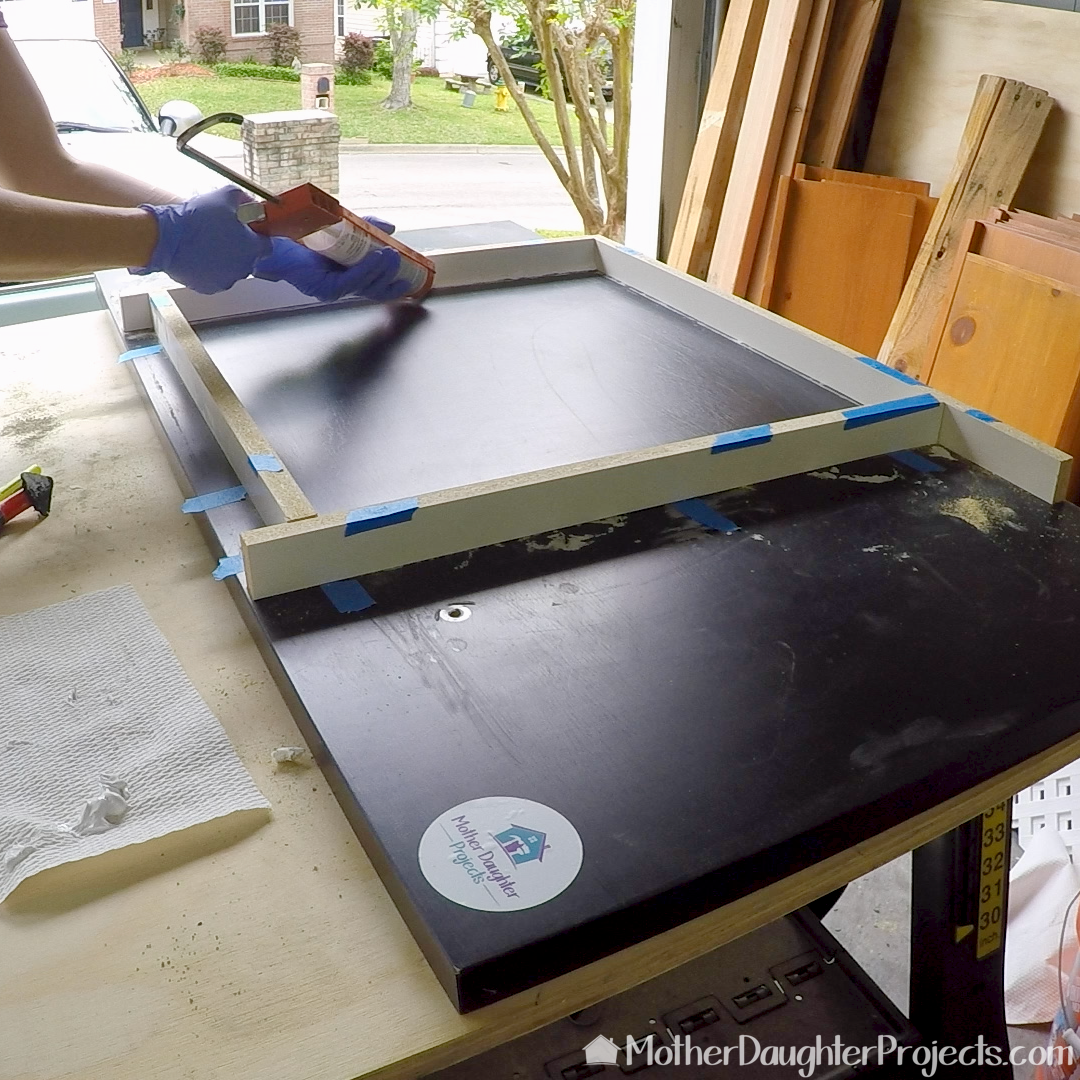
We deliberately left one side longer so that we could use a mallet on this edge to help remove the concrete from the form. All the pieces were screwed into the base piece. The screw heads were covered with painter’s tape to allow for removal of the screws. Tip: leave a “tail” down the side to easily identify the tape and to have something to grasp on to for easy removal as the edge will get messy. We used silicone to seal the inside edges and corners. Smooth as much as possible. Any bump in the silicone will show in the finished concrete.
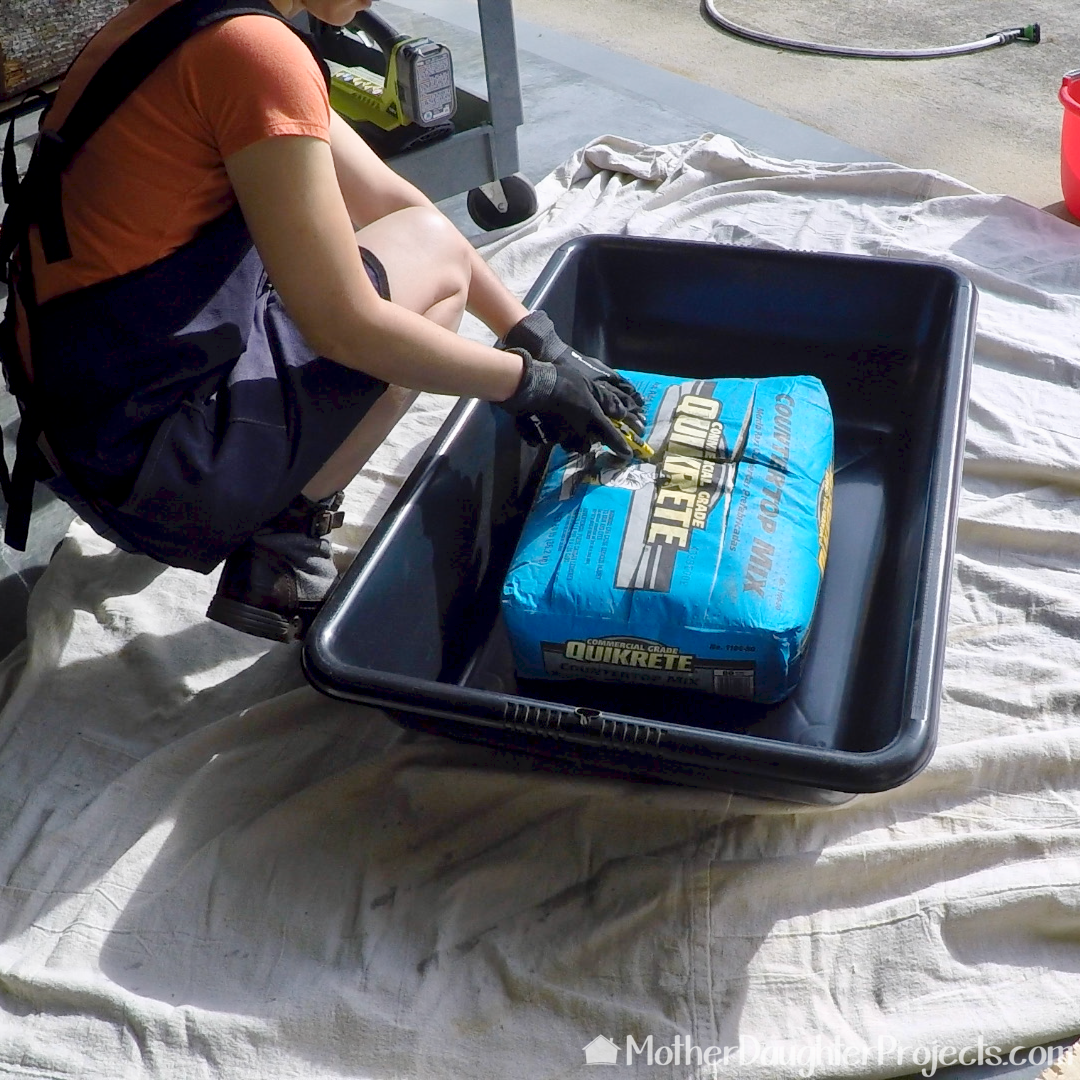
Step 3
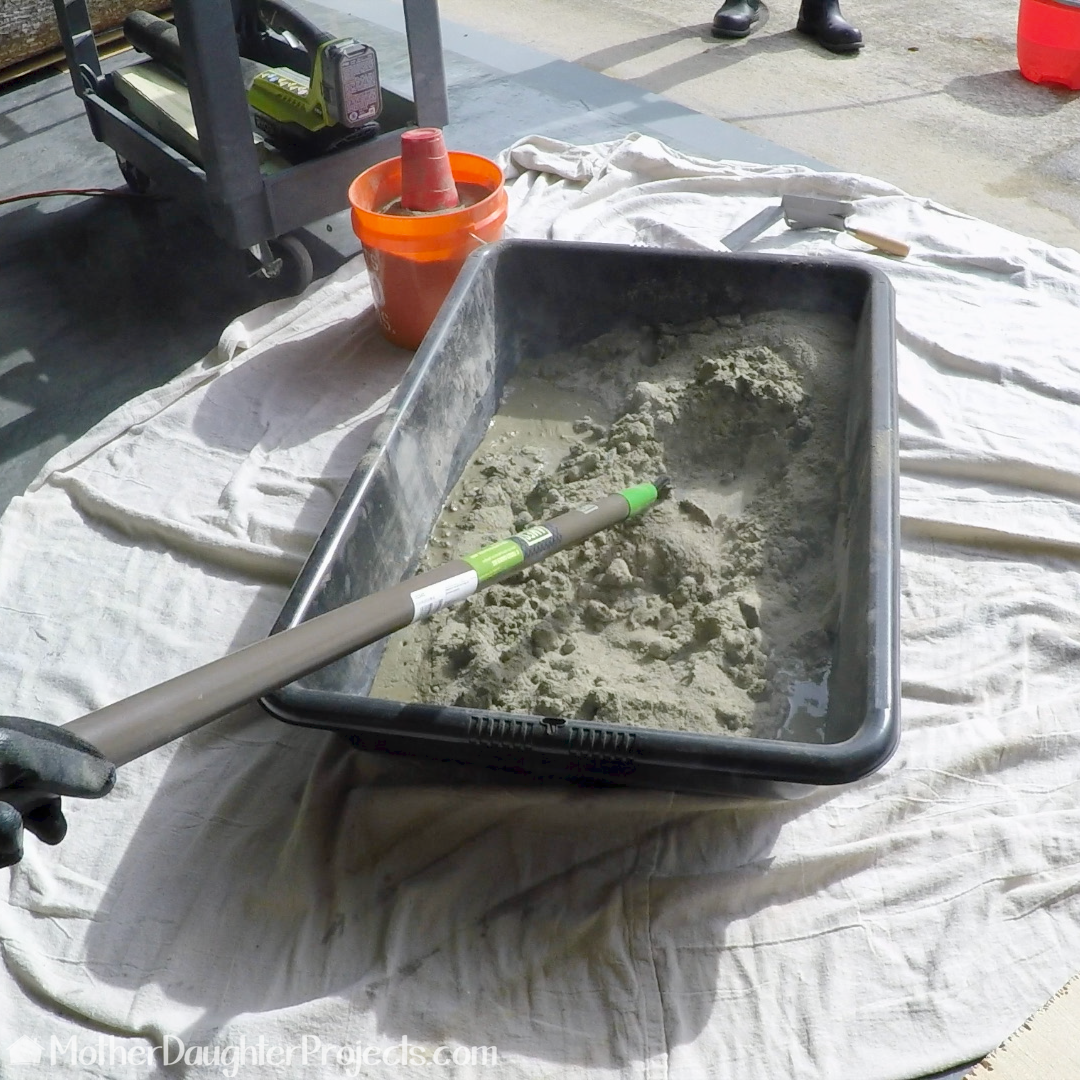
Put on safety equipment before opening and working with concrete. (This is NOT an optional step as concrete will severely dry out your hands and is not healthy to breathe.) We also used our portable Ryobi fan to blow the concrete dust away and out of the open garage. At this point, it’s a good idea to prepare a few silicone molds or plastic molds to have on hand to fill in case there is leftover concrete. We first removed about 20 pounds of concrete from the bag as we thought 80 pounds would be too much for one pour (it was). We mixed water into the concrete with the garden hoe and a small trowel and mixed it according to directions. Note: our second batch was mixed on a rainy day and turned out to be quite lumpy which showed in the finial product. The other two mixed well and turned out quite nicely. 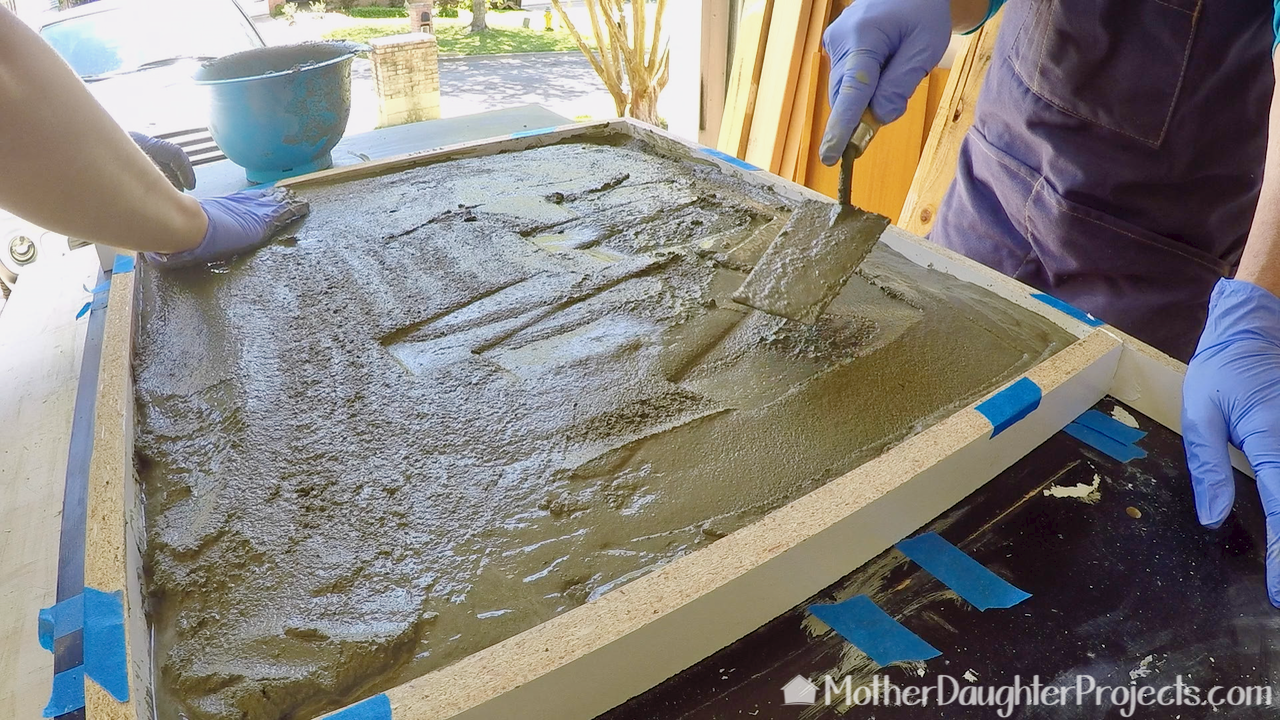
Step 4
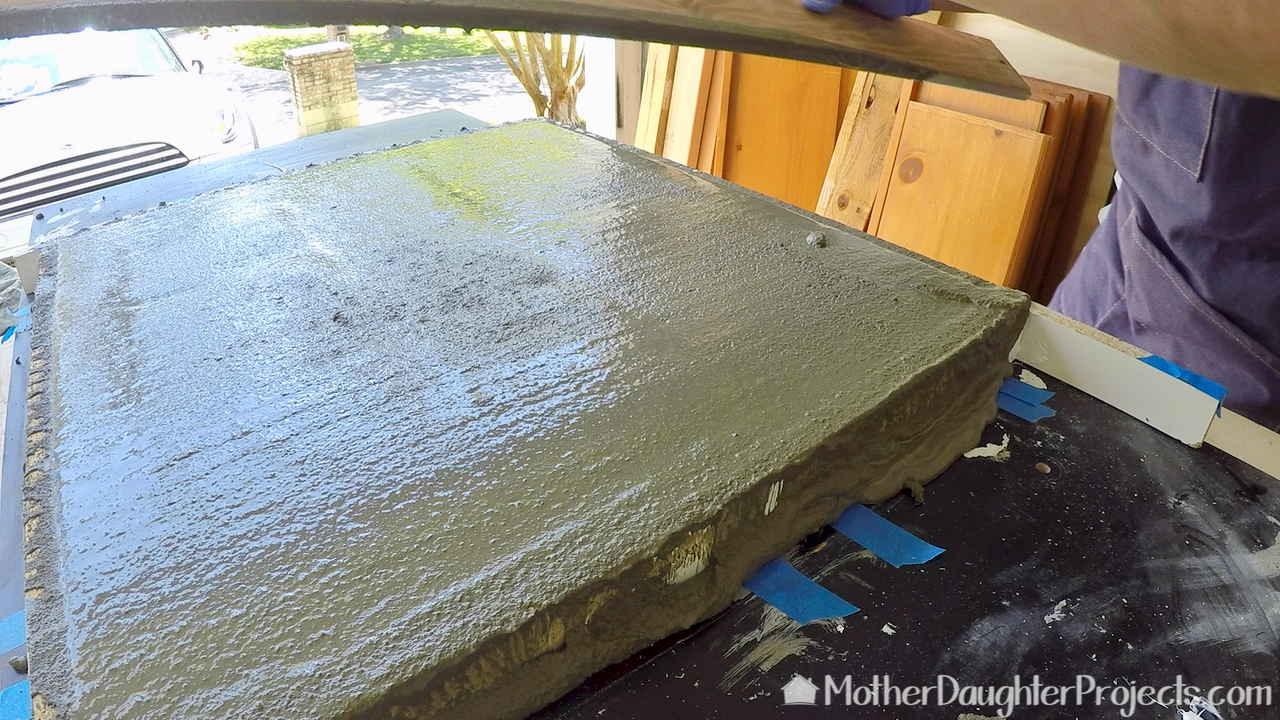
Fill the form/mold. Using a small bucket, we transferred the concrete into the mold. We used small trowels and our glove covered hands to work the concrete into place. Once the mold was 2/3 full, we added the metal support pieces. We continue to fill until it reached the top. We used a scrap piece of wood to help level the top. 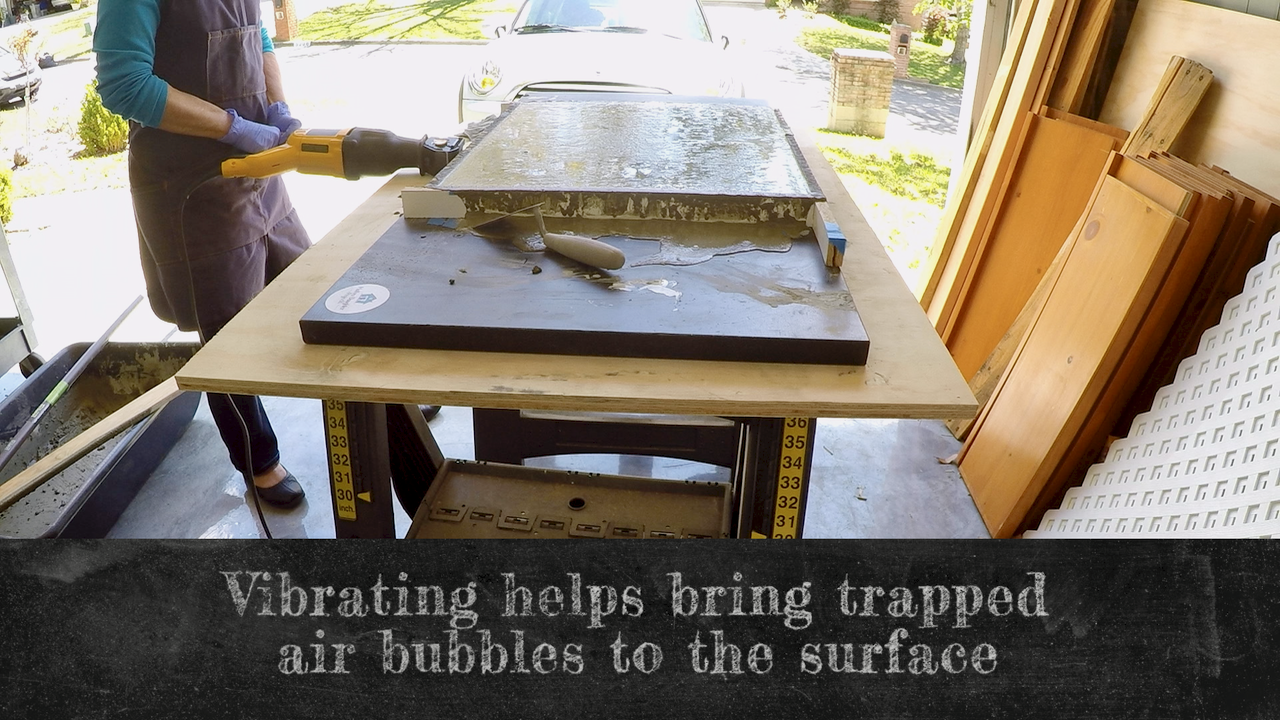
The sawzall (without a blade) was used to vibrate air bubbles up and out of the concrete. Keep vibrating until no more bubbles appear at the surface or until your arms can’t take it anymore! We vibrated the concrete a lot but still had bubbles mainly at the edges. Cover with plastic sheeting, unmold in 2-4 days.
Step 5
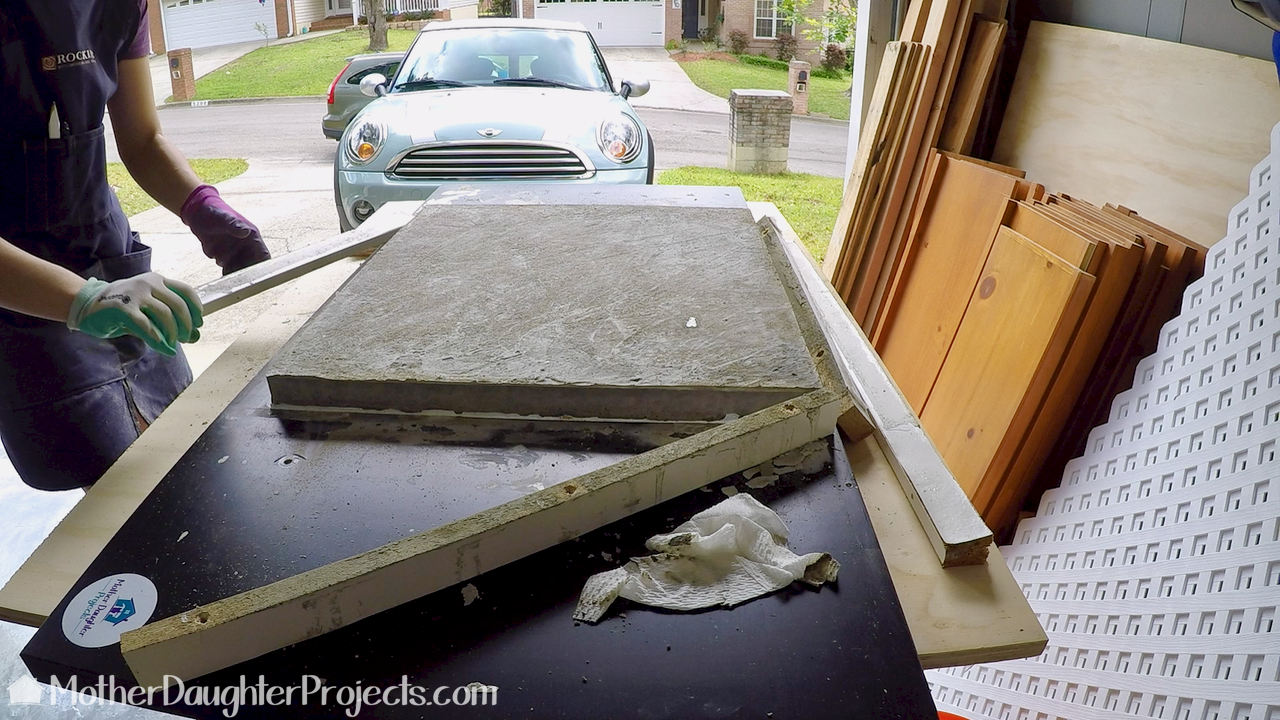
Remove the painter’s tape to reveal the edge screws and unmold the piece. 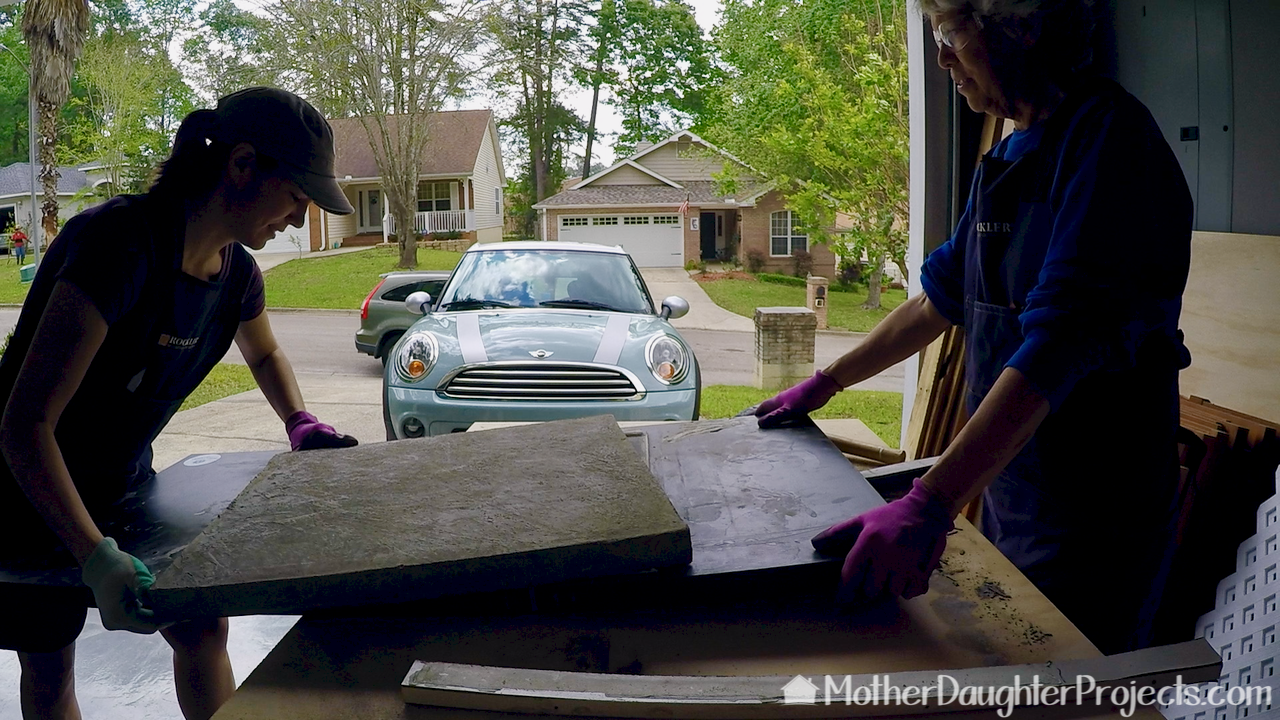
We found if we flexed the base board just a bit, the concrete released from the board.
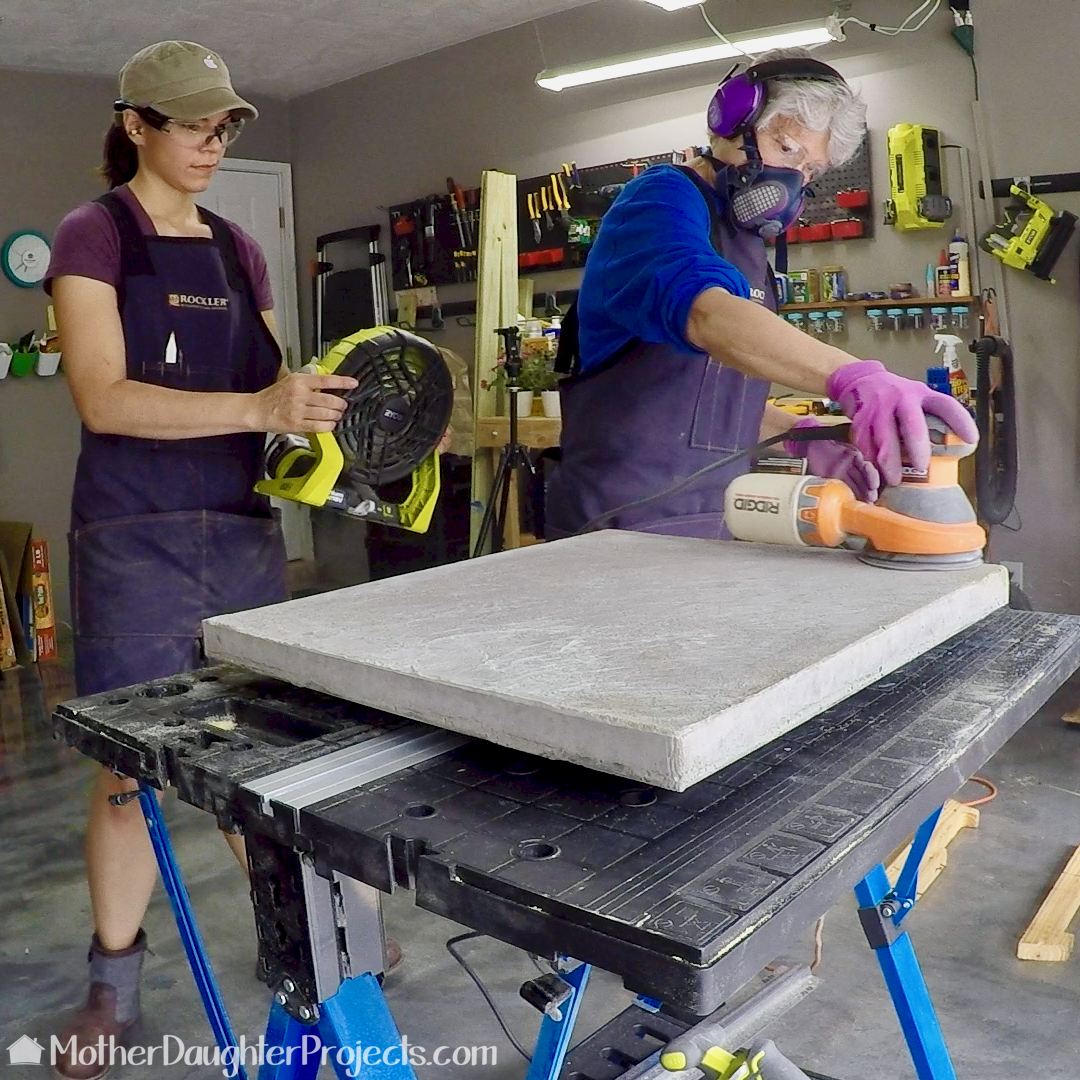
Step 6
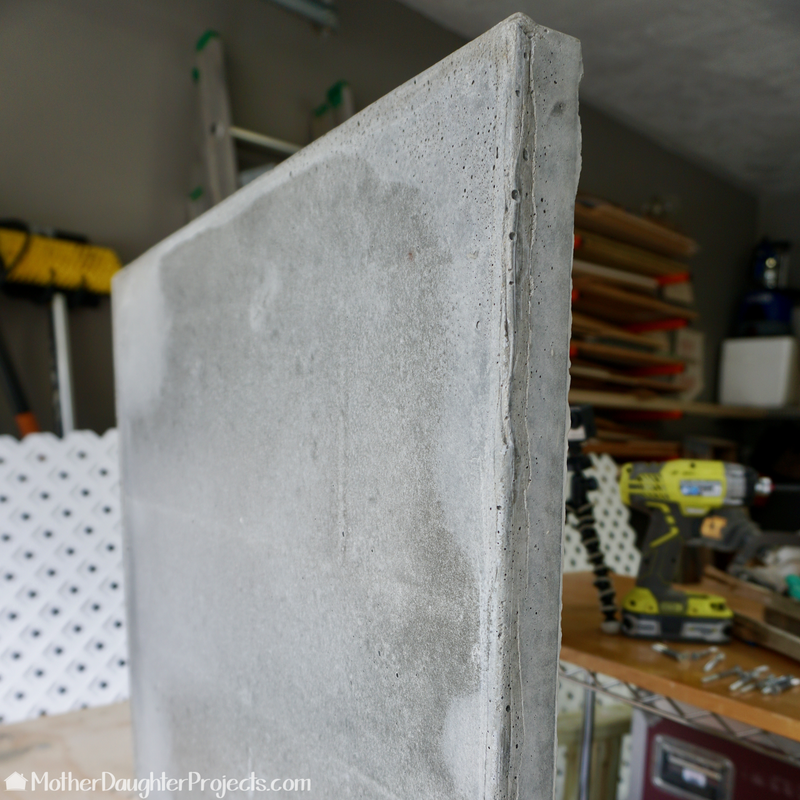
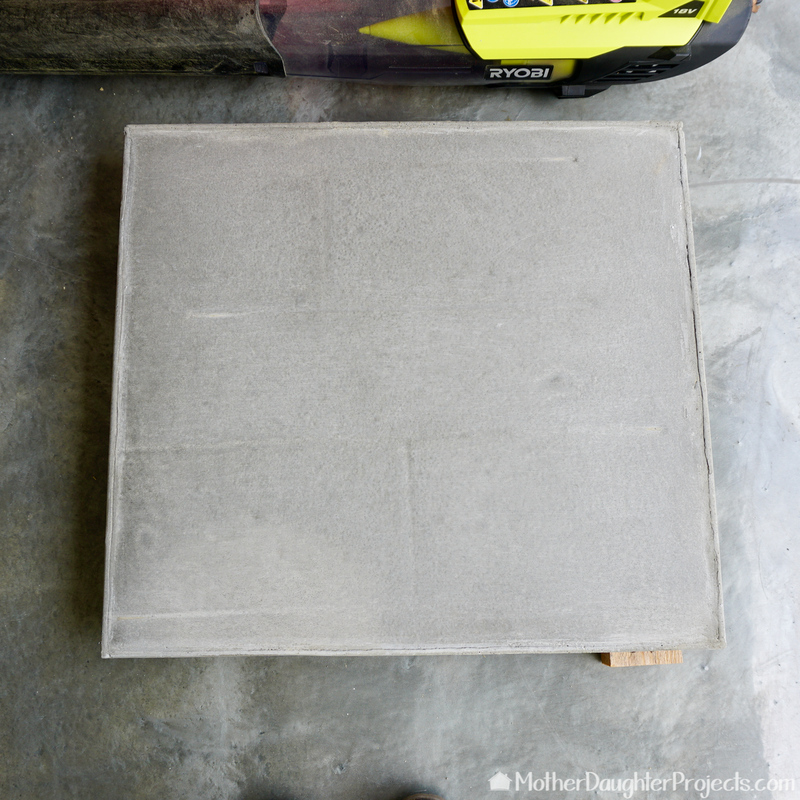
Sand rough edges. Once out of the mold we used an orbital sander to remove any roughness along the bottom and sides using 220 grit sandpaper.
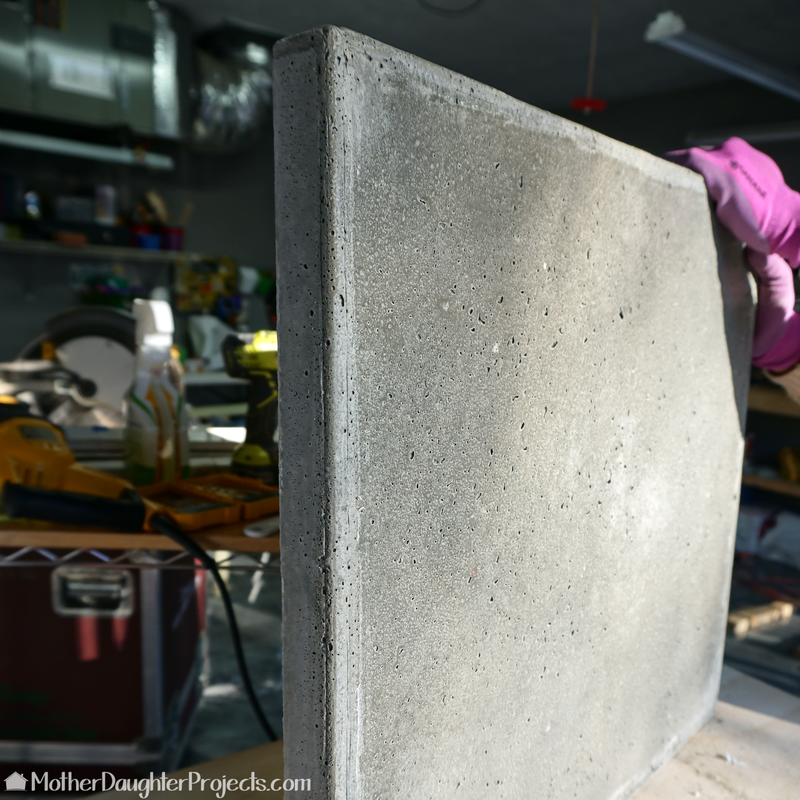
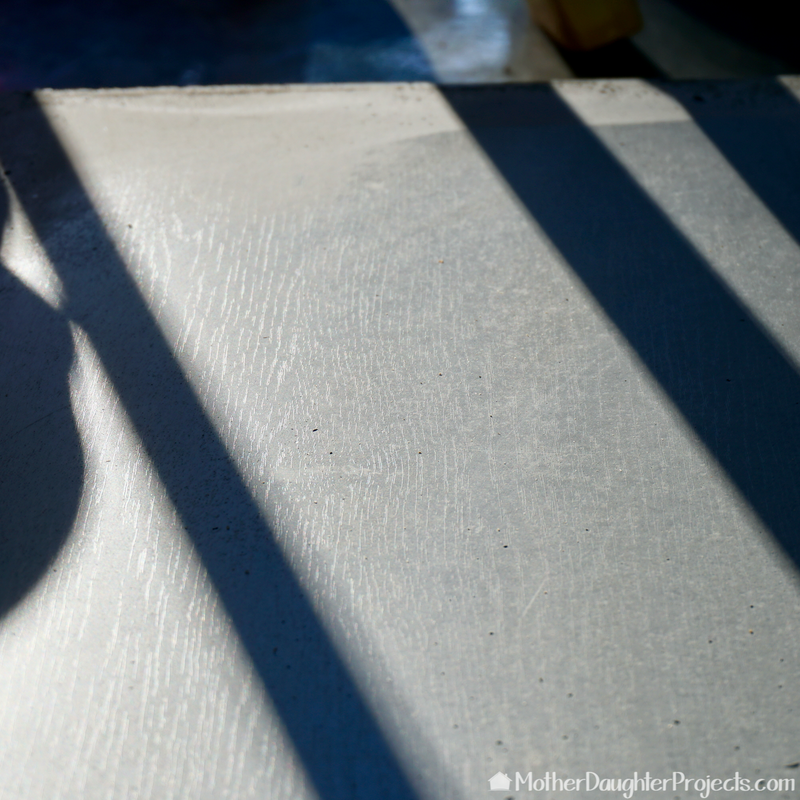
Repeat the above process for the remaining 2 concrete pieces. We finished our concrete pieces with Behr Concrete Sealer and Waterproofer to help protect them from the elements.
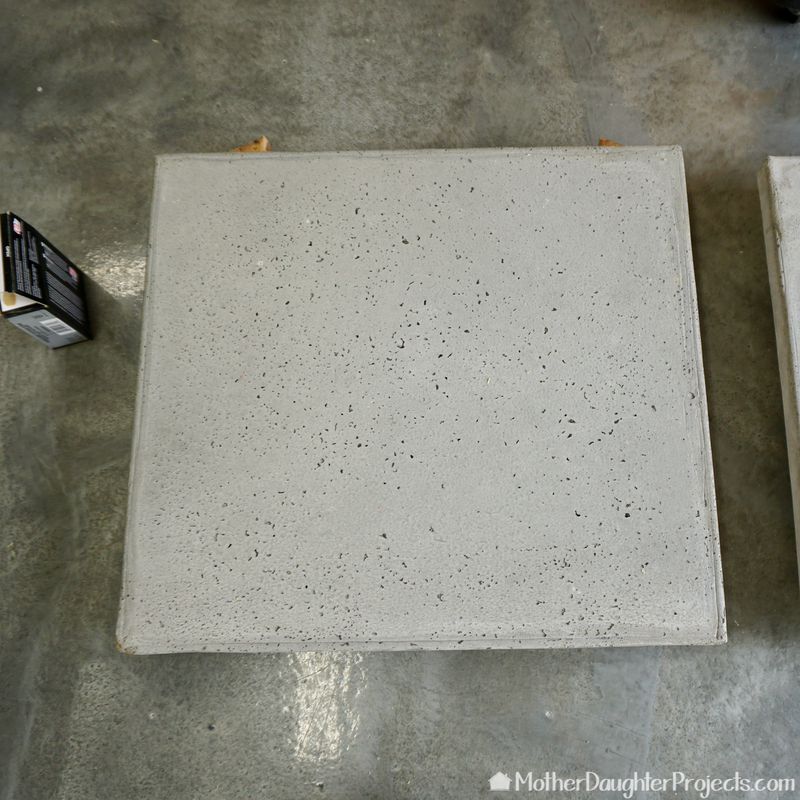
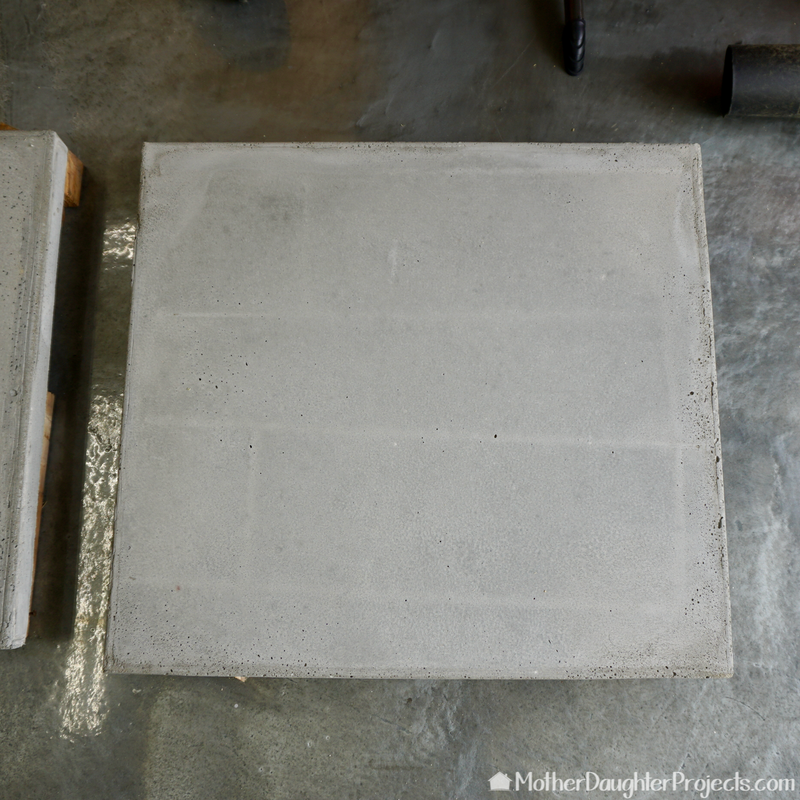
We did have a problem with the metal support we used. It can clearly be seen in two of the pieces. We think what happened was when we vibrated the mold the metal sank to the bottom. We think if we had vibrated first then added the metal, we would not have had this problem. Thoughts? 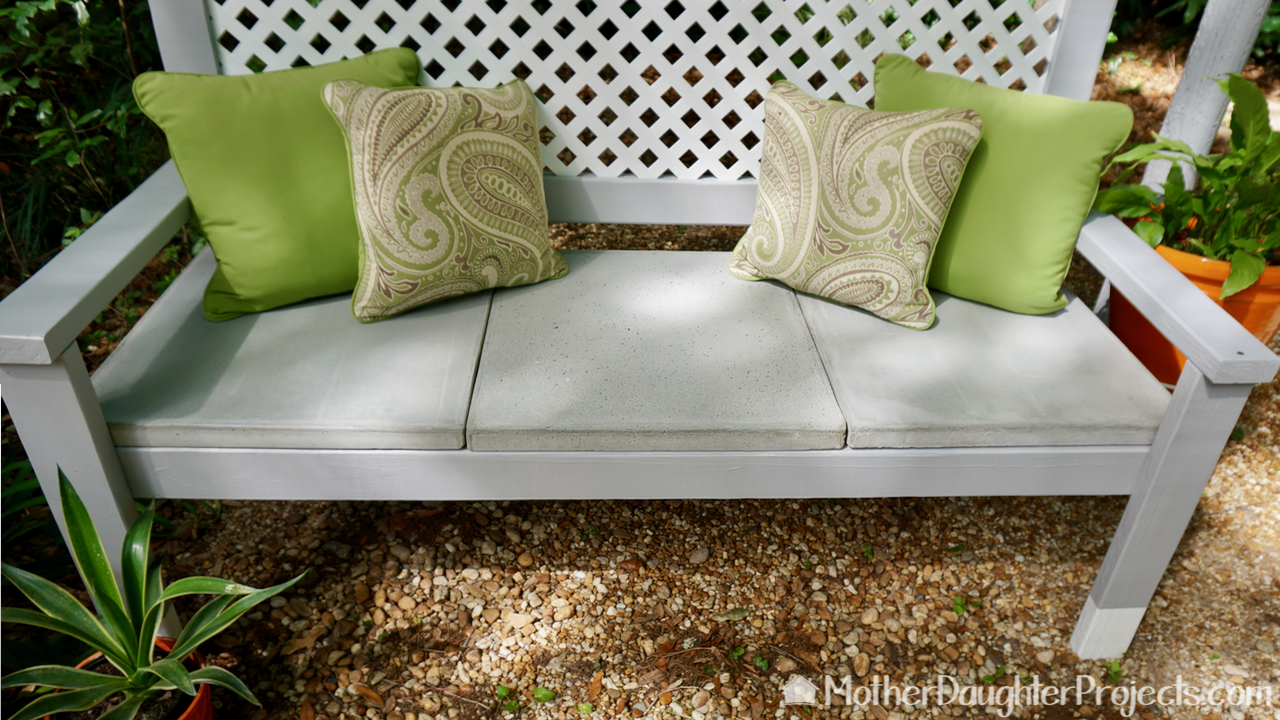
This was an interesting process. This was the first time to use the Quikrete countertop mix. It has a beautiful finish!
Bottom line: if you mix the concrete well (not too much water), pay special attention to the corners and sides making sure the concrete is pushed in well, and vibrate until your arms feel like spaghetti, you should have good results. Even thought our results were not prefect, we are happy with the outcome and embrace the imperfections as just a part of working with concrete. On to the next concrete project…hmmmm, maybe a bathroom countertop? #trylearnshare Please note: We are not sponsored by any of the companies/products that we used. We did ask and receive the concrete for free from Quikrete. FYI: We are not professionals, and we don’t claim to be. This is what we found worked for our project. Yours may need a little different approach. Safety first! FYI: Affiliate links are being used on this page. Purchasing via these links help support MDP! Related Projects
0 Comments
Leave a Reply. |

Mother Daughter Projects
|