|
text by Vicki Sign up to get Mother Daughter Projects updates in your email!
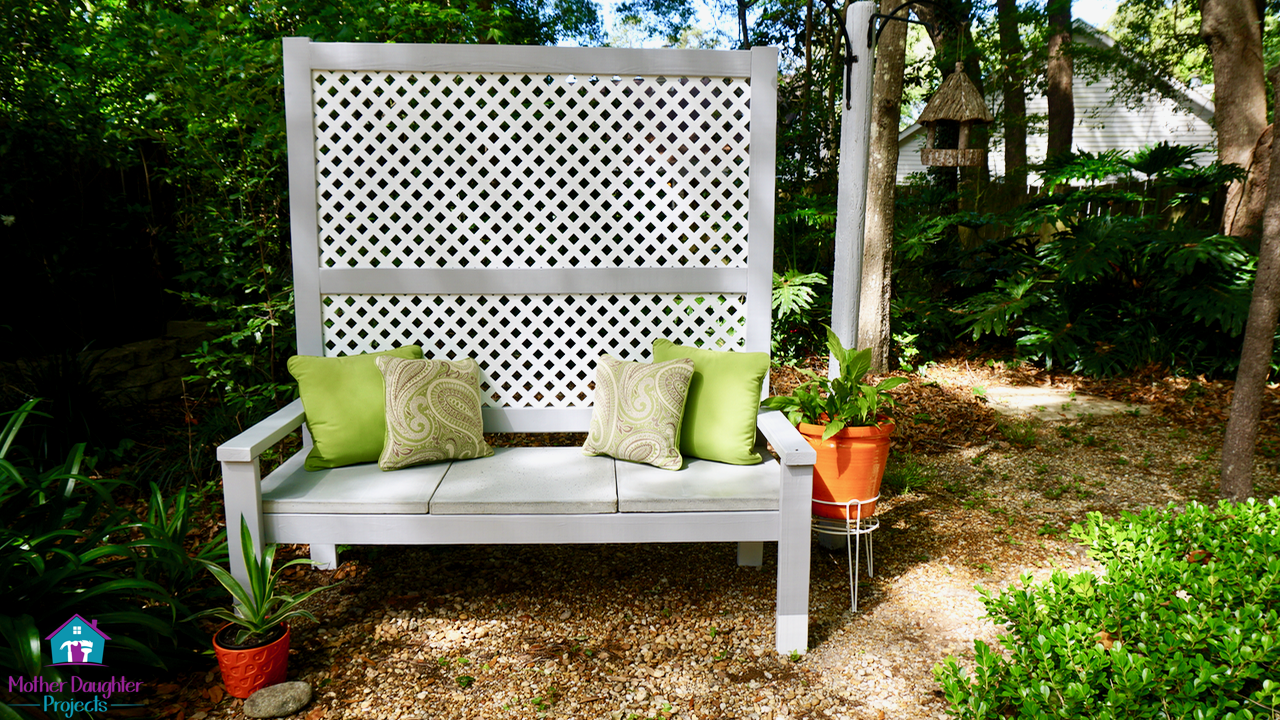
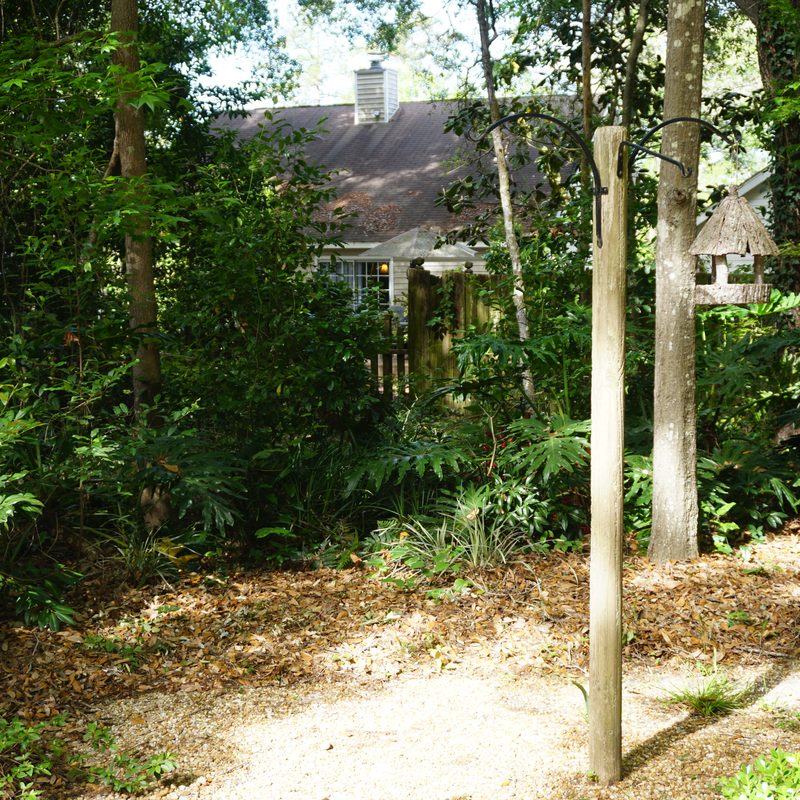
Steph has a pretty private backyard, but there's one spot where she can clearly see her neighbors. She has been wanting to create some kind of privacy “fence” to block the view. Months ago, we decided we would do a bench with a tall back to create the privacy she needed. That’s where we stalled on the project!
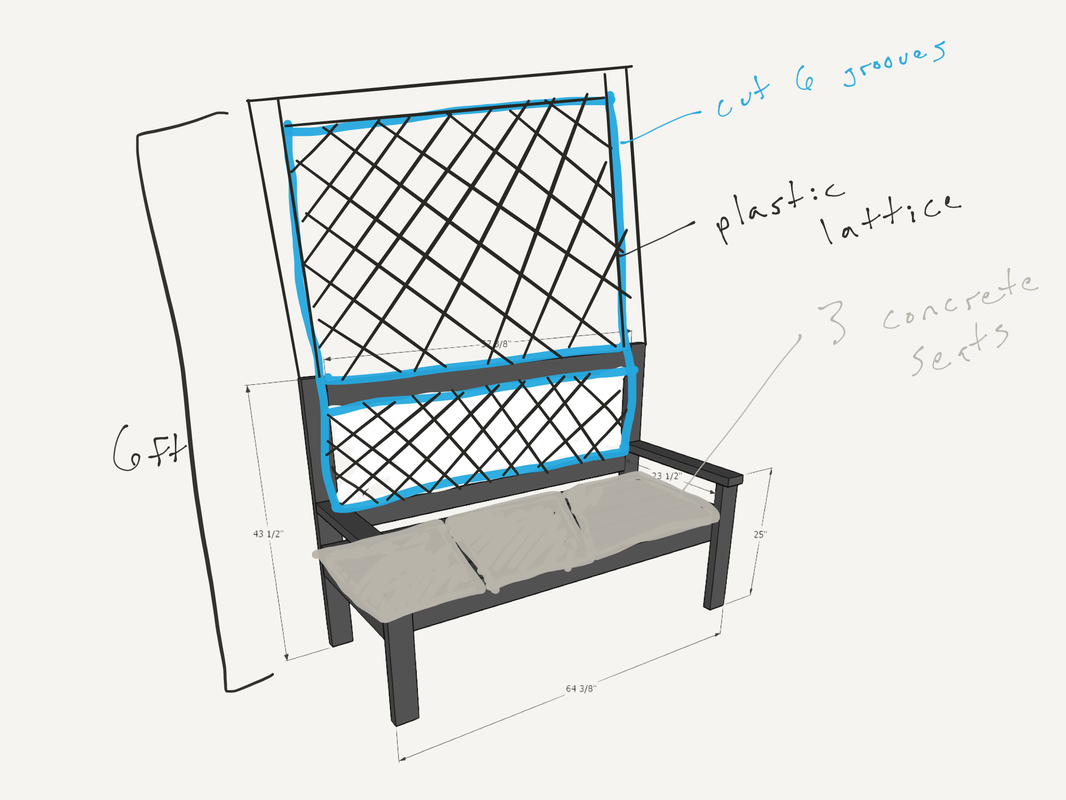
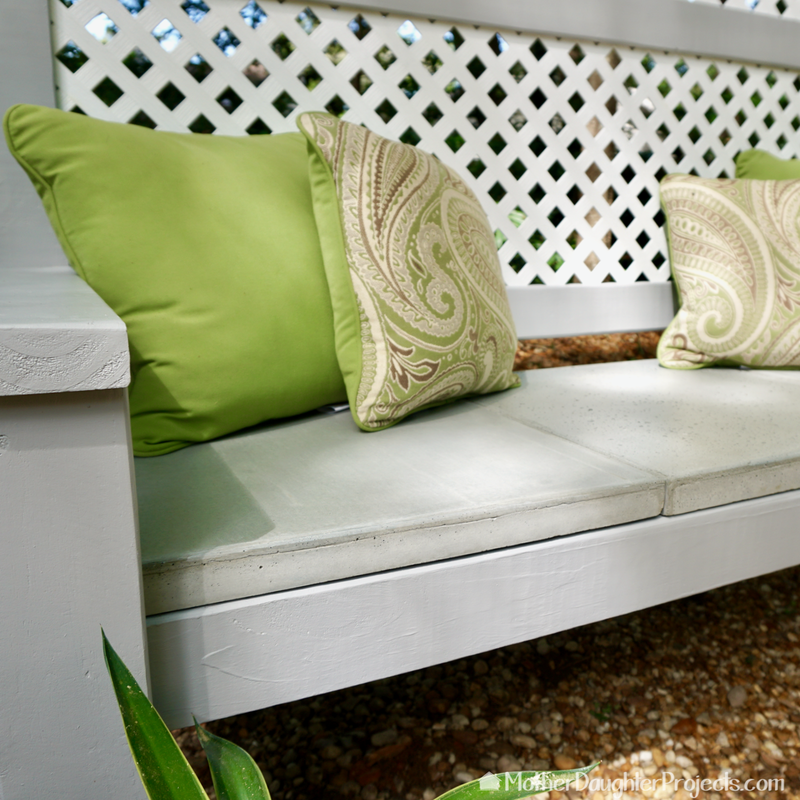
Our incentive to get working on the project came when we saw that the annual Instagram Builder’s Challenge project plan was an Ana White bench. Perfect! We needed a bench, and were all in to challenge ourselves to complete the bench in the three week time limit. We decided to customize her basic plan with a tall lattice back and a concrete seat rather than wood in the original plan.
In participating in the Instagram Builder’s Challenge, we also had the challenge of completing the project in a timely manner all while I was recuperating from cataract eye surgery. The first surgery was a week before we started and the second was a week later. Recovery has been straight forward, but the downside of this kind of surgery is no lifting or bending for a week per eye—kind of something we do a lot of!
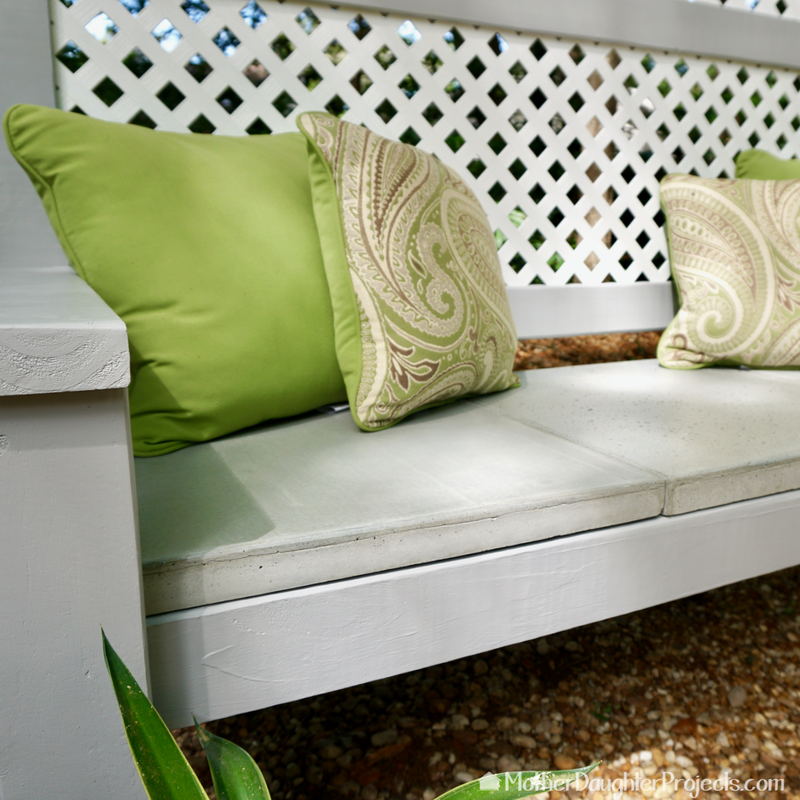
One of the accommodations we made due to my recovery was to cast 3 separate pieces of concrete rather than one large one. That way Steph could do the heavy (60 lb) lifting by herself. But the more we thought about it, we realized 3 smaller pieces of concrete would be more doable for a large segment of the DIY population. So even if I had not had the surgery, we still would have concluded that three was better than one, and we like that they mimic the look of couch cushions.
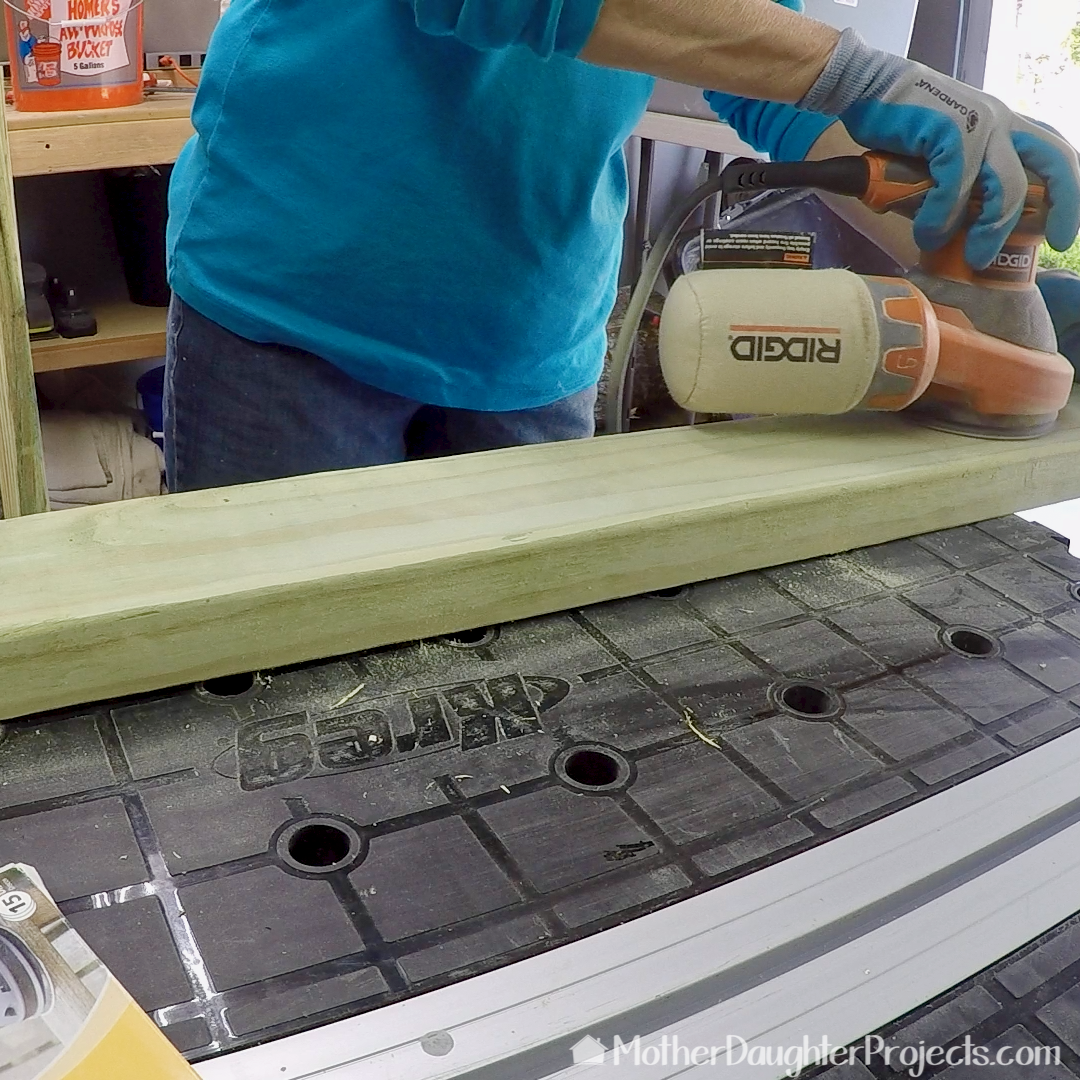
*Safety—because we were using pressure treated wood, we were alerted to the fact that we needed to protect our hands from the chemicals used to pressure treat wood by wearing gloves any time we were in contact with the raw wood. Also, we were careful to wash our hands after working with the wood. It's important not to inhale sanding dust from pressure treated wood. We wore a mask and eye protection when sanding.
Step 1: Build Base
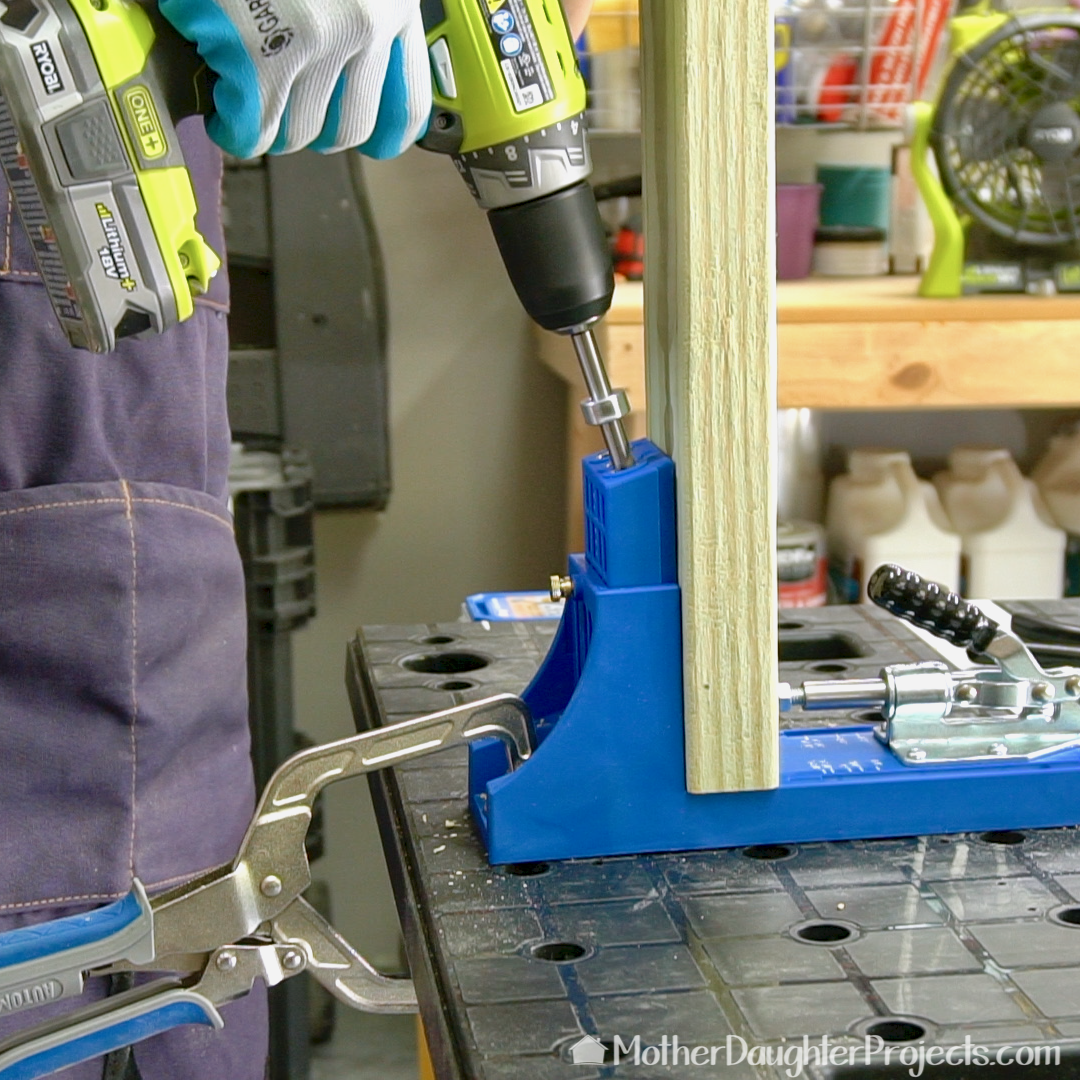
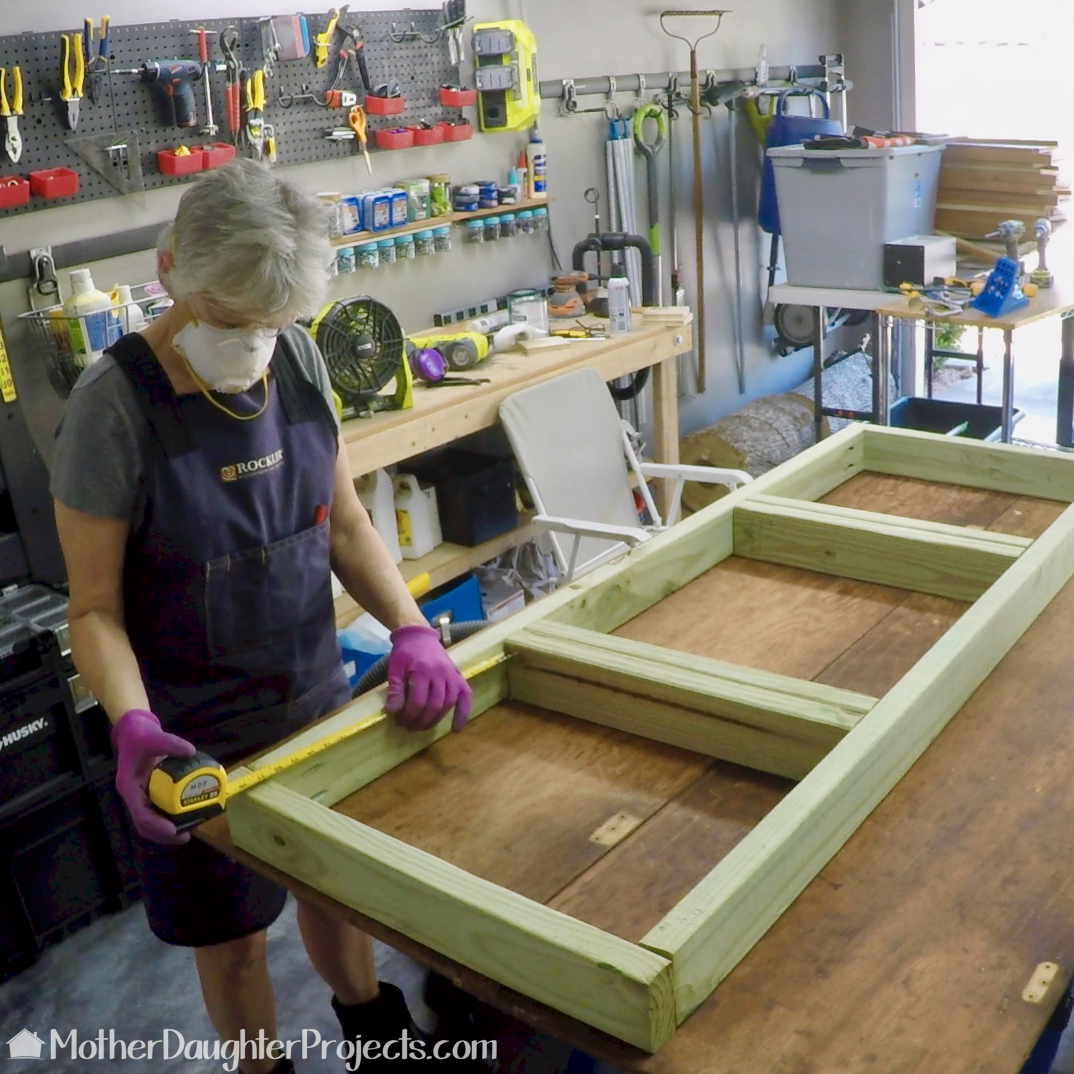
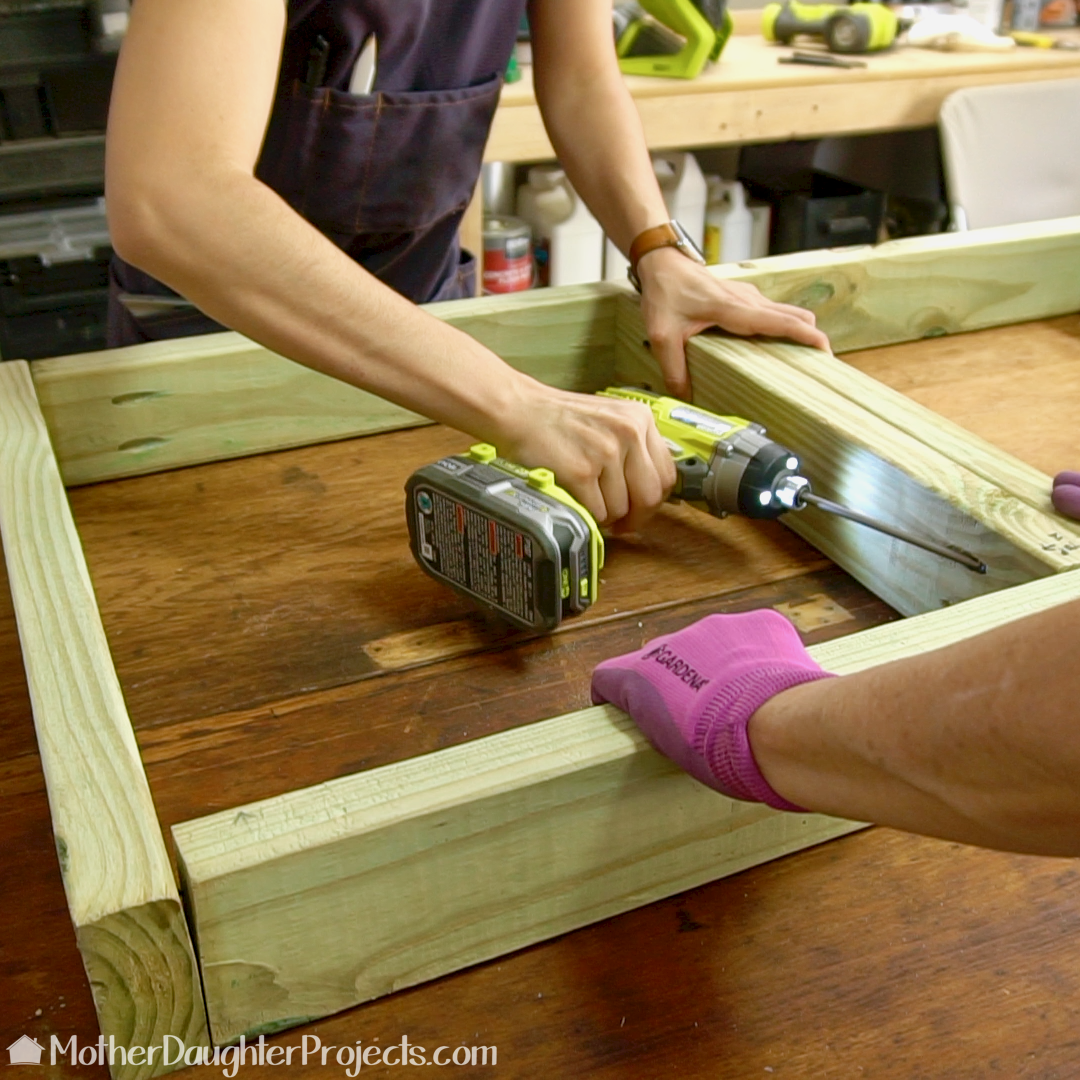
We followed the Ana White plan almost exactly for the base. The only change we made was to add two extra supports due to the extra weight of the concrete. These pieces were attached together. Pocket holes were made and everything was screwed together.
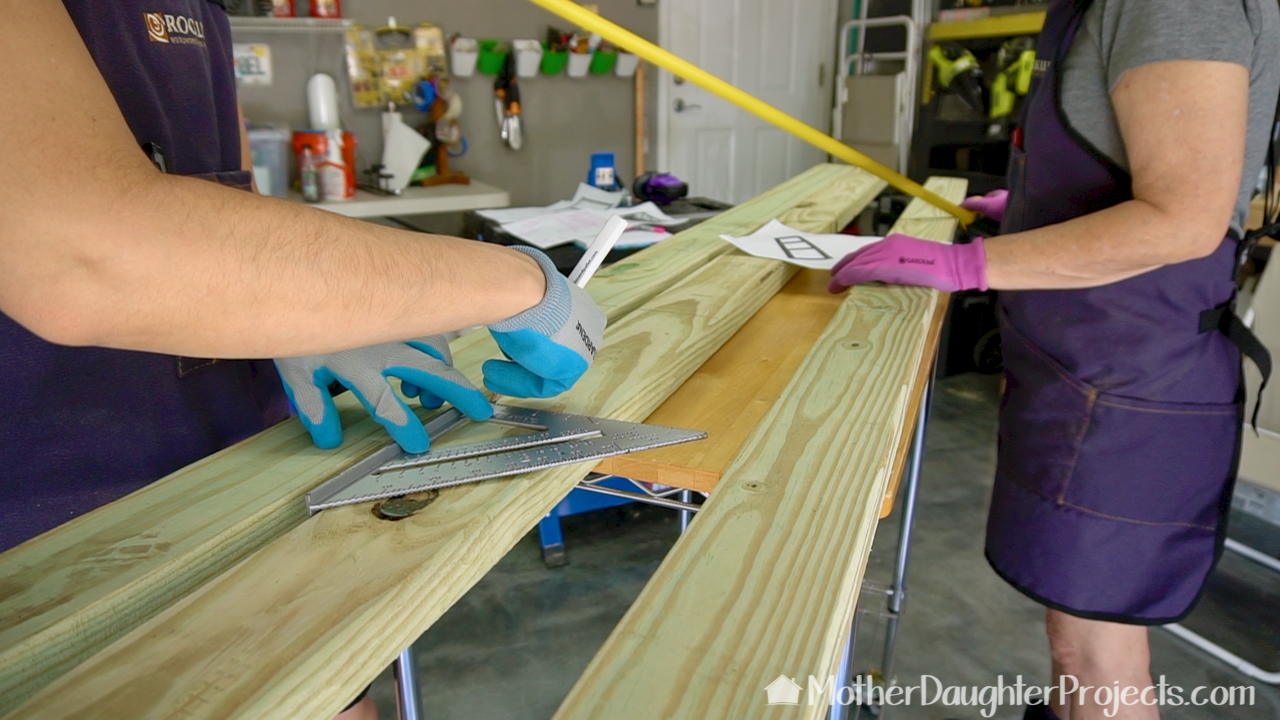
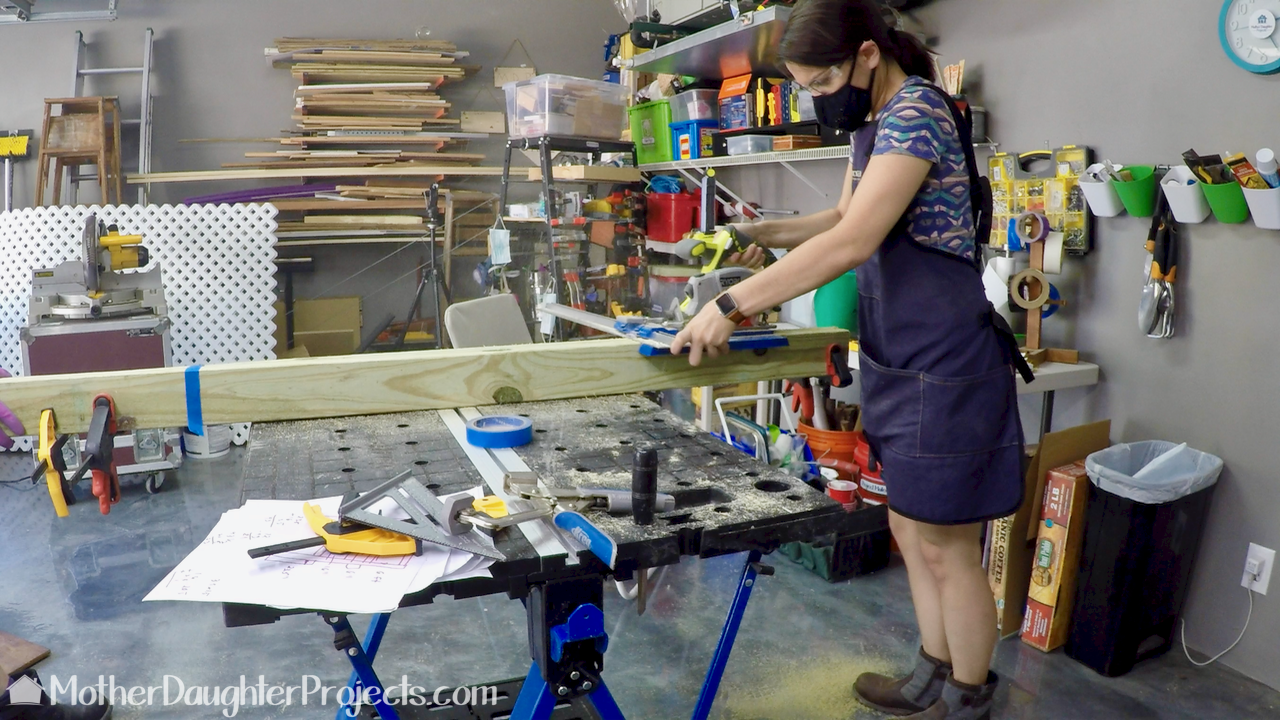
Step 2: Measure, Mark and Cut Back PiecesStep 3: Cut Grooves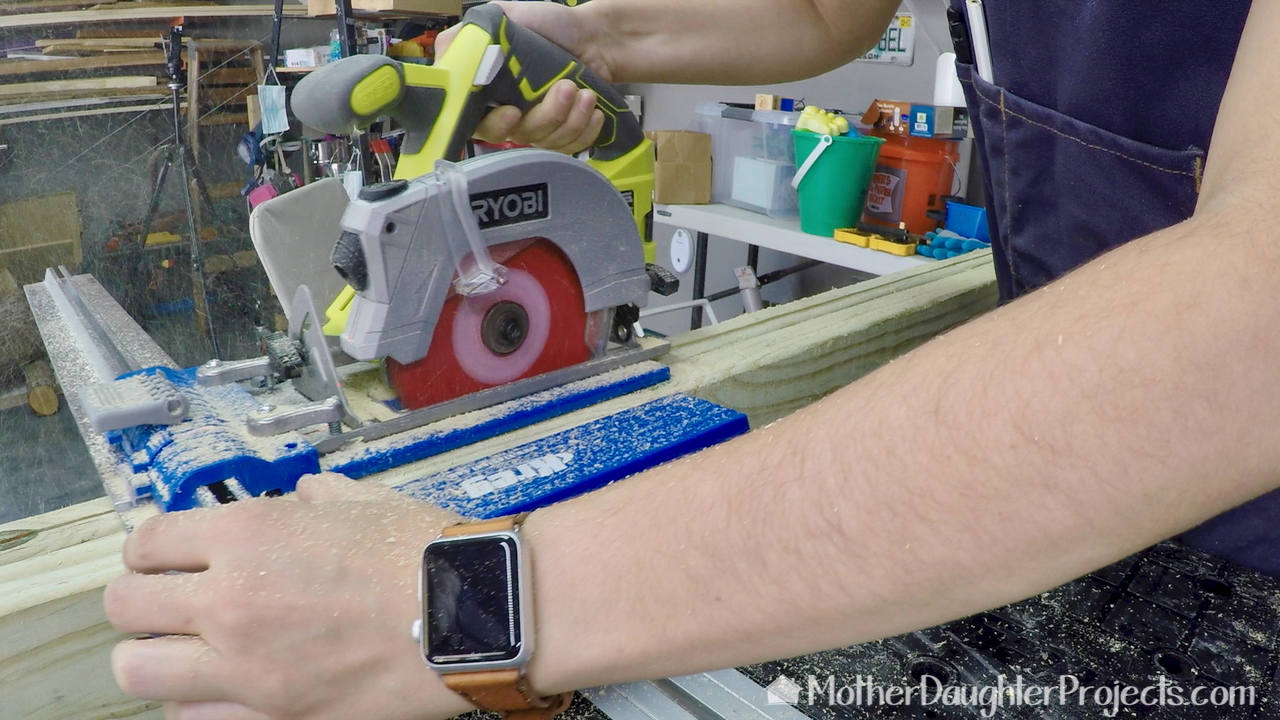
Our first groove was not centered but was wider on one side although you may be able to get it centered. Because the first one came out off-centered we continued with this configuration. The side we labeled the “fat” side was to become the back of the structure and the “thinner" side was the front. We label the “fat” and “thinner” sides so that everything eventually would line up properly. This is really important.
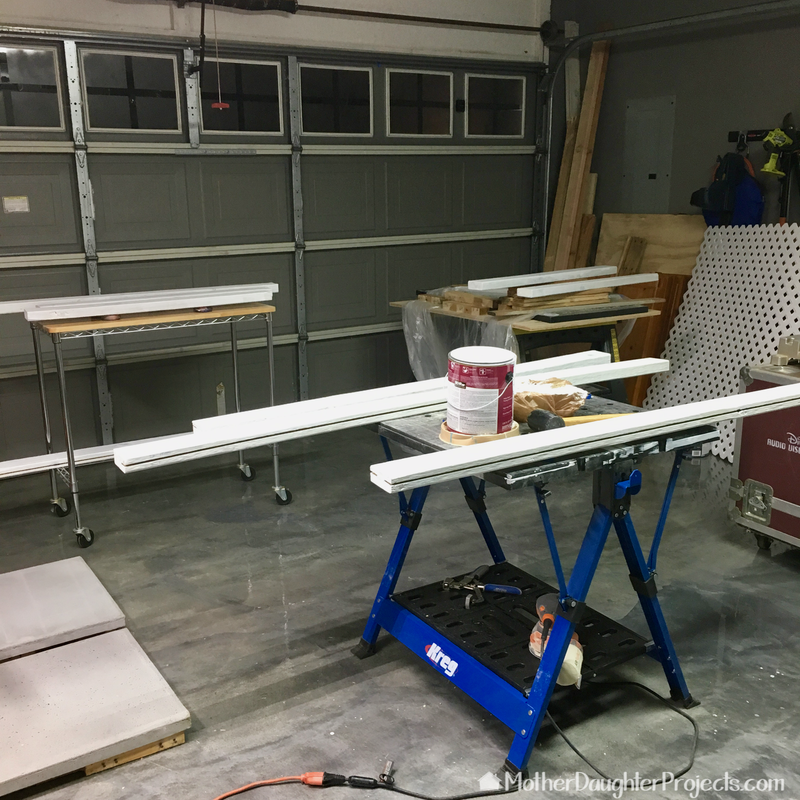
Step 4: Sand, Prime, Paint
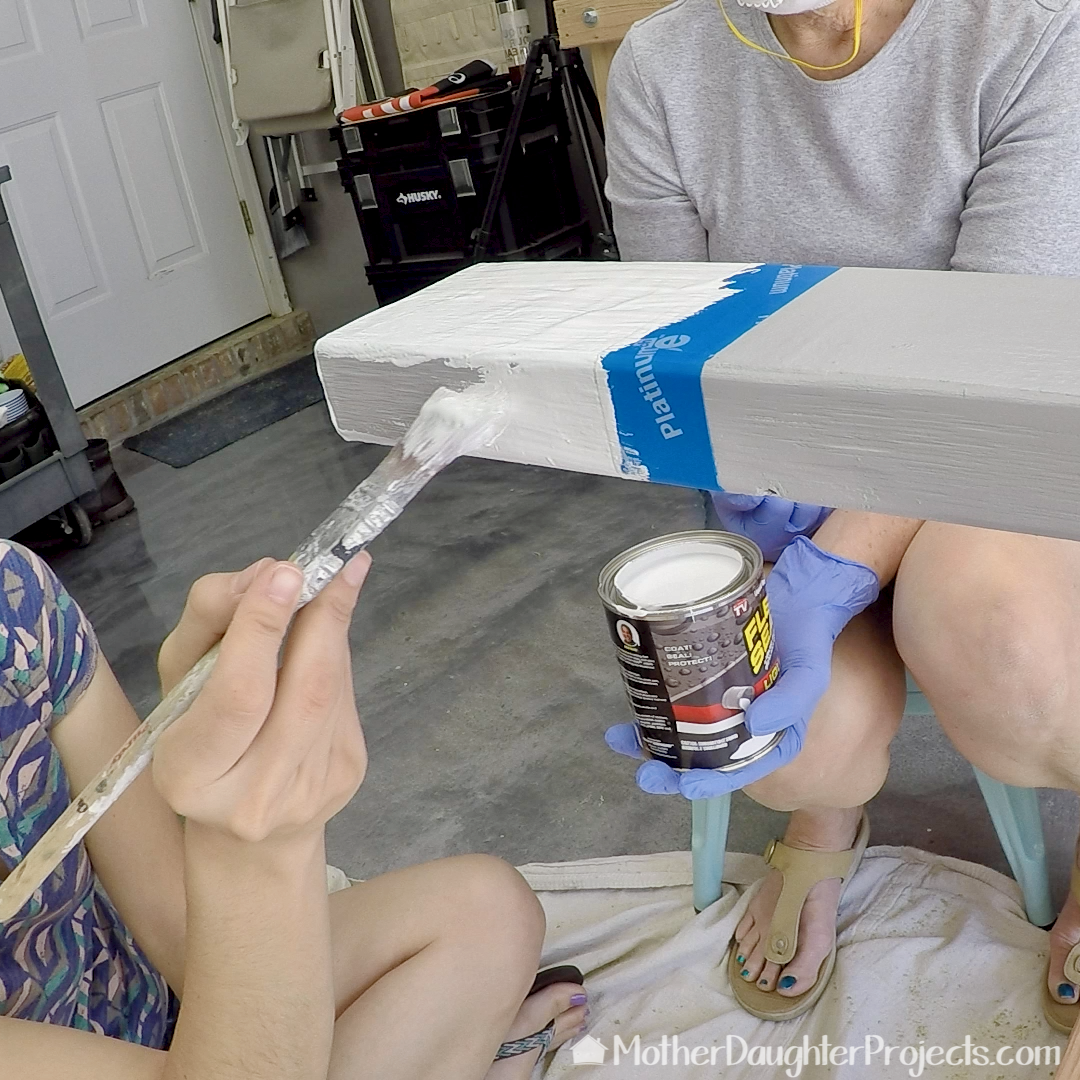
We would have liked to stain, but because we used pressure treated wood, which is not that attractive, we decided to paint. We did this step before assembly as we thought it would be easier (and it was).
Step 5: Assemble Back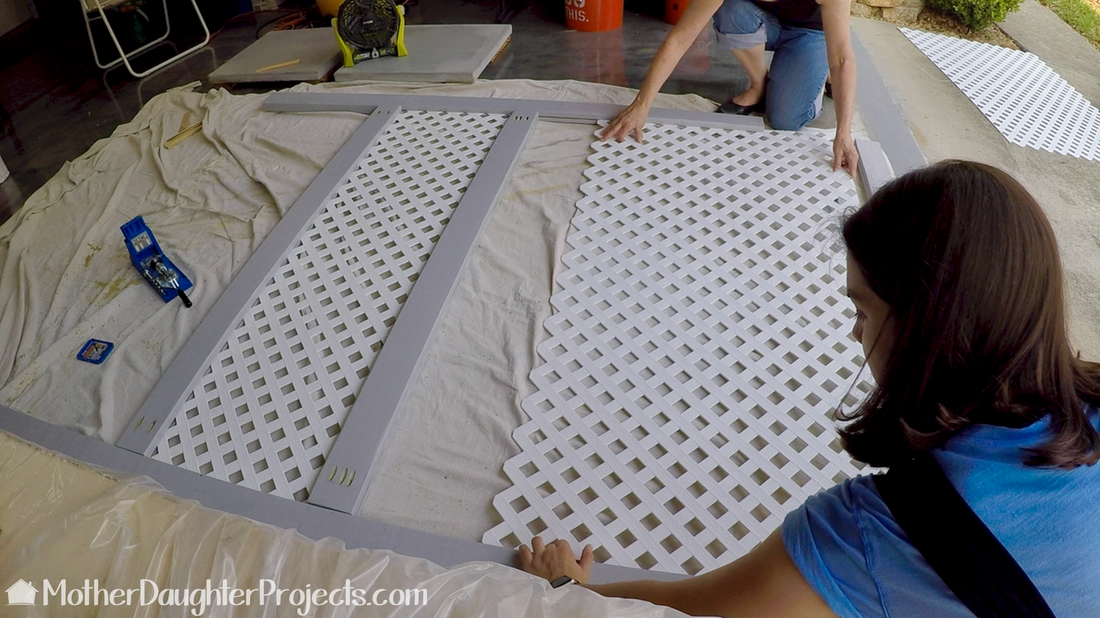
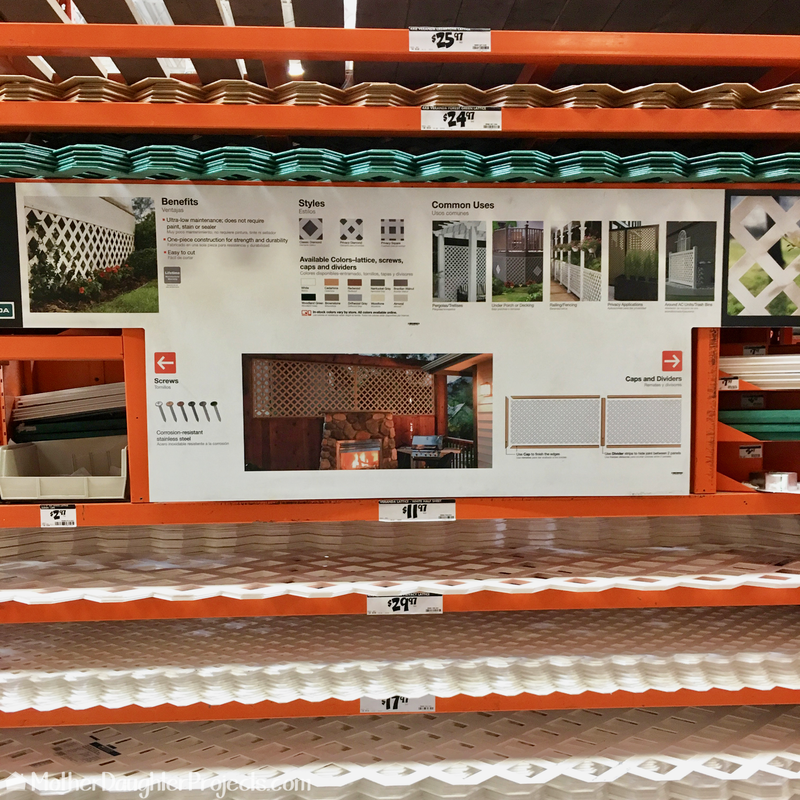
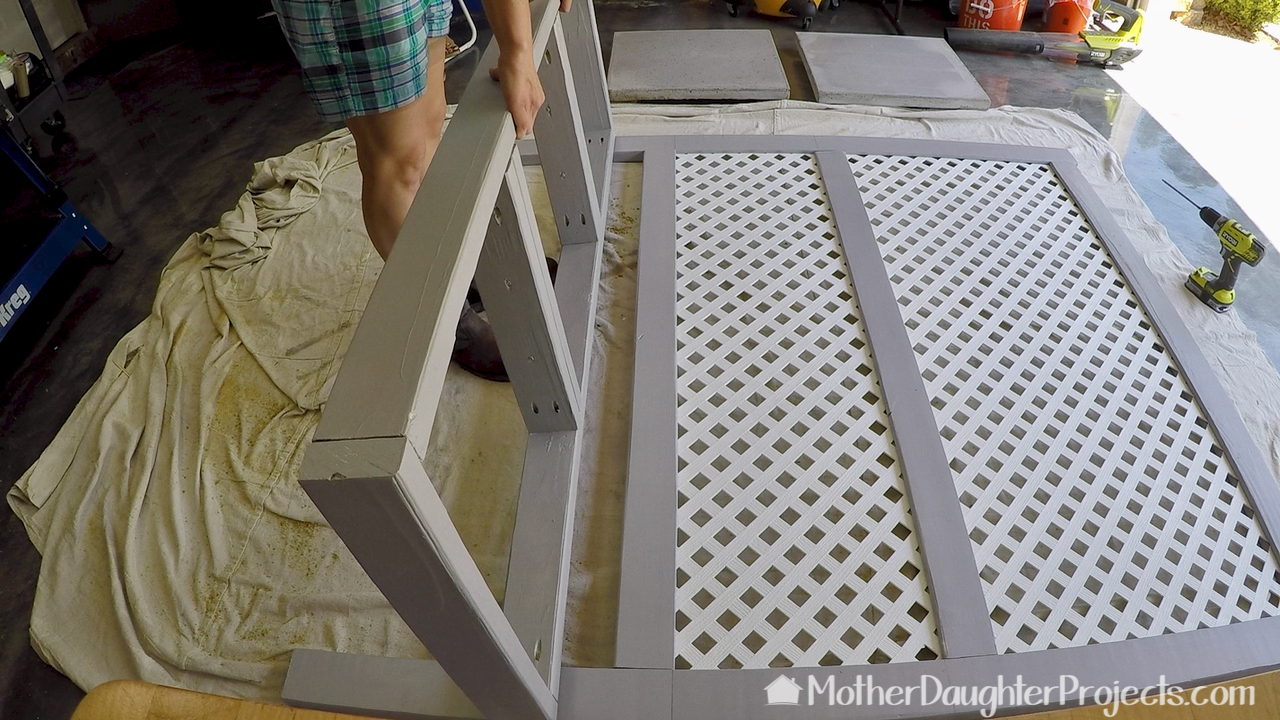
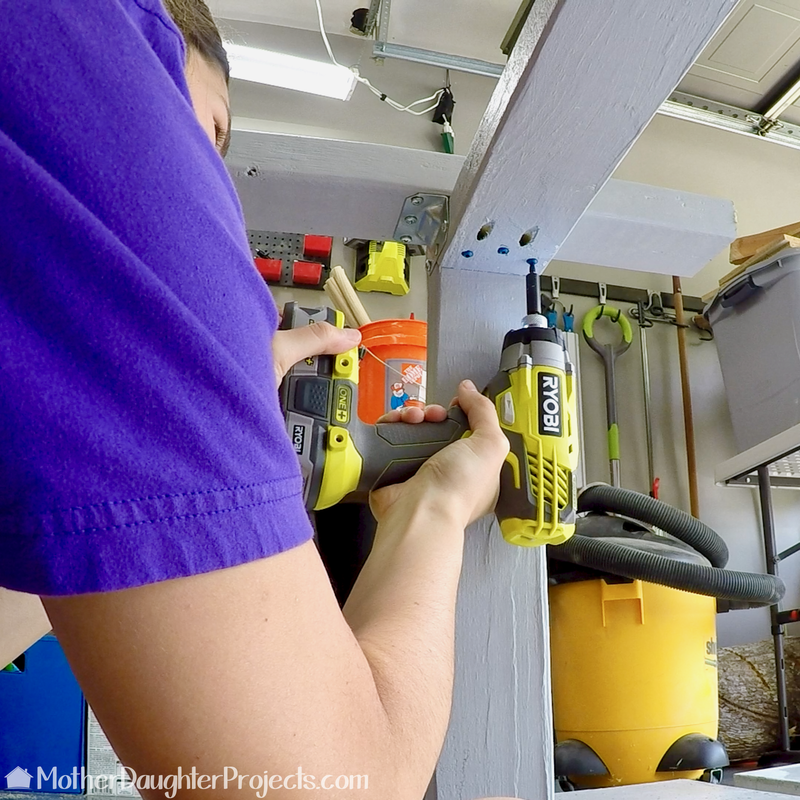
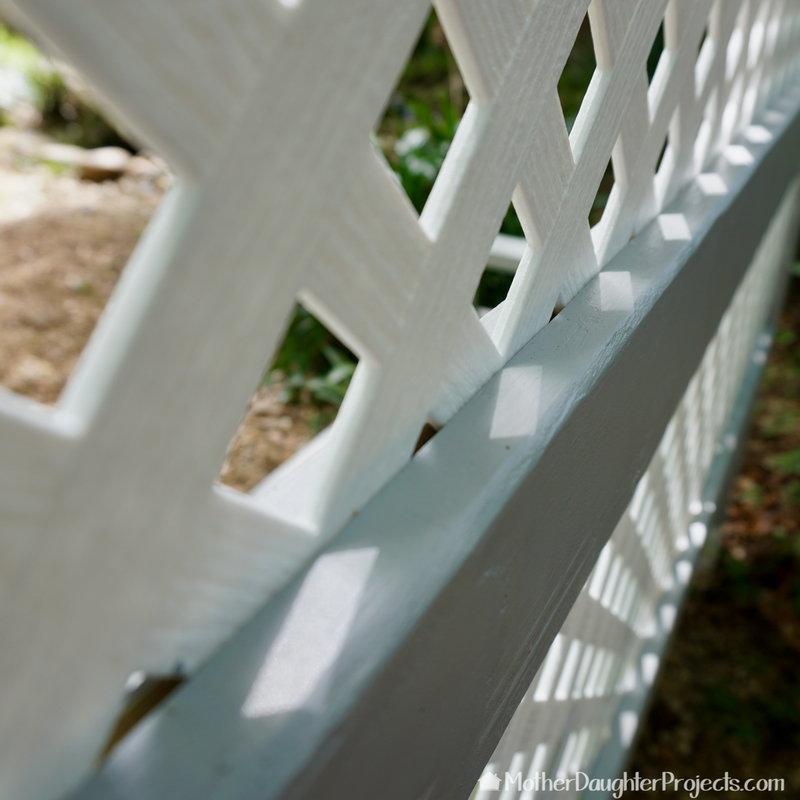
We made pocket holes in the three horizontal pieces on each end on the back side of the boards so that they could be screwed into the side supports. The bottom piece was attached to the side pieces. The lattice was marked and cut to size with tin snips. This was slow going but worked. In theory this could be cut with a saw but we didn't have the garage space to maneuver the large piece of lattice into a saw. After cutting the lattice, it was shimmied into place, the middle support was added, then more lattice and finally the last horizontal support.
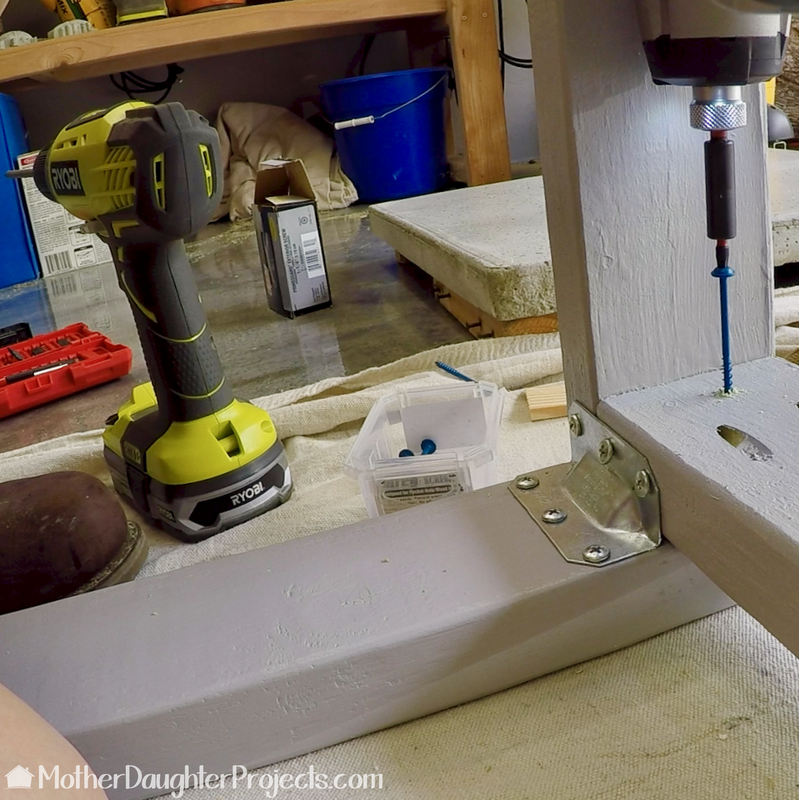
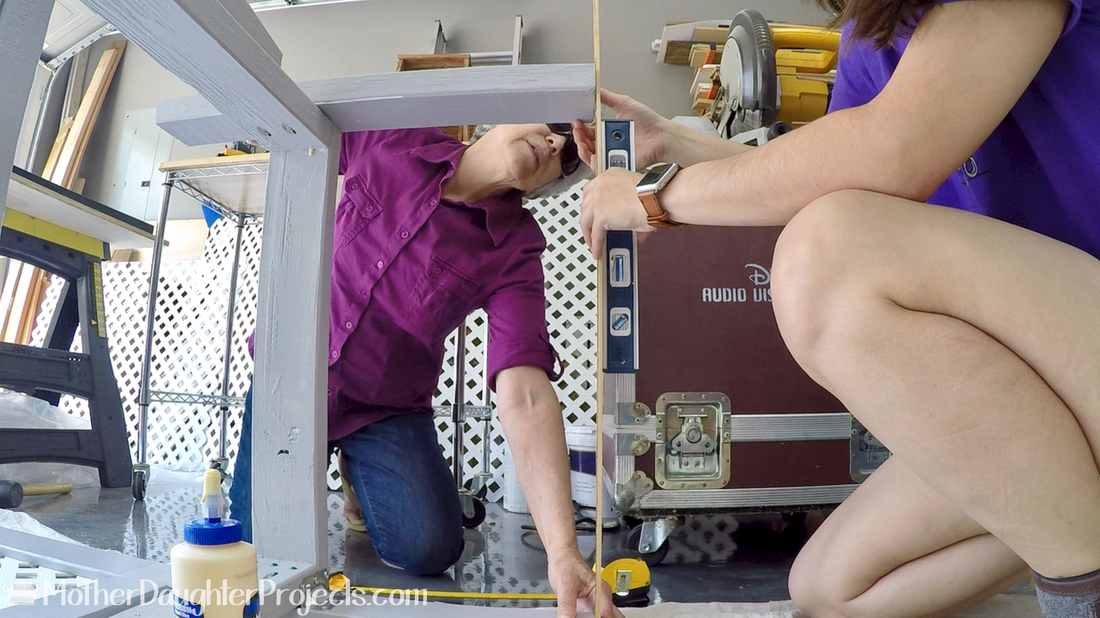
Step 6: Attach Base, Front Legs, Arm RestsStep 7: Finishing
Step 8: Put bench into place and add the concrete seats
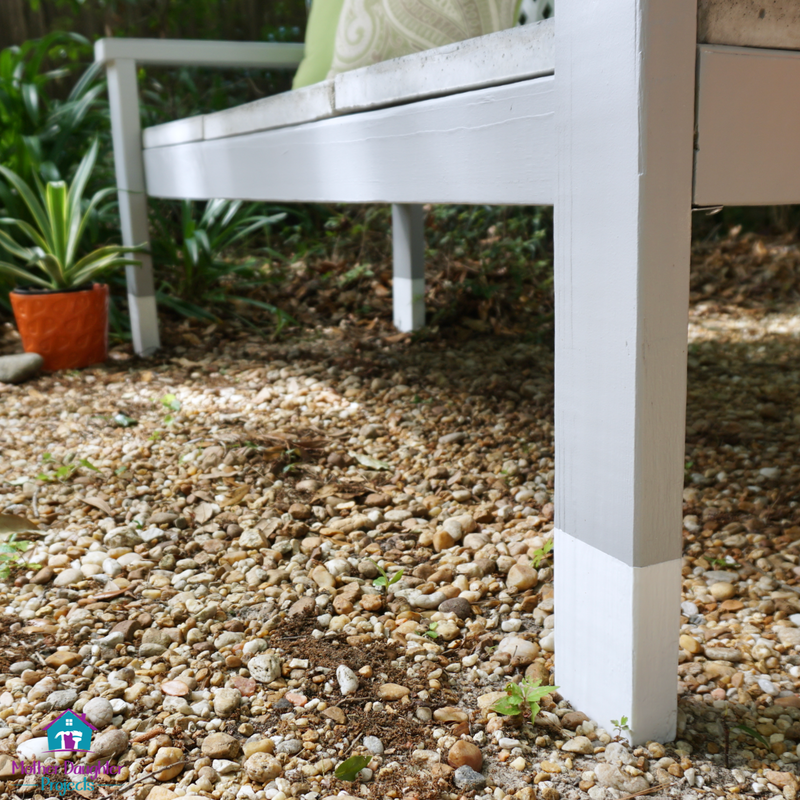
There is something very satisfying in seeing a project, we imagined and outlined on paper, physically come together in wood and concrete. It's the perfect addition to Steph’s yard! It provides much needed privacy and a place to sit or even doubles as a potting bench.
In the future, we hope to encourage the growing of some kind of vine to provide even more privacy. What should we plant? Should it be planted in the ground or in some kind of planter box? Share your ideas in the comments below and follow us on Instagram. Please note: We are not sponsored by any of the companies/products that we used. We did ask and receive the concrete for free from Quikrete. FYI: We are not professionals, and we don’t claim to be. This is what we found worked for our project. Yours may need a little different approach. Safety first! FYI: Affiliate links are being used on this page. Purchasing via these links help support MDP! Related Projects
3 Comments
Carol
2/8/2018 09:04:11 am
Saw something similar with casters so it was moveable but it was a planter only. . .another companion idea!!
Reply
Steph
2/10/2018 06:07:32 pm
Great idea Carol!
Reply
Cheryl DeKoevend
11/21/2018 05:02:07 pm
Hi
Reply
Leave a Reply. |

