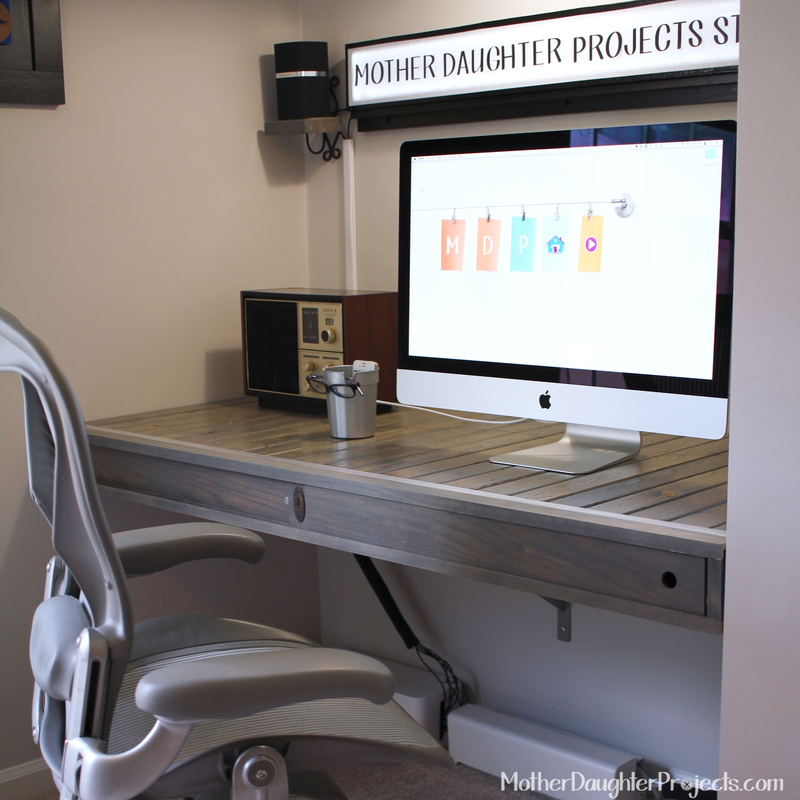
The recent completion of the floating desk (see post here) requires its own “What We Learned” post about using a router. Using a router was new to us, thus we had quite the learning curve!
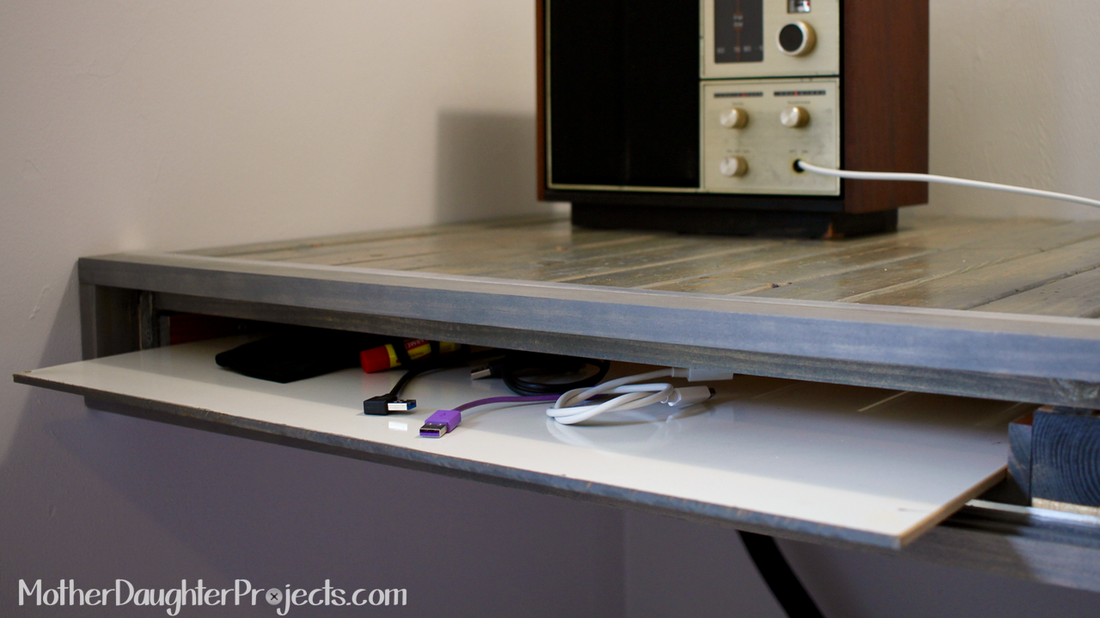
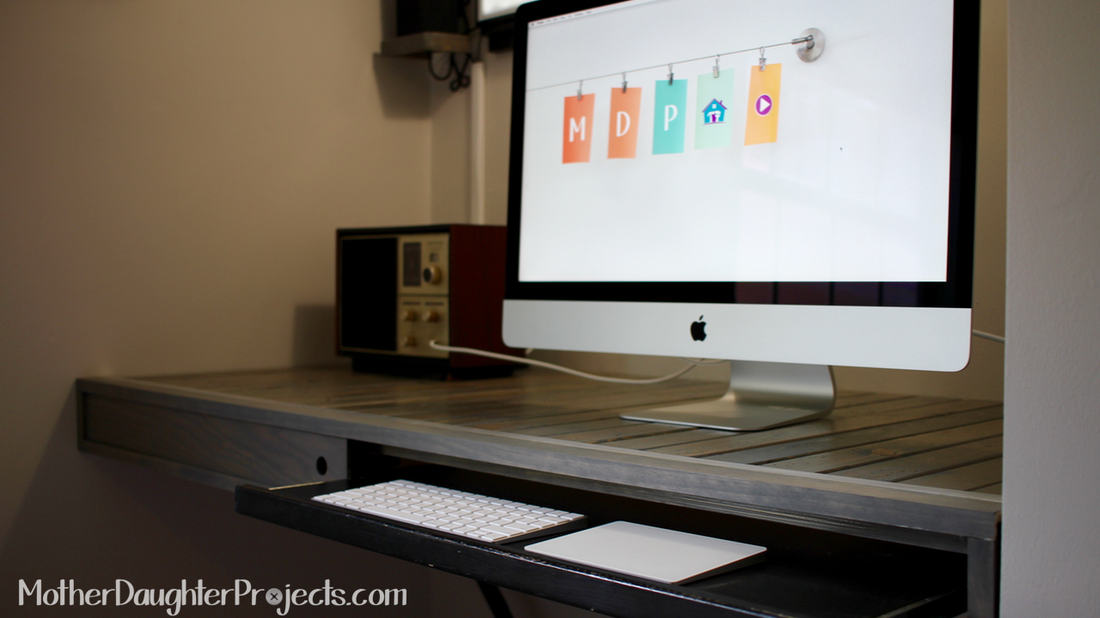
The desk was an original idea using sliding doors to conceal the keyboard tray and adjacent drawer space. We needed to rout grooves in which the twin doors would slide. Seemed simple enough at the time!
When using any new piece of equipment from the simplest to the most complex, we always read the instructions. If we need additional clarification, we head to the internet for tutorials and videos. Knowledge is the best defense against injury!
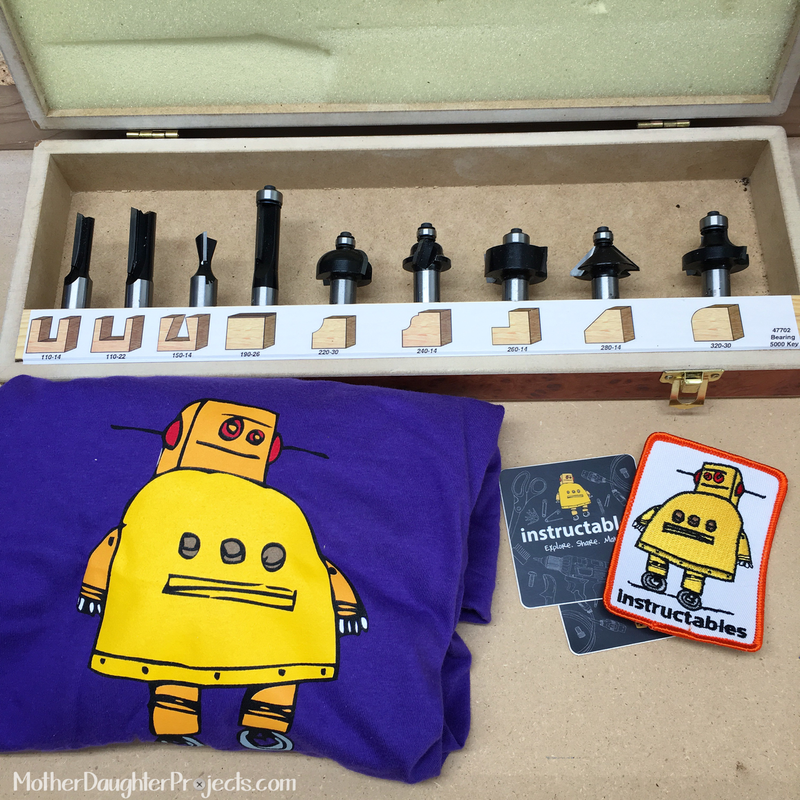
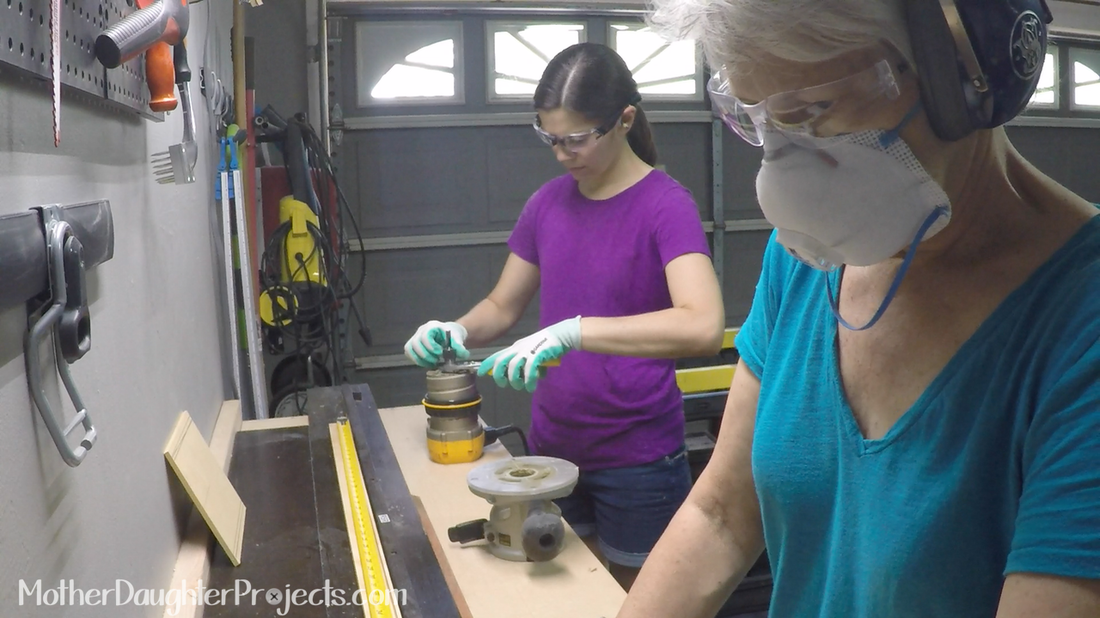
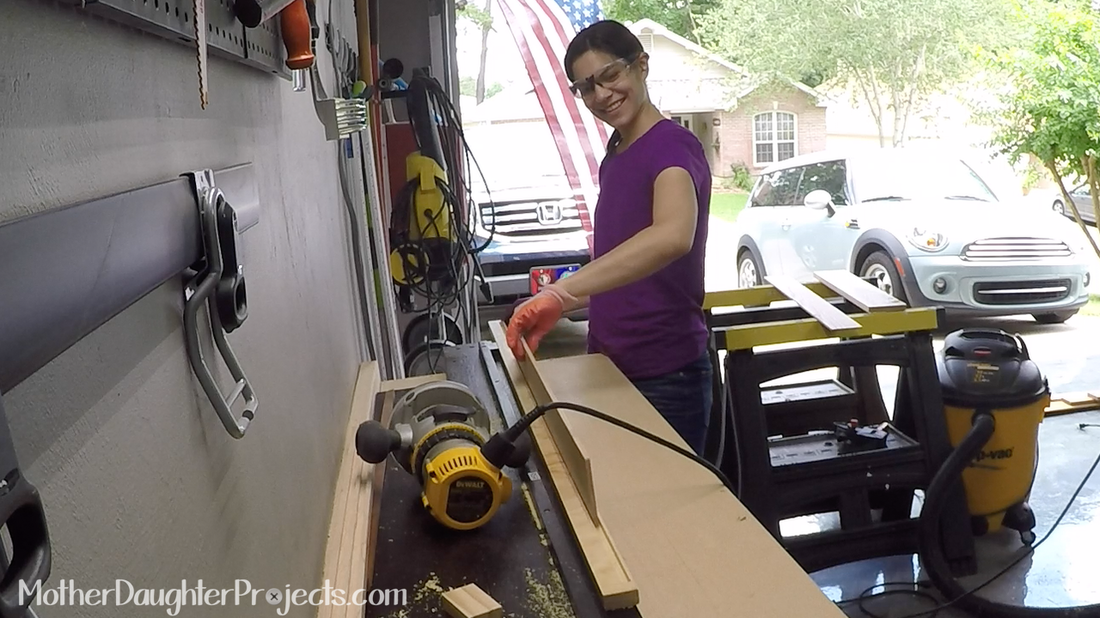
We were using a Dewalt router borrowed from a friend. Steph did all the research needed to learn how to use the tool safely. What we learned about using a router: 1. The most common router bit shank (bottom) size are 1/4” and 1/2” shank. Most routers have interchangeable collets (which holds the bit in place on the router). We know this because we own a few 1/2” shank bits and had to change the 1/4” collet out for the 1/2” that was also included.
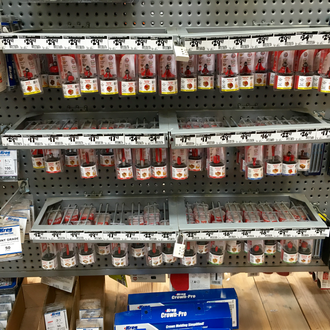
Just a note about buying router bits: be aware that Home Depot has them locked down in the store. You will need to flag down a store associate to help and be ready to check after picking out a bit. Be sure all your other shopping is completed before picking up your router bit.
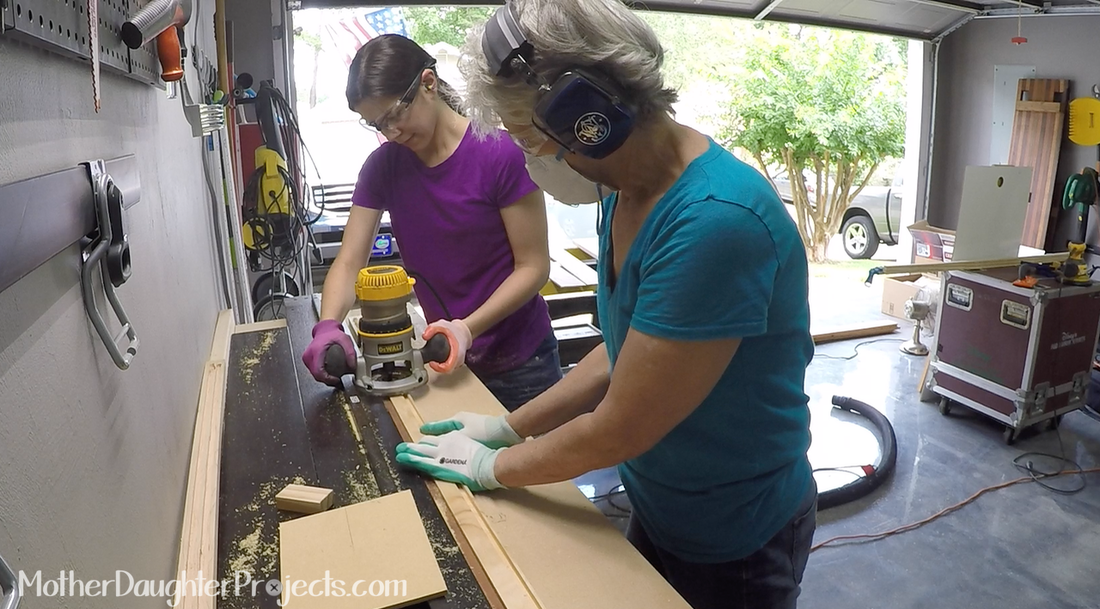
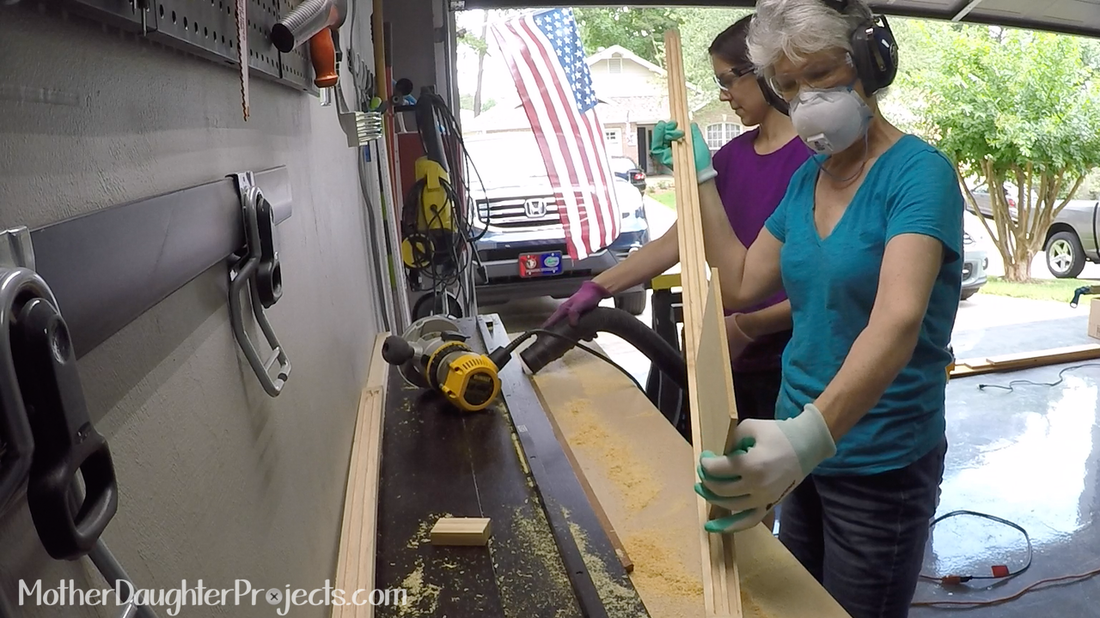
2. Routers are best and most efficiently used with a router table and fence--something we did not have. Steph came up with a great idea to mimic a router table. Using scrap wood placed on the workbench, we were able to create a stable work space complete with fence. We found that once the router was in place next to the fence, Vicki could simply and slowly push the wood to be routed into the spinning router bit. We needed to rout two parallel channels which we accomplished by adding a small piece of wood between our fence and the wood that was to be cut to create the needed spacing.
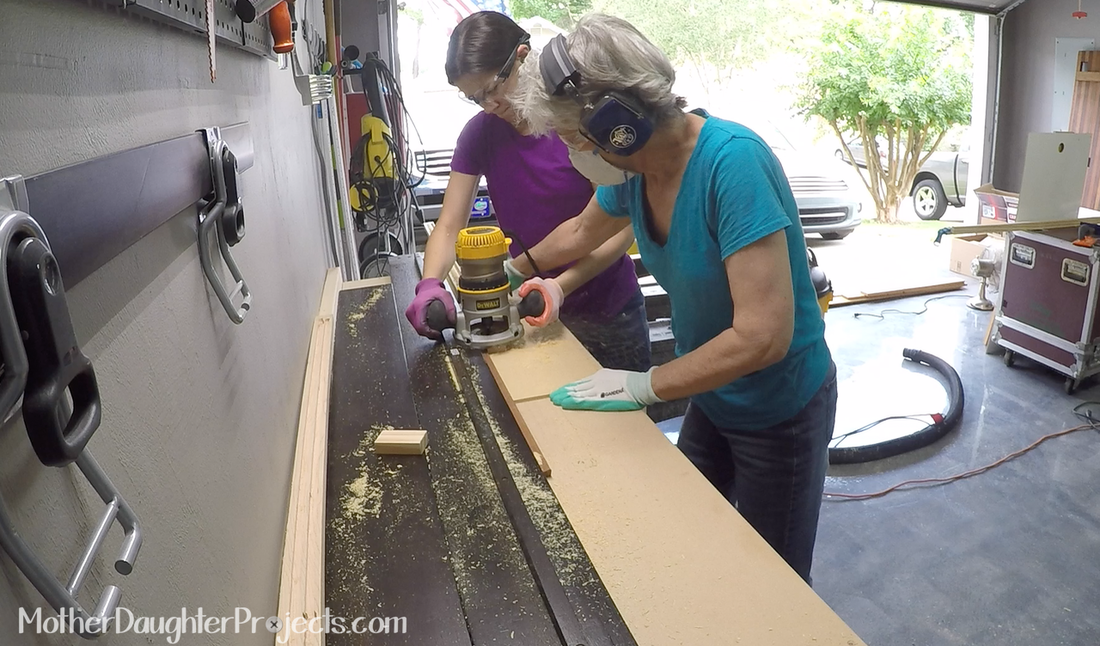
3. Before we attempted to turn on the machine we practiced who was going to do what and what visual and auditory cues we were going to use. For example: Steph would say “are you ready?” and then once she had control of the machine and was ready for the wood to be pushed through, she gave a simple nod of head.
Hands were kept out of the way using pushing tools to direct the wood when we were getting close to the end. A verbal cue from Vicki told Steph to stop the machine as she could not see the ending line. 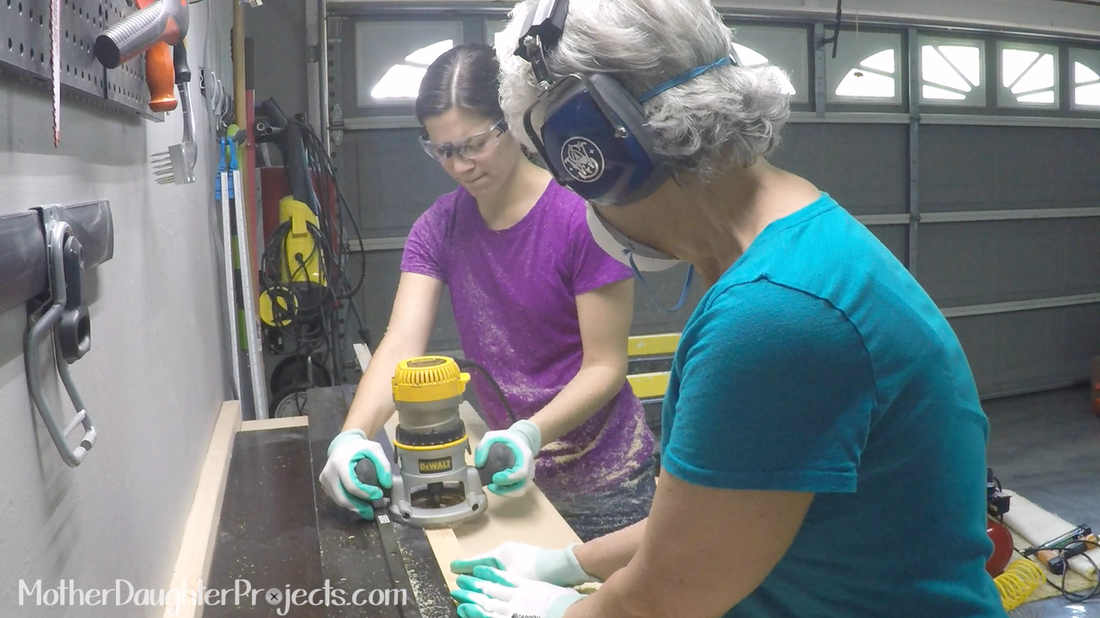
4. Wear the proper safety equipment. We both wore gloves, ear and eye protection and wore our steel toed boots. Steph found that she really needed a wraparound type of eye protection as the sawdust from the router is thick and flies far.
5. Let’s talk about wood grain. To novice like us, we didn’t think much about it, but there is a definite direction to wood and if you go against the grain, you’ll have nothing but trouble. We went through a couple of pieces of lumber before we realized we were cutting against the grain. Back to the internet we went to learn more about wood grain. Unfortunately, there is no one good way to identify grain. Again, educate yourself by reading tutorials, looking at pictures, and visuals.
We found the grain on our particular wood which was 'select pine' from Home Depot by rubbing our finger tips up and down the piece. We found there was a definite bristle-ness to one side which was against the grain and a slightly more smoothness going with the grain. On the doors to our project, the grain was found by applying stain. Going with the grain the application was decidedly easier than against the grain. 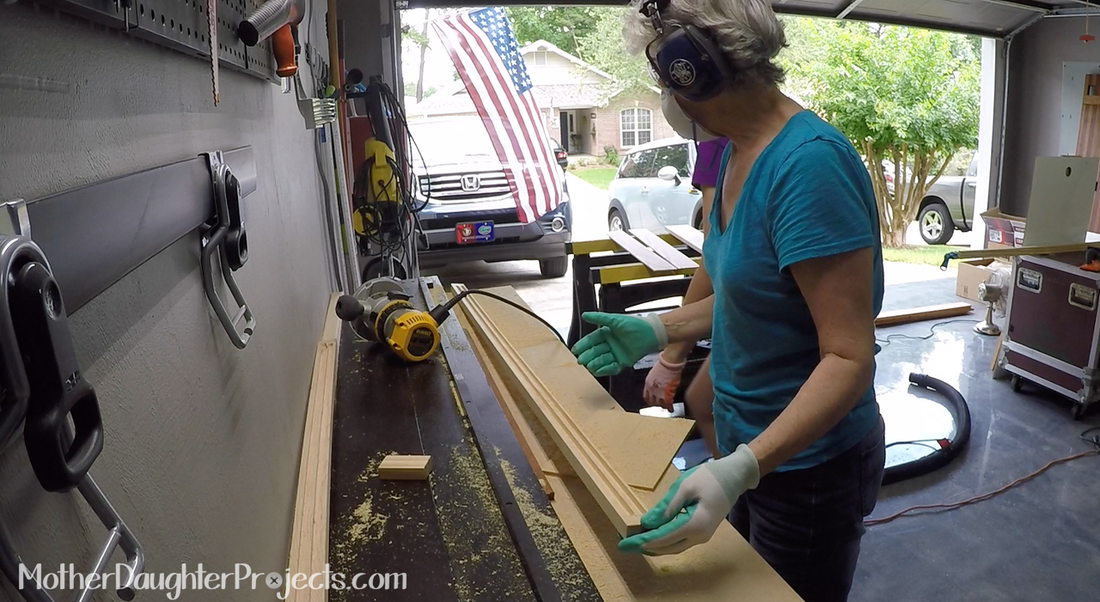
6. We also learned quickly that most wood you buy is not straight. Wood with curves makes it really hard to rout straight lines. We learned to check our wood at the store and keep looking until we found the straightest we could find. Now we know why planers and joiners are very popular woodworking tools (might need to add this to our dream tool list)!
"Look Mom, we did it!" - Steph
The router is the most intimidating tool we have used to date which made mastering the tool even more sweet! Was it easy? No. We were ready to give up after a couple of chewed up boards, creating curvy lines instead of straight ones, and the added stress of the router bit slipping out of place for no apparent reason. Would we use it again? Absolutely! It’s a great tool and when used with care, caution, and skill, produces amazing results!
Note: Instructables.com now offers some great classes on DIY topics and they have some good router 101 info here. 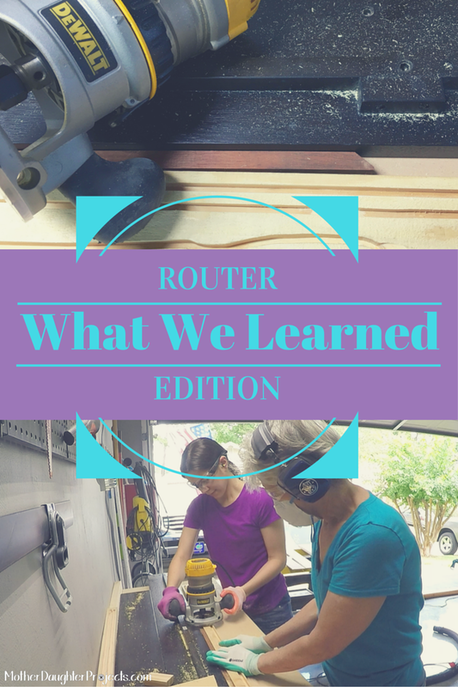
Please note: We are not sponsored by any of the companies/products that we used. These products were picked and bought by us.
FYI: We are not professionals, and we don’t claim to be. This is what we found worked for our project. Yours may need a little different approach. Safety first! FYI: Affiliate links are being used on this page. Purchasing via these links help support MDP! Related Projects
0 Comments
Leave a Reply. |

Mother Daughter Projects
|