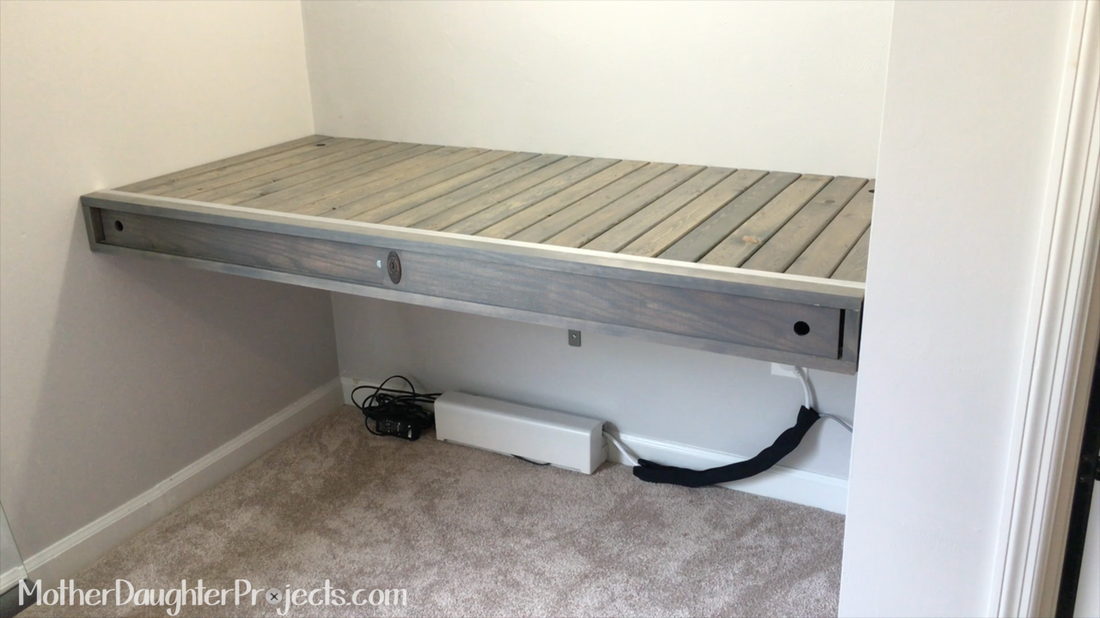
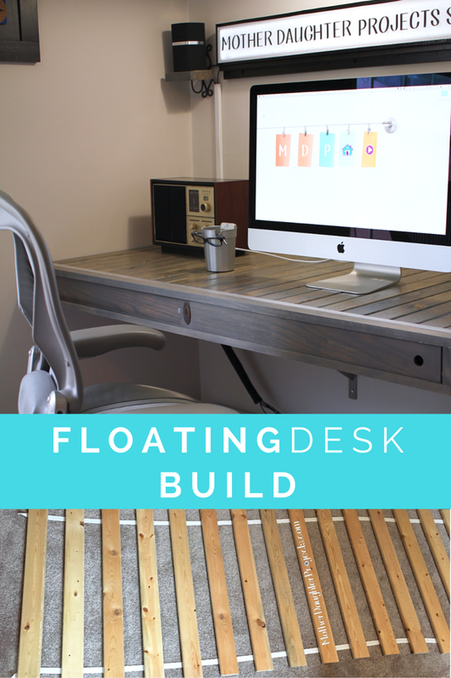
It's finished! We start with this statement because this was the build that almost did us in!
We love this quote because it clearly was written to describe this project: "It always seems impossible until it's done." - Nelson Mandela This project really tested our motto: Try, Learn, Share—we learned so much by trying something that was totally new to us and sticking with it so that we could share our experiences and trials. Let’s back up. When Steph decided to turn her guest room into a office/studio, it was apparent she needed a new desk. There is a great nook in the room that just cried out for a built in, floating desk. Research on the web showed it was a completely do-able project, so we thought, why not? We can do this. Steph came up with a plan and even built a little scale model. In hindsight, we apparently needed just a little more design and engineering work on the plan. We don't necessarily encourage you to use our step by step tutorial but encourage you to study our procedure as a way to education yourself on how to and how not to do things if you decide to build your own floating desk. We are so happy we tried this, we learned so much from it, and are excited to share!
Check out the end of this post for a detailed list of materials we used.
How-to Steps: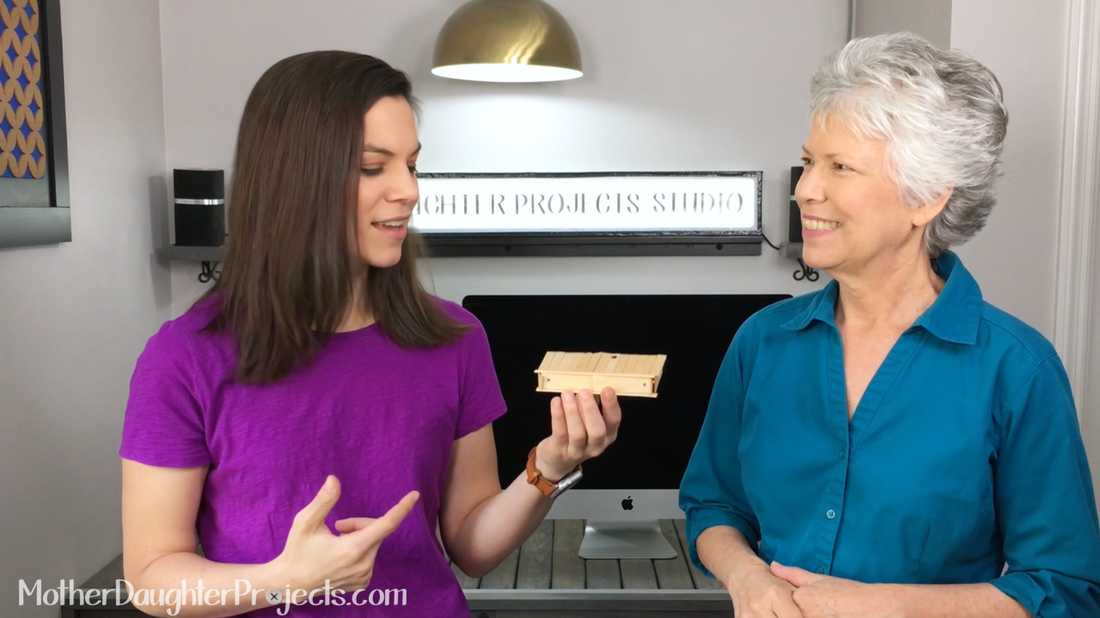
We made a little version of the desk out of craft sticks to get an idea on how the build would come together.
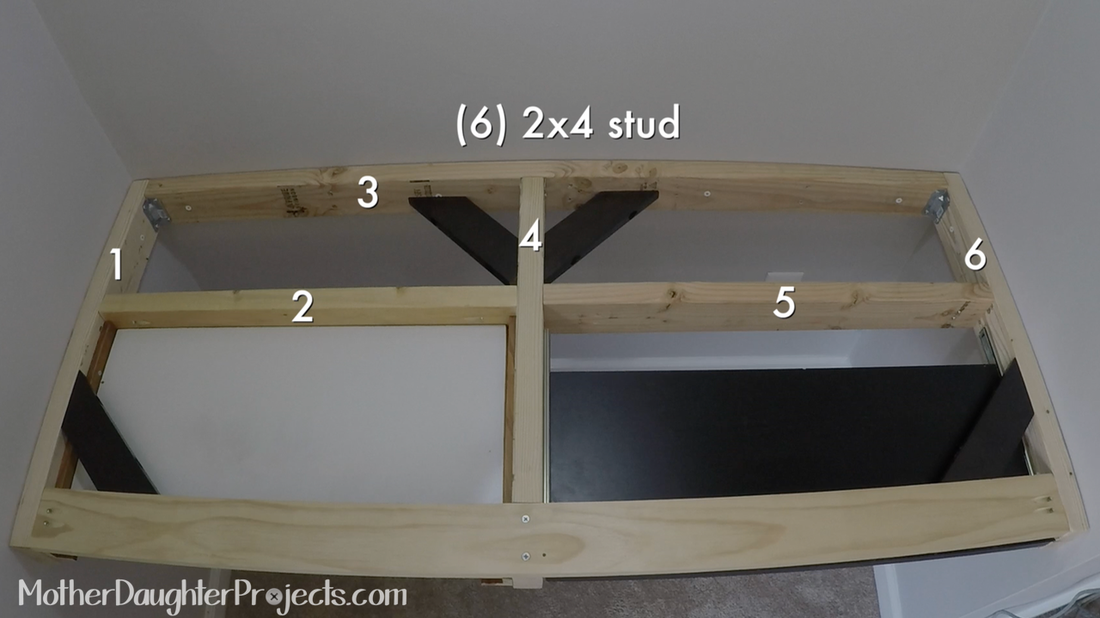
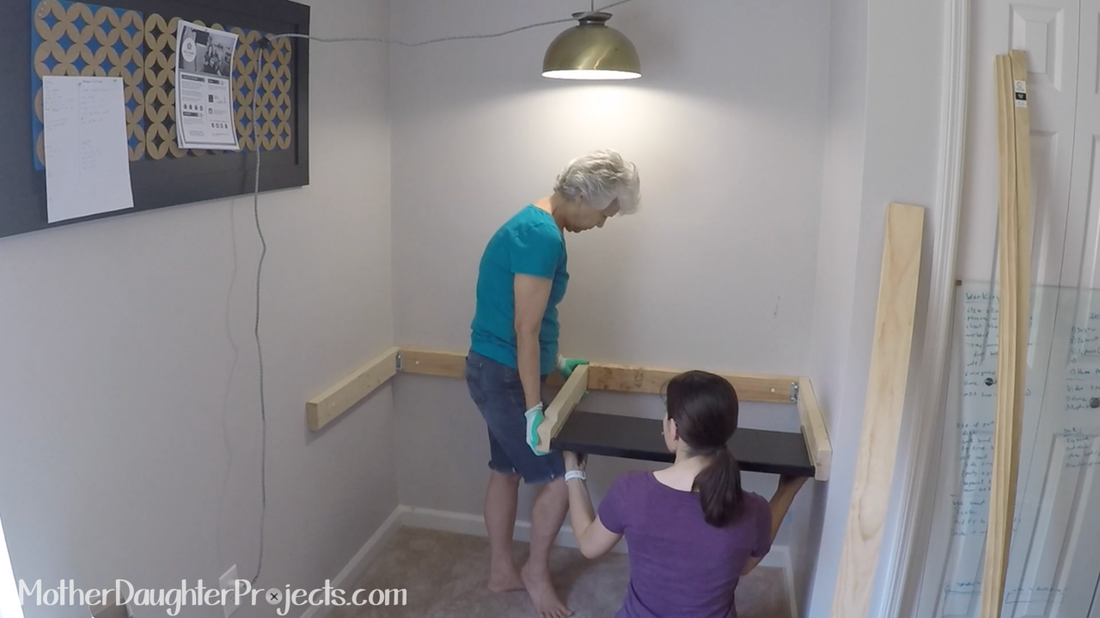
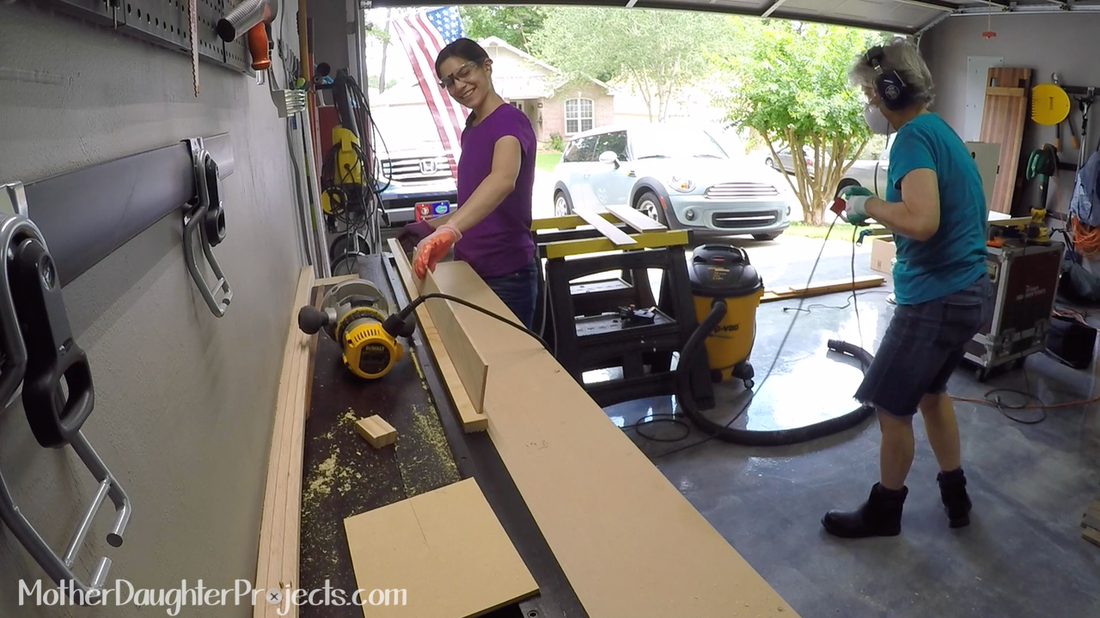
First we measured the space where the desk needed to fit. Then we marked and cut the 2x4 boards.
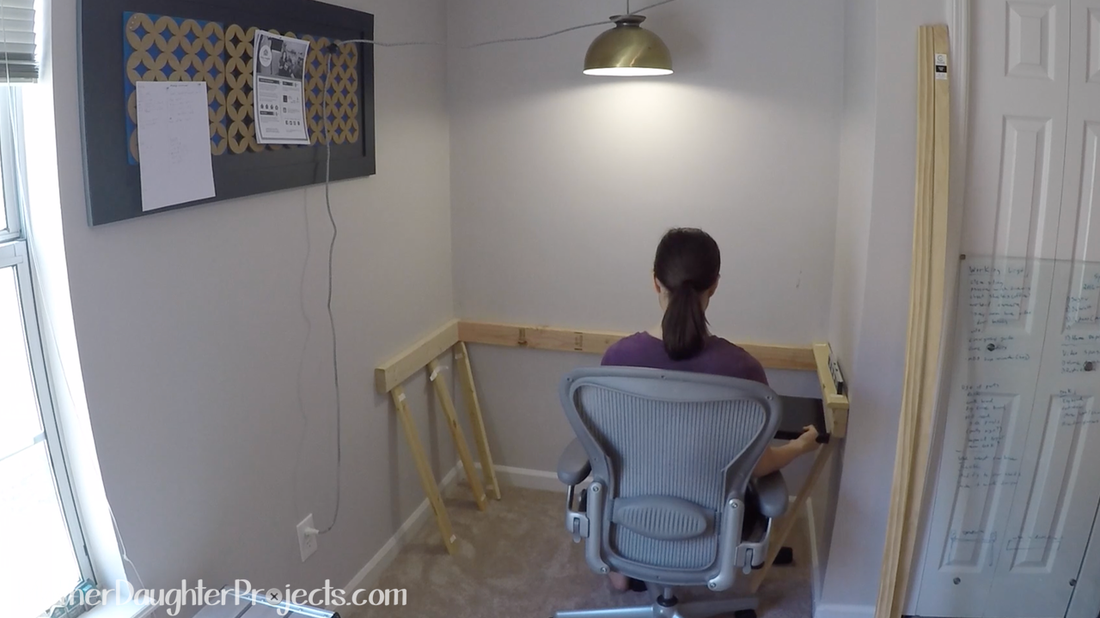
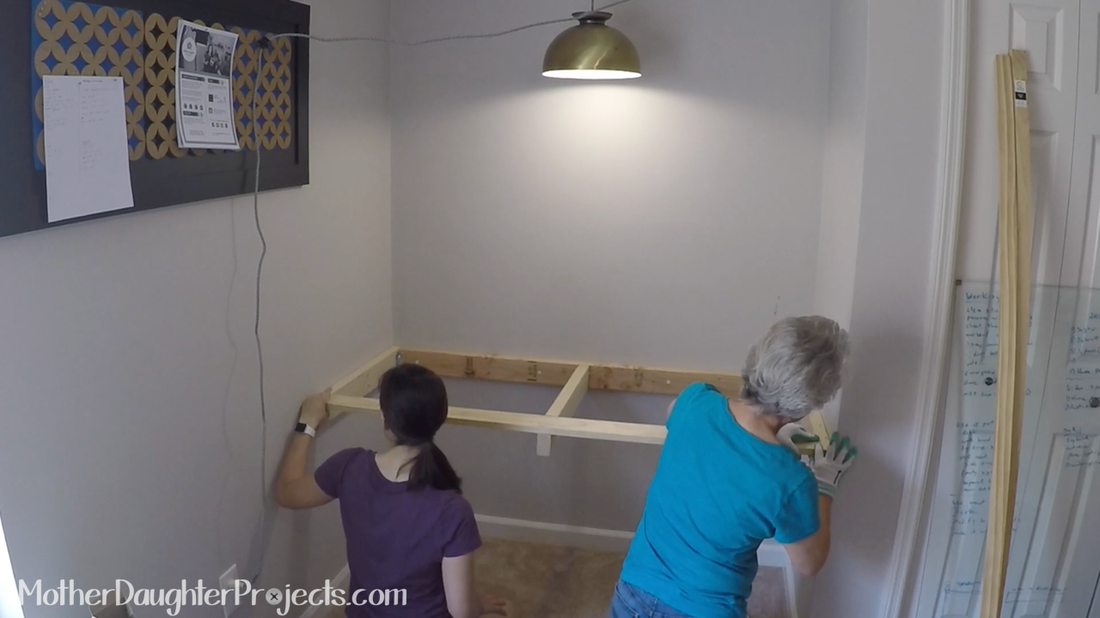
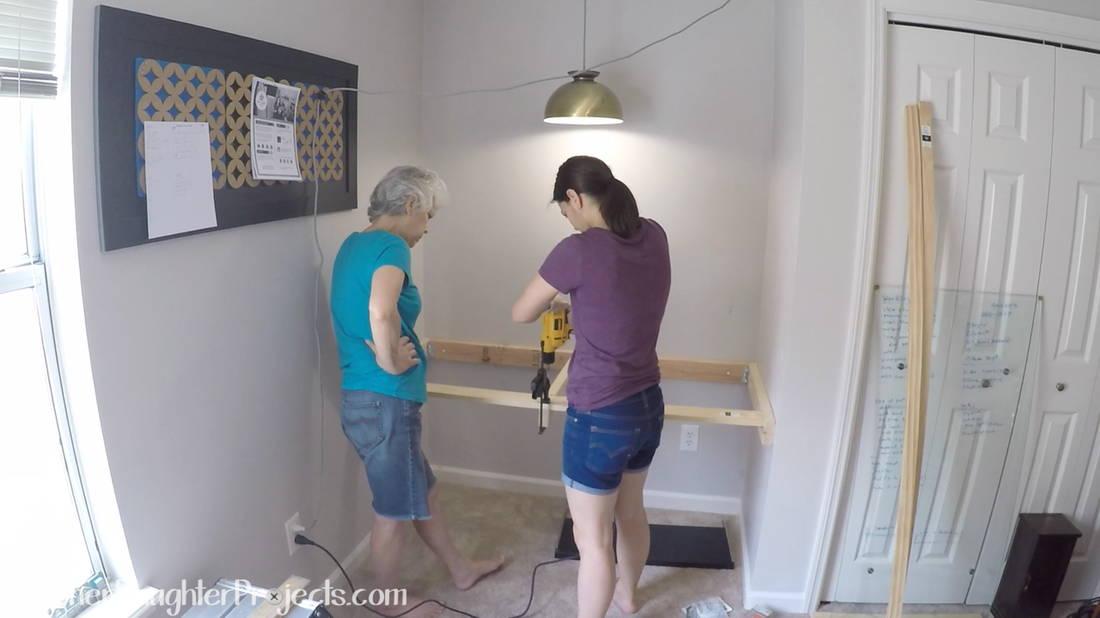
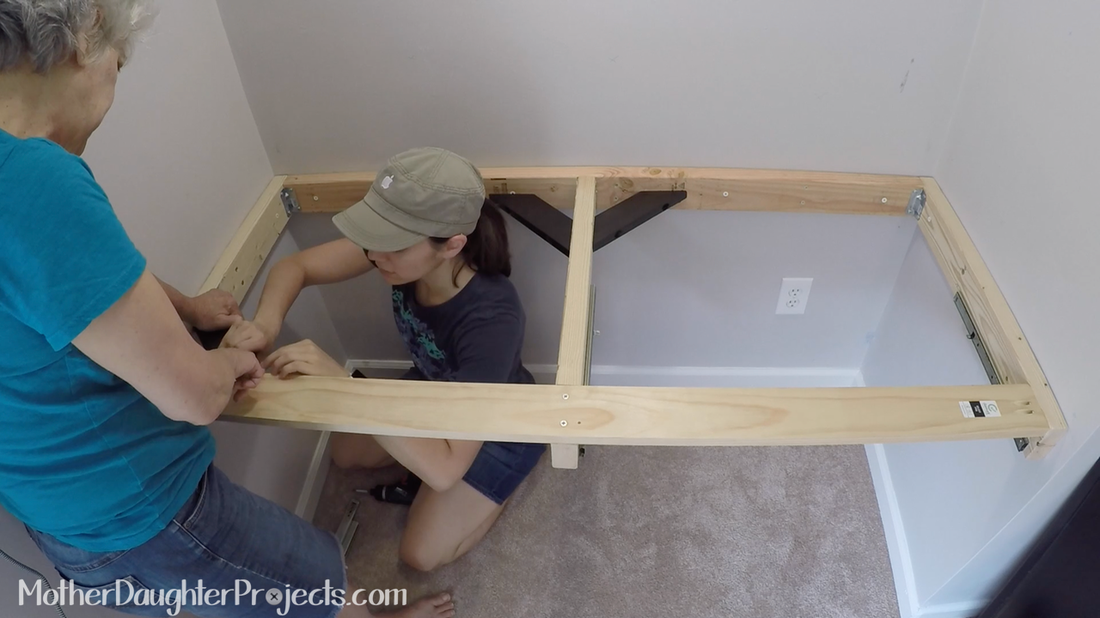
We used the magnetic stud finder (see this post for a demonstration of the stud finder) to mark the screw holes placement and dry fit the (3) 2x4 boards that connected directly to the walls. We made sure everything was level and at the right height for Steph. We even brought in the computer chair to test out the height.
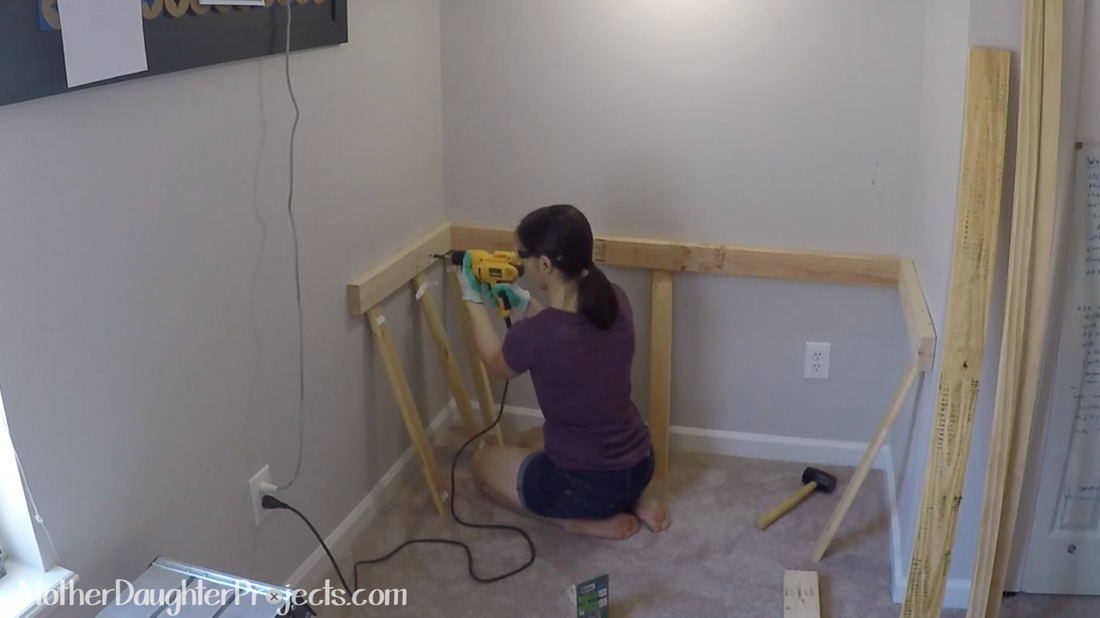
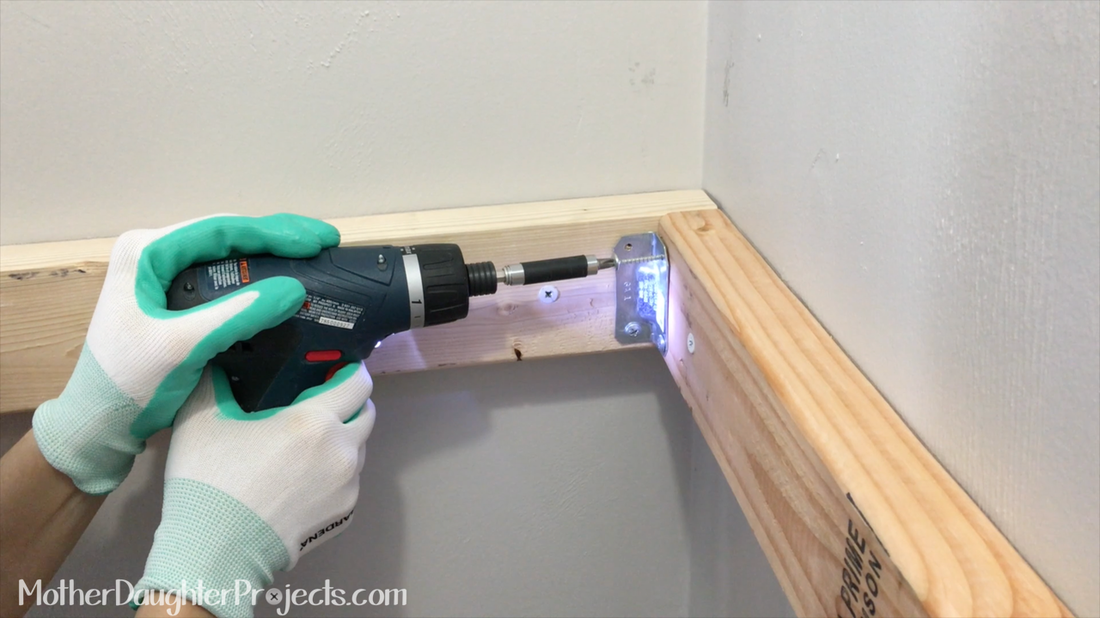
Next we screwed the 2x4’s into the wall. We made sure to screw into as many studs as we could and added a few wall dog screws (screw and anchor in one) where studs were not available.
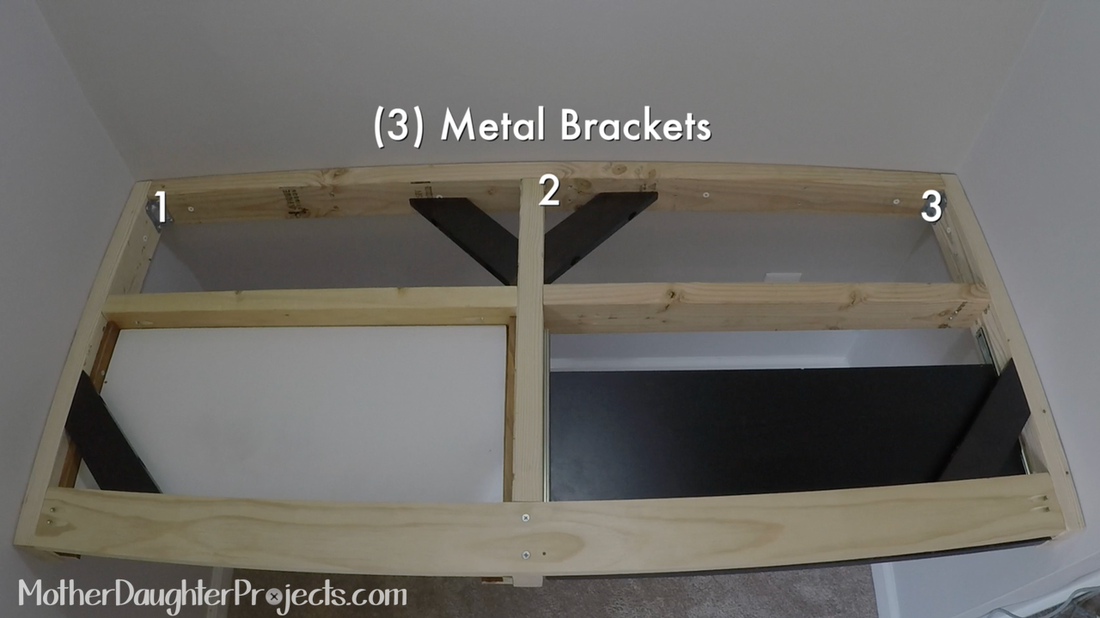
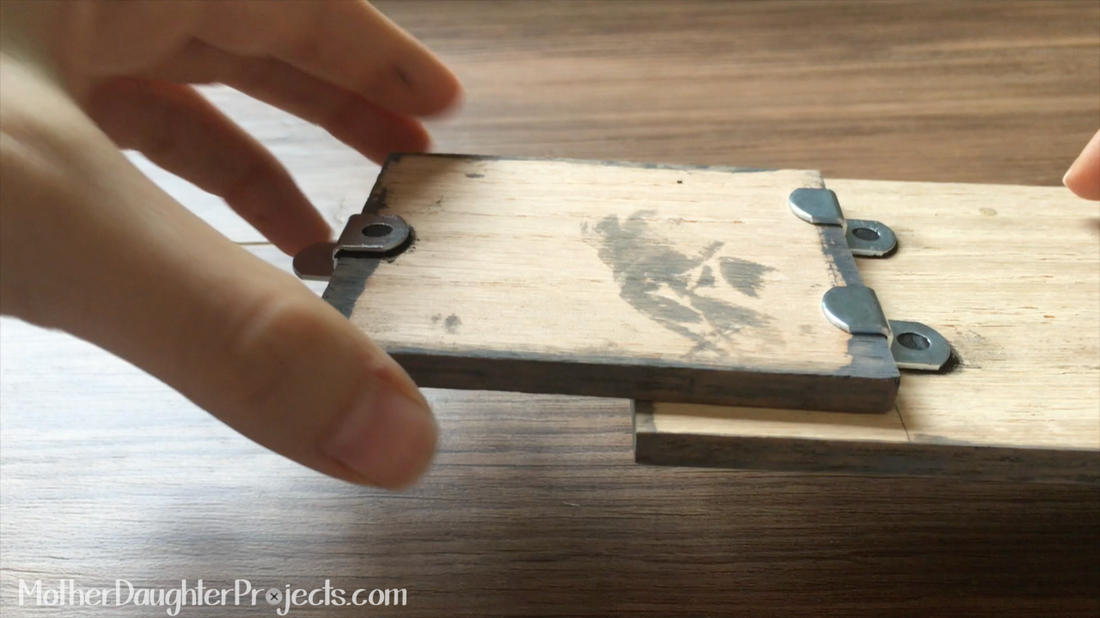
We added a metal bracket in each corner to secure all three boards to each other.
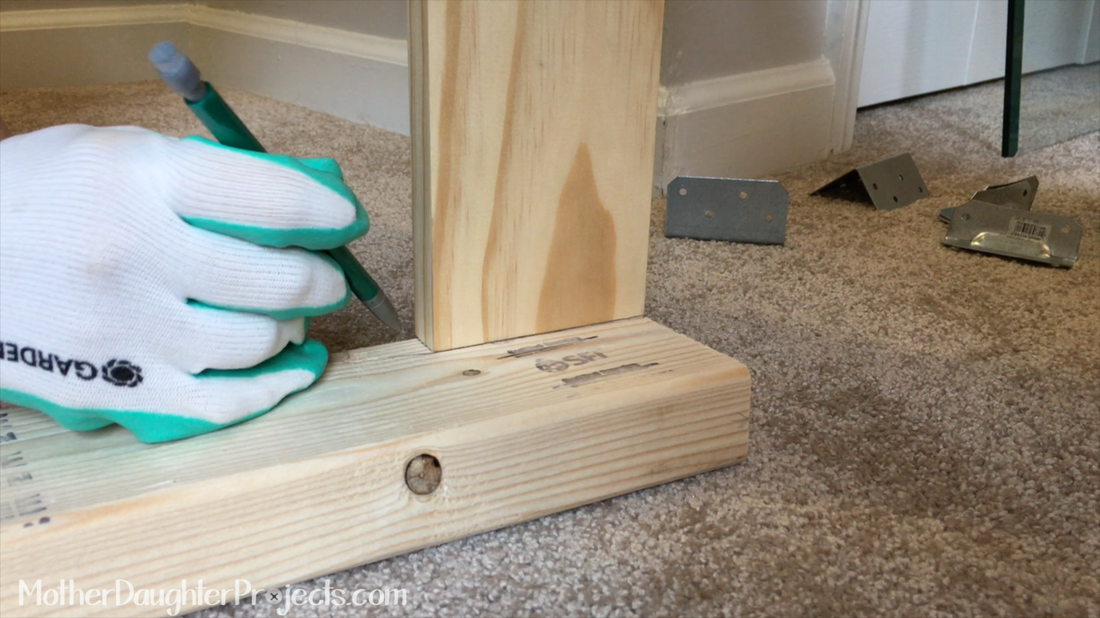
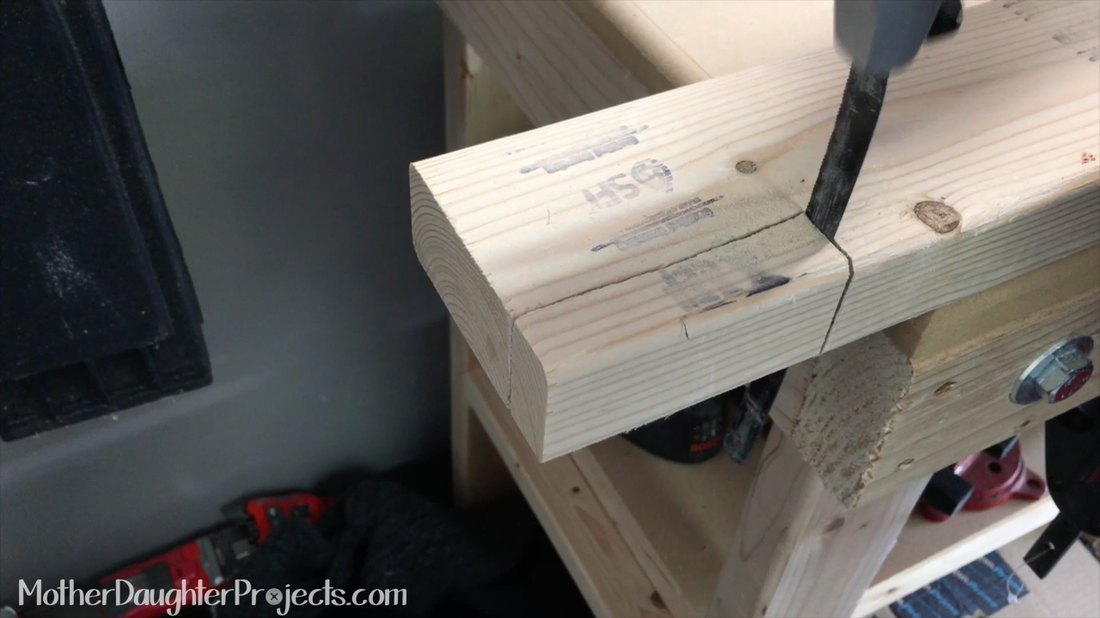
The middle 2x4 needed to be notched out a bit so it and the 1x4 board that would be flush with the other boards.
The middle support is not centered. We based the middle 2x4 placement on the width of the keyboard. We used another metal bracket to attach the middle board.
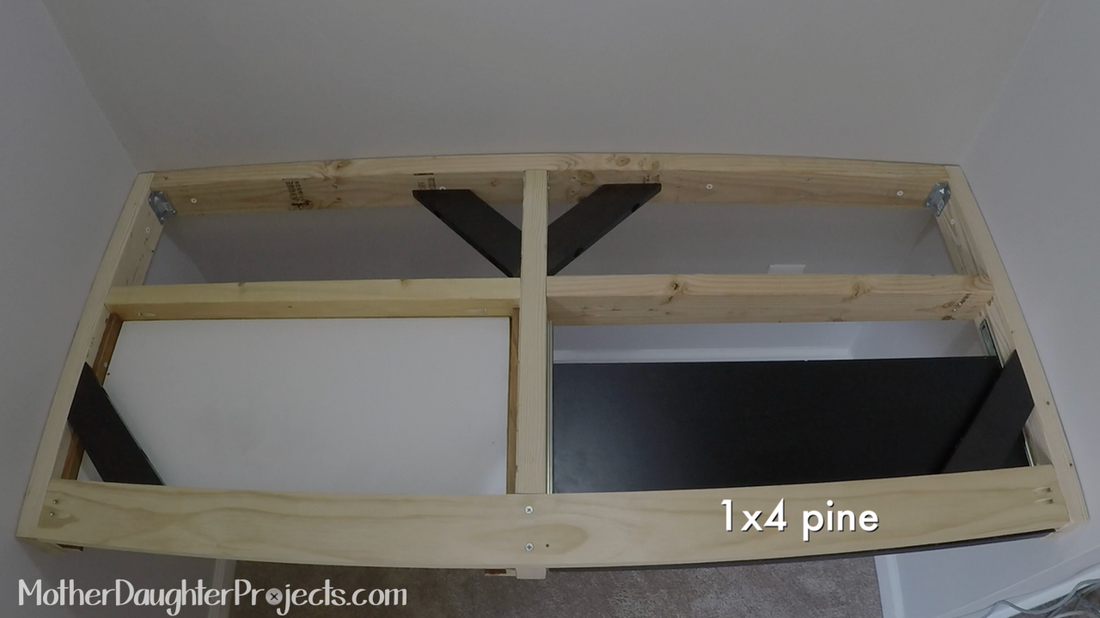
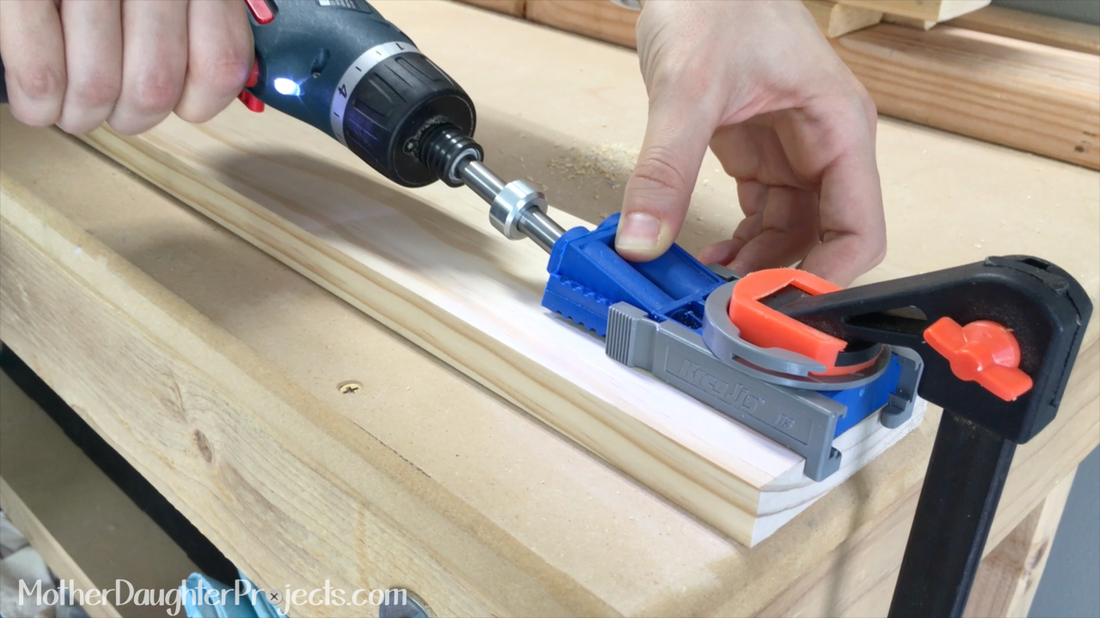
Next we dry fit the 1x4 pine board that attaches to the top. We were not sure how to attach the wood. We ended up making pocket holes using the kreg jig system. This was our first time using this tool and are really happy with the results (learn more about kreg here).
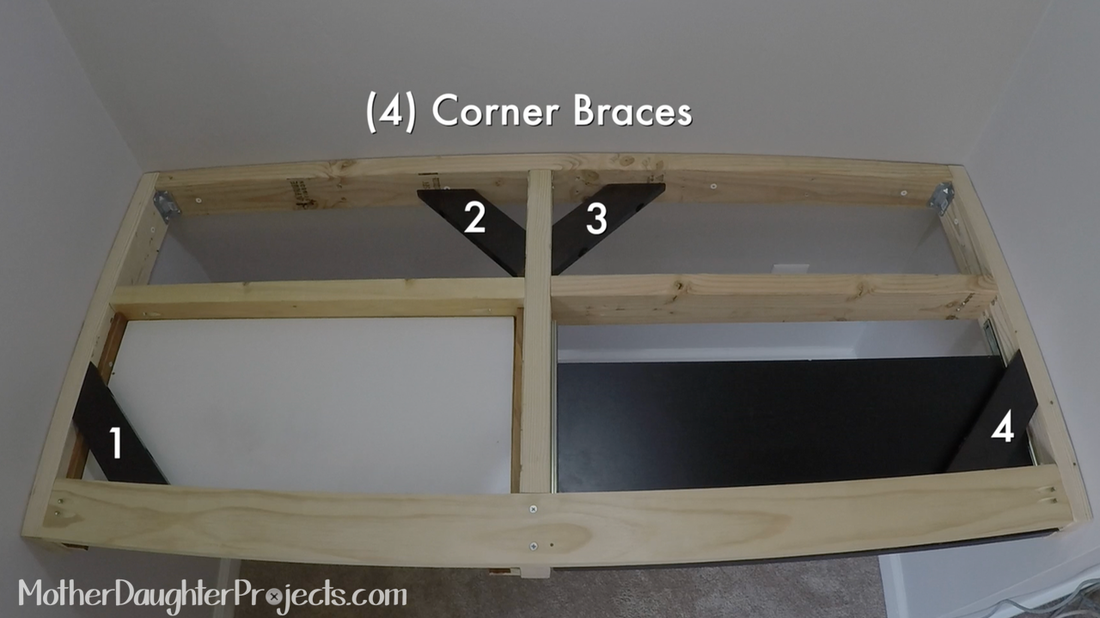
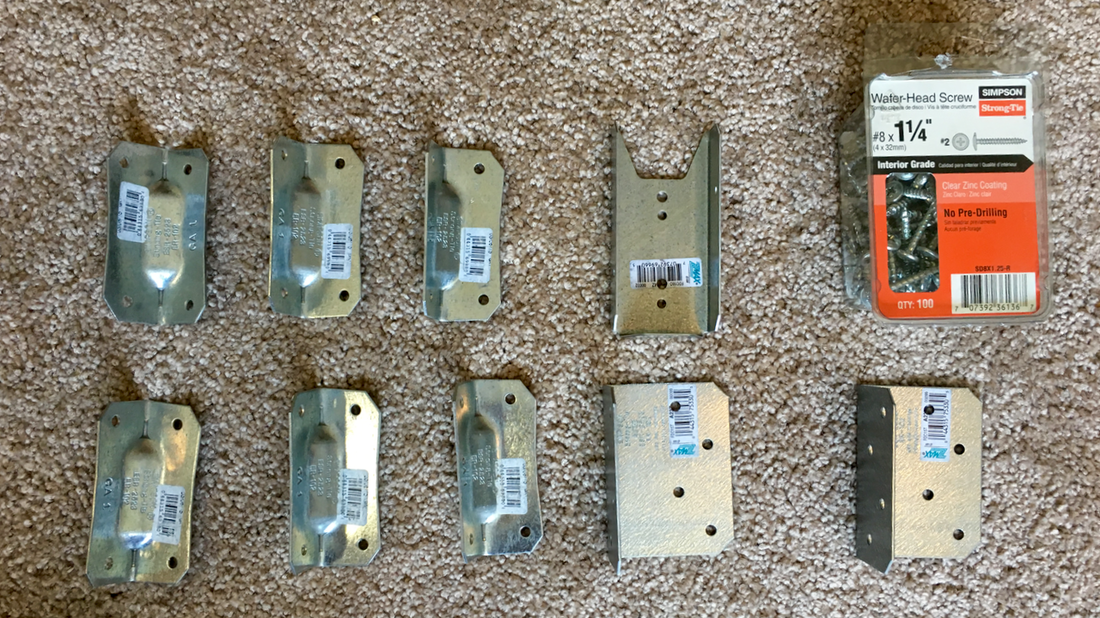
After getting this all attached we realized this was not enough support as there was a little movement in the middle of the desk. I had some corner braces from an old bed frame I took apart and we added 4 of those for more support.
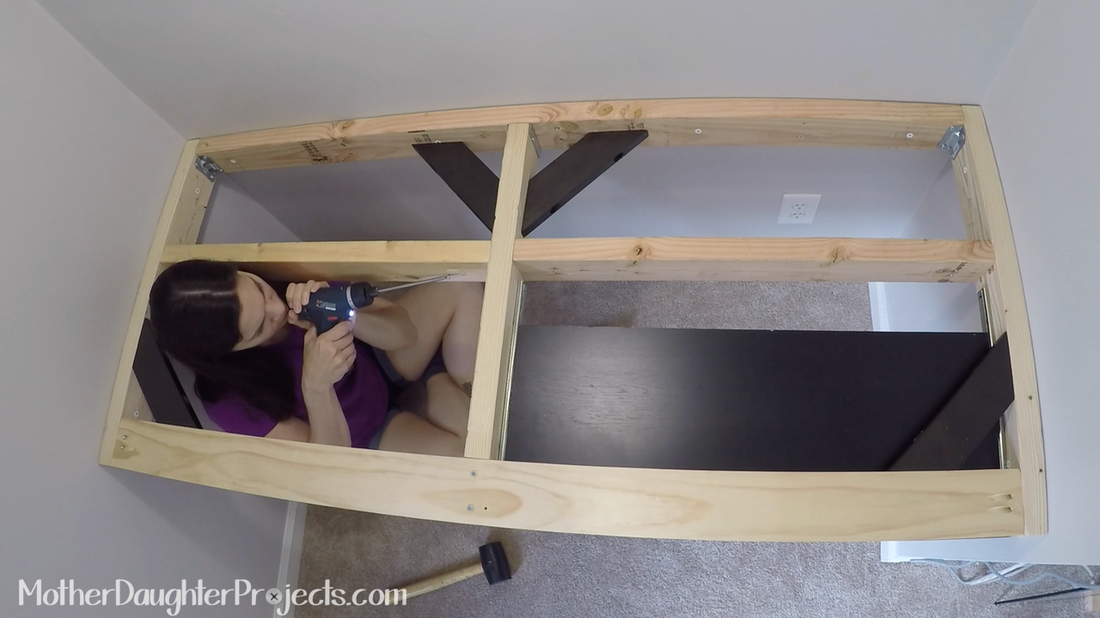
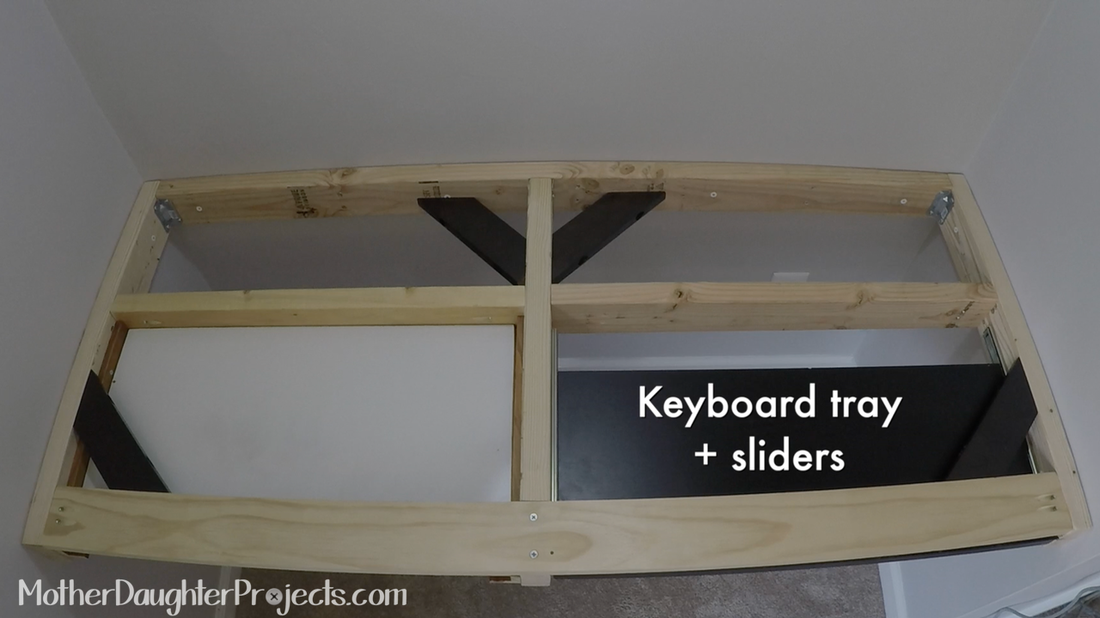
We attached the keyboard tray and still needed more support so we added more 2x4s and used the kreg jig system again.
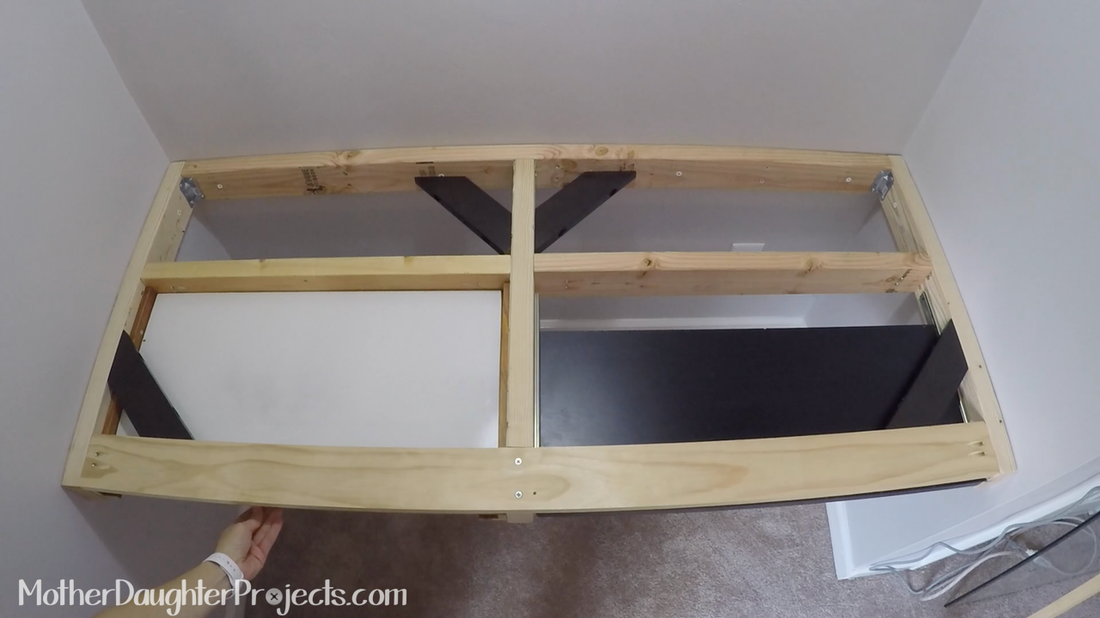
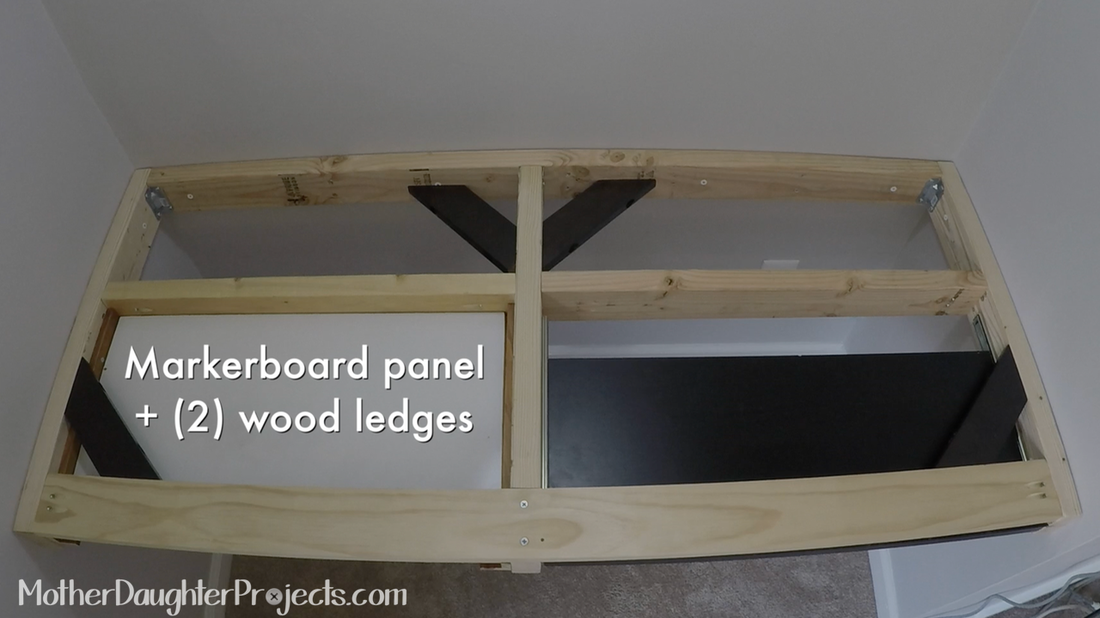
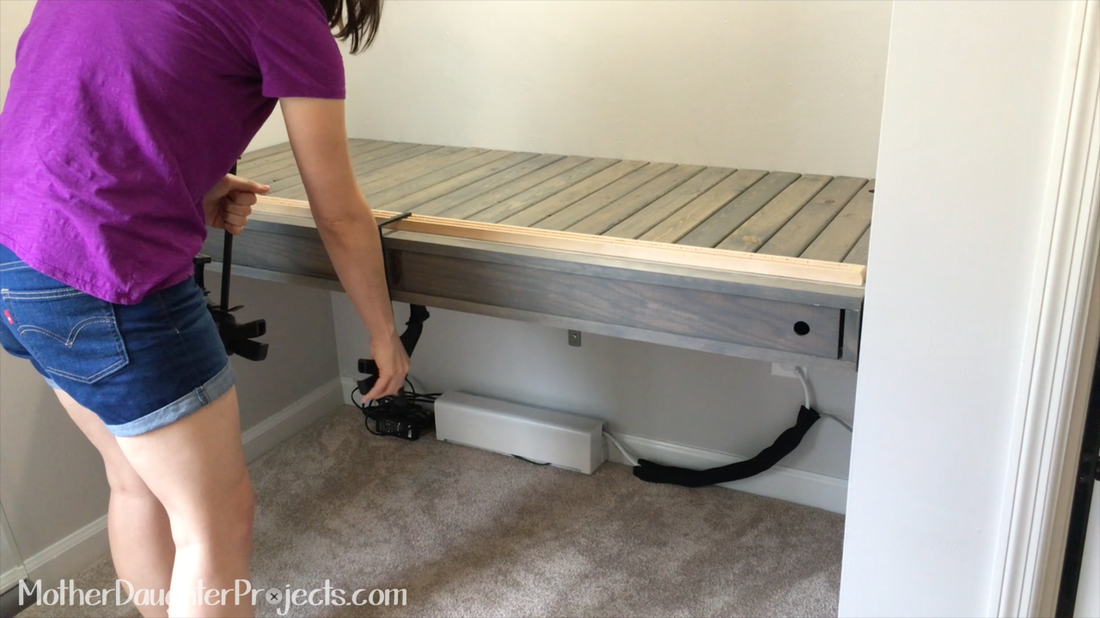
On the left side we decided to add a little drawer to keep cables and such in. We used some scrap backing board from an old dresser and wood ledges as drawer guides.
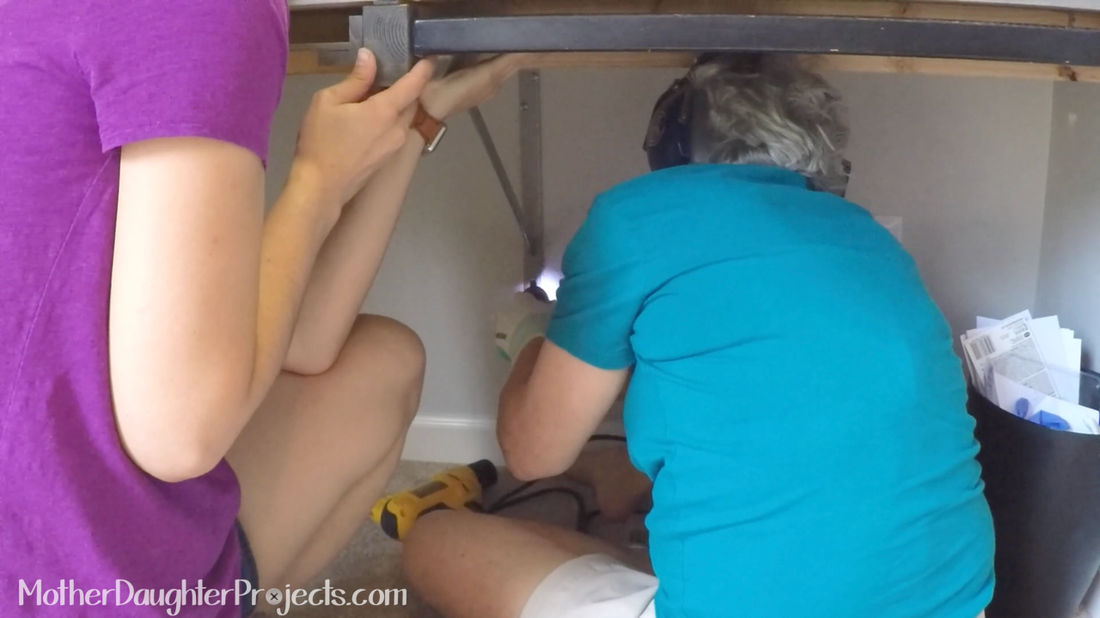
The desk would have probably been fine, but there was still a little give in the middle section. We added a large metal bracket which we attached to the bottom of the desk just to make sure everything was nice and strong.
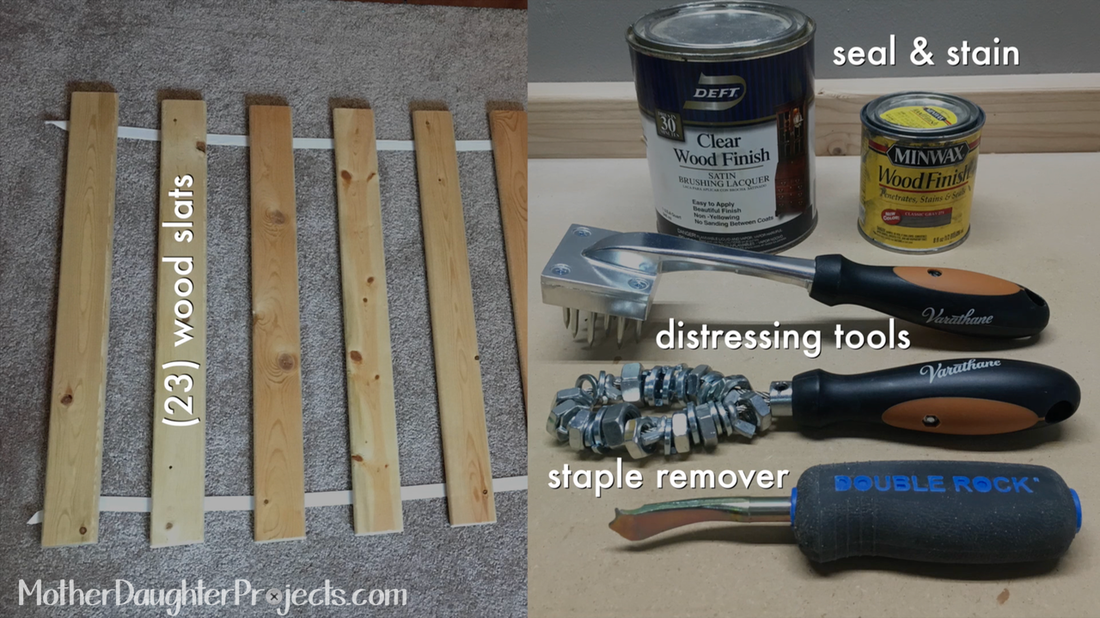
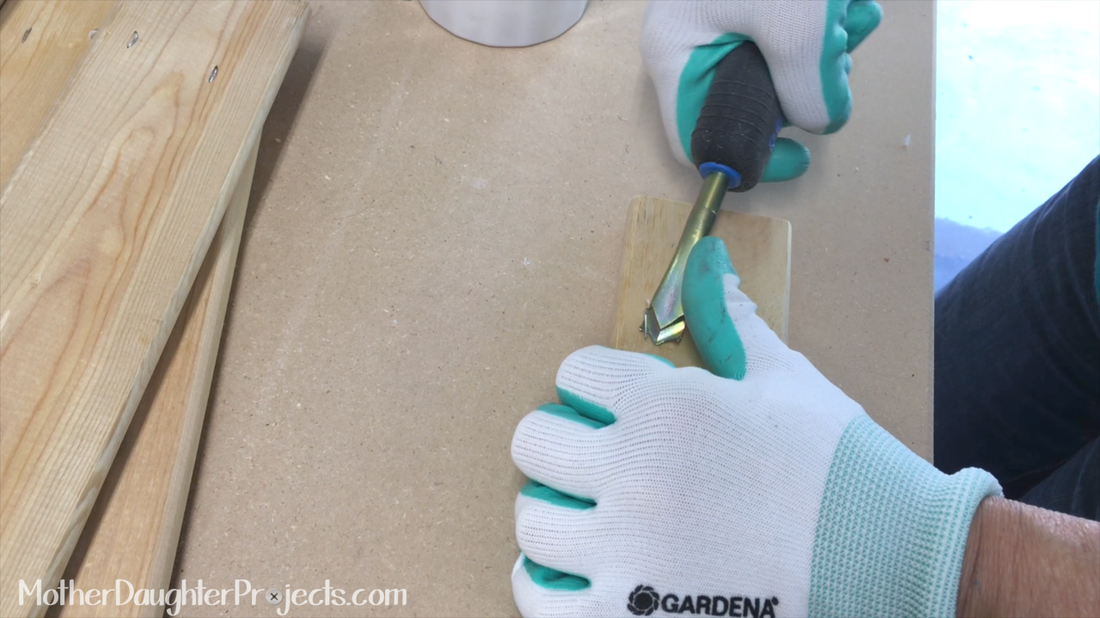
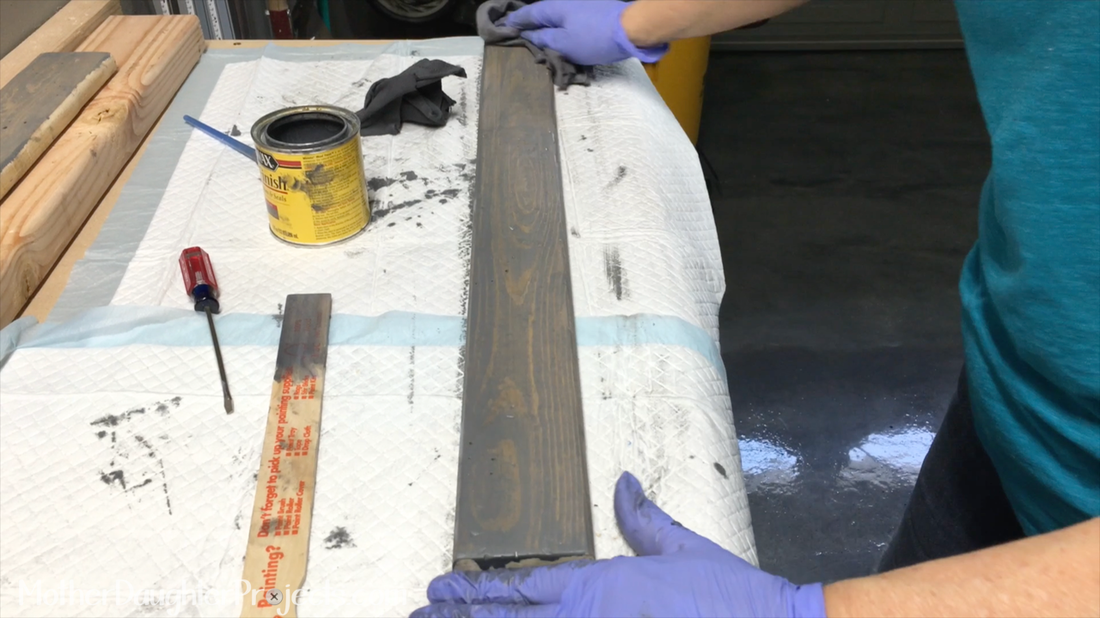
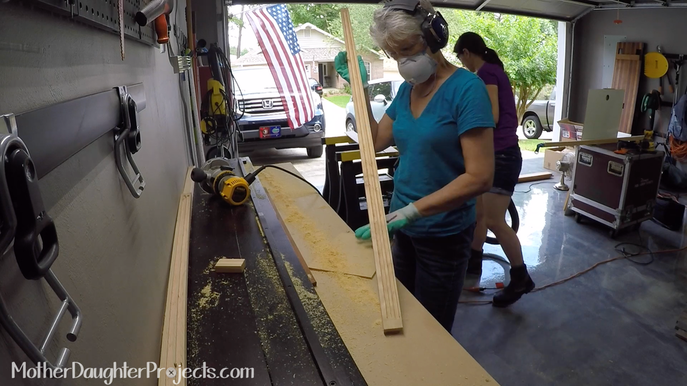
Now onto the top of the desk. We used 23 wood slats, distressing tools, a staple remover, grey stain and sealer.
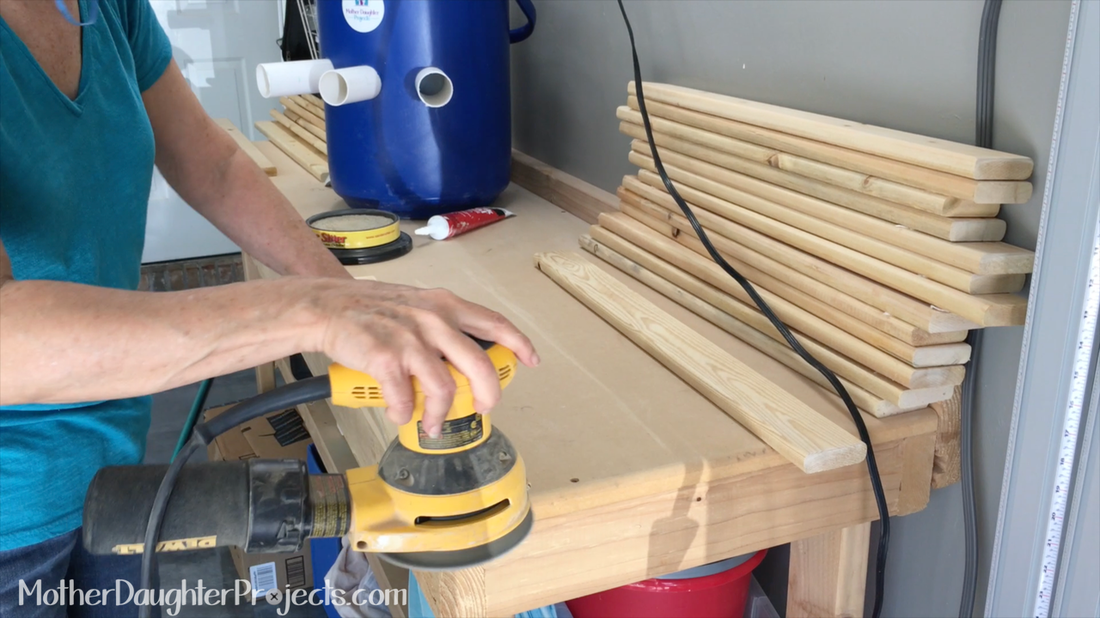
Each slat had 4 staples that needed to be removed and then Mom sanded the boards.
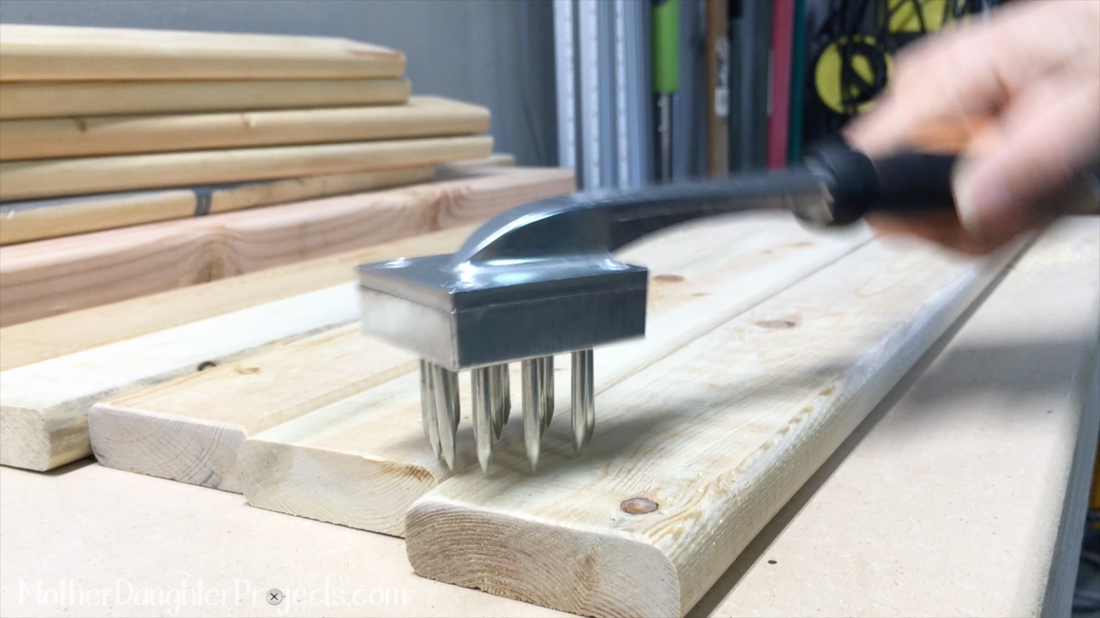
Mom used some distressing tools to beat up the wood. We wanted it to look a little aged so this helped achieve the perfect look.
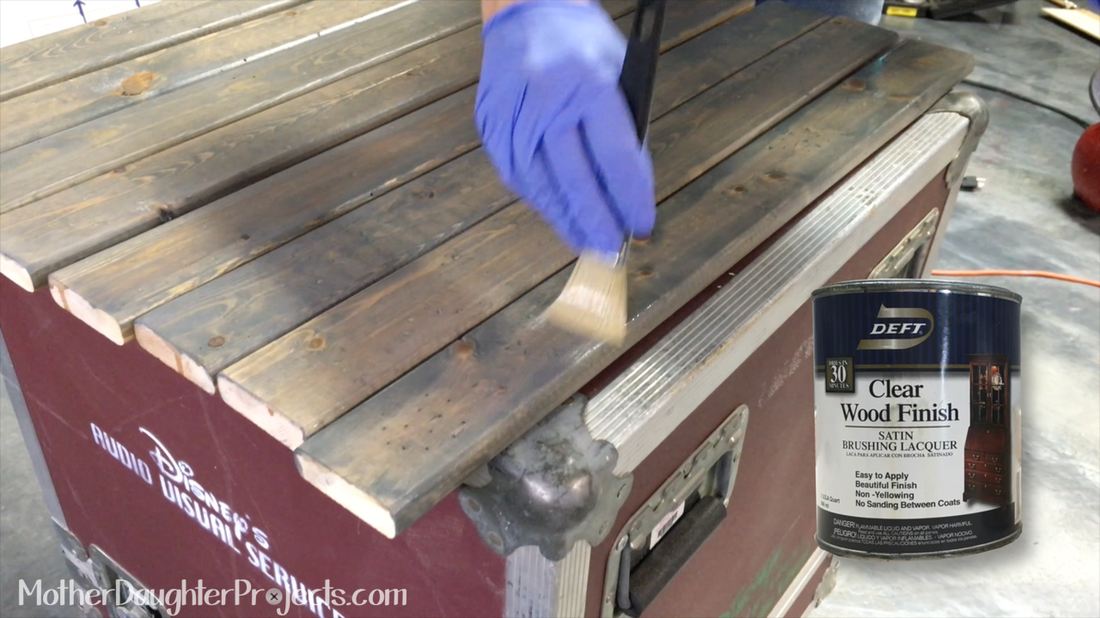
Then Mom moved on to stain and seal all the slats. The seal she chose was actually recommend by the contractor that did a major remodel at her house.
Note from Vicki:
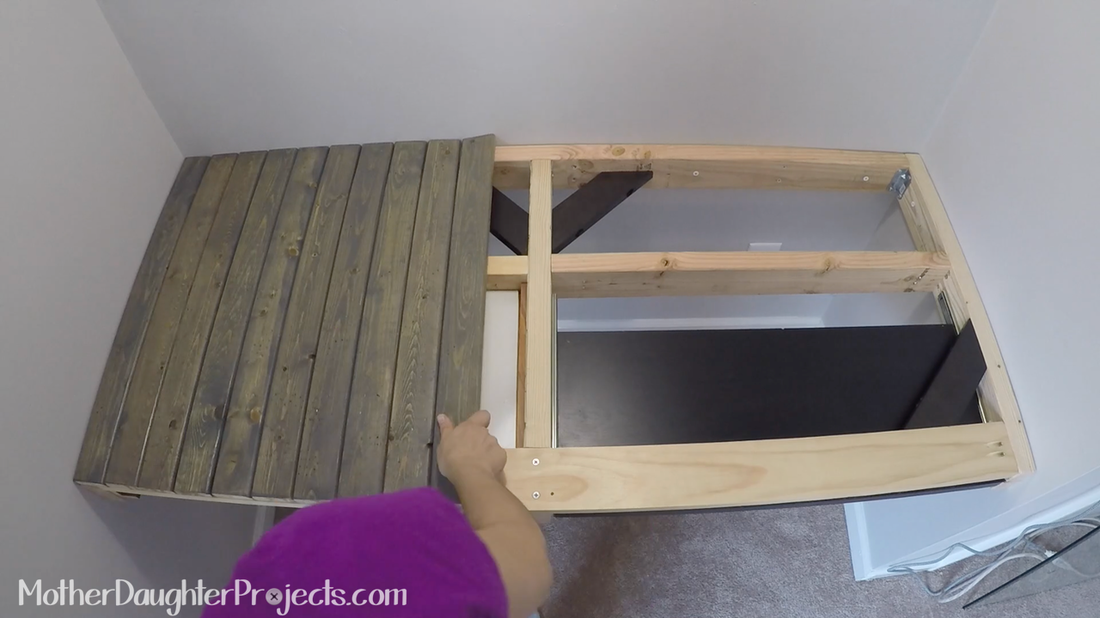
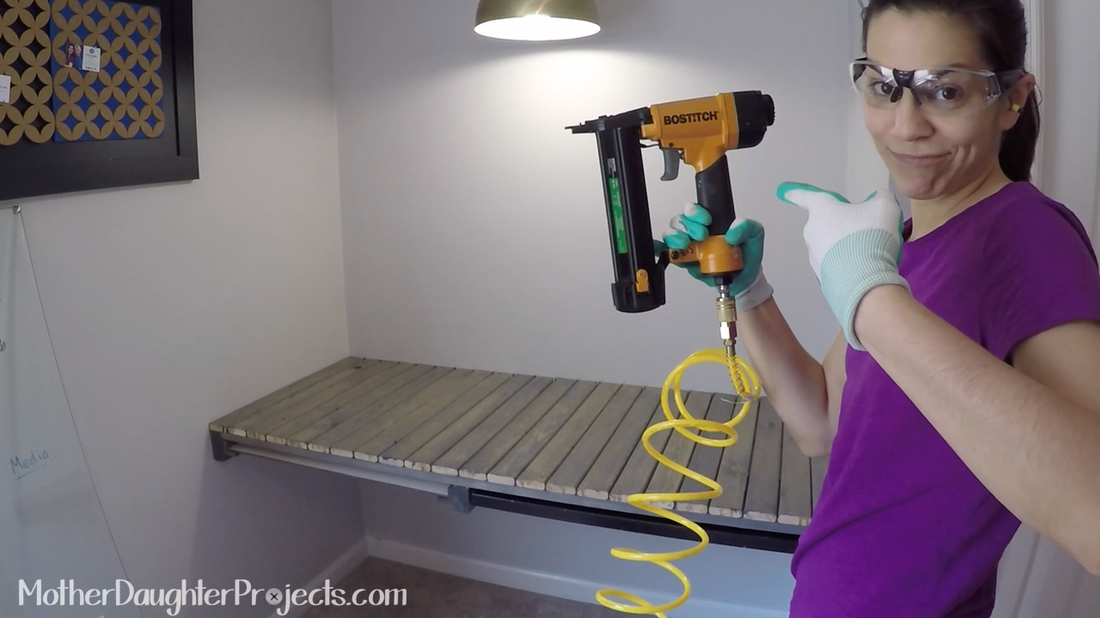
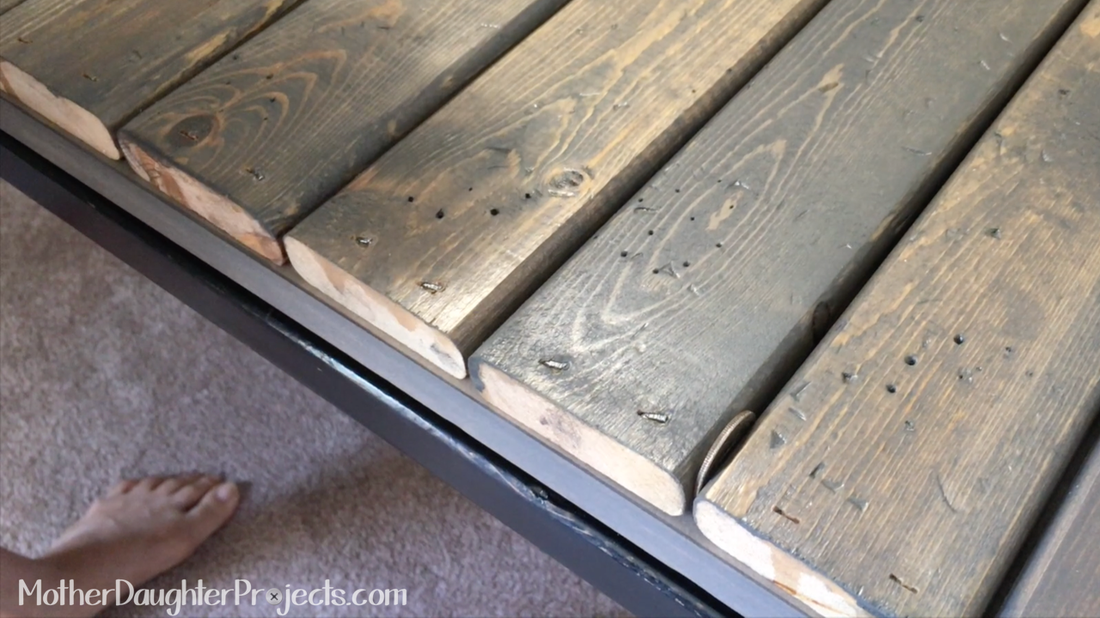
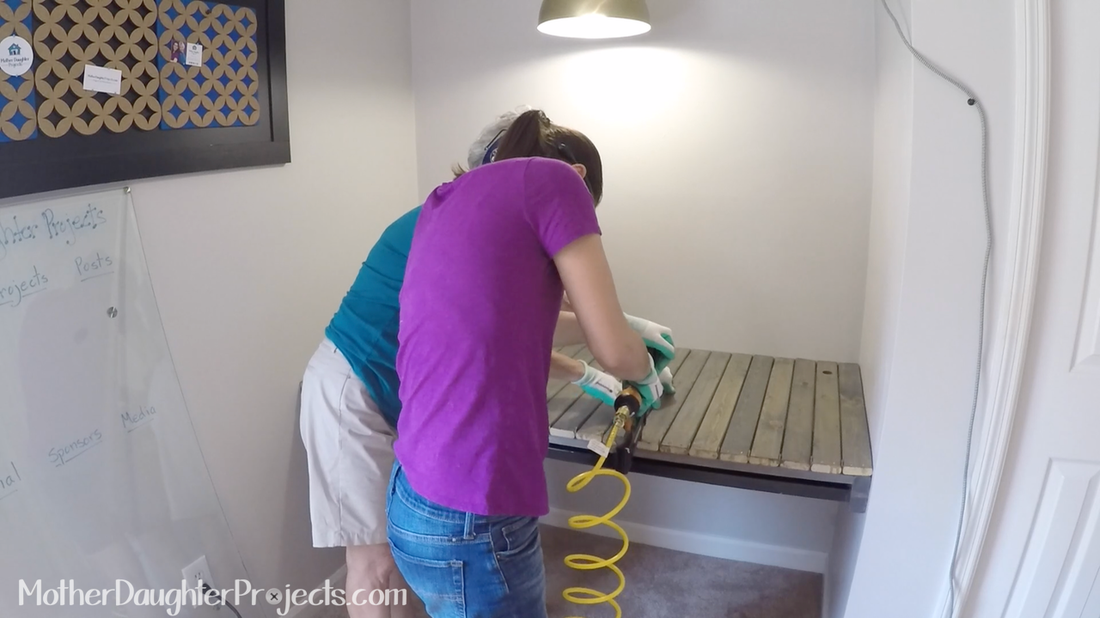
Once everything was dry, we put the slats in place and used quarters as spacers.
We used a compressor and nail gun to attach the slats to the frame. This was our first time using both these tools but after reading through the manuals and safety tips we felt confident and look forward to using these tools again.
We made sure all the nails were flat and added a little putty over the back nail holes.
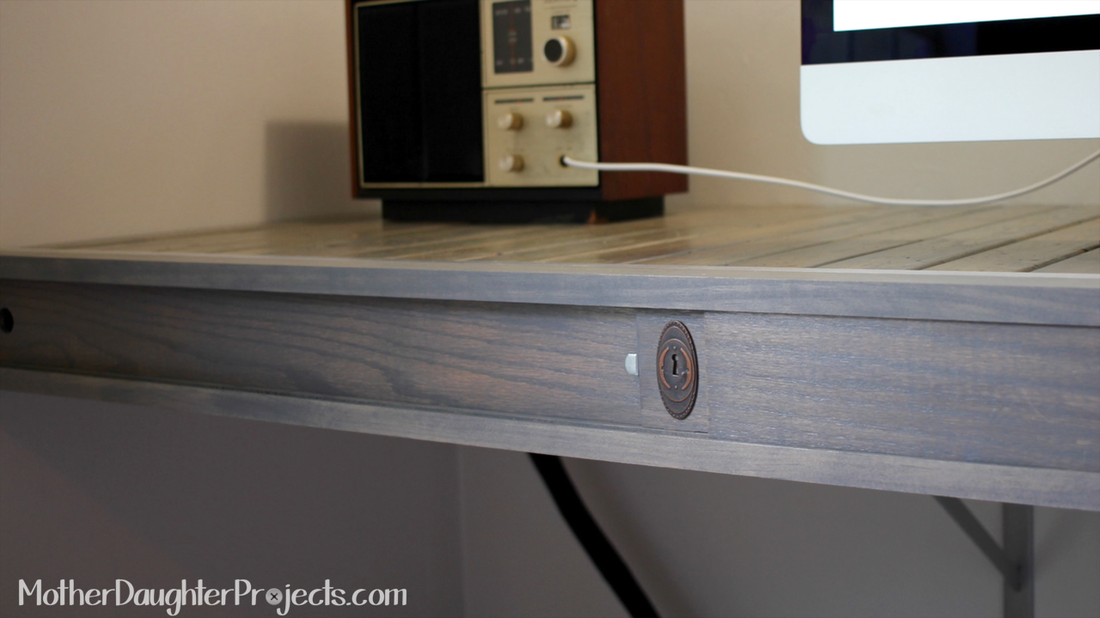
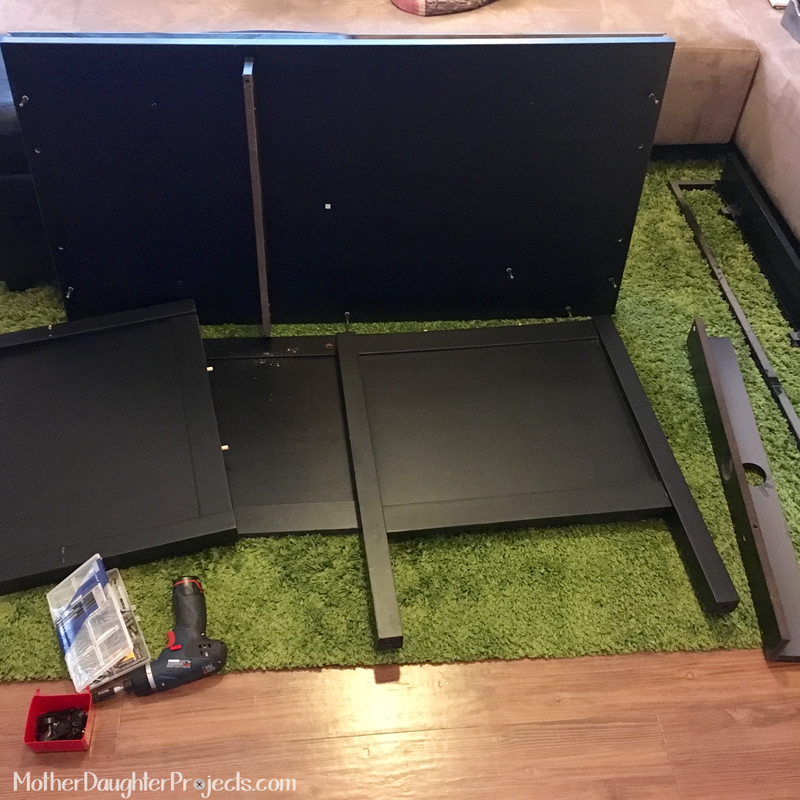
Now onto the front of the desk. This is made of two sliding wood panels and a spacer.
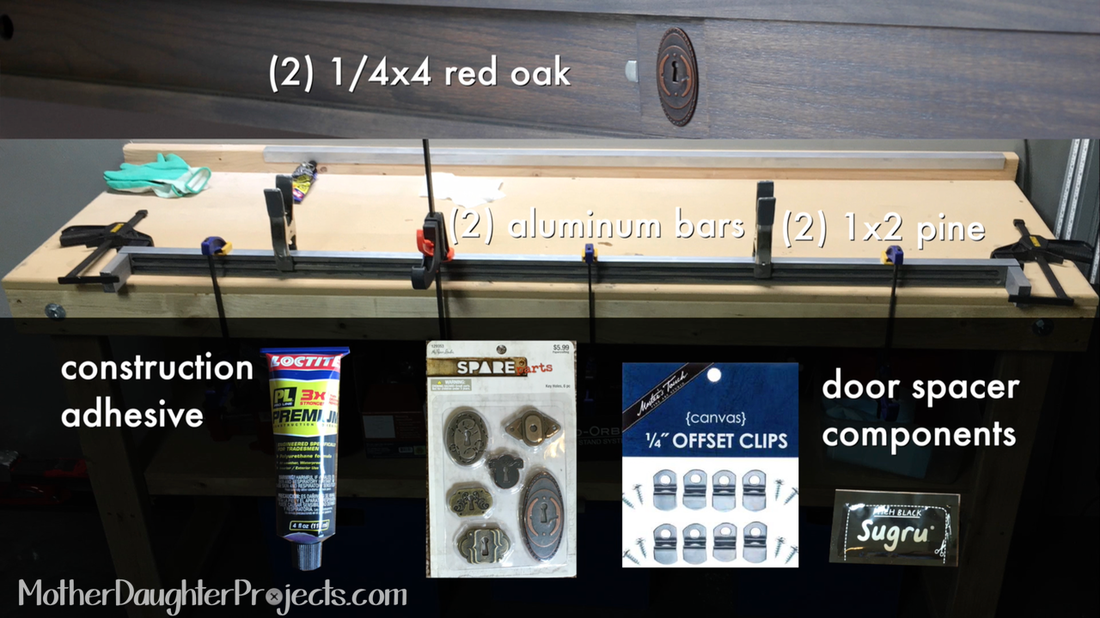
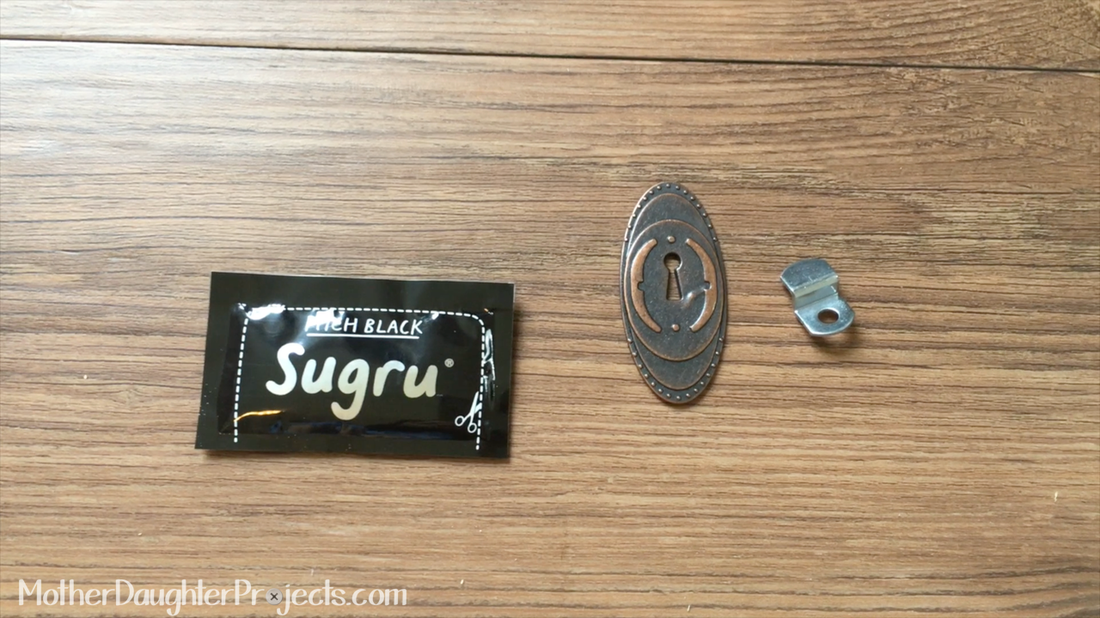
The front of the desk uses (2) aluminum angle bars, (2) 1x2 pine boards, the doors are (2) 1/4x4 red oak boards, and all is attached with construction adhesive. The door spacer uses a keyhole embellishment, 1/4” offset clips and Sugru adhesive.
...and, it worked! Success.
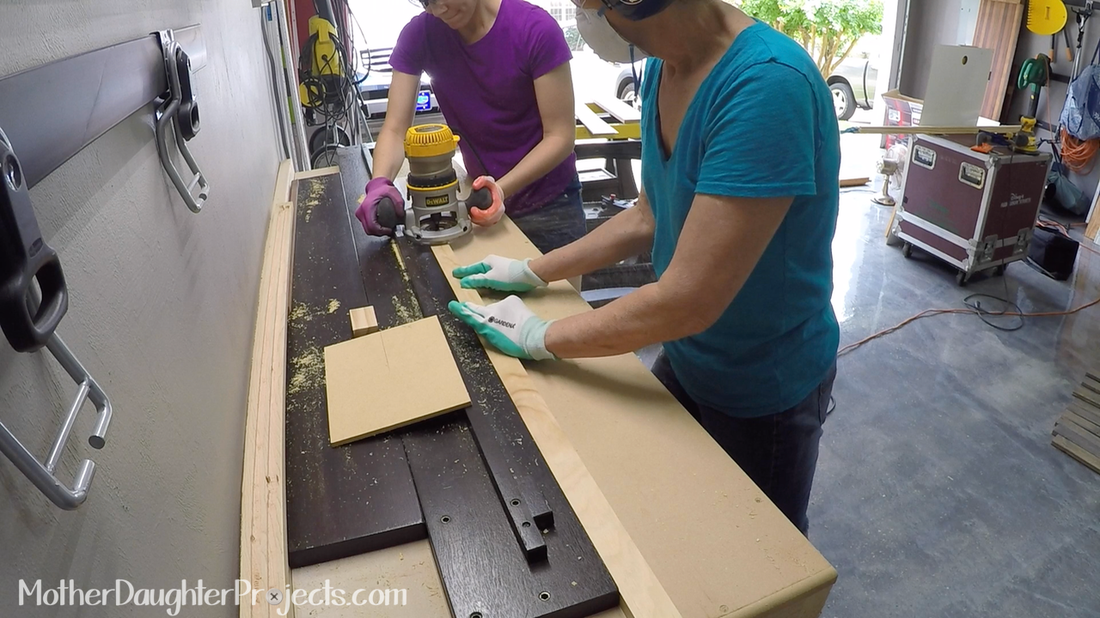
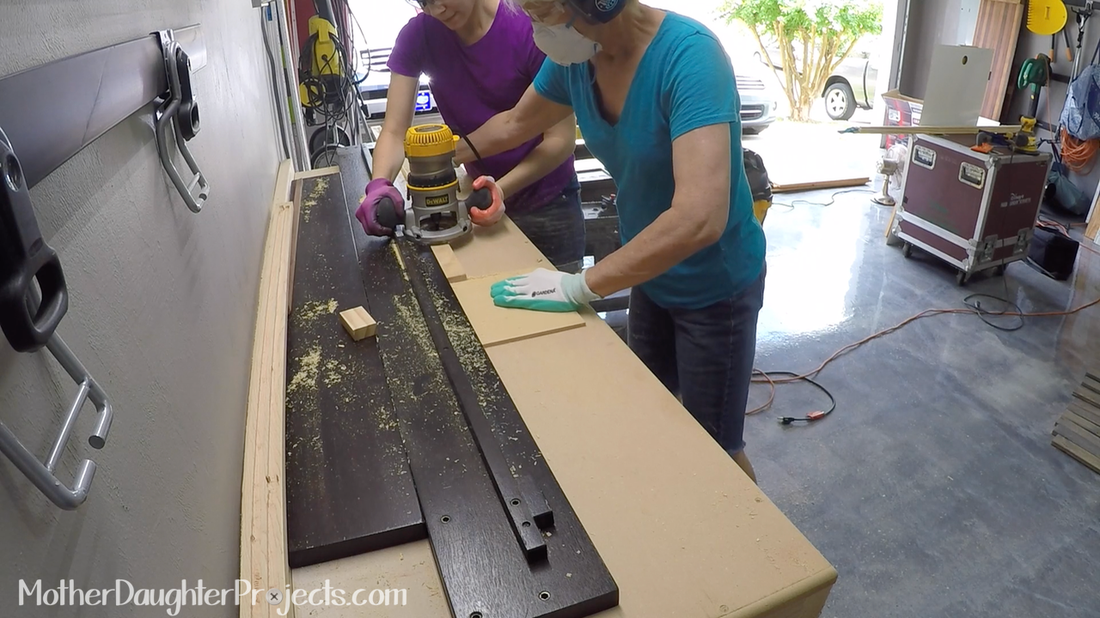
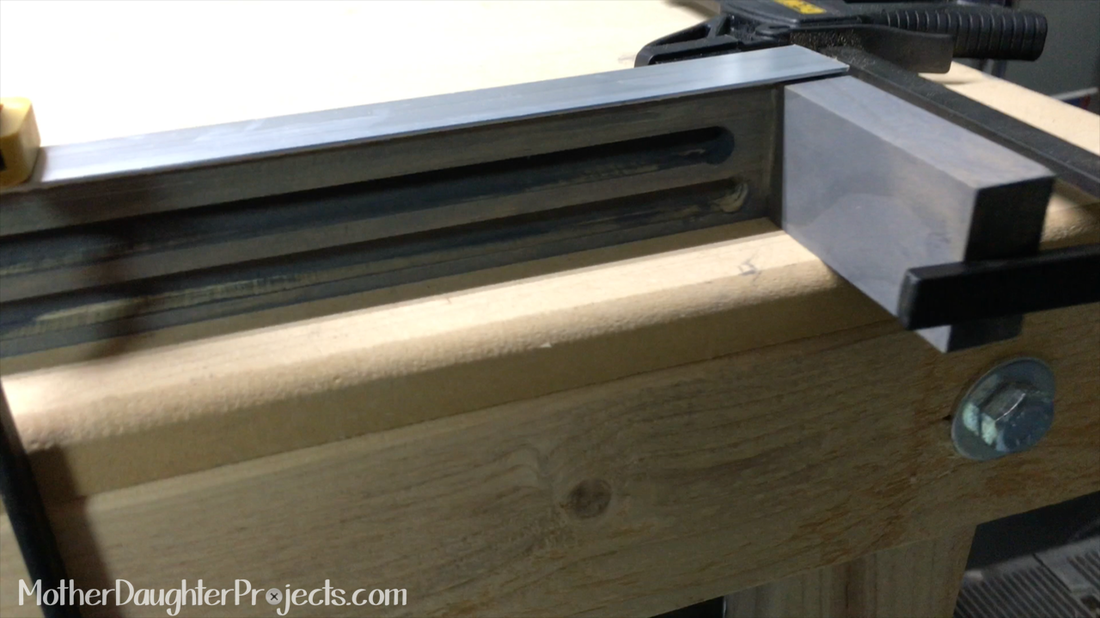
We routed two parallel grooves in each of the 1x2 boards. We made our own make-shift jig to make sure the lines were nice and straight. This was the first time we used a router. Please see our additional post on "what we learned" about using a router.
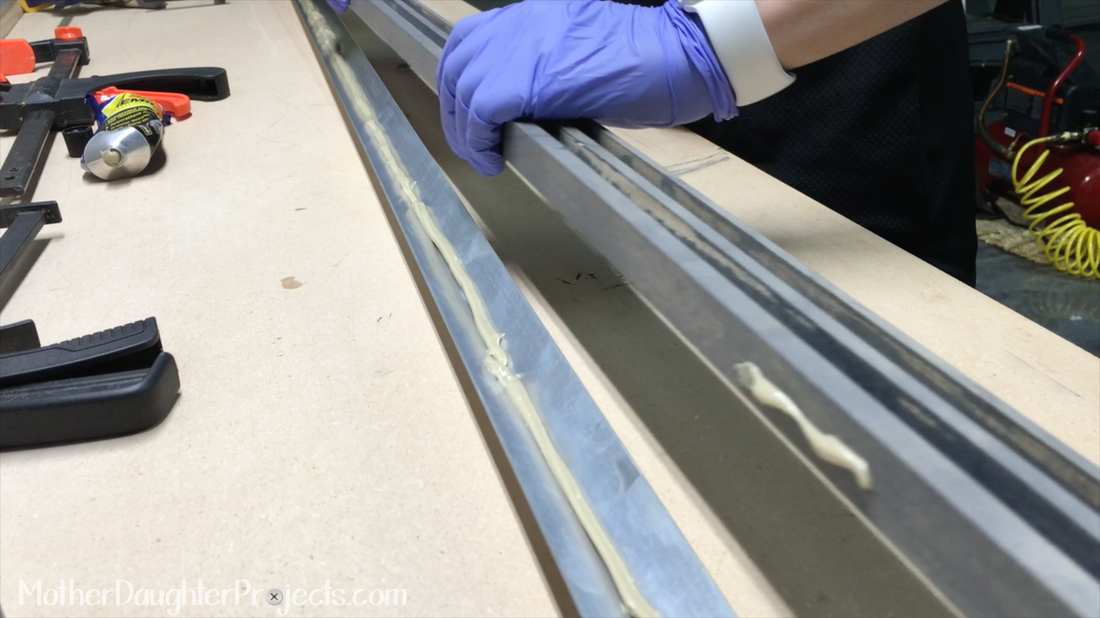
We cut the angle bars to size and glued the bar to the back of the 1x2 routed boards. We used scrap 1x2 wood to make the side pieces. We clamped all this for 24 hours. Then we added the doors and glued the frame together.
After this was dry, we added construction adhesive to the top lip of the aluminum, put the front in place, clamped it and let it sit for 24 hours.
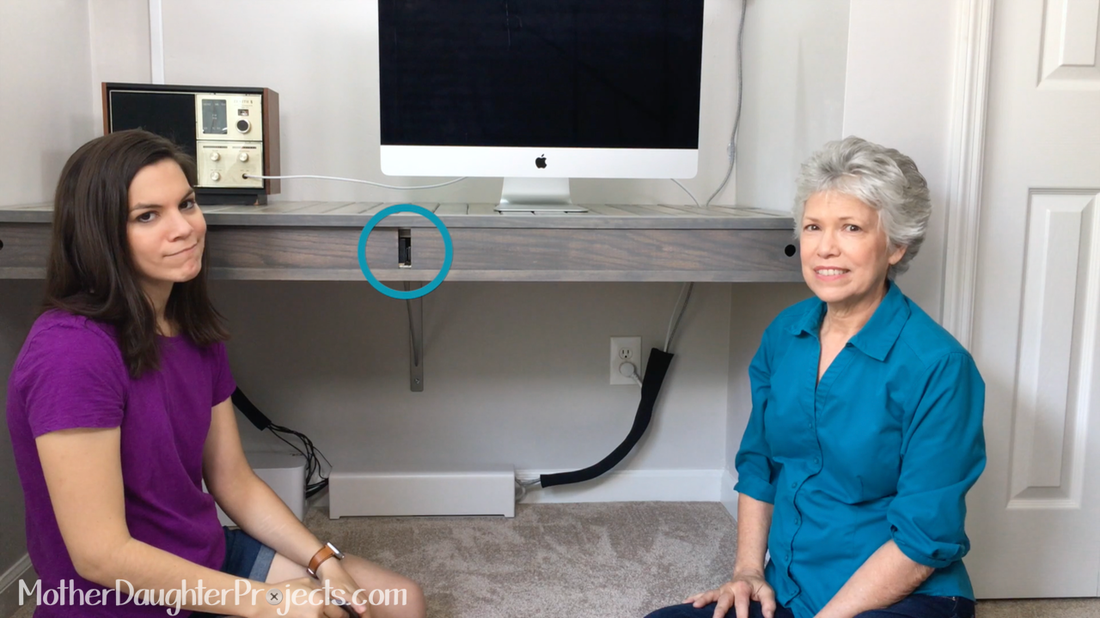
We realized since the keyboard tray was wider than the left side drawer, there had to be a gap between the doors in order for the keyboard tray to come out. We decided to make a little wood spacer that would make the doors look finished. We attached metal clips and Sugru adhesive to achieve this look. We added a keyhole embellishment to make it look intentional.

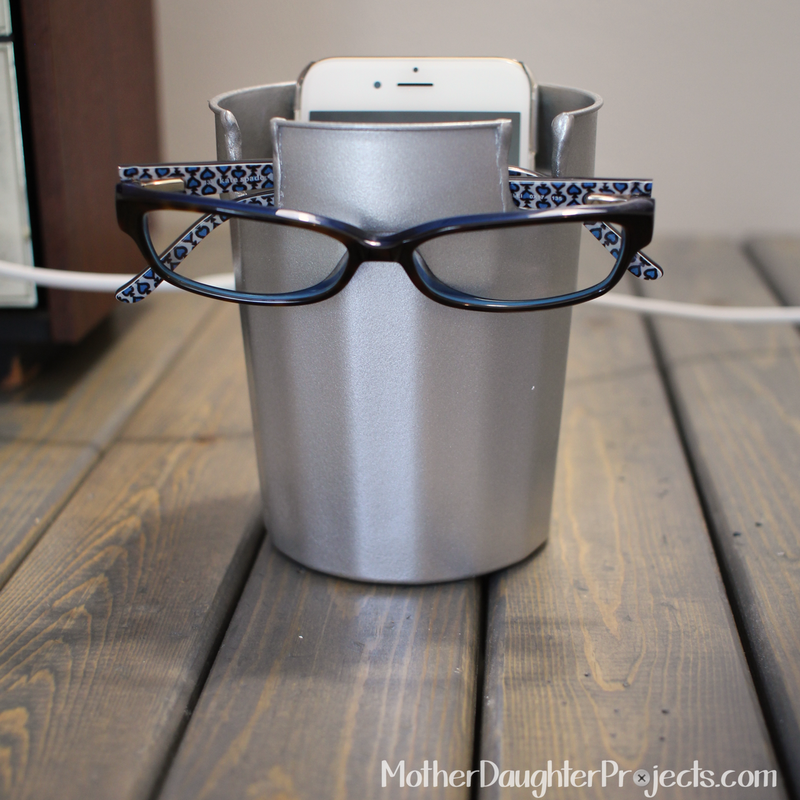
Look for information on the hanging light, light box, bulletin board and more in future posts!
Materials/Tools
What do you think? Have any ideas to make this better? Please leave any questions you might have in the comments below!
Please note: We are not sponsored by any of the companies/products that we used. These products were picked and bought by us. FYI: We are not professionals, and we don’t claim to be. This is what we found worked for our project. Yours may need a little different approach. Safety first! FYI: Affiliate links are being used on this page. Purchasing via these links help support MDP! Related Projects
12 Comments
7/12/2016 08:12:34 am
Love this idea, working on my own built in counter/desk. Thanks for the great step by step instructions. Sad that the contest to win distressing tools is only open to residents of the USA,
Steph
7/12/2016 04:58:11 pm
Thanks Jean- glad you enjoyed it! Sorry you can't enter this one but we might open up to more countries in future giveaways. 7/12/2016 08:31:21 am
Saw this project on Hometalk and clicked over to see more. What a good job you did! I think your blog idea is a great one. I think I'm right in the middle of the ages of the two of you, so reading your posts feels like talking to two friends. How nice!
Steph
7/12/2016 04:59:35 pm
Wow- thanks so much! This comment made us both smile :)
cheryl hammond
7/12/2016 08:54:51 am
I am in love with this project. Great tutorial!!!
Steph
7/12/2016 05:00:16 pm
Thanks Cheryl!
dawn
7/12/2016 10:49:53 pm
Love this.working on my 10x18 little house mostly by myself but waiting to see if I'd have space for this.but you have giving me some ideas about some of the tools.great job
Steph
7/13/2016 10:06:36 am
Hey Dawn, how fun- I want to make a little house one day- love them!
Ginger Lambert
7/13/2016 09:19:15 am
I love this! Found your "build" on Hometalk. I love your detailed directions and pics. Also love your lists. You know how to make someone feel like they would be able to tackle with all the attention to detail.
Steph
7/13/2016 10:14:49 am
Thank you so much Ginger! We spend a lot of time trying to break down what we did in a manageable way- so happy it shows!
Barbara F.
10/2/2016 09:50:48 am
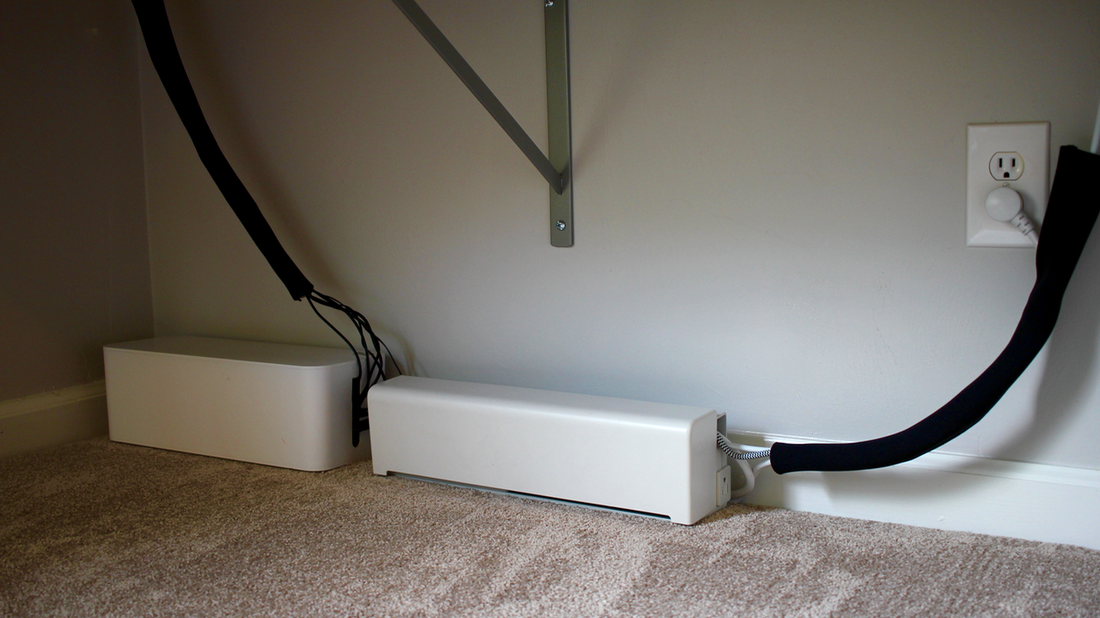
I think it's beautiful and I love the choice of colors! The only suggestions I could possibly make would be to use a white or almond color cable wrap to make the cables disappear into the wall. Otherwise I'd love to have this in my home! 3/2/2017 05:35:48 am
Very interesting blog. Alot of blogs I see these days don't really provide anything that I'm interested in, but I'm most definately interested in this one. Just thought that I would post and let you know. Leave a Reply. |

Mother Daughter Projects
|