|
text by Vicki Sign up here to join our weekly email newsletter!
Inspiration for DIY projects can come from almost anywhere! This project inspiration was from a quick clip from the movie, Princess Diaries 2.
While watching this movie with my grandchildren, the middle child spotted a cat on a hammock and wanted us to build one for their cat, Axel. (They also now have new kitty, Bella.) To us it looked like a PVC project so we told him we'd try to recreate it for him. This is how we did it. Materials/Tools:
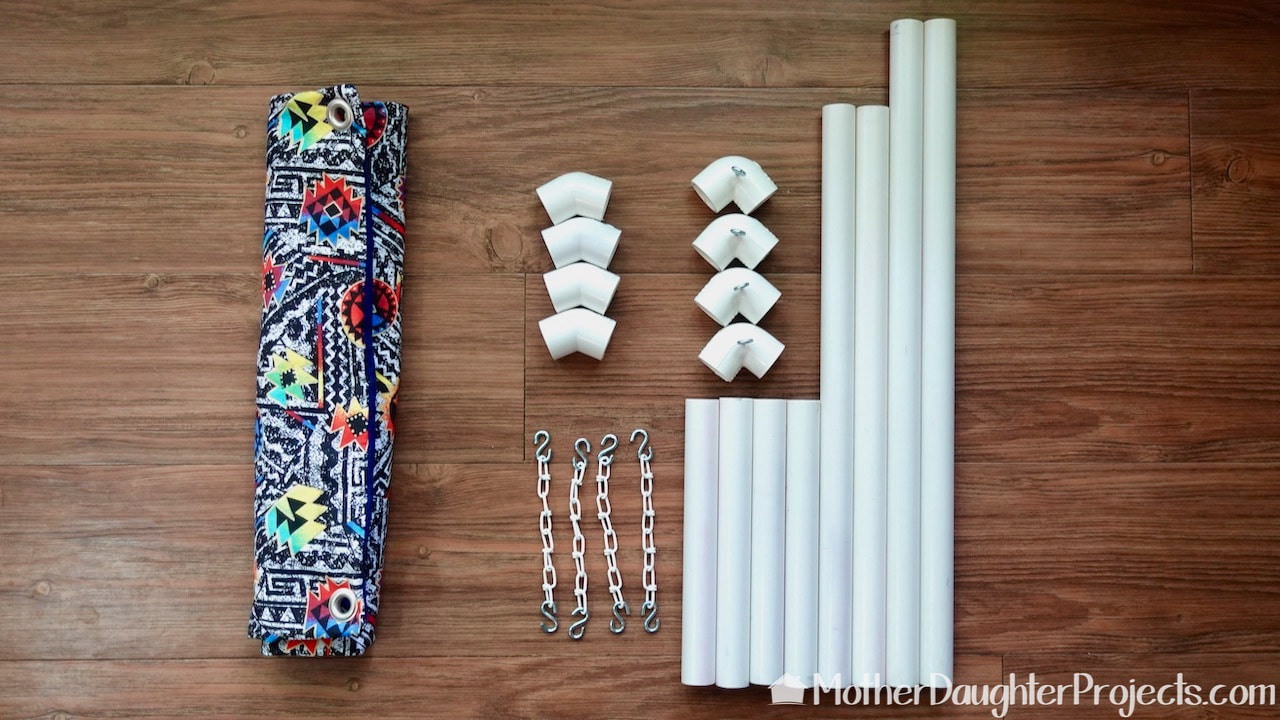
It's a simple build with PVC pipe, connectors, a bit of chain and a fabric hammock.
Click to Download Printable Measurements List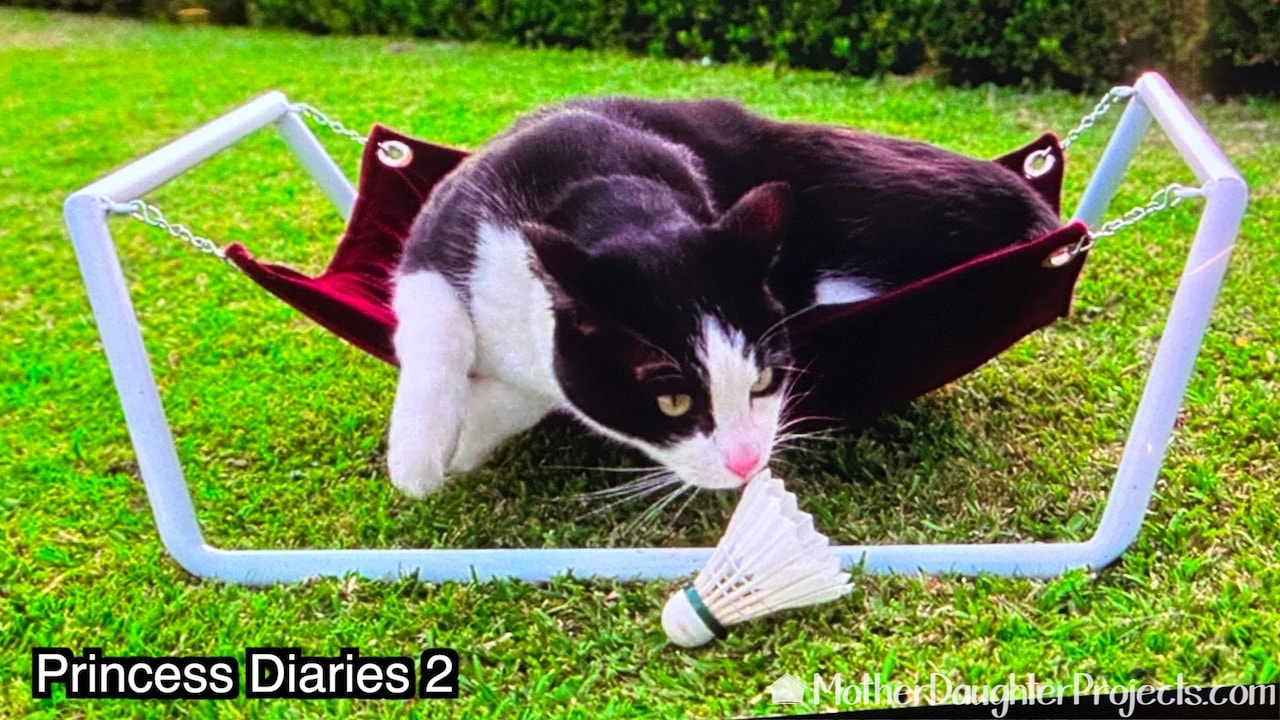
Have you seen Princess Diaries 2? Did you notice this cute kitty on a hammock? After trying to get to kitties to try out our hammock, I wonder how many takes it took to get this shot!
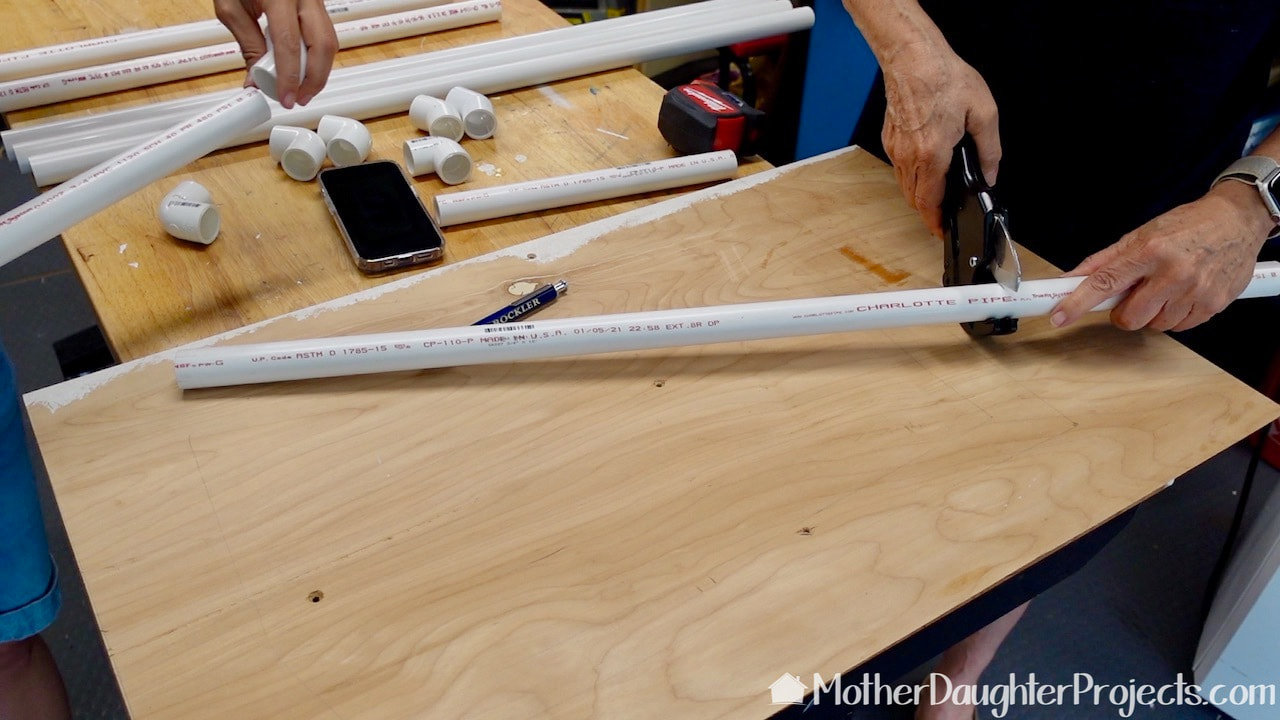
After determining the approximate size we needed, we started cutting the PVC pipe to length using a pair of Husky PVC cutters.
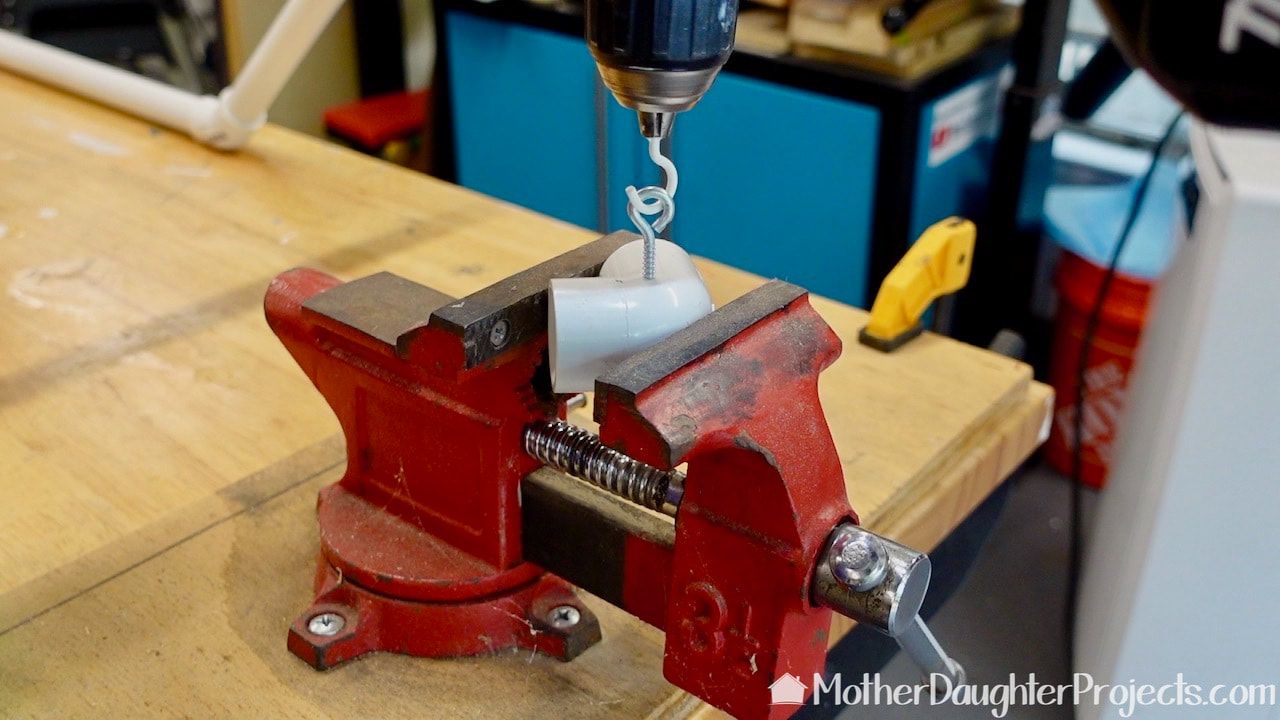
You can see this cup hook hack in action in the video. It's a quick way to screw in eye hooks. Each of the 90 degree elbows had an eye hook screwed into them.
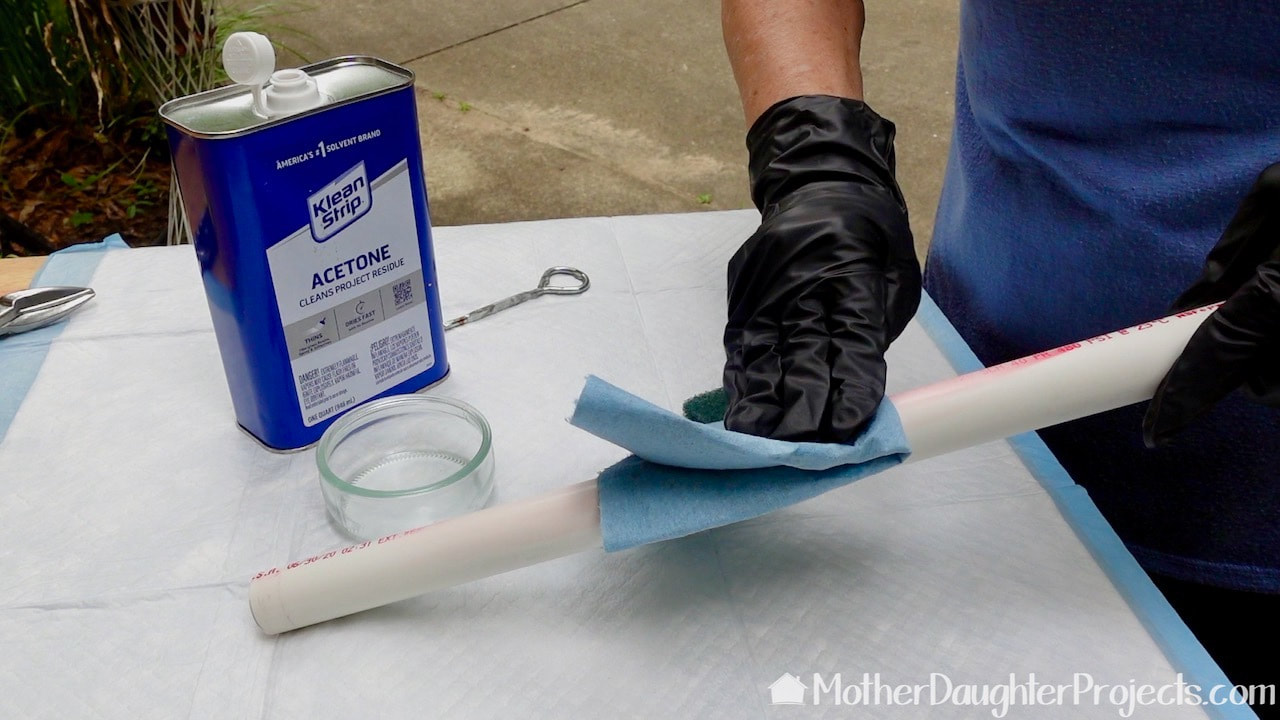
After much trial and error to remove the PVC printing with the chemicals I had on hand, I gave up and made a trip to the Home Depot for acetone! It's smelly, but it works. Use appropriate safety protections when using this chemical.
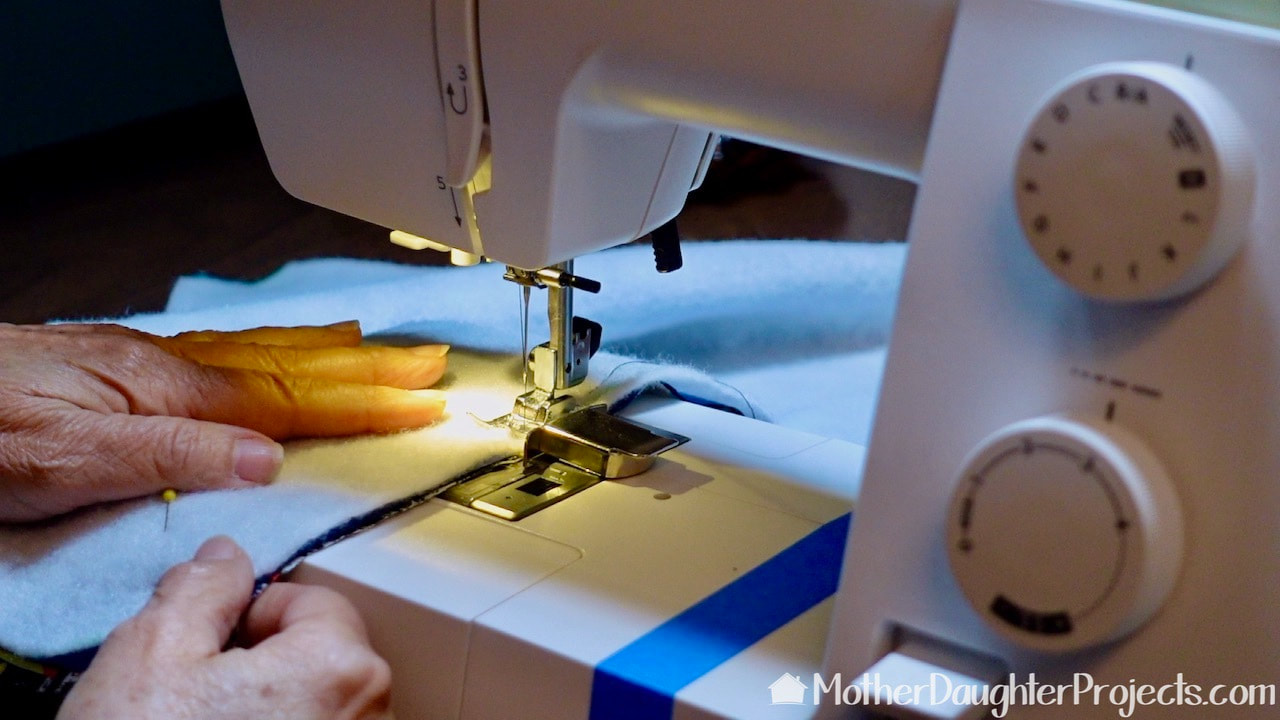
The hammock part is two layers of fabric with a fleece middle. We used a fun 90's print for the top side and a more sedate blue for the bottom, although either side can be used right side up. The fabric hammock is washable but I would recommend air drying on a flat surface. Prewash your fabrics to prevent shrinking after washing.

The key to setting the eyelets/grommets is working on a hard surface. I'm working on the floor with a small cutting board between the floor and fabrics.
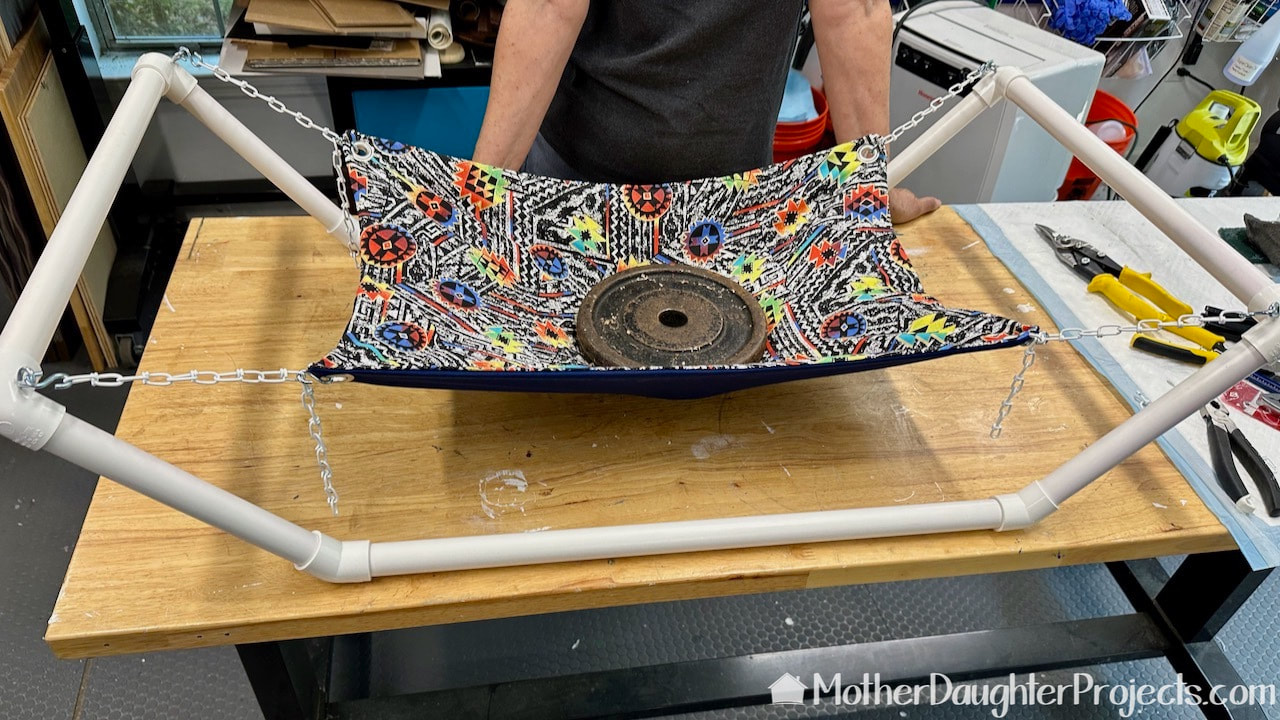
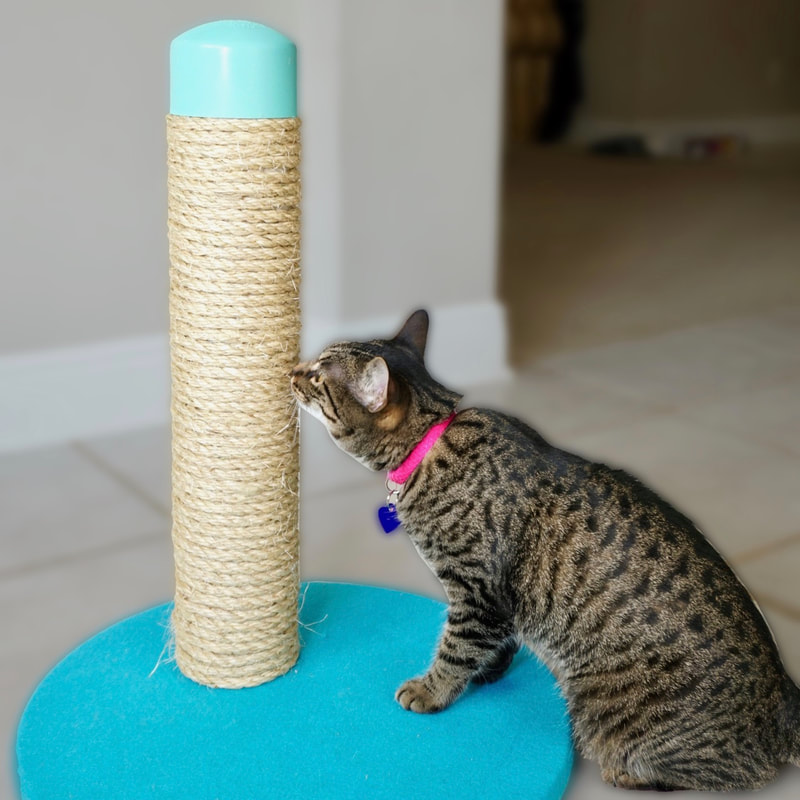
We don't have a cat so we tested the strength off the hammock with a 10 pound weight. It worked and held tight! (Well, during filming, Tosh our greyhound at 60 pounds stepped on it and it didn't break, but a 60 pound greyhound stepping onto this is NOT recommended!)
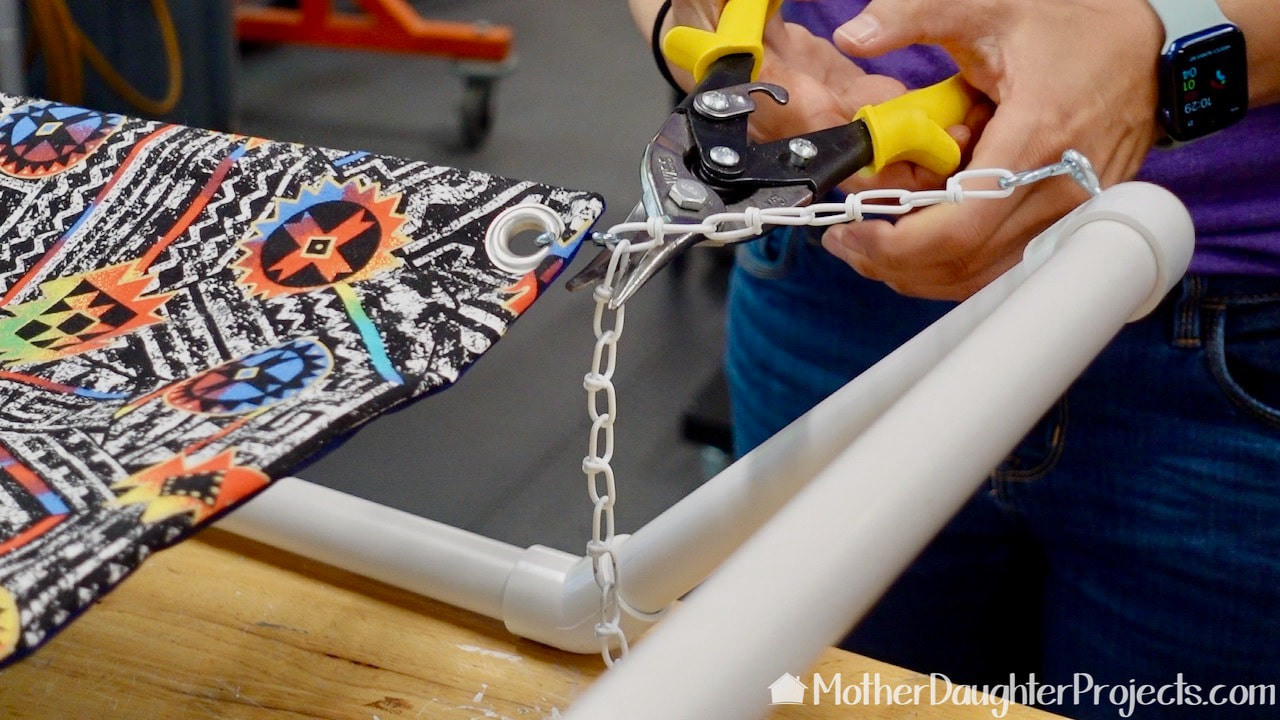
Chain and S-hooks are used to hold the hammock onto the frame. Here we are cutting off excess chain.
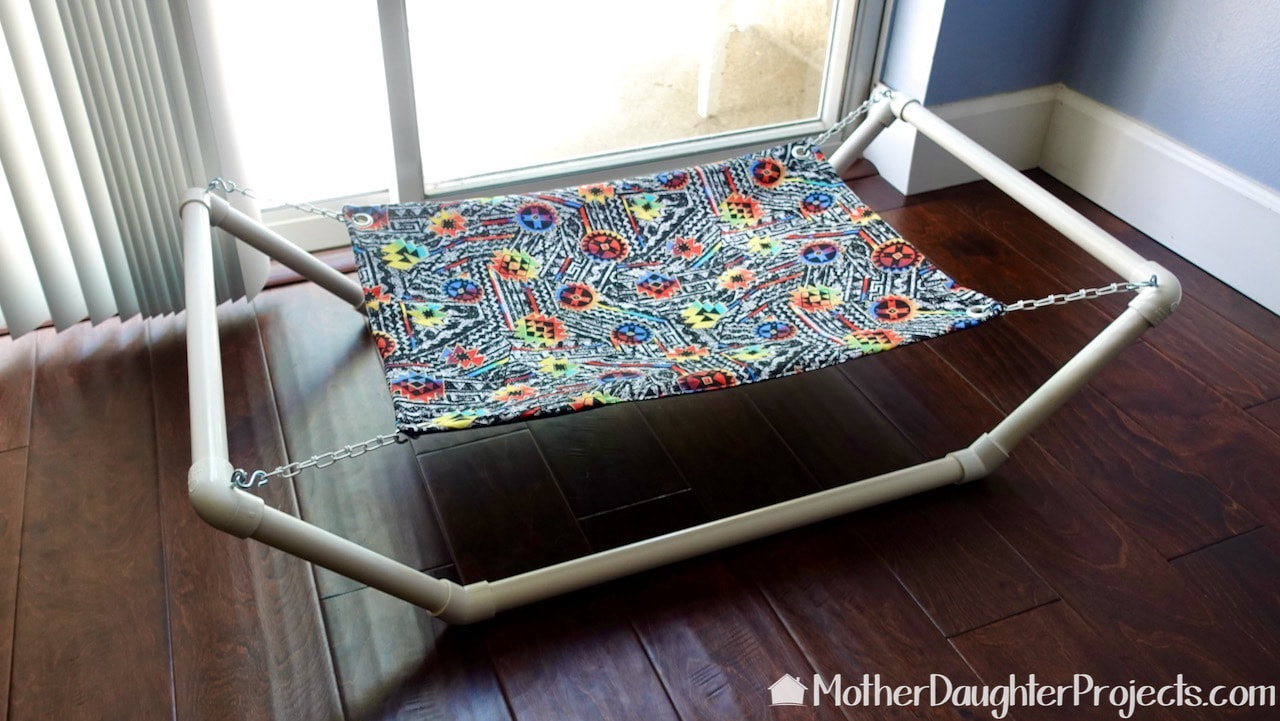
Here it is all finished and at my grandchildren's home waiting for the cat to find and explore it.
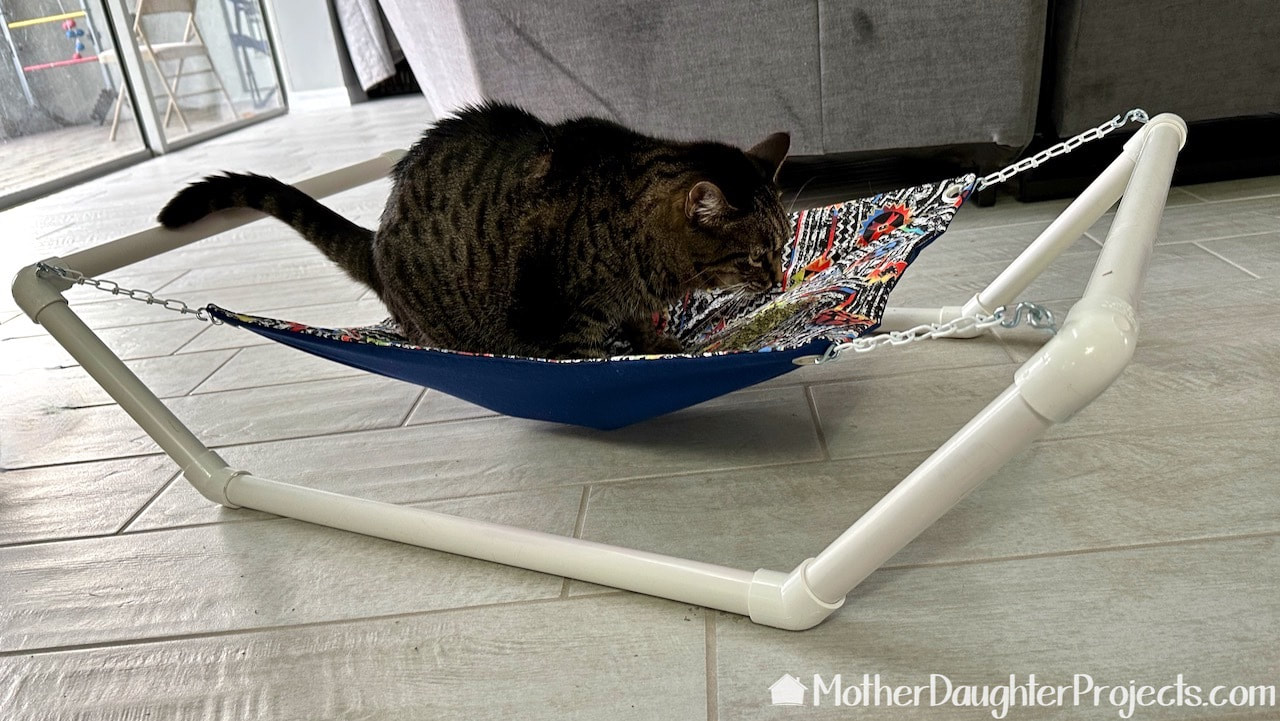
Axel very tentatively explored her new bed which we coaxed her onto with a little catnip!
That 90's print is bright but fun!
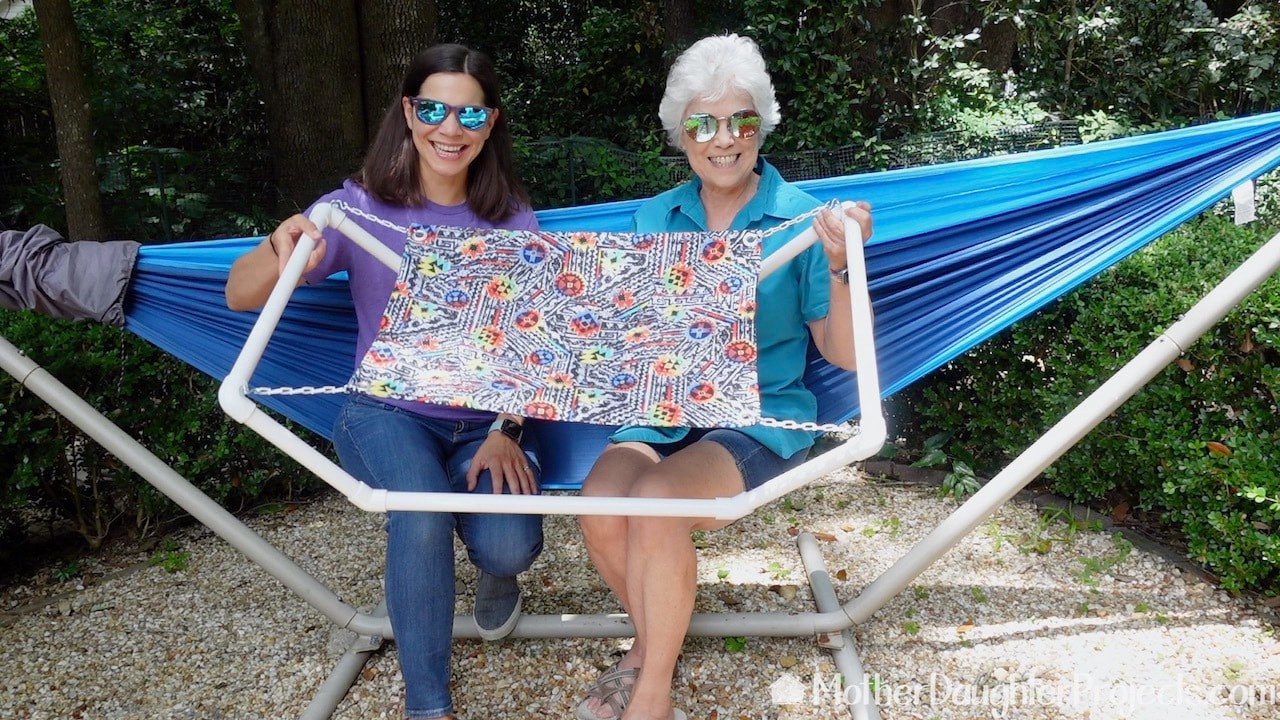
PVC projects are always so much fun and this one was no exception! It was especially special since it was requested by the grandkids.
We did not glue any of the parts as we wanted to be able to take it apart for transportation to its new home. It actually seems to work with a cat without the parts having to be glued. We would recommend some kind of rubber "foot" on the four bottom elbows as it is slippery if this is placed on a hard floor. It probably would be fine on carpet thought. Please note: This is not a sponsored post. FYI: We are not professionals, and we don't claim to be. This is what we found worked for our project. Yours may need a little different approach. Safety first! FYI: Affiliate links are being used on this page. Purchasing via these links help support MDP Related Projects
0 Comments
Leave a Reply. |

Mother Daughter Projects
|