|
text by Vicki Sign up here to join our weekly email newsletter!
Tosh, the greyhound, has LOTS of toys because greyhounds playing with toys is super cute!
But unlike most dogs, Tosh does NOT tear up or destroy her toys. So because the humans keep buying cute toys, the toy situation has gotten out of control. Time for some new storage to accommodate her growing collection. And, because of the design of this storage, her collection continues to rotate as she plays with them. No boredom for the grey! Materials/Tools:
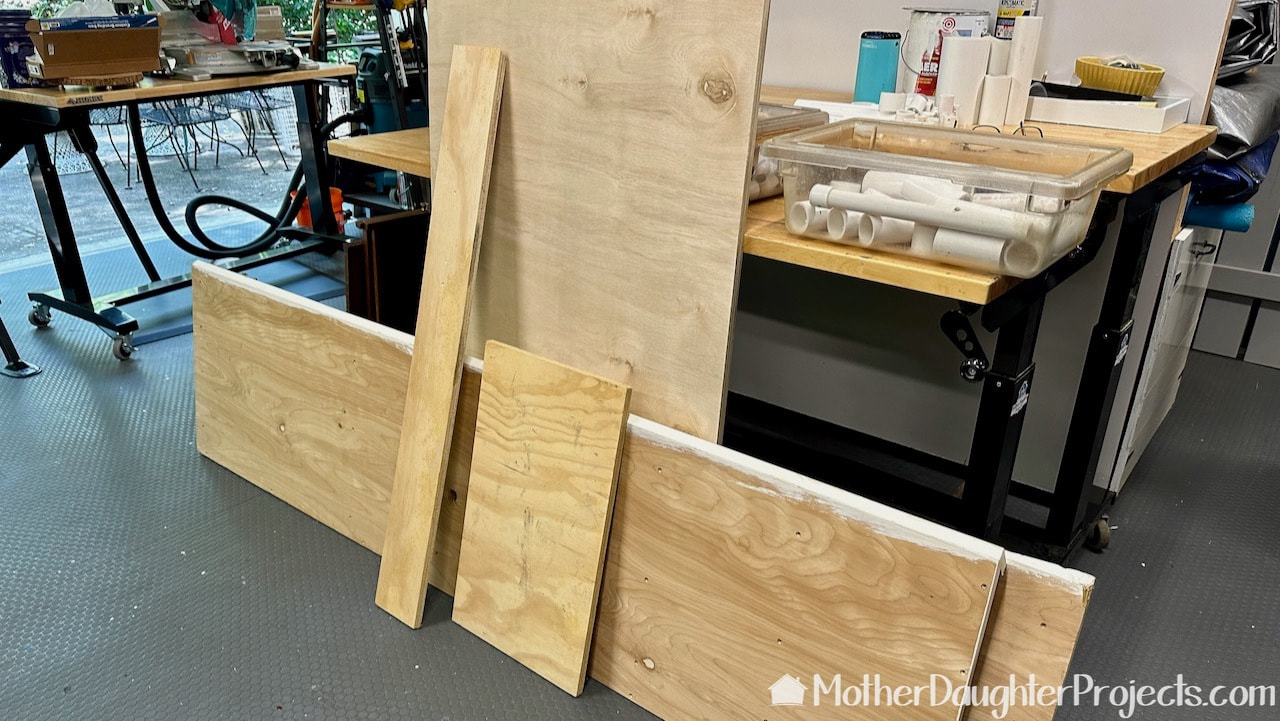
After making the plan, the first step was to source materials. Fortunately, we found exactly what we needed in our scrap wood supply.

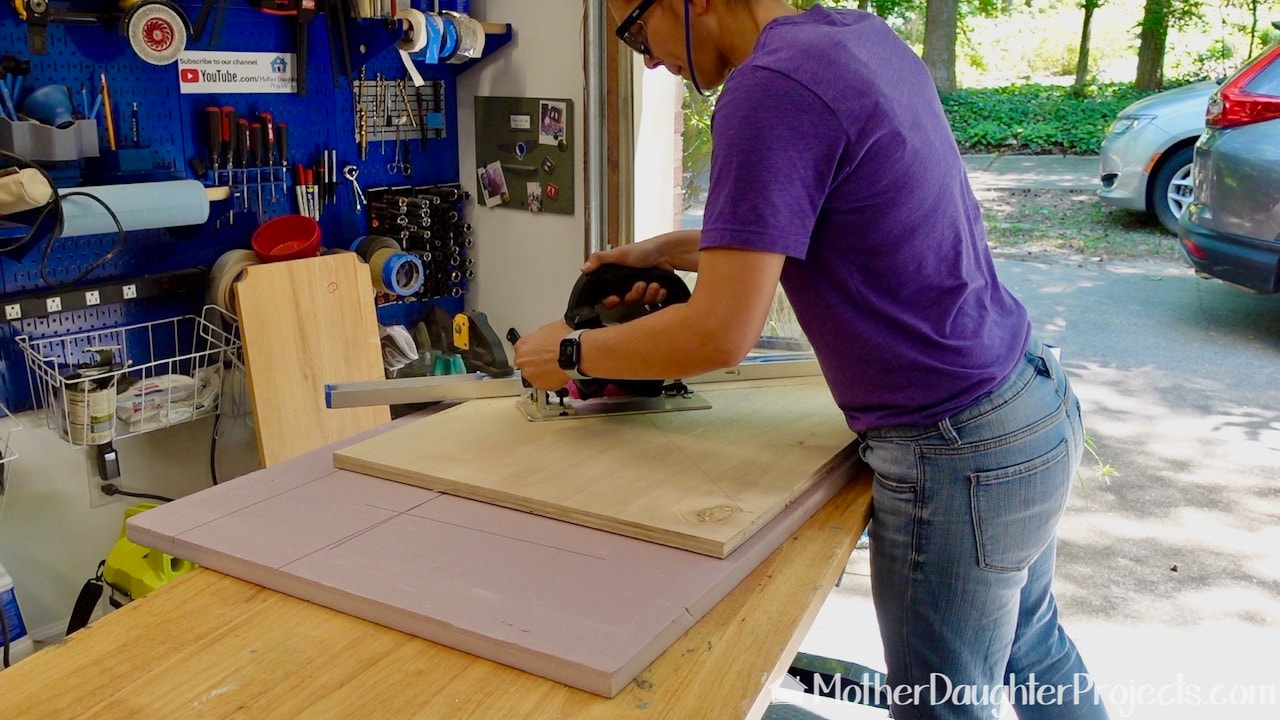
There are lots of ways to cut down plywood but here we are using a Makita track saw with track. That pink stuff is a piece of insulation laid on the table to prevent unfortunate cuts into our table top.
Measurements:
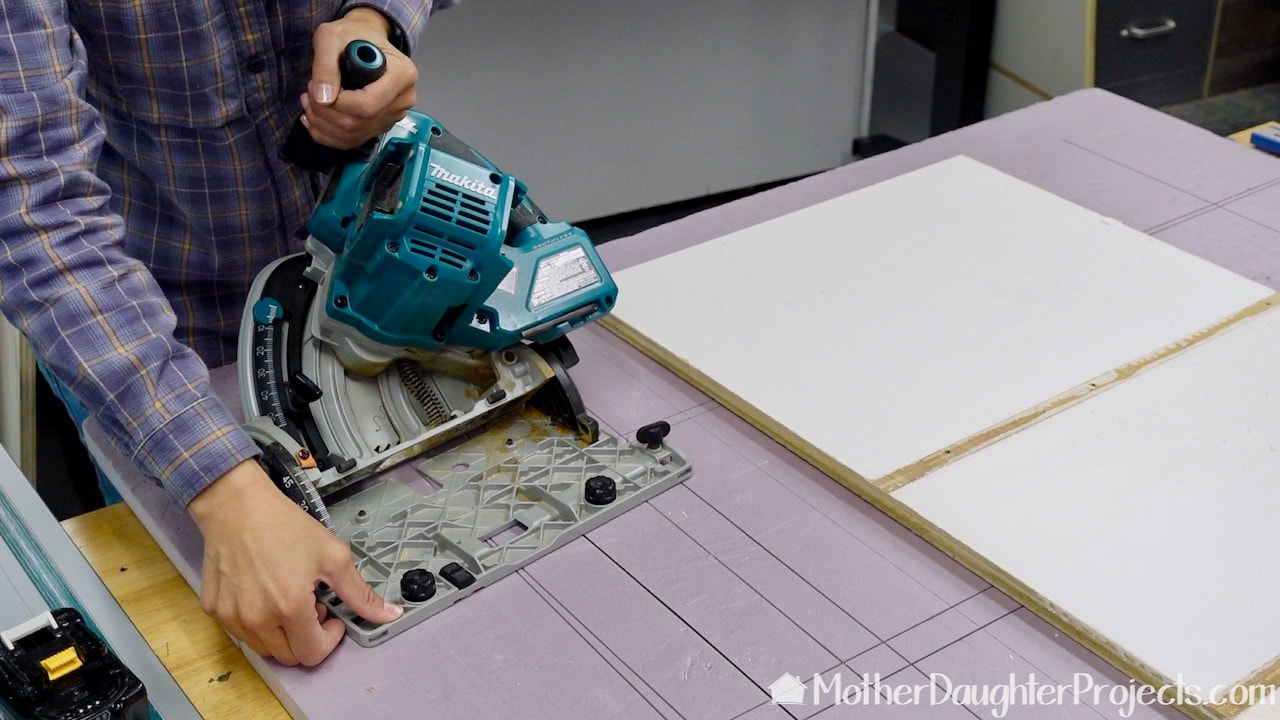
We set the Makita saw at a 45 degree angle to cut the angle we needed on the front. That board is painted as this is from a cabinet that we found discarded in someone's trash pile. We took it apart and that is the plywood we are using. That discarded cabinet was made of premium plywood!
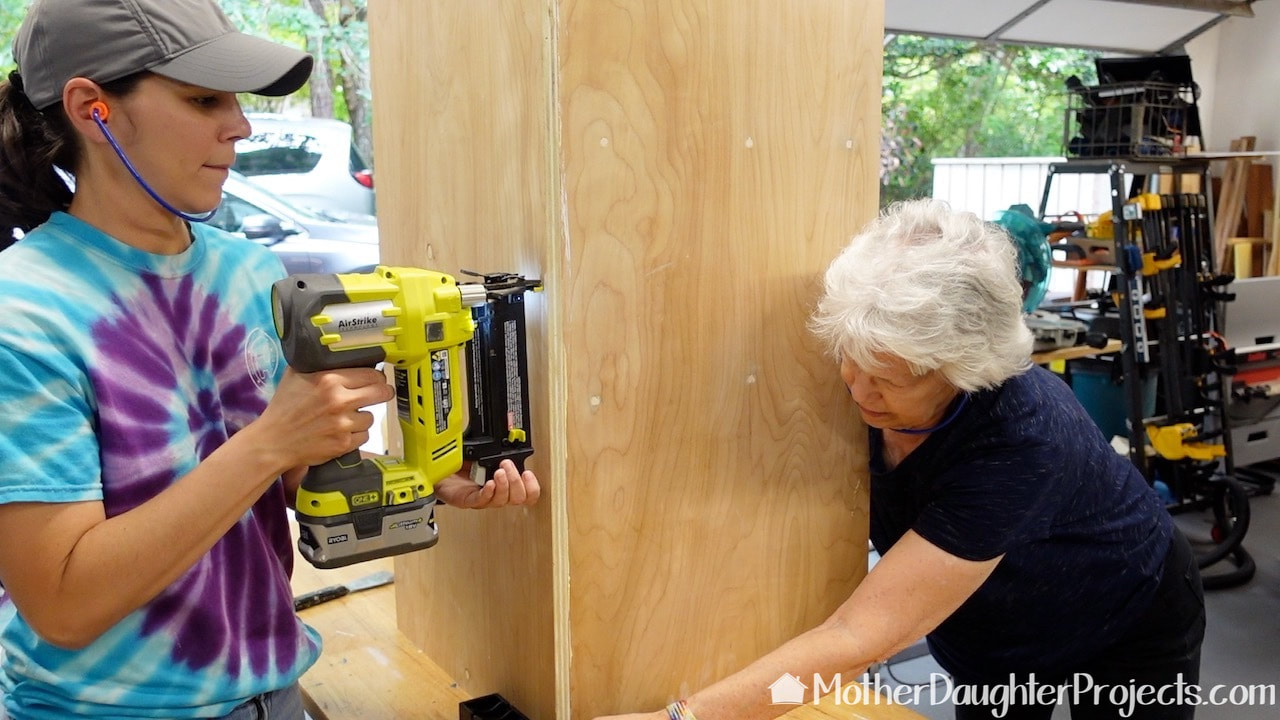
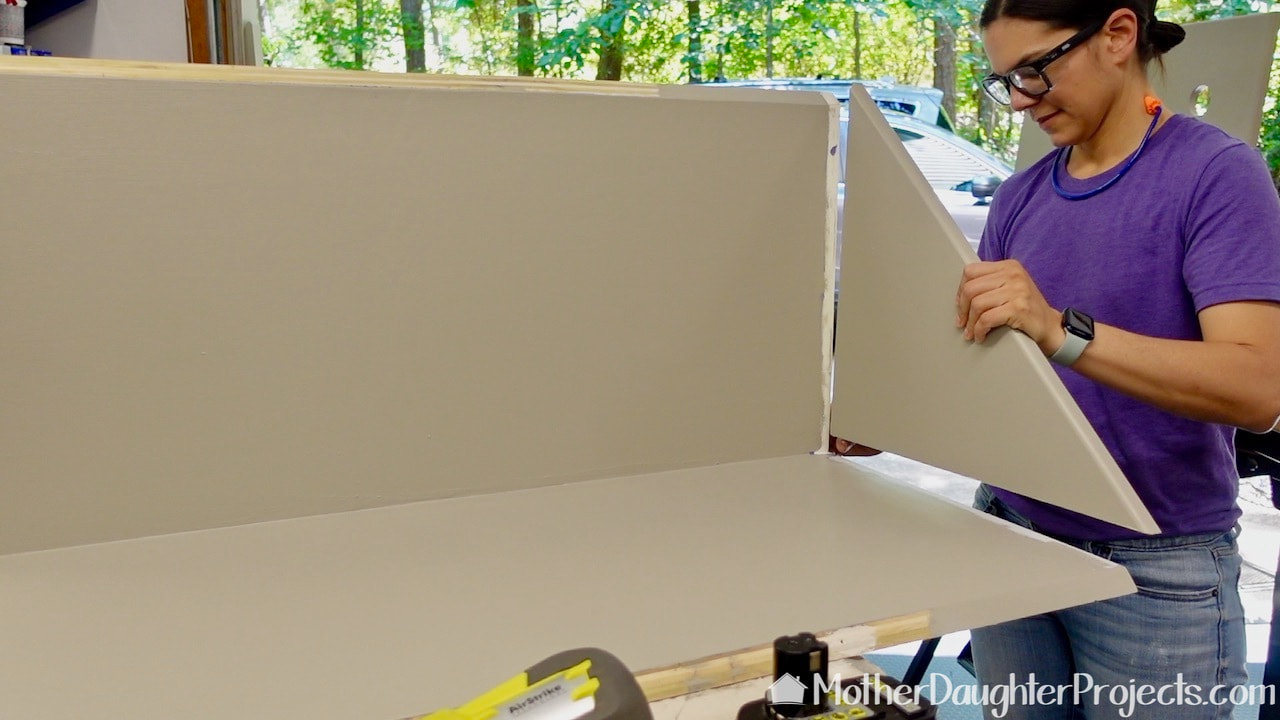
This is going to be a cabinet that fits into a corner. Here we are gluing and brad nailing the corner together.
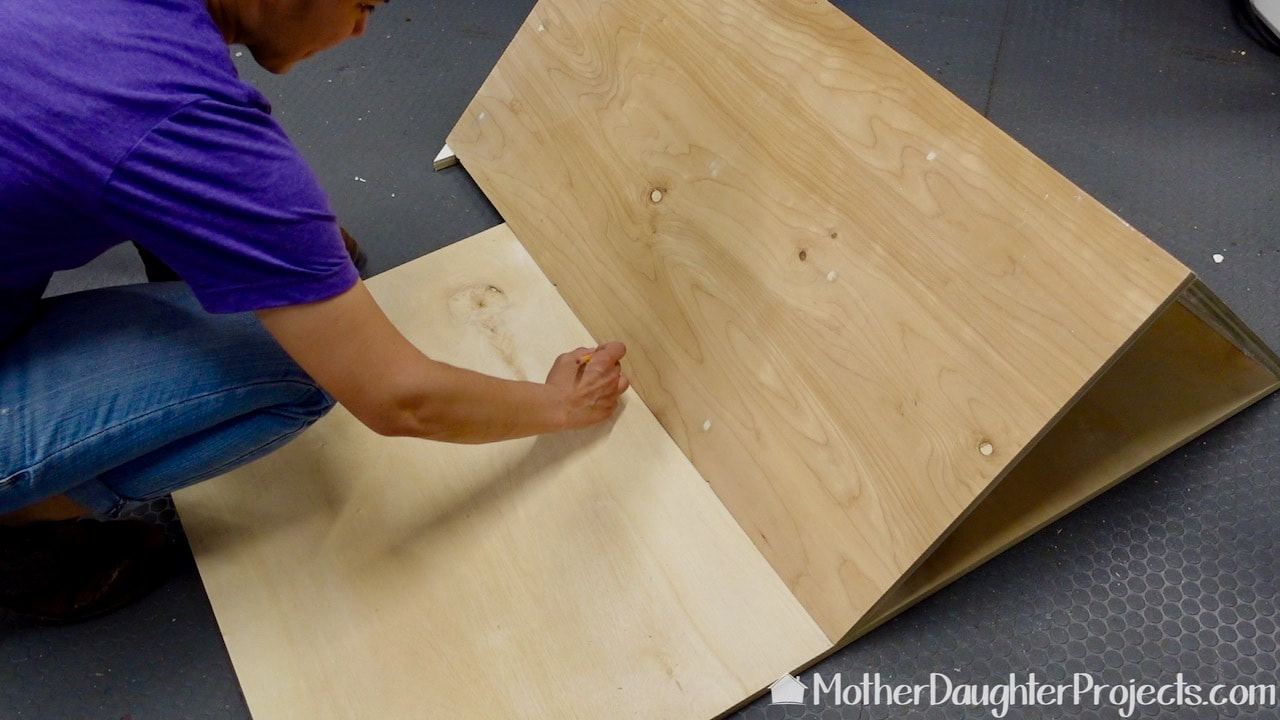
Rather than trying to measure and cut the front board, we simply laid the corner cabinet down and traced a line. Easy!
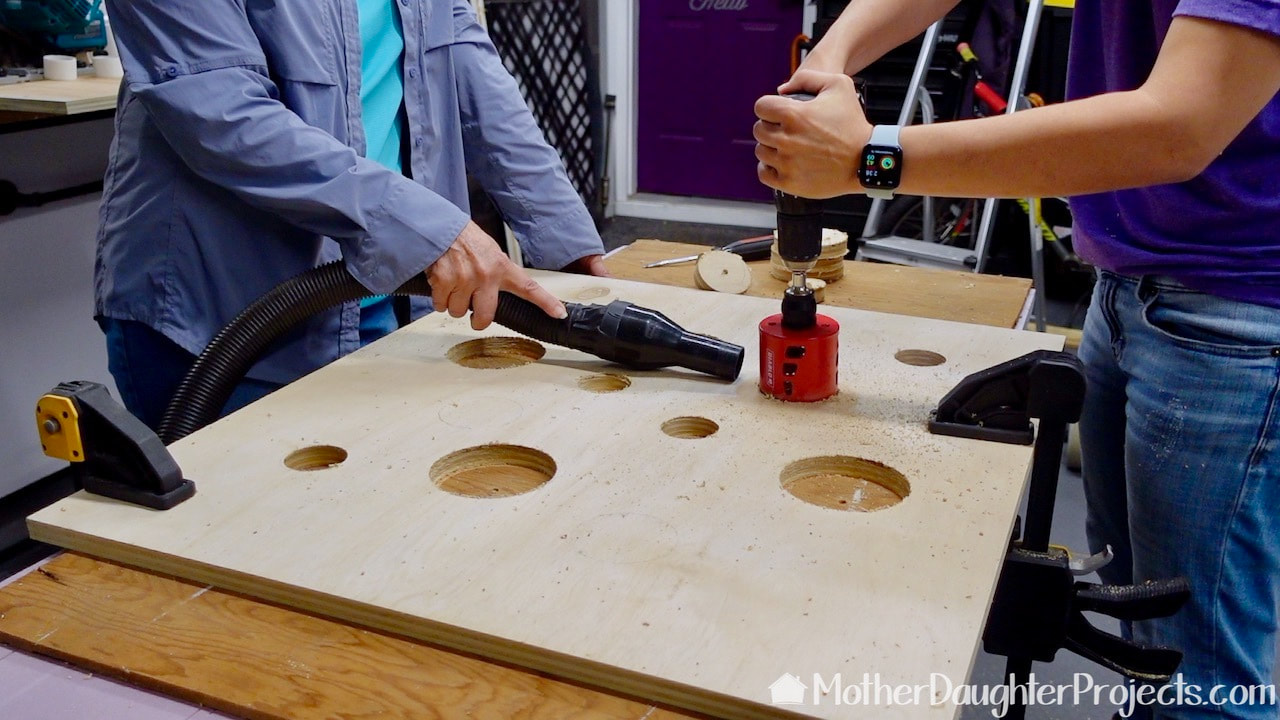
We decided to add some decorative circles of various sizes to the front of the cabinet. Mainly this is for air circulation, but you'll see in the video, we found another use for them! We are using Diablo and Milwaukee holes saws to make the cuts.
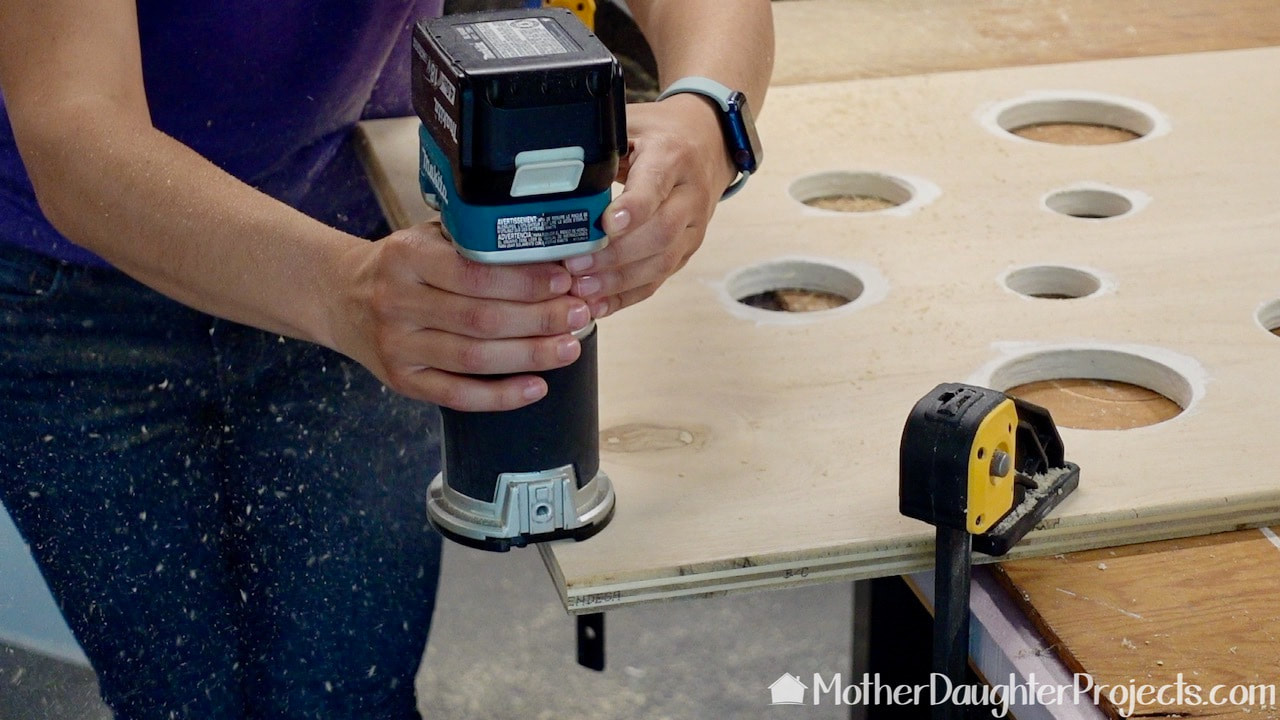
We used a router to give the edges a smooth curve to keep Tosh safe from sharp edges.
Once the inside of the unit was painted and dry, we started the assembly process staring with the base.
Here Steph is cutting out the top of the storage cabinet which will be hinged.

We then added a front to the unit and then everything was given a final coat of paint.

Here the edge is being cleaned up with a DeWalt angle grinder. Wood fill was used to minimize the look of the seam and then painted.
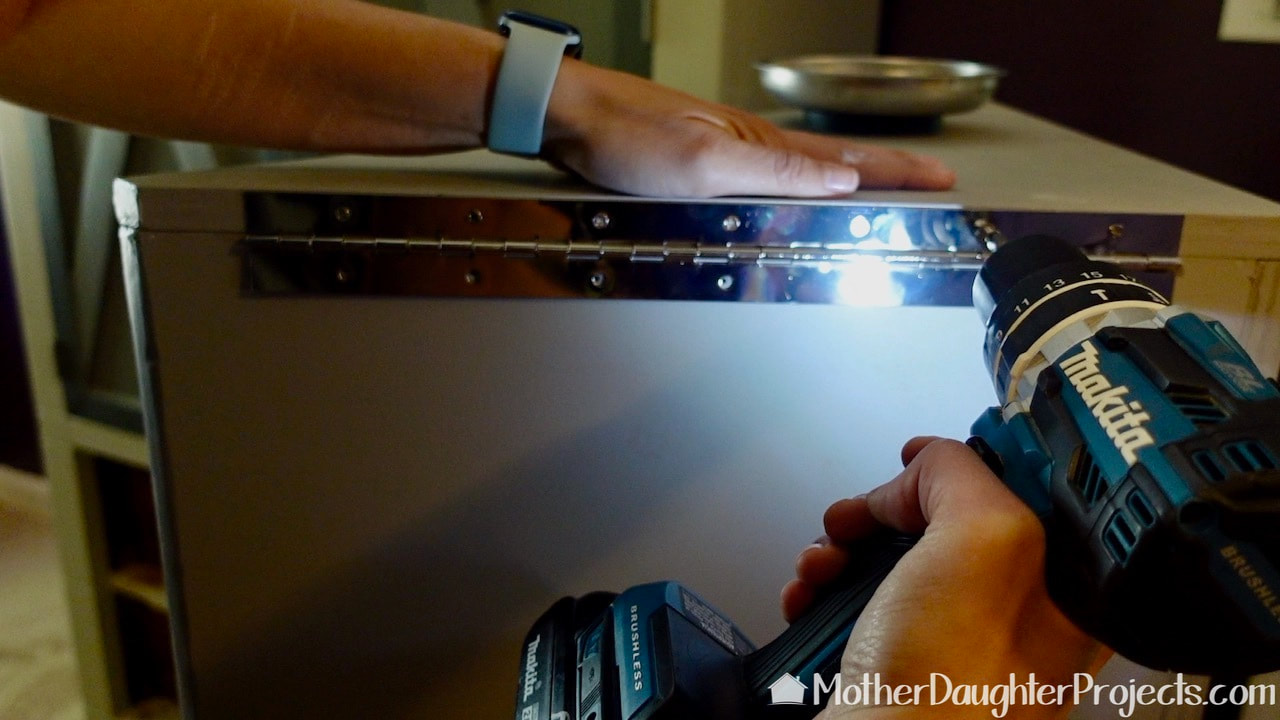
We used a continuous hinge to secure the top to the rest of the unit.
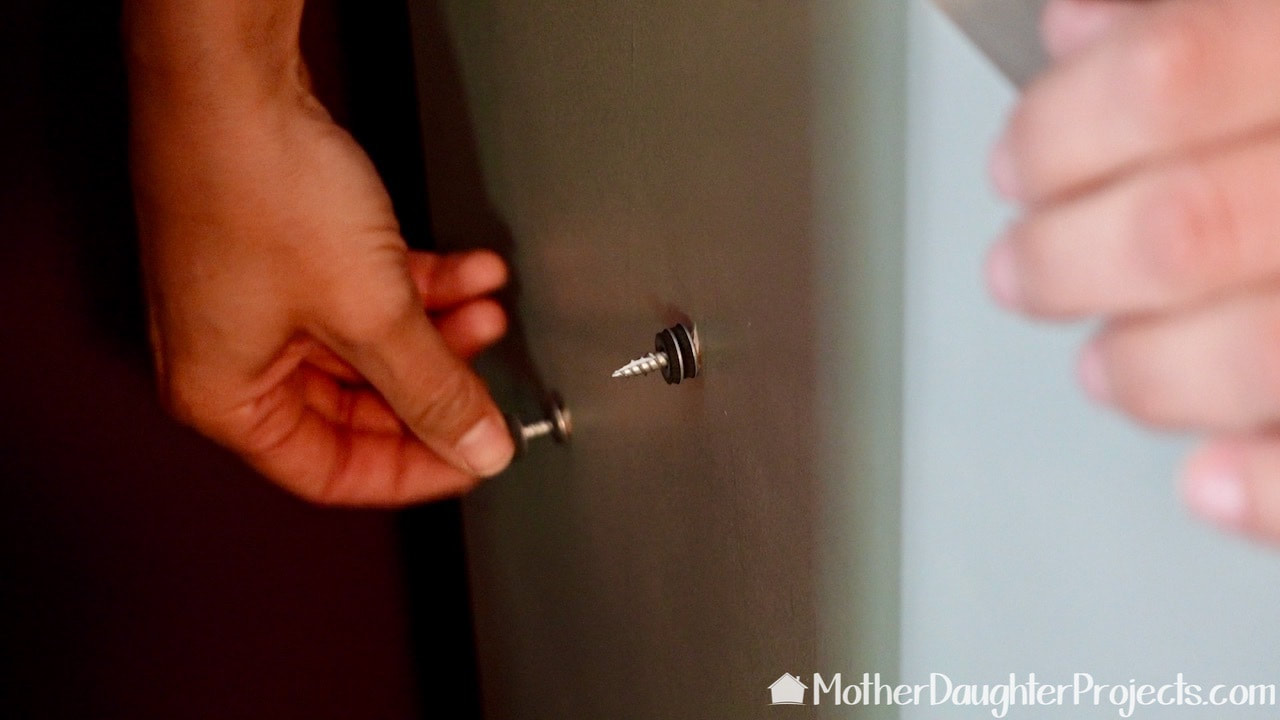
For safety, we secured the toy unit to the cabinet that it was next to. These two washers on each screw gave us the space that we needed.
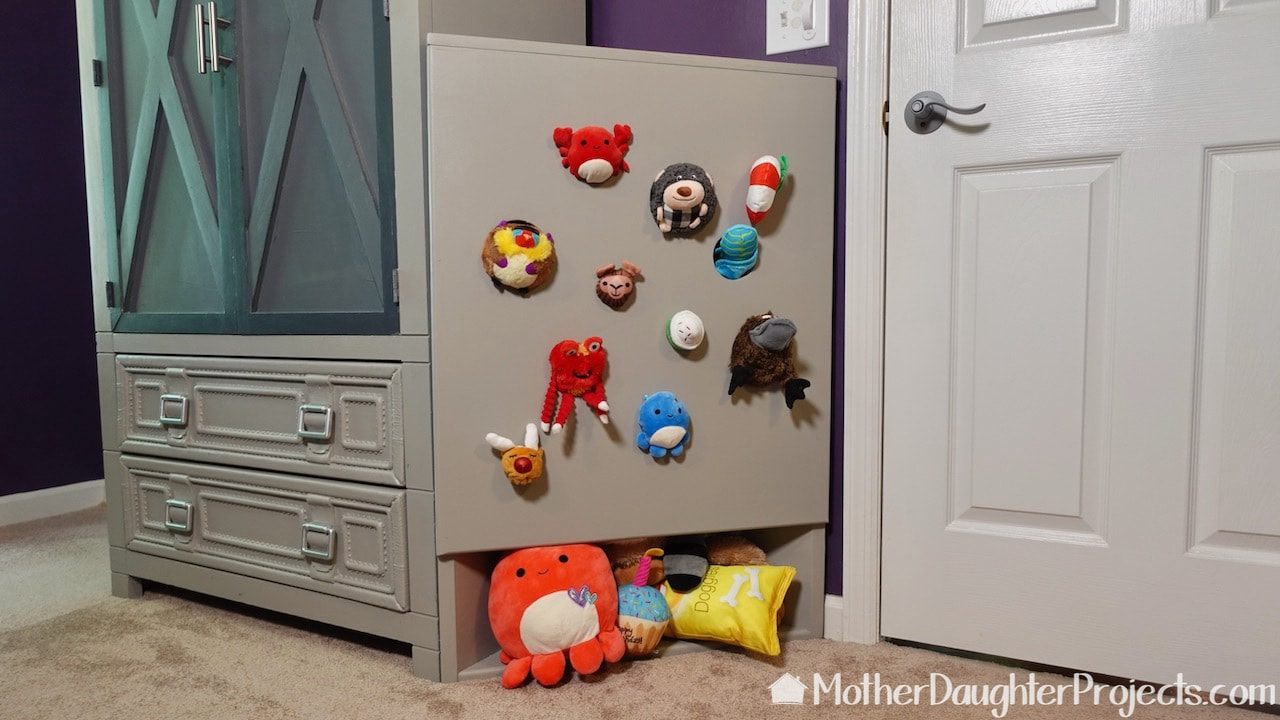
See what we did with those holes?! They make a great place to place toys for easy play for the dog. As the toys are removed from the bottom, new ones take their place, so Tosh always has a new toys to play with.

Here it is without toys in the holes. The unit fits perfectly in the corner and is out of the way, but holds all of the dog toys. It's easy to lift the lid to put them all back.
Steph is happy to have all of Tosh's toys off the floor and all stored away, yet easily accessible for the dog.
This design lends itself to many different shapes and heights. Design it for what you need to hold and for your space. Please note: This is not a sponsored post. FYI: We are not professionals, and we don't claim to be. This is what we found worked for our project. Yours may need a little different approach. Safety first! FYI: Affiliate links are being used on this page. Purchasing via these links help support MDP Related Projects
0 Comments
Leave a Reply. |

Mother Daughter Projects
|