text by Vicki Sign up here to join our weekly email newsletter!
This post is sponsored by The Home Depot.
Happy New Year! Wow, 2020--back in the early 80's, I can remember thinking about how far away it seemed, but just like that, it's 2020!
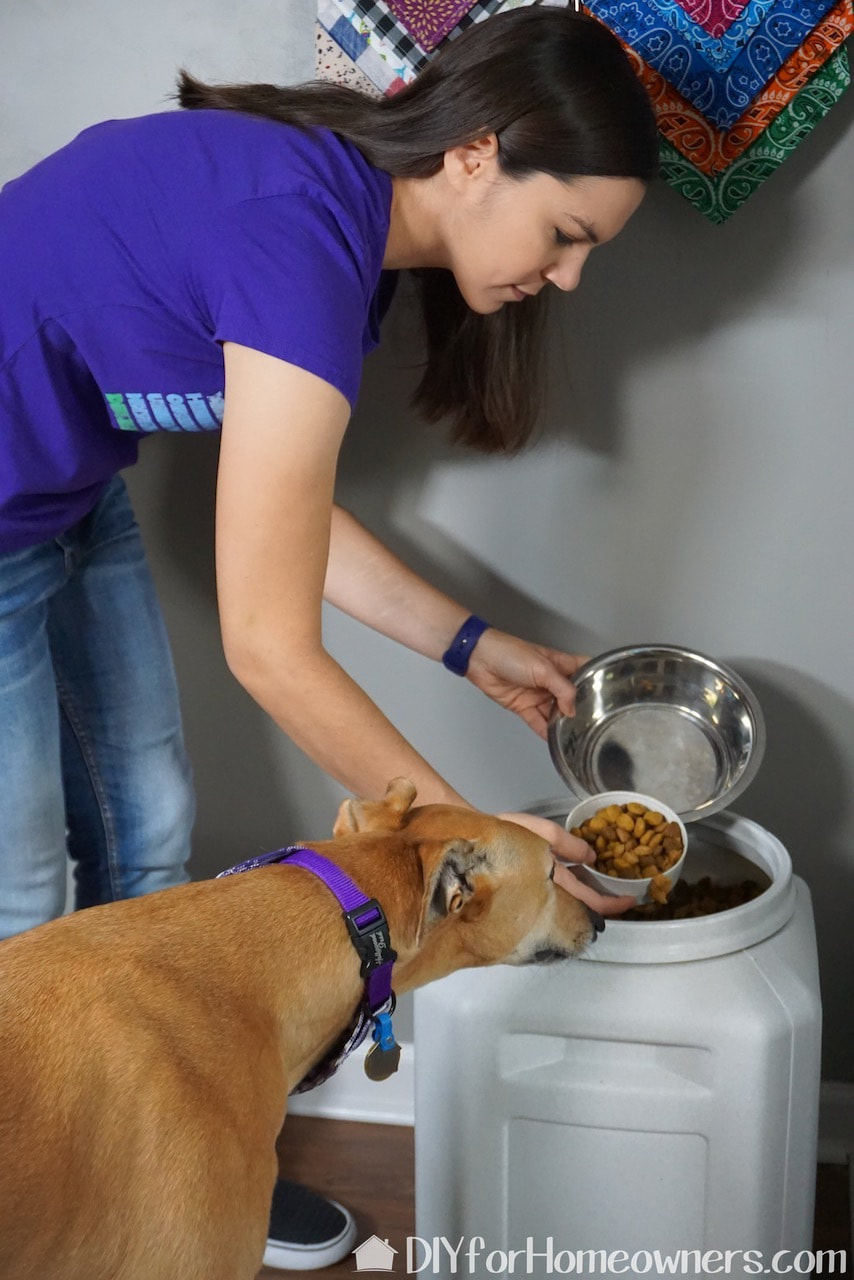
To celebrate the new year, we are sharing a storage project. Storage solutions are a running theme for most people in January so we thought this was appropriate. This project has been in the works for a while as Steph needed a better solution to storing and accessing Mac's food. Here's her solution to storing 40 pounds of dog food! 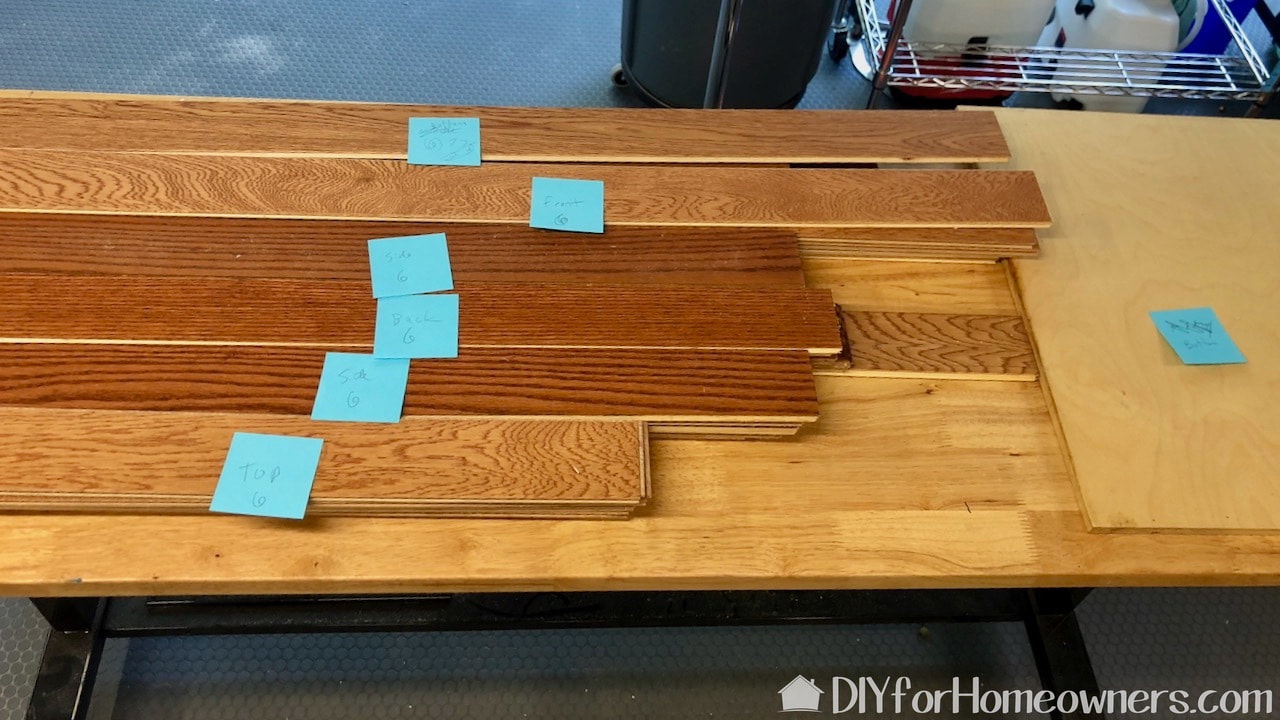
This could be considered an upcycle project as we used "found" materials. We are using leftover flooring planks. This could easily be build with plywood though.
Tools/ Materials:
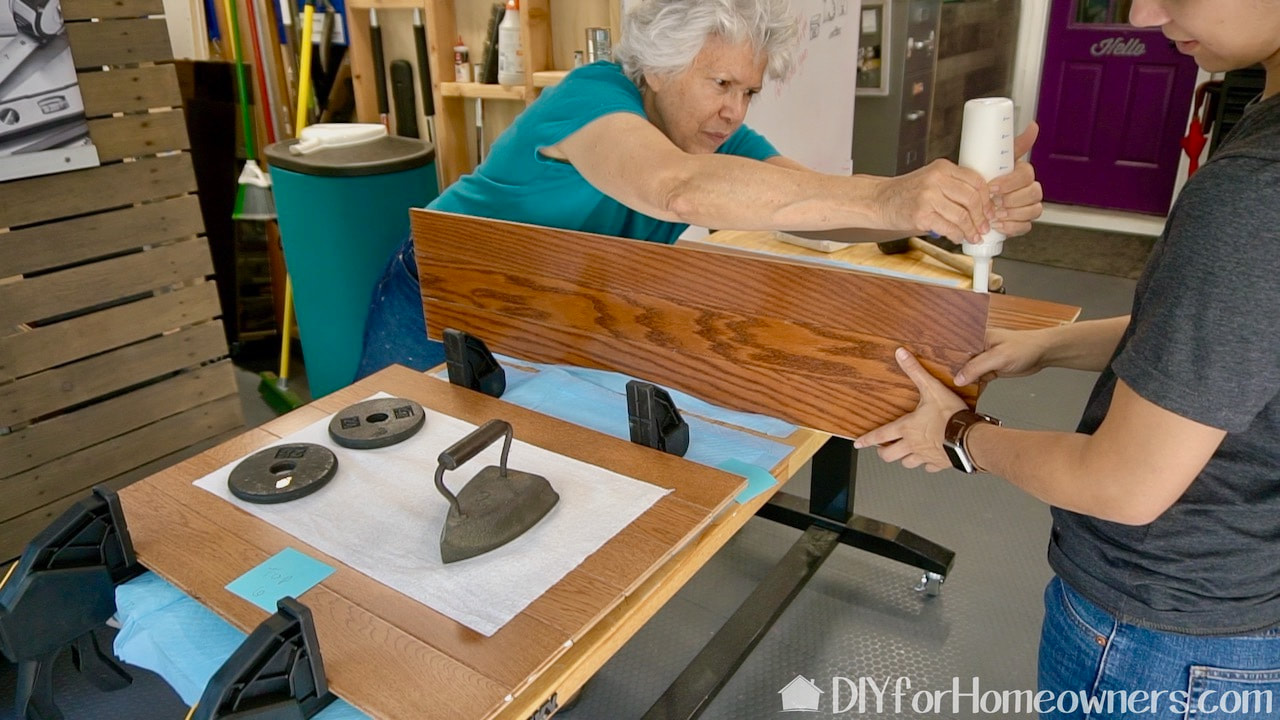
First step is to cut the planks to length and to glue the panels. We are making four sides, a top and bottom, and a cabinet front. This is where our newly purchased longer clamps helped out a lot! Tip: free weights and old irons are great to have in the workshop when you need to weigh something down. Look for free weights at yard sales where you can usually get them really cheap. We use these weights ALL the time!
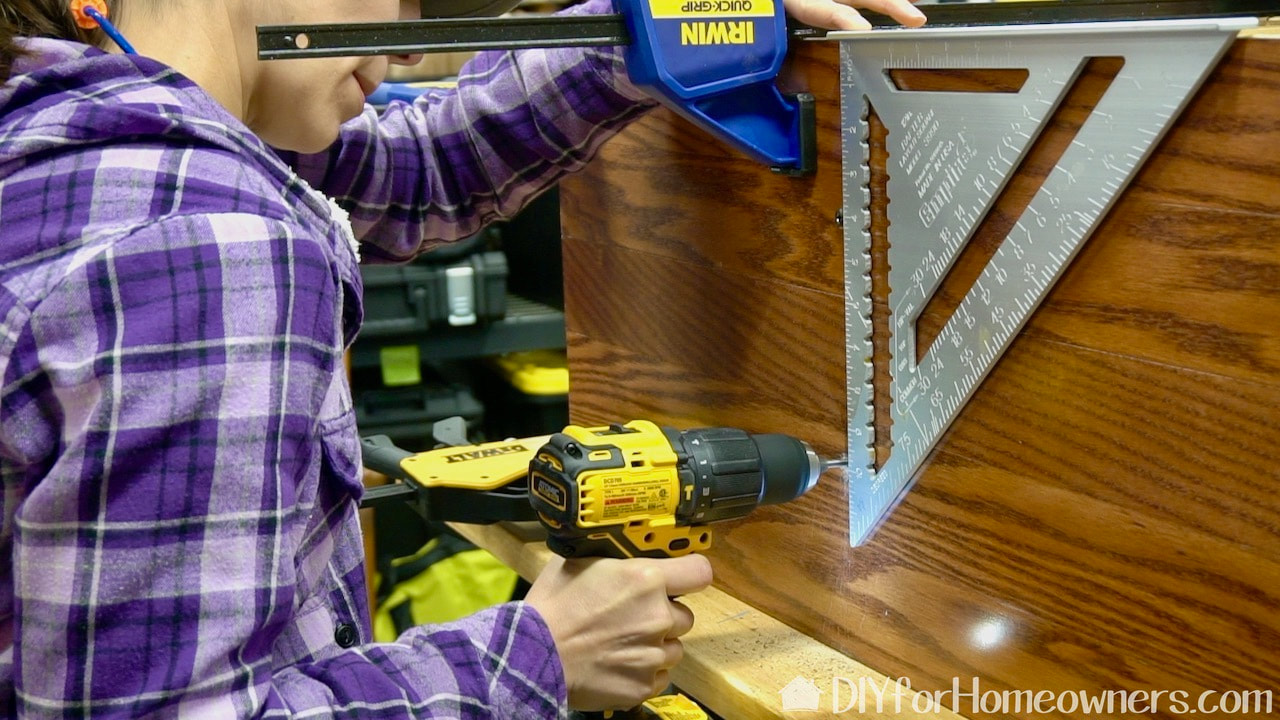
Inside the cabinet is a shelf to separate the food container from storage underneath. Steph is adding screws to give the shelf the structural strength it needs to hold 40 pounds of dog food. The carpenters square on the right is serving as a guide for the screw placement.
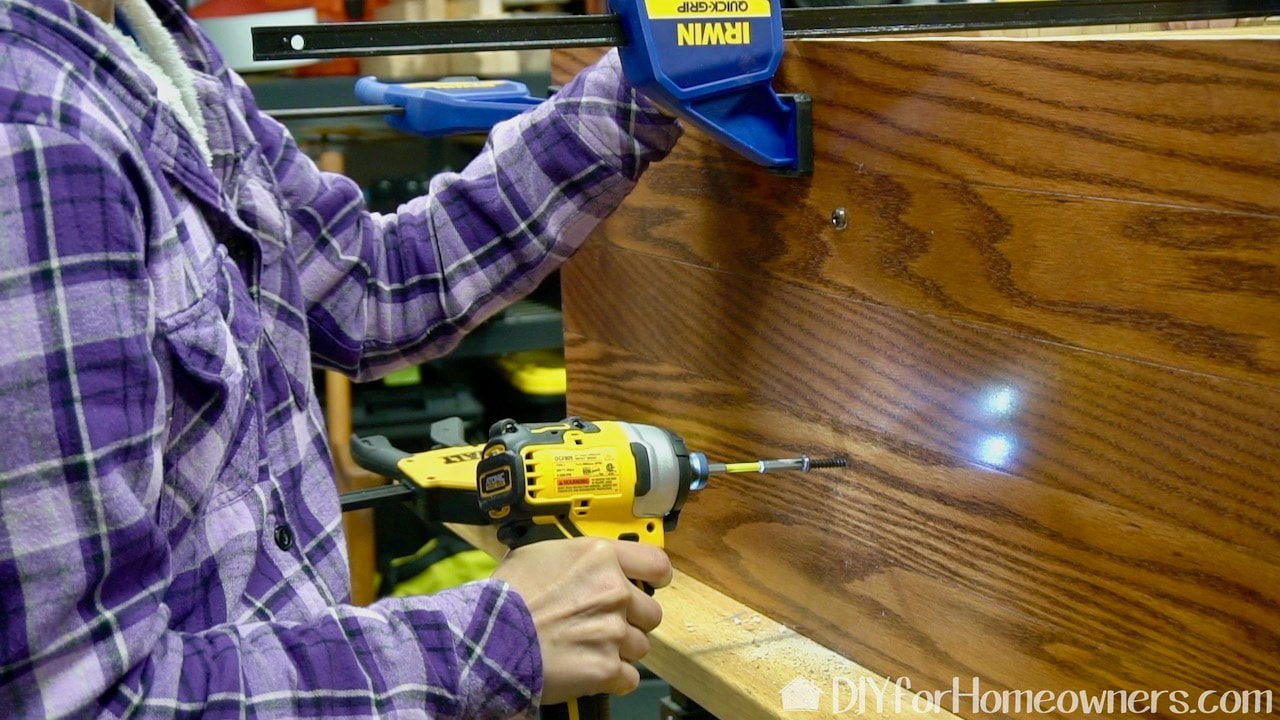
Steph switched to the DeWalt impact driver to add the screws. Tip: you can work faster if you have a drill/driver fitted with a drill bit and the matching impact driver fitted with a driver bit. You don't have to keep stopping and switching out bits.
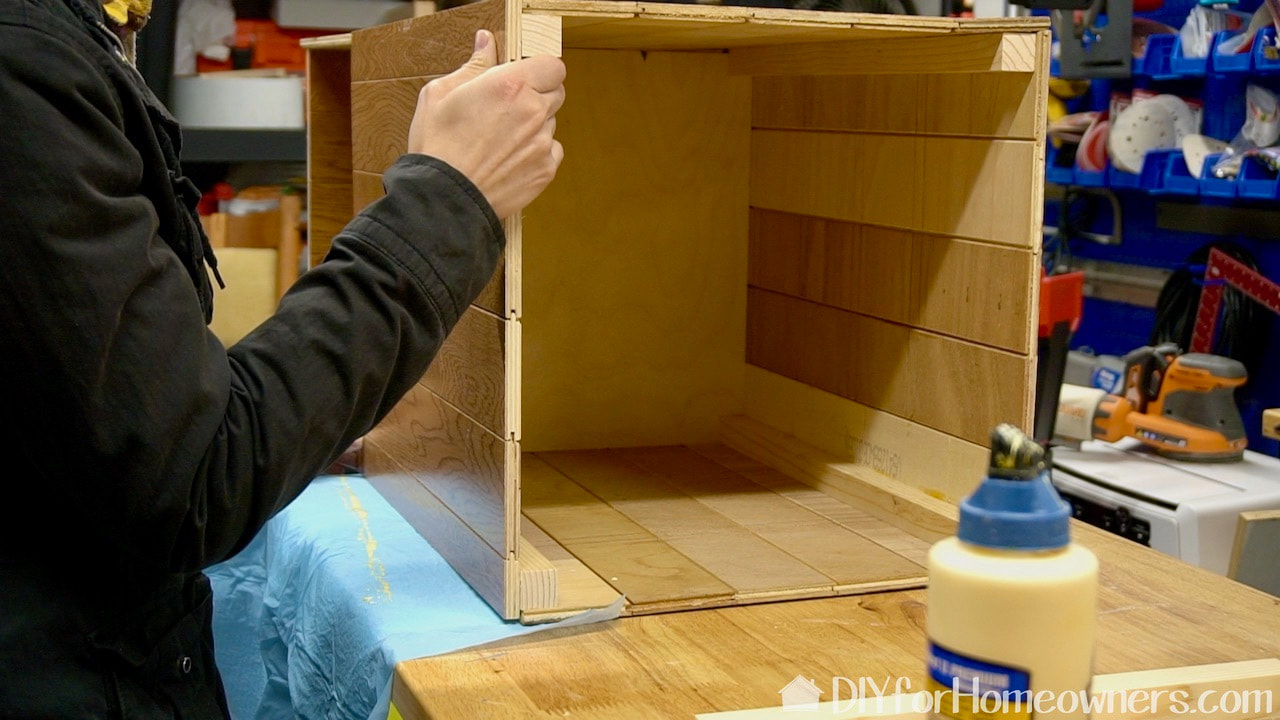
Dowels are glued and clamped into place and then the panels are glued into place.
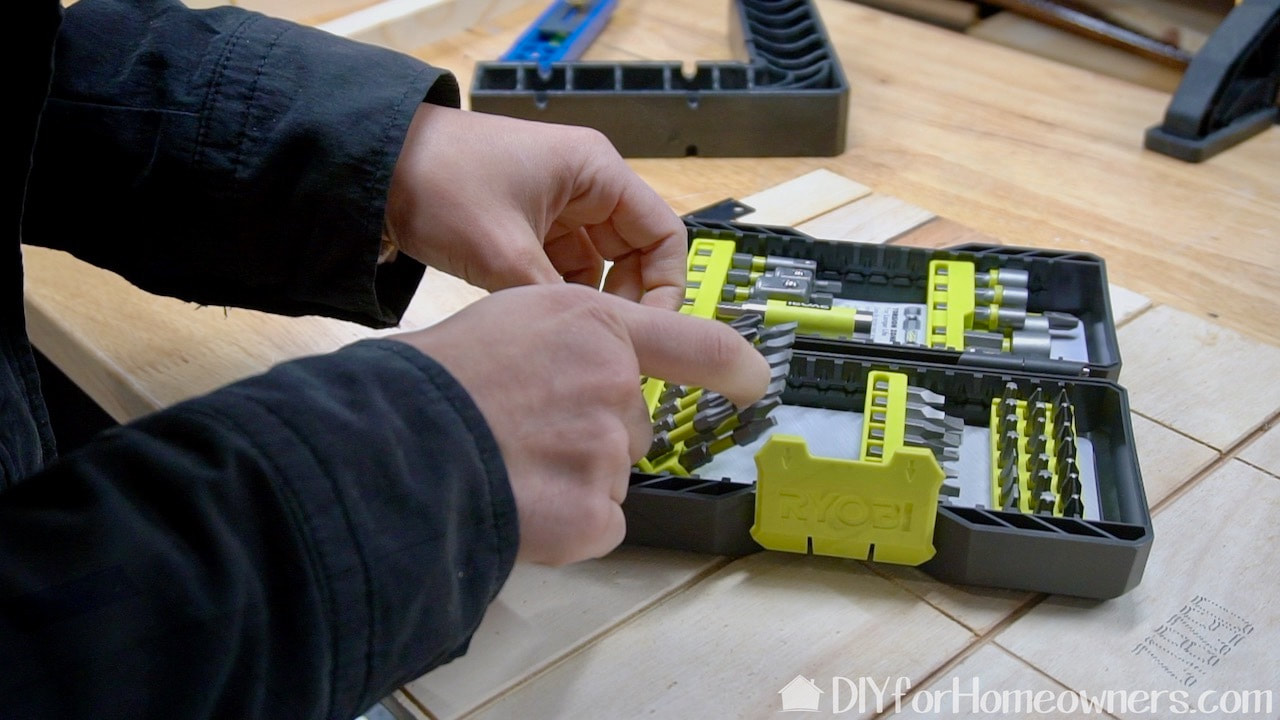
We used this Ryobi Impact Rated Driving Kit with hex shanks for Impact Drivers and Drills. These Ryobi bits are packaged in a nice compact container for ease of use and storage. It's easy to see and select what you need.
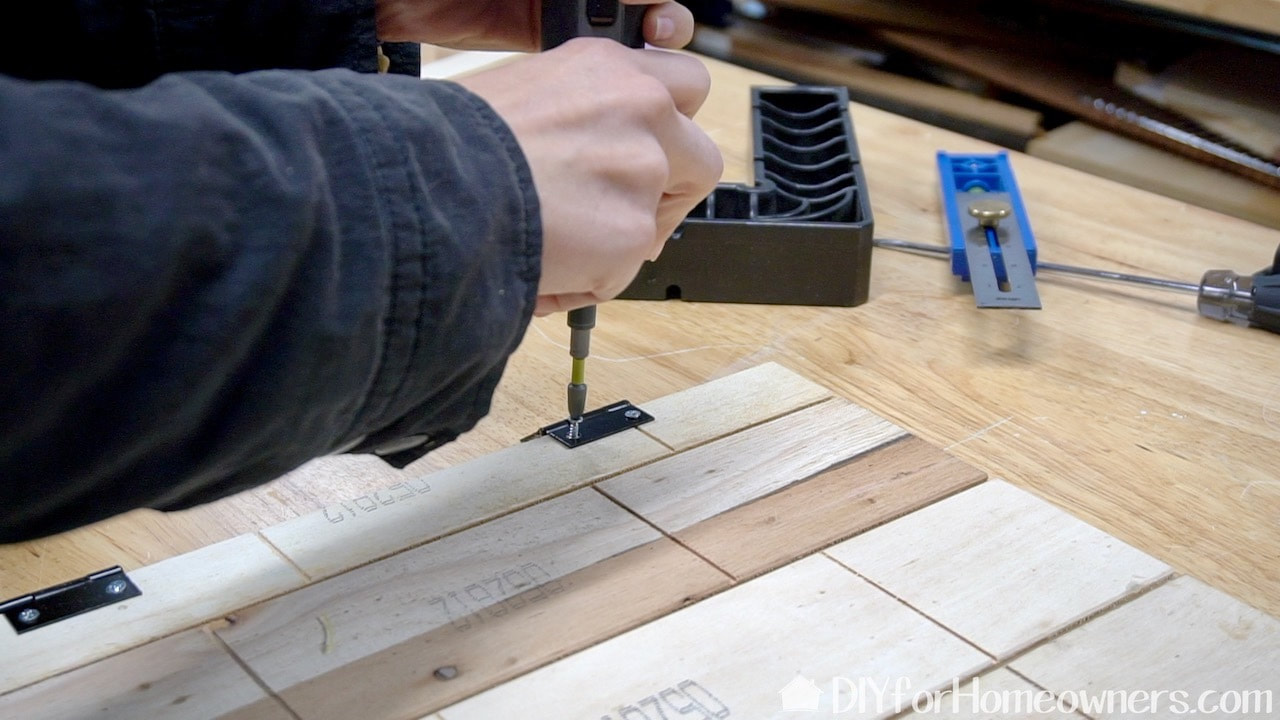
The Ryobi bits also fit into the Dremel Go which we are using here to attach the hinges to the door.

This is a super cool tool that is new to us! It is a DeWalt Max Fit Right Angle Adaptor which is perfect for tight, awkward spaces. We'd be interested in knowing where you've found a right angle adapter to be helpful.
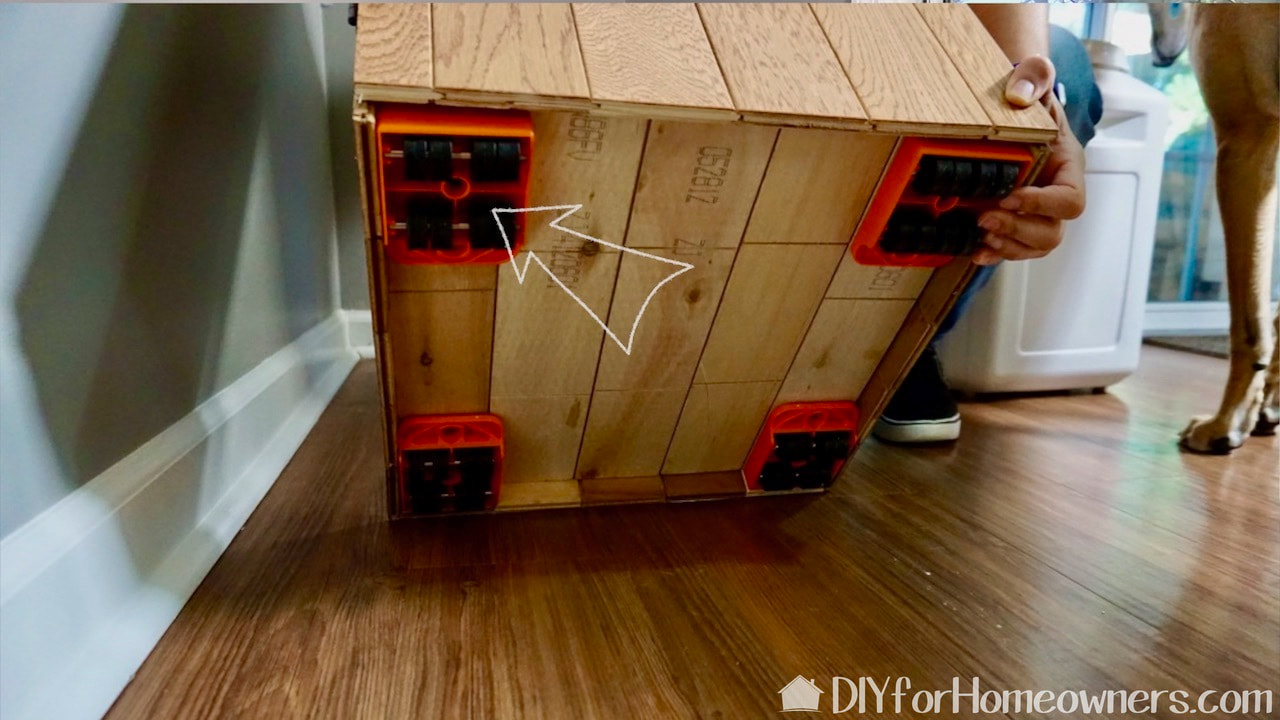
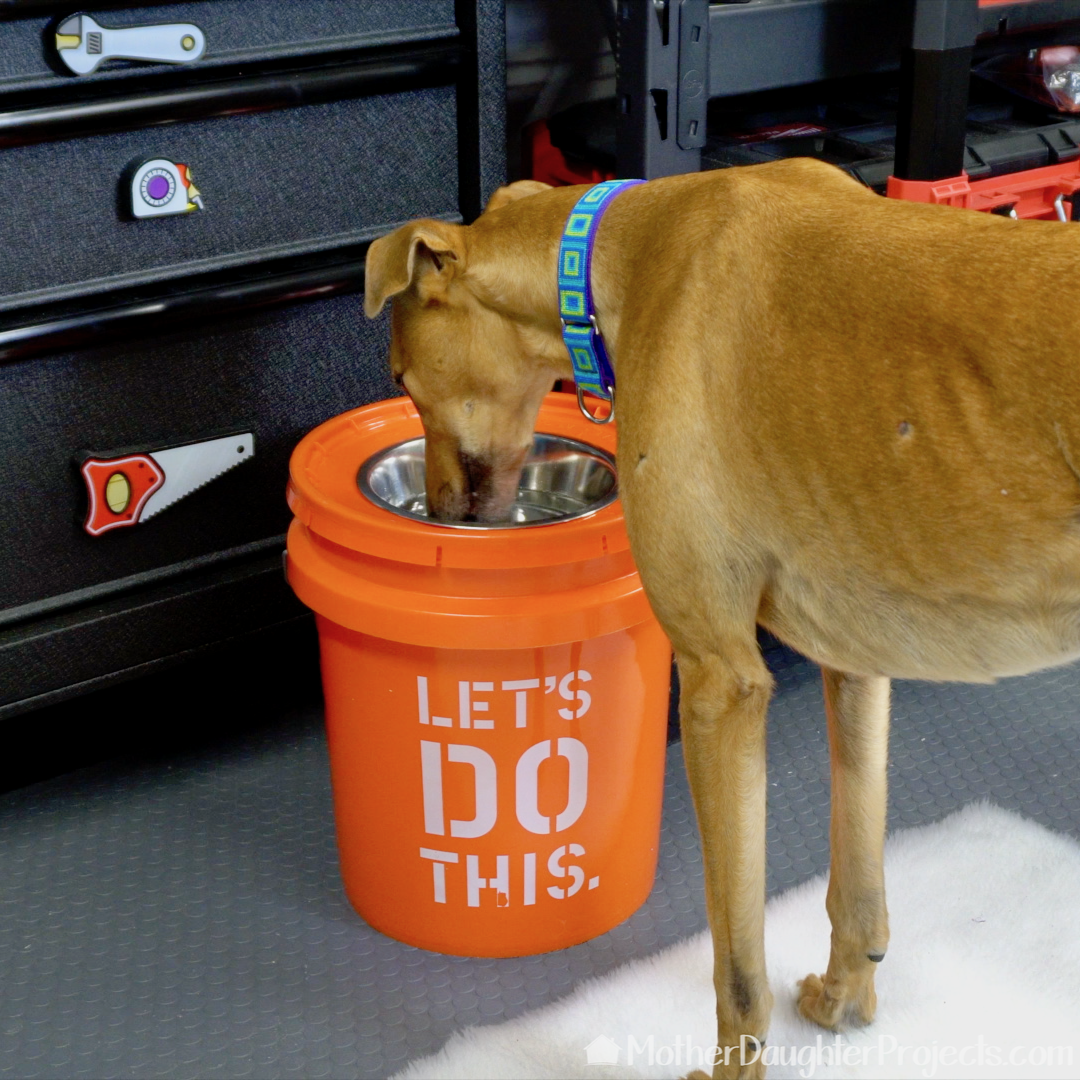
We added appliance casters to the recessed area at the bottom. These casters allow forward and back movement rather than side to side. We simply glued them into place.
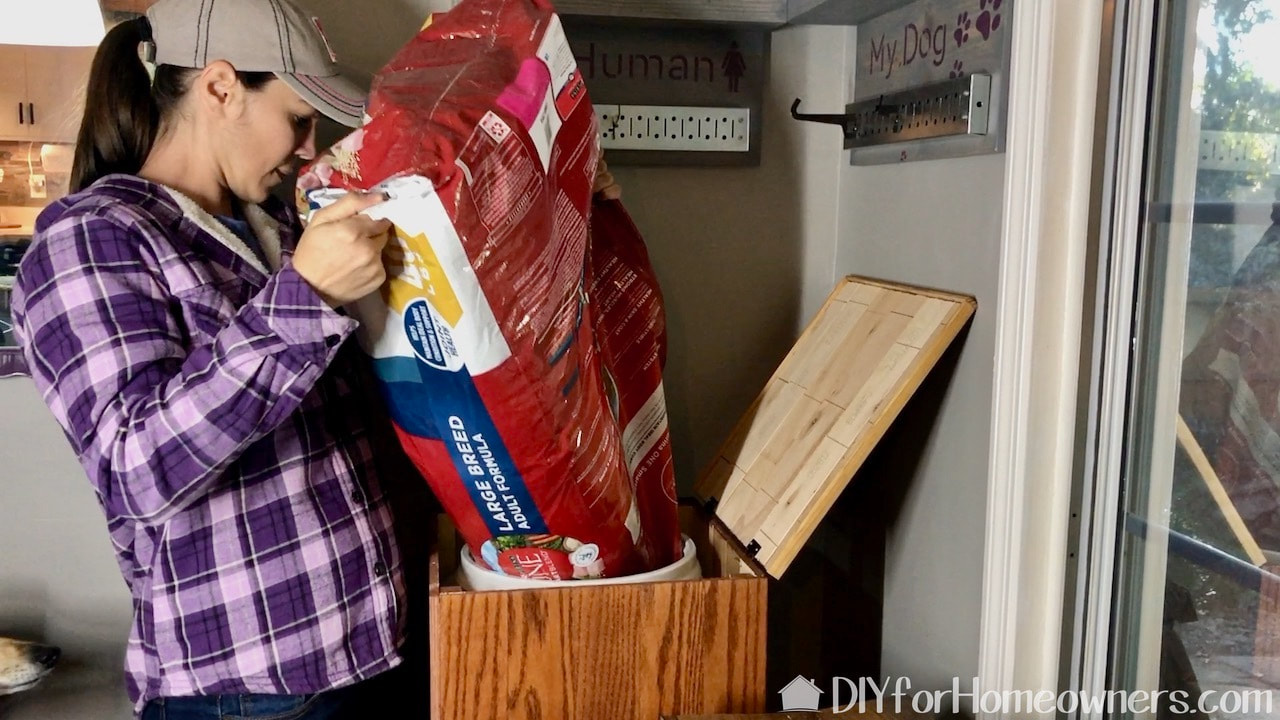
Now to test! Will it hold 40 pounds? Yes, and it works just as designed. No more bending over to get the food all while fending off a nosy greyhound! This will save Steph's back!
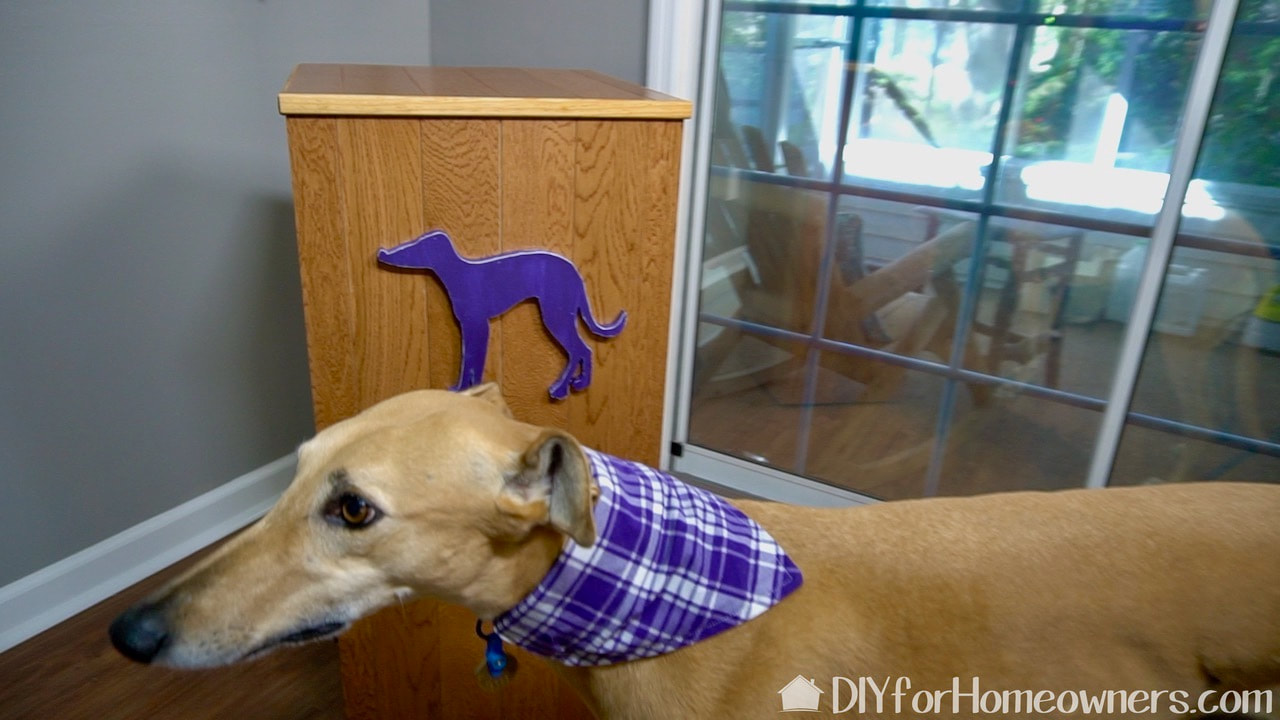
Just for fun, we added a scroll sawed greyhound cutout to the front. It's painted with DecoArt metallic paint and glued into placed with Surebonder construction adhesive hot glue. Tip: you can find a tutorial for the bandana on our website.
This project was totally Steph's idea as she needed to find a solution to an ongoing problem. I must say, I had my doubts as it was difficult to understand the vision of an elevated, top opening dog food storage container. But I trusted her instincts and it came out exactly as she planned. As one of Mac's occasional overnight dog sitters, I have come to appreciate the design as I no longer have to get down to floor level to access her food. That's a win!
What ongoing storage problem do you have in your home? What ideas do you have to fix it? Please share your creative solutions with the community. We acknowledge that The Home Depot is partnering with us to participate in the ProSpective 2019 Campaign. As a part of the Program, we are receiving compensation in the form of products and services, for the purpose of promoting The Home Depot. All expressed opinions and experiences are our own words. Our post complies with the Word Of Mouth Marketing Association (WOMMA) Ethics Code and applicable Federal Trade Commission guidelines. FYI: We are not professionals, and we don’t claim to be. This is what we found worked for our project. Yours may need a little different approach. Safety first! FYI: Affiliate links are being used on this page. Purchasing via these links help support MDP! Related Projects
2 Comments
Keith Richards
11/9/2021 04:06:14 pm
Hello, this is perfect and exactly what I am looking for. I even have the leftover flooring to do this. Do you have measurements for everything that i can use? Thanks
Steph
11/10/2021 06:21:27 am
Great! The measurements are going to depend on the food container you are using and the height that is comfortable for you. Leave a Reply. |

Mother Daughter Projects
|