text by Vicki Sign up to get Mother Daughter Projects updates in your email!
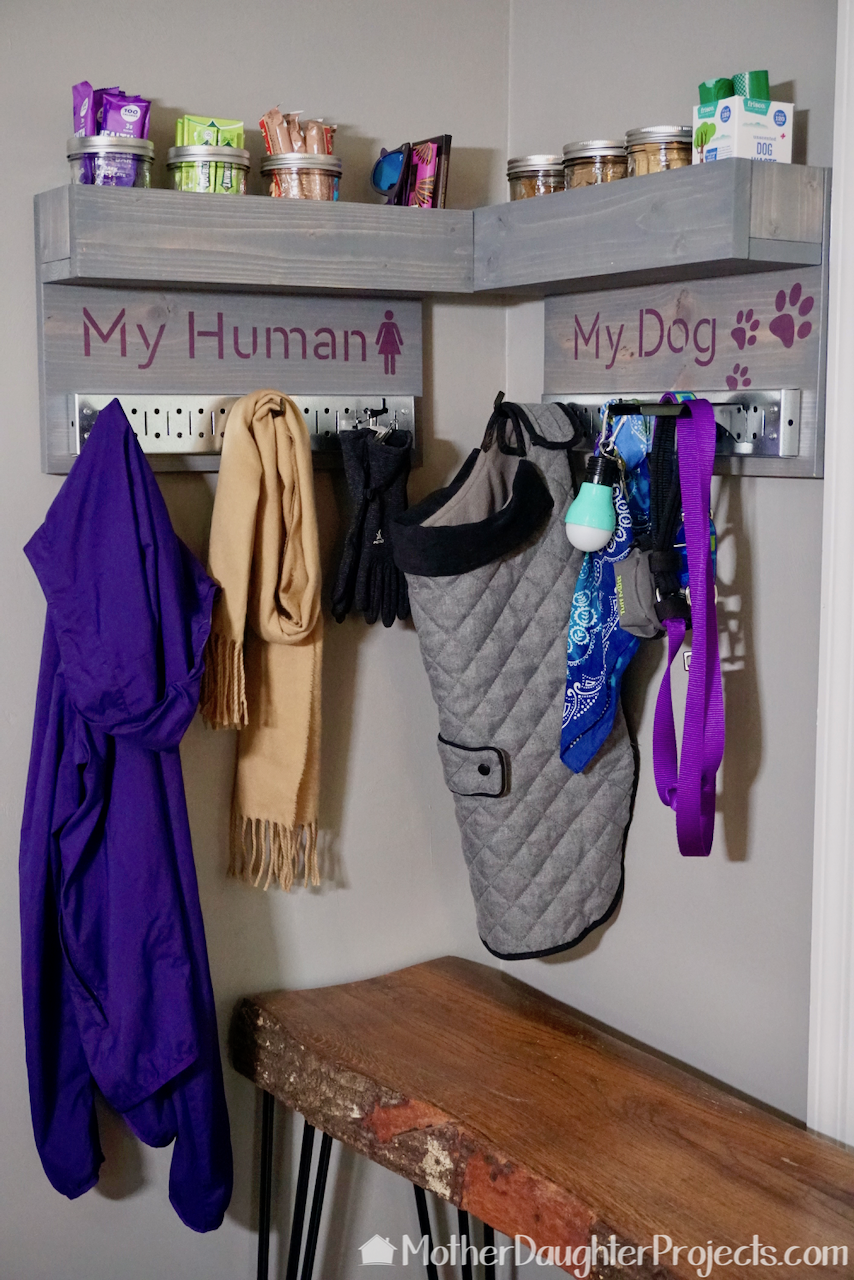
Steph has had Mac, the greyhound, about two months. In that period of time, she has acquired a lot of dog gear necessitating a need for additional storage. She came up with an idea of twin wall mounted storage spaces for both she and Mac!
We were recently contacted by the Florida family owned company, Stencil Revolution, to try out some of their stencils. When this idea came about, we knew it was the perfect opportunity to try a a couple of fun stencils. We continued the family owned company theme, by also utilizing Surebonder, the family owned hot glue gun and adhesive company, as well Georgia family owned company, Wall Control. Read on to see how our "we are family" project came together. 
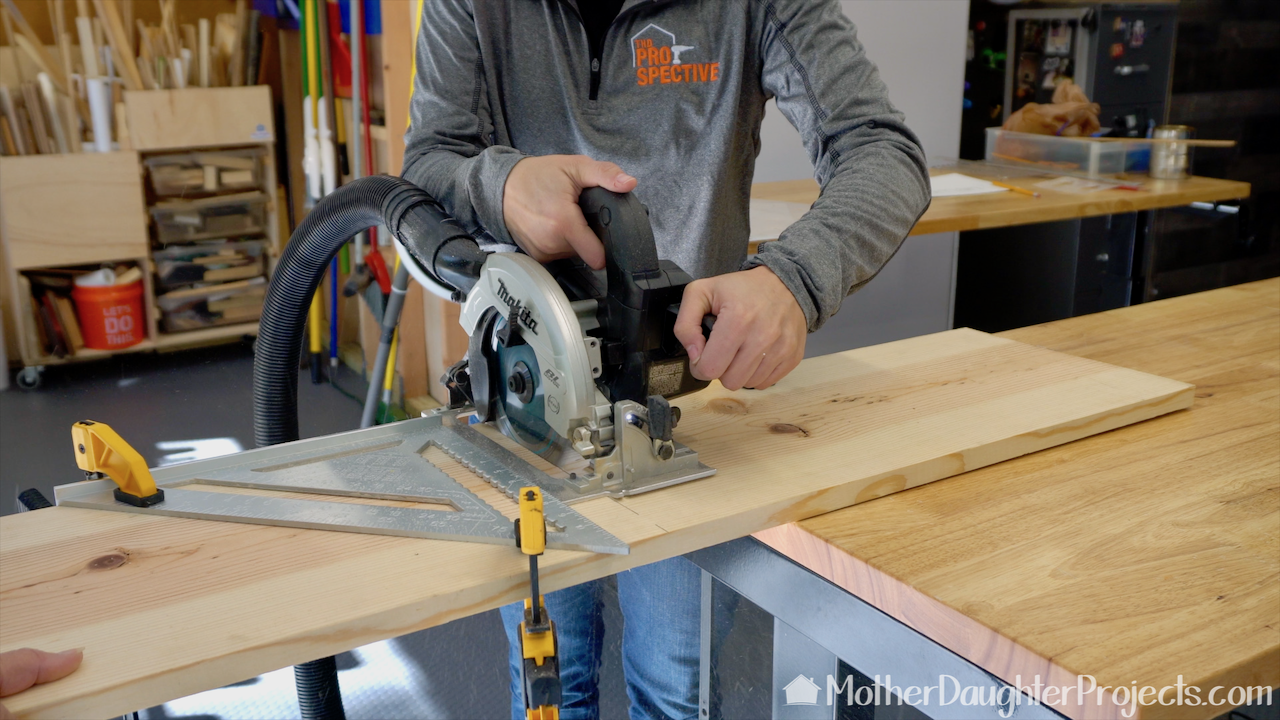
The first step is to cut the 1x12 board into two 18" pieces. We are using a circular saw for all the cuts. We've attached a wet/dry vac to help with dust collection. The speed square that is clamped onto the board helps to insure a nice straight cut.
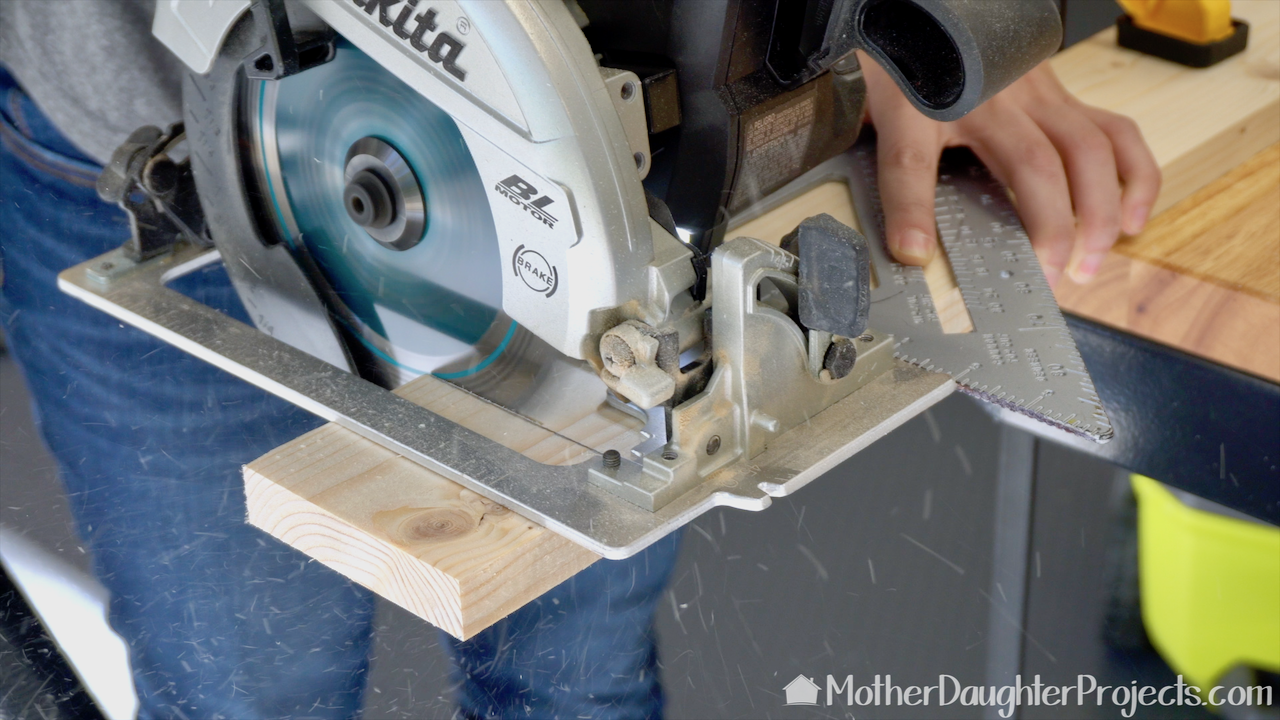
From the 1x4 board we cut (4) 18" long shelves and (6) 2-7/8" pieces.

In my opinion, using pre-stain conditioner on common boards is a must. It helps the stain to absorb evenly without splotchiness.
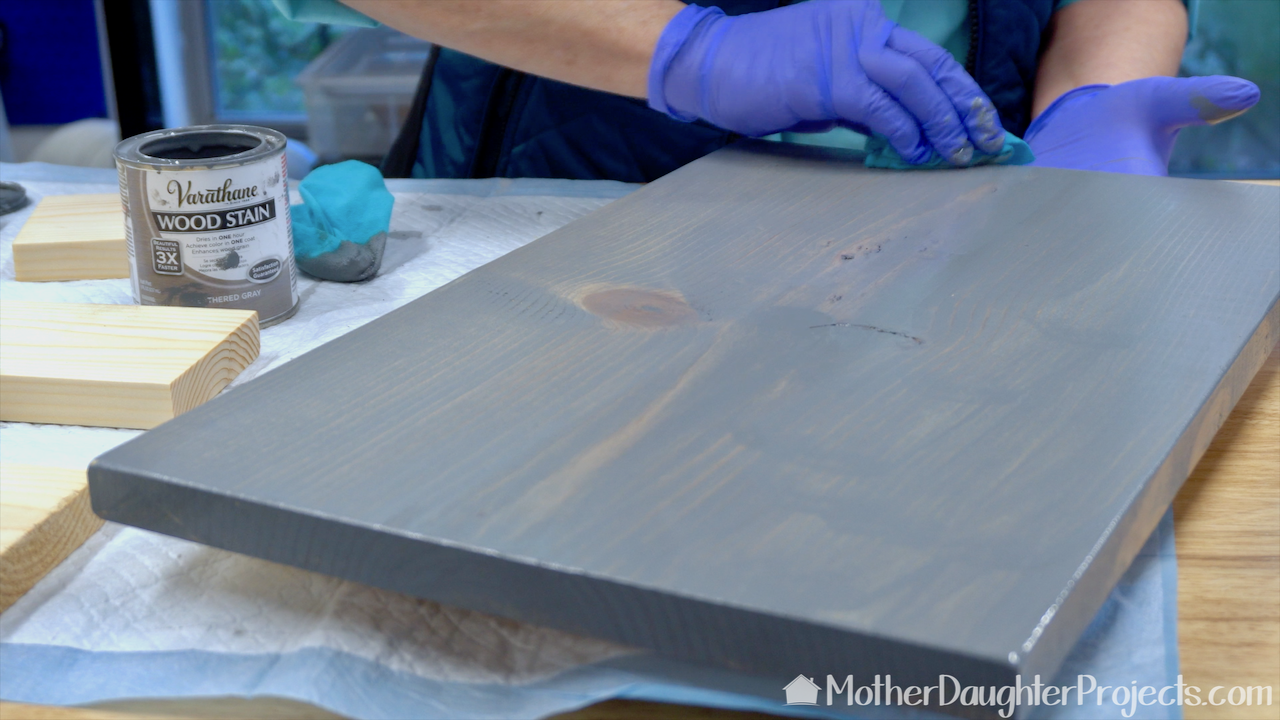
Staining is next. I wiped it on and then wiped off enough to expose the grain. All sides were stained with the exception of the largest piece.
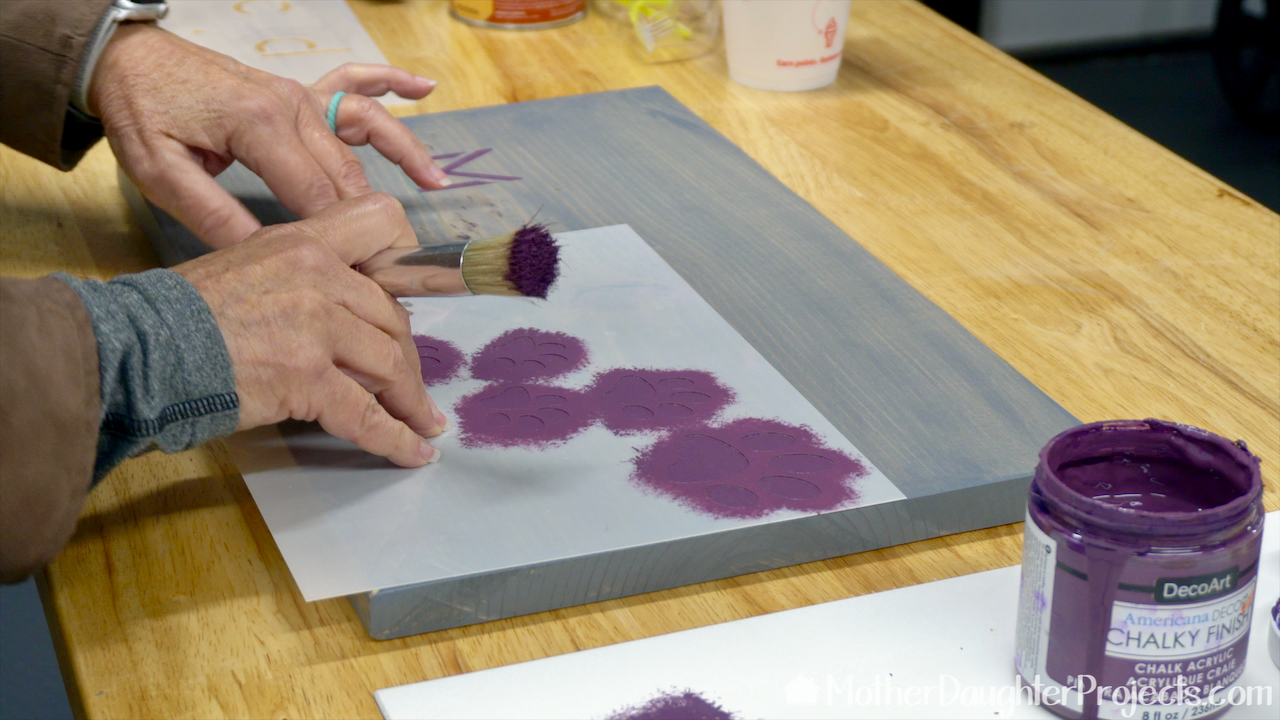
On to stenciling! I'm using a special stencil brush. Tip: practice first on paper or cardboard to get the spacing correct before stenciling on the wood.
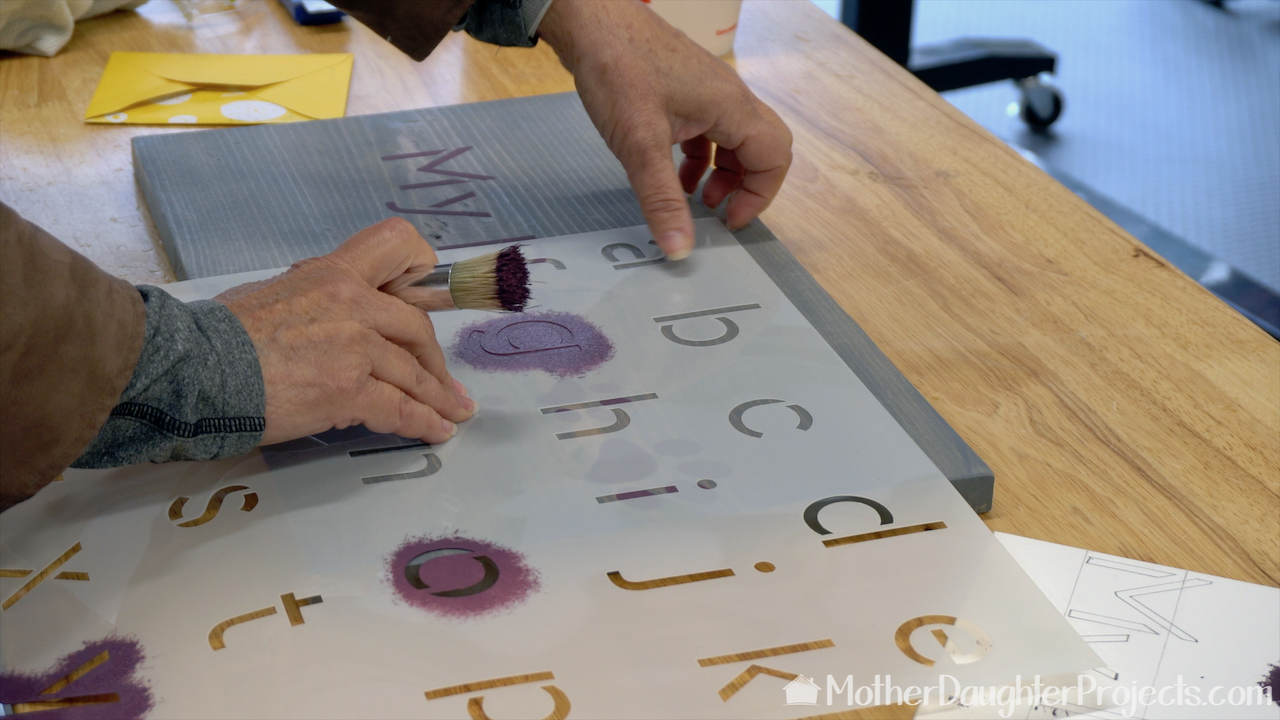
You can't see it in this picture, but I used a washable fabric marker to make a guide line to help keep the letters lined up. Tip: if you use a washable fabric marker, be sure to test it first to be sure it will erase from what you are working on. I actually made a sample board so I could test out paint, fabric pen, and finish.

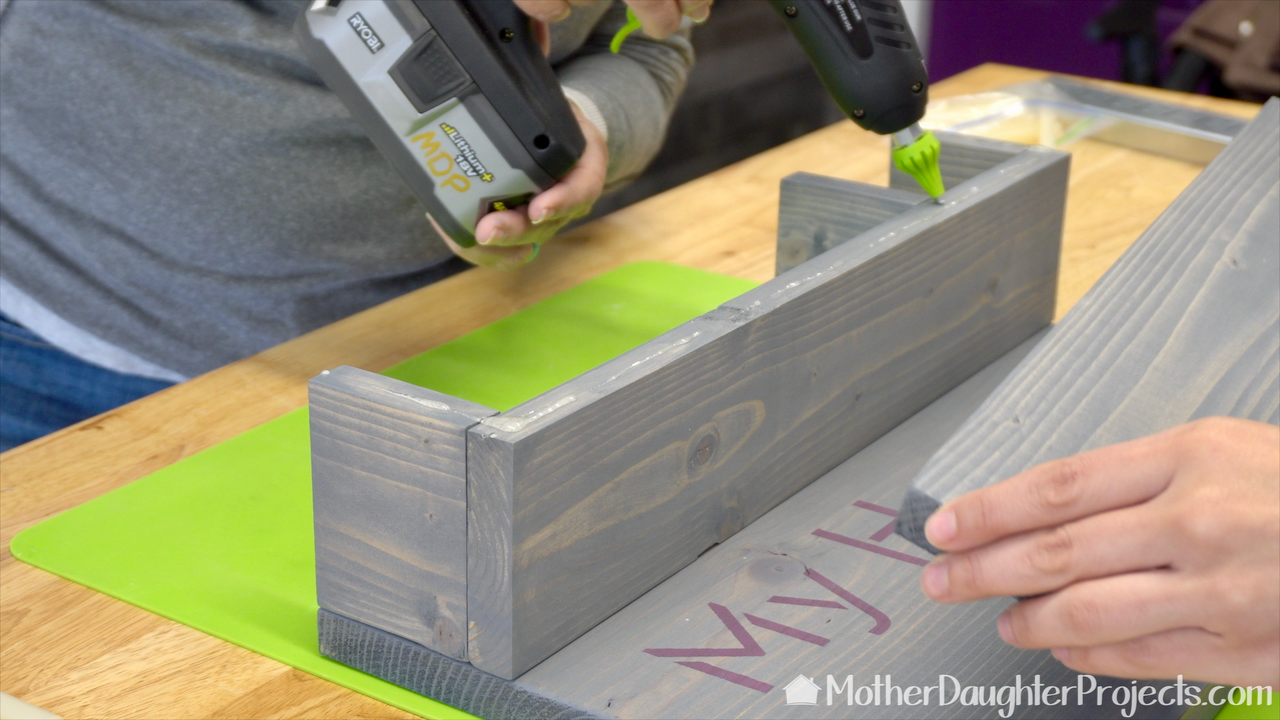
Once the stenciling was finished and dry, it was onto assembly. We are using a Surebonder hot glue gun with Wood Stik, which is a hot glue version of wood glue. Work as a team as hot glue dries very quickly. With hot glue, the project goes together very quickly and there is no down time waiting for standard glue to dry.

We decided to use three jars on each shelf and to also section off part of it for additional compartmentalized storage.
Again, working quickly as a team, we added hot wood glue to the shelf and finished it up!
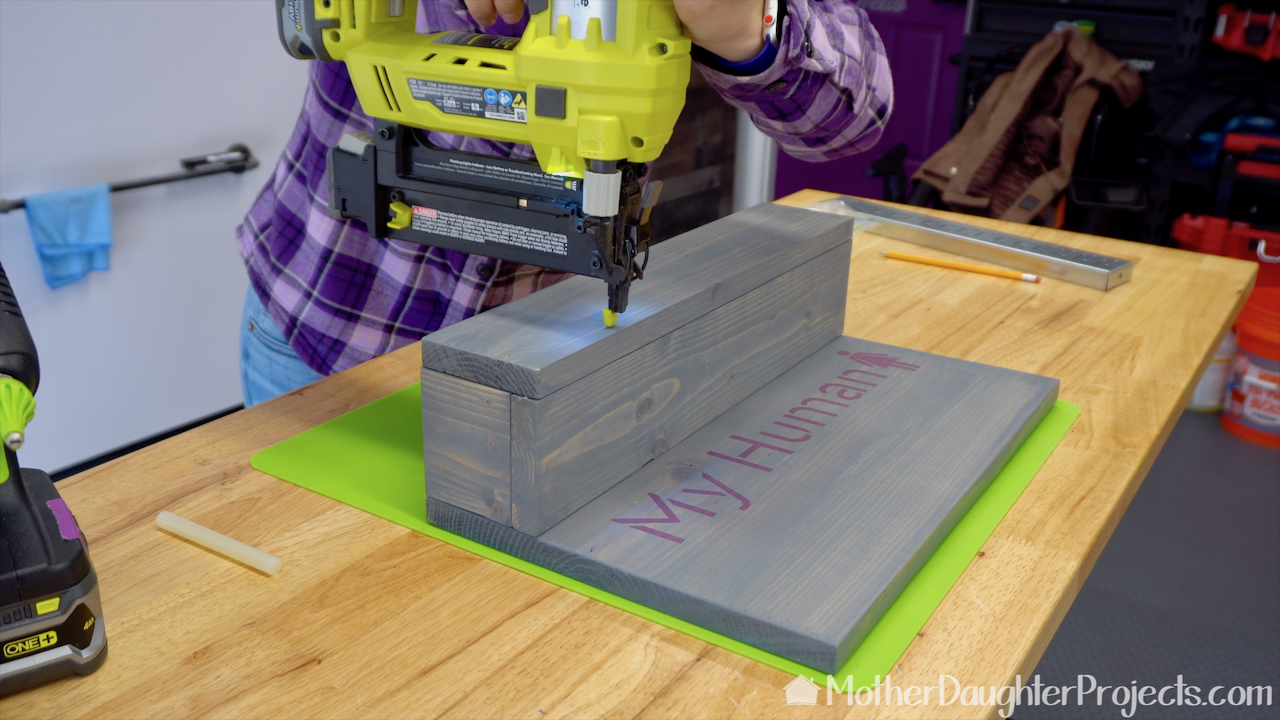
Although, the hot wood glue holds well, we added a couple of brad nails just to be sure everything held tight.
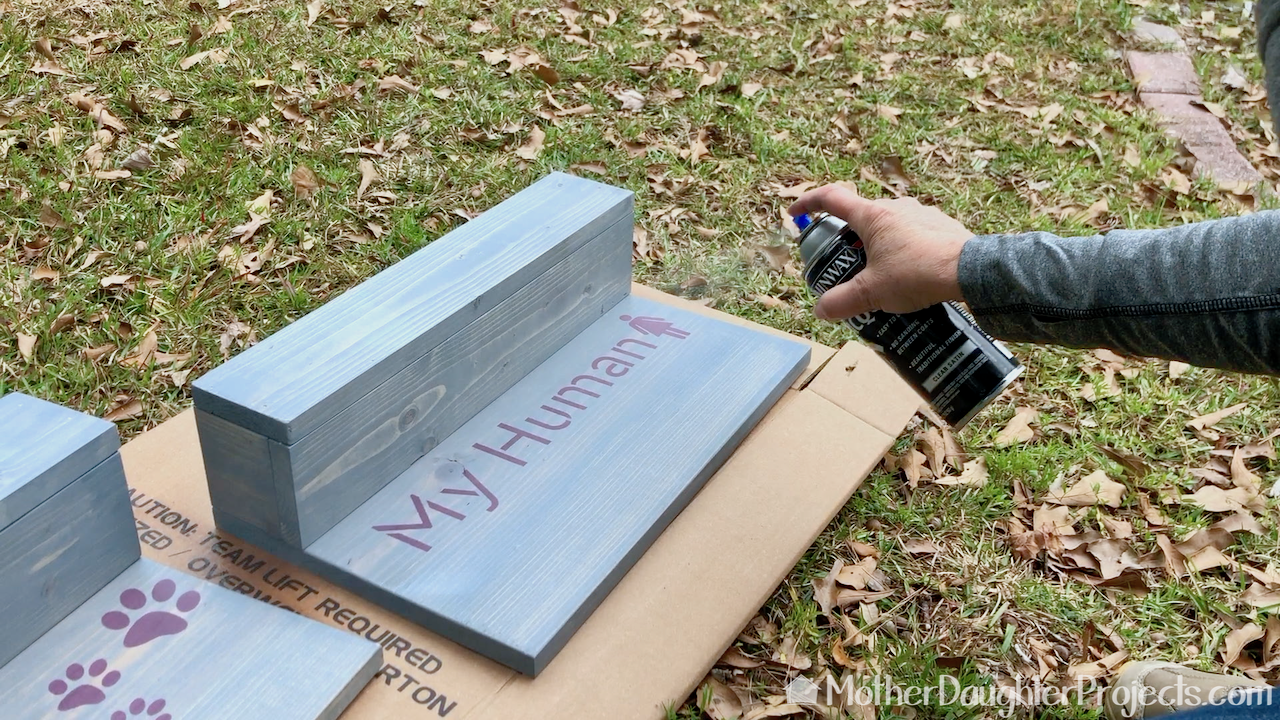
We sealed everything with a couple of coats of Minwax spray lacquer.
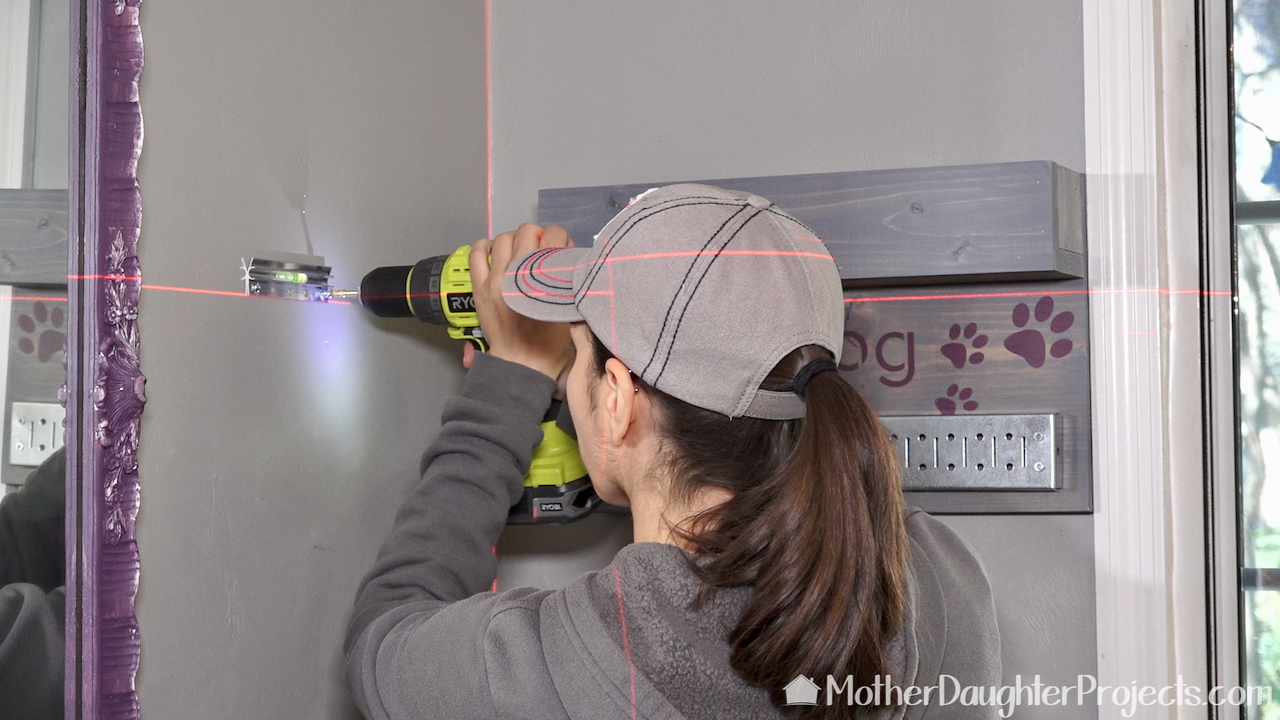
We used a Bosch cross line laser level to be sure each of the two storage units line up exactly. Here you can see Steph is added the wall portion of the French cleats we are using to hang the units.
With the two storage units up and in place, Steph now has all her human and dog necessities all organized and ready. Mac is very persistent in 'nosing' out treats so Steph is happy to have both Mac's and her treats up and out of the dog's way.
Using the Wall Control panel with movable hooks means she has flexibility in what she stores in the drop zone. As the weather changes, so will what is stored here. Steph especially likes the Wall Control peg on the far right side of Mac's side. It allows Mac's collar and leash to easily side on and off. Please note: This is not a sponsored post, but we would like to thank Stencil Revolution, Wall Control, and Surebonder for the product we used in this post. FYI: We are not professionals, and we don't claim to be. This is what we found worked for our project. Yours may need a little different approach. Safety first! FYI: Affiliate links are being used on this page. Purchasing via these links help support MDP! Related Projects
6 Comments
Lauren Marshall
1/24/2019 10:31:38 am
Great idea. Really love the hot glue gun for wood glue.
Steph
1/24/2019 10:48:51 am
Thanks Lauren!
Steph
1/24/2019 06:07:36 pm
Hi Vicky- we went with "my dog" and "my human" because my mom calls me mac's "human" :) It's just something cute she said and it stuck!
Eileen Morris
11/17/2020 03:37:14 pm
I can't seem to find the pattern for your dog bandana. I've just read your instructions to make one for my daughters dog. I love the way yours came out and would l to make one the same way. Would it be possible for you to email one to me? If it's not a free pattern I'm willing to pay for it.
Steph
11/18/2020 04:35:48 pm
Just emailed it to you. Leave a Reply. |

Mother Daughter Projects
|