|
text by Vicki Sign up to get Mother Daughter Projects updates in your email!
This post is sponsored by The Home Depot.
Not all dogs need to have an elevated food/water bowl, but it is recommended for greyhounds. As soon as Steph knew she was going to adopt Mac, we started looking at options for purchasing elevated feeders, as well as options of DIYing one.
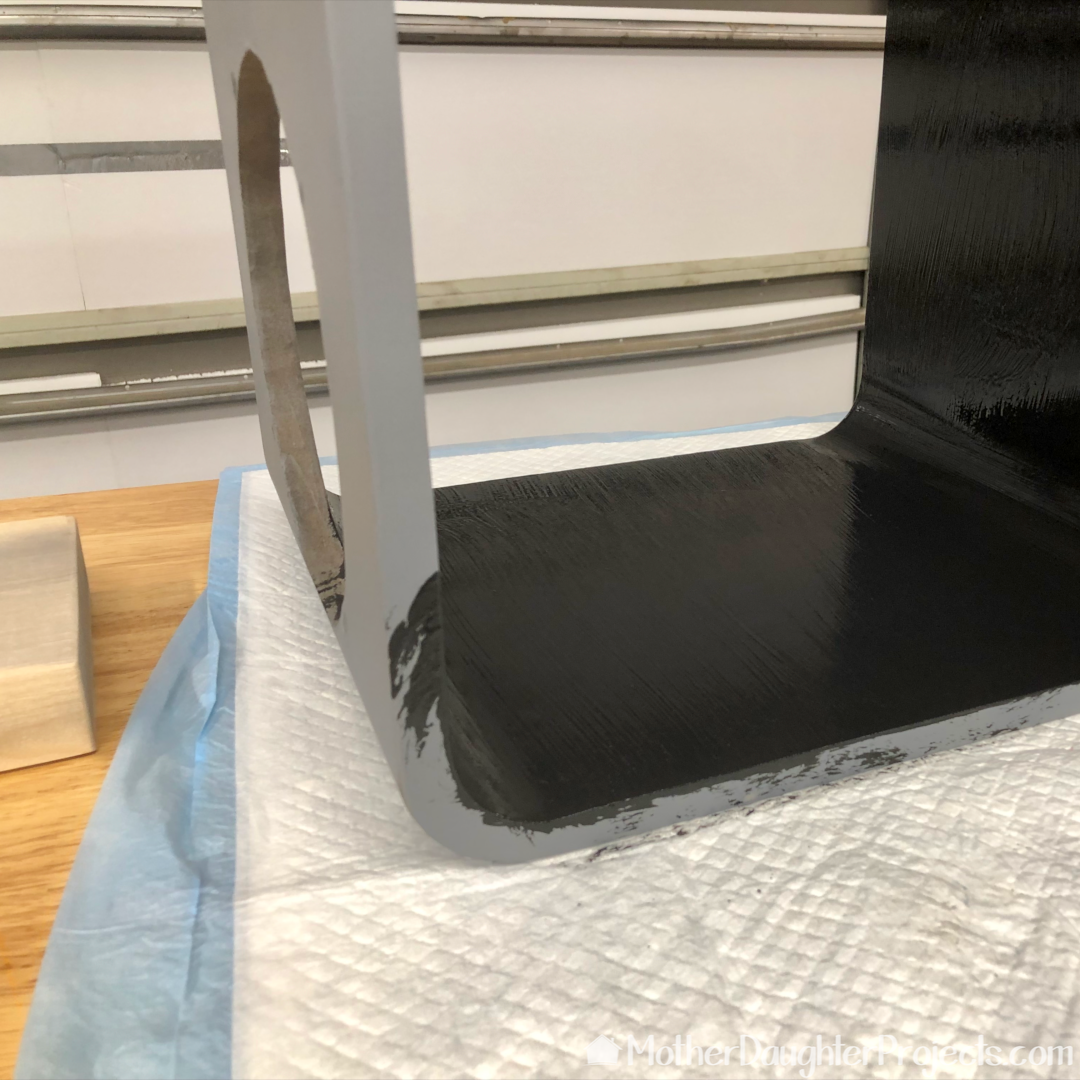
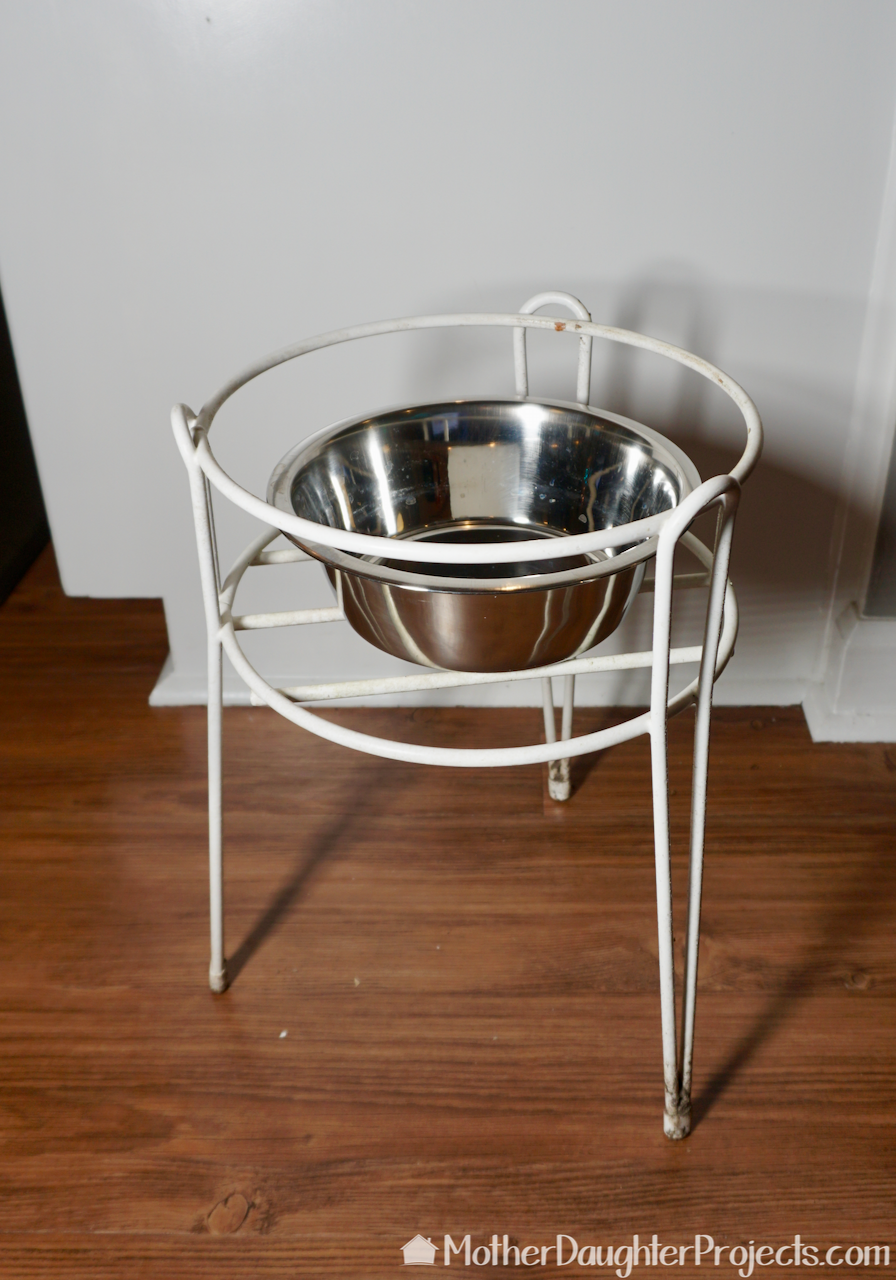
As it turned out, we decided to DIY one using an old table Steph has had since college. Ironically, she had given it to me to see if I could use it just a few days prior. After we knew Mac was coming home, I happened to spot the table. It was the right height and thought it would be a perfect DIY project! #1 Upcycle an old piece of furniture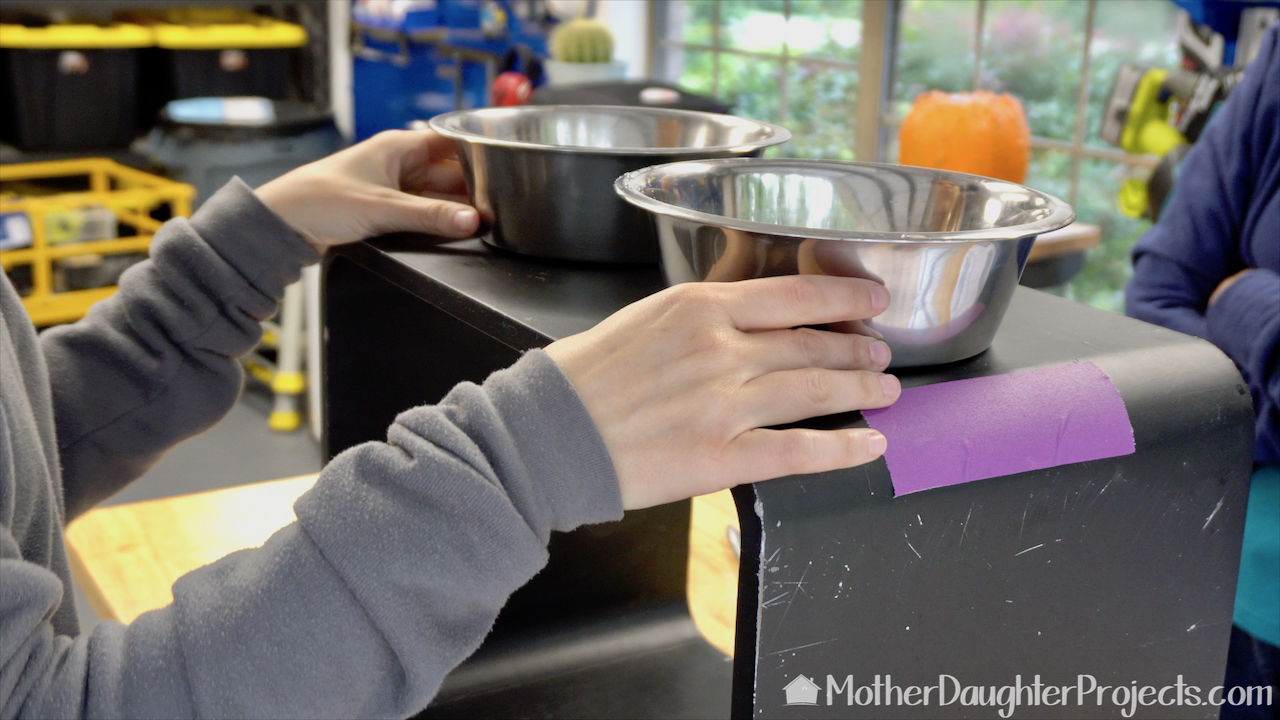
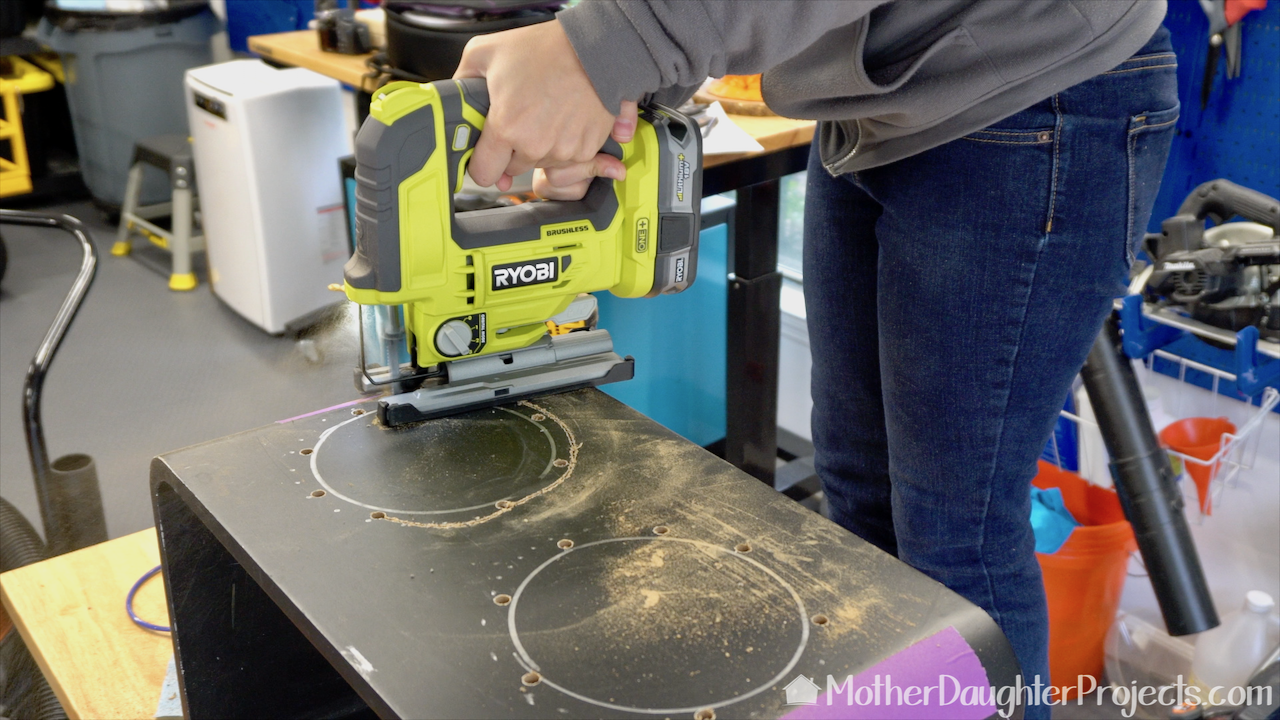
This old table had seen better days, but the "bones" were perfect to upcycle into an elevated feeding station. We first placed the two bowls on top and marked around them.
Materials:
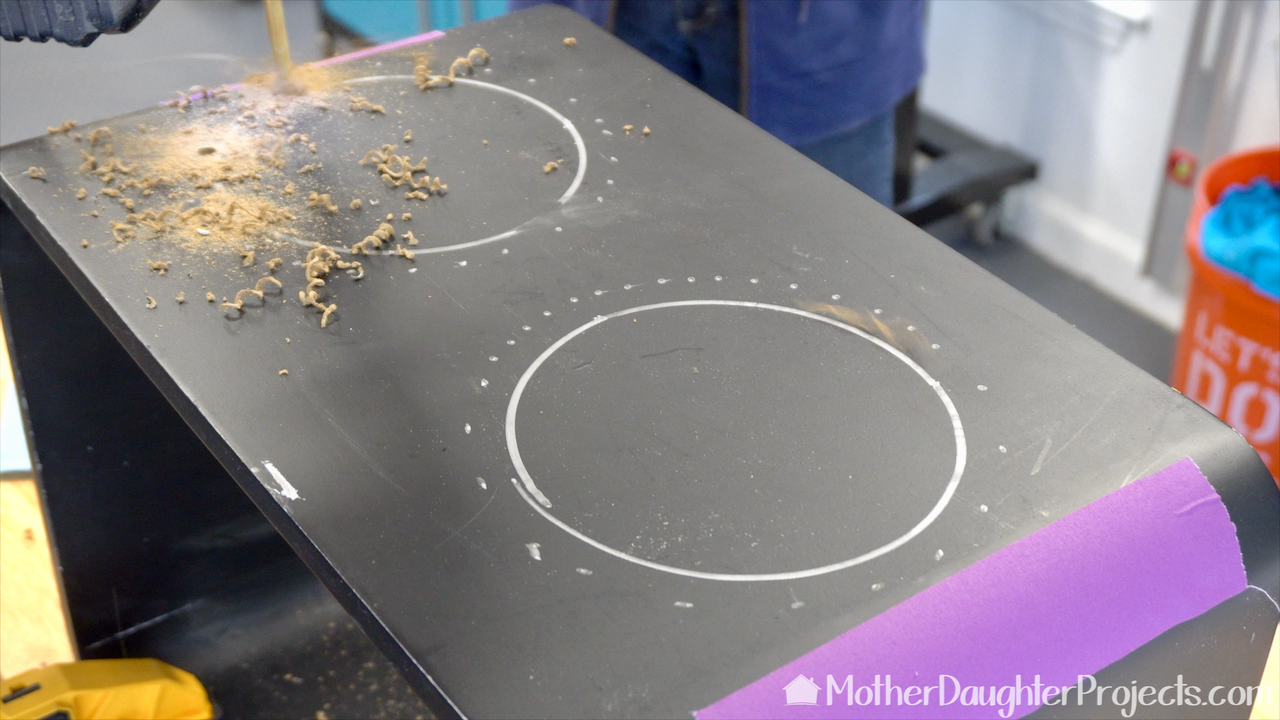
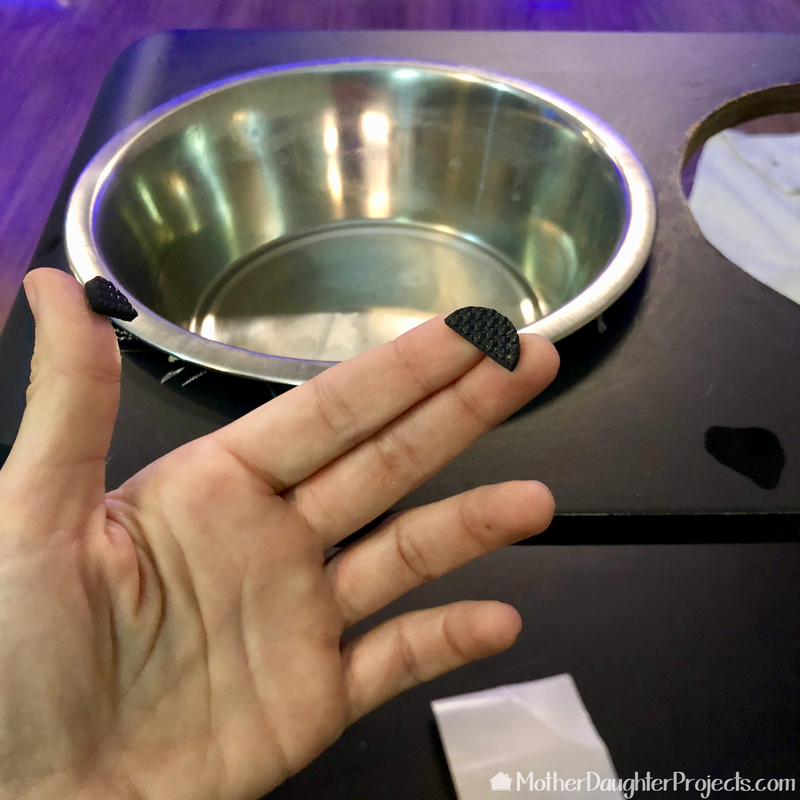
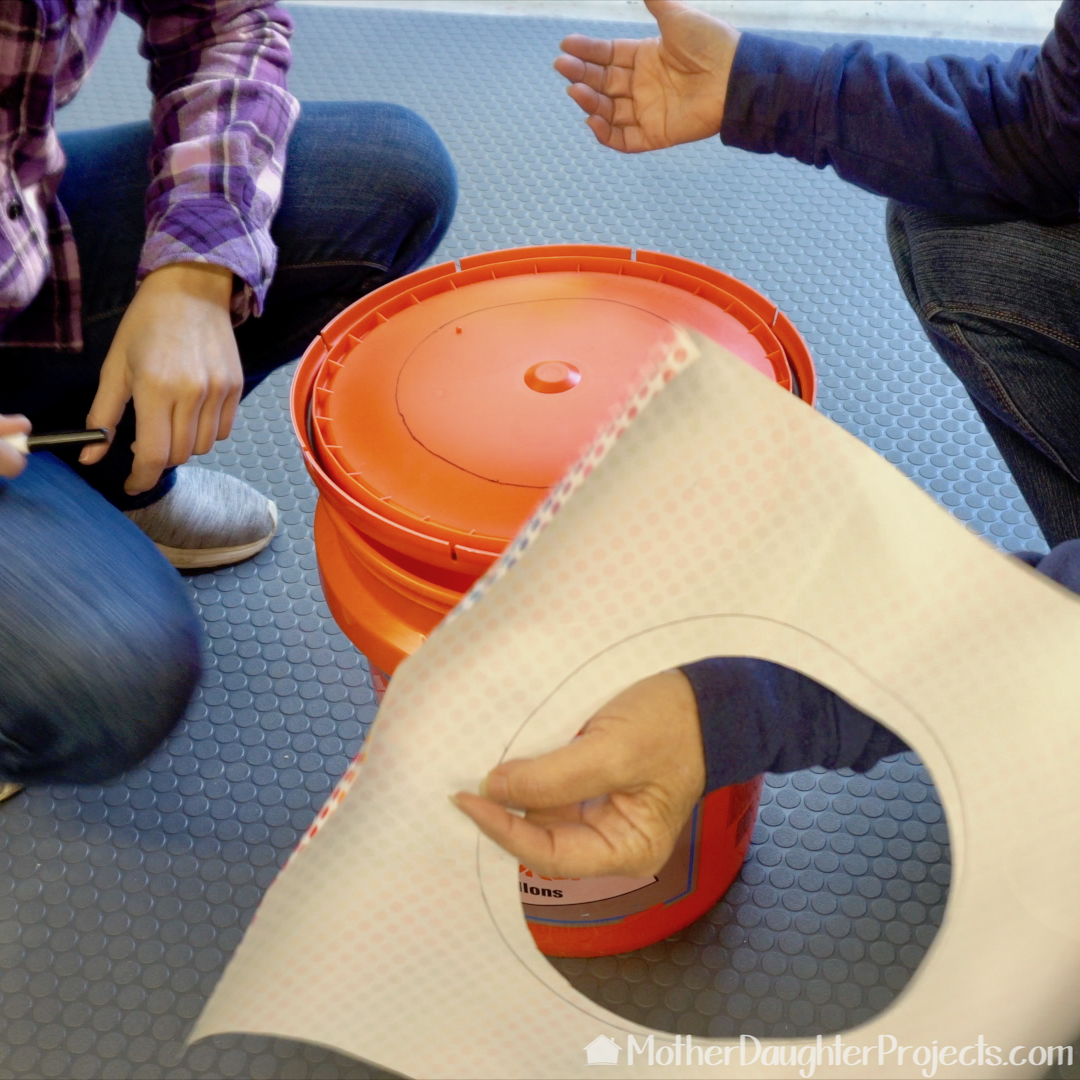
The solid lines are the bottom of the bowl. The dotted one is the actual cutting line. We wanted the bowls to fit flush with the top of the table, so we needed the openings to be larger than the bottom measurement. We drilled holes to be able to insert the jigsaw blade. The purple tape is there to mark the edge of the table.
The circles are not perfect, but its okay as the lip of the bowl will cover the imperfections.
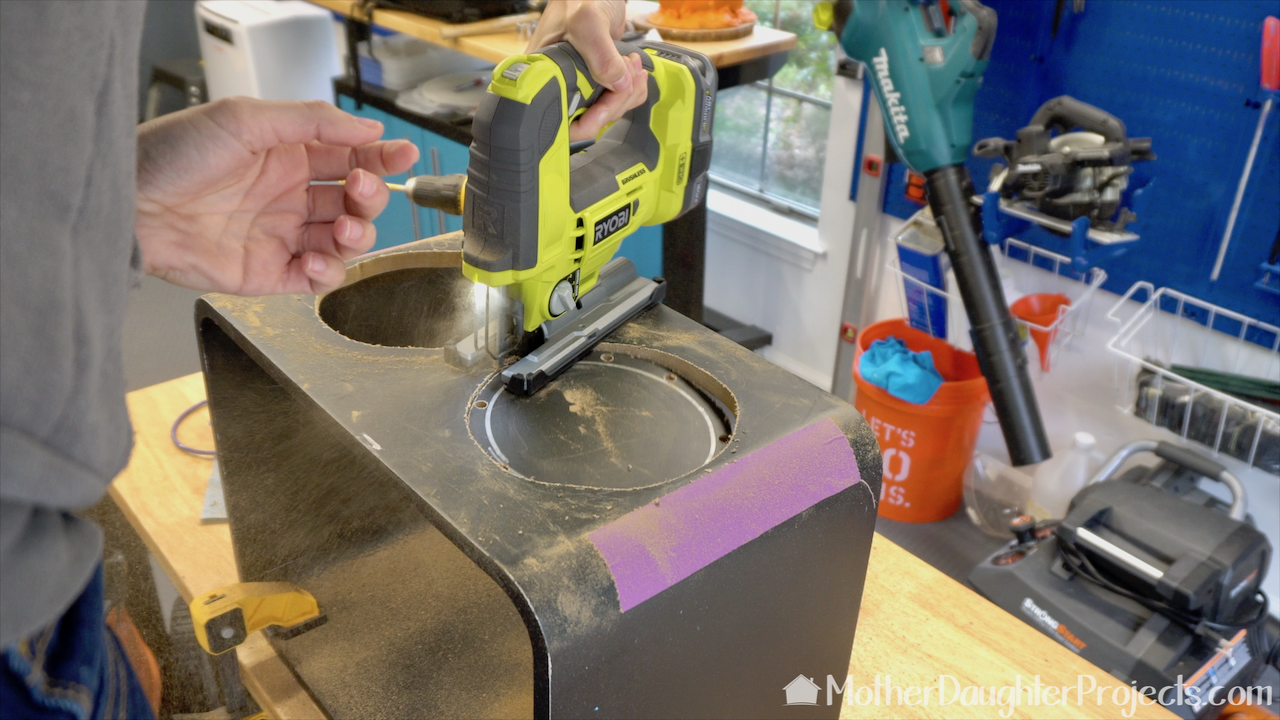
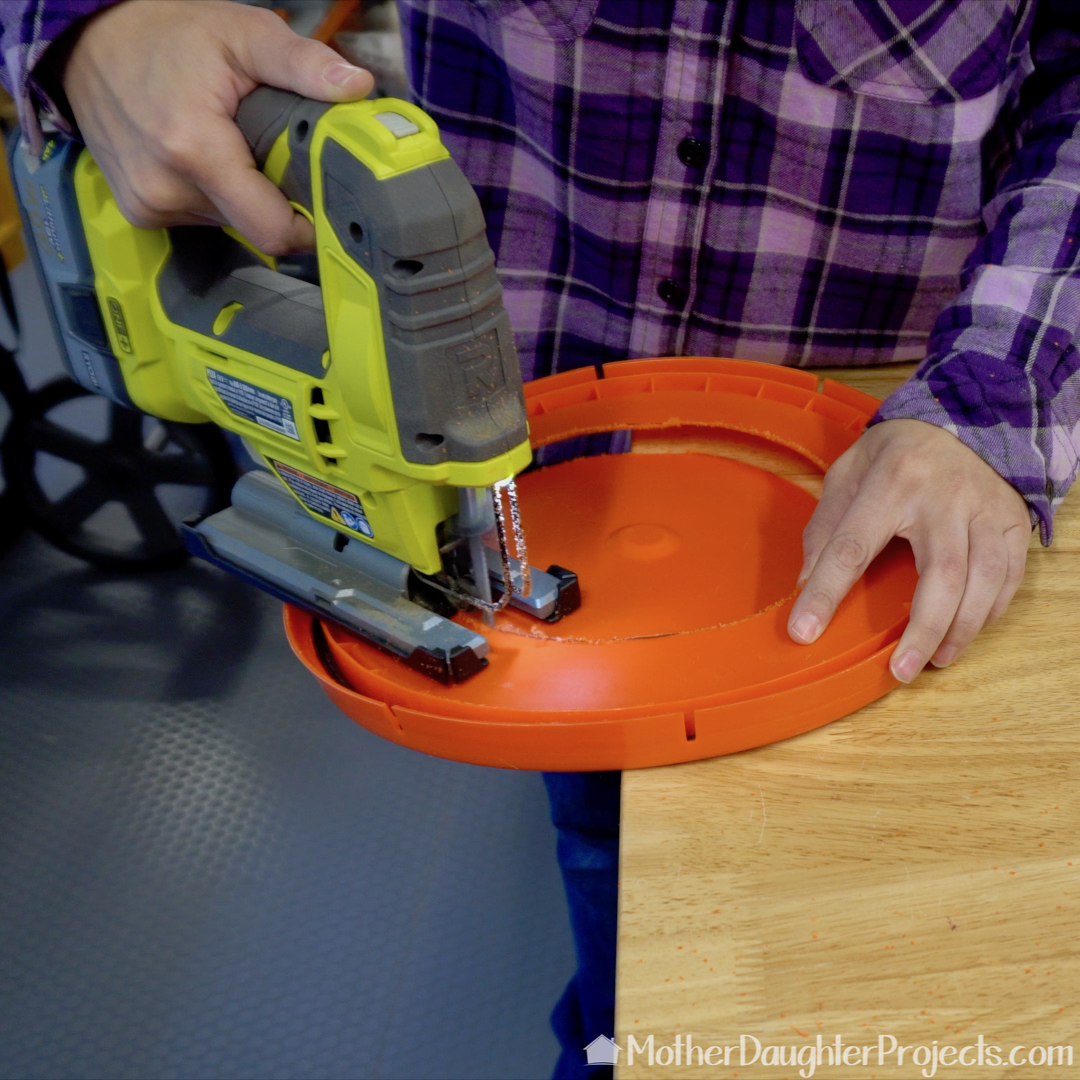
It is so much easier to use a battery powered jig saw than a corded one!
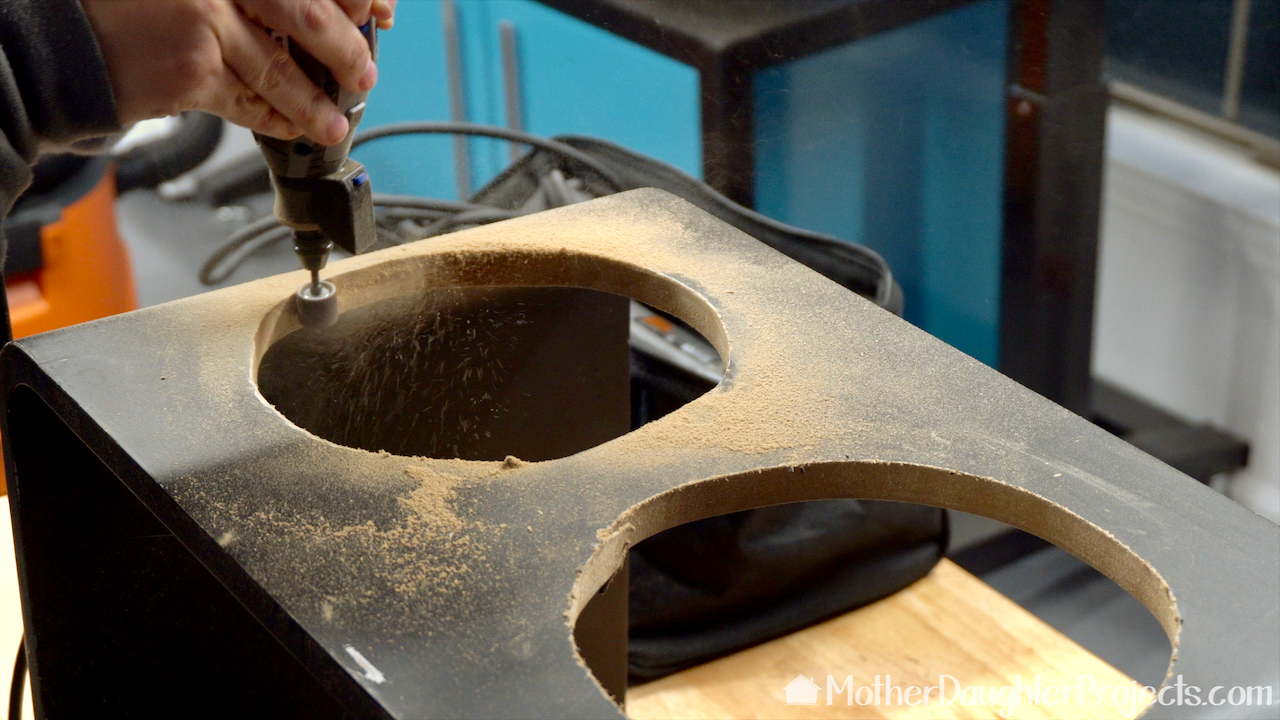
Steph smoothed out the inside of the circles with a Dremel rotary tool.
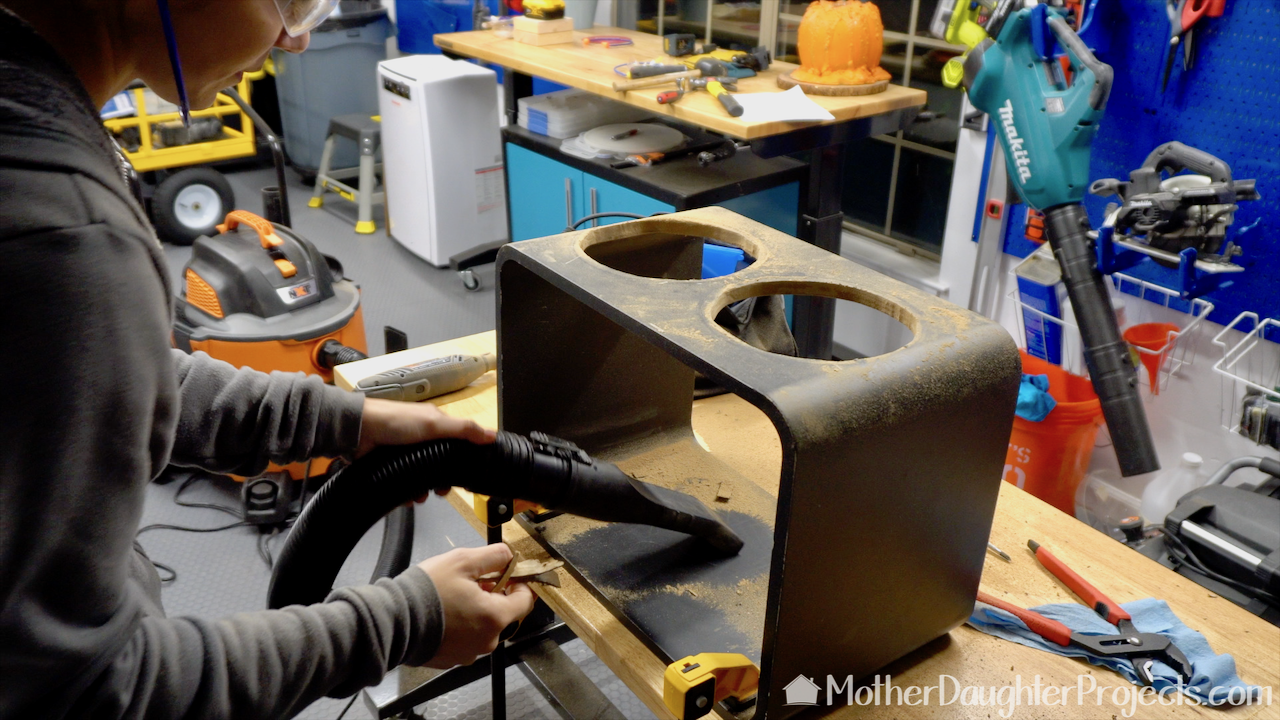
This little table is made of MDF and created a lot of dust. Here Steph is using a Ridgid wet/dry vac to clean up the area. This particular vac rolls really easily and the on-board tools are readily accessible.
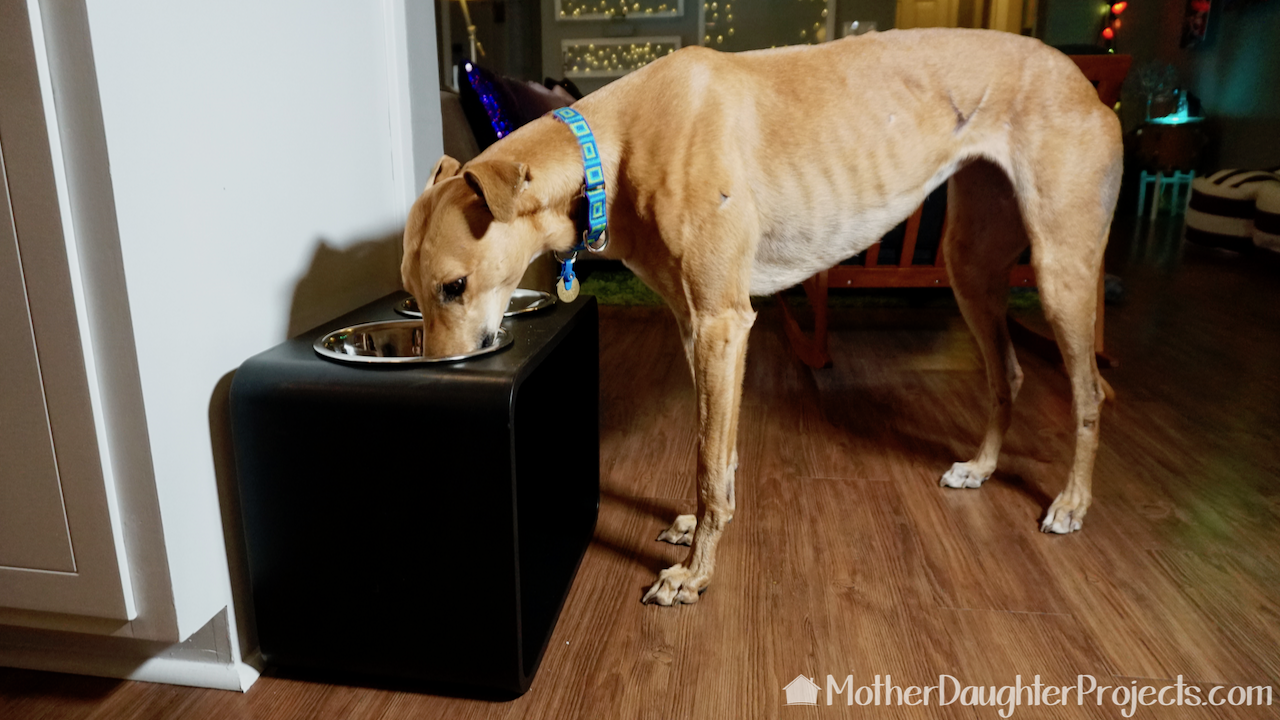
Ahh, perfect height for Mac! It was a great use for a table that was heading to the curb!
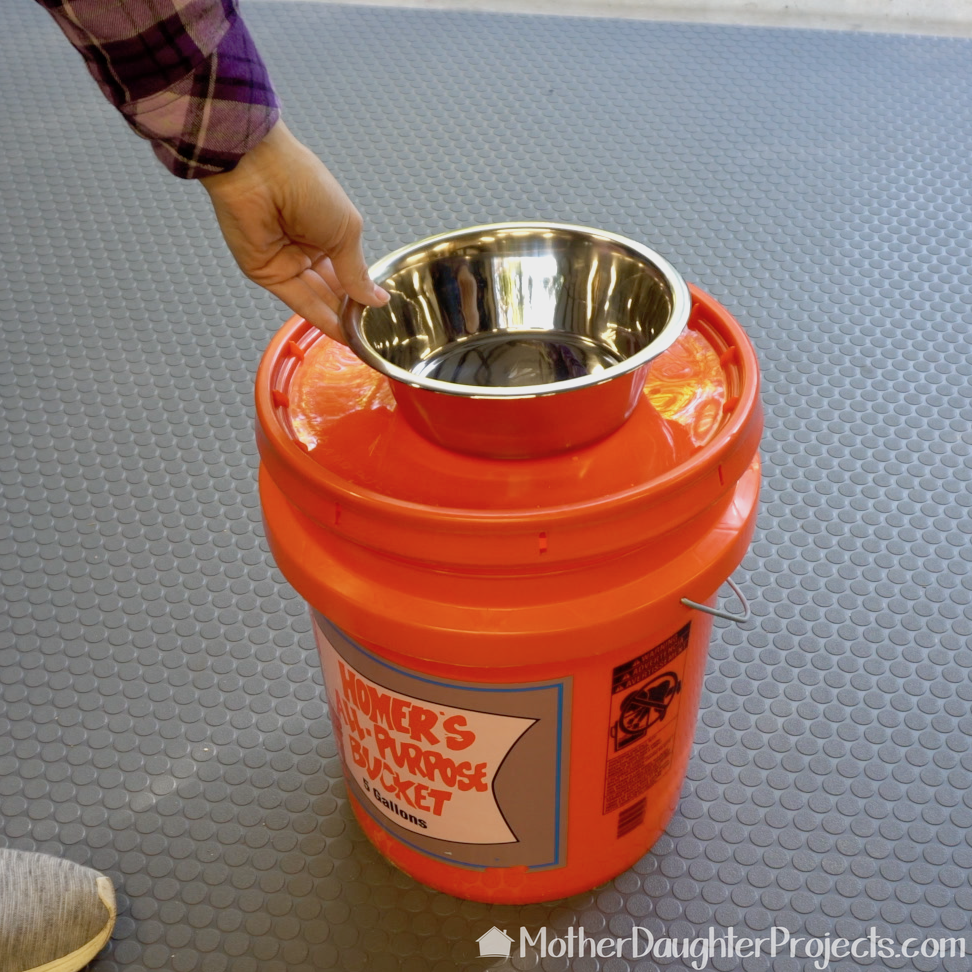
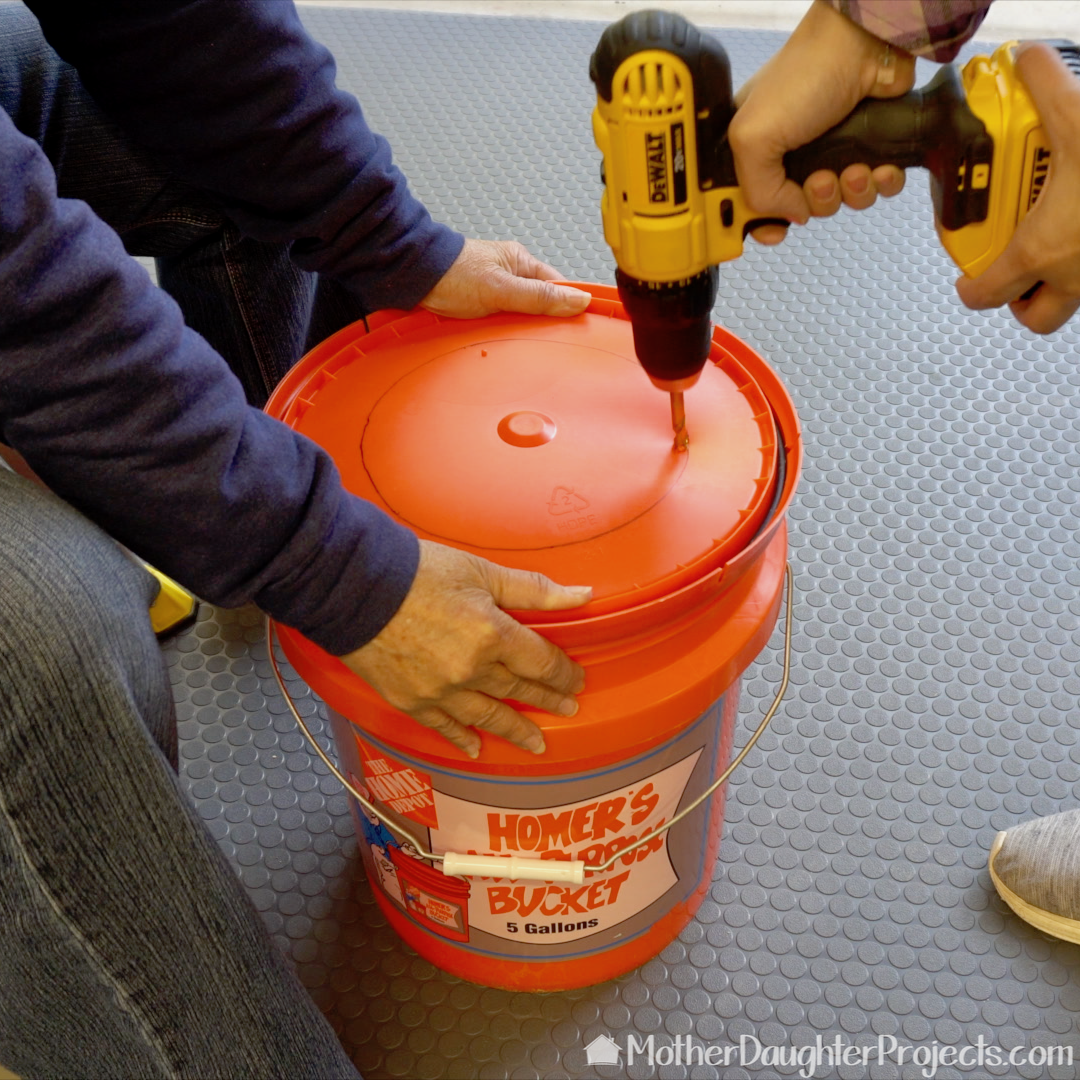
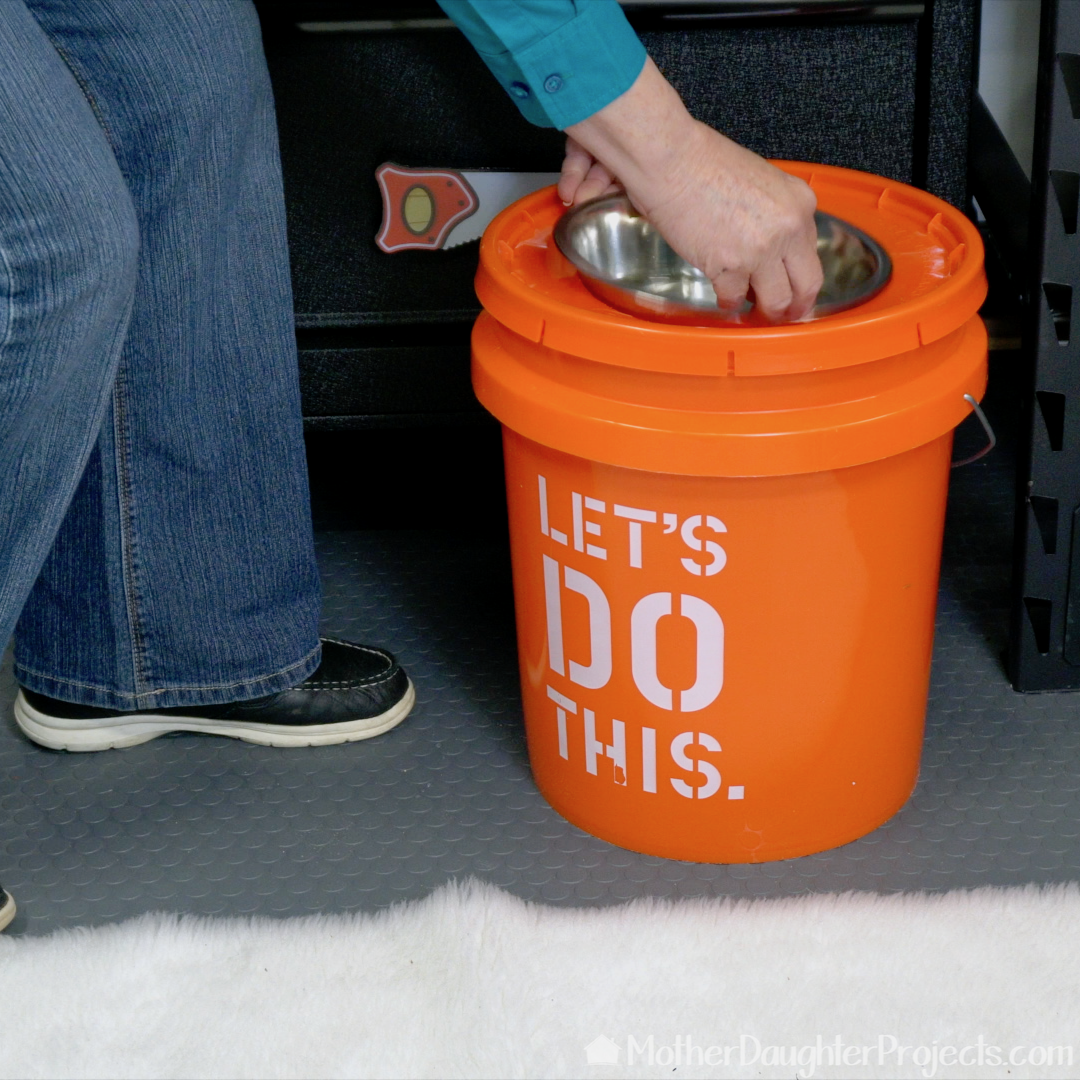
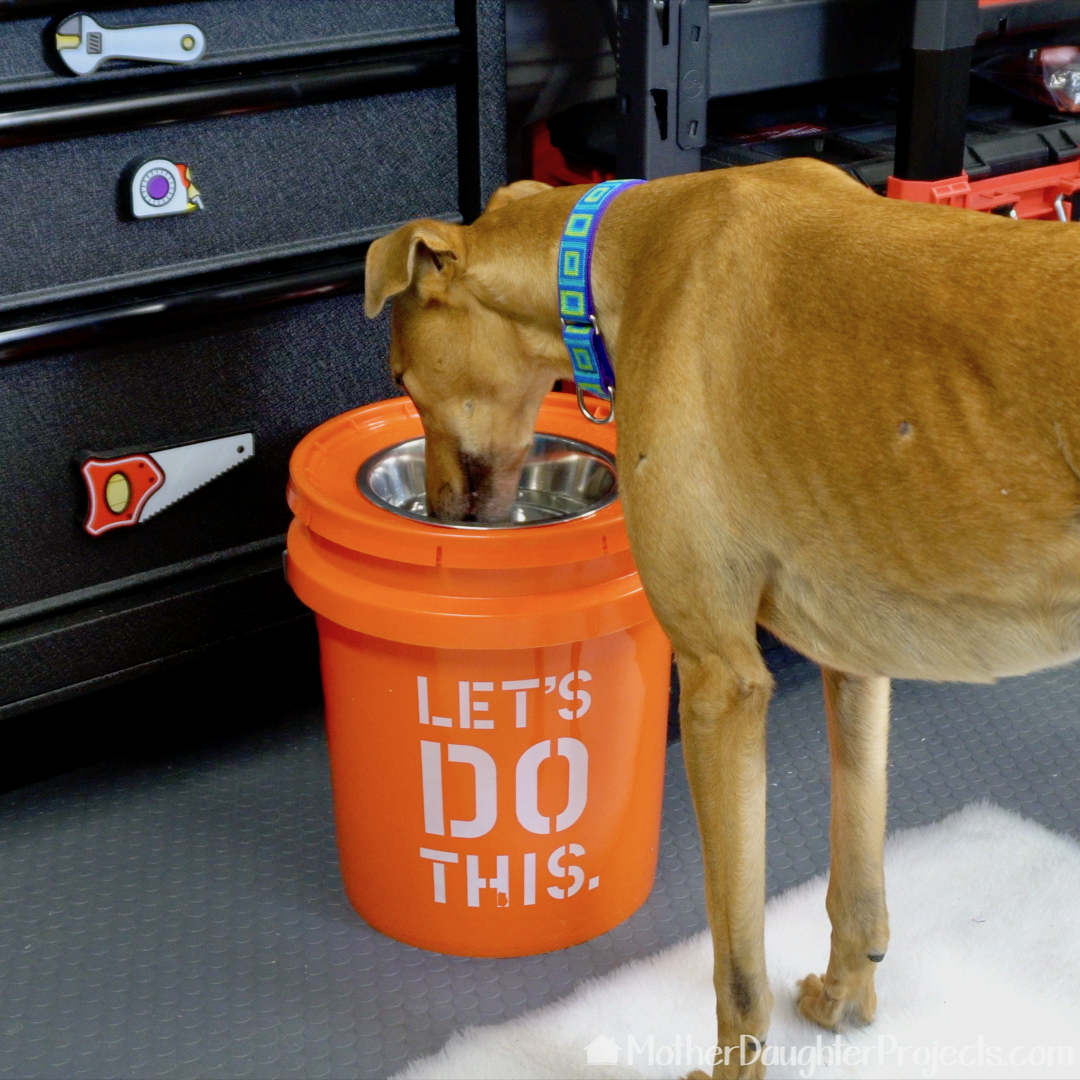
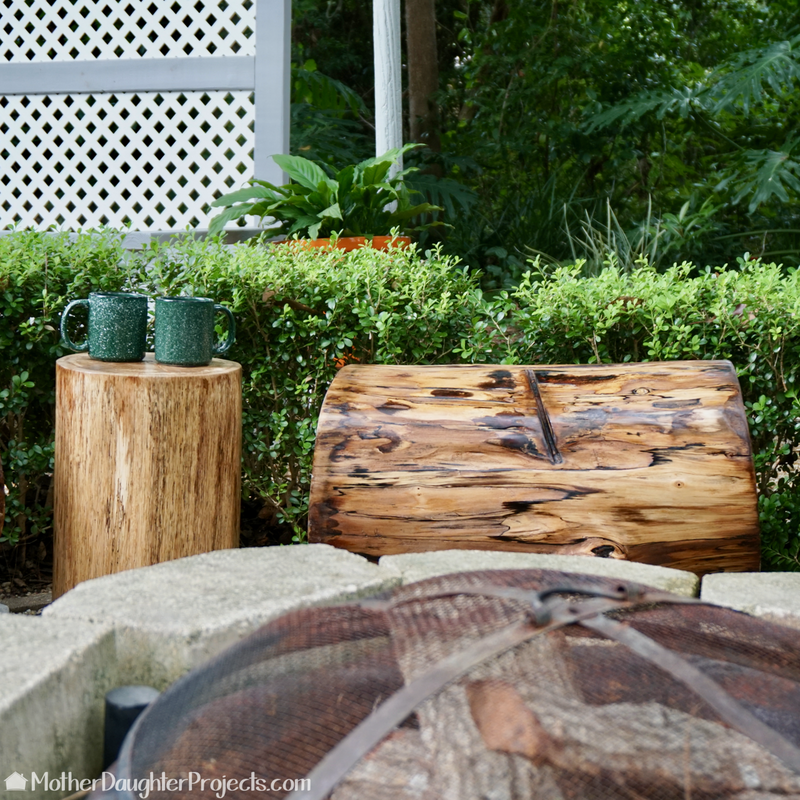
#2 5-gal. bucket and lid
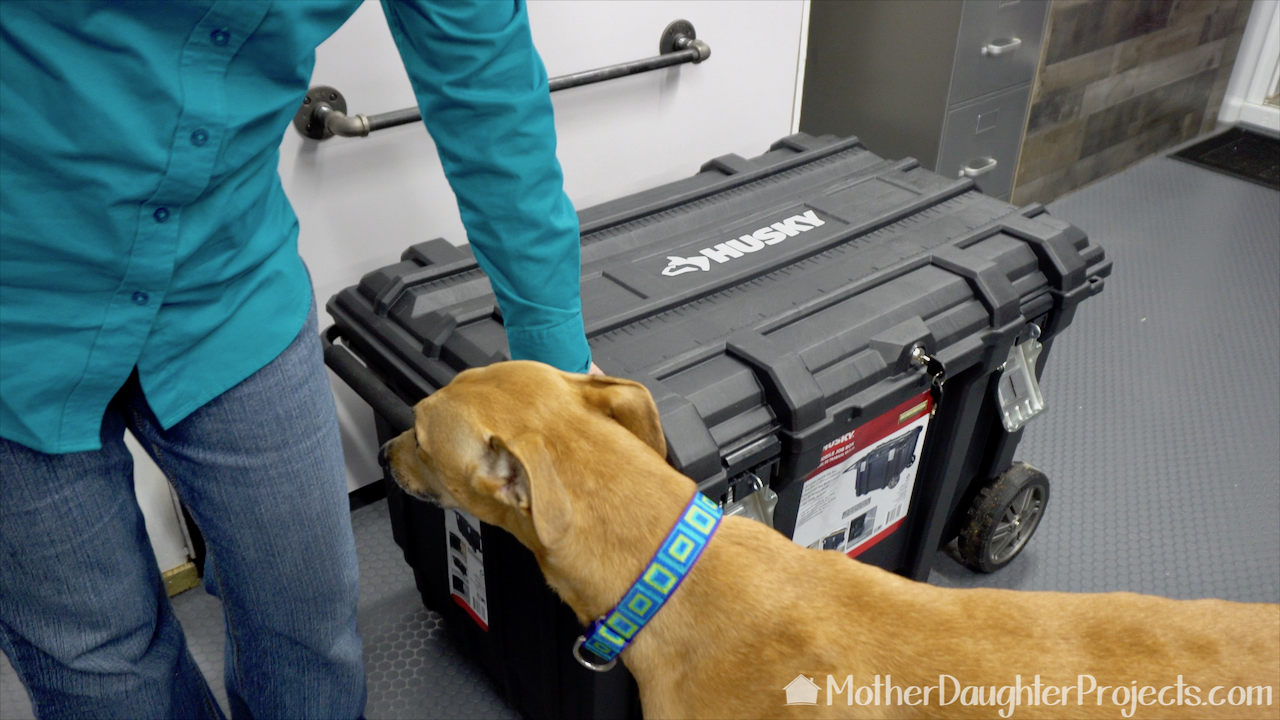
Since Mac will be a frequent visitor to the MDP workshop, we needed a place to safely store her essentials. This Husky job box is perfect!
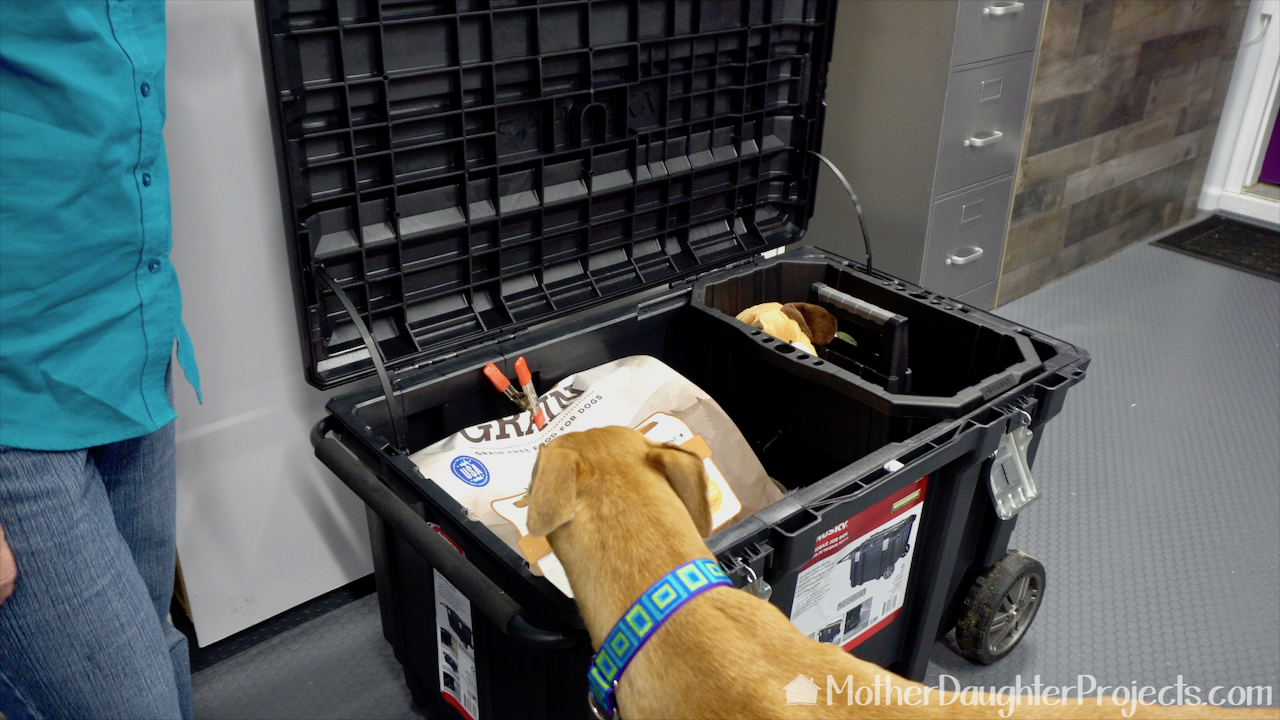
With the secure latches on the job box, we are assured she is not going to 'accidentally' get into her food! The box is on wheels so we can move it easily out of the way.
We acknowledge that The Home Depot is partnering with us to participate in the ProSpective 2018 Campaign. As a part of the Program, we are receiving compensation in the form of products and services, for the purpose of promoting The Home Depot. All expressed opinions and experiences are our own words. Our post complies with the Word Of Mouth Marketing Association (WOMMA) Ethics Code and applicable Federal Trade Commission guidelines.
FYI: We are not professionals, and we don’t claim to be. This is what we found worked for our project. Yours may need a little different approach. Safety first! FYI: Affiliate links are being used on this page. Purchasing via these links help support MDP! Related Projects
8 Comments
Millie Sanders
12/19/2018 08:26:44 pm
Loved some of the ideas on the dog dish and will try the plant stand as I have one just like that. The Home Depot bucket is great idea but my dog is so trained against getting into the trash cans, she won't go near that. Otherwise (I have Great Danes) I use the container they put out each year at this time for storing your Christmas wrap. Tall can green or red with a white lid you can turn upside down on it. The dog dishes as show fit right into it and it catches any thing a energetic enthusiastic eater throws/drips/splashes around. My new Dane thinks its a trash can and won't use it but the other two thinks its great
Steph
12/20/2018 07:07:38 am
Hi Millie- so glad you enjoyed it. Great idea on the Christmas wrap storage!
Deborah
12/25/2018 08:43:54 pm
I am concerned about the dog in your picture looking malnourished when you are promoting a feeding station.
Steph
12/26/2018 07:54:40 am
Hi Deborah- She is a greyhound and it's typical of the breed to see some of their ribs and spine. A little weird, I know. She was a racing greyhound for 4 years (I just adopted her a few weeks ago) and some of the scars on her side are from other dogs biting her (greyhound have very thin skin). She is 5 pounds over her racing weight and her vet is very happy with her eating habits. Thanks for the concern- Steph
Cheryl DeKoevend
7/25/2019 11:16:34 am
Thank you for your DIY Pet Food Bowl ideas. They are awesome, helpful, and very much needed.
Steph
7/25/2019 08:33:57 pm
You're welcome Cheryl!
Nina
7/8/2020 06:23:49 pm
Love the DIY raised dog dish tutorial. I too have a Greyhound and we have been using a stool with the dish sitting on top of it but I think it’s time to make something more secure.
Steph
7/8/2020 06:29:25 pm
Thanks! Greyhounds are the best, right? What state did you adopted your greyhound? How old is your grey? Leave a Reply. |

Mother Daughter Projects
|