text by Vicki Sign up to get Mother Daughter Projects updates in your email!
This post is sponsored by The Home Depot as a part of The Home Depot’s ProSpective Campaign. THD provided the Paslode brad nailer used in this post.
A gift from a friend of eight old worn card catalogue drawer fronts inspired this project. Another friend suggested we make shelves with them, so that’s what we did! The floating shelves were not initially designed to have a secret storage space, but towards the end of the build we realized we had the perfect opportunity to build in a secret compartment. Ours will hold a secret stash of candy!
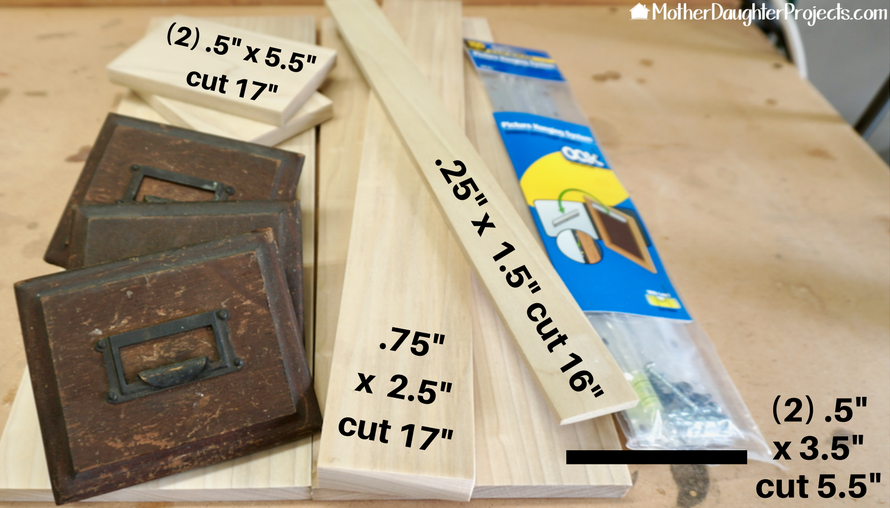
All of the measurements for the shelf were based on the width of four of the drawer fronts. All this is Poplar wood and cut to the above lengths.
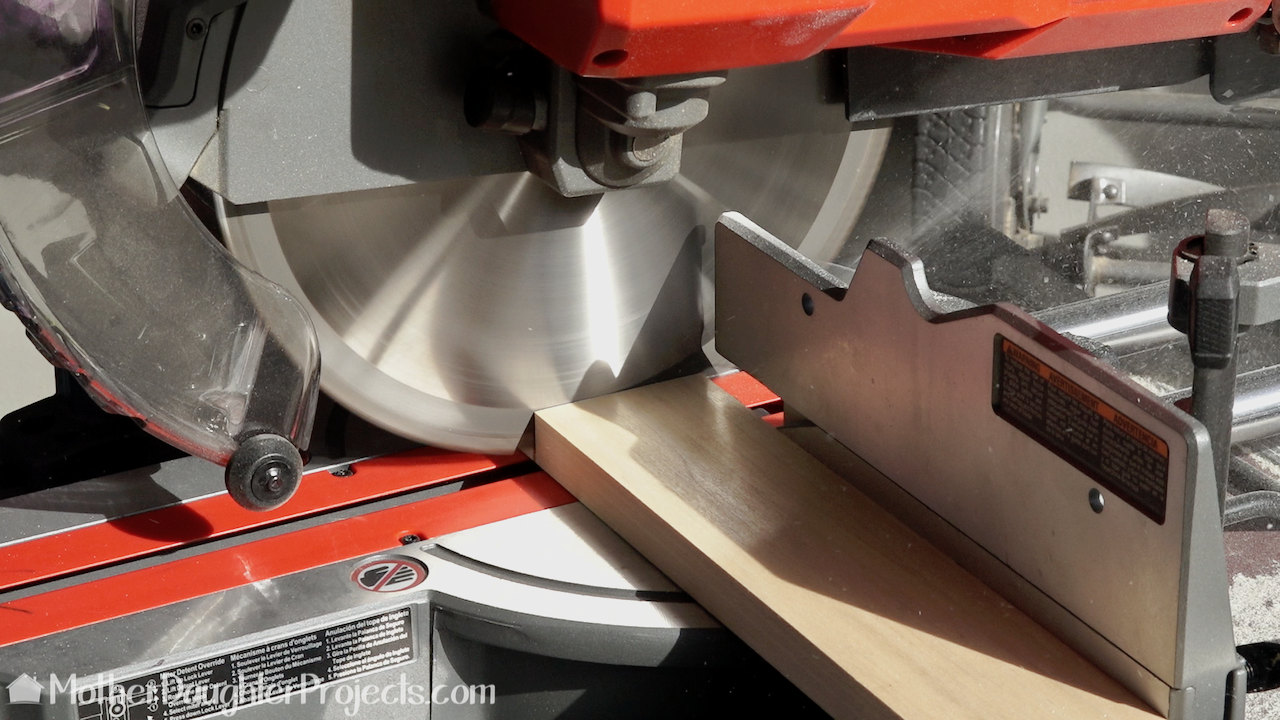
All of the cuts were made on a miter saw. After all the cuts were made, everything was given a light sanding with 220 grit sandpaper.
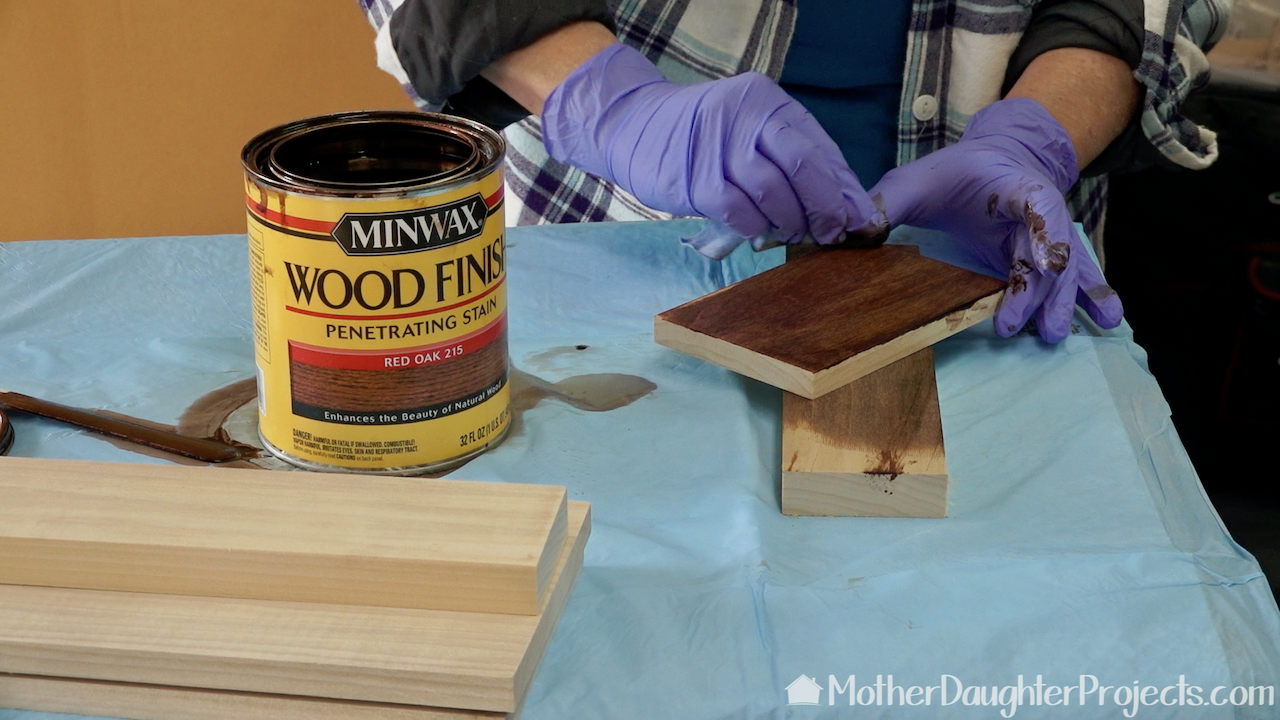
The shelf can be stained or painted. We used this red oak stain which complemented the vintage drawer fronts. All the pieces were stained prior to assembly.

To keep the four drawer fronts together, a length of 1.5" wide poplar was glued to the backs of the drawer fronts.
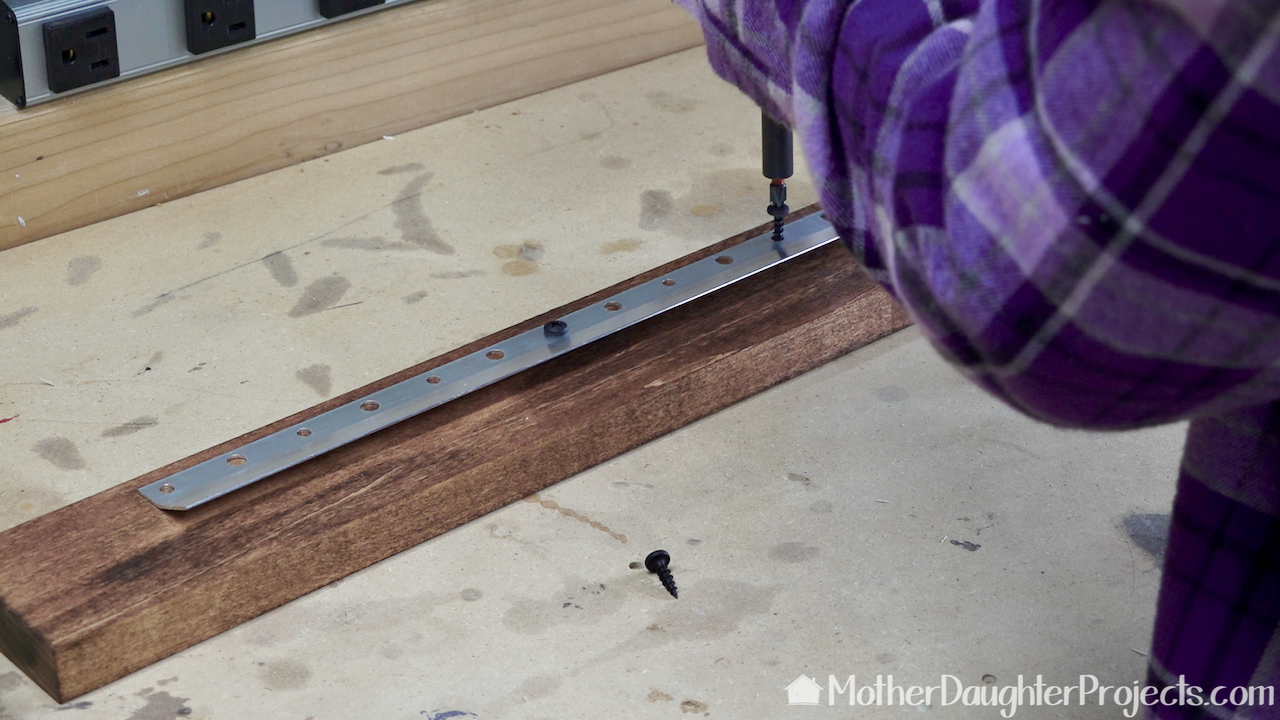
The finished shelf will be hung on the wall with a French cleat. A French cleat has two parts--one part goes on the shelf and the other on the wall.
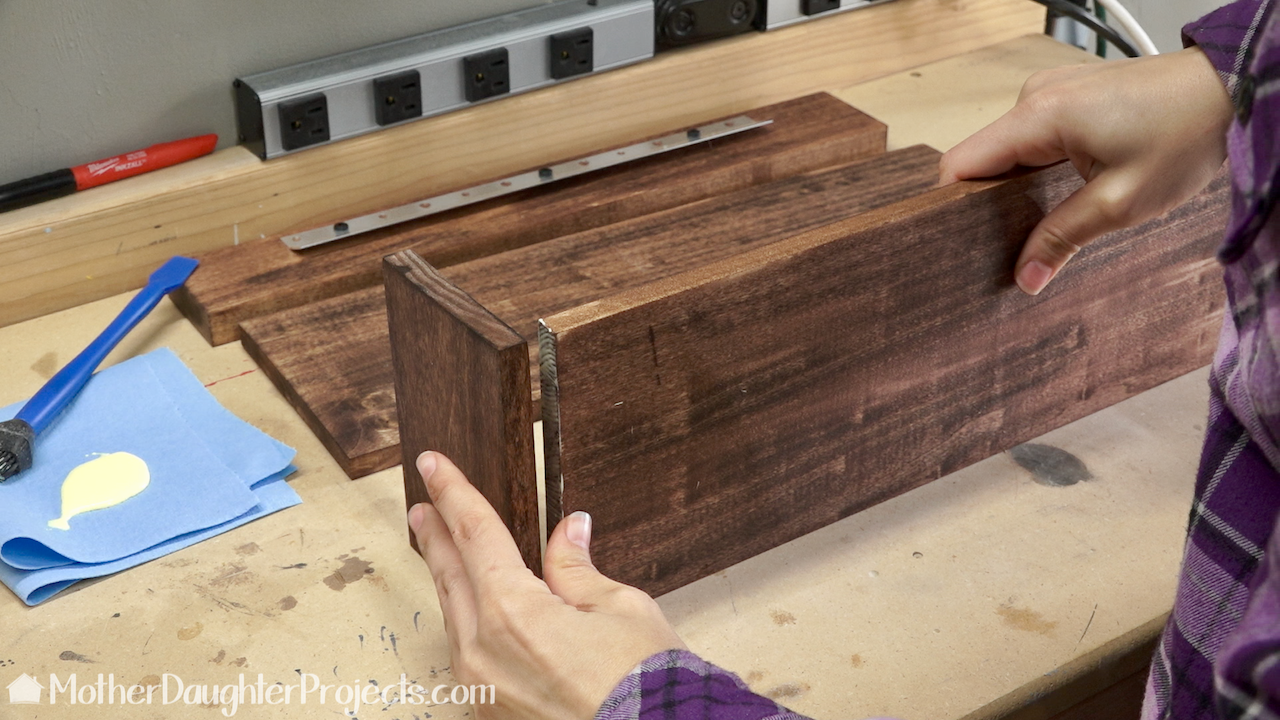
Assembly started with the sides being attached to the bottom and top of the shelf.
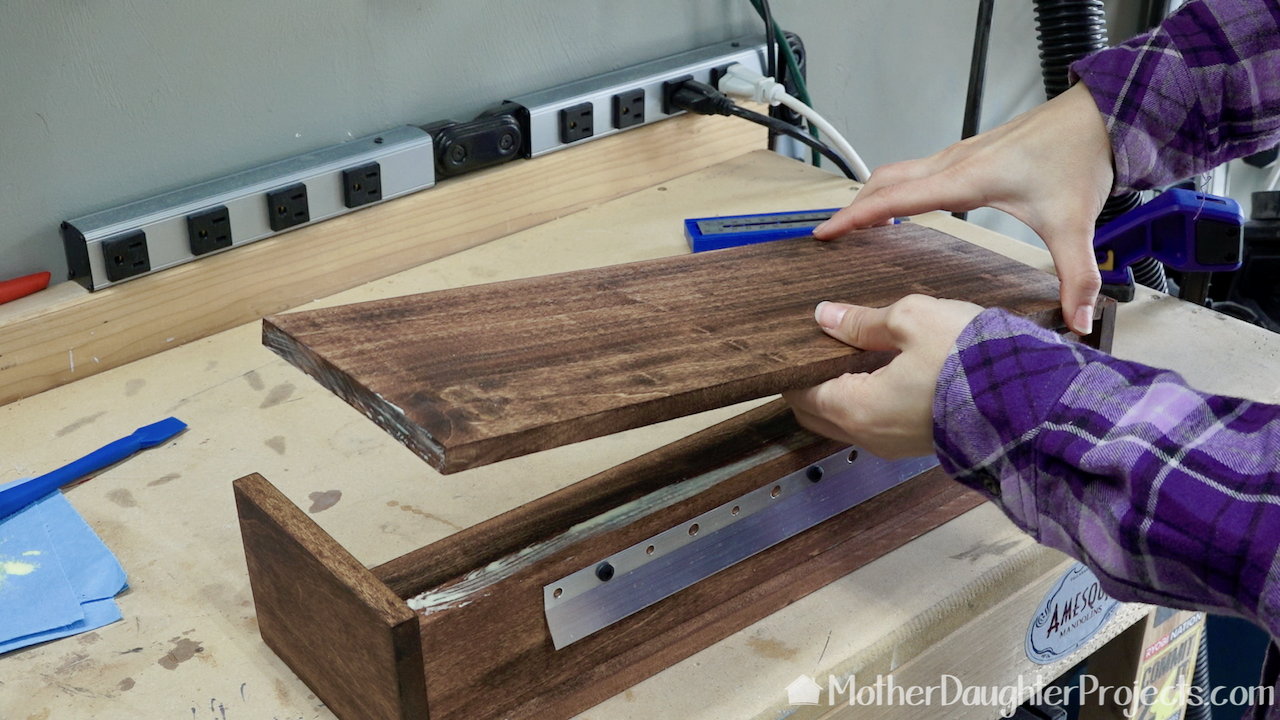
Wood glue was used on all the edges, clamped into place and then brad nailed to hold it all together.
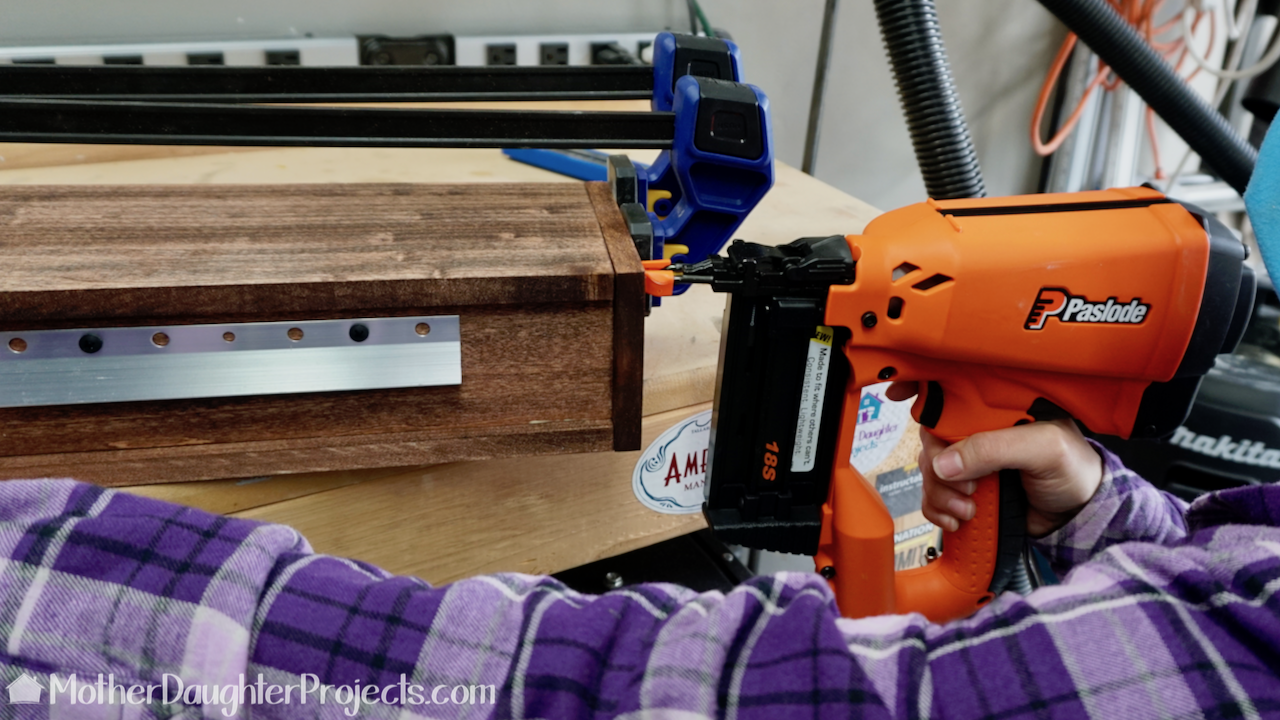
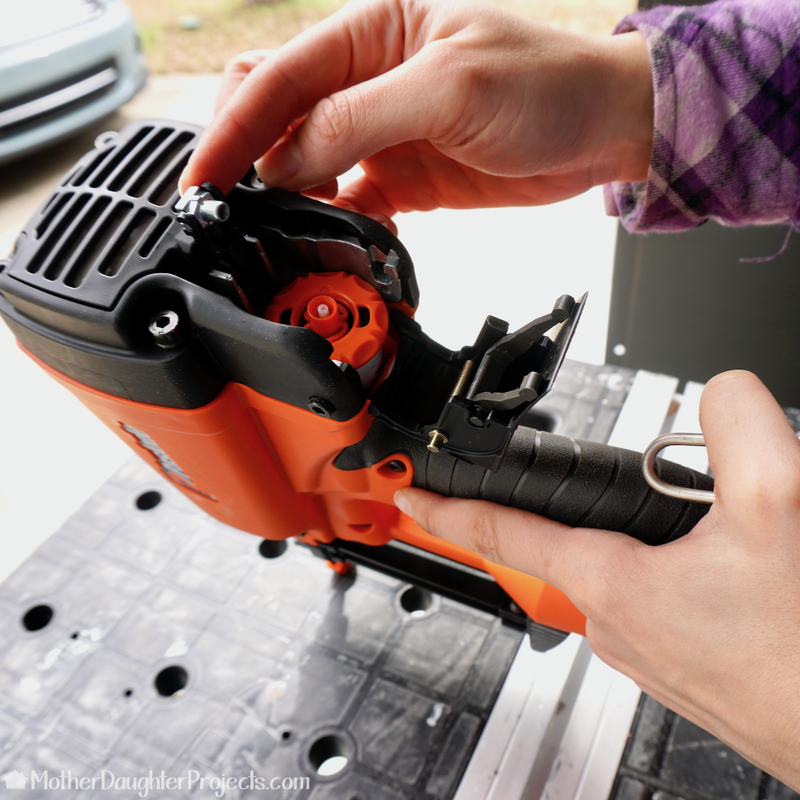
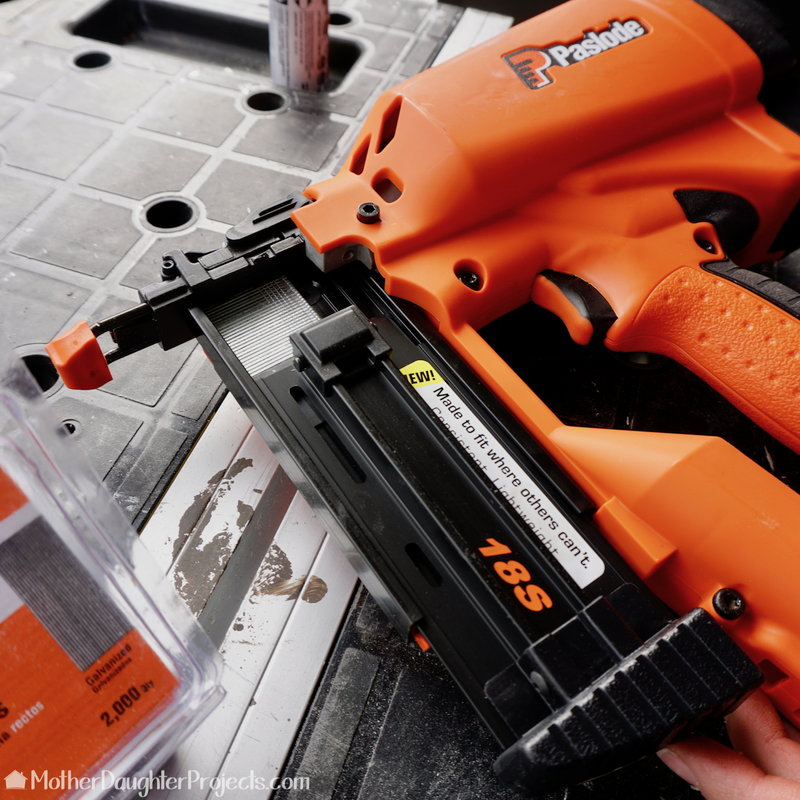
We were able to try out the Paslode Finish Brad Nailer on this project. This is the third brad nailer we've used and it proved to have the most striking power and accuracy. It's well balanced and fits into smaller spaces than most nailers.
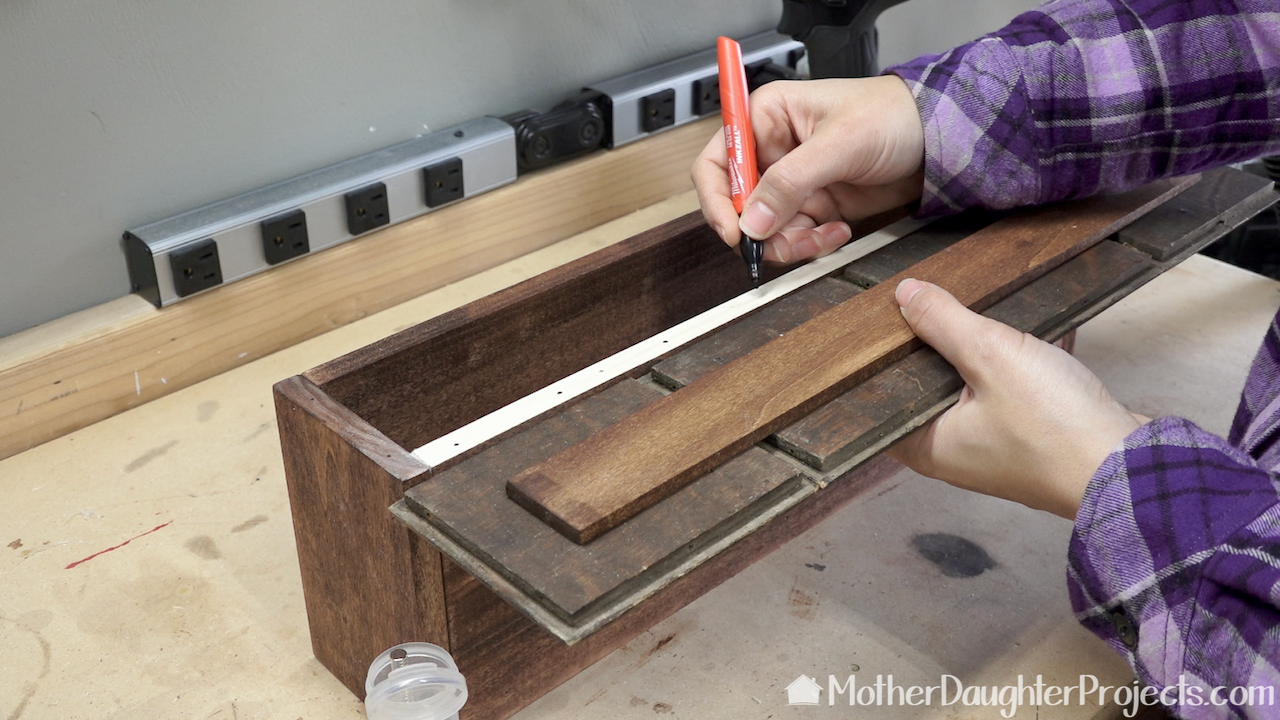
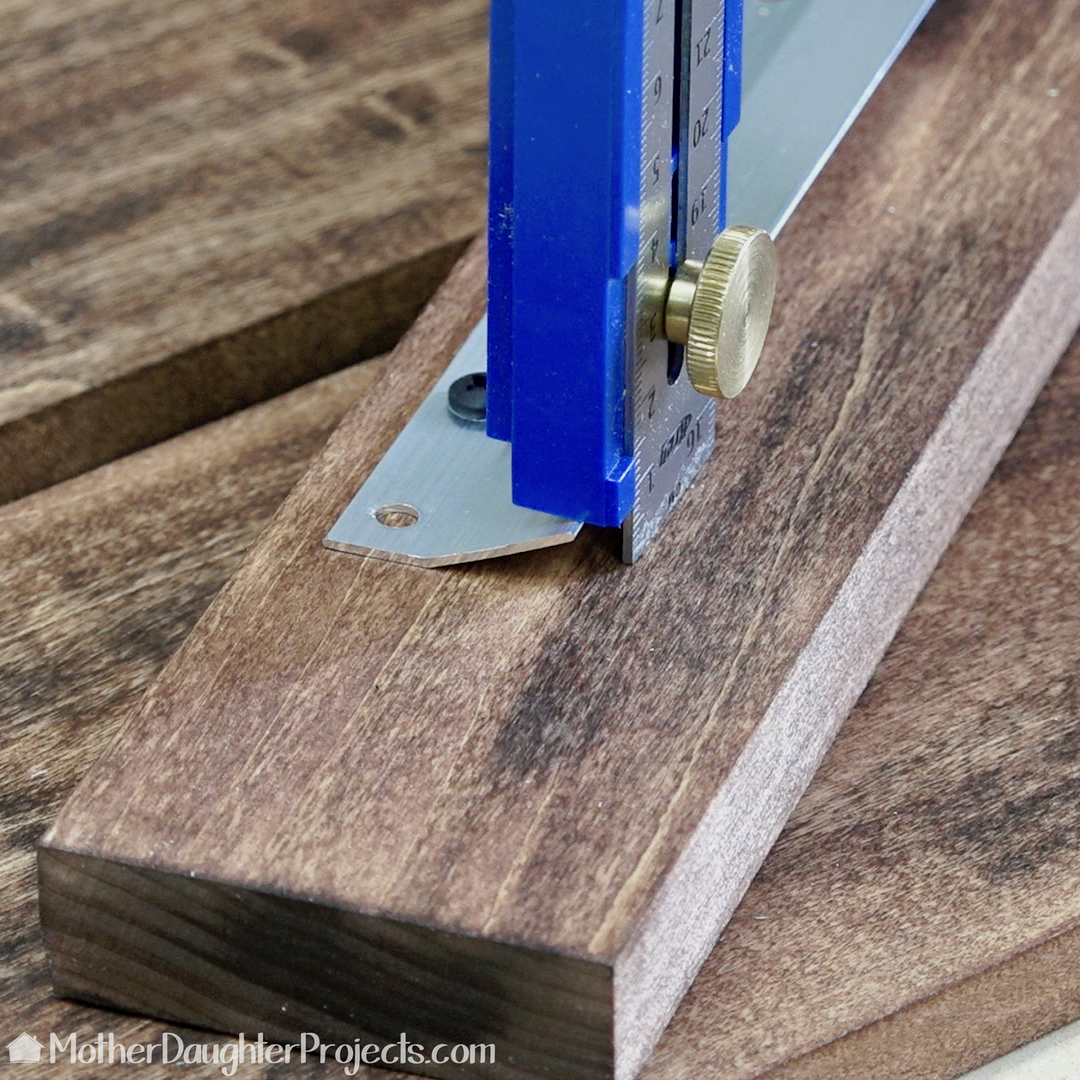
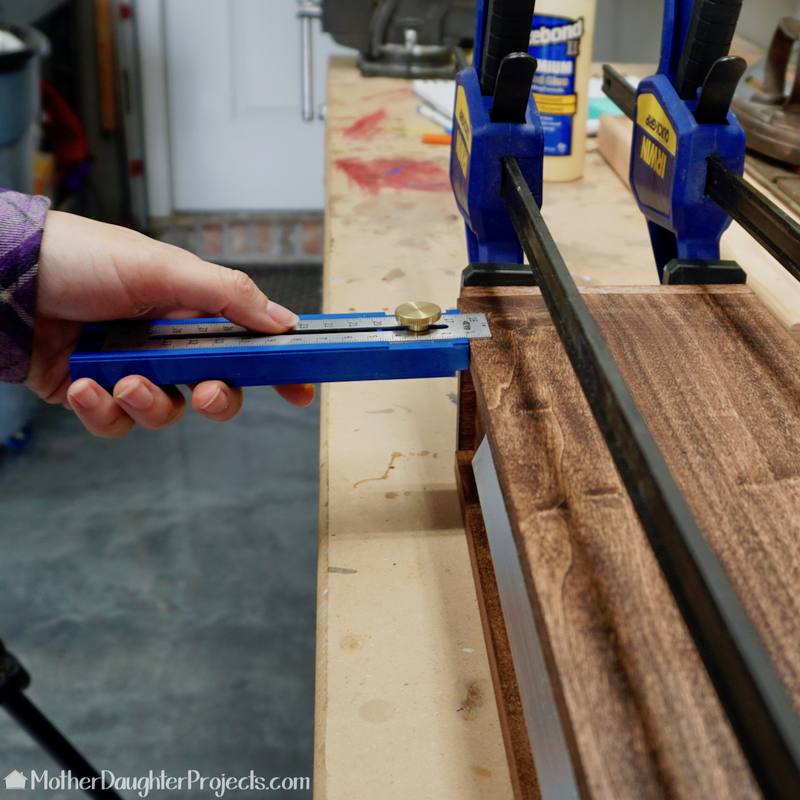
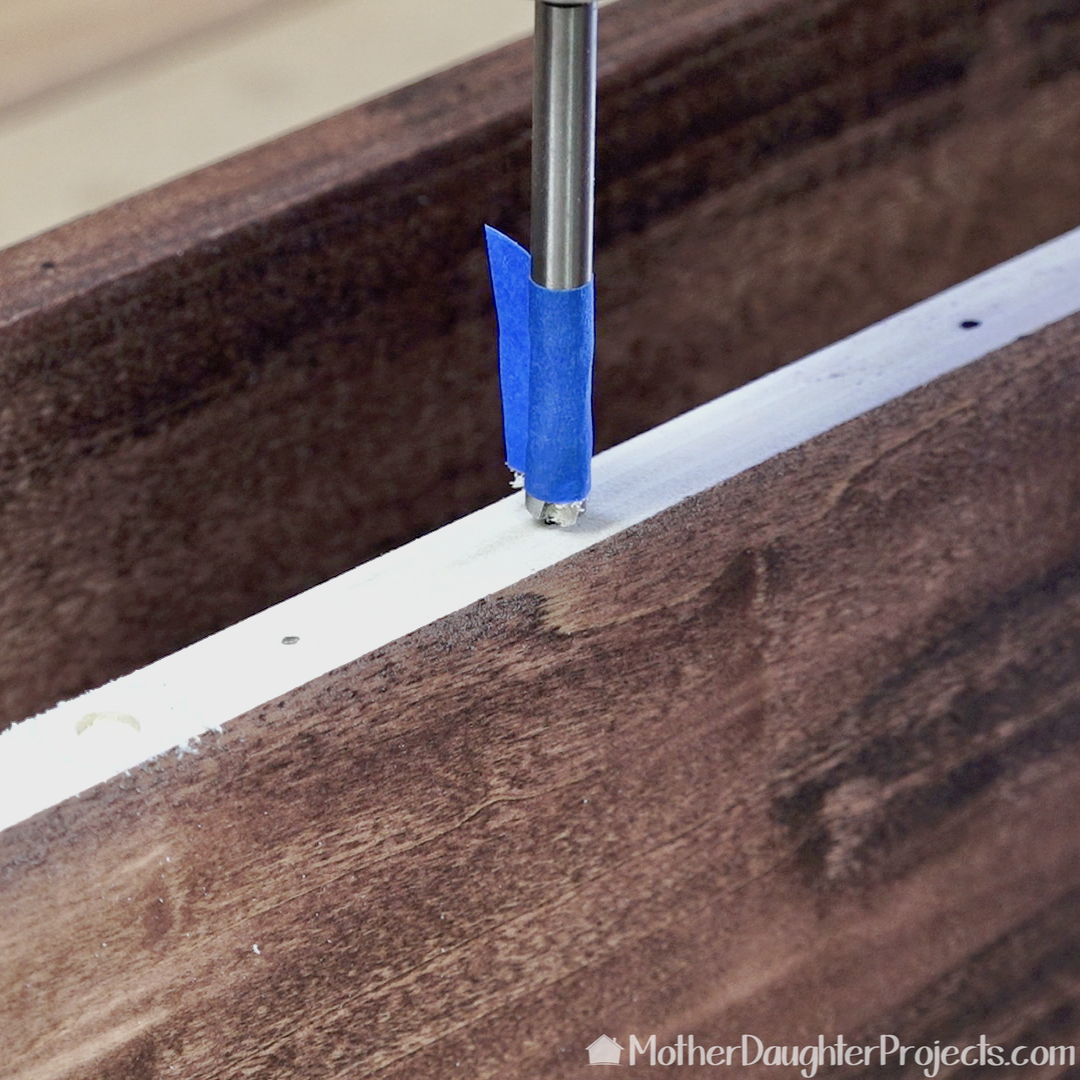
It was at this point that we realized that we could actually make a hidden compartment in the shelf. We brainstormed some ideas on how to attach the front and decided to use rare earth magnets attached to both the shelf frame and front as a way to open and close the box securely. Here Steph is marking the placement of the magnets on the box frame.
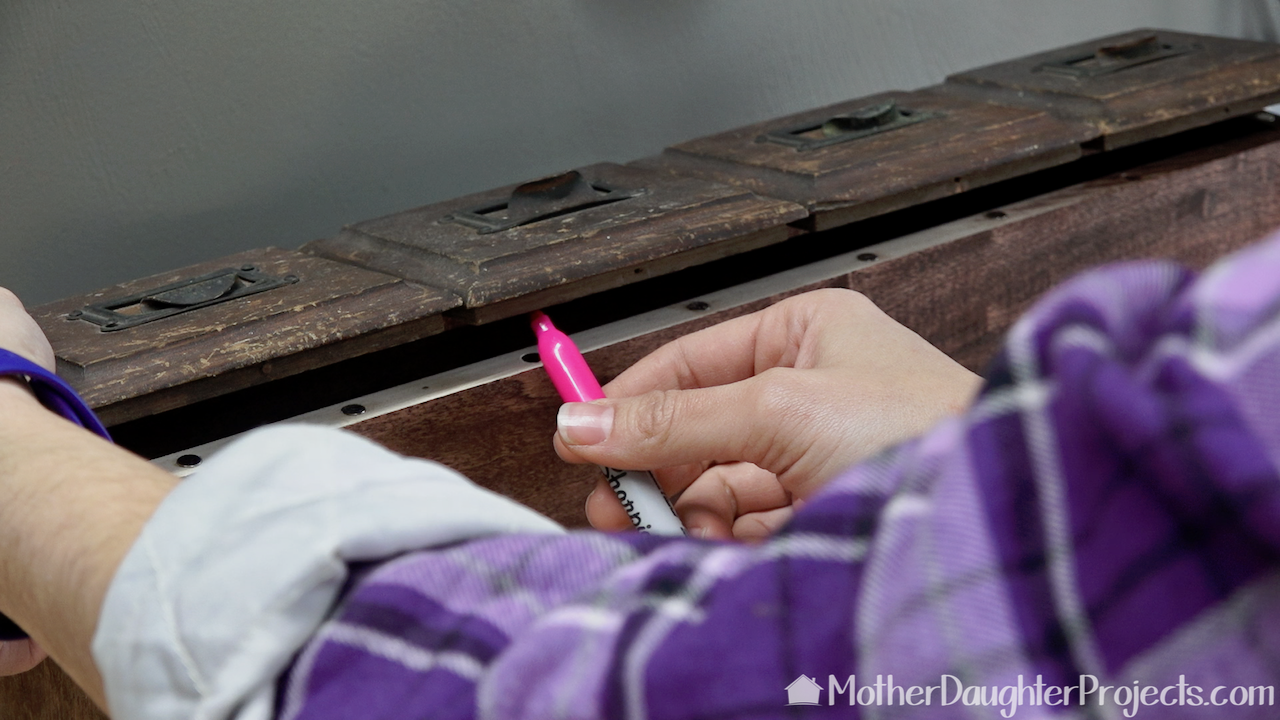
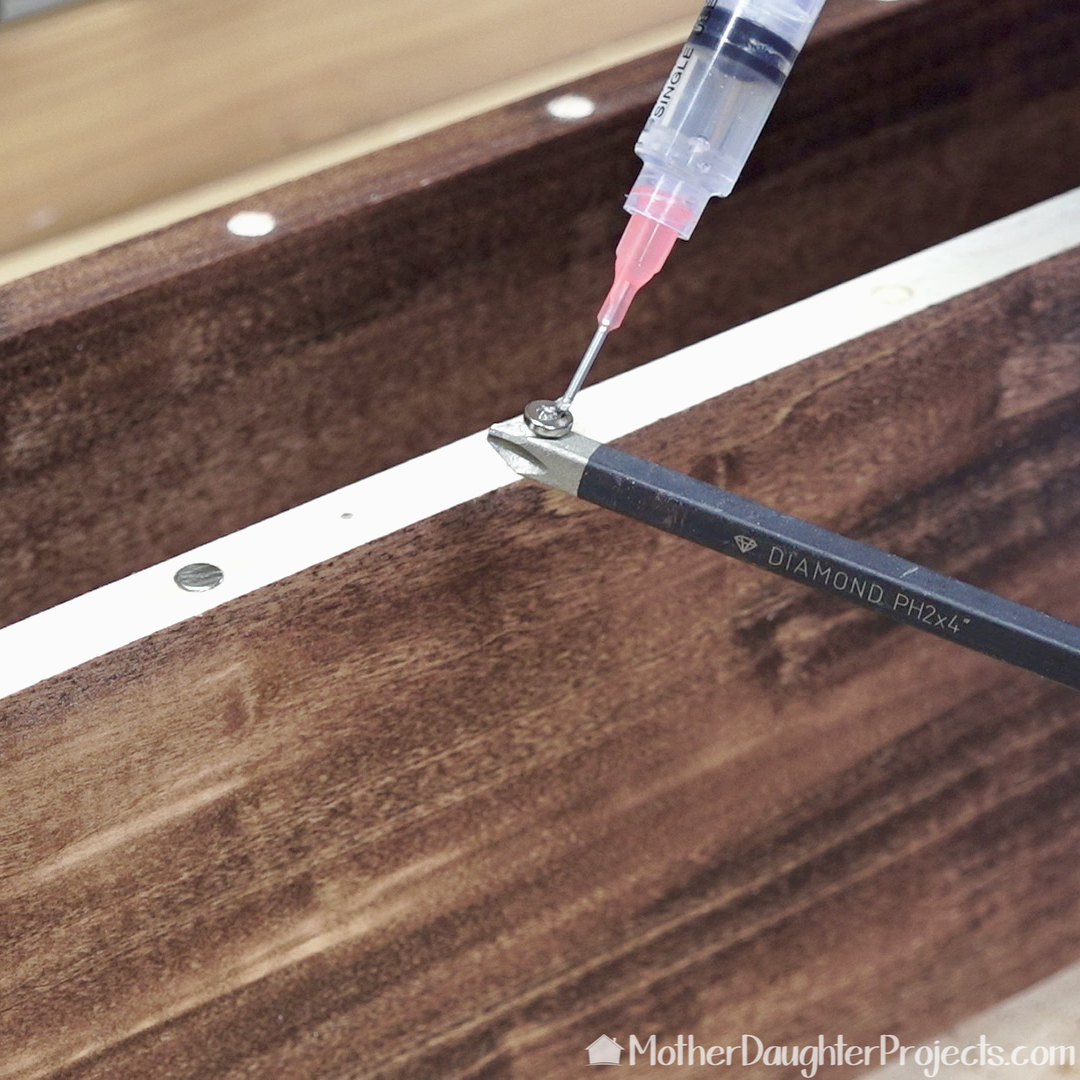
After gluing the magnets into the frame of the shelf, we marked the placement of the matching magnets on the drawer front backs. Be sure to watch the video to see how we put the magnets into the holes.
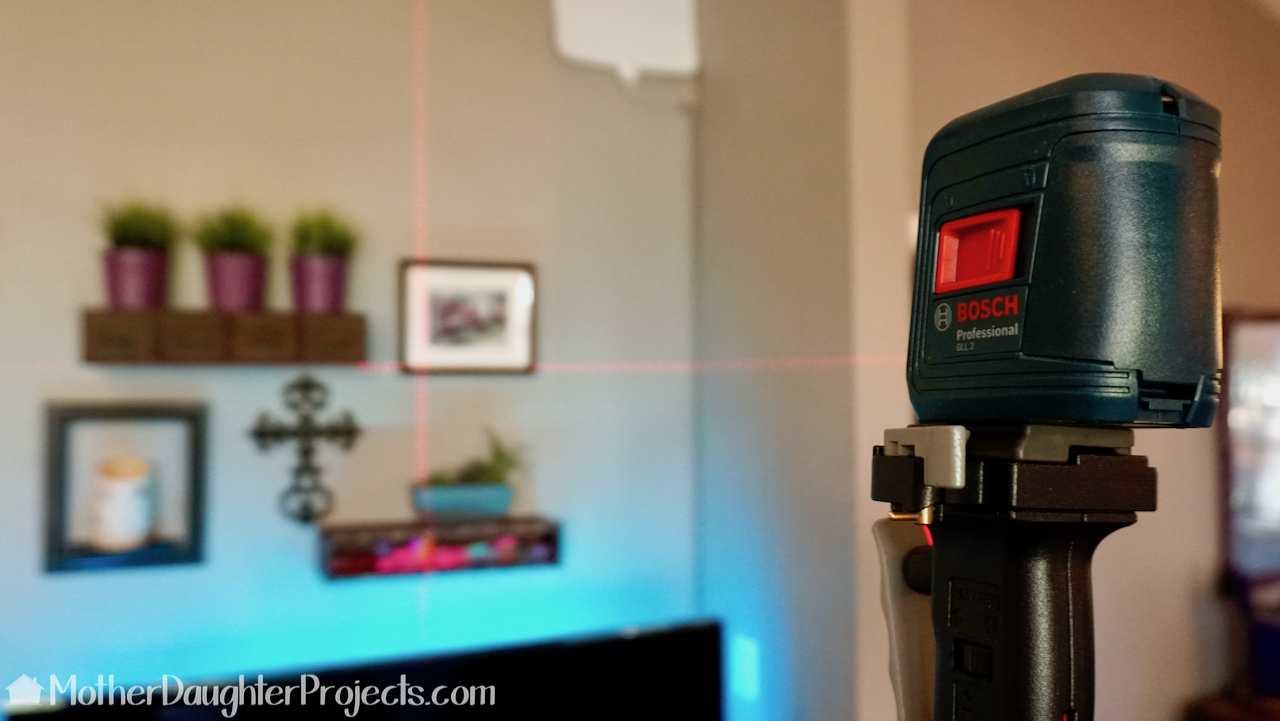
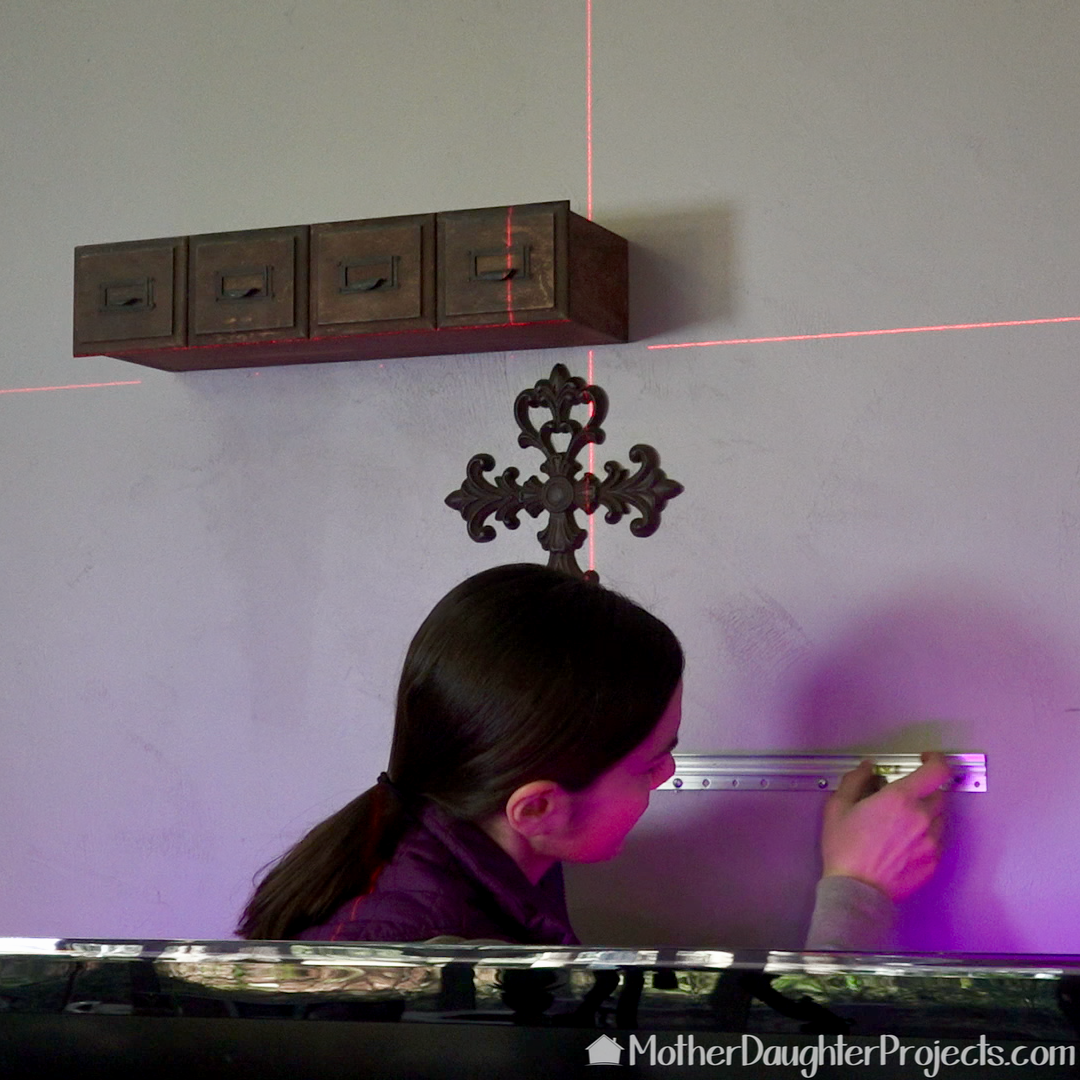
We got a chance to try out the Bosch laser level when we got ready to put everything up on the wall. This comes with a base, but you can also attach it to any tripod with a camera mount. The cool thing about it is the self-leveling feature. Even if the tripod is not level, the Bosch will self-level itself!
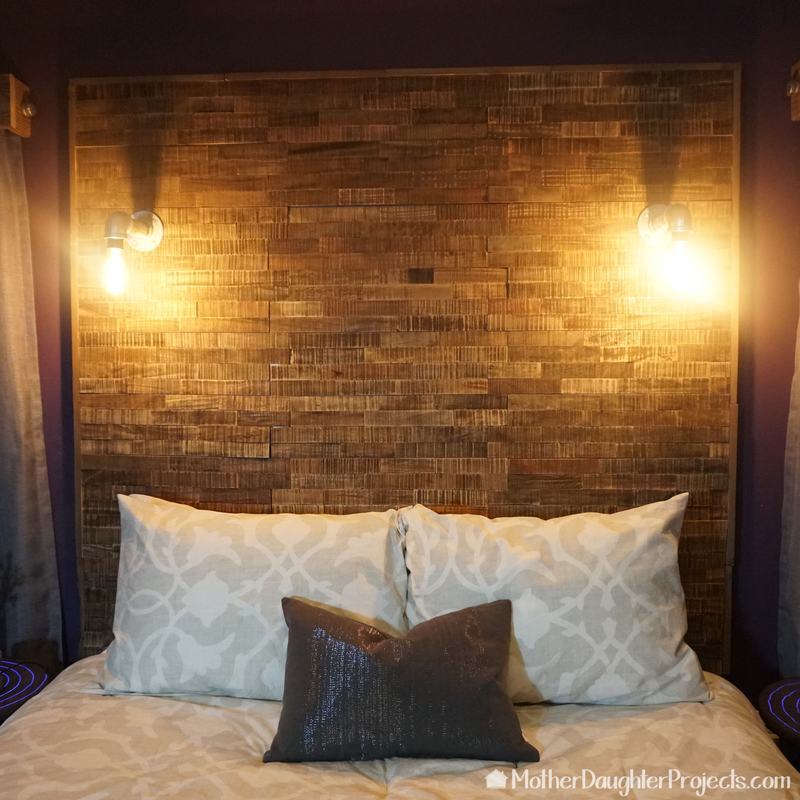
These little rustic floating shelves turned out so well. They are such a perfect addition to Steph’s living room decor that they look like they should have always been there.
We debated about cleaning up the drawer fronts with sanding and stain but decided to just cosmetically clean them and embrace their time worn character. The secret compartment was a happy accident and the use of the rare earth magnets made it possible. We acknowledge that The Home Depot is partnering with us to participate in the The Home Depot ProSpective Campaign. As a part of the Program, we are receiving compensation in the form of products and services, for the purpose of promoting The Home Depot. All expressed opinions and experiences are our own words. Our post complies with the Word Of Mouth Marketing Association (WOMMA) Ethics Code and applicable Federal Trade Commission guidelines. FYI: We are not professionals, and we don’t claim to be. This is what we found worked for our project. Yours may need a little different approach. Safety first! FYI: Affiliate links are being used on this page. Purchasing via these links help support MDP! Related Projects
8 Comments
Claudia Dew
2/7/2018 12:48:19 pm
Brilliant idea! Glad you found a use for them! AND, they aren't in my garage any longer👍
Steph
2/10/2018 06:04:54 pm
Thanks for the drawer fronts Claudia- they really inspired us!
Jacquie Davis
2/8/2018 12:12:03 pm
This is such a great idea - I have 4 small drawers from my mother's old spice cabinet, and this idea has given me a great idea how to use them, independent of the cabinet! Thanks so much.
Steph
2/10/2018 06:06:16 pm
Hey Jacquie- happy to help! Good luck with your project!
Fran
2/15/2018 10:13:58 am
Love this idea! Would like to try it, but I can’t ‘Pin’ it. Any ideas?
Steph
2/15/2018 02:25:38 pm
Hi Fran! Here is a link to the pin on Pinterest: https://www.pinterest.com/pin/568860996676567751/
LAWRENCE W DUBREUIL
5/16/2018 10:56:09 am
could you use a Hinge at one end or bottom when you want to access the contents inside?
Steph
5/16/2018 06:03:50 pm
Yes! That would work great too. Leave a Reply. |

Mother Daughter Projects
|