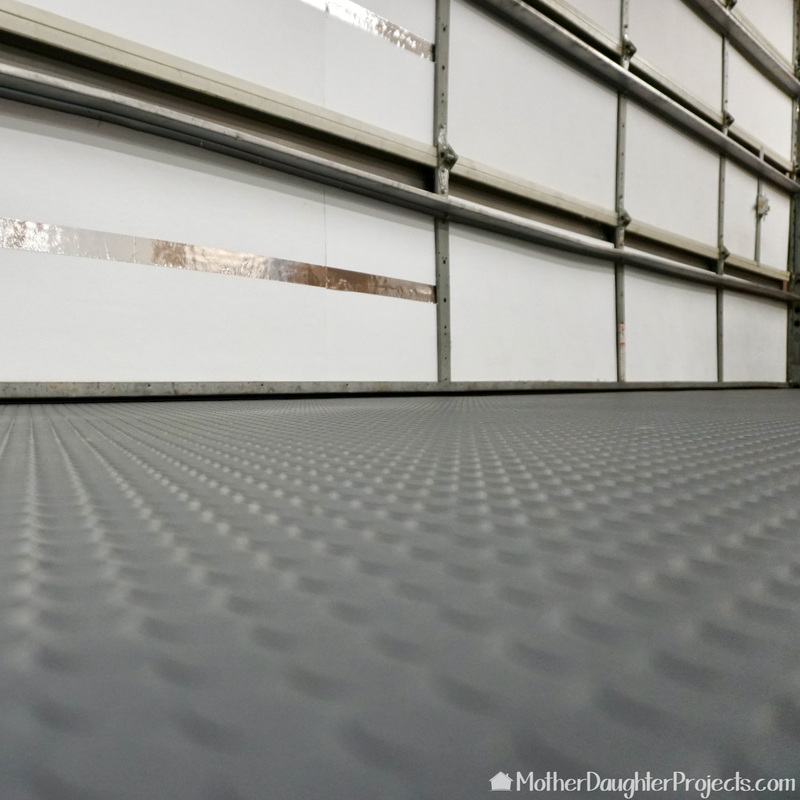
|
text by Vicki Sign up to get Mother Daughter Projects updates in your email!
This post is sponsored by The Home Depot.
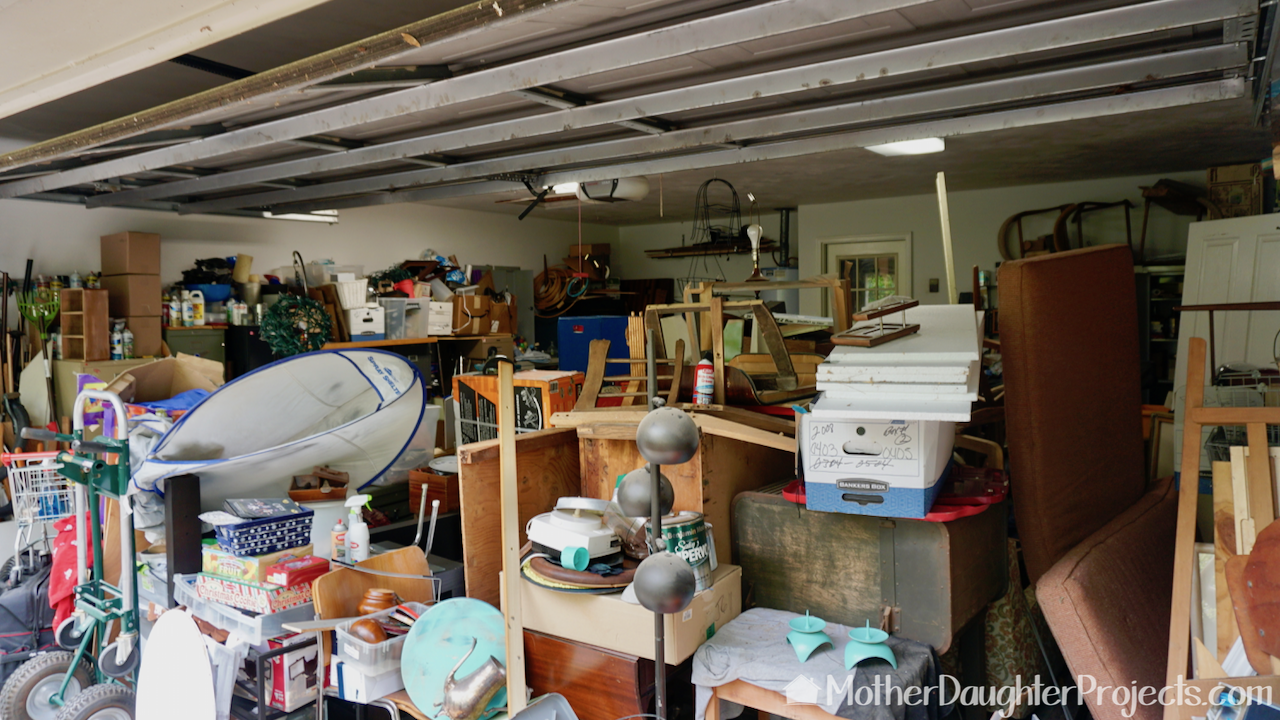
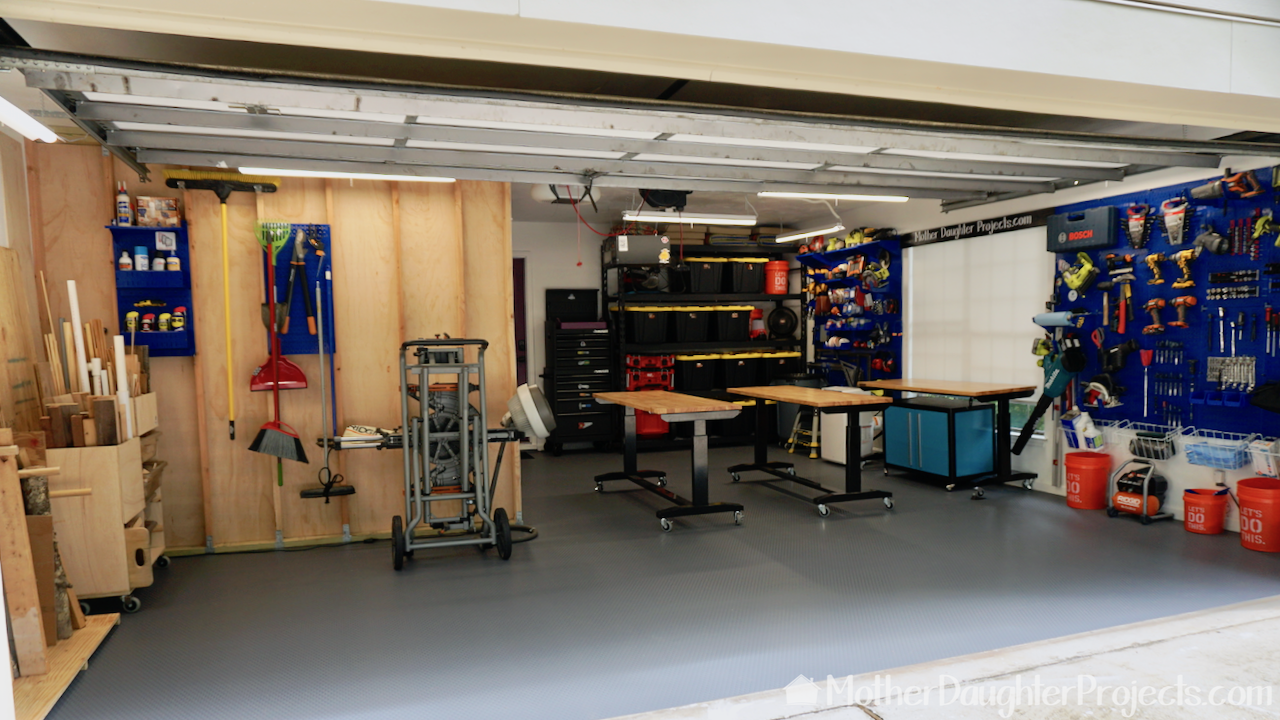
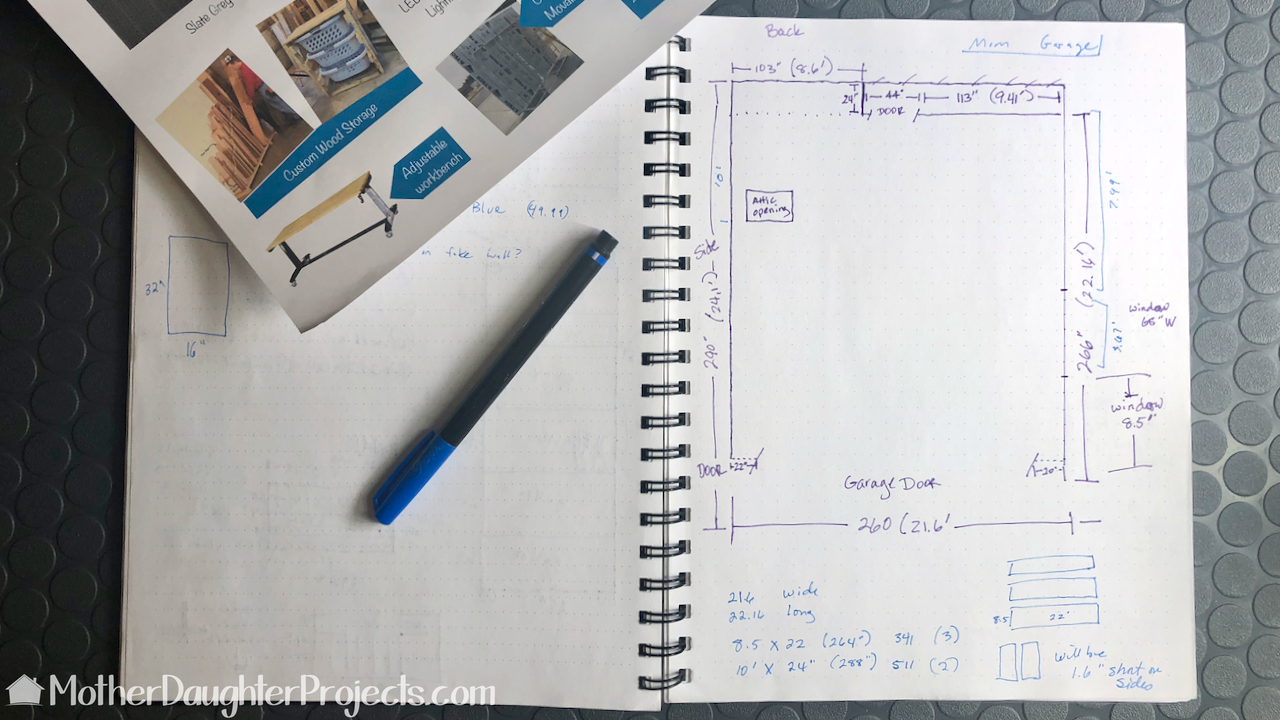
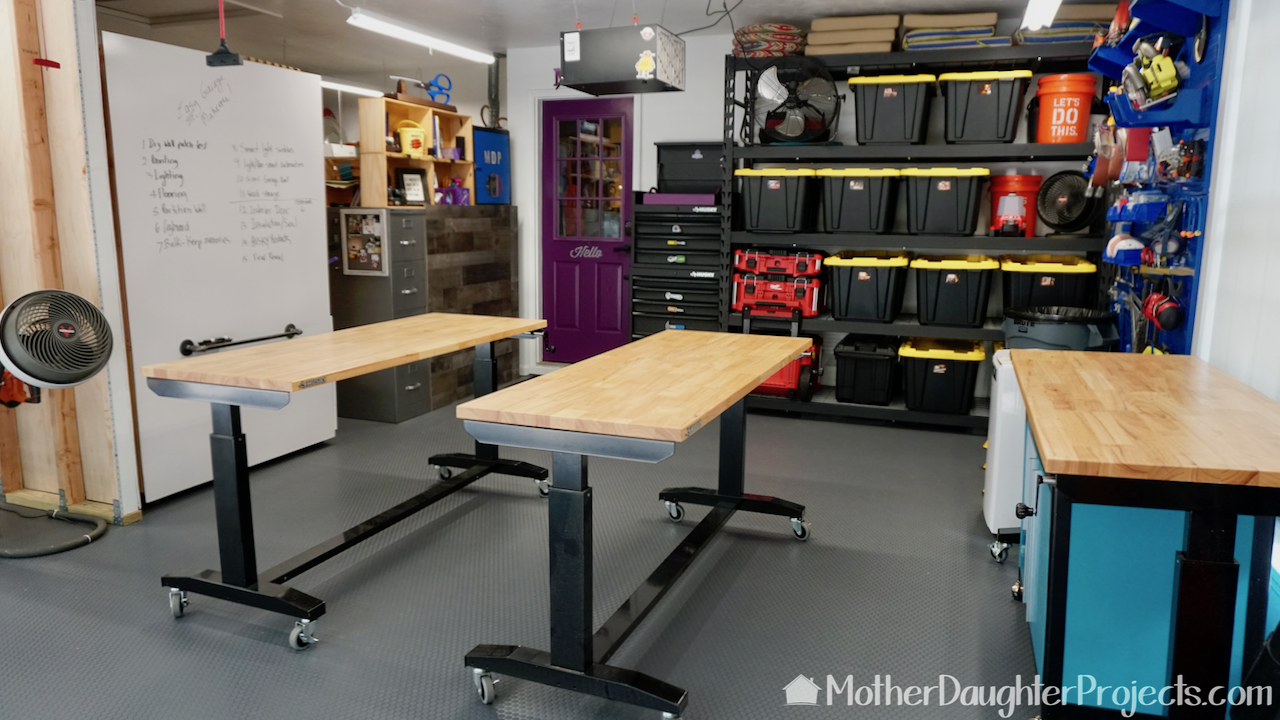
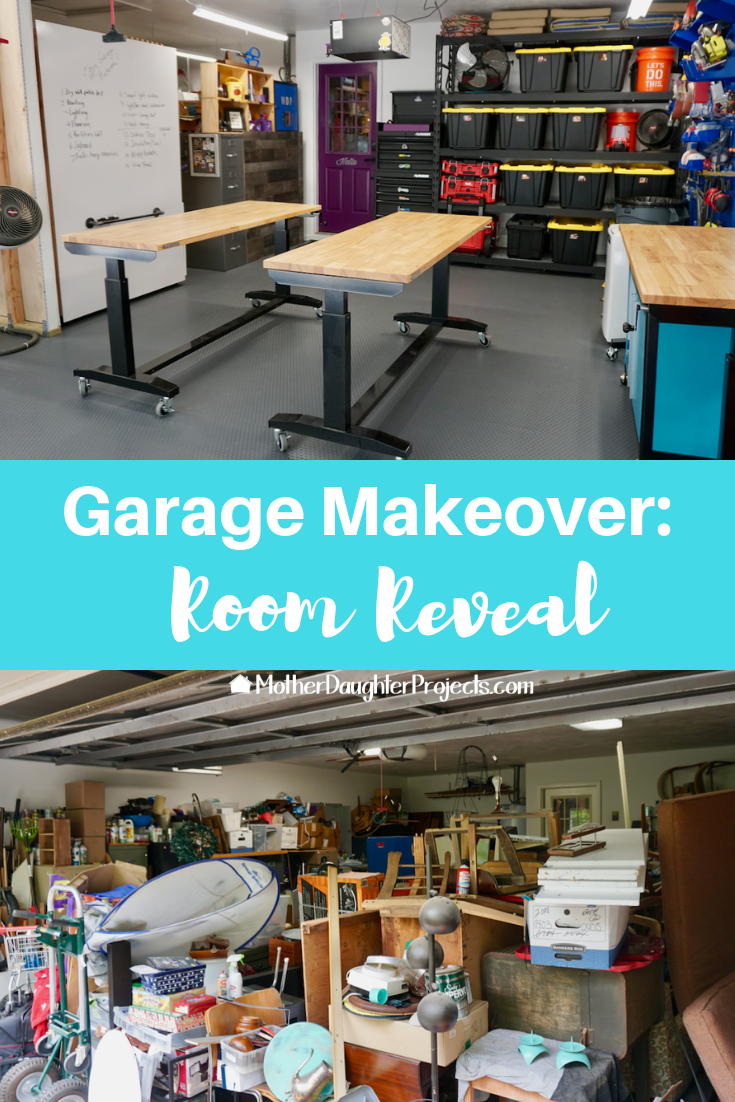
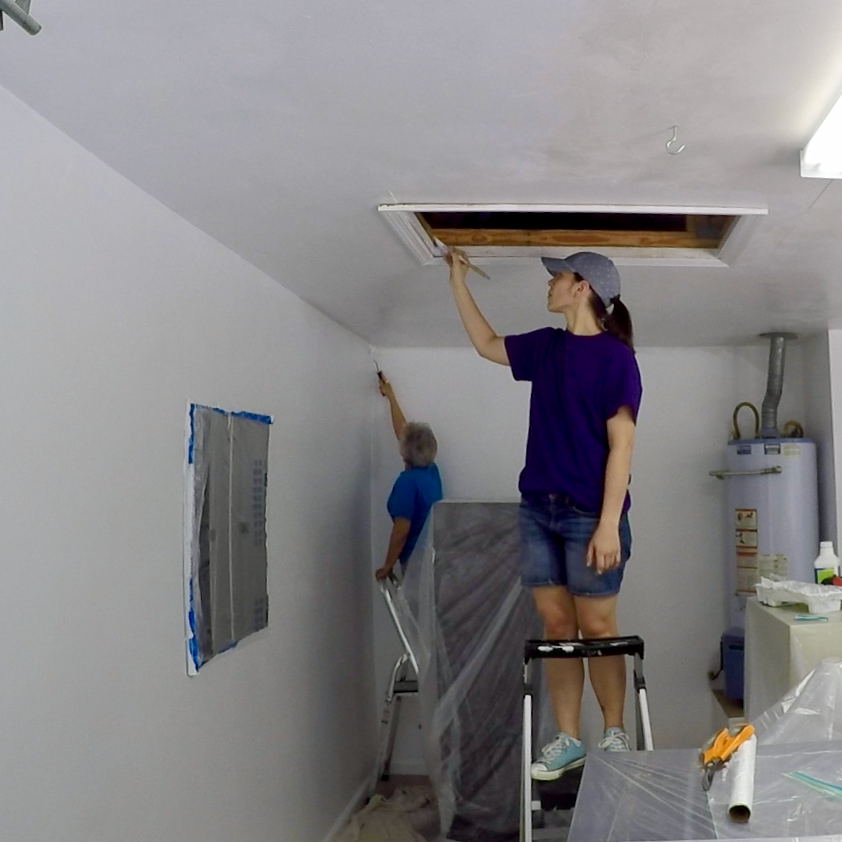
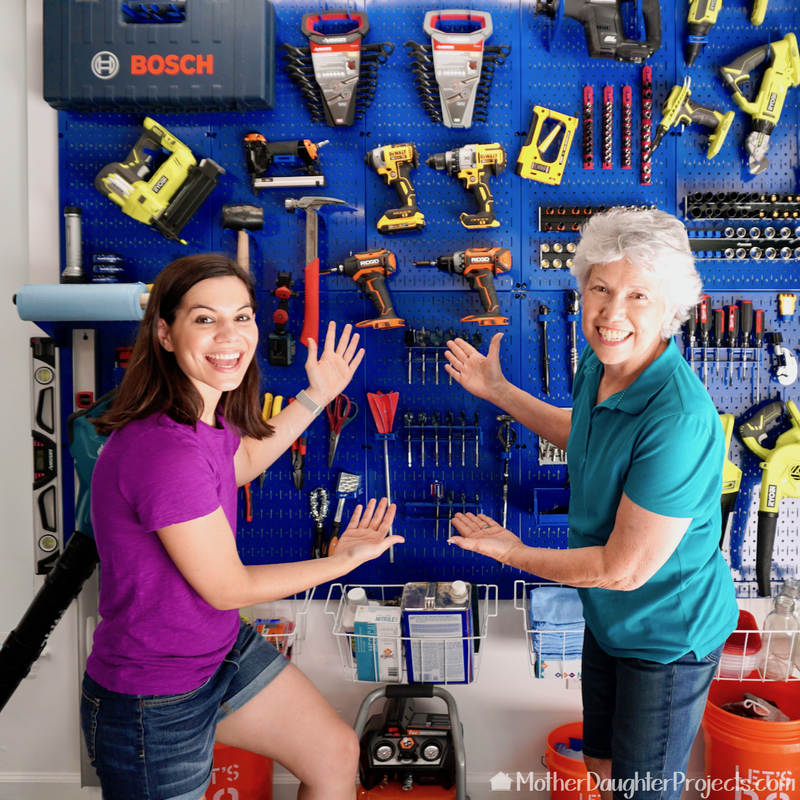
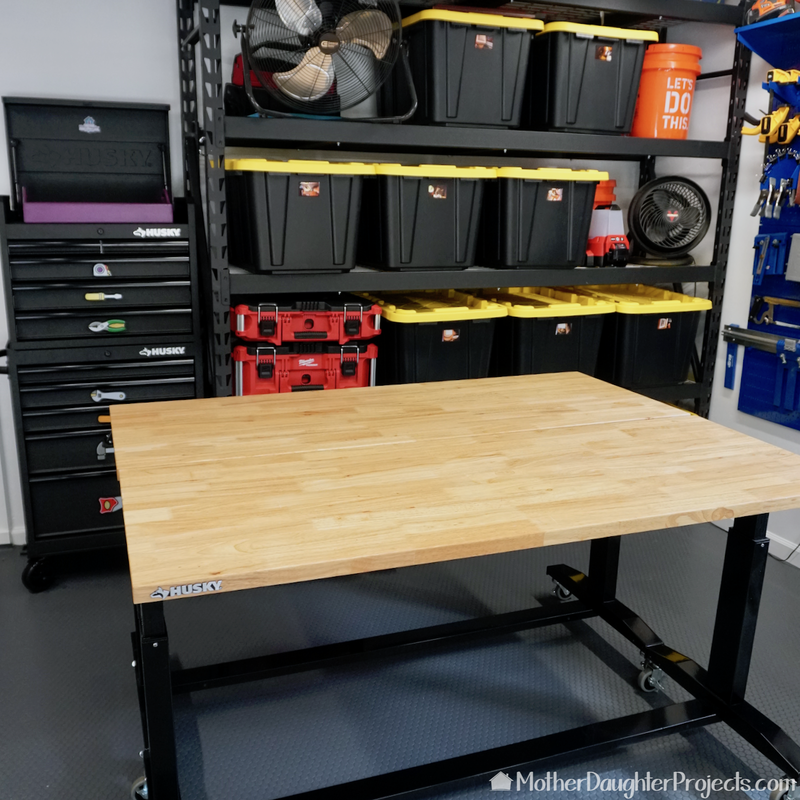
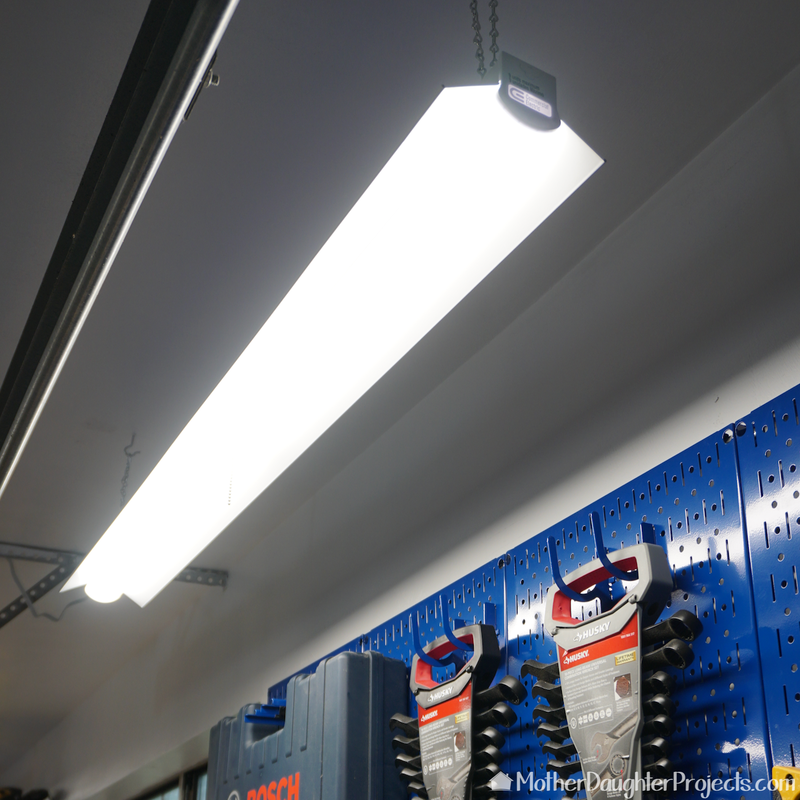
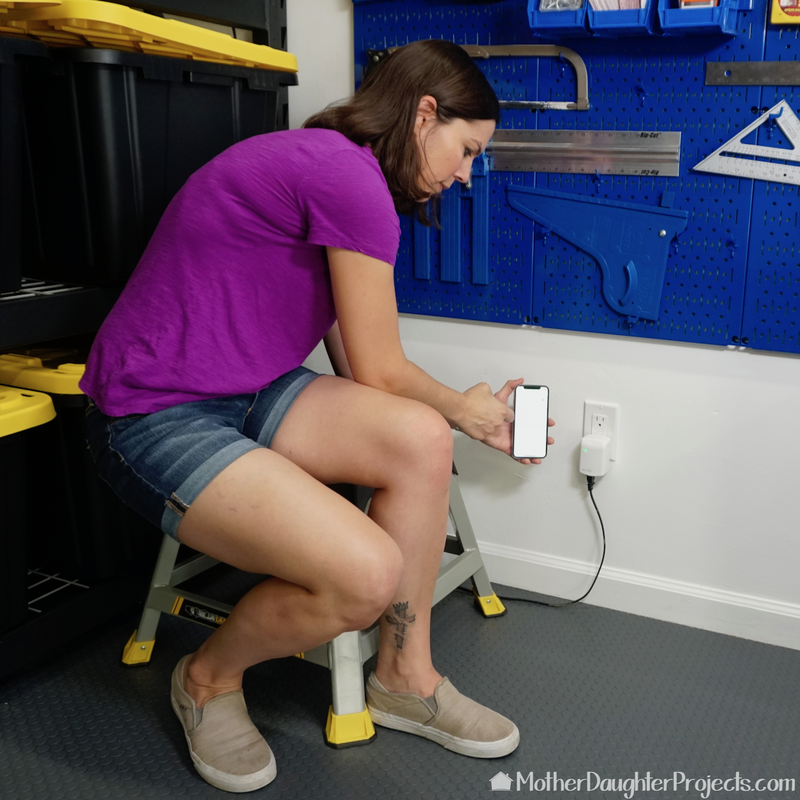
Now that we are at the end of the #garagemakeover, it's hard to believe where we started! We wanted a fully functional garage complete with work and storage zone and space to park my car. We meet all those goals and then some. Take a look back at how the garage went from the mess below to what you see today!
A big thank you to The Home Depot and Wall Control for their sponsorship of the garage makeover project! Materials/ Tools:
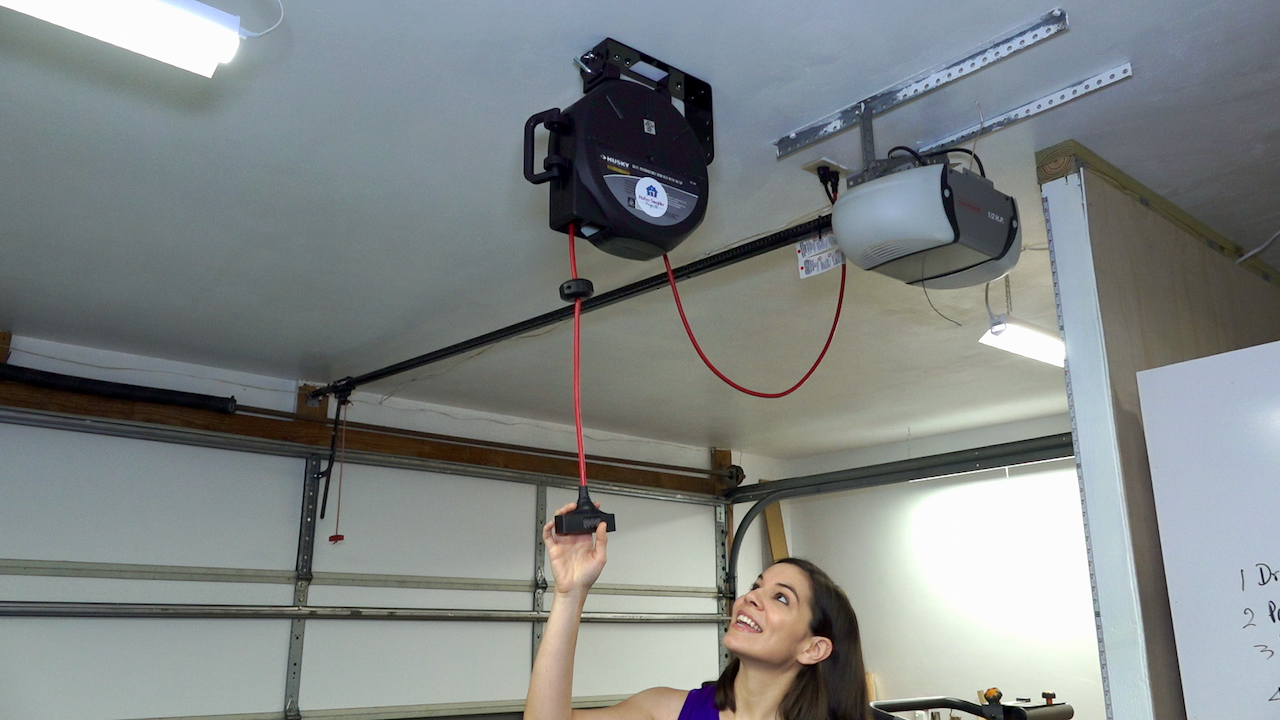
Even though we had an electrician come and add more outlets to the garage, access was still limited. We came across this Husky ceiling mounted retractable extension cord. It's plugged into the extra outlet along side the garage door opener. It's convenient to reach most anywhere in the garage. This is a must-have for any garage, especially if you have an existing outlet in the ceiling.
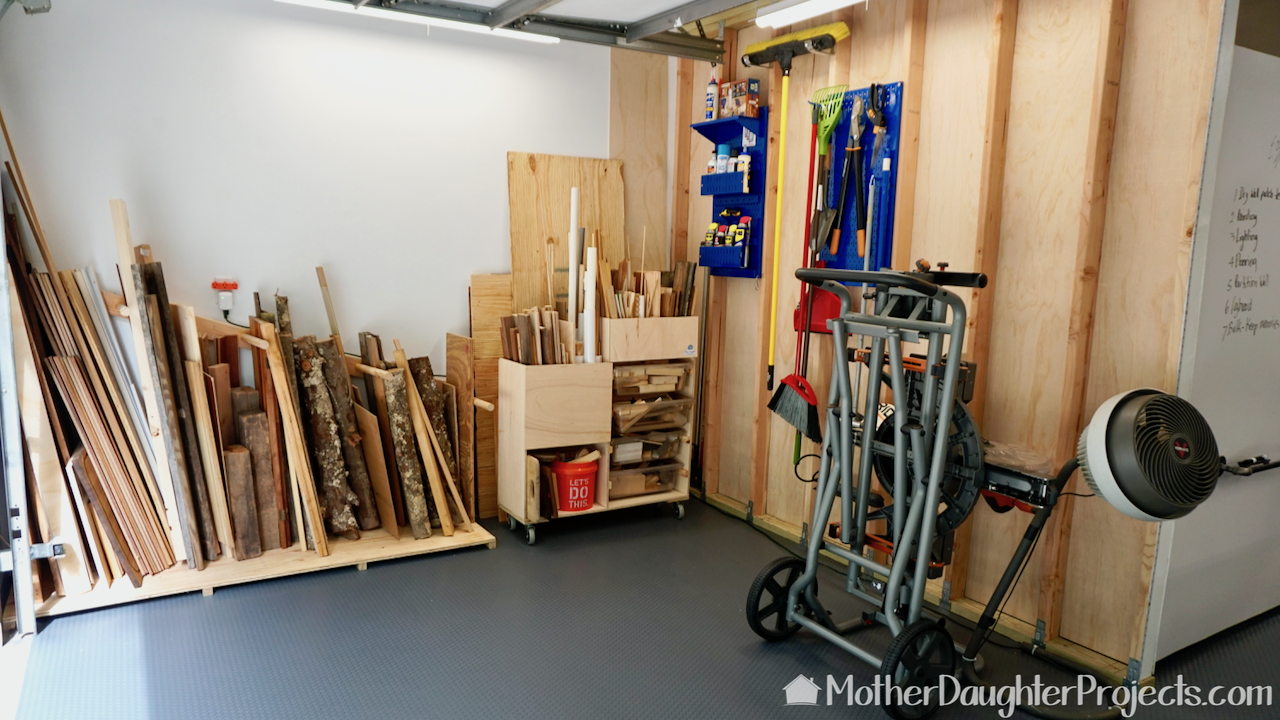
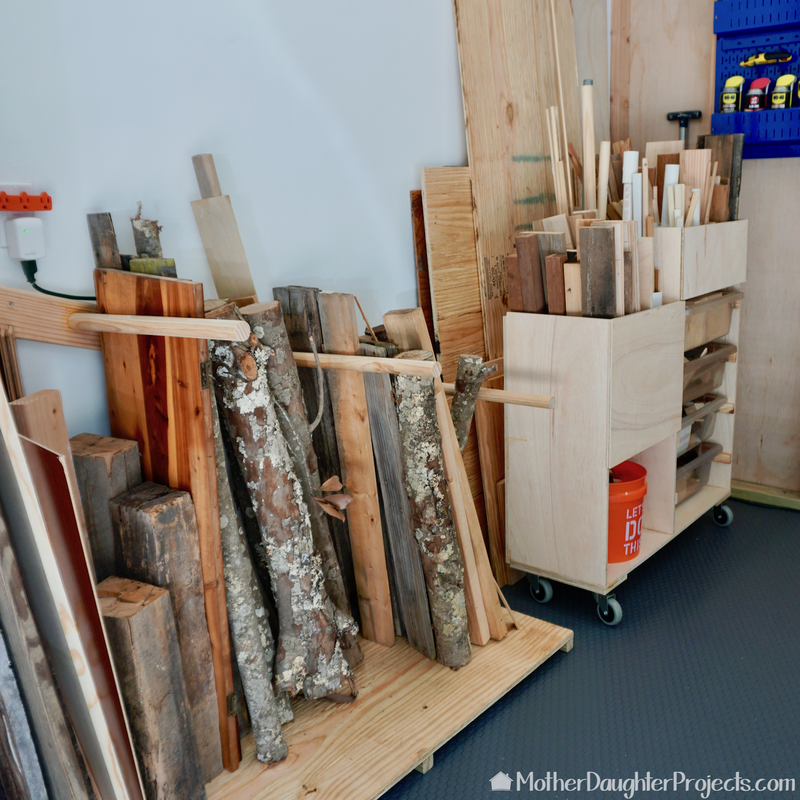
The two storage units we made for the wood storage corner, take advantage of this awkward space. This is the wood cutting zone so all the stored wood is neatly and conveniently located nearby. We keep the miter saw on the stand so it is easy to move into place and then to fold up and roll out of the way.
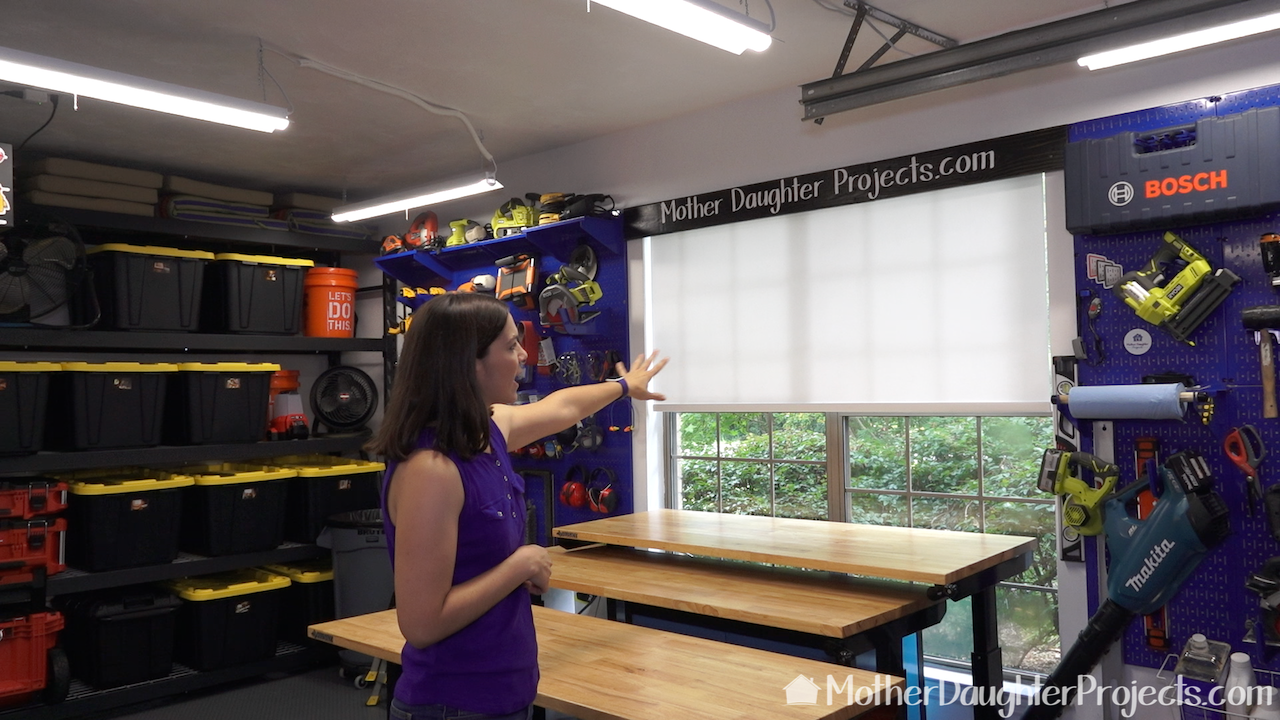
We wanted a shade for privacy as well as for light filtering and temperature control. We custom ordered this in the width and length we needed. Prior to placing our order, we ordered 10 shade material samples to help make a decision on what would work best. The samples are free and were delivered in about three days after we ordered. More info can be found on homedepot.com.
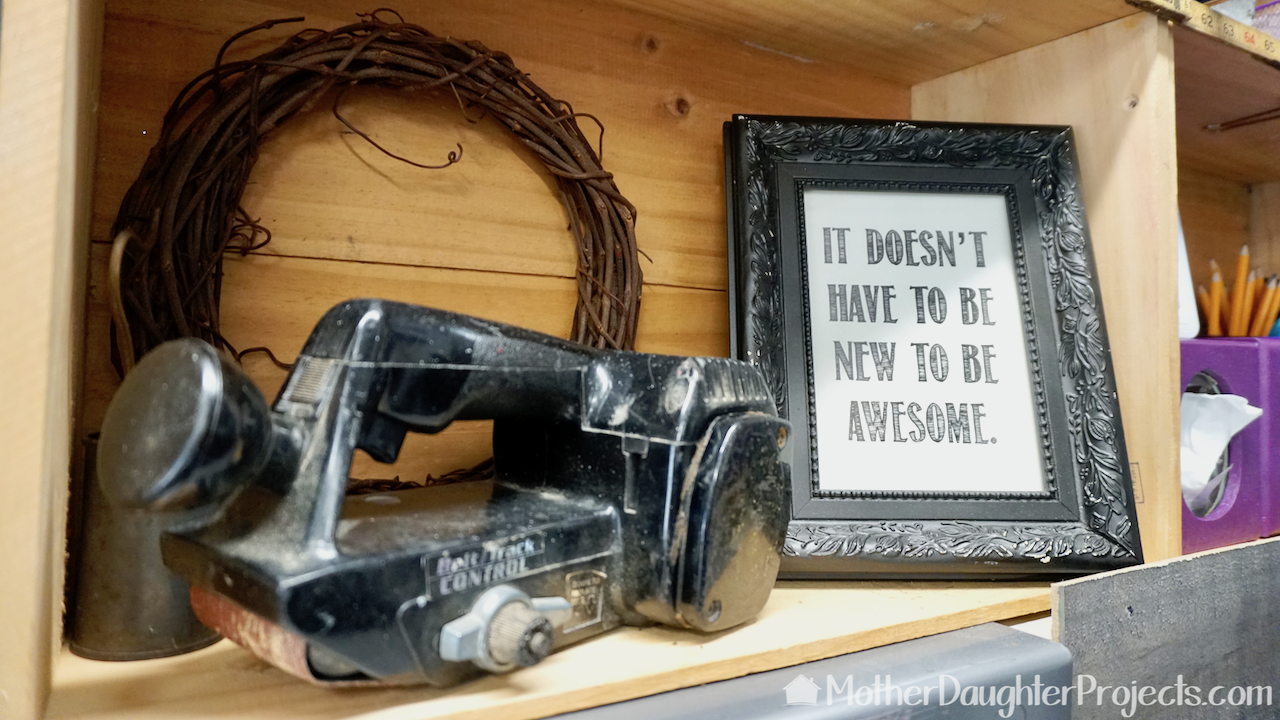
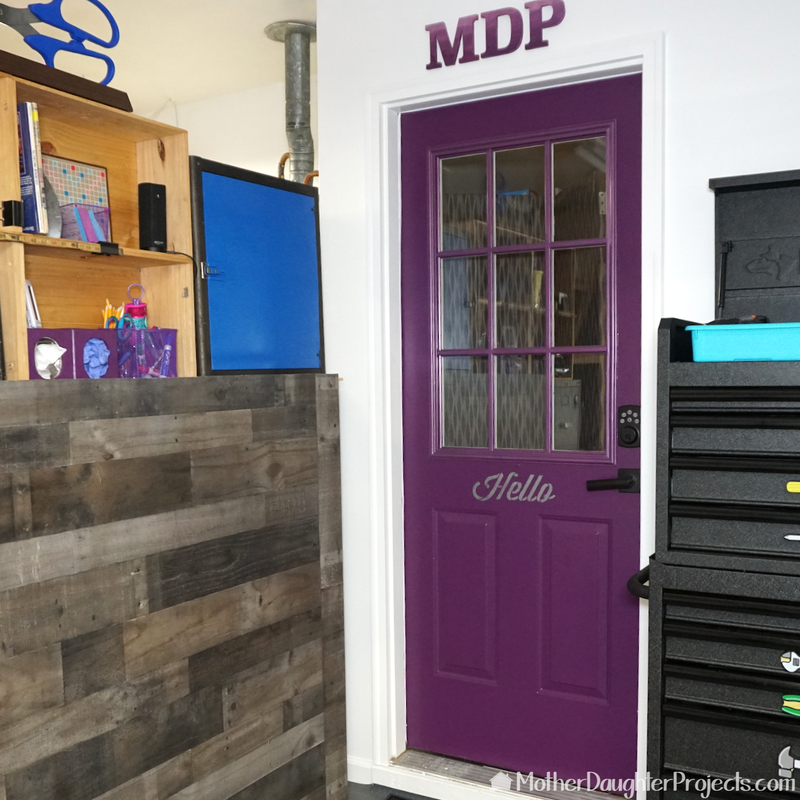
The area near the interior door serves as our "office" and decor zone. We needed a place for pencils, post-its, paper and other supplies separate from the tool storage area. We added some sentimental decor just for fun. For example, this is an old sander of my dad's. It's still usable, but I like it as decor. To the right in the picture are two wood tissue boxes. One hold tissues and the other dispenses the disposable gloves we use.

More fun! That is a vintage metal number stamp set holding our business cards. The Quikrete bucket is unique because the product is no longer sold this way. There are a couple of kid tool/building themed books to the right for the grandkids/nephews/niece when they visit. This display is made up of old wine crates which I found at a yard sale. They are held together with large binder clips which you can see to the right and left of the Quikcrete bucket.
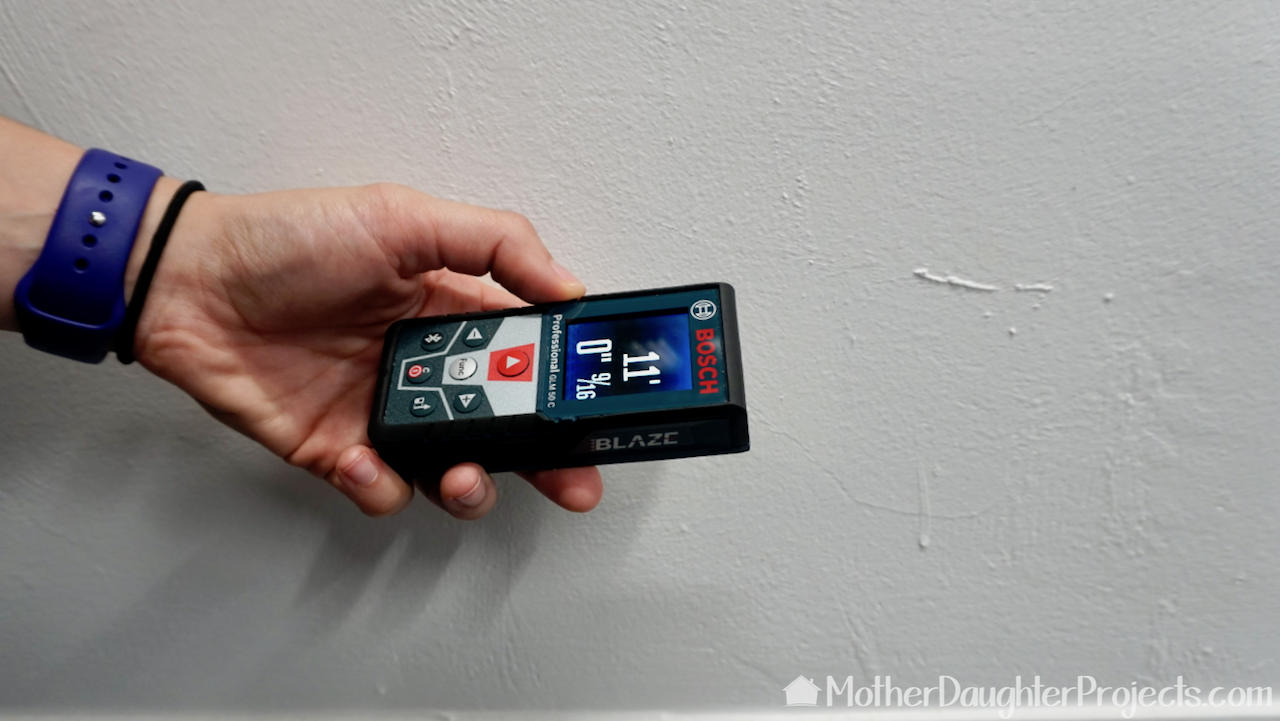
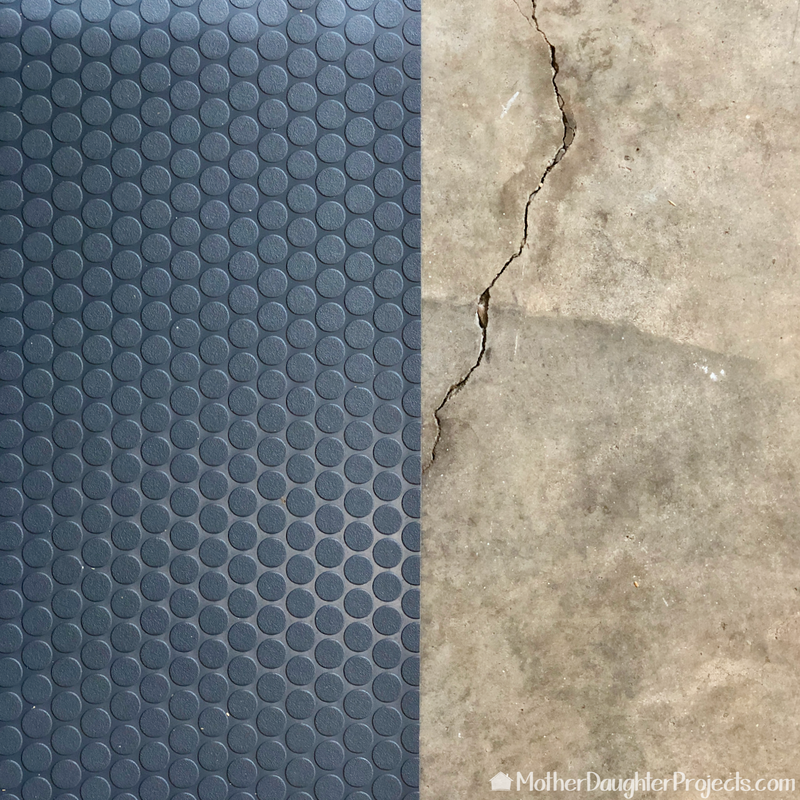
The #garagemakeover has been a long journey from plan on paper to reality. It's truly amazing to look back at the Before picture to see how far we've come. This project has allowed us to add to our skills (building a wall), try new tools (Bosch laser measure, Ridgid MegaMax), and to change the plan due to unexpected discoveries (uh, oh, the floor slopes)!
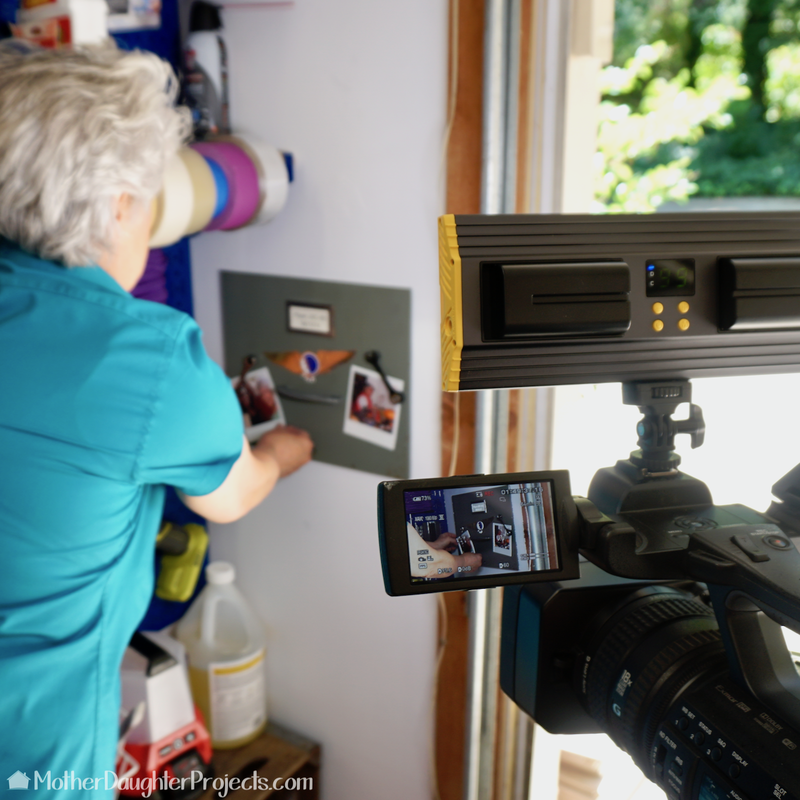
We are very happy with the results, so much so that this will be our permanent work space now. It was originally going to be our summer space, but it functions so well, it will be our new headquarters! You can also see it each week in our new show, Workshop Wednesday! Tune in each week on Facebook or YouTube at 1pm to watch it live! We acknowledge that The Home Depot is partnering with us to participate in the ProSpective 2018 Campaign. As a part of the Program, we are receiving compensation in the form of products and services, for the purpose of promoting The Home Depot. All expressed opinions and experiences are our own words. Our post complies with the Word Of Mouth Marketing Association (WOMMA) Ethics Code and applicable Federal Trade Commission guidelines. FYI: We are not professionals, and we don’t claim to be. This is what we found worked for our project. Yours may need a little different approach. Safety first! FYI: Affiliate links are being used on this page. Purchasing via these links help support MDP! Garage Makeover Projects
13 Comments
jacqui Korroch
9/6/2018 10:32:28 am
Fabulous!!! My husband likes ALL that you did in the garage. While we will not be doing all of your ideas you have him committed to doing the insulation projects. It is a start... Good job!!!
Reply
Steph
9/10/2018 08:23:31 am
Thanks Jacqui! Glad you enjoy!
Reply
Rosanne Zacke
10/10/2018 10:43:11 am
Ladies, my congrats go out to you! You did a marvelous job. looks fantastic. If i did not have such horrible arthritis i would give it a try. Mine definietely needs it.
Linda wernette
10/10/2018 12:16:54 pm
This looks very nice but where is all the other items that you had in your garage? Such as foam sheets, lamp, gift boxes, wooden chair, mini shopping cart,ETC.?
Reply
Steph
10/15/2018 10:04:31 am
Hi Linda- we had a yard sale and sold a lot of it. But the stuff we kept is in the containers on the shelf and in the storage room we build in the garage.
Reply
GAIL BLEDSOE
10/10/2018 03:16:09 pm
The only thing I would suggest on the insulation for the garage door, is be mindful of the extra weight, this can put a strain on the motor....
Reply
Steph
10/15/2018 10:01:42 am
Yes, thanks Gail
Reply
11/10/2018 04:04:30 pm
I love this look—Blessings to ‘mother daughter project.com’. Let me know what you are planning next!!
Reply
Steph
11/11/2018 09:20:15 am
Thanks so much Karen!
Reply
Allister
5/31/2020 10:39:09 am
Awesome Makeover. What model was the A/C? Didn't see it on your list.
Reply
Steph
5/31/2020 02:28:40 pm
Thanks! Honeywell MN10CESWW.
Reply
Christina Vance
8/22/2020 09:28:17 pm
Hi! My daughter(12)and I love to go back and watch & rewatch your videos here! I love that they're clean & wholesome and she loves to try allot of the projects herself! She recently enjoyed doing the phone hand stand. Thanks for the garage makeover and all the other content! P.s. What's the story on the scissors?:)
Reply
Steph
8/25/2020 06:56:26 pm
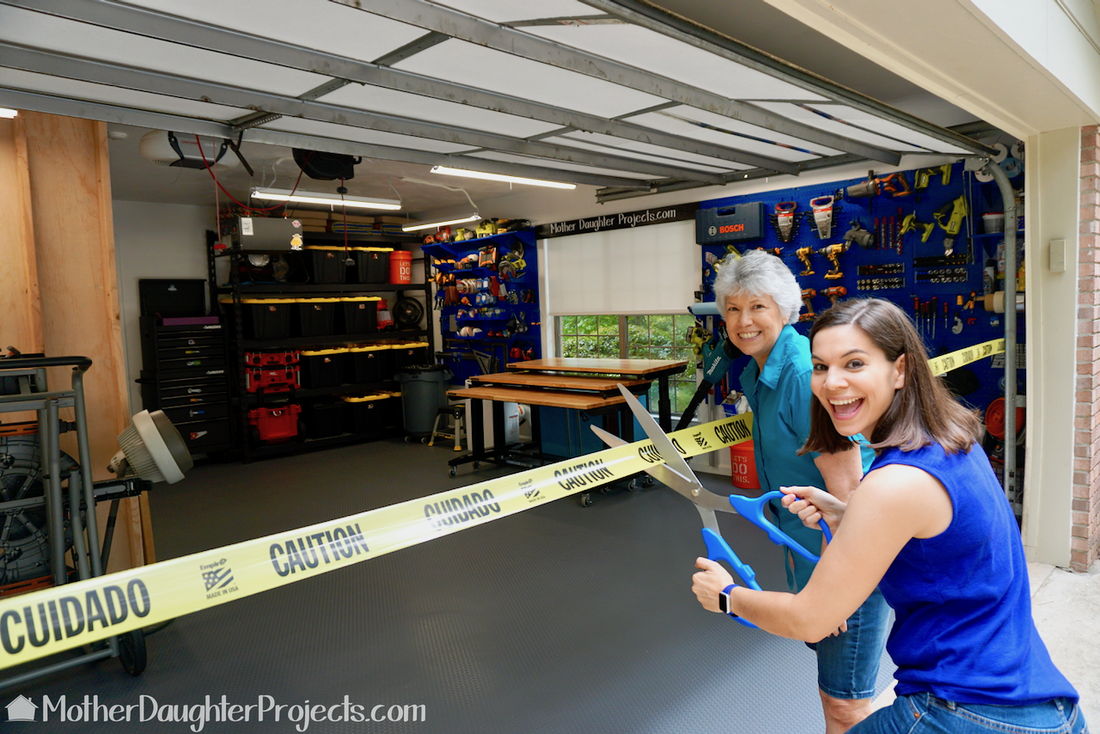
Thanks so much! We love to hear that! Haha...the scissors were from a ribbon cutting ceremony of a new classroom that my family donate to a local college.
Reply
Leave a Reply. |

