|
text by Vicki Sign up to get Mother Daughter Projects updates in your email!
This post is sponsored by The Home Depot.
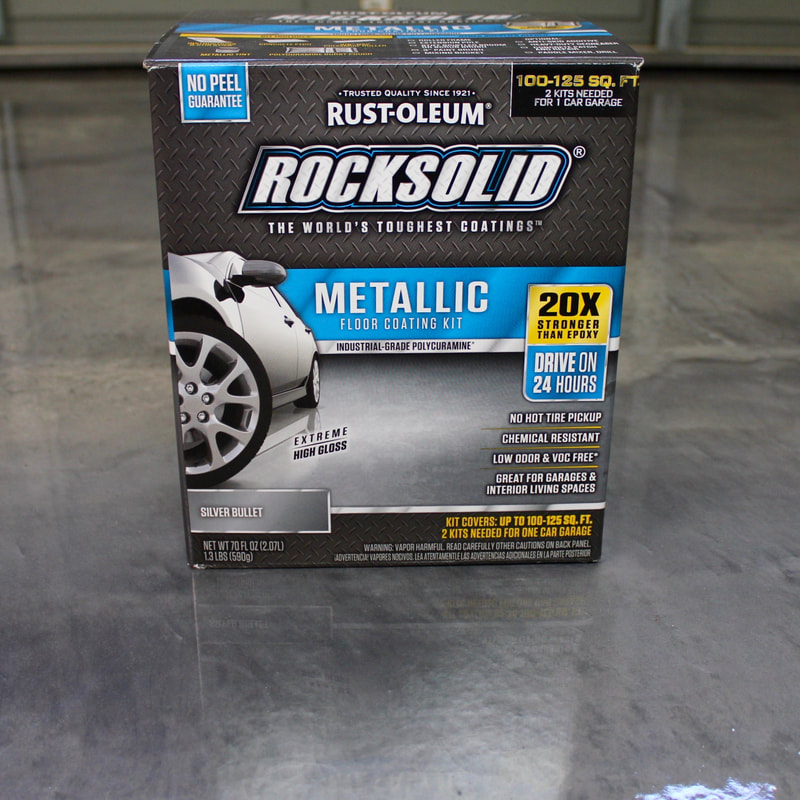
We always knew some kind of garage floor treatment was going to be a big part of the #garagemakeover project. We have only had experience with a paint-on metallic look epoxy product so we knew we didn't want to tackle that again. Plus, we did not have the luxury of taking everything out of the garage for the amount of time it would take to prep and apply a painted or epoxy coating.
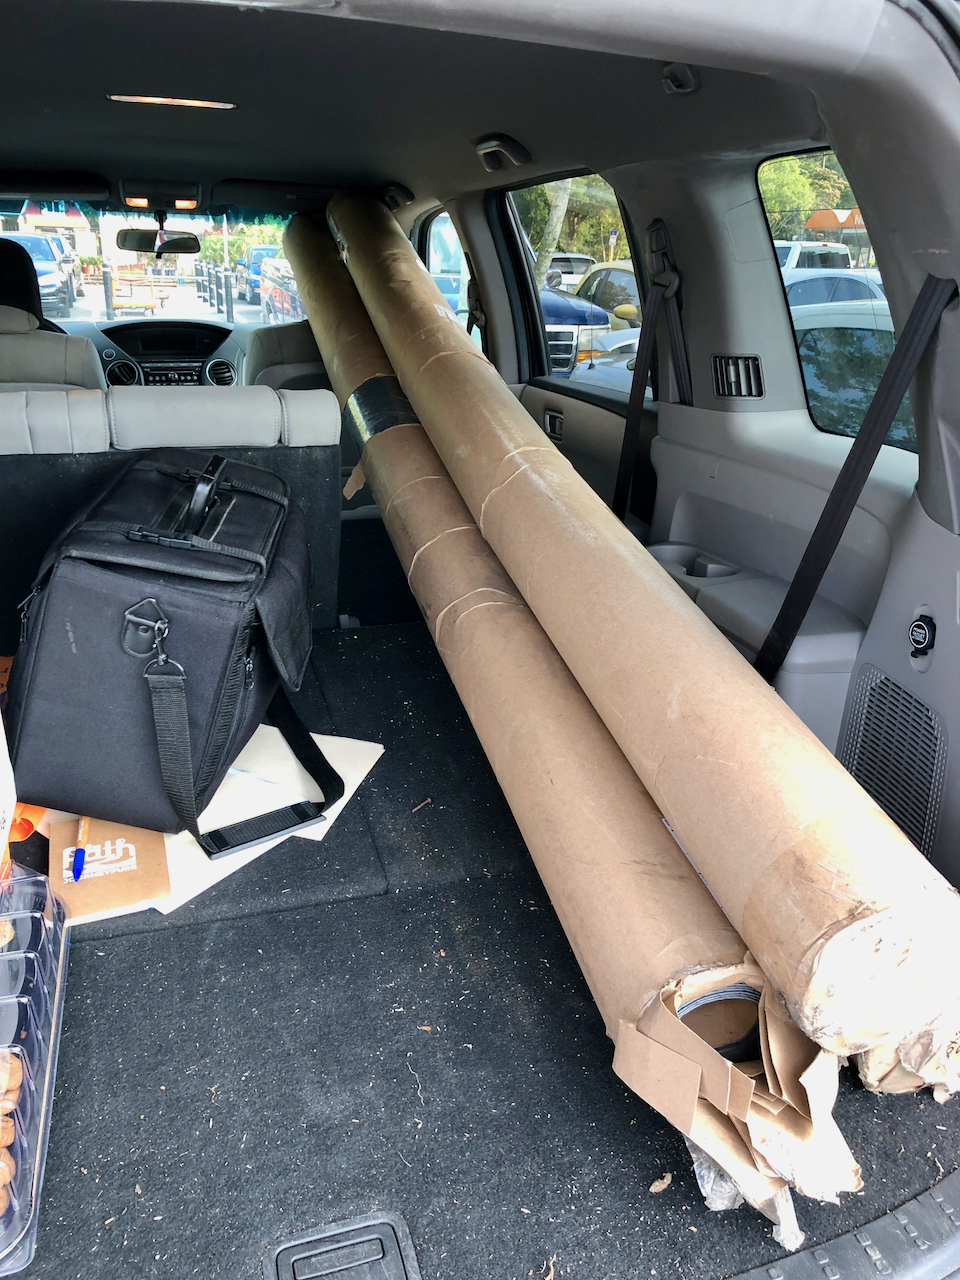
I researched various options relying heavily on the website allgaragefloors.com which has a wealth of great information and reviews of various kinds of flooring options. I ultimately settled on G-Floor vinyl flooring as the best option for my garage. It needed very minimal prep and was ready to use as soon as it was positioned onto the floor.
Materials/Tools:
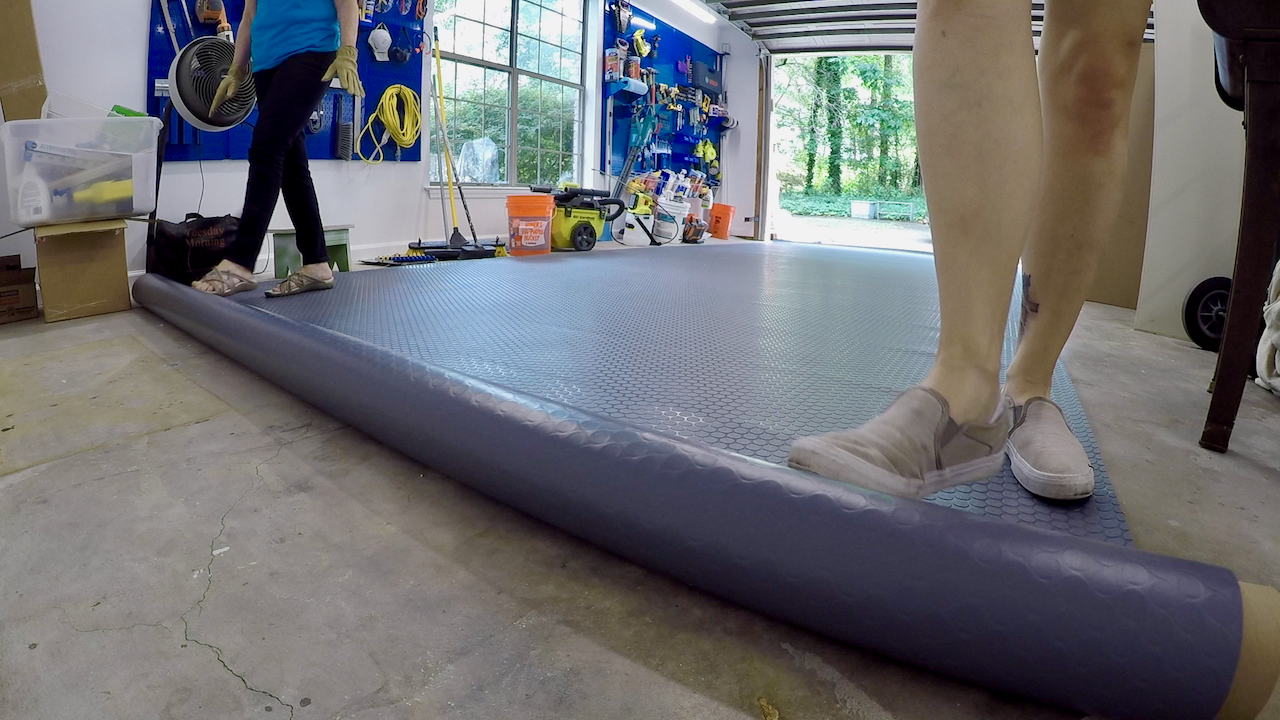
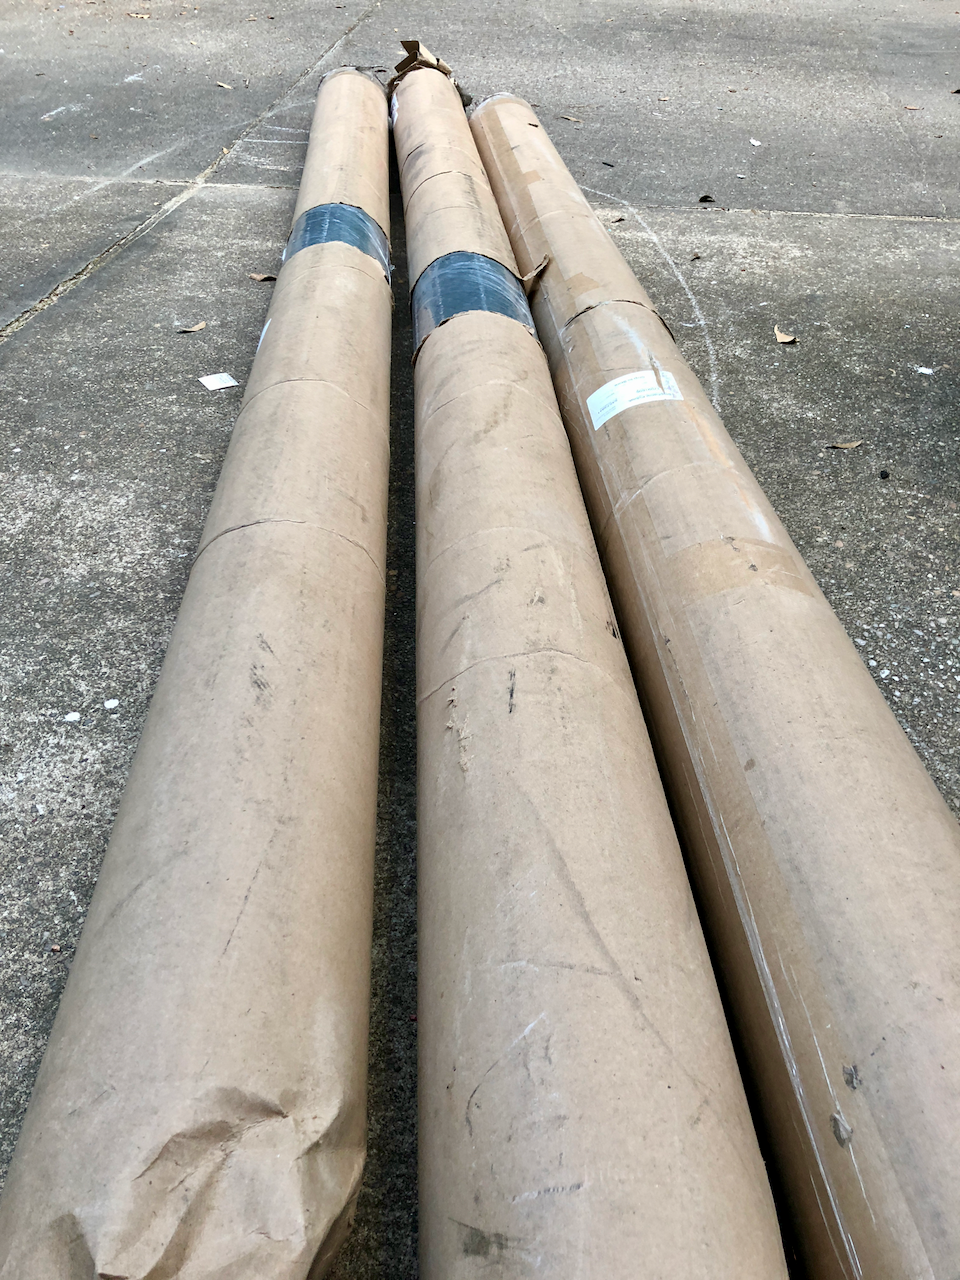
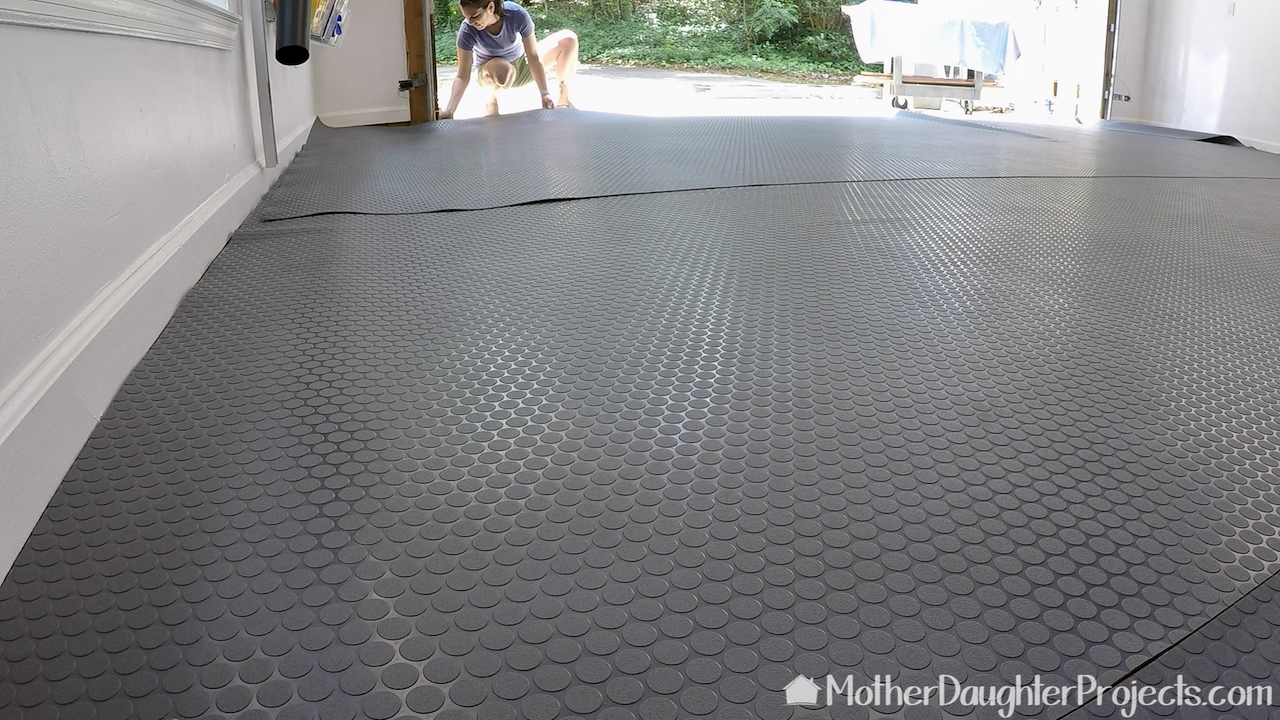
Before installing the flooring, it needs to be rolled out and allowed to relax at least 24 hours so that the wrinkles settle out.
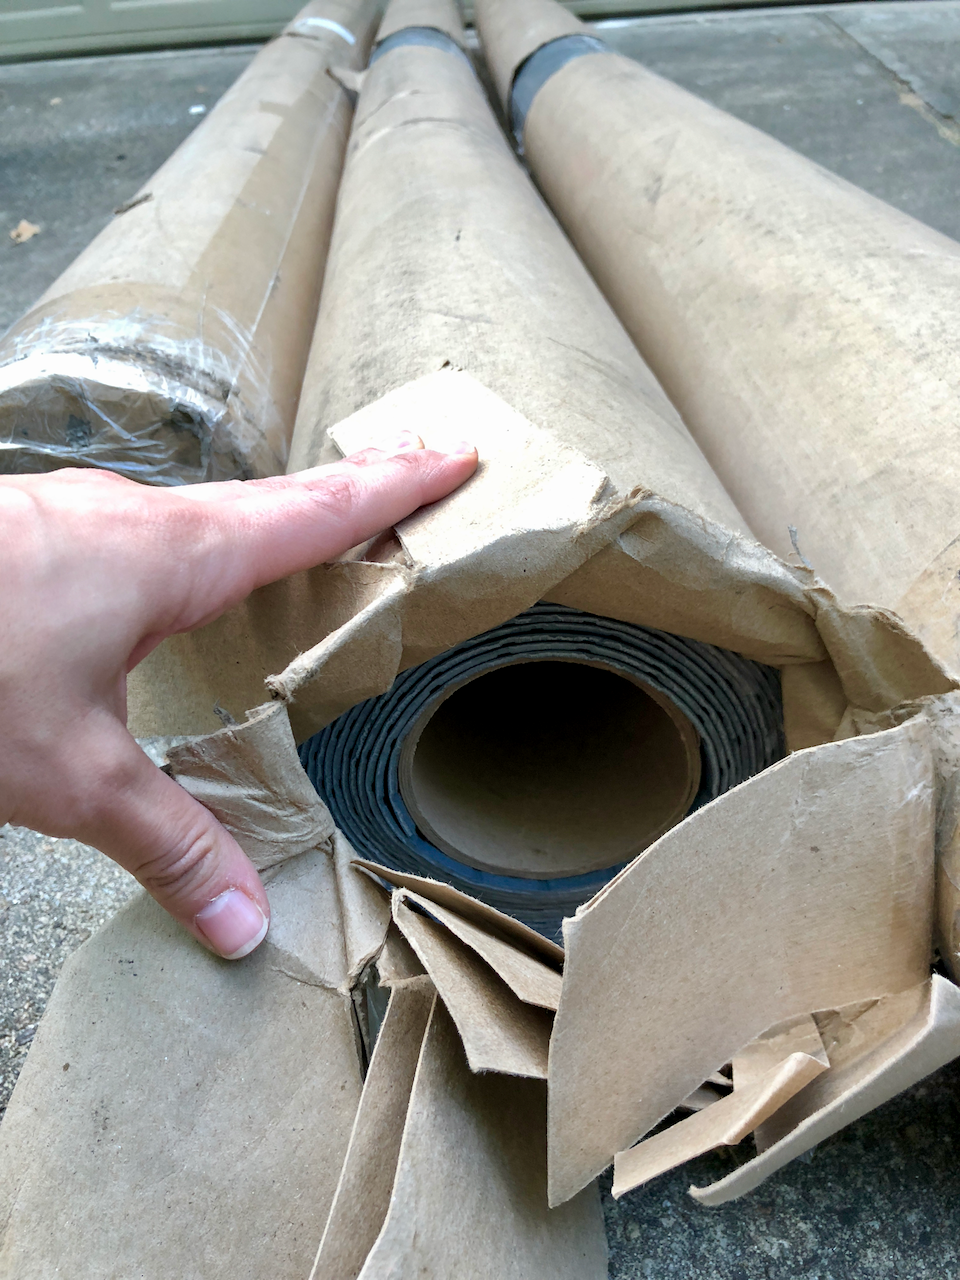
We rolled out all three pieces and allowed them to relax on each other. We dried up any rain water that had gotten on the backside of the vinyl before we rolled it out.
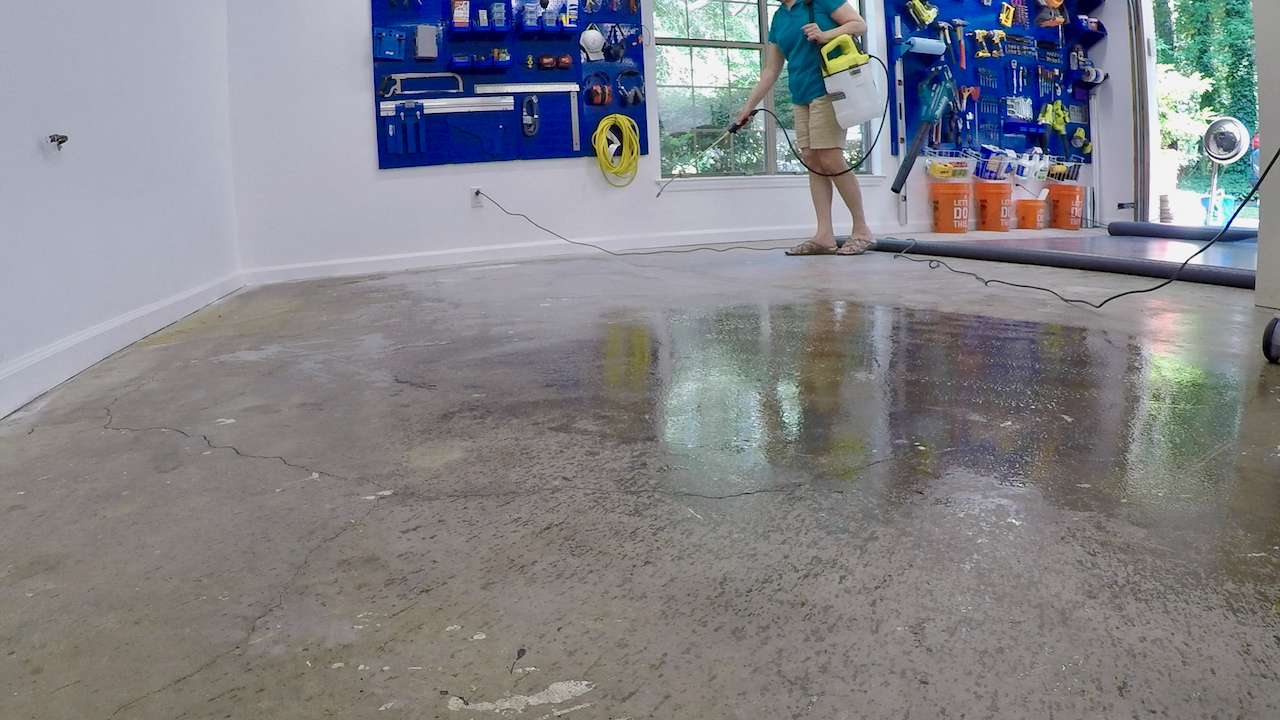
The flooring should be installed onto a clean surface. We used the Ryobi 2-gal cordless garden sprayer to spray on a solution of water and hard floor cleaner and then scrubbed with a Hoover hard floor scrubber. The Hoover will dispense the cleaning solution but the garden sprayer was way faster.
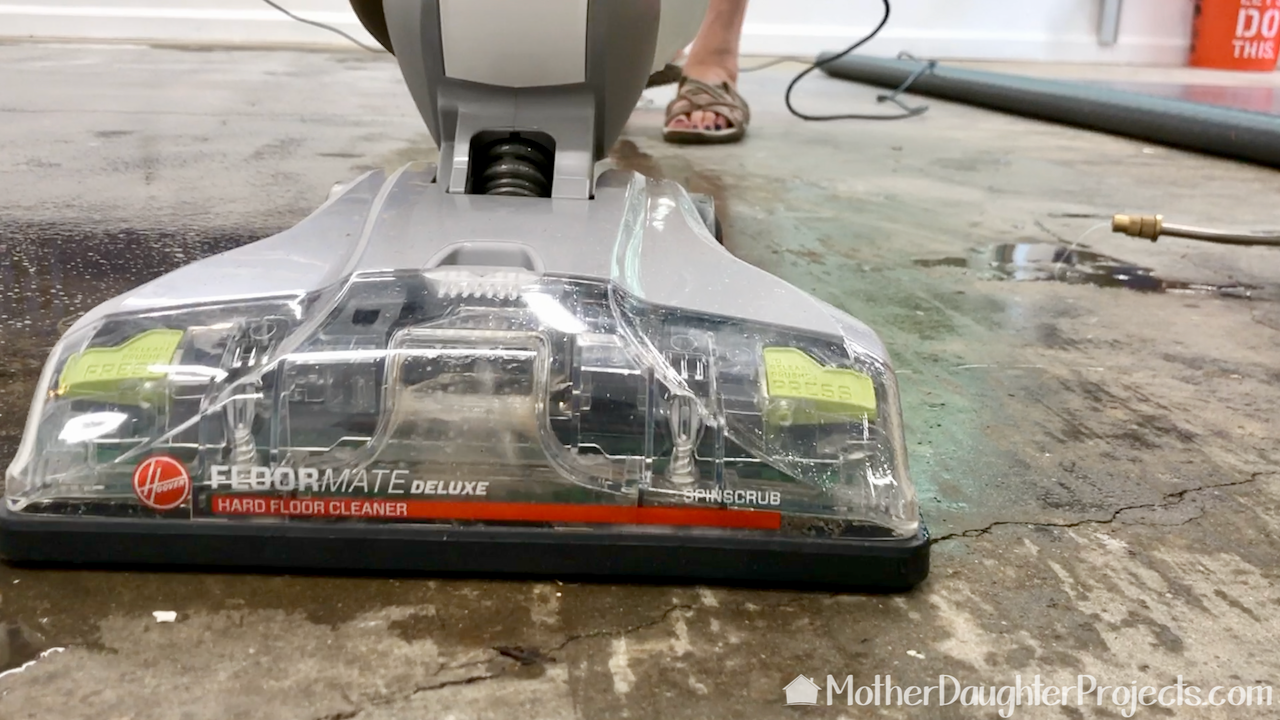
I wasn't sure the Hoover would work on cement, but it worked great. It scrubs and then sucks up the dirty water.
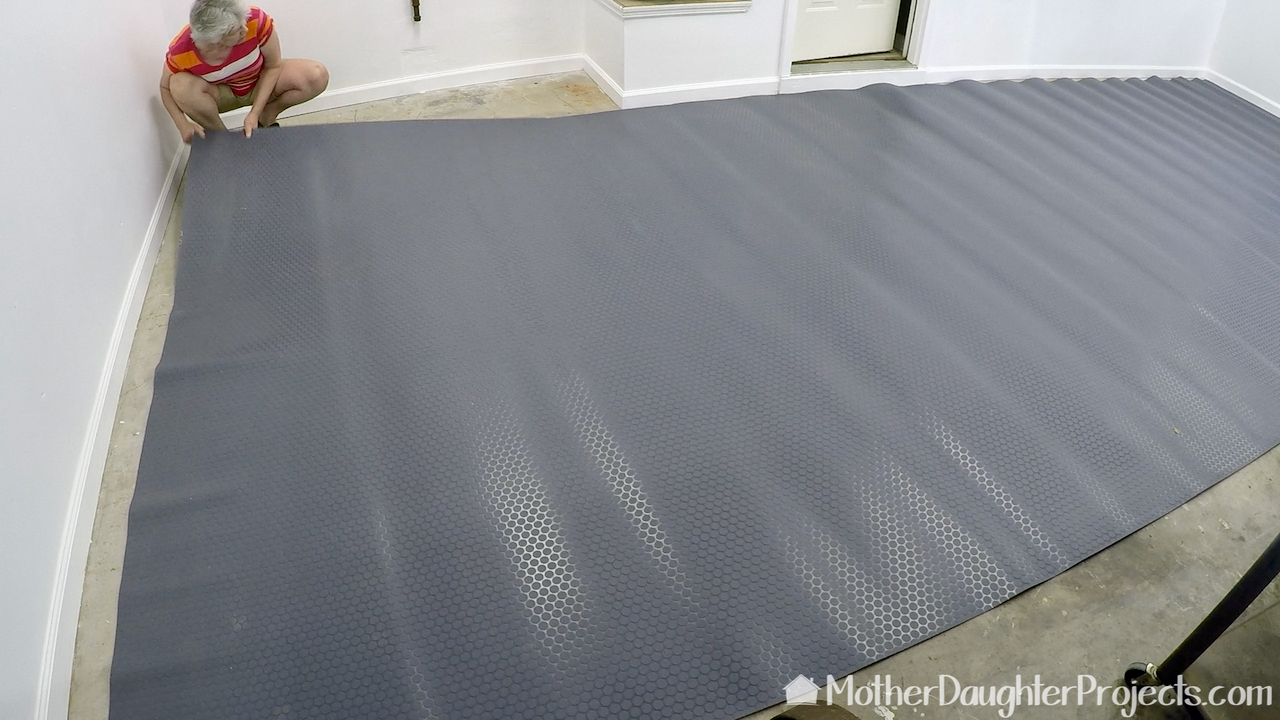
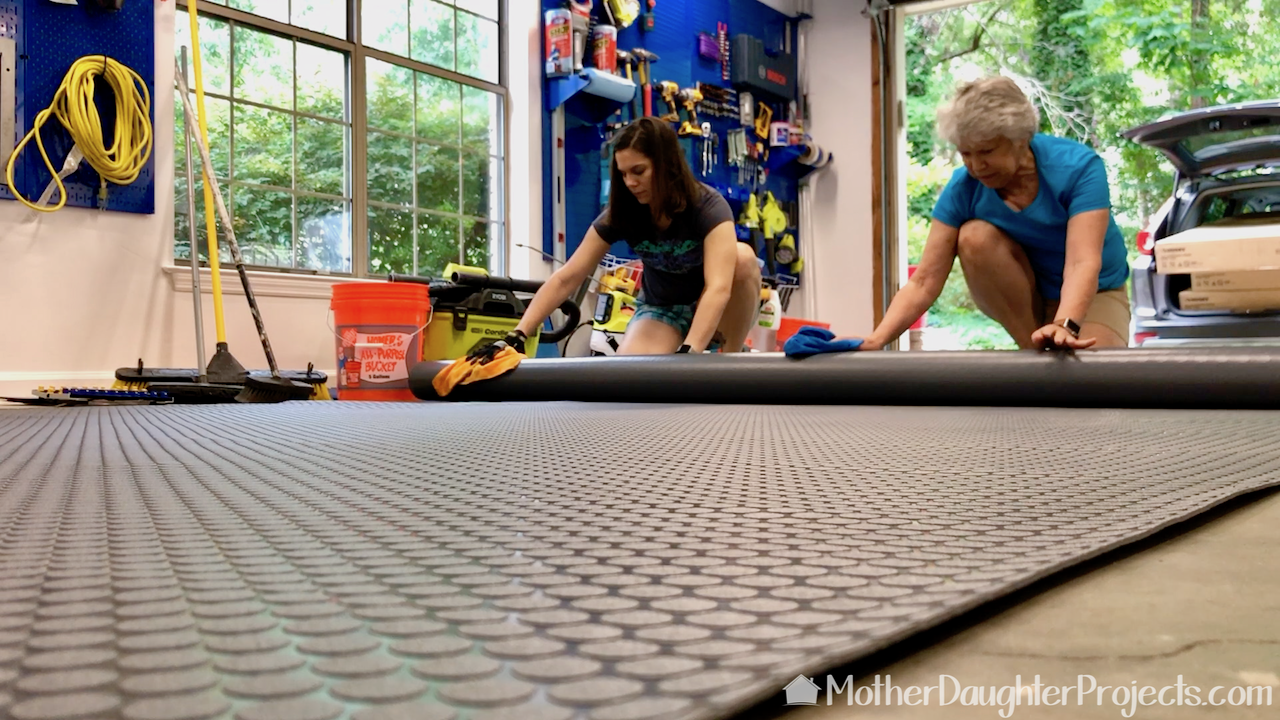
We had to roll up the first piece to move it so it got wrinkles in it again. We let it settle in place before attaching vinyl installation tape. Note: the flooring is very heavy. It's possible to position with two people but a third person makes it really easy.

Right by the door we cut a couple of short slits into the vinyl so we could pull the edge right up to the baseboard. It cuts easily with a utility knife.
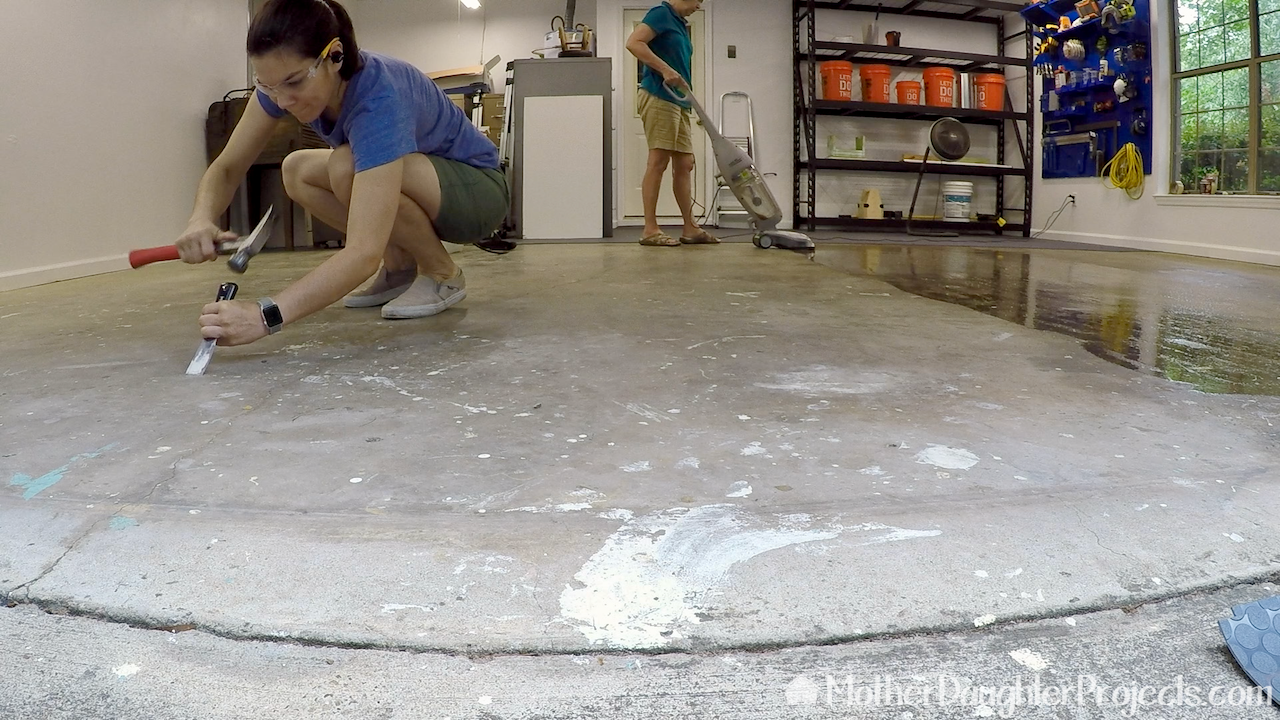
Once that first piece of flooring was in place, we moved the remainder of the garage contents to that area and cleaned the remainder of the floor. Steph used a hammer and putty knife to remove some large splatter of paint. You can feel large imperfections under the vinyl so it's best to remove these prior to installing the floor.
We laid all three into place. The piece closet to the door was too wide so we trimmed it.
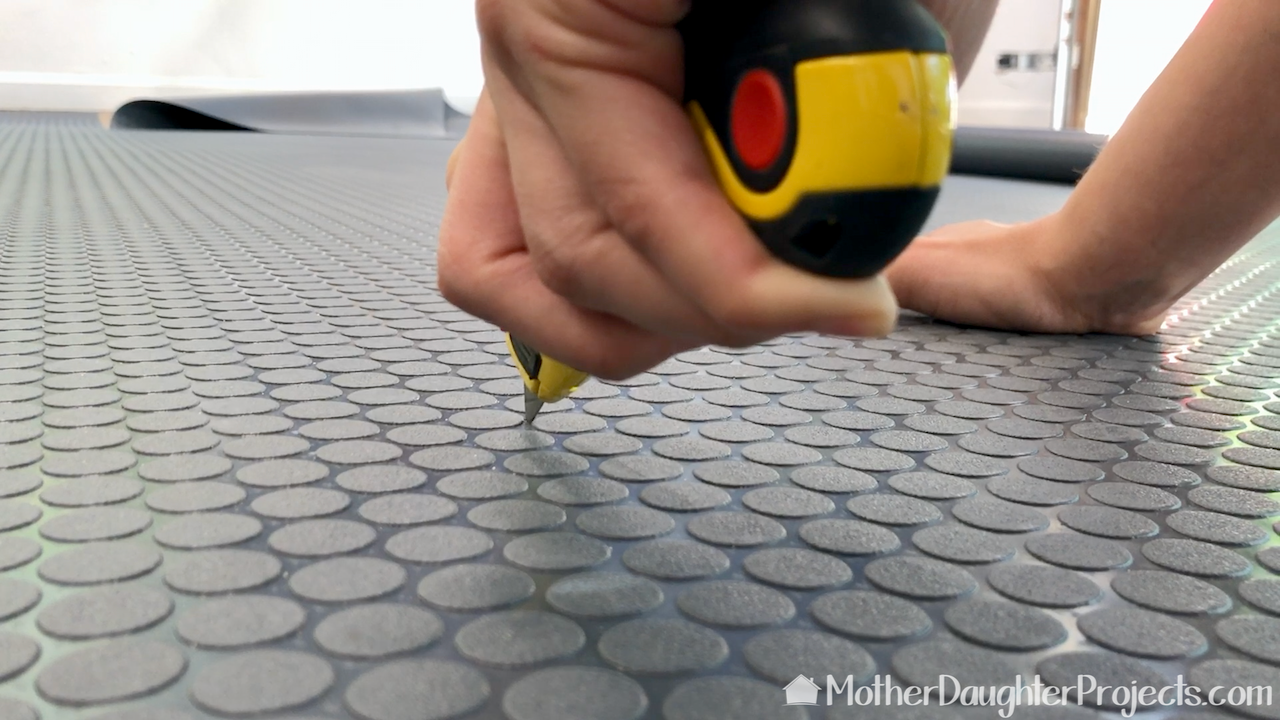
We eyeballed the cut line so it is not perfectly straight but it's okay. We used a utility knife to cut.
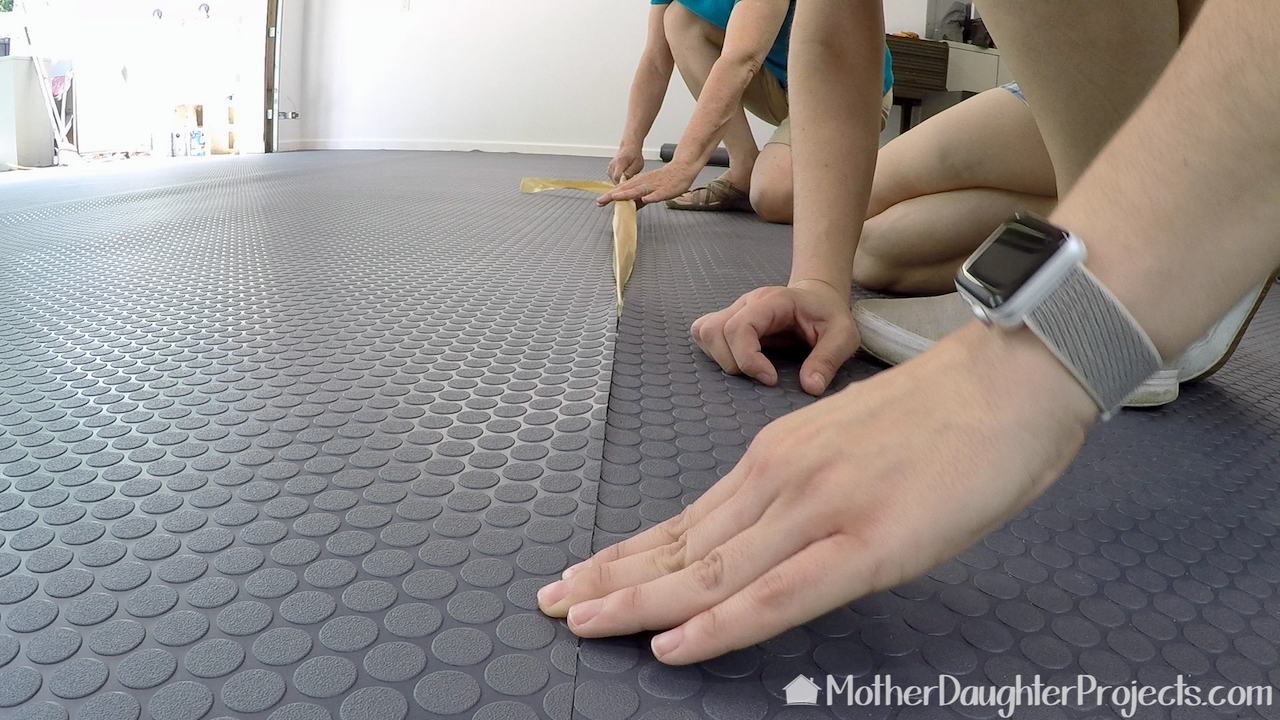
We secured the edges where the vinyl met with installation tape. This is extremely sticky so it's important to get the placement right the first time.
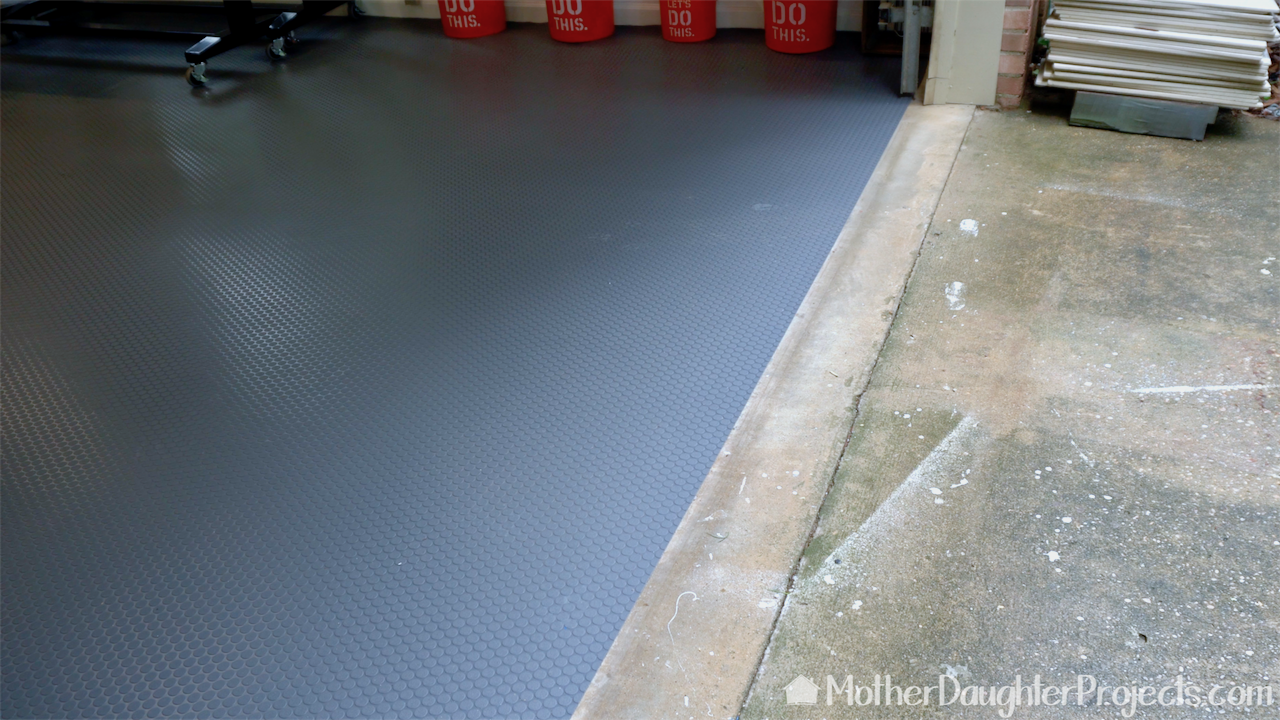
We had some debate about where to end the vinyl. We ultimately decided to stop it right behind the closed door.
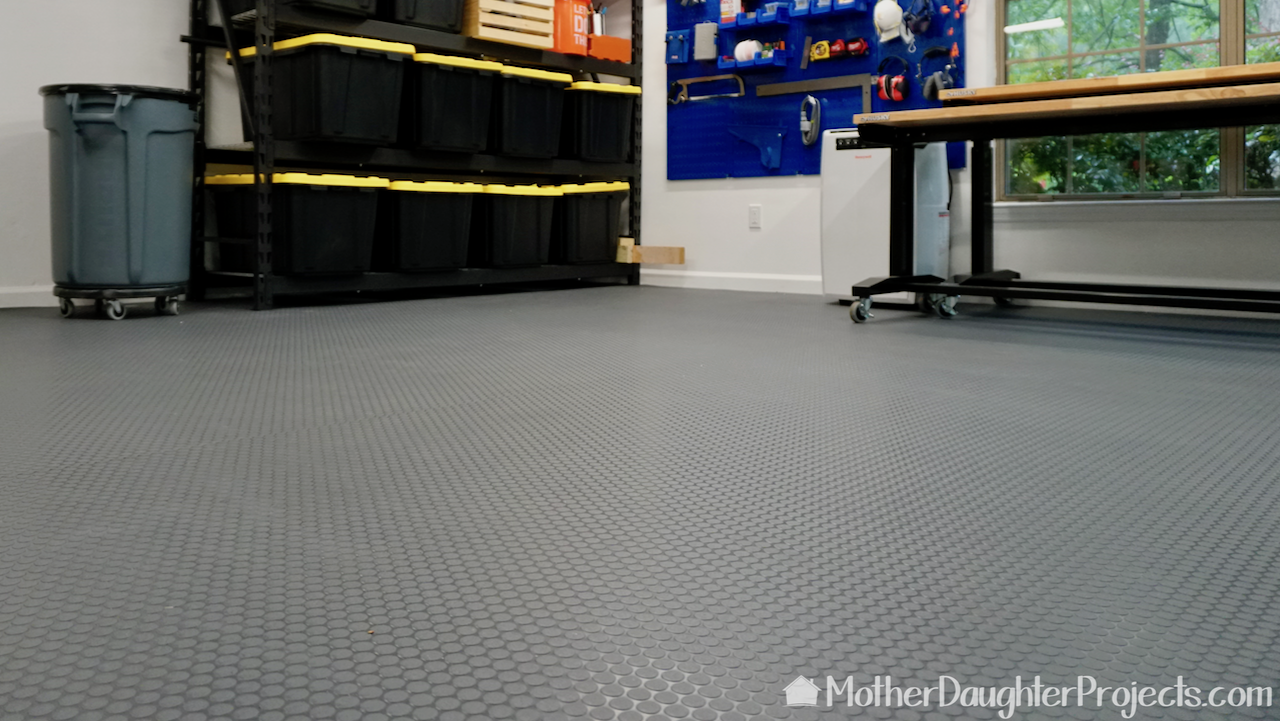
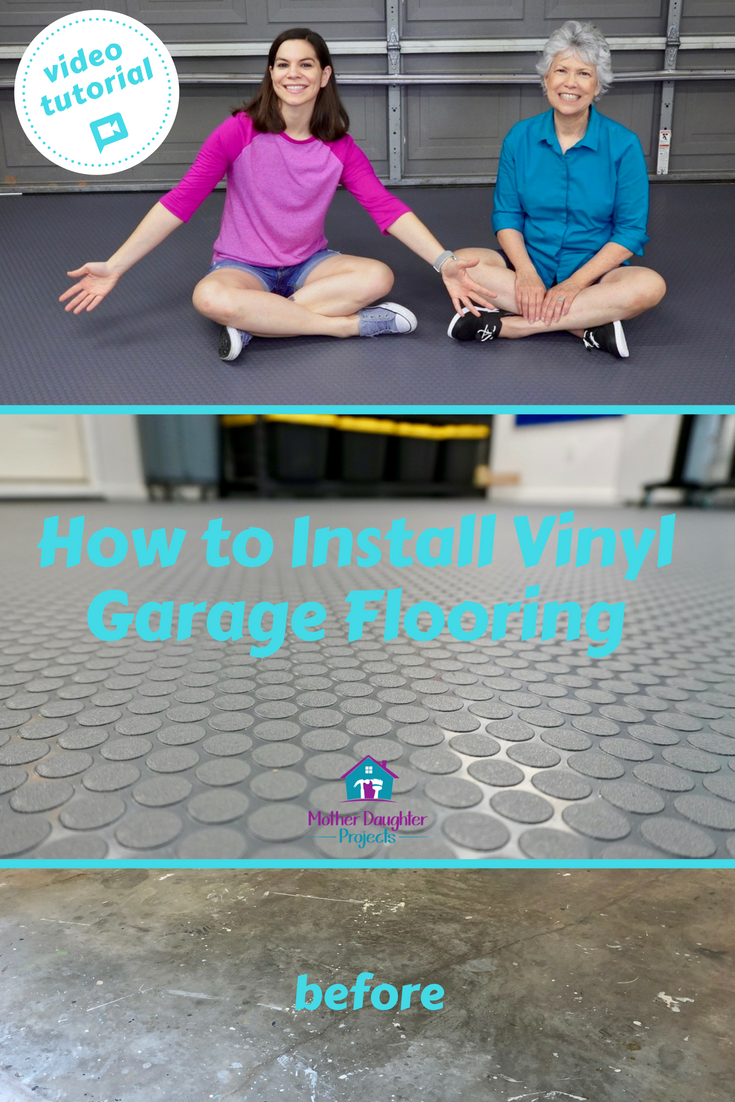
Just as I thought, the G-Floor is the PERFECT solution to the flooring in my garage. I was concerned that things wouldn't roll well, but that is not an issue at all. Things roll well, it's easy to blow out dirt, it is not the least bit slippery when wet, plus water seems to stay in one place rather than roll to the sides of the garage.
We choose the G-Flooring mainly due to the minimal floor prep--basically all the floor needed was to be cleaned before putting it down.
When choosing flooring for the garage, the amount of prep needed should be a primary consideration. When we did the epoxy floor coating in Steph's garage, it took literally days of cleaning, sanding, etching, grinding and waiting for it to dry all while having to store all the garage things inside for the same amount of time. As we did not have the capacity to store or remove all the garage things at my house, the G-Floor was the perfect solution. What have you used on your garage floor? Are you happy with your garage flooring solution? We acknowledge that The Home Depot is partnering with us to participate in the ProSpective 2018 Campaign. As a part of the Program, we are receiving compensation in the form of products and services, for the purpose of promoting The Home Depot. All expressed opinions and experiences are our own words. Our post complies with the Word Of Mouth Marketing Association (WOMMA) Ethics Code and applicable Federal Trade Commission guidelines. FYI: We are not professionals, and we don’t claim to be. This is what we found worked for our project. Yours may need a little different approach. Safety first! FYI: Affiliate links are being used on this page. Purchasing via these links help support MDP! Related Projects
5 Comments
corinne
5/23/2020 02:04:14 pm
Ladies ... great job on the floor. What do you think about laying down on piece, just to protect the floor from the tires of one car?
Steph
5/23/2020 07:19:17 pm
I think that would work. They also make special mats for the garage floors for cars to park on. I have this one in my garage (TruContain Containment Mat for Snow Ice Water and Mud -Garage Floor Mat). I got it on amazon.
Ovlomendra
7/29/2020 01:47:02 am
Great job! :-) And without kneepads? Ouchie ouchie. :-)
HERNANDO MENDEZ
3/11/2021 12:19:12 pm
Did i miss it or did you not specify how you attached or glued the vinyl to the floor?
Steph
3/11/2021 09:31:27 pm
We used 1-7/8 in. x 50 ft. Roll of Max Grip Vinyl Installation Tape Leave a Reply. |

Mother Daughter Projects
|