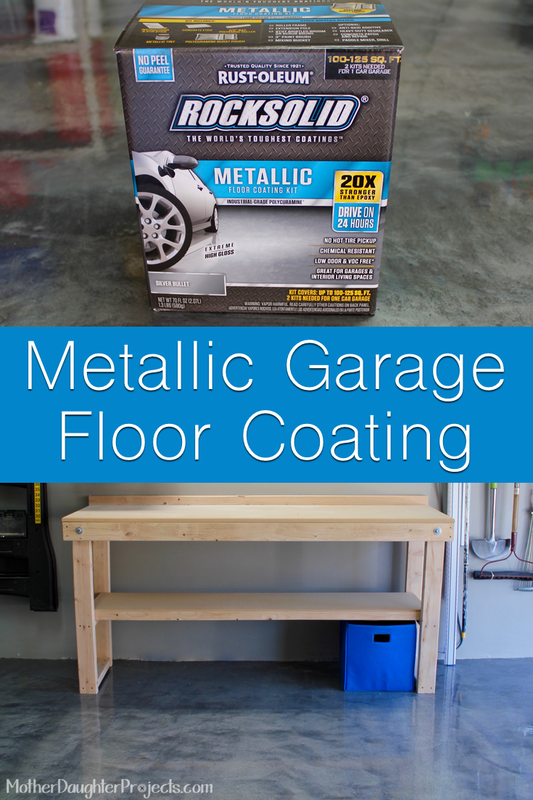
When Steph moved into her house, we knew we needed to redo the garage floor one day. It was half painted with carpet down the middle. We did some research on different products to use and found Rust-Oleum Rock Solid Metallic Silver Floor Coating Kit. Steph thought her mini cooper would look really cute parked on the floor so we decided to take on the project as shown in this video! 3/7/17 Update: Click here to see a 1 year later video of the floor. It might look wet but it's not at all! The product has a great glossy finish and is not slippery or hard to walk on. And cleaning it is a breeze!
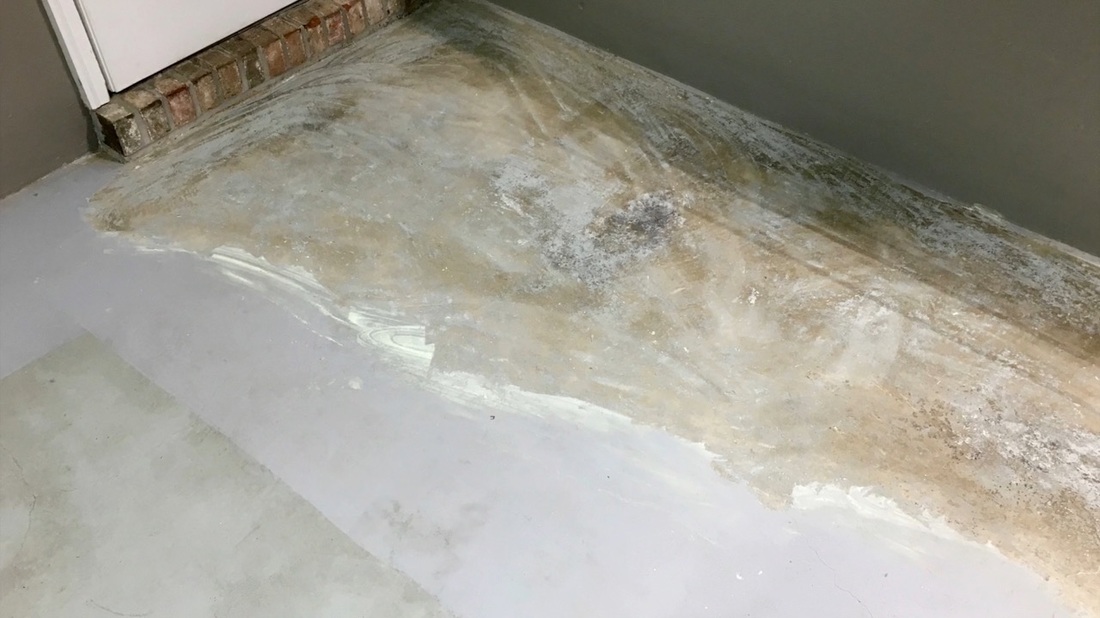
We learned A LOT during this process and will be sharing all that below: 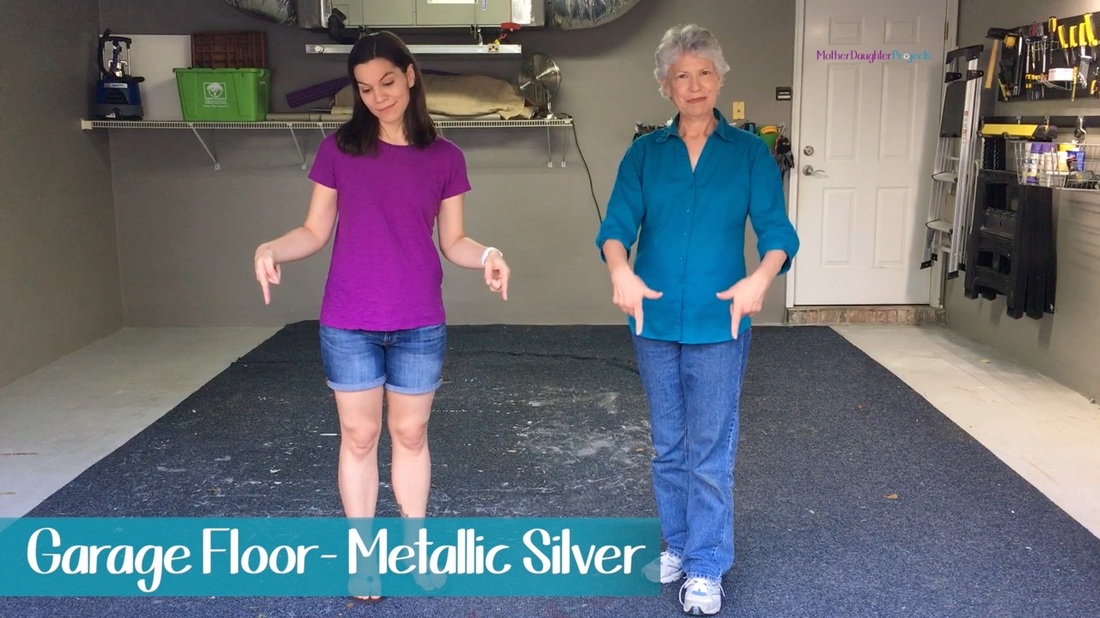 Before 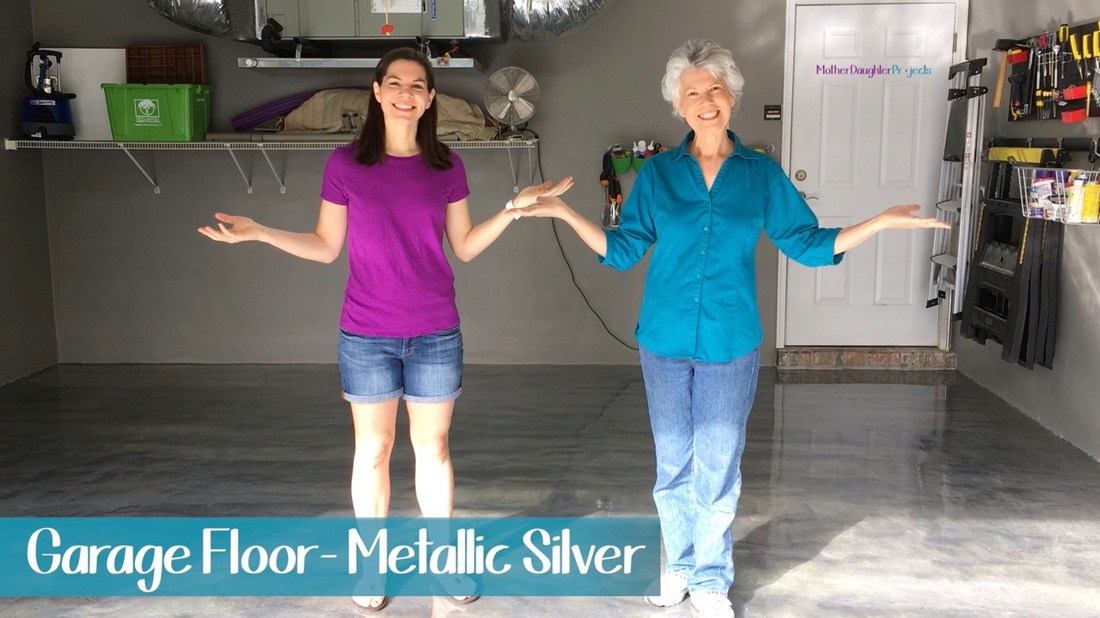 After! 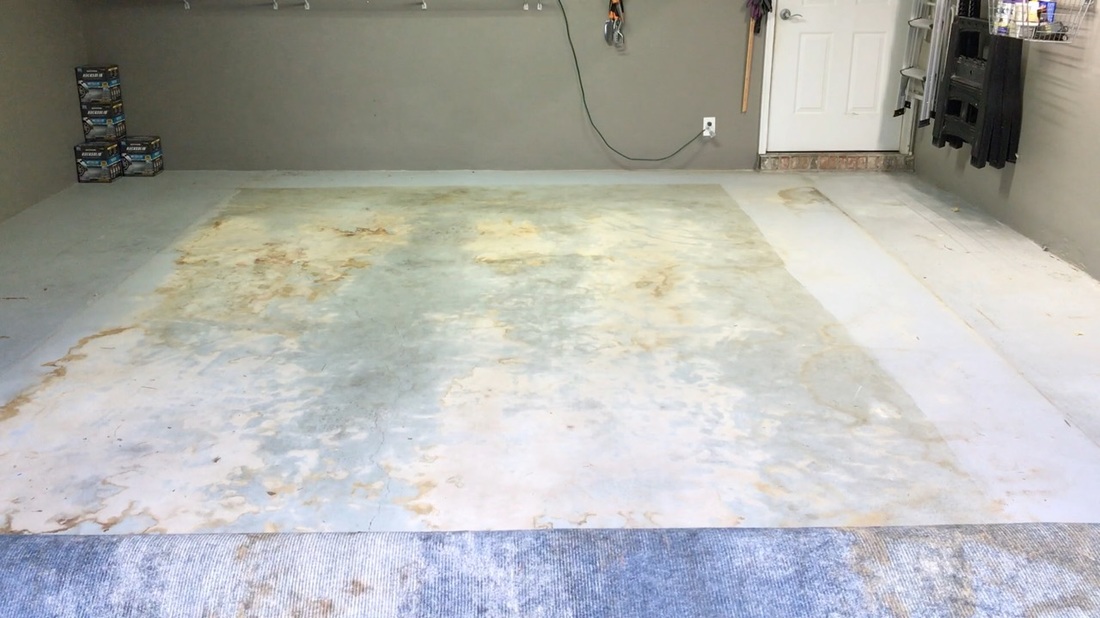 When we pulled up the carpet we discovered the concrete had been poorly painted. In this ☝️ video we detail the prep work we did before applying the product. 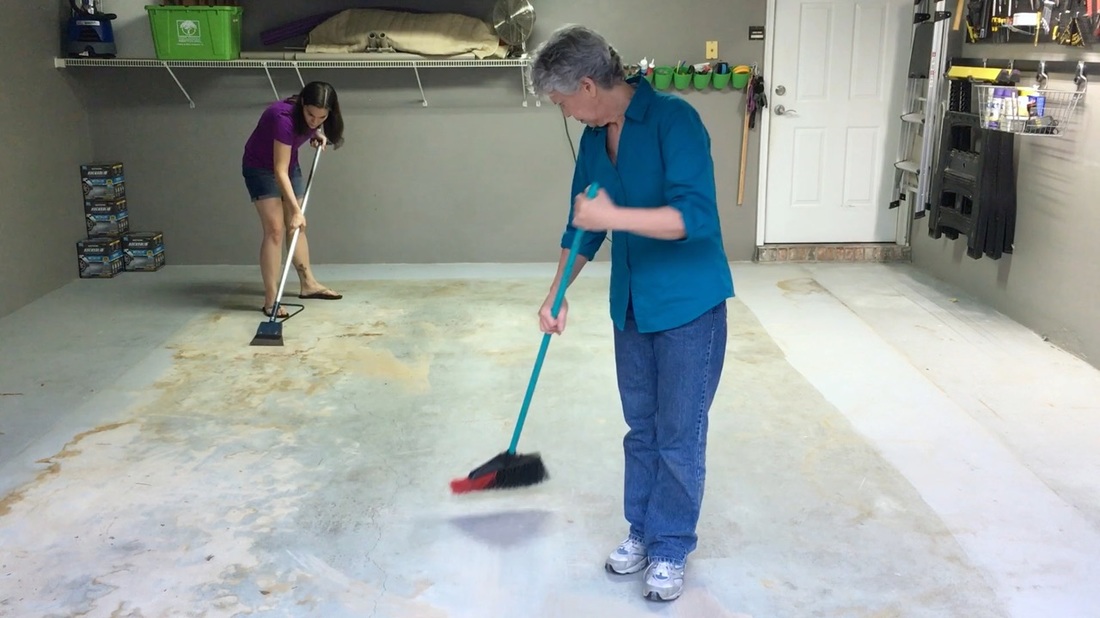 We scraped, swept, and vacuumed up the loose dirt.  We used Krud Kutter to clean the oil spots. 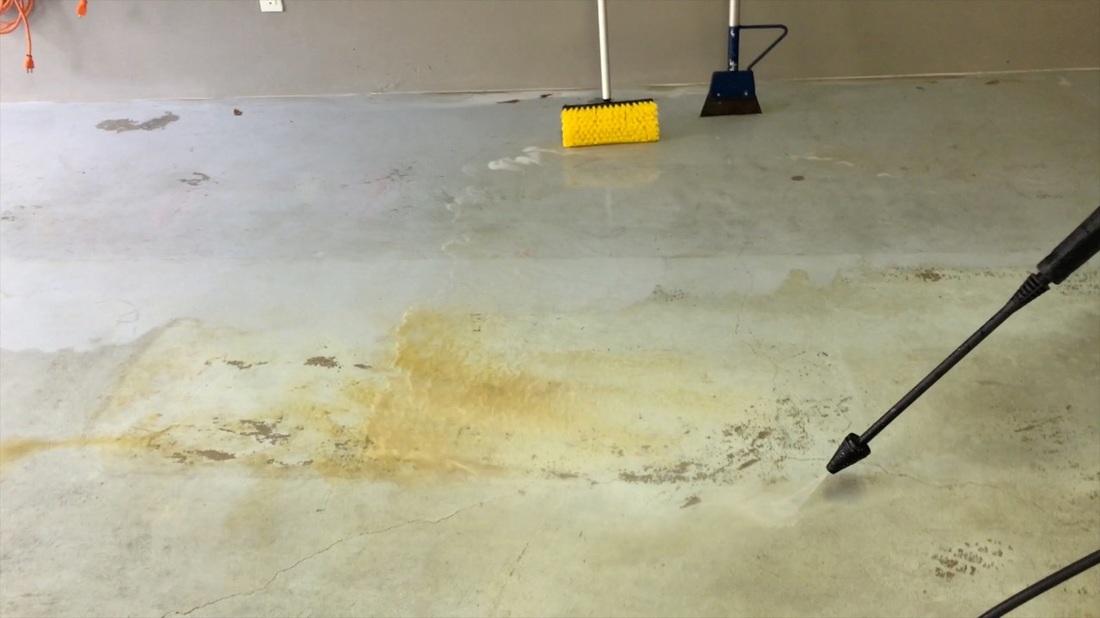 We used a pressure washer to get more dirt and loose paint off.
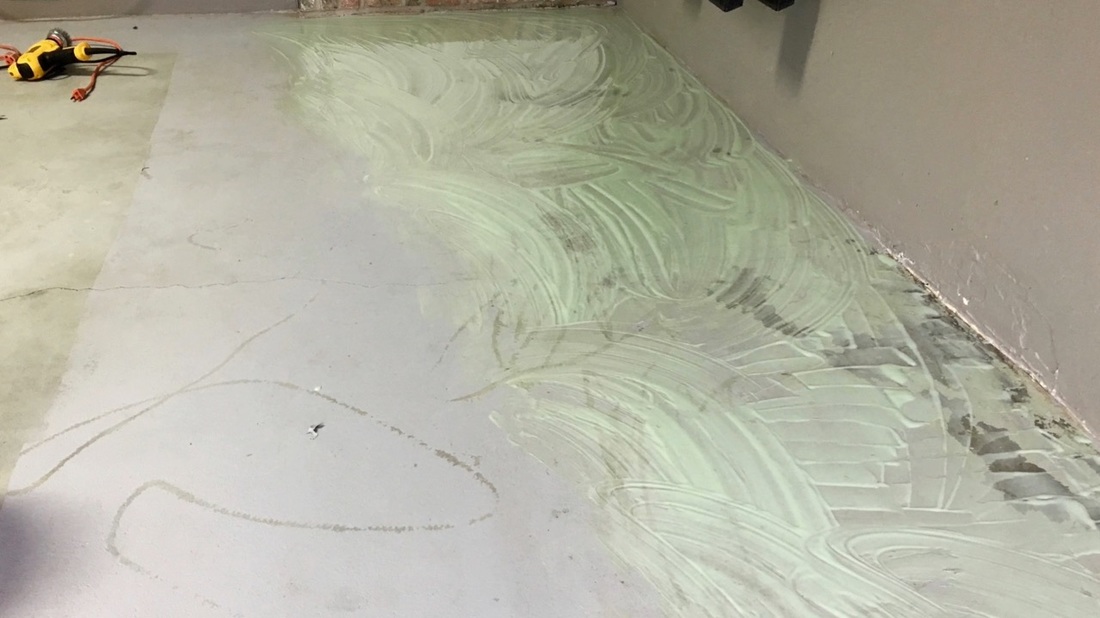
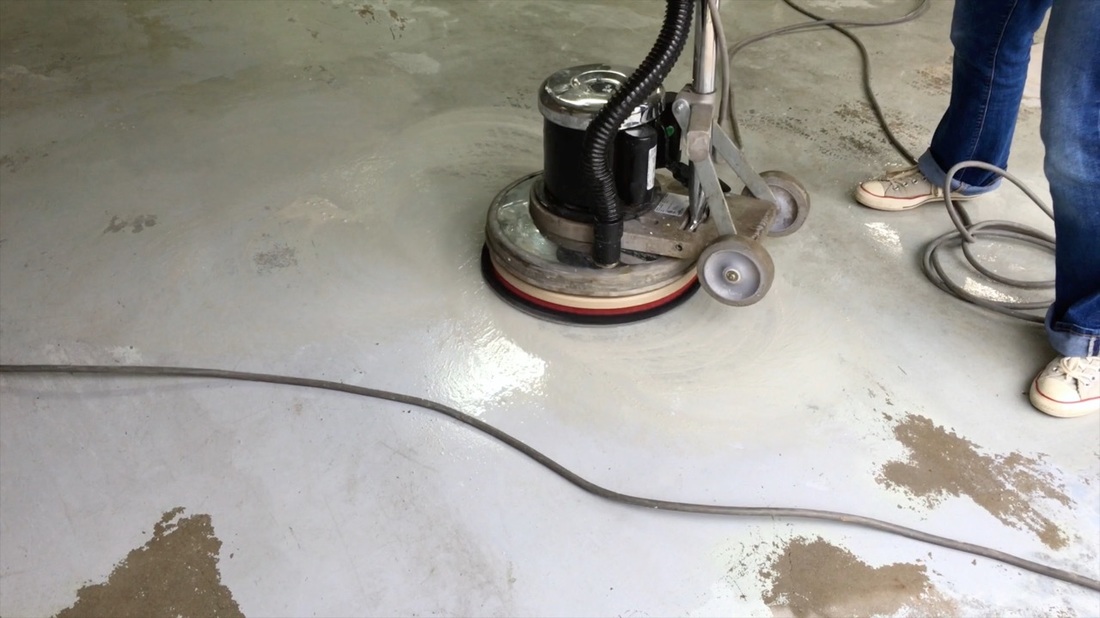
We used a paint stripper to get more loose paint off. 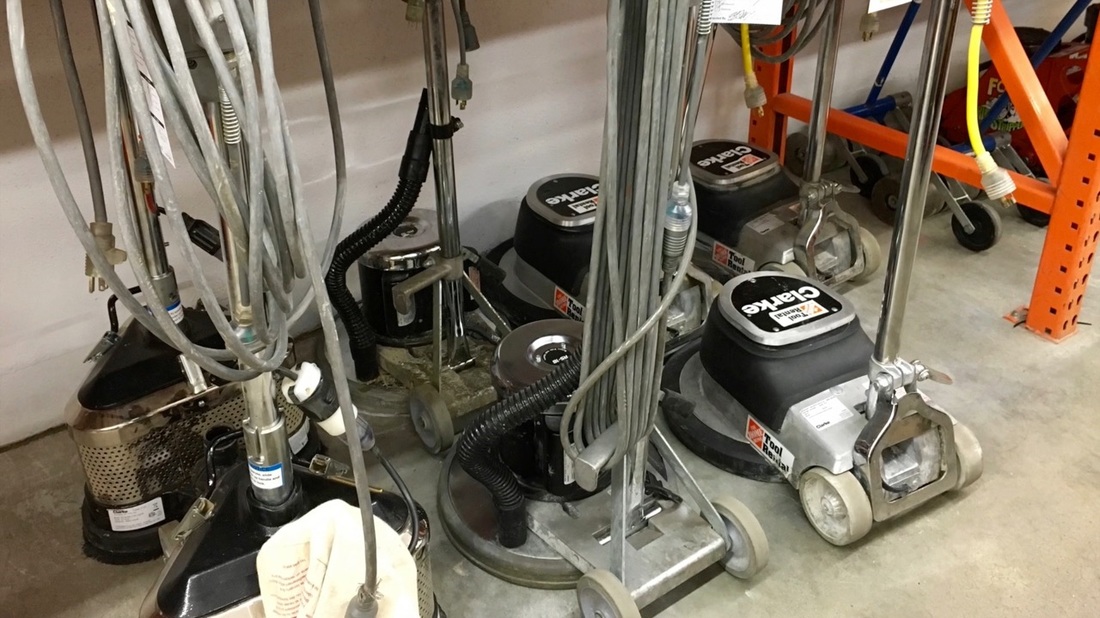 We realized there were still paint problems so we headed to Home Depot and rented a floor polisher.
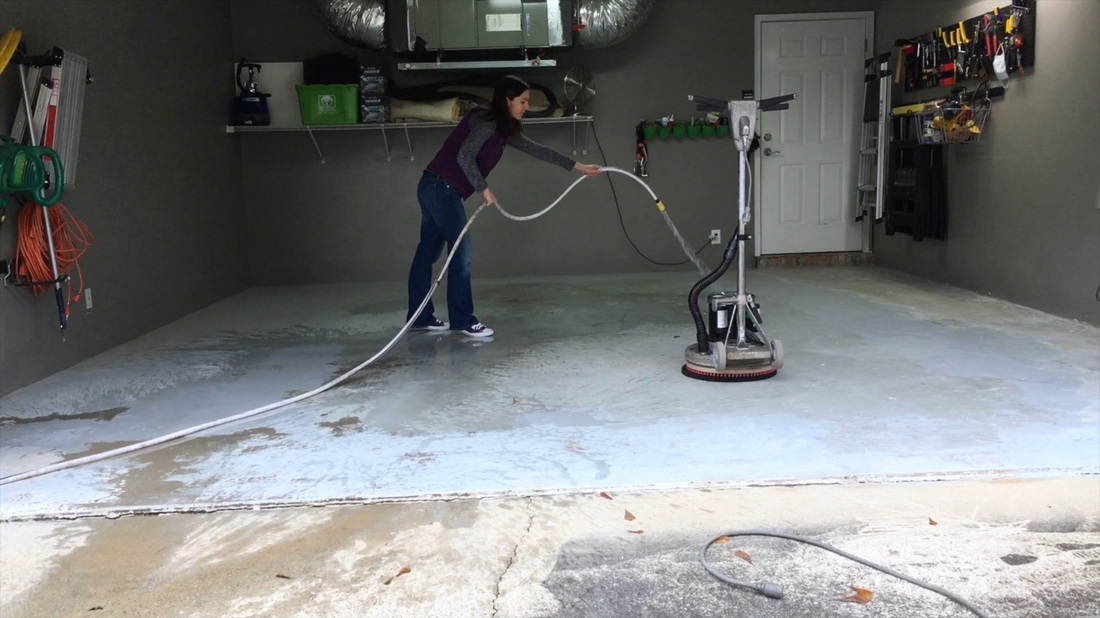
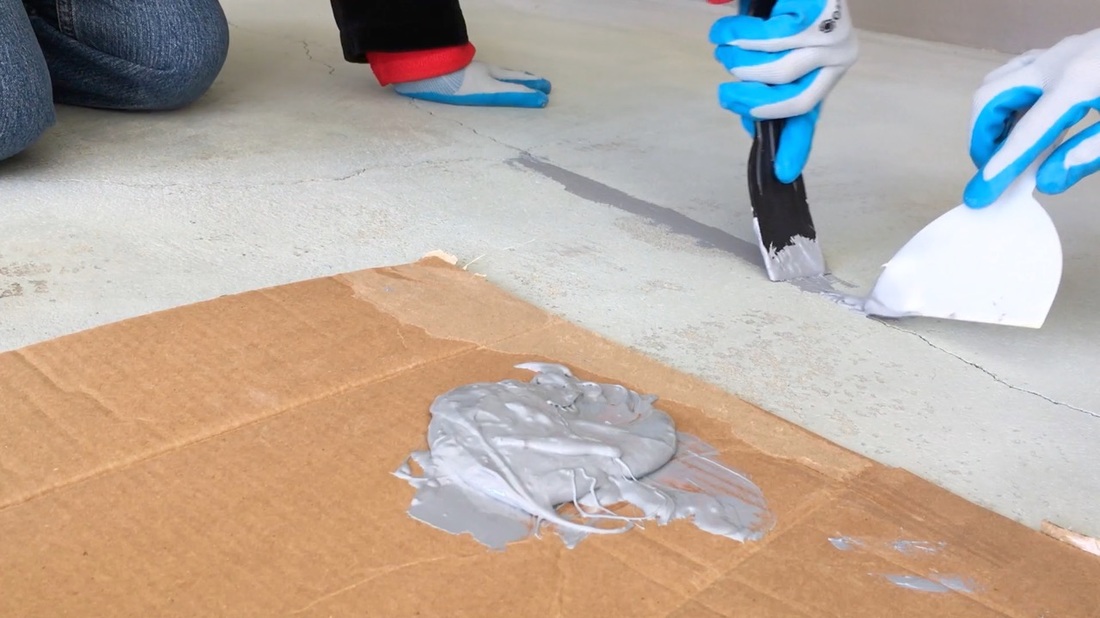
We wet the floor and got started. We failed to realize the instructions for the polisher were stapled to our receipt so we didn't realize the handle could be adjusted. The home depot associate didn't mention it so we didn't even think it was an option. Learn from our oversight- read the instructions! Allgaragefloors.com has a great article on this. 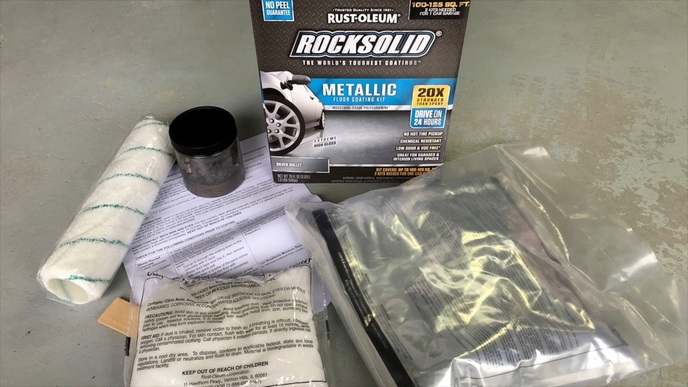 We were finally ready to move on to the Rock Solid kit. 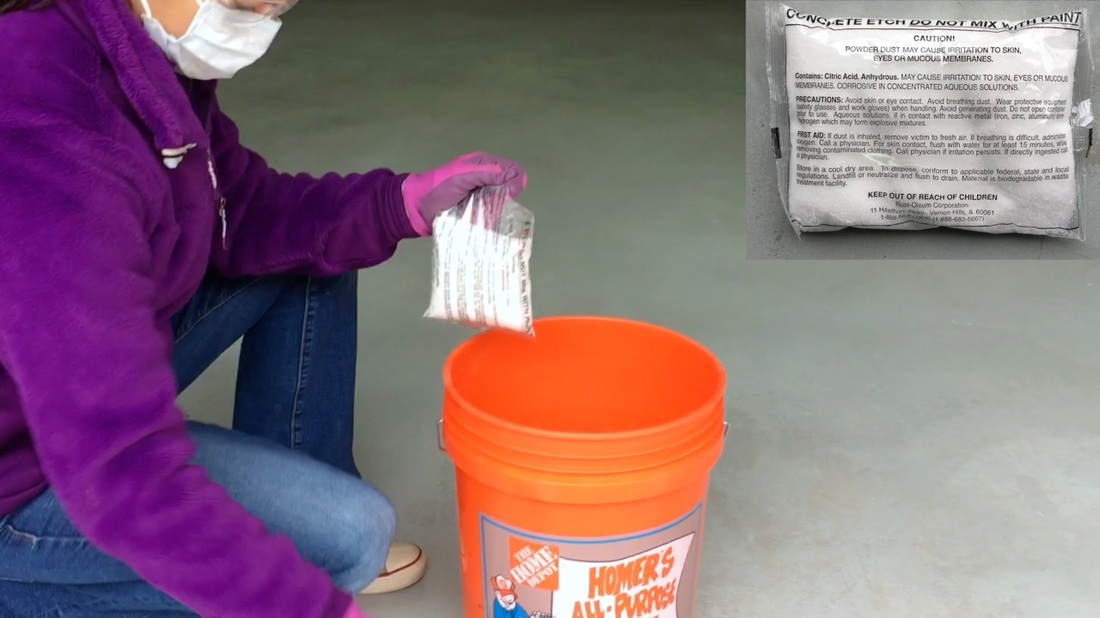 First, we applied the concrete etch included in the kit. 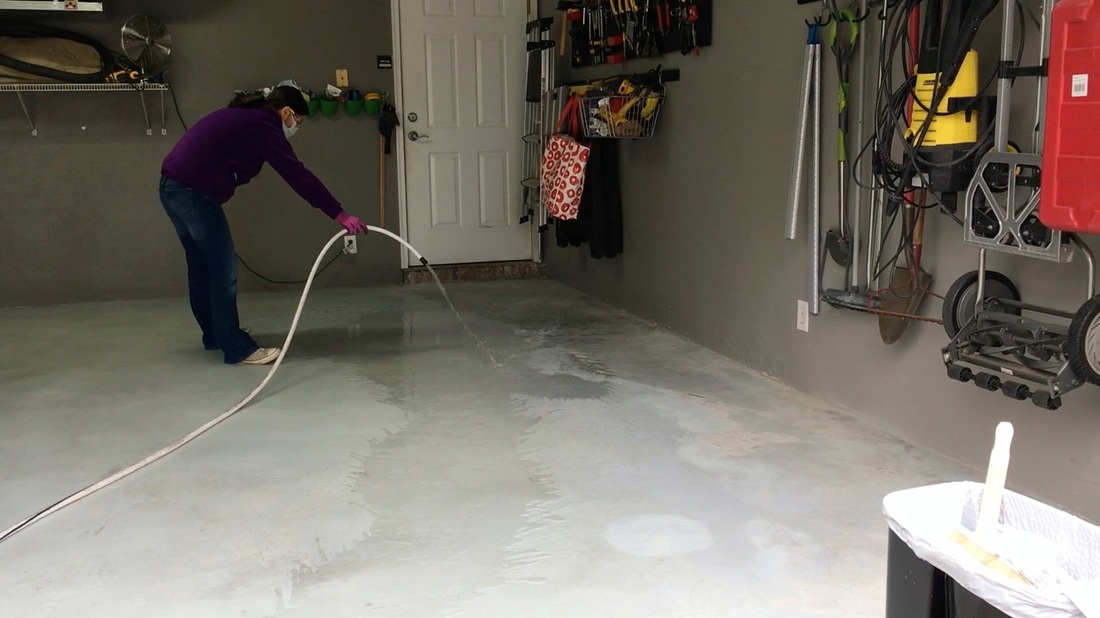 We wet the floor and poured on the etch solution. 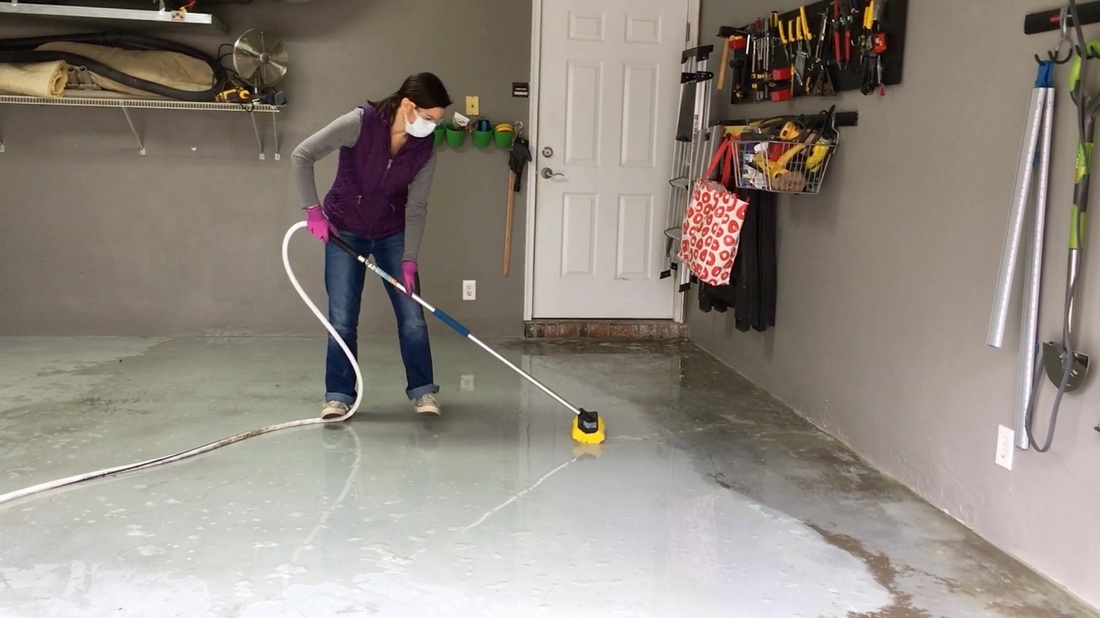 We scrubbed with a bristle brush. 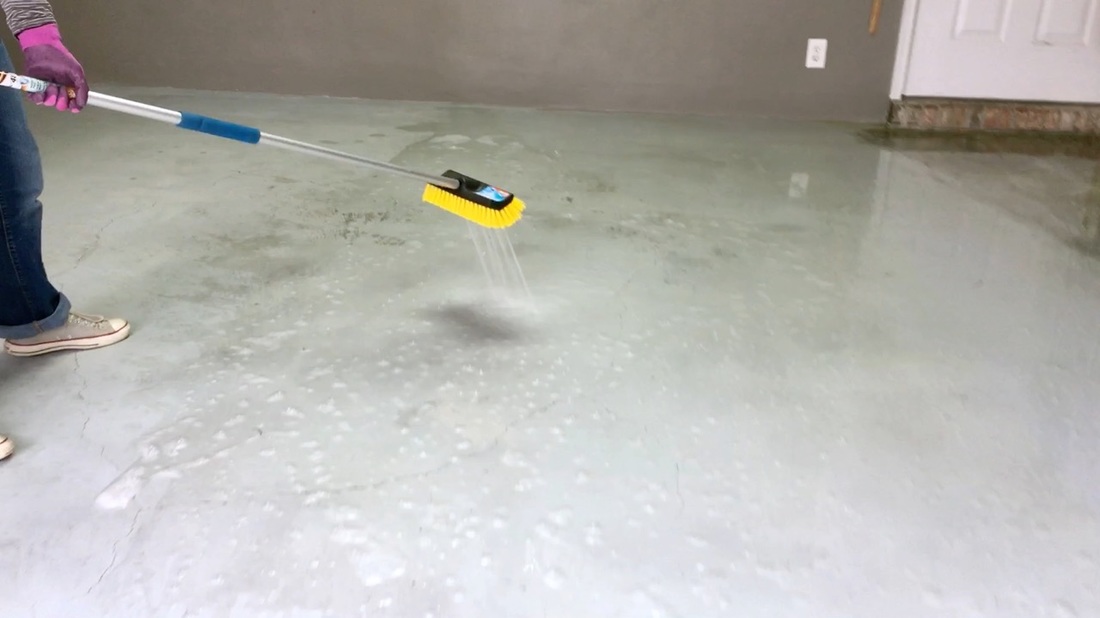 Our brush also had an attachment for a hose so we could run fresh water through it to rinse. 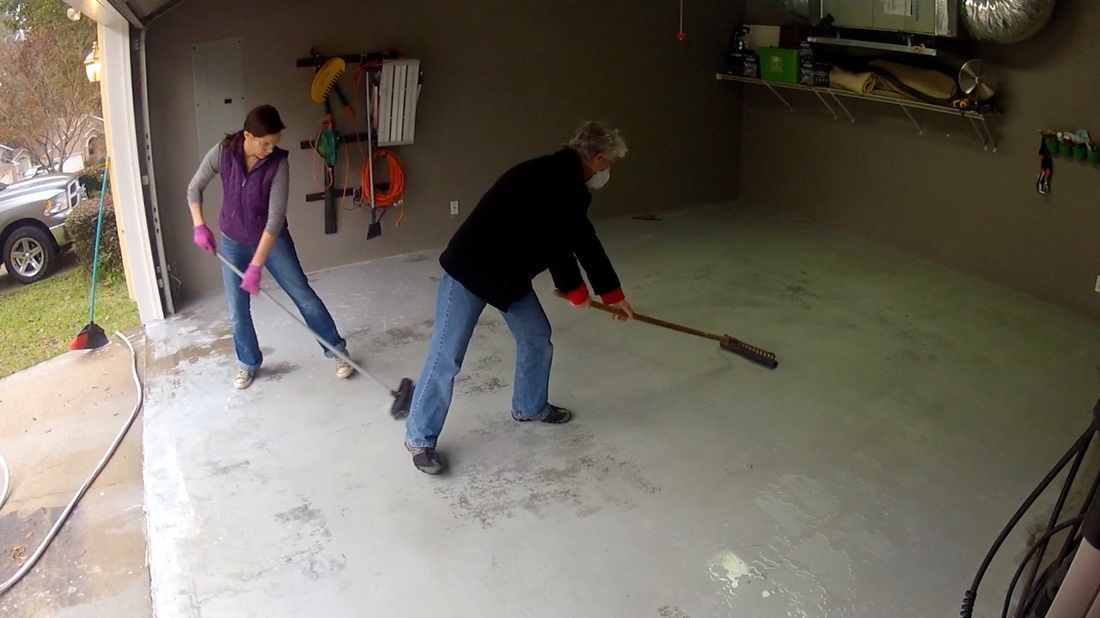 We used a squeegee and a DIY squeegee to make sure the floor was clean and dry. 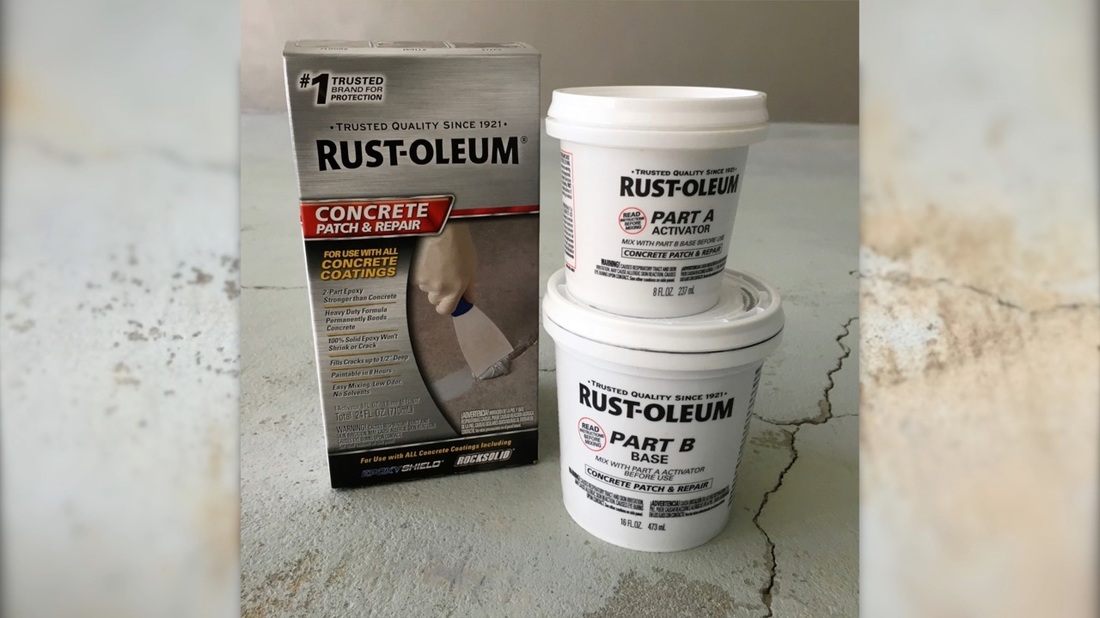 We filled in the concrete cracks.
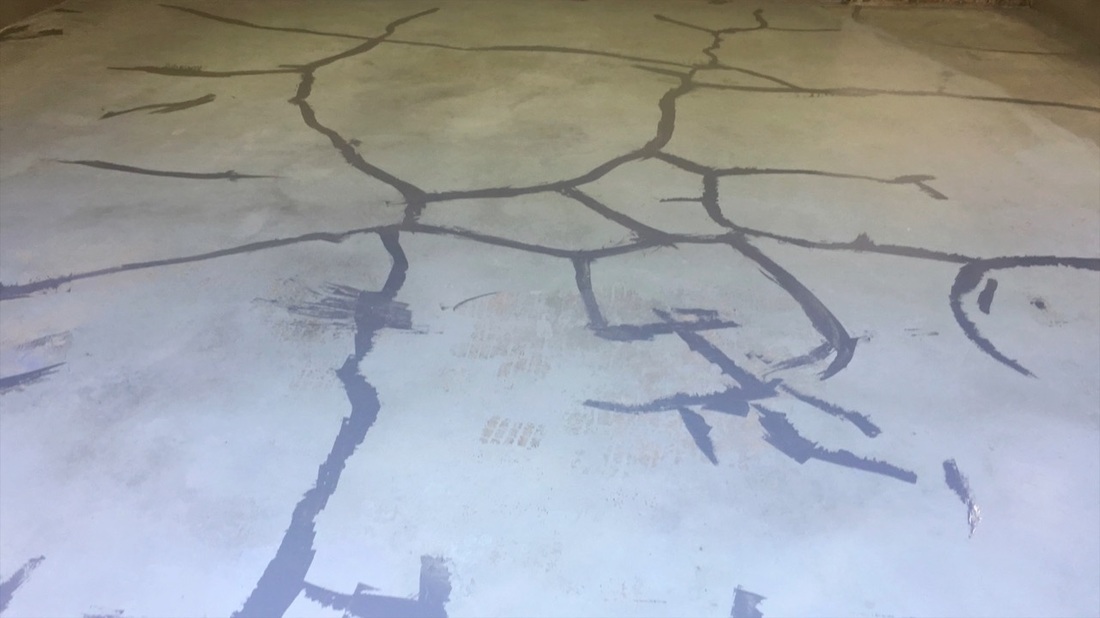
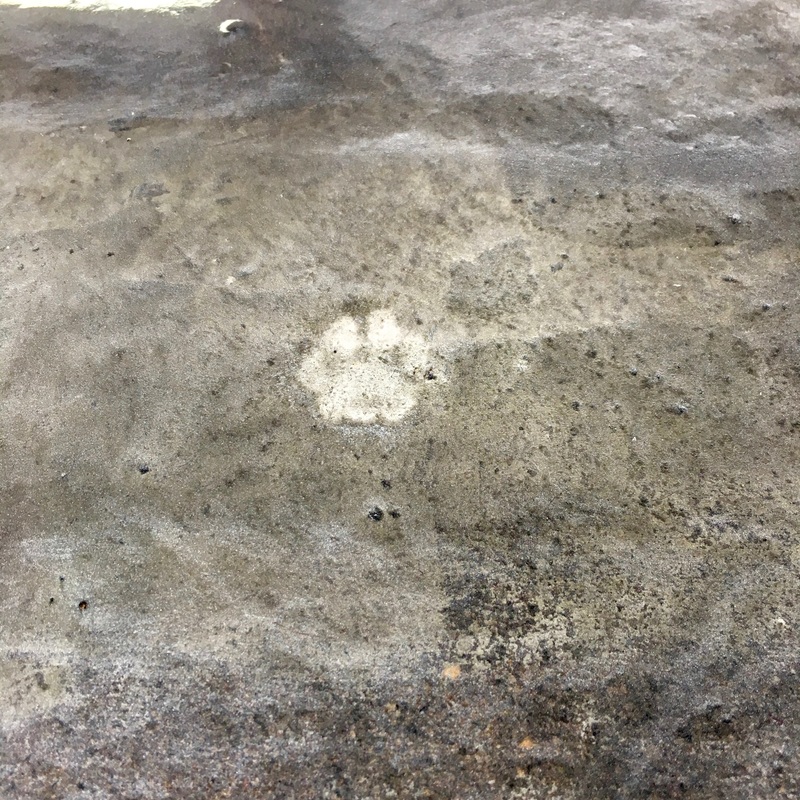
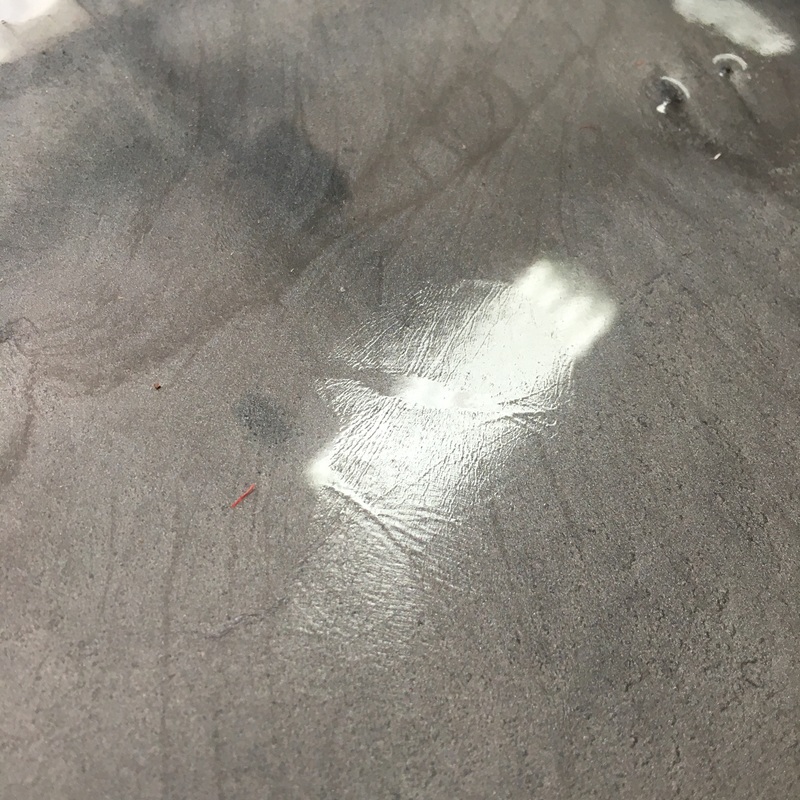
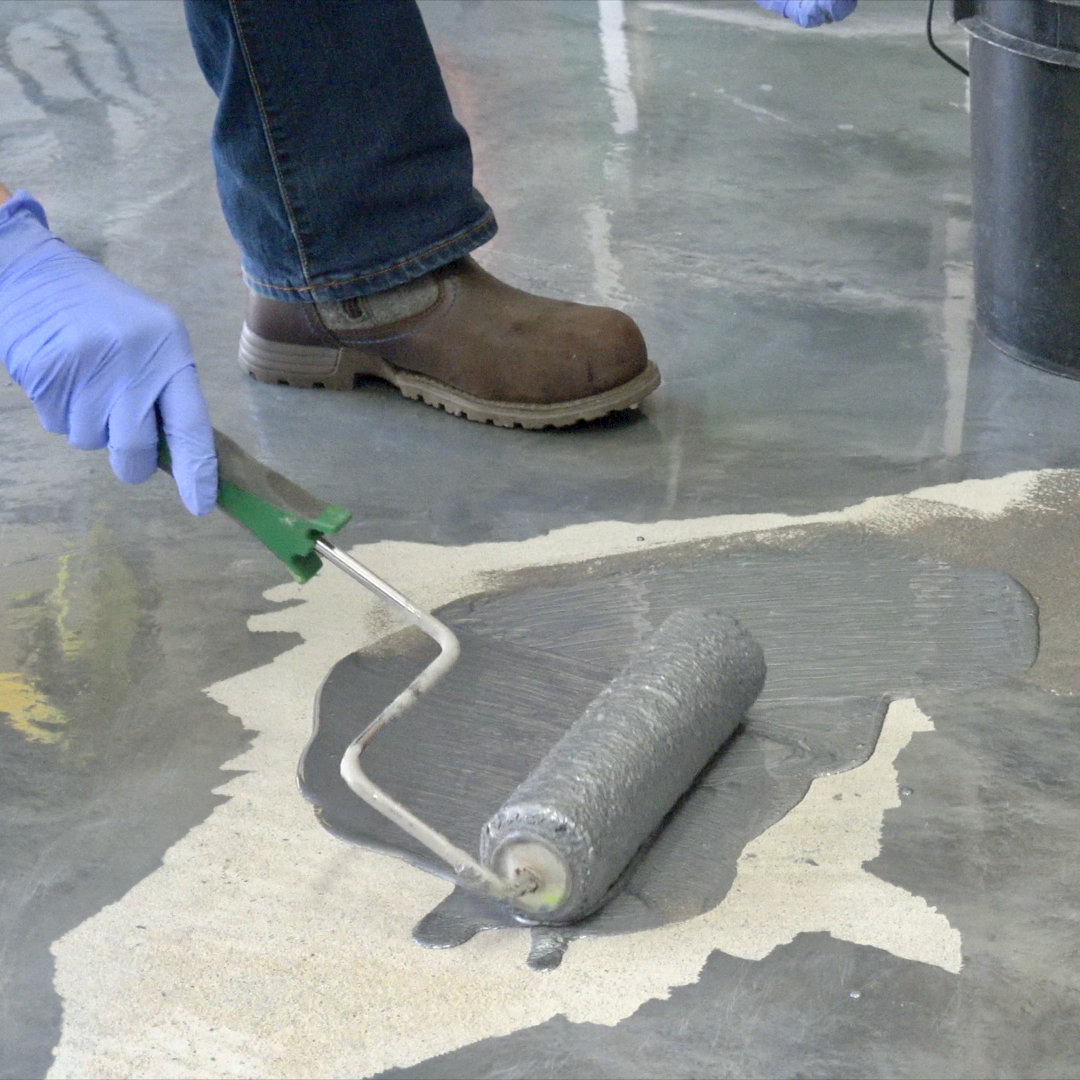
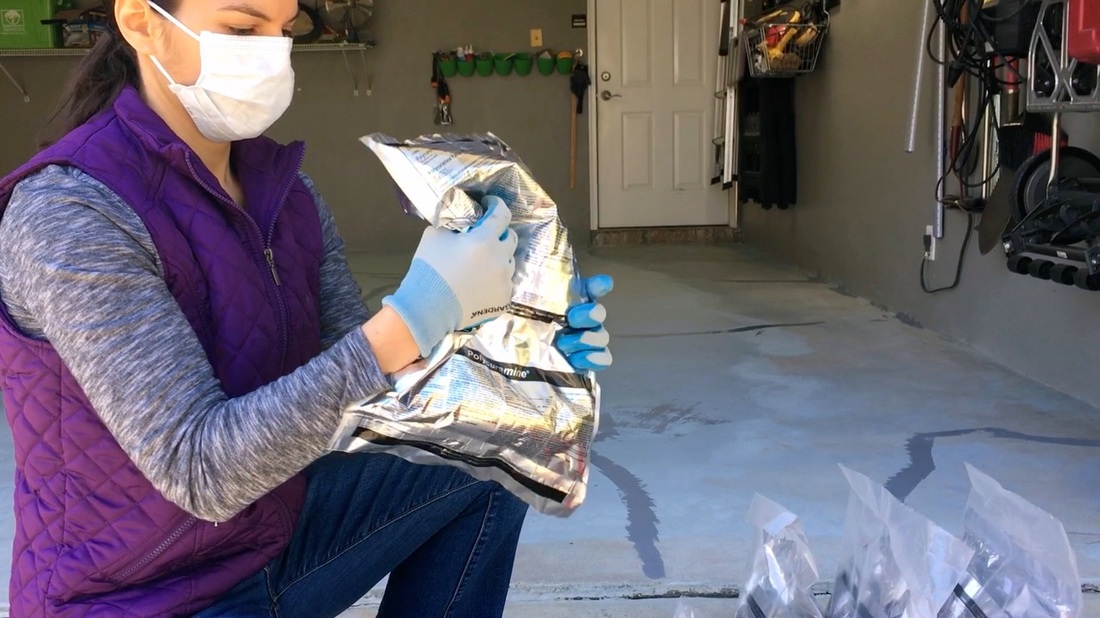 We mixed the product pouch. 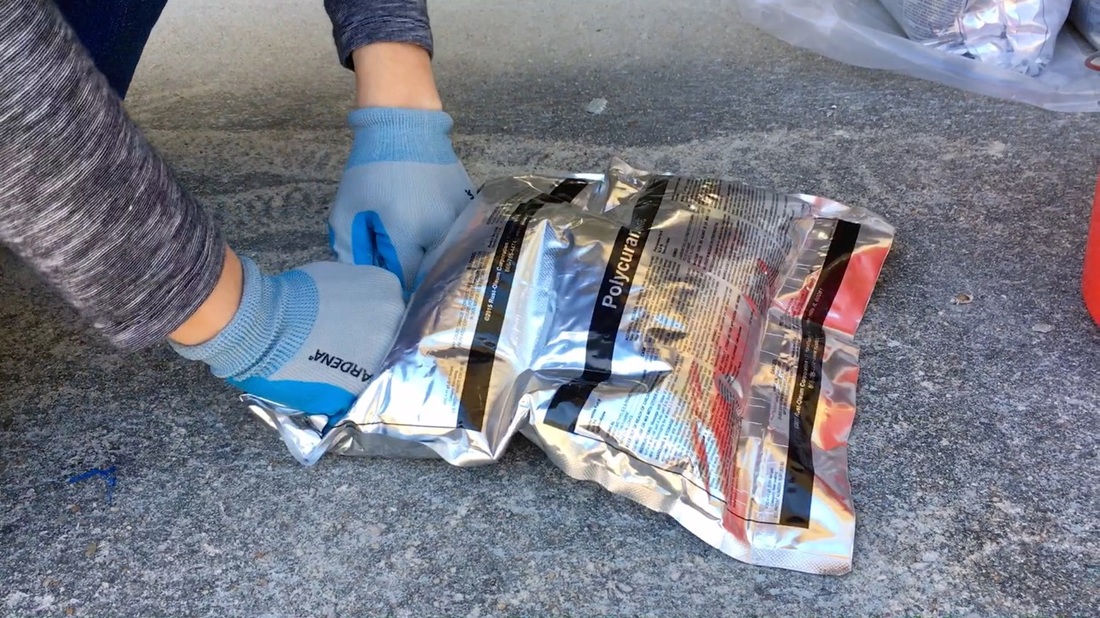 We combined the two components and mixed the pouch. 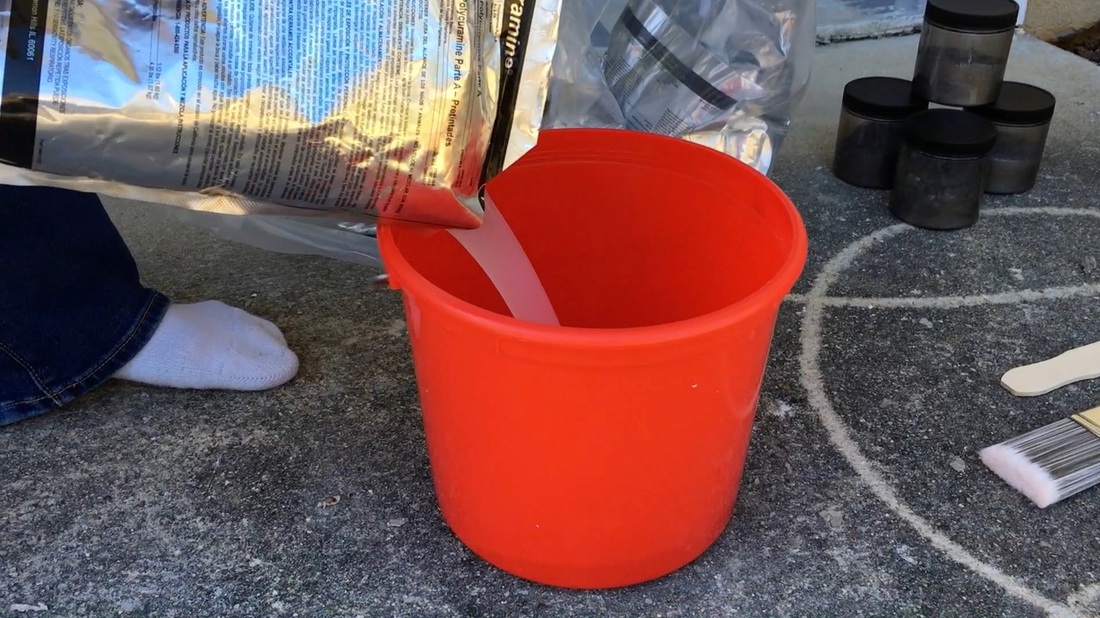 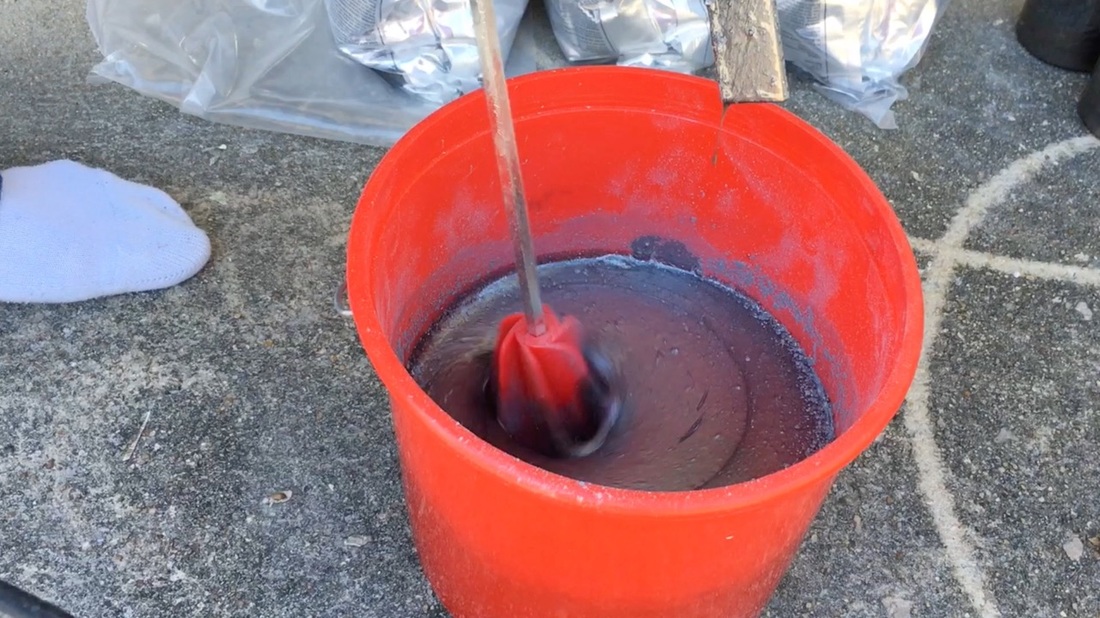 We added the product and tint to a bucket and used a paddle mixer for 3-5 minutes.  We used a paint brush around the edges. 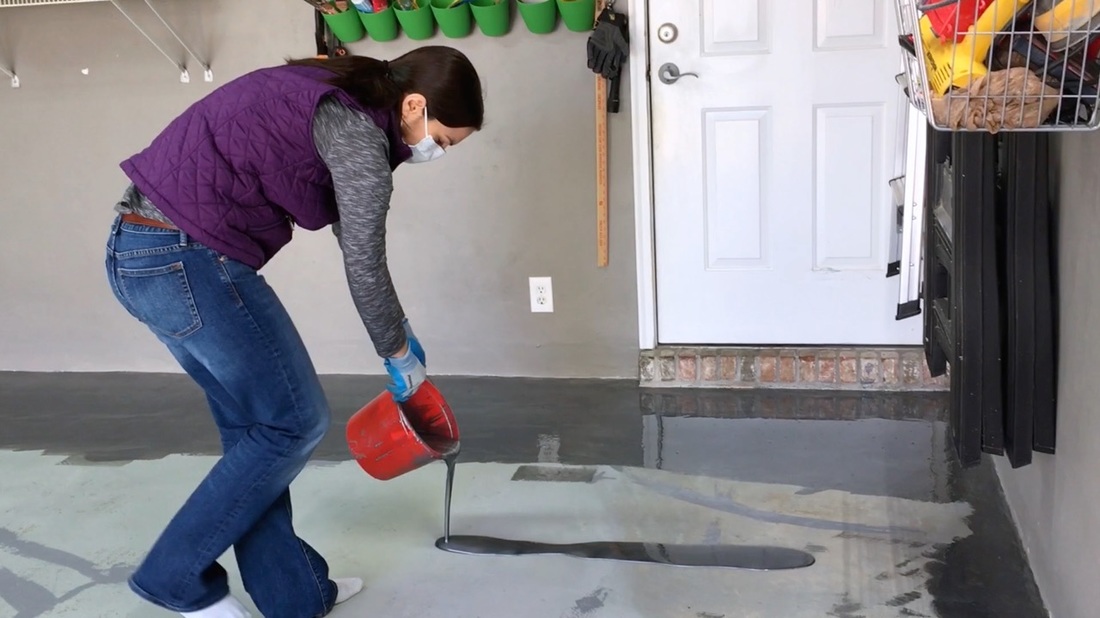 We poured the product on the floor and used the supplied roller to coat the floor. 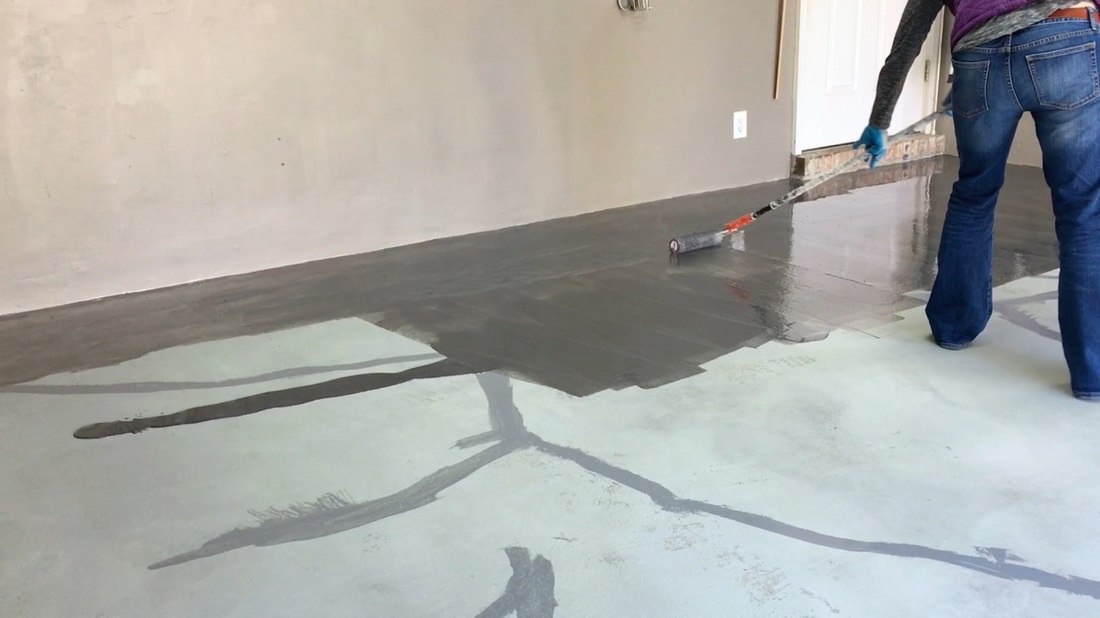 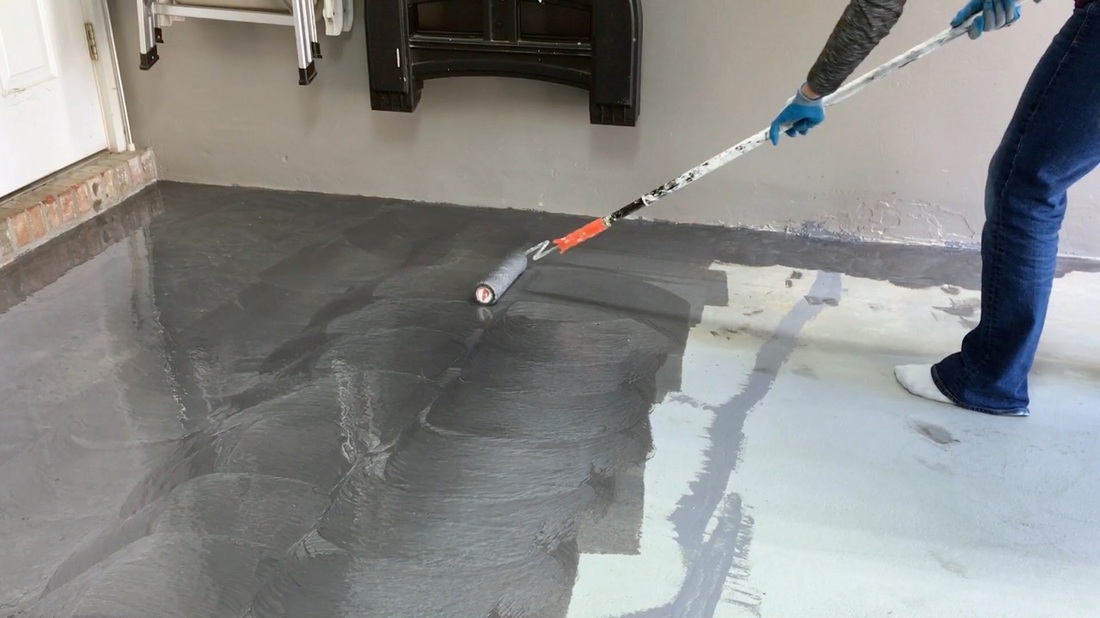 We made circular patterns in the coating to ensure there were no bare spots. 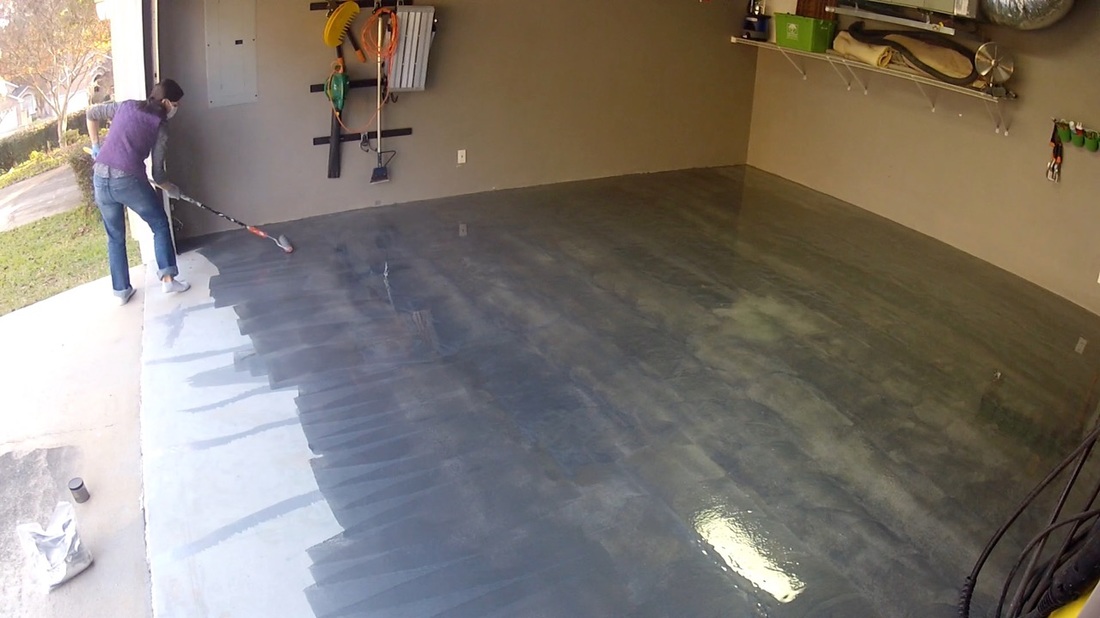 We continued this process and finished the whole floor in just over 2 hours. A Deeper LookWe want to dig a little deeper into some of the obstacles we came across while laying the product. We contacted Rust-Oleum product support to get some answers after the fact, and that’s what we are going to share with you. Overall, we felt the included instructions were very limited and left a lot of questions. Rust-Oleum phone and email support are great and helped us clarify some points. We also found this GREAT website all about garage floors that we are going to link to a lot because they have very helpful info. As we started, we noticed the appearance of some bubbles/lumps. As we had read nothing about this happening we had no idea what to do about it. Rust-Oleum said this could have been due to moisture in the concrete or mixing the product too fast with the paddle mixer. AllGarageFloors.com writes: "There are many problems associated with improper mixing. The most common of these issues is mixing too fast with a paddle mixer and trapping air in the epoxy. If this happens, you will get air bubbles in the surface during application. You can easily avoid this by not pumping the paddle mixer up and down or running the mixer too fast near the surface creating a vortex and sucking in air." The first thing we noticed is it didn't cover like paint. The mixture was pretty thick and a challenge to thin out to get the full cover the kit was suppose to cover. According to allgragefloors.com, "Many manufacturers state in the fine print that you can expect up to a 15% material loss due to product left in the container and first coat applications. Most DIY installers are not aware of this. You can avoid this problem by making sure not to underestimate the amount of epoxy that you need. Also, when pouring the freshly mixed batch of epoxy onto the floor or paint tray, do not scrape or try to get every last drop from the mixing container in an attempt to get the best coverage rate. The very bottom and sides of the container are never fully mixed properly. Doing so may result in spotty areas of the coating that will remain soft and not harden." Once cured, we could see the lines where we filled in the cracks through the product. It’s not crazy obvious to an observer, but we can see it. For this reason, we really think it would have been a great idea to prep the concrete, etch, fill in the cracks, use an epoxy primer, then laid the final product. We think we would have gotten a more consistent look to the floor and even better results. Rust-Oleum product support did said they do not recommend a primer, but would recommend a full second coat. As a full second coat would double the project cost, we would try the primer ourselves, but do your own research to see what would work best for you. We did find someone that painted Rock Solid over Epoxy with good results (Shanty2Chic, at the bottom of the page). After we finished the whole floor, we waited 15 hours before we touched the floor (graphic below is from the instructions) but I (Steph) touched the floor and it left a hand print. After this, we waited 5 more days before touching the floor again. Rust-Oleum said the dry time is dependent on the air temperature, humidity, and temperature of the concrete. Basically, I would over-estimate all the listed dry times based on what we experienced.  One thing we didn't do but should have was a moisture test prior to any work being done. Rust-Oleum support mentioned this many times as a possibility for some of the challenges we experienced. If we HAD done it we might have been able to rule it out as a problem. One unforeseen issue happened while the garage door was partially up overnight to allow ventilation while the floor cured--a curious kitty decided to step inside leaving a single paw print! If you have a way to cover the front of your garage during the drying phase that might be a good idea. A play yard/gate might have done the trick for us. But the print is now a conversation piece that people think is really funny when they see it :)
One last thing…Steph's garage has a little section where the garage door comes down and some of the concrete is exposed to the outside. We emailed Rust-Oleum about this because the product says it’s for covered areas only. They responded saying, "Polycuramine coating does not offer any UV inhibitors to prevent the coating from chalking and fading when exposed to direct sunlight. We would recommend using a complimentary color with a concrete 1-part floor paint that is suitable for vehicle traffic." We did paint the section with the Rock Solid product but they said we can use the Epoxy Shield Concrete Floor Paint over the Rock Solid Metallic at a later date. We would just need to scuff up the surface with a 60 grit sandpaper, prior to applying the new coating. 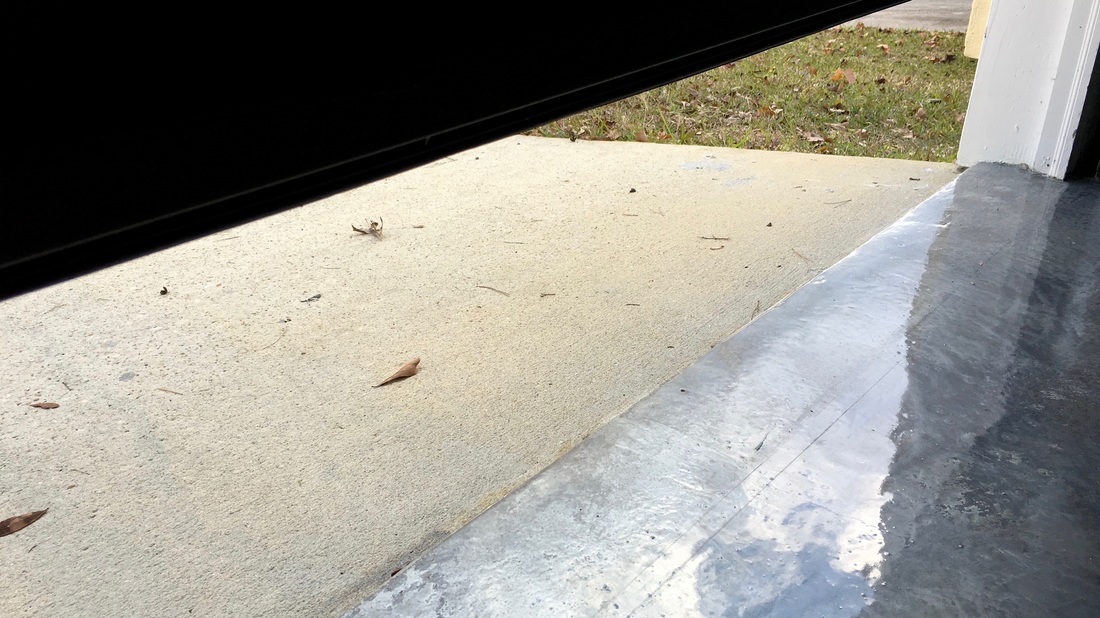 Our Overall TakeawayOverall we are happy with this project. The floor looks really neat and is easy to clean. In the few weeks since we applied the product, we have not had any issues with the product coming up/hot tires/peeling, etc. If we do run into anything we will update this blog post. If we were to do this again (maybe Vicki’s garage) this is what we would do:
 Love how Steph's Mini Cooper looks on the floor! 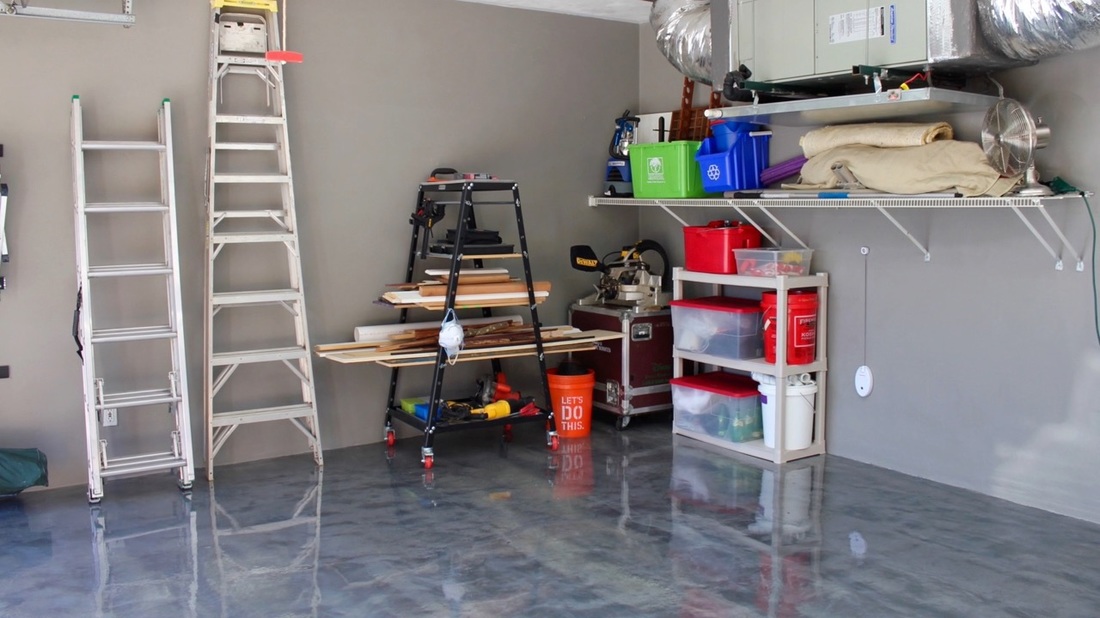 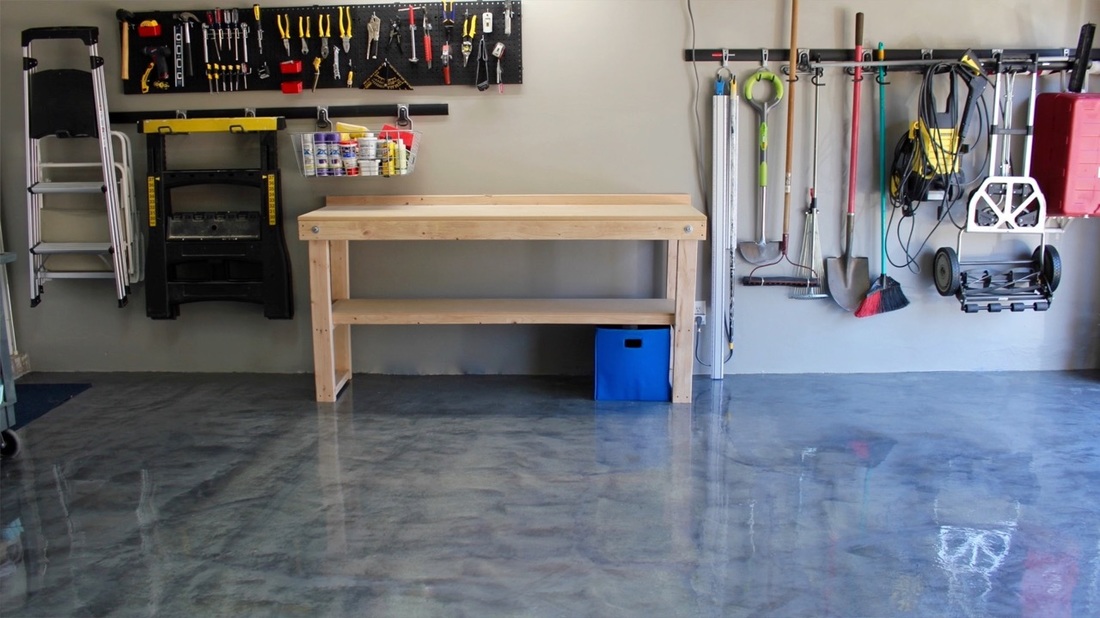  Nephew/Grandson Tyler came for a visit and said "the floor looks really neat." Then he proceeded to use it as a dance floor! Please note: We are not sponsored by any of the companies/products that we used. Rust-Oleum did send us six Rock Solid Floor Coating kits for this project. FYI: We are not professionals, and we don’t claim to be. This is what we found worked for our project. Yours may need a little different approach. Safety first! FYI: Amazon/Home Depot affiliate links are being used on this page. Related Projects
49 Comments
Suzanne
2/26/2016 08:30:06 am
Cudoos. You did a great job. I love the finish.
Steph
2/26/2016 02:50:58 pm
Thanks Suzanne! I love the floor and clean up is so easy now.
Chris
1/14/2017 11:07:26 pm
Great tutorial. Just did mine and saw a lot of bubbles. Any advise besides a recoat
Karyn Hayes
2/27/2016 01:23:29 am
We have wanted to do something like this to our garage floor but have not as we couldn't figure out how to make sure all the prep cleaners and etching product was fully off the floor before we apply colored finish. How were you sure all prep products were off?
Steph
2/27/2016 09:21:58 am
Hi Karyn. Great question! The etch is the final product and the instructions say to rub your fingers over the dry floor and if dust or powder comes off, repeat scrubbing and rinsing until the floor is clean. We rinsed and dried the floor probably 3 or 4 times to make sure it was all clean. We might have been over cautious but we wanted to make sure we got it right. Good luck with this project if you take it on!
LeahL
3/1/2016 12:51:54 pm
Road crews use a lot of salt on the roads during the winter here in Pittsburgh. I was just looking at my garage floor and lamenting the cracks and pockmarks (from the salt). Our garage is 65 years old and really looks like it now! I love this idea. Project for hubby and this spring/summer!
Steph
3/1/2016 02:03:18 pm
Glad you like it! Good luck with the project!
Meredith
3/12/2016 06:08:03 pm
This looks professional! Y'all did a great job. I actually love the paw print :)
Steph
3/14/2016 10:32:49 am
Thanks Meredith. The paw print is pretty cute!
Joe
3/17/2016 07:48:51 pm
Well done, it looks great! I am looking to do the same in my basement, when I came across your blog. I too have issues with the floor being previously painted.... How did floor polisher work on removing it without the Diamabrush?(assuming you did not use one from the video) Obviously I'm concerned with the dust from the diamond blade in the confined area. Thanks!
Steph
3/21/2016 10:57:09 am
Hi Joe. Great question! This is something Rust-Oleum might be able to help with (http://www.rustoleum.com/pages/help-and-support/contact-us/) or Home Depot/ a local hardware shop that stocks the Diamabrush.
Rob
5/21/2016 06:31:22 pm
Thanks for this tutorial! I followed your steps and finished my garage floor with the same metallic color. I've noticed that when cleaning the floor, even with water, the high gloss shine never returns, and a cloudy fog remains on the floor. Have you experienced this problem? I waited a week before cleaning my floor so it would be fully cured.
Steph
5/22/2016 02:08:21 pm
Hi Rob! I have not noticed this. I don't really clean the floor beyond sweeping away saw dust and such. I have noticed when rain from my car drops on the floor, the water will just pool on the floor. When this happens I wipe away the water and I have not noticed a shine difference in those places yet. I would contact Rust-Oleum support to check with them about what you are experiencing.
Rob
6/2/2016 10:50:58 pm
Thanks for the reply! I contacted Rustoleum. They said that even after 3 days it had not completely cured, which was causing the foggy issue. They recommended up to a week to let it fully cure, even though I applied it during 70 degree weather and low humidity. I sent them pictures of what I was experiencing and copies of my receipts, and they sent me new product! With the second coat it looks even better, and I'm going to give it a few weeks before I even touch it, just to be sure. I must say Rustoleum customer service was great! Have you noticed any tire marks/scuffs showing up on the floor?
Steph
6/3/2016 09:42:14 am
Hi Rob, glad Rust-Oleum took care of you. Yeah, we have had great experience with customer service too! I think there might be some scuff marks but it's hard to tell if they are really there or if it's just dirt. I really need to do a good cleaning and then take a look :)
jack
5/29/2016 11:46:15 pm
do you all recommend a primer?
Steph
5/30/2016 10:04:57 am
Hi Jack, we didn't use a primer but if we did this again I think we would. We would probably go with a primer for concrete by Rust-Oleum.
Andrea
6/2/2016 08:56:44 pm
Congrats! Looks great. I used 2 part epoxy in my last house and consider now Rocksolid for my new property.
Andrea
6/2/2016 08:57:16 pm
Congrats! Looks great. I used 2 part epoxy in my last house and consider now Rocksolid for my new property.
Steph
6/3/2016 09:38:58 am
Here in florida we know all about high humidity! I have not noticed it ever being slippery. The only thing to note is water does pool on the surface (this happens to me when it has been raining and I drive my car in the garage) so if you don't clean up the water you could slip on that.
Steve
7/16/2016 11:13:15 pm
Great article! I didn't notice it in your pictures but, in other pictures of the same product, there is a noticeable pattern of swirls in rows in the finished product. You can clearly see the rows in which the product was applied. In your experience, what can you recommend if I'm trying to minimize creating a "lined/pattern"? I would prefer the swirls not be in discernable rows/lines.
Steph
7/17/2016 09:55:24 am
Hi Steve, hmm...that's a good question. The instructions say to make the swirl pattern so the product is evenly distributed and opaque. As the product is suppose to be applied one row at a time, we tried to make our swirls a little bigger so they blend into the row above. But overall I'm not sure there is a way to completely make it looks random and not in rows. Might be a good question for Rust-Oleum.
Johanne Marie
9/21/2016 03:30:51 am
Love this, fantastic job! Am I the only one who would see this done in a bathroom or even in a kitchen??
Steph
9/21/2016 10:29:05 am
Thanks Johanne! Great idea- it would look great indoors!
Nicole
10/13/2016 10:42:59 pm
Amazing job Steph and cheers so much for taking the time to write this article.
Steph
10/15/2016 12:21:47 pm
Hi Nicole! Basically when water is on it, it just pools up because it doesn't soak in. So if the water is not cleaned up it can be pretty slippery. I do think they make an anti-slip product you can add to help with that. I don't know anything about it but Rust-Oleum support can probably tell you more about it. Hope that helps!
Shannon
10/31/2016 01:59:46 am
Love your post. Can you tell me how many square feet your garage is? And how many boxes/kits did you actually use?
Steph
10/31/2016 12:59:17 pm
Hi Shannon, it's a standard two car garage. It should have taken 4 boxes but we used 5 and could have used a 6th.
DaveO
12/16/2016 12:00:40 pm
Hi, Great JOB!
Steph
12/17/2016 05:10:49 pm
Hi Dave, I'm not sure it would work in that application. The best thing to do it contact Rust-Oleum support to see what they recommend.
DaveO
12/19/2016 09:41:09 am
Thanks for the speedy response, I did call and they say customers have done it with success. This was her way of saying that's not what its intended for but should work. They say to make sure water absorbs is the biggest thing prior to putting on the epoxy. I know you said you wish you had tried putting on the epoxy primer, I just wonder if that conflicts of what they are saying....HMM, I wonder about the epoxy primer myself and feel it may help fill it minor blemishes.
Steph
12/19/2016 11:34:37 am
Hi Dave, can you email us a picture so we can get an idea of your setup? Thanks! [email protected]
Jack Bowles
5/22/2017 06:53:17 pm
Is there a rust oleum covering for linoleum flooring inside
Steph
5/23/2017 08:45:23 am
Not sure about that Jack. You can probably check on rust-oleum's website.
Tiffany
5/24/2017 01:34:01 am
Great job girls! I came across your site looking for ideas for my back yard patio. I think this would work in my small space. If I ever clean out my garage, I'll use it inside. Thank you.
Steph
5/28/2017 10:01:18 am
Thanks for visiting our site and the kind words!
Zach Prince
7/3/2017 10:38:54 pm
You ladies did a fantabulous job explaining the process. (I saw your you tube videos while doing my research on this product) I just finished doing my new (to me) 3 car garage with the Rock Solid kit. I used 7/8 of 2 kits that were for "2.5 Car Garages", so I think their assessment is a weeee bit off. I'm in Central Texas so the temperature was my biggest concern. I was able to cover the floor in about 3hrs. Sweat marks and all.
Steph
7/5/2017 09:33:27 pm
So happy to hear that Zach! Congrats on completing the project!
Steve
9/4/2017 01:52:55 pm
I love the work and the diligent step by step video and write ups. Thanks.
Steph
9/4/2017 10:26:35 pm
Hi Steve! Glad you found our project helpful. We were able to pop some bubbles, some left on their own, and some stayed and we don't really notice them anymore. Thanks for sharing what you learned!
Jeannie Carle
9/5/2018 08:00:13 pm
This is fabulous! And most helpful for me was that cute ll boy dancing on it! I fell and did damage to my knee for the first time in 70 flippin' years, and NOW I worry about slipping. Never did before. Siiigh. I saw that little clip and I thought OH yeah! This WORKS! Thank you!
Vicki
9/6/2018 08:55:32 am
Hi Jeannie,
Vicki
9/6/2018 08:59:08 am
Hi Debbie, This product can not stand up to the elements especially sunlight and rain. We used it on a tiny sliver out side the garage and it totally washed away over time. So it should be used only indoors and aways from sunlight. ~Vicki
Rik
9/14/2020 11:16:24 pm
Hi! What color metallic did you use?
Steph
9/15/2020 07:37:56 am
Silver bullet Leave a Reply. |

Mother Daughter Projects
|