|
There's a lot of interest in garage floor coatings—the appeal of which is the ease of cleaning and the fresh look it gives to the floor. But what to choose?
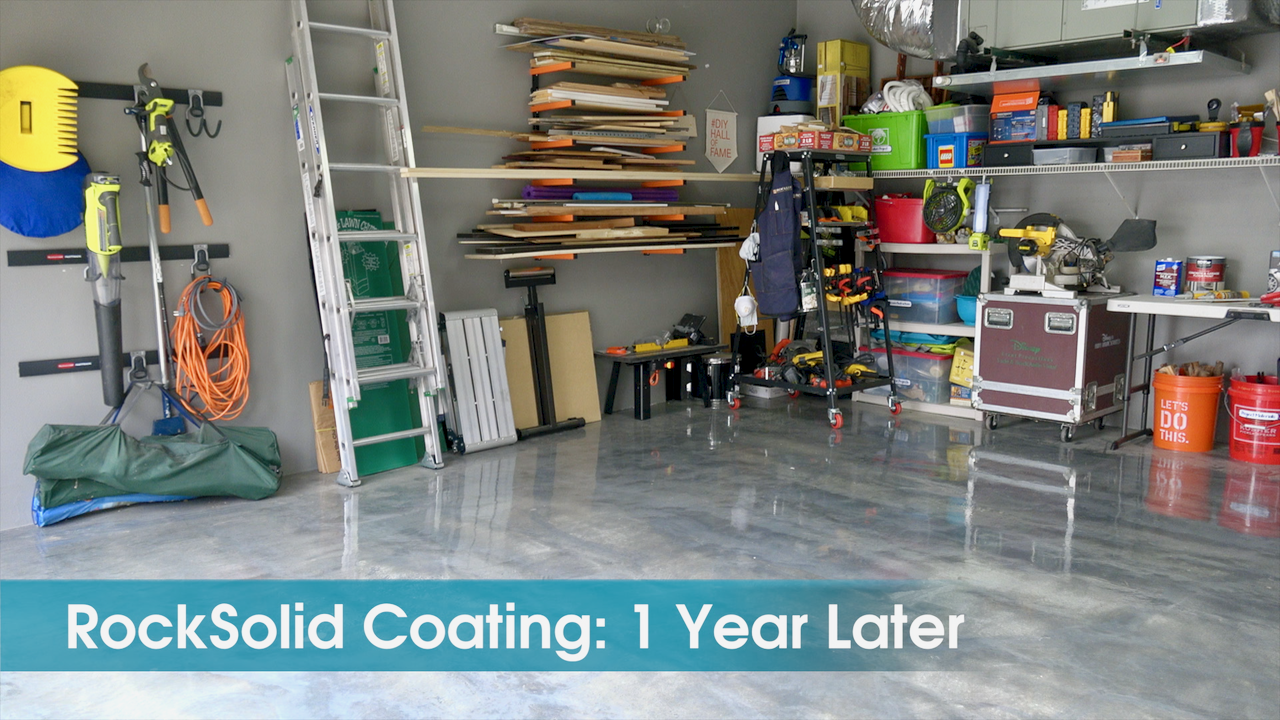
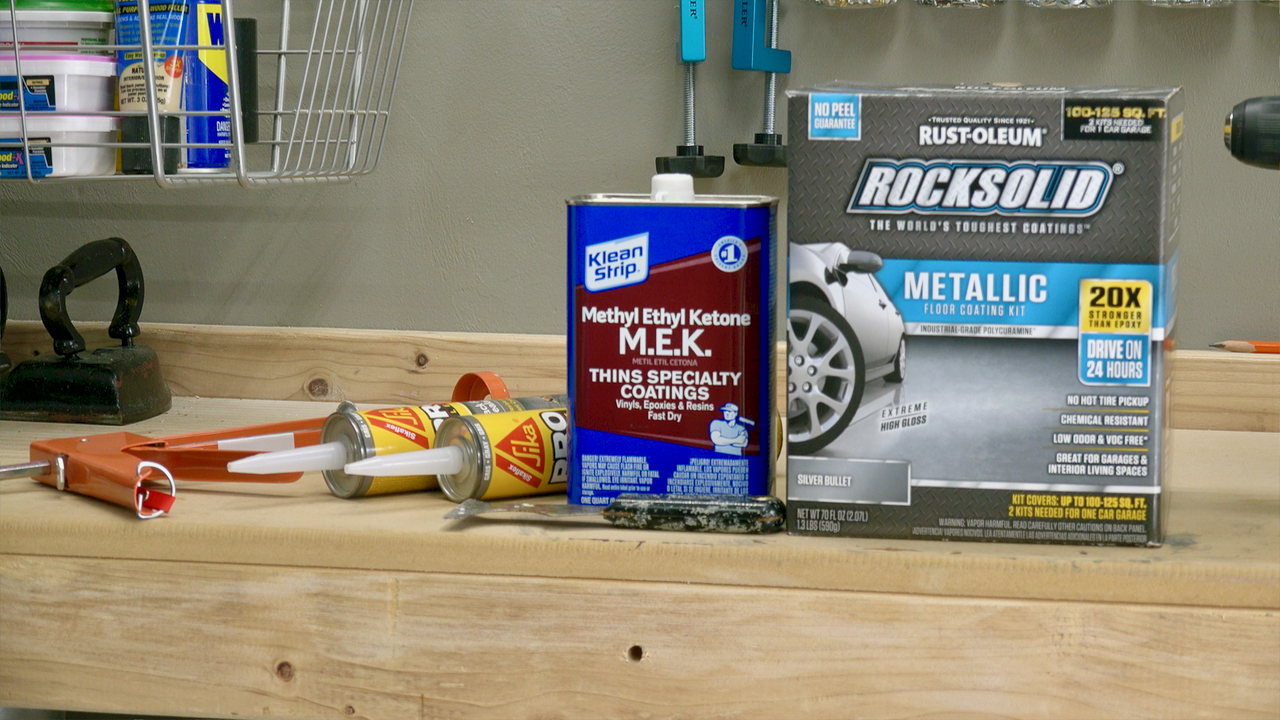
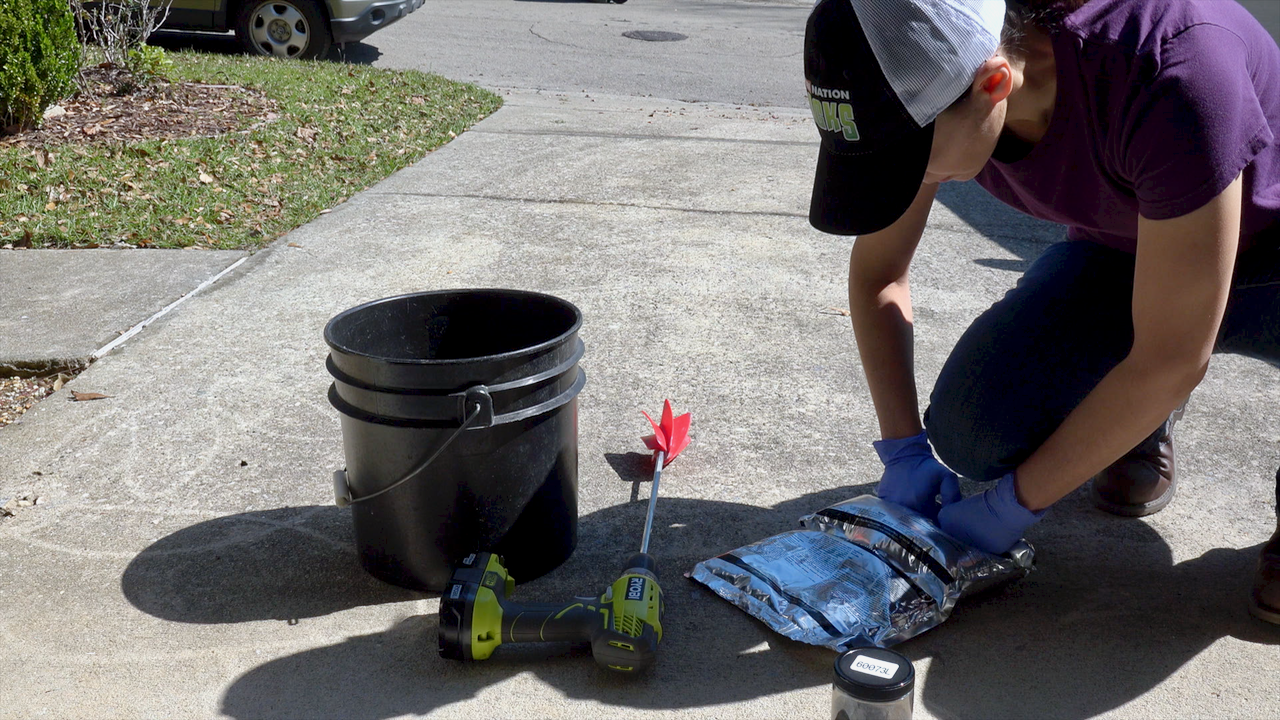
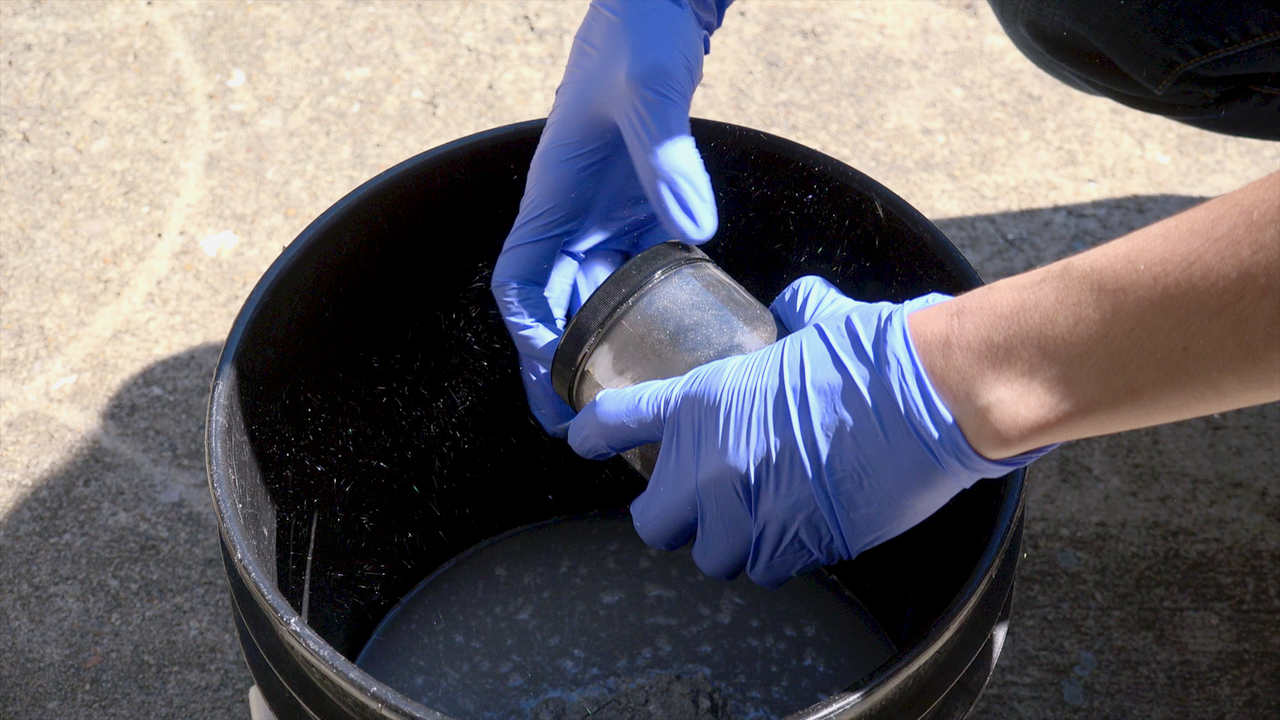
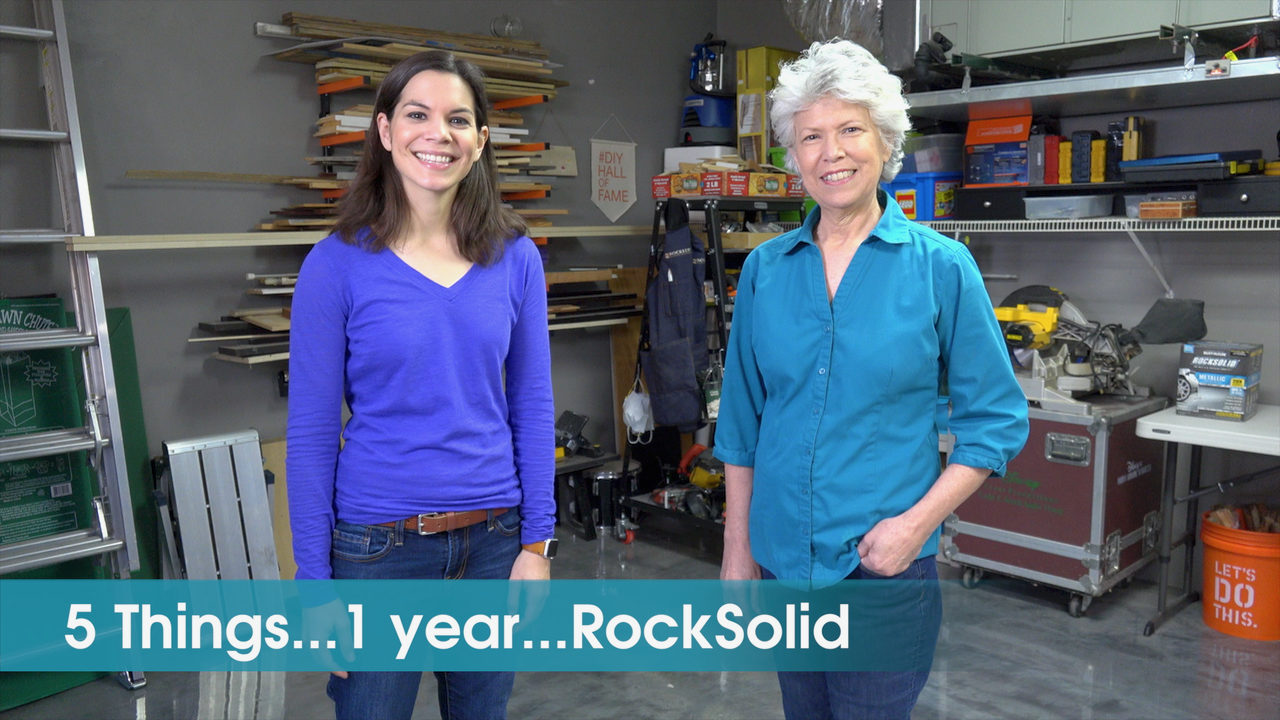
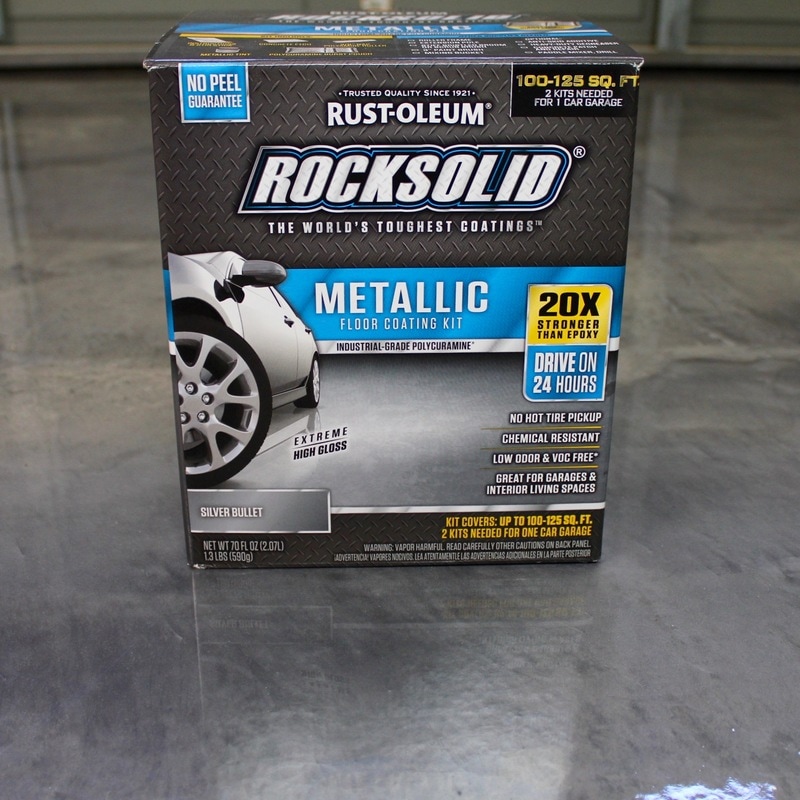
In January 2016, we used Rust-Oleum’s RockSolid floor coating in silver bullet metallic on Steph’s garage floor. RockSolid is an epoxy like product advertised has having superior quality and durability as well as being DIY friendly. One year later—how’s it holding up? Watch the video above and read more below!
Lets back up a bit and talk about the product being “DIY friendly.” Yes, the product is manageable to apply, but to get to the 'straight forward application part', you have to be sure the concrete floor is clean and ready.
Because Steph’s garage floor had been previously painted, it required quite a bit of prep work to get it to the point of being able to use the product. Ideally, if your concrete floor is new and clean, application of the product should be straight forward. If not, be prepared for some work and even after all that work, there may still be a concrete issue that is not apparent.
5 Things We Learned About RockSolid After 1 Year
Now, one year later, how’s it holding up? With the exception of where Steph parks her car on the floor, it has been holding up nicely. The best part about it is how easy the floor is to clean.
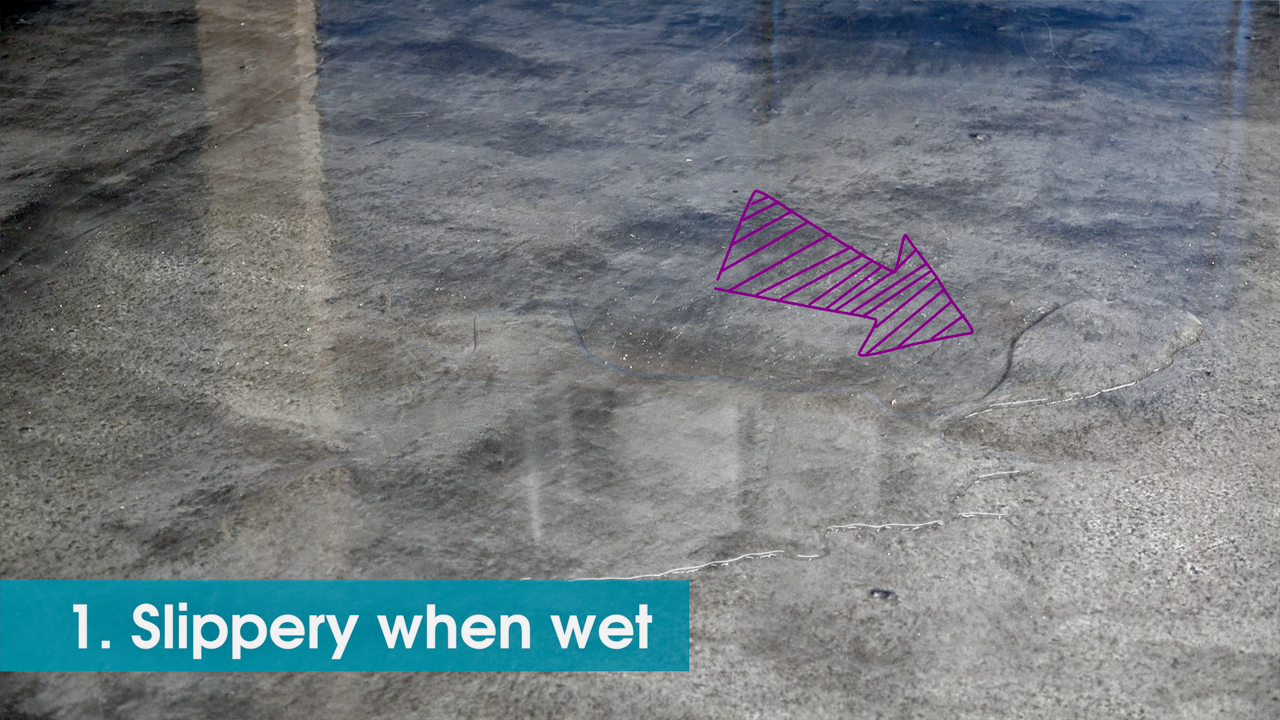
The floor is slippery when wet, but really slippery when you get sawdust on it. We do wood working projects in Steph’s garage, therefore we have sawdust spills. We have to be very diligent about keeping this swept up because it is definitely a slipping hazard. On the positive side, the coating makes it easy to clean up sawdust and other debris.
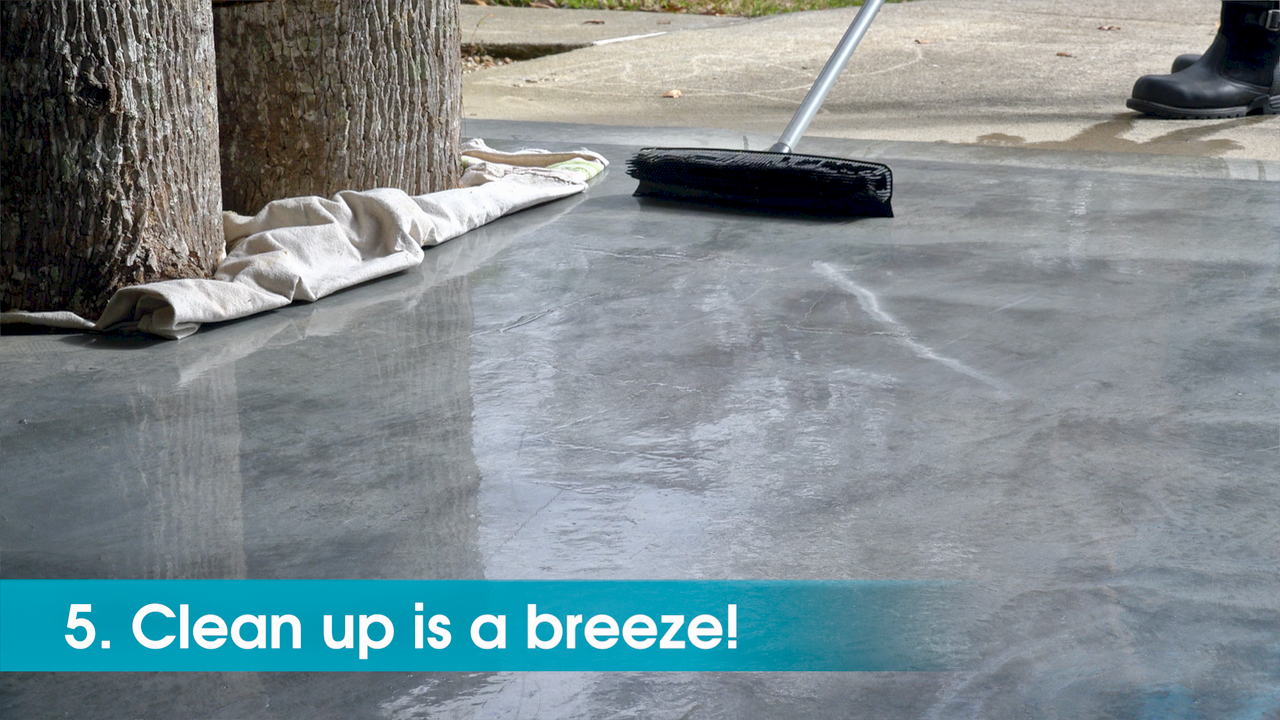
Because the garage floor is no longer absorbent, any water on the floor must be dried or squeeged out. If not, it travels to the sides of the garage where it pools and could potentially damage anything stored there.
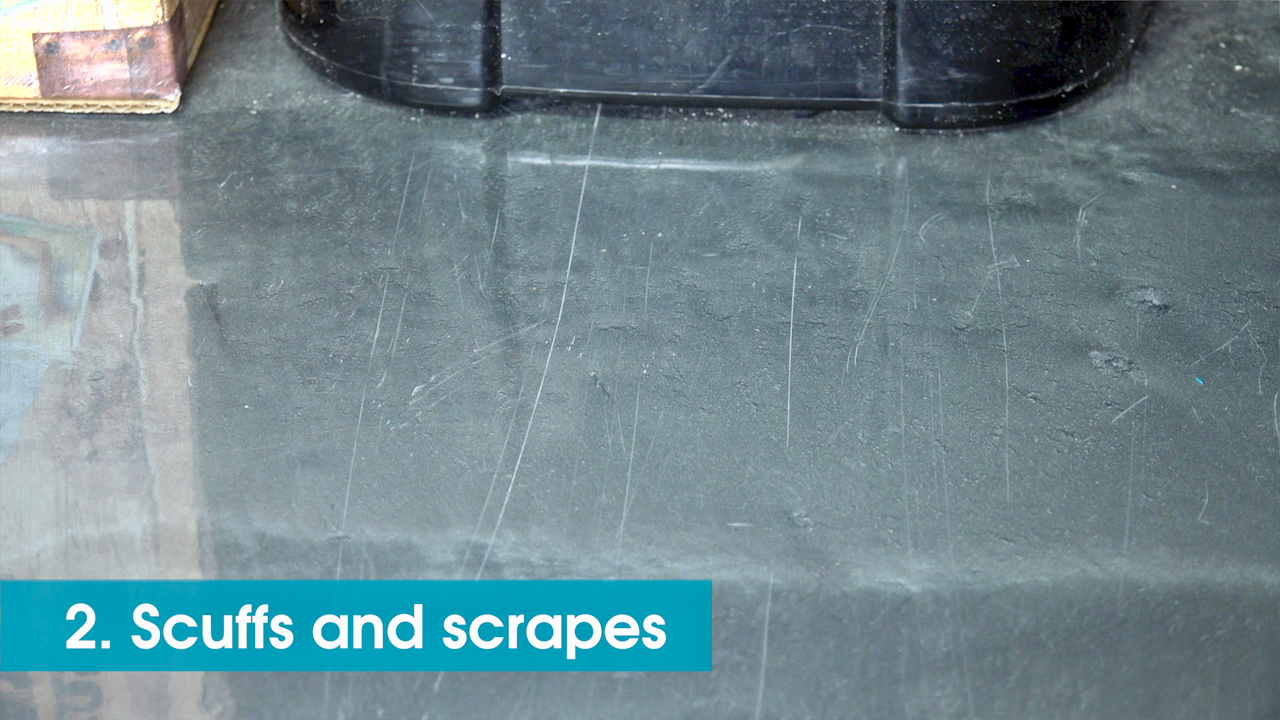
It does scratch easily and scuffs—both are cosmetic issues which so far have not been a problem. Be aware that if you drag something across the floor, it will probably scratch. It’s especially apparent where we move the trash can in and out. Also, dropped tools might leave a divot. This is not a real issue for us as this is a working garage and we would expect the flooring, regardless of type, to take a beating.
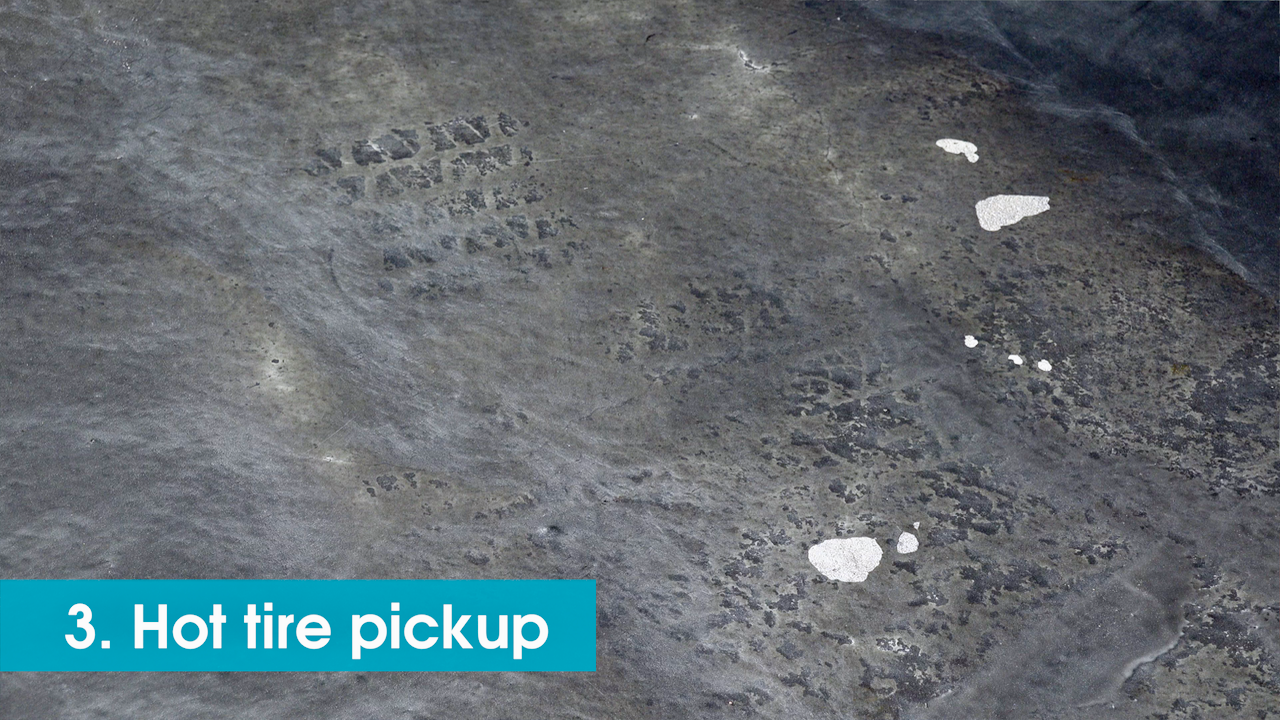
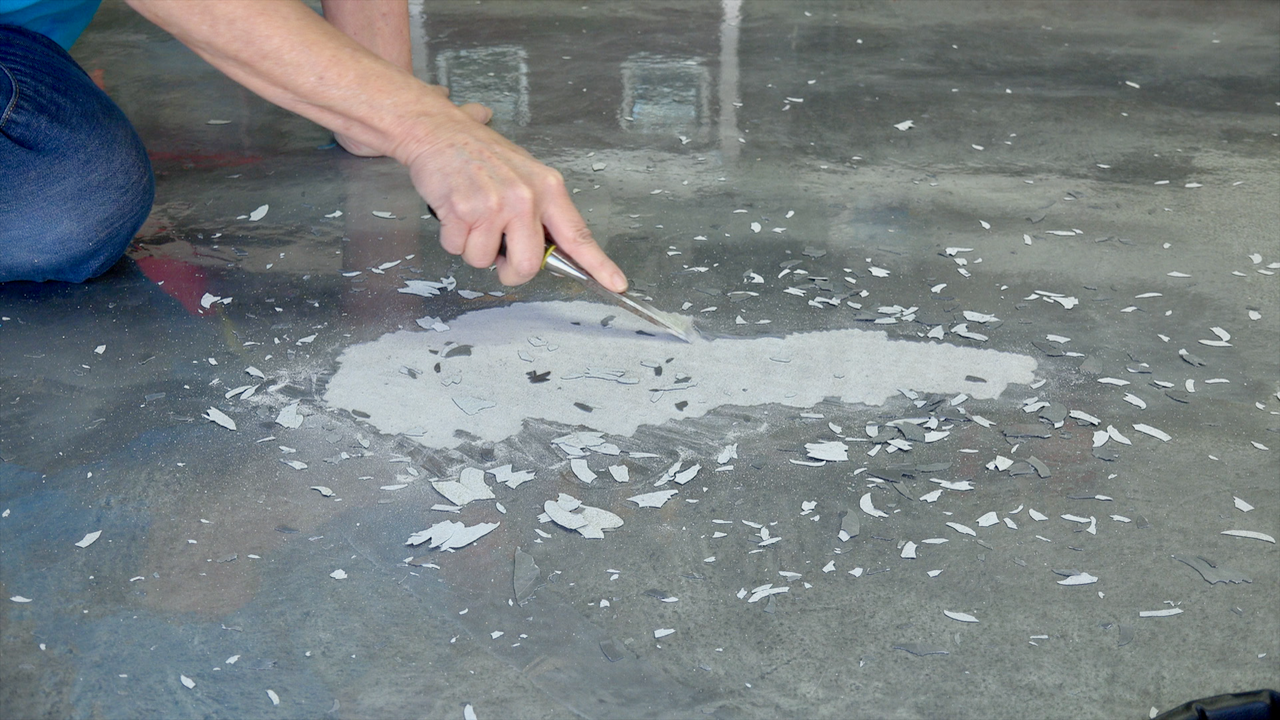
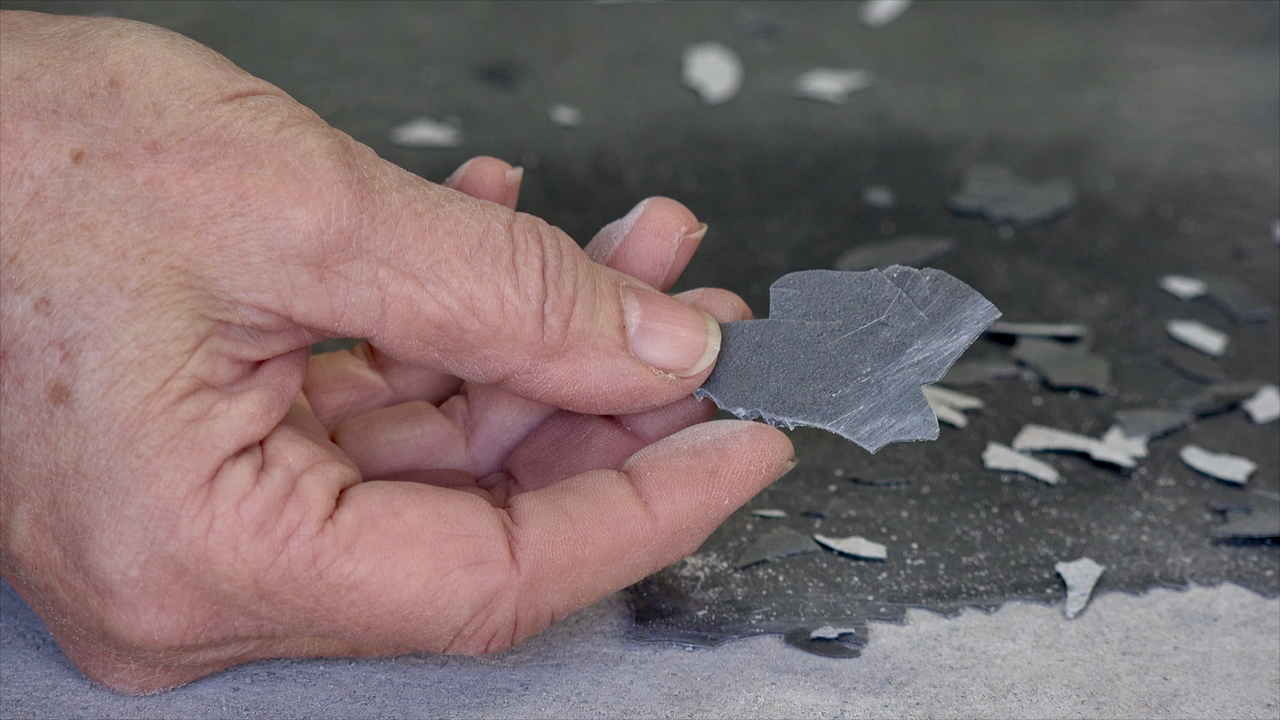
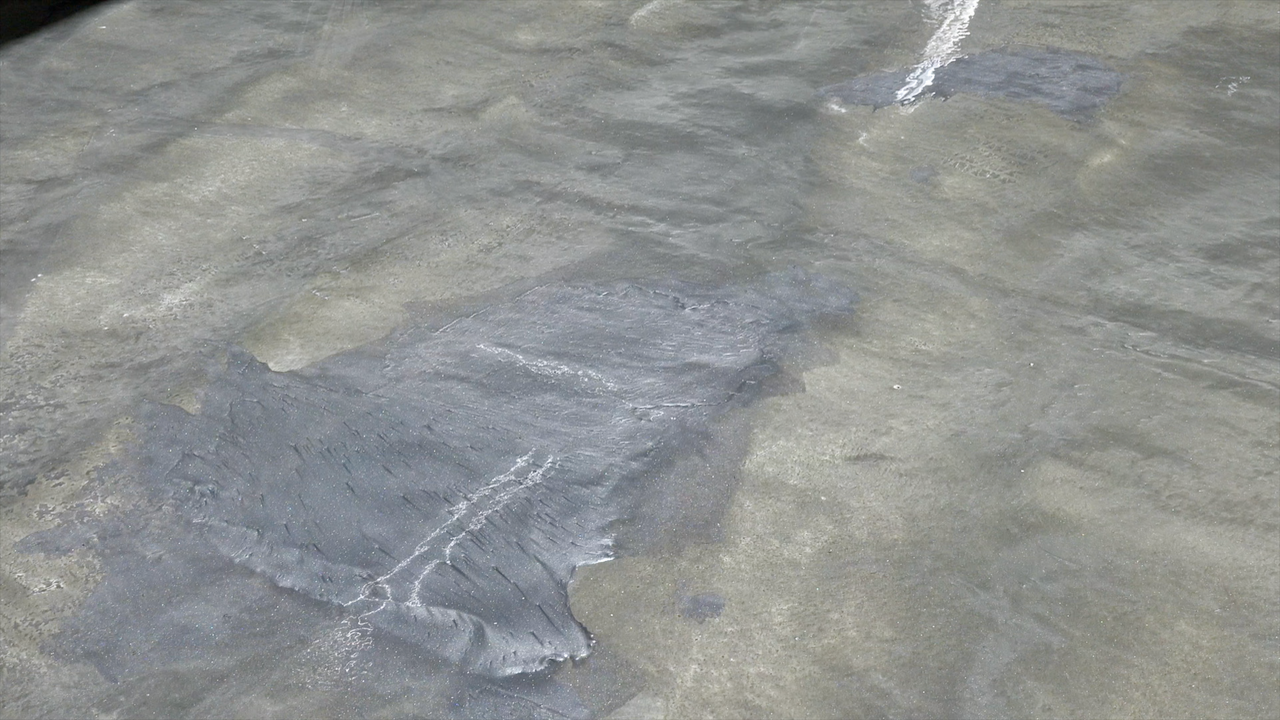
Unlike a lot of people, Steph actually parks her car in the garage. We noticed last May, that in certain places where she parked her car, the flooring had chipped and peeled. It continued to do so to a point that we contacted the company for advice late last month on how we could stop the problem and/or correct it.
Rust-Oleum did not have any clear answers as to why the problem was happening; only that perhaps the concrete in those areas was compromised or damaged when it was first poured.
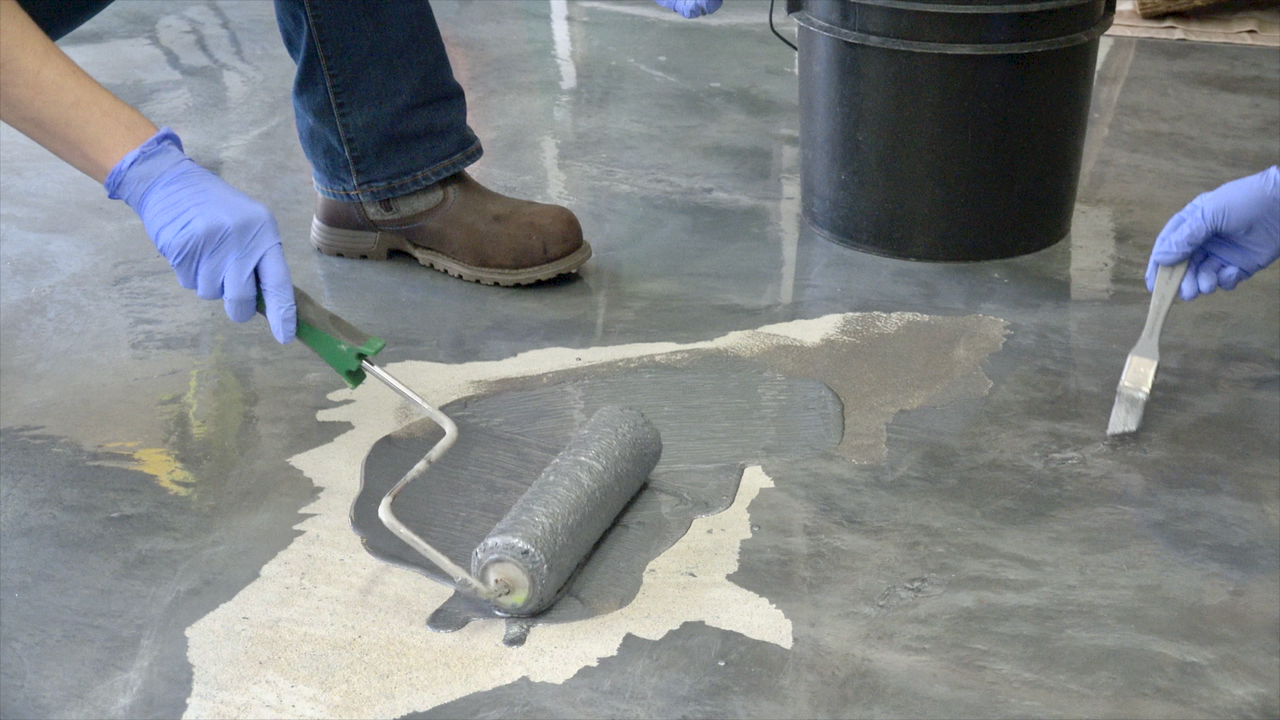
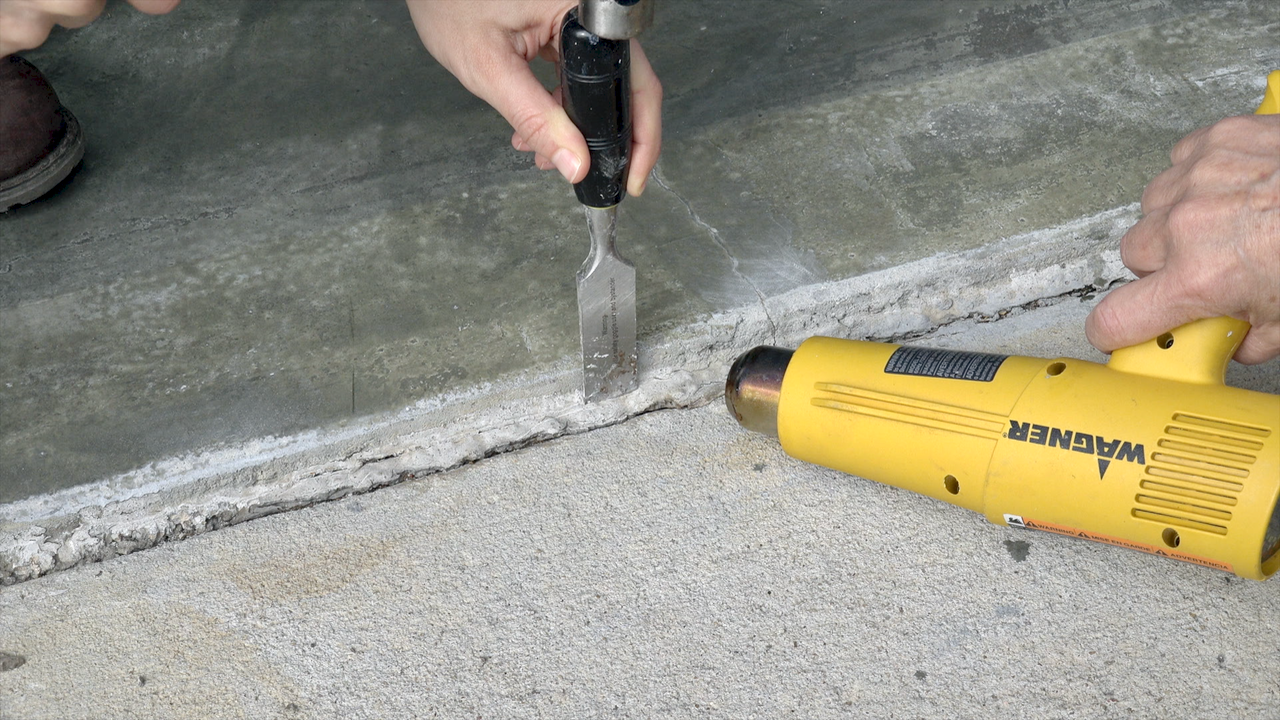
Rust-Oleum’s help support suggested chipping off the coating around the peeling areas until we met resistance and couldn’t pull anymore off and then recoat those areas.
It was apparent that the coating had not adhered well in these areas, as the coating kept coming up with little effort. This resulted in some fairly large areas to repair.
Update: 3/10/17 We shared our video with Shea at allgaragefloors.com, which is a GREAT resource we came across when we installed the coating the first time. If you are considering any kind of garage floor coating, please check out the site.
Shea gave us some great insight into what happened with our floor and we wanted to share it with you: "Regarding your hot tire pickup, it looks like it was an issue with the concrete. Whenever a coating comes up with concrete residue on the back it is almost always an indication of something going on with the substrate. It's just a matter of figuring out what the concrete issue is. It's generally not a product issue. Since it only happened where your car tires sit, it's most likely due to excess laitance at the surface. Laitance is basically a very fine layer of weakened concrete at the surface of a slab. This would explain why you pulled up more coating than you thought you would when prepping for the patch. [When you originally prepped your floor] if Home Depot would have set you up with a Diamabrush coating removal grinding tool to affix to the floor maintainer instead of the scrub pad, it would have removed the paint and the excess laitance at the same time via the grinding. Etching would not have been necessary afterwards either." Regardless, concrete prep is the most important issue when applying these coatings. It also explains the reason for many people reporting poor performance with a variety of DIY coatings. It's simply because of the lack of information about how important the concrete prep is. Unfortunately, the manufacturers perpetuate this problem because they make it seem as easy as just cleaning the concrete with the included, environmentally safe etching compound and then apply the coating. Concrete prep is the most important issue when applying these coatings. It also explains the reason for many people reporting poor performance with a variety of DIY coatings. Unfortunately, the manufacturers perpetuate this problem because they make it seem as easy as just cleaning the concrete with the included, environmentally safe etching compound and then apply the coating. -Shea, allgaragefloors.com
For details on how to apply the product, please see our original video here. And don't forget to see how to prep the concrete floor here.
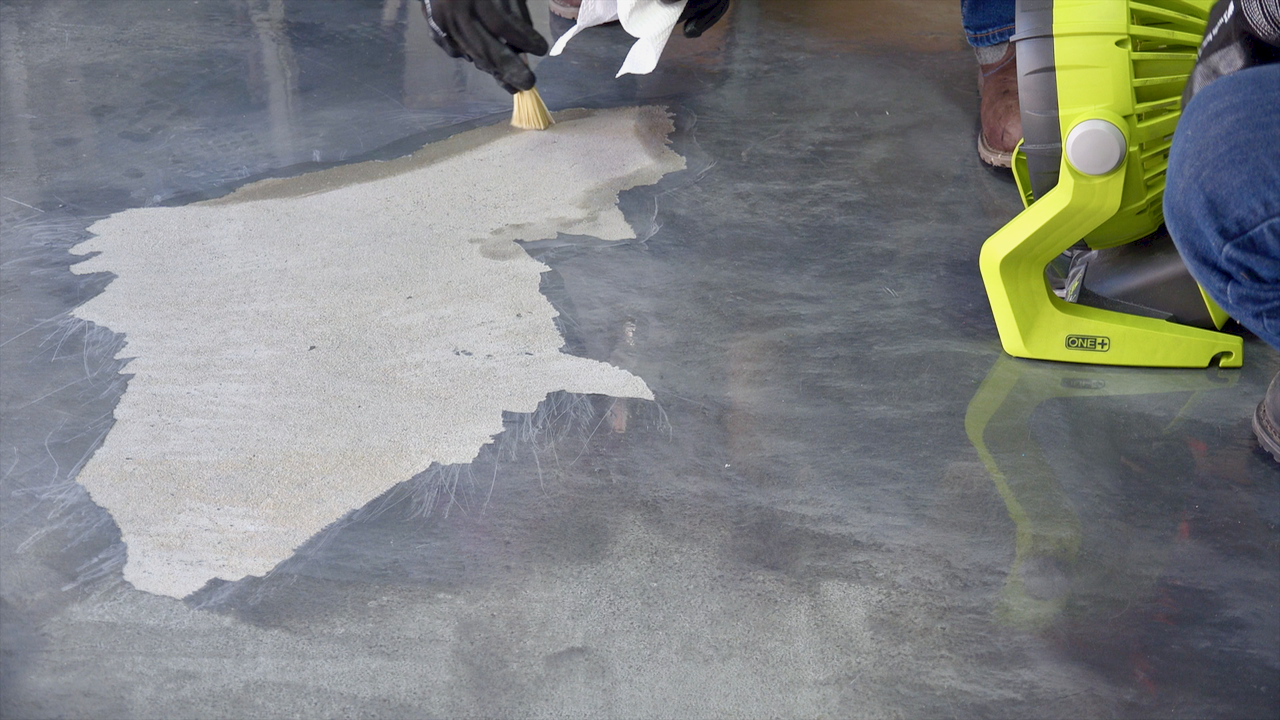
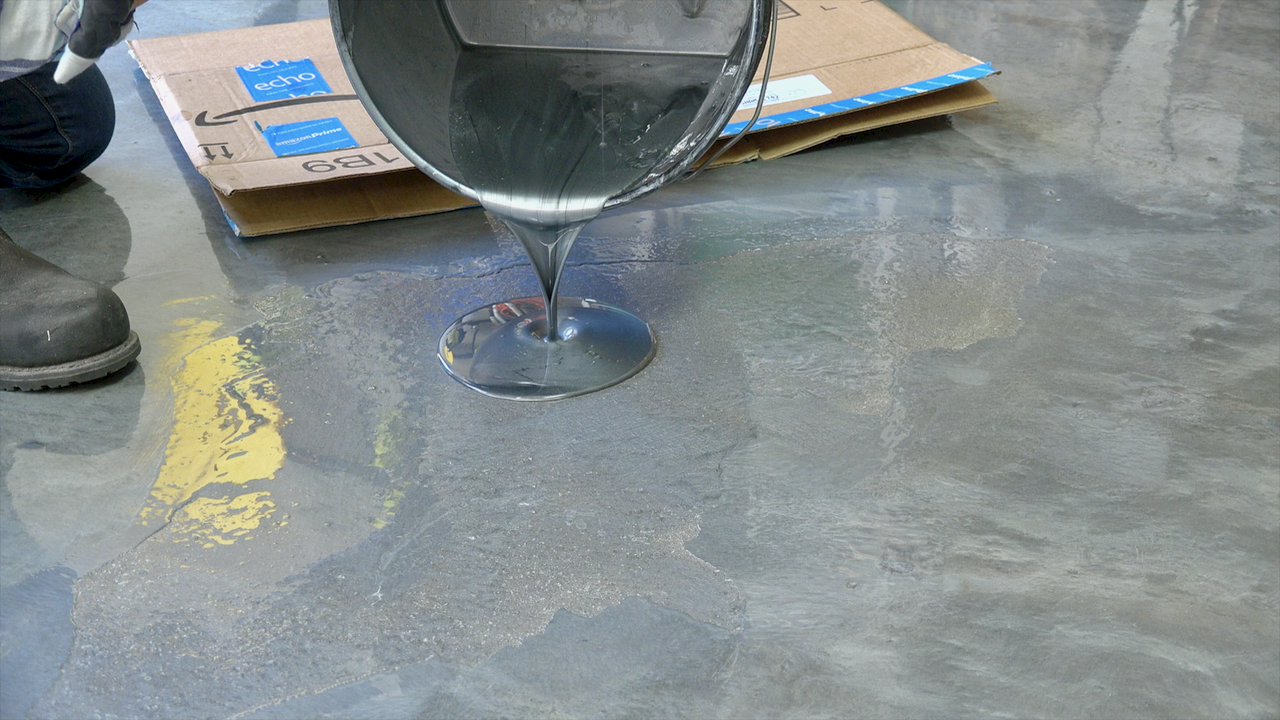
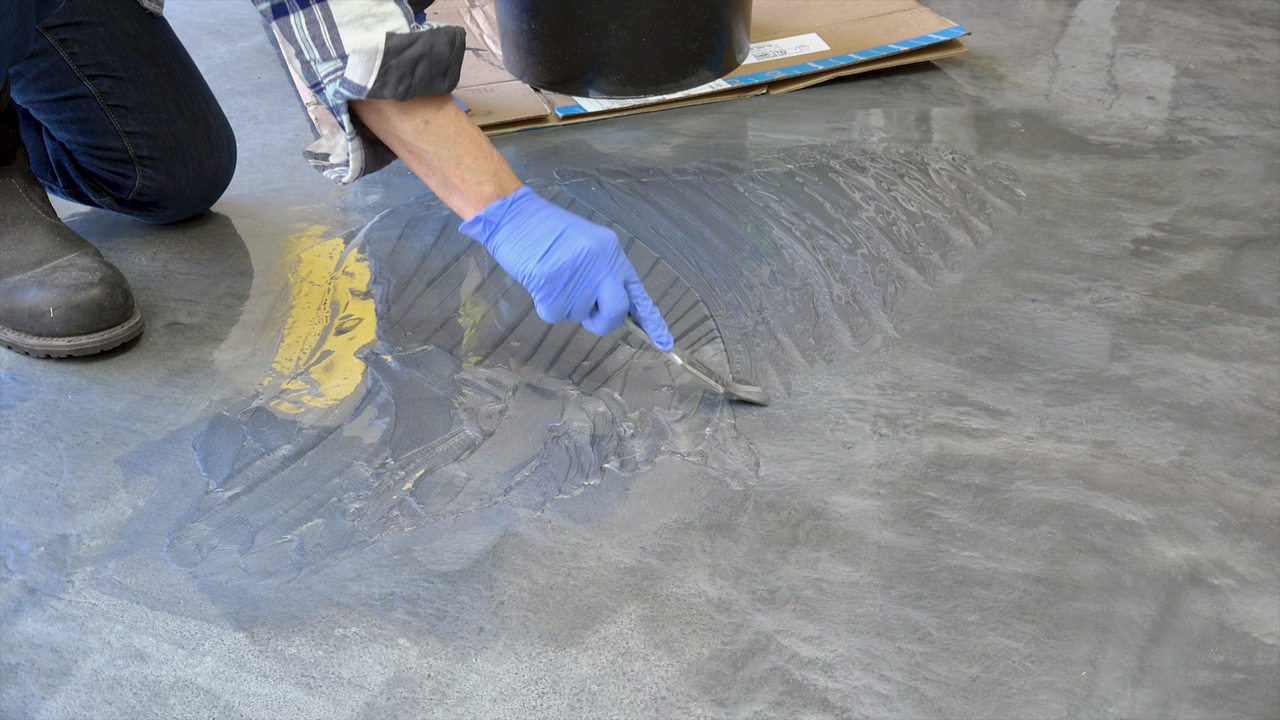
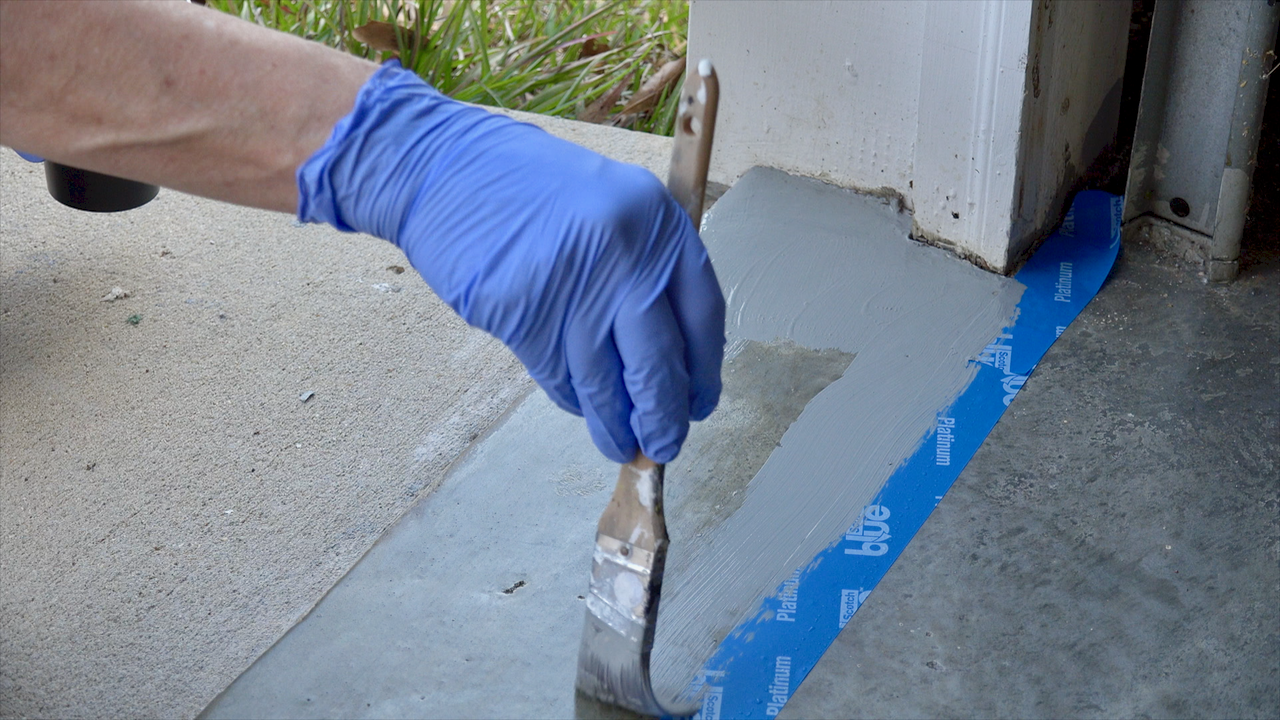
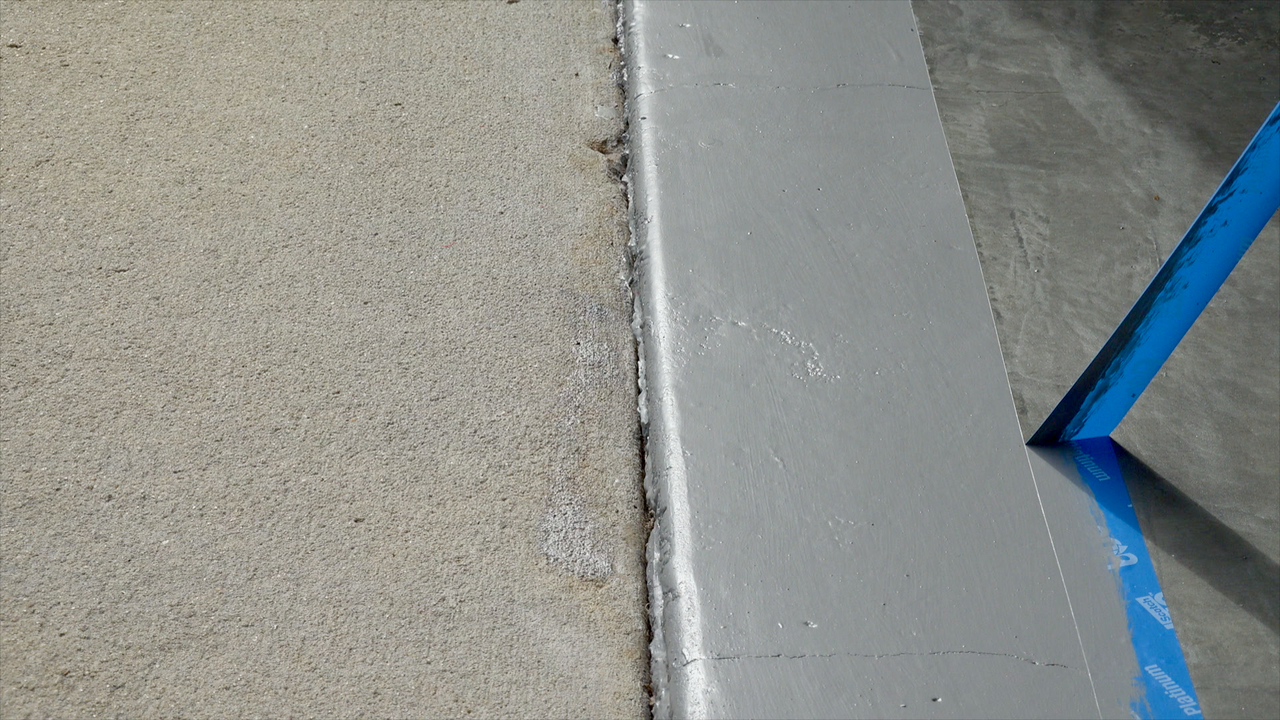
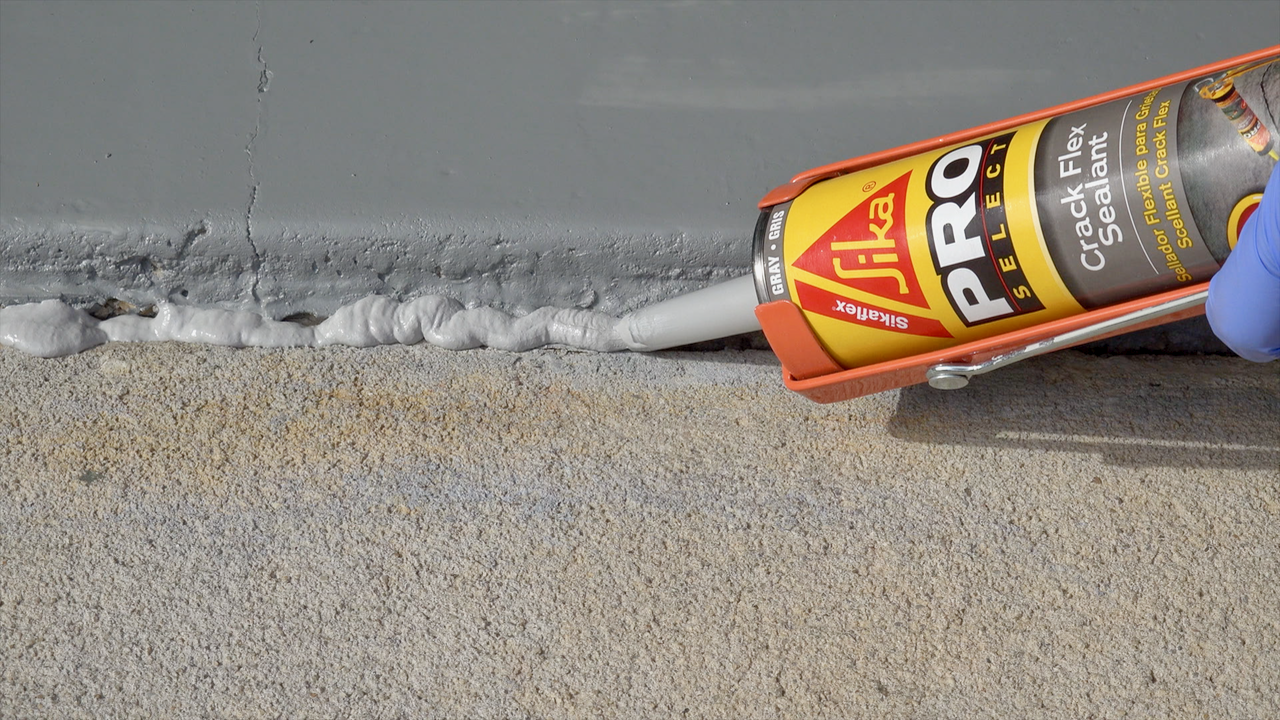
Recoating the damaged areas was pretty straight forward although we used a brush rather than the provided roller as it took too much off. We needed more of a puddle of coating to fill in the now lower areas. The brush worked well.
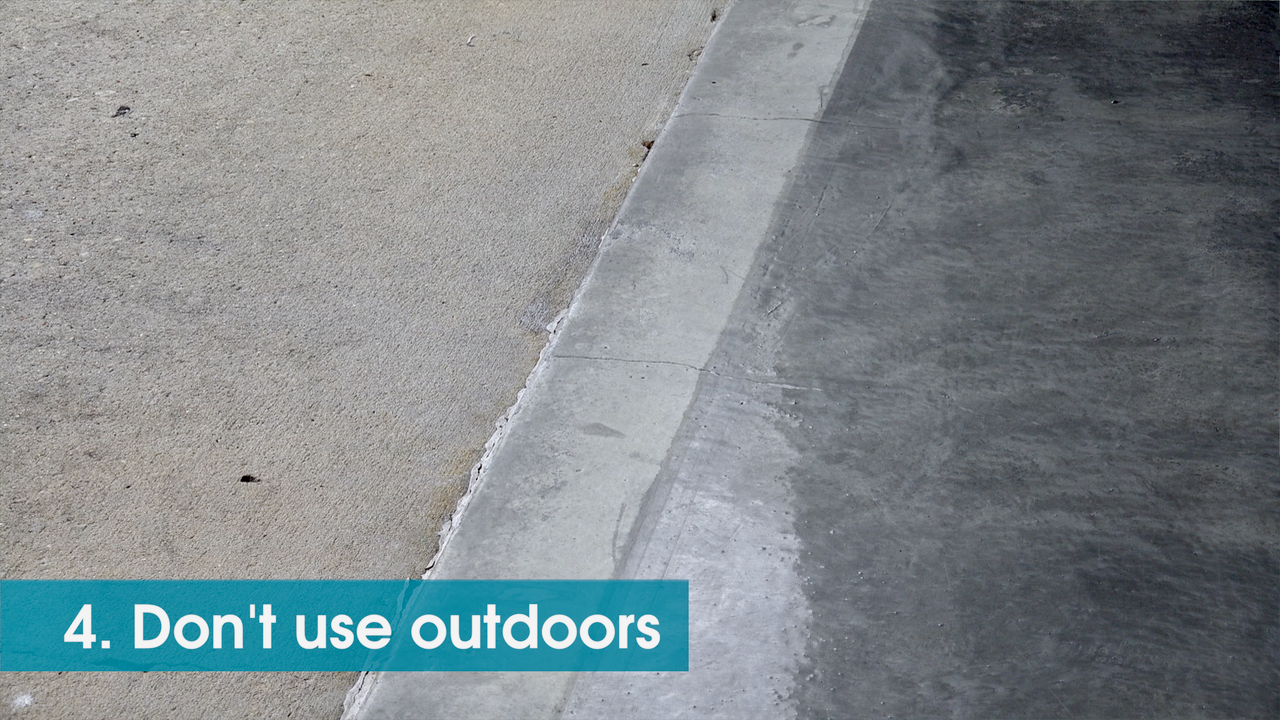
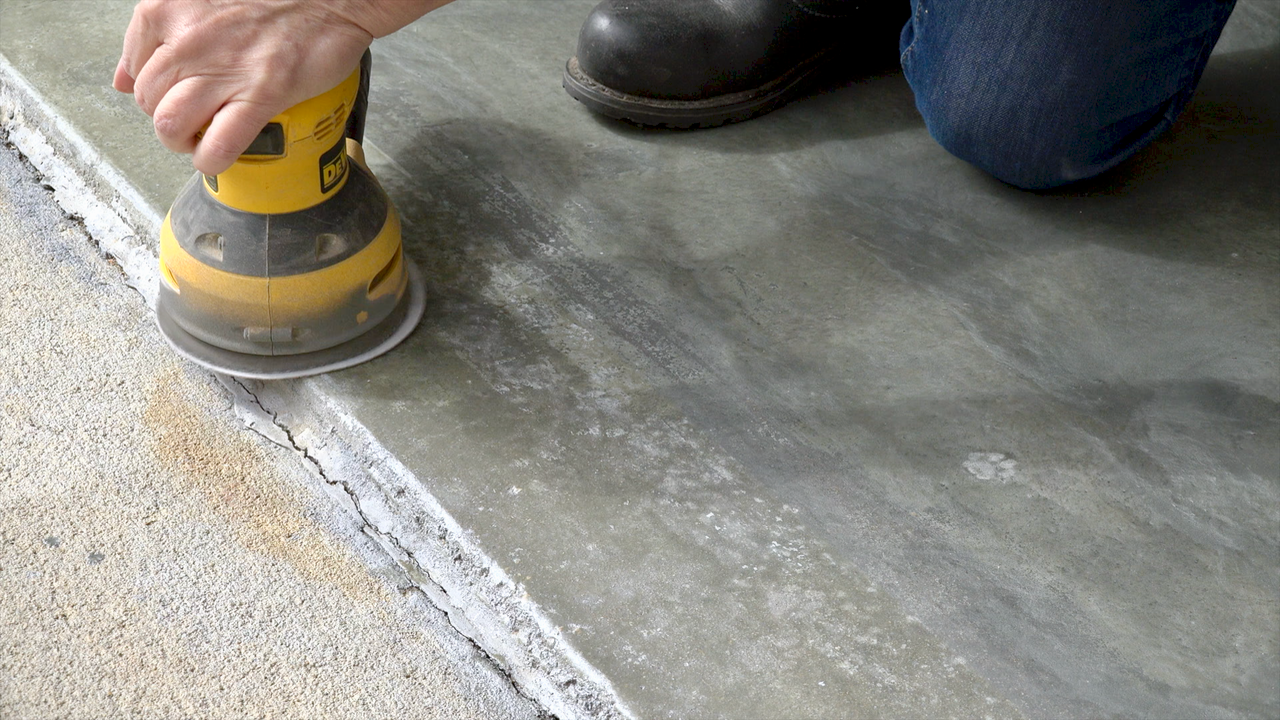
The instructions clearly state not to use the RockSolid coating outside, but we tried it on the small ledge right outside the garage door and sure enough, it broke down in the sun here in FL and washed away very quickly! Now, a year later, we are going to fix this by using a gray outdoor epoxy.
The smooth nature of the coating makes it easy to sweep or vacuum up debris or to squeegee out water. We’ve been very successful in getting up paint and more off the floor even after it has dried.
Overall, we wanted to post this one year update because our install video for this product is our most watched, at over 100,000 views. We wanted to continue to share our experience with it, so you have a clear picture of how the product works and holds up.
If you have any questions, please let us know in the comments below or feel free to email us. Our goal with any project is to be as transparent as possible, whatever we try, we share what we learned #trylearnshare. If and when we feel we need to do a follow-up video on a project, we will. Our next follow-up video will be about Steph's screen porch- 2 years later. Look for that in a few weeks! FYI: Affiliate links are being used on this page. Purchasing via these links help support MDP! Related Projects
5 Comments
3/9/2017 12:53:38 am
Superbly written article, if only all bloggers offered the same content as you, the internet would be a far better place..
Reply
Laura
5/8/2017 07:48:33 am
so funny to see this video pop up- we finally did our garage floor this weekend with the rocksolid dark grey :) well, not really we - my boyfriend. we used the epoxy product on our basement turned into a rec room and it held up quite well, even with all the foot and paw traffic. Still looked good when we sold and moved. Great video ladies!!!!
Reply
Steph
5/8/2017 09:17:03 am
Wow- that's great to hear! Thanks for sharing :)
Reply
Brandon
6/6/2017 12:54:37 pm
Steph and Vicki,
Reply
Leave a Reply. |


