|
text by Vicki Sign up to get Mother Daughter Projects updates in your email!
This post is sponsored by The Home Depot.
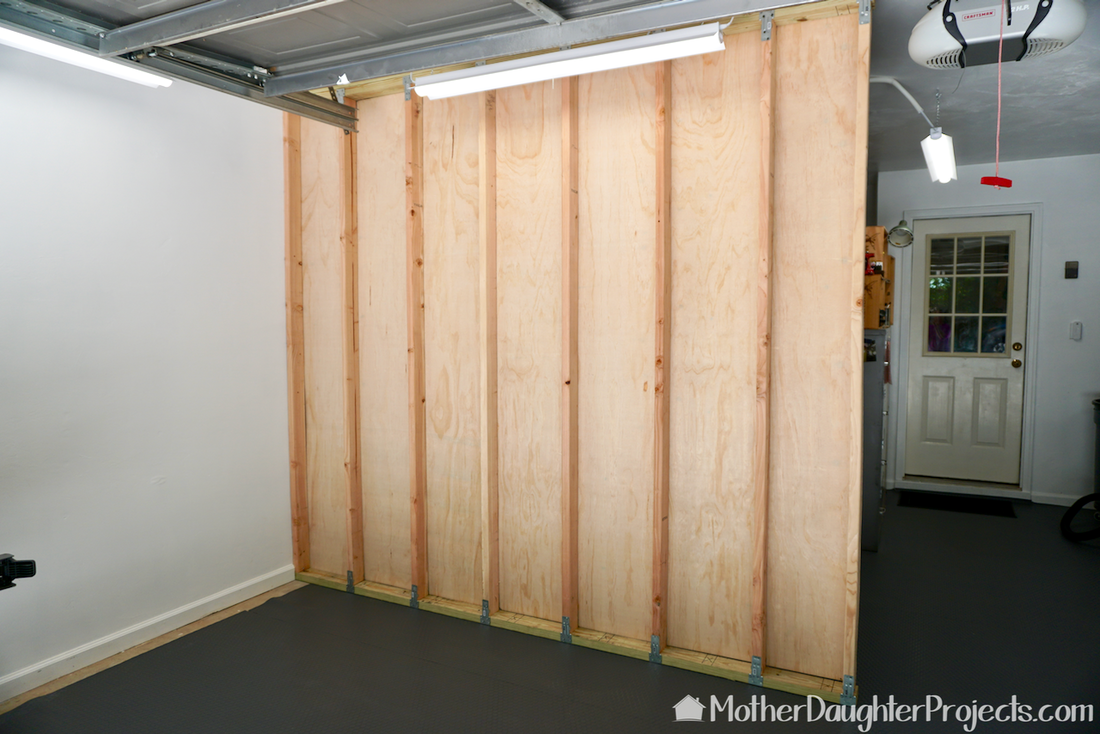
Never in my life did I ever imagine myself building a wall, but here in my sixties, I've just helped build one! It's very gratifying to have researched how to build a wall, participate in the planning and building and then to see that the finished wall is strong, plumb, and in NO danger of falling over! Yes!
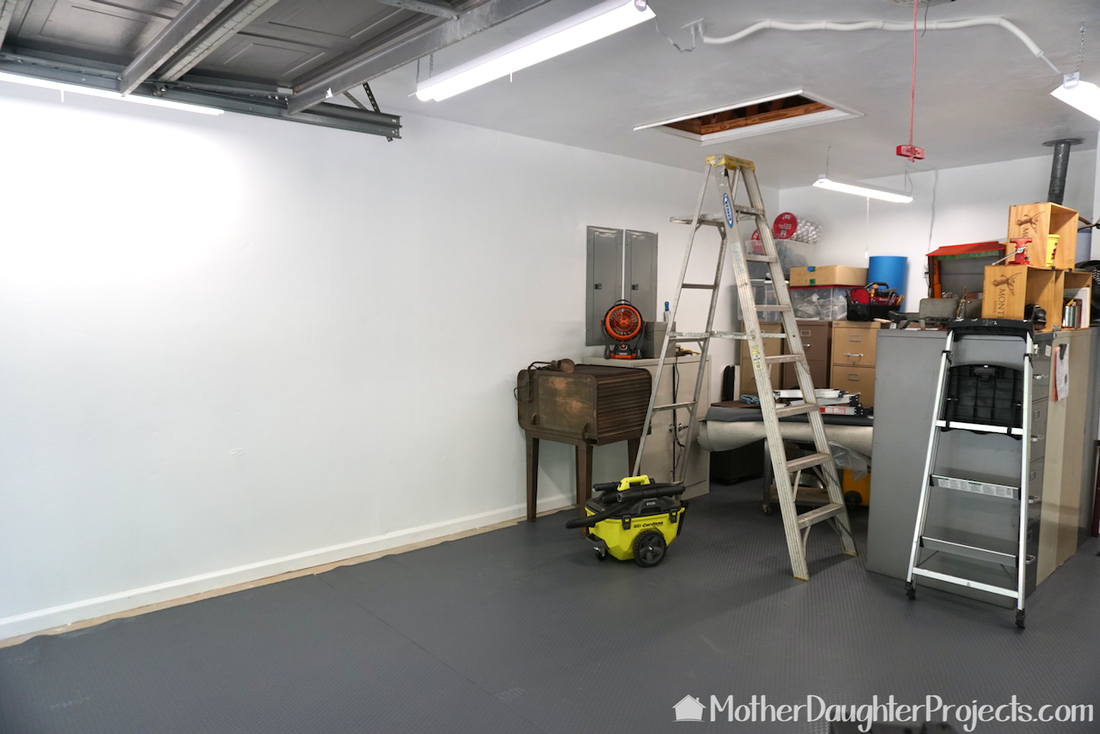
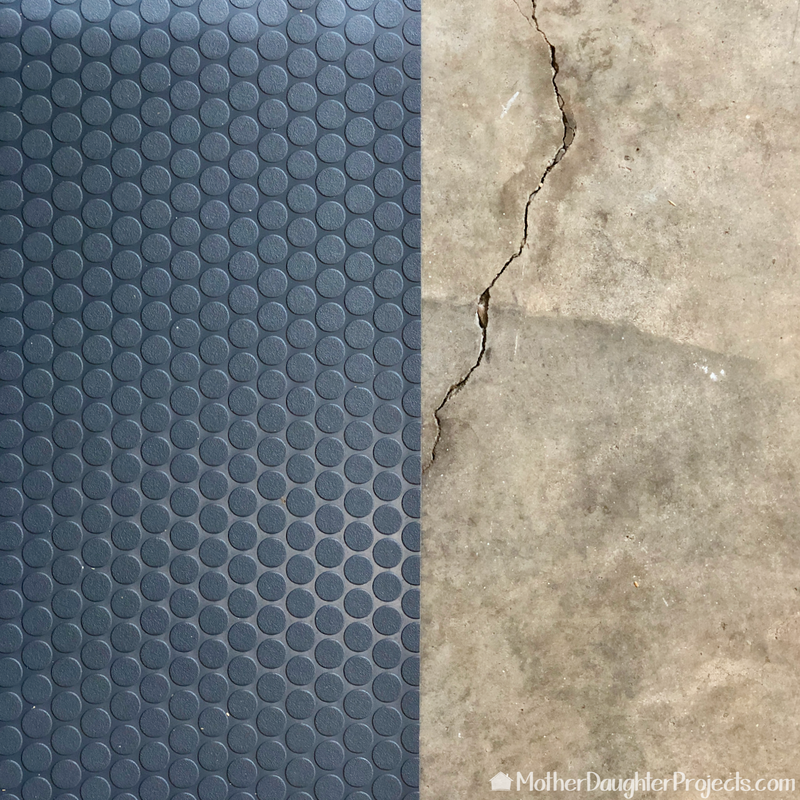
Let me back up a bit to tell you why we built a wall. As you may, or may not know, we are in the process of giving my garage a complete makeover. It started as a cluttered mess usable only for storage of more clutter. We are slowly making it over into a space where we can work as well as store things. That's where the wall build comes in. We wanted part of the garage to be a storage space, and since most storage spaces are not very attractive, we wanted to be able to "wall off" the area so we wouldn't have to look at all the stored stuff while we work. Now, if you're a professional reading this, you may be shaking your head at why we built our wall the way we did. I will explain as the tutorial progresses, but know that our design choices were made based on our skill and strength level, as well as the tools we own. Let's get started. You can start with the video or head down to the tutorial. As always, the video will show you exactly what we did! 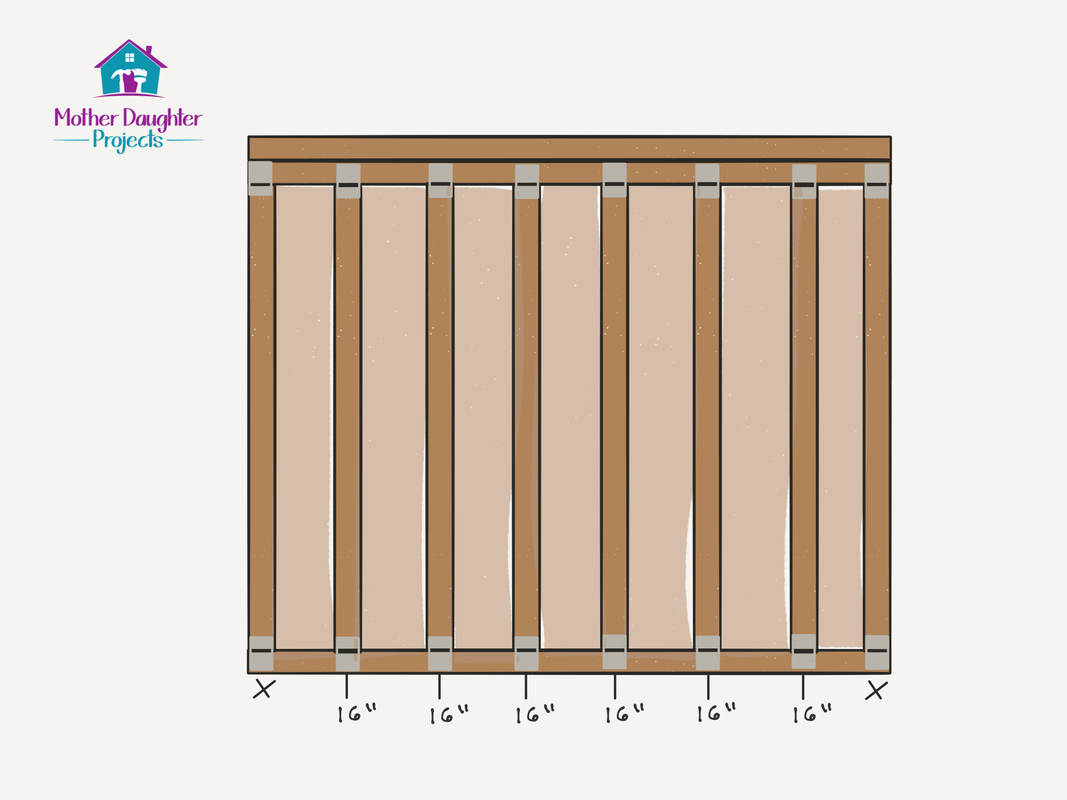
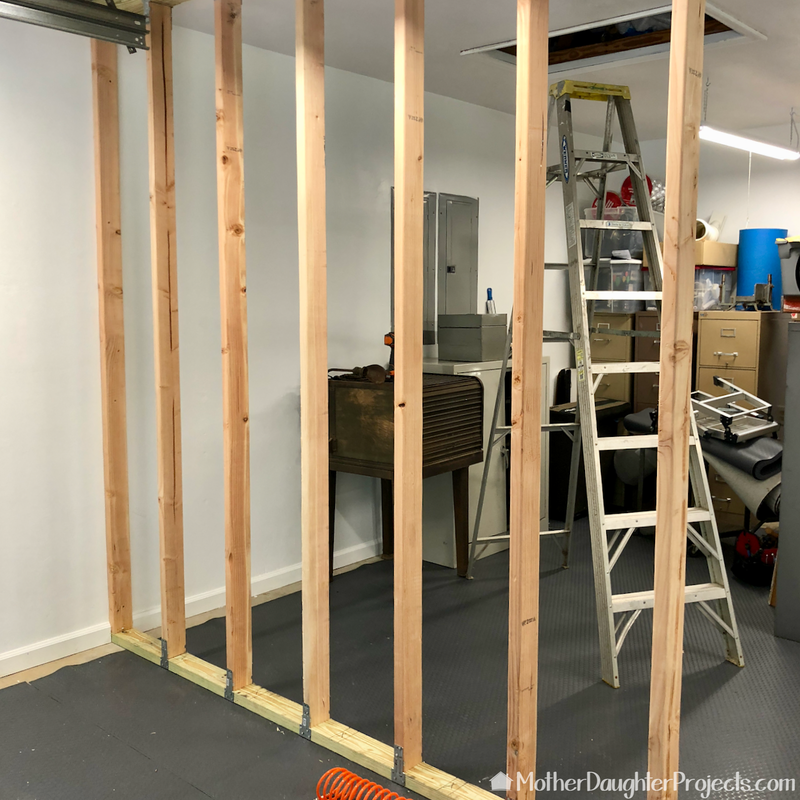
In a nutshell, this is our wall design. Three horizontal boards for the bottom and top plates, 8 studs and metal plates to hold it all together.
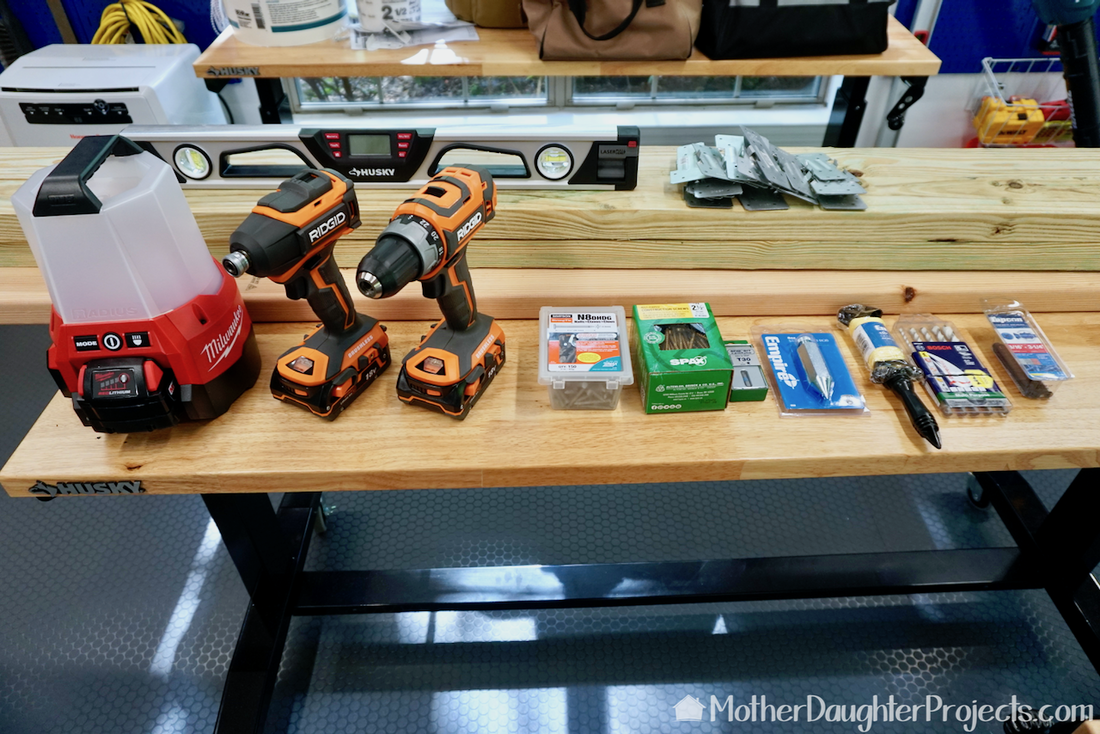
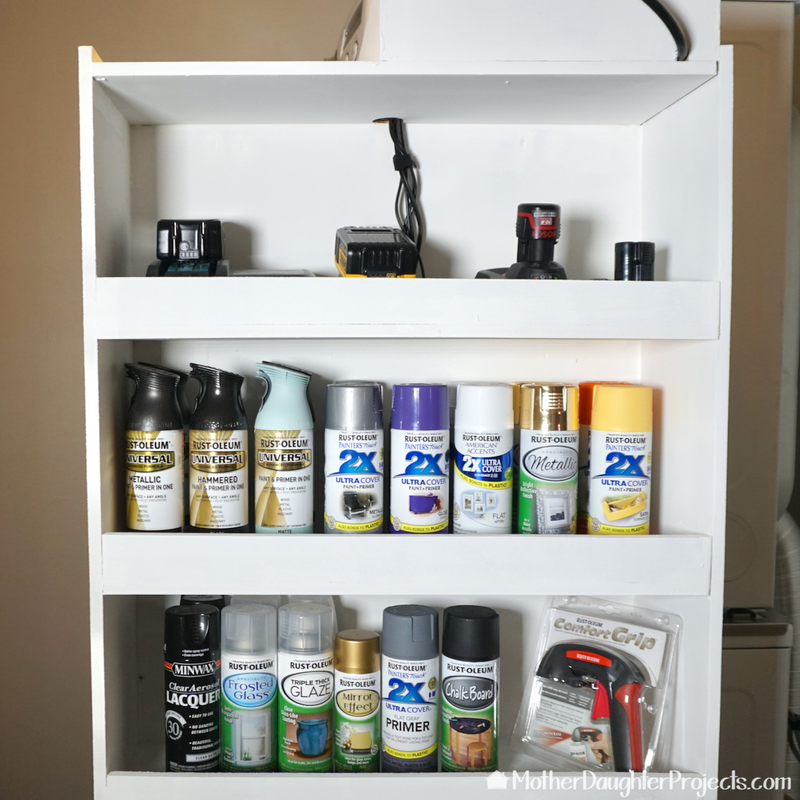
Some of the tools and materials we used in the build. Left to Right, front row: Milwaukee compact site light, Ridgid Drill and Impact drivers, various screws, plumb bob with string, Bosch drill bits, and Tapcon screws. Back row: Husky level and Simpson Strong-Tie stud connectors and a sampling of our 2x4s.
Materials:
Tools:
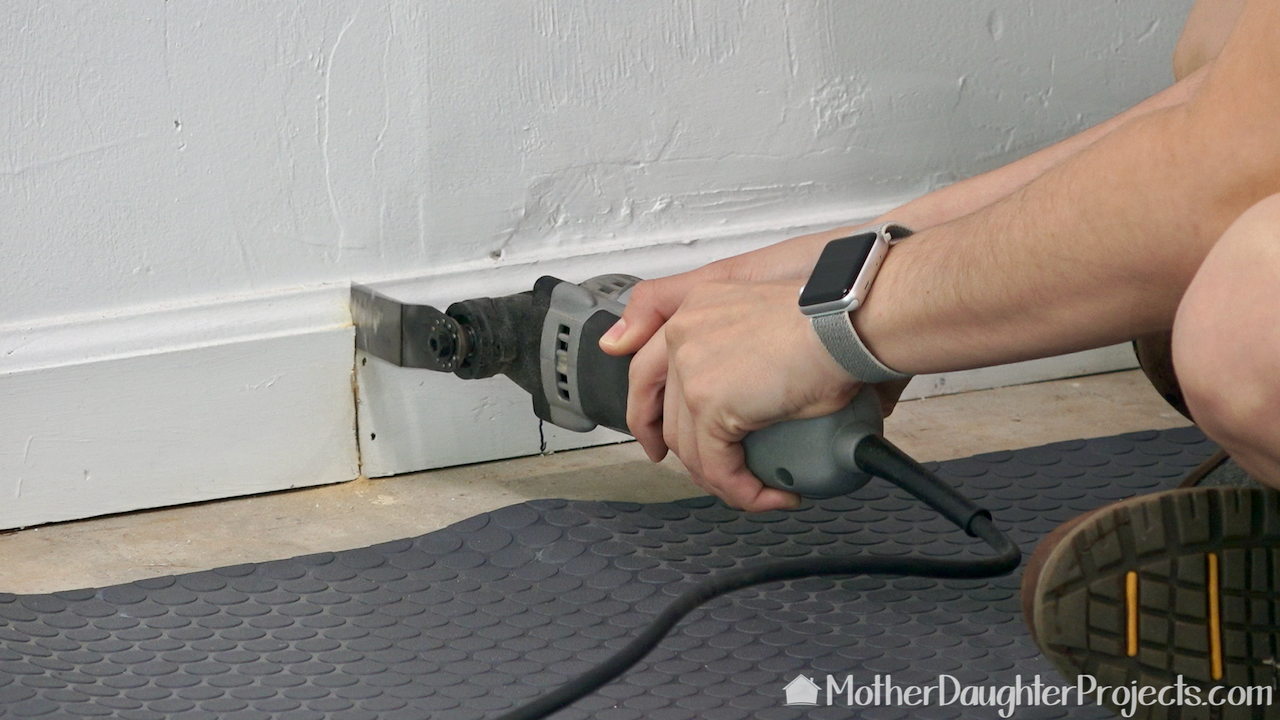
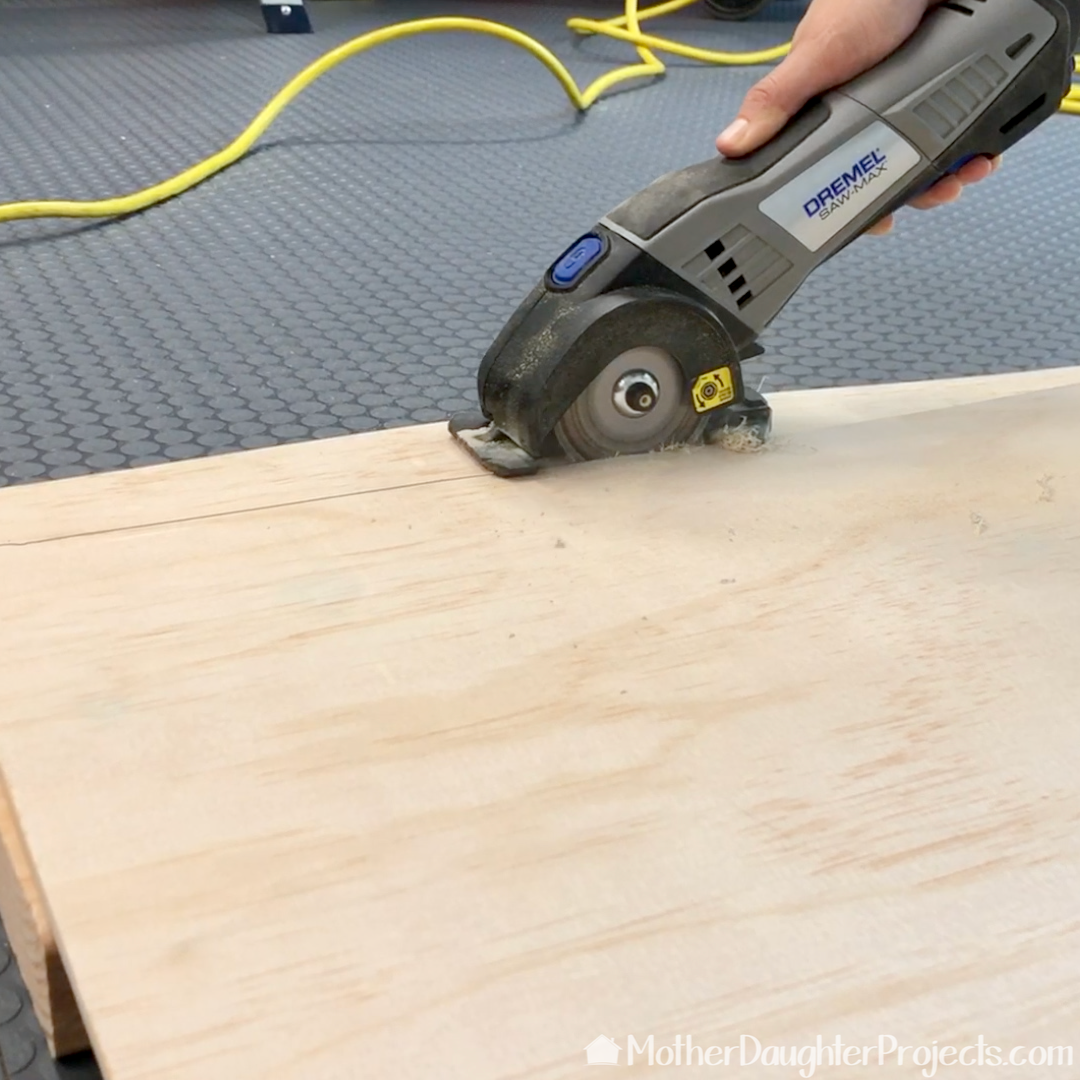
After determining where the wall was going to be built, we cut out the baseboard so the 2x4 would sit flush to the side wall. We chose this location based on the availability of a stud in the existing wall which would help support our new wall.
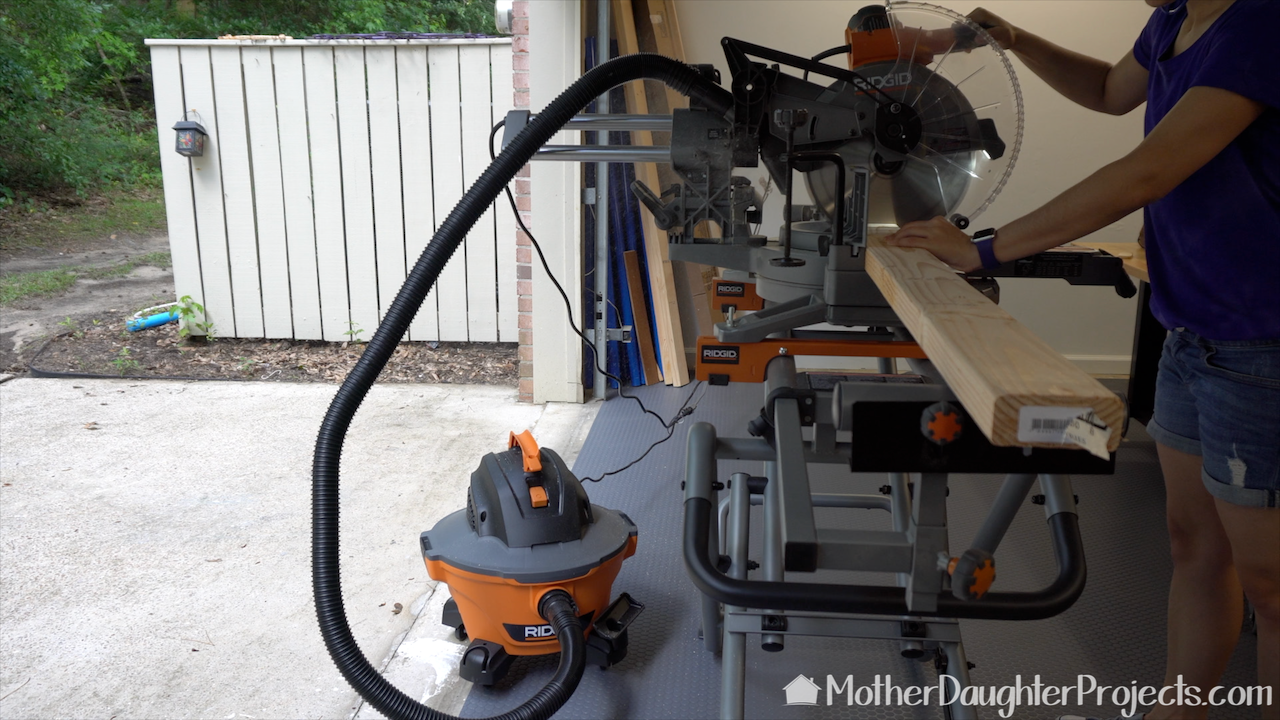
We used a miter saw to cut the bottom and top plates to length. We tried out our new Ridgid Wet Dry Vac to provide dust collection for the saw. Its small size makes it maneuverable and easy to store.
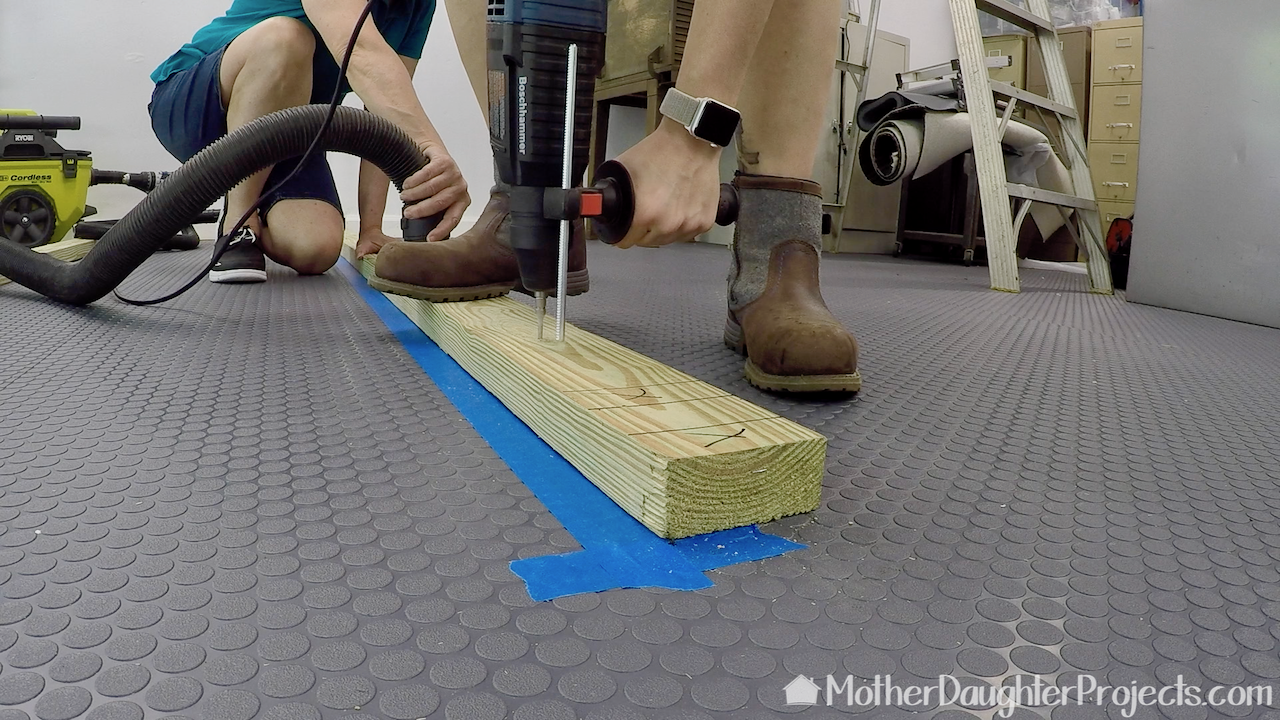
With the bottom plate in place, we used some painter's tape to mark the location in case it got moved (it did). We used a rotary hammer and speciality bit to drill through the 2x4 into the concrete below. We continually vacuumed out the wood and concrete dust which was essential so the screws could be fully screwed into place.
The Ridgid Impact driver proved to be effective in drilling in the Tapcon screws. We used Tapcon screws just in case we ever wanted to remove the wall. Other anchor methods are permanent.
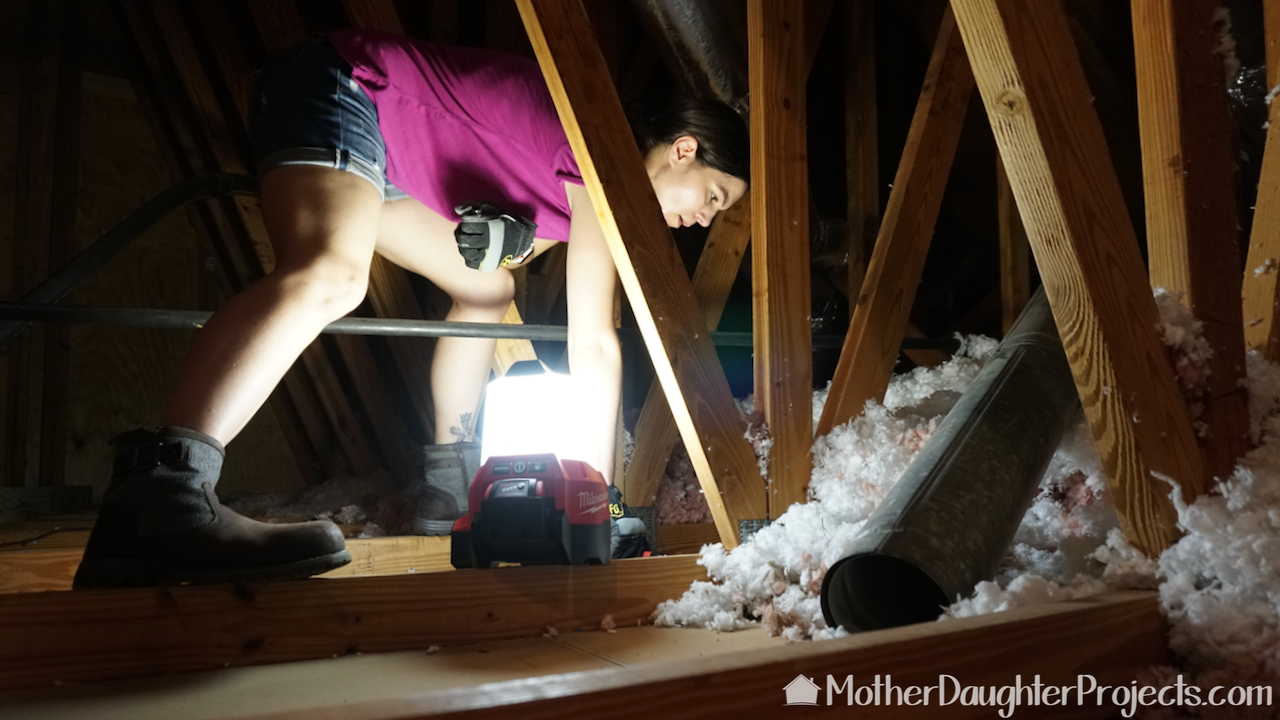
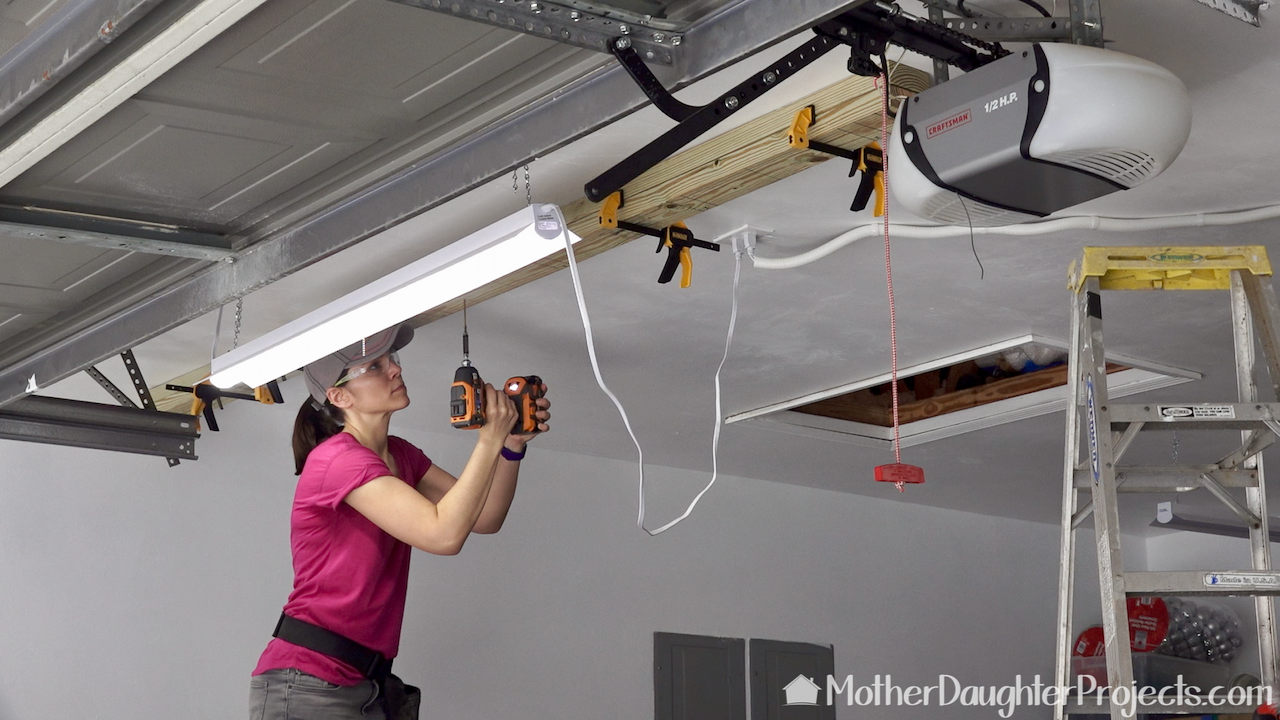
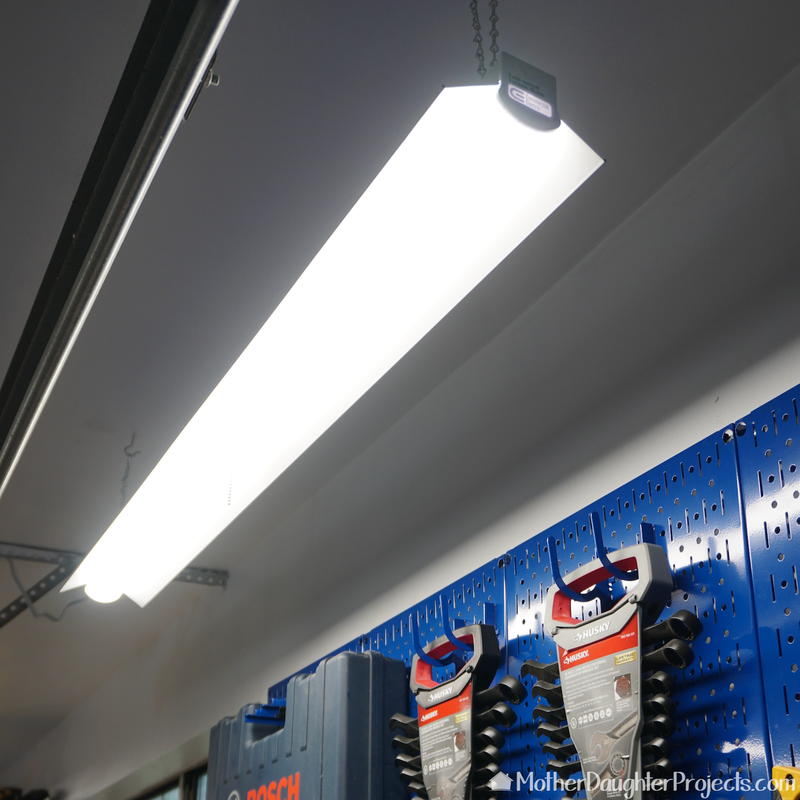
We had the luxury of being able to tie into an existing wall stud, but weren't so lucky when it came to tying into a joist in the ceiling. We had to add some blocking to extend a 2x4 over the placement of the top plate so that we had something to screw into to support the wall. Here you can see Steph using the Milwakee site light to light up her workspace in the attic. This light is a nice portable solution.
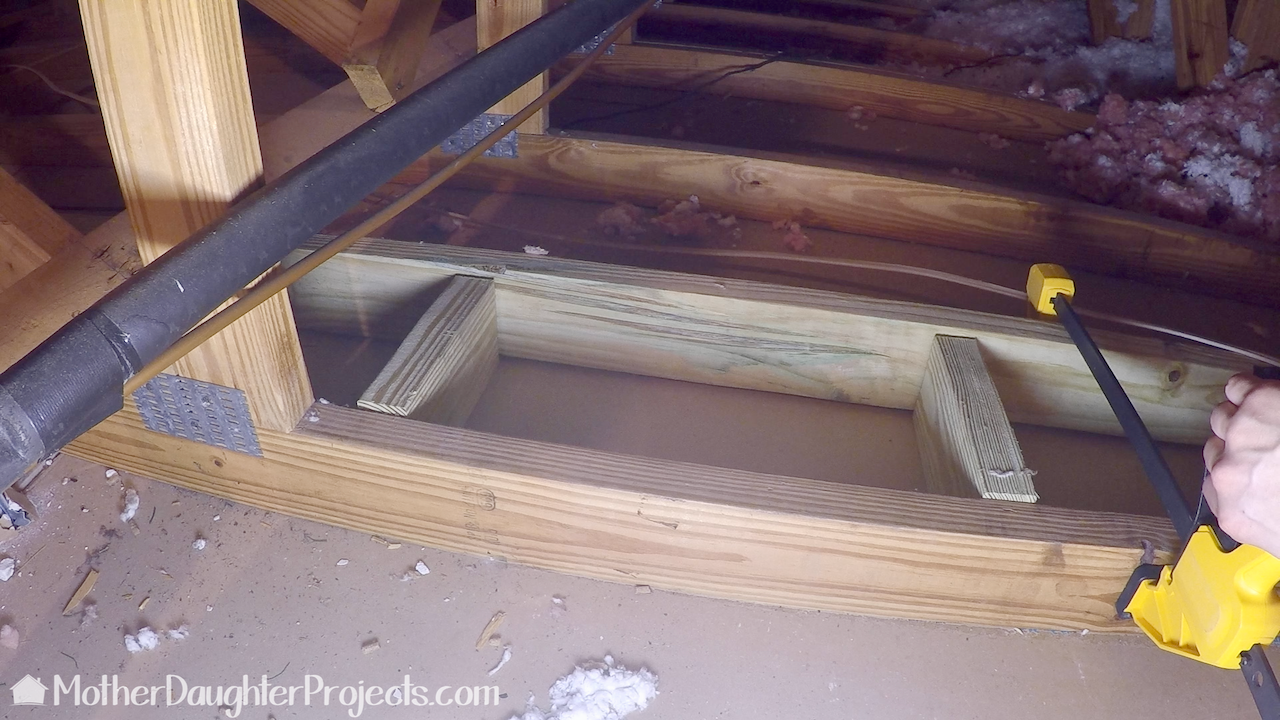
Those short pieces of wood extend the new joist to the position right over the top plate placement. The clamps were used to keep everything tight while screwing it into place.
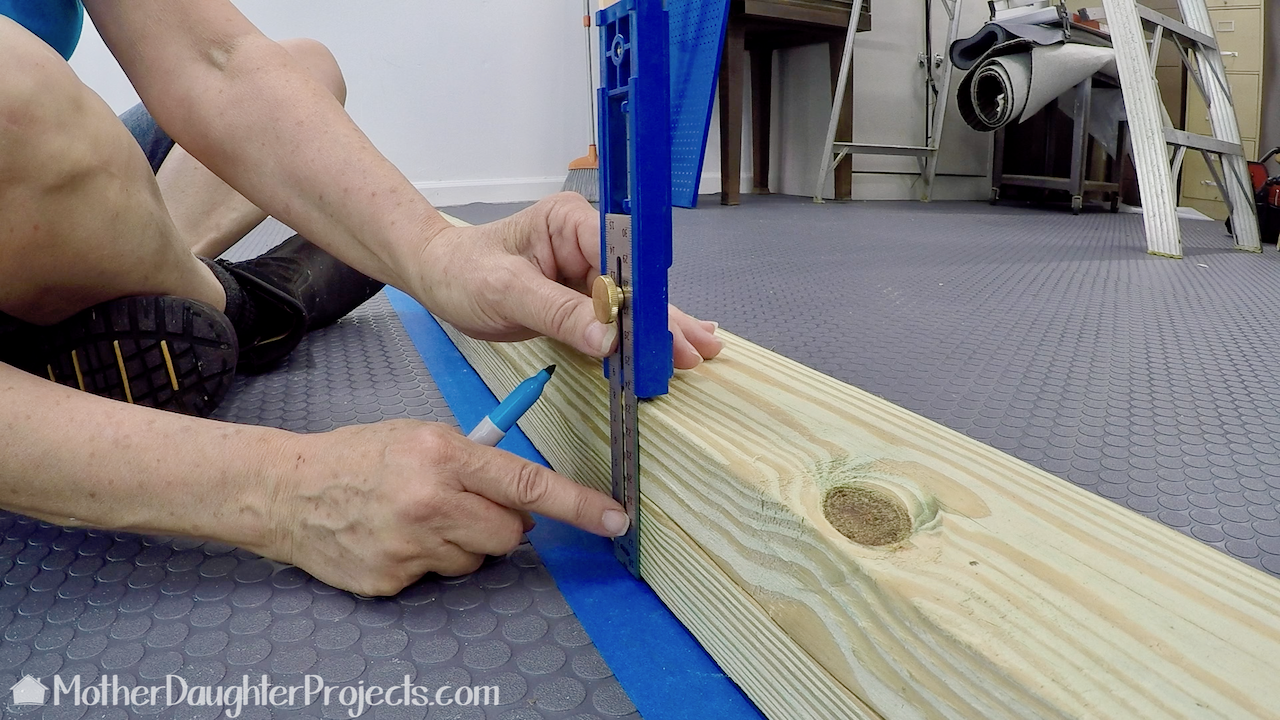
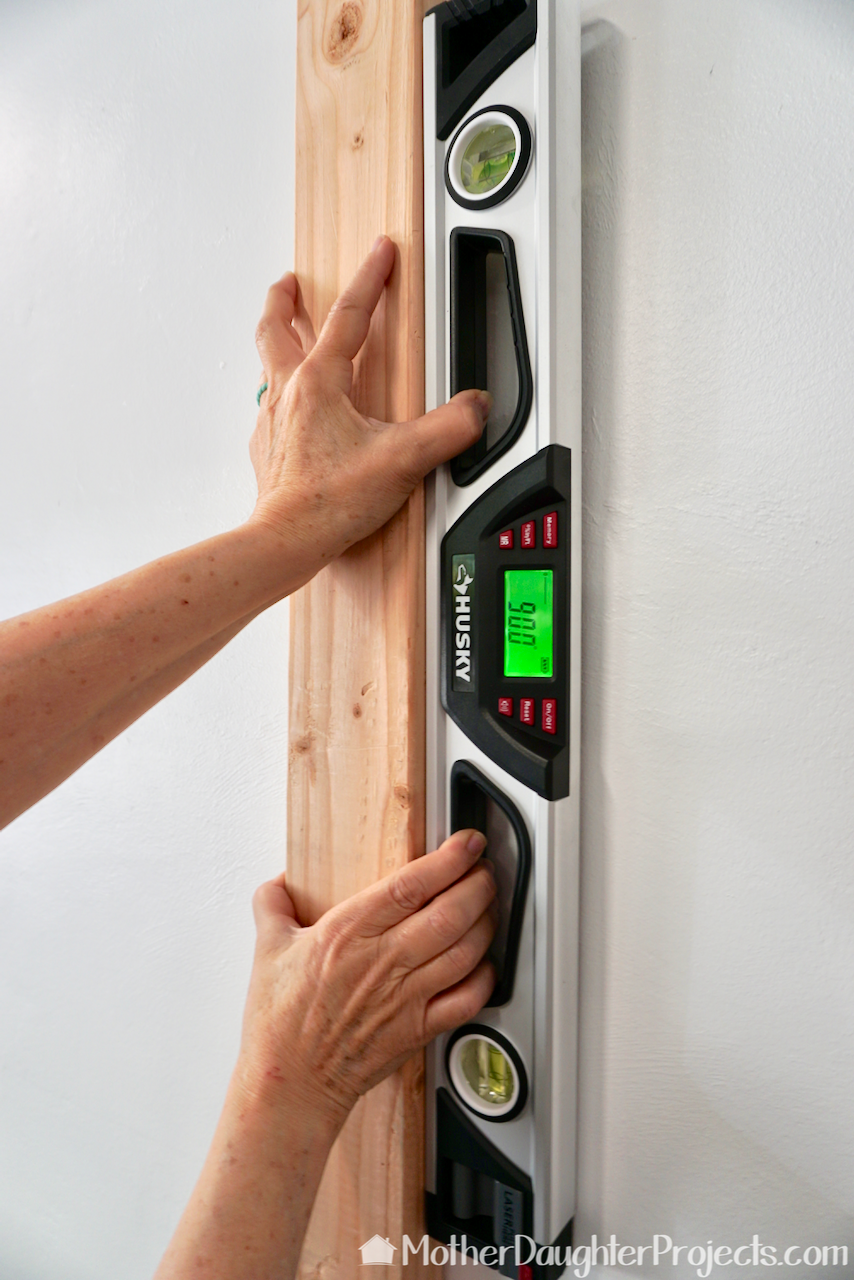
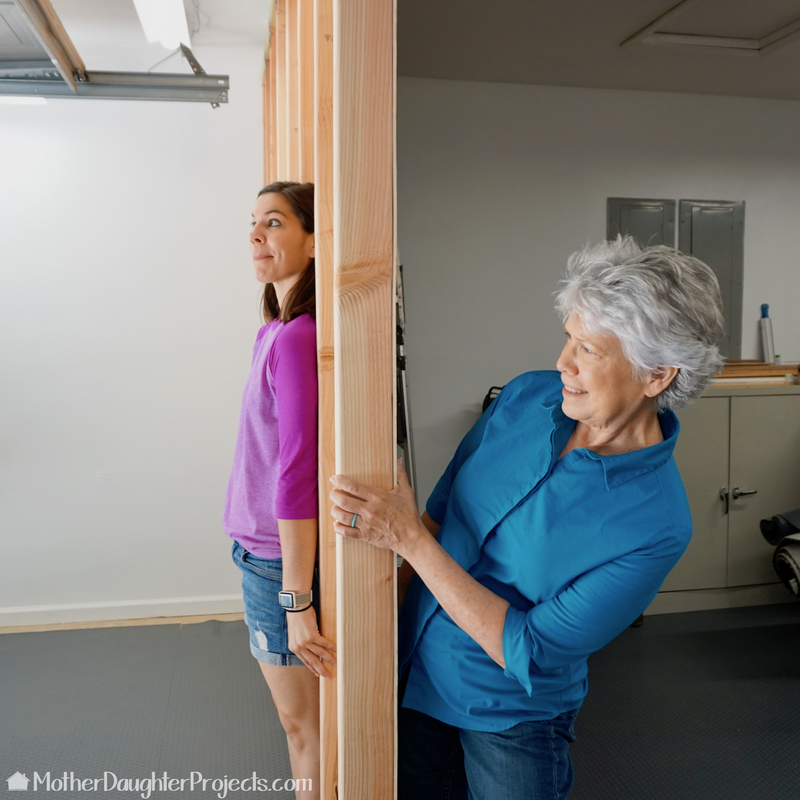
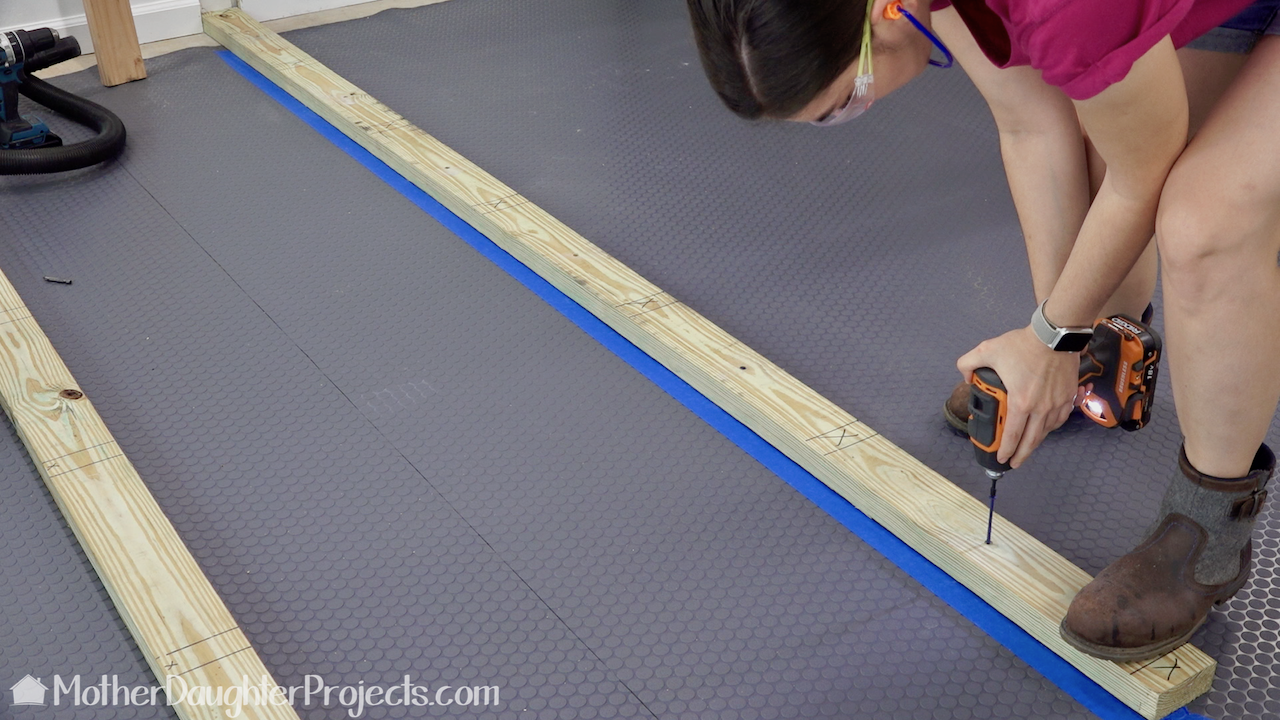
This is a step that actually happened before we screwed the bottom plate to the floor. The bottom and top plates were put on top of each other and I marked the placement of the studs. The studs are placed 16" on center, which means when you measure from the center of one stud to the center of the next one it should measure 16". (see the graphic at the top of the post).
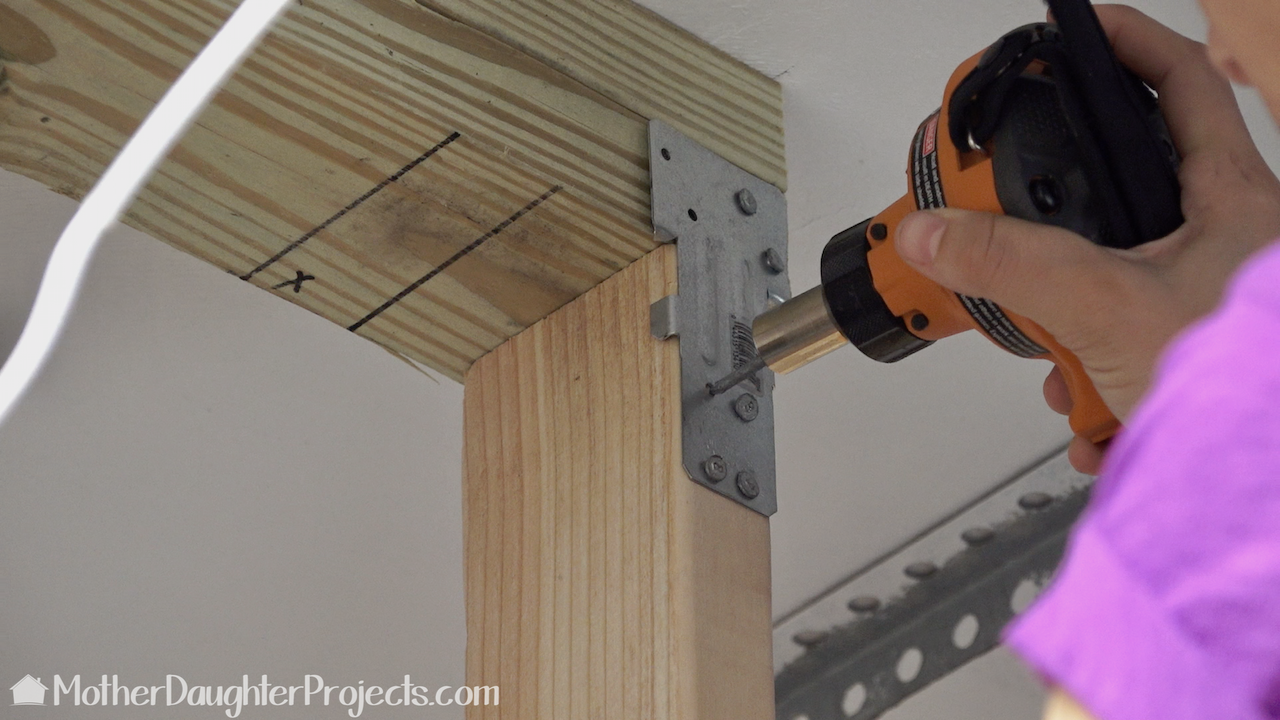
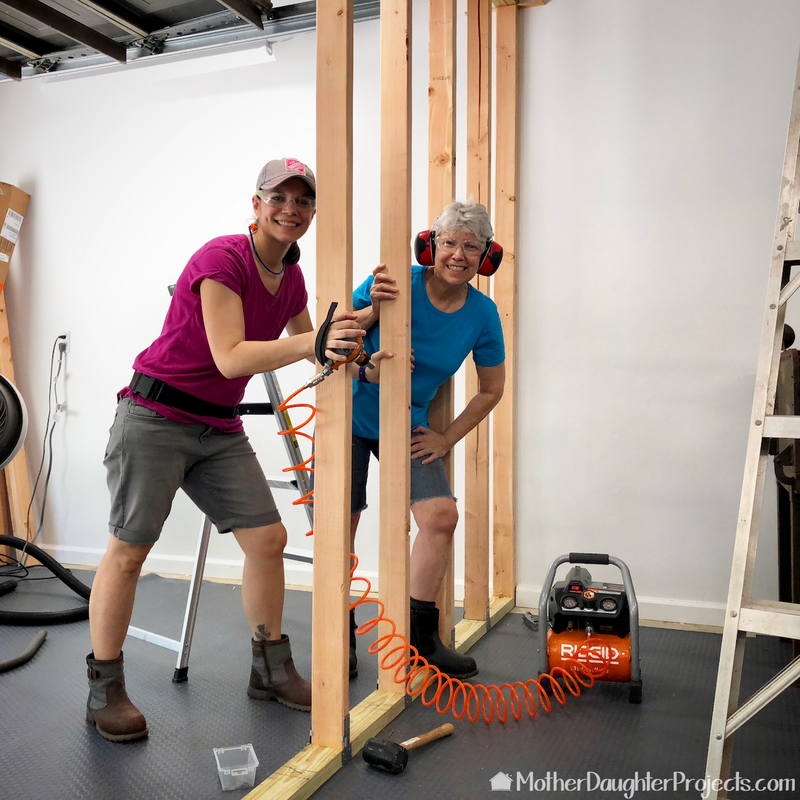
Okay, you're probably asking why we used those plate things rather than the traditional toenailing technique. Well, frankly, with our skill set and strength we could not physically do it. Through some research I found an alternative way to attach the studs to the bottom and top plates. These Simpson Strong-Tie stud plates were just what we needed.
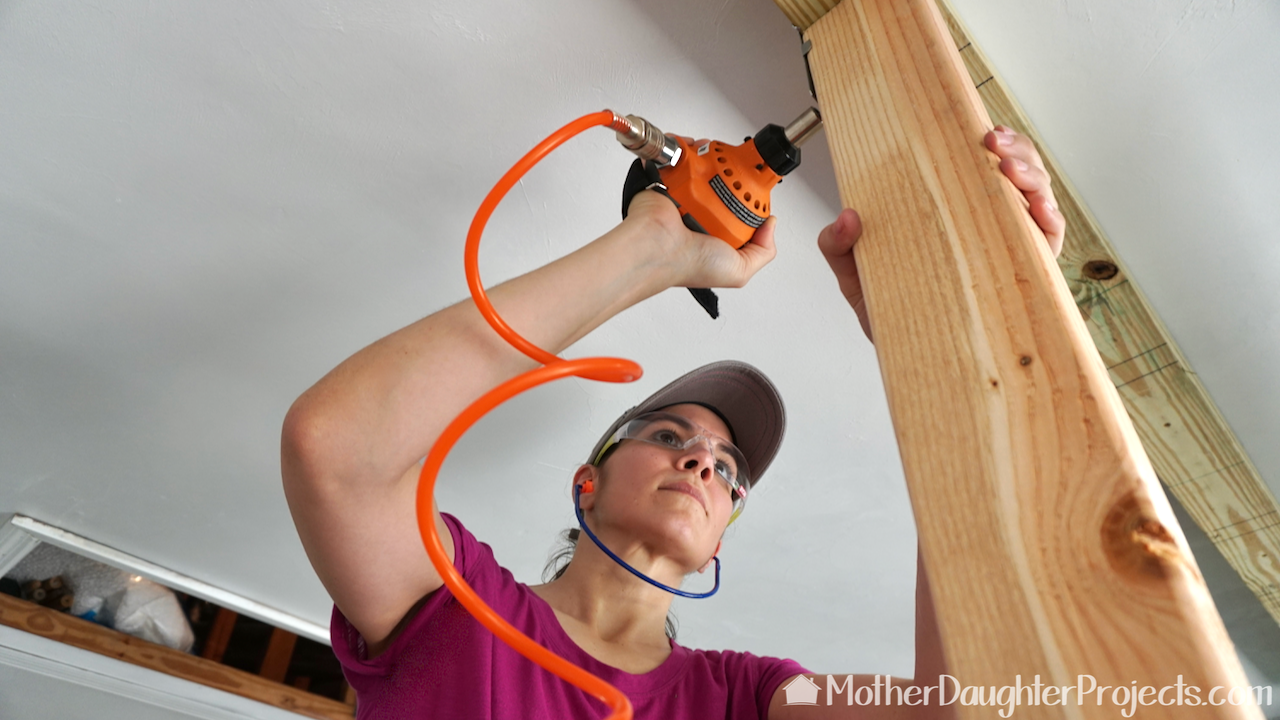
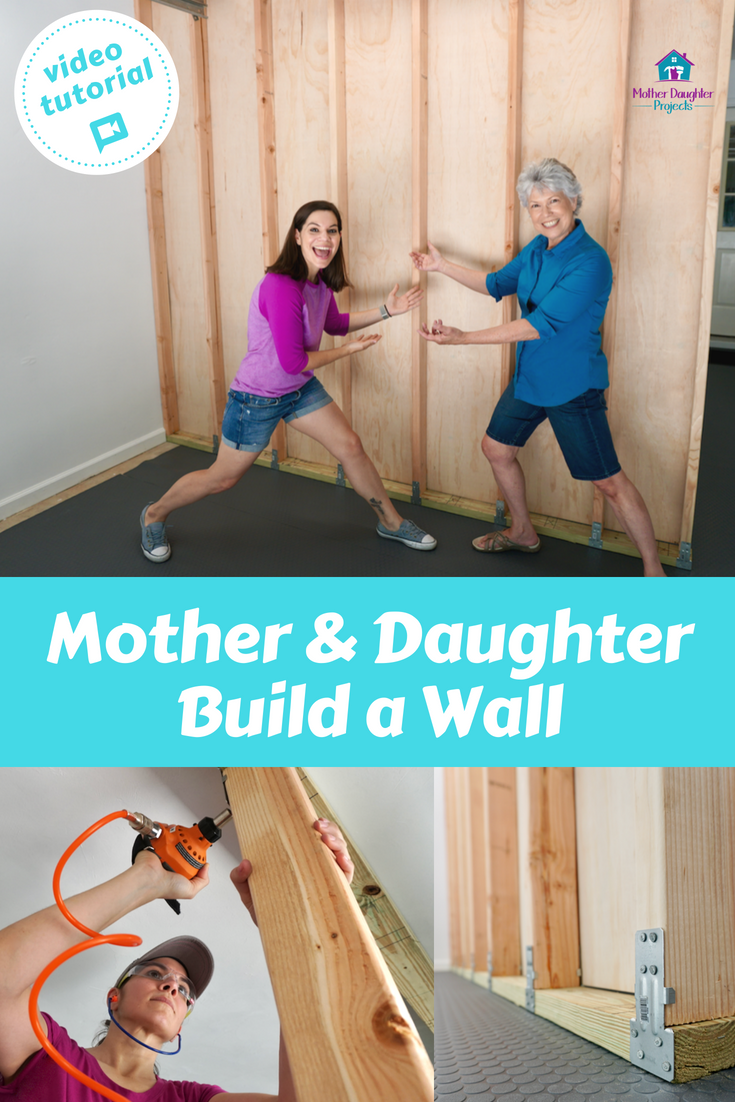
We used the Ridgid pneumatic palm nailer with a Ridgid compressor to attach them. This was easy AND fun! This tool drives the nails with ease.
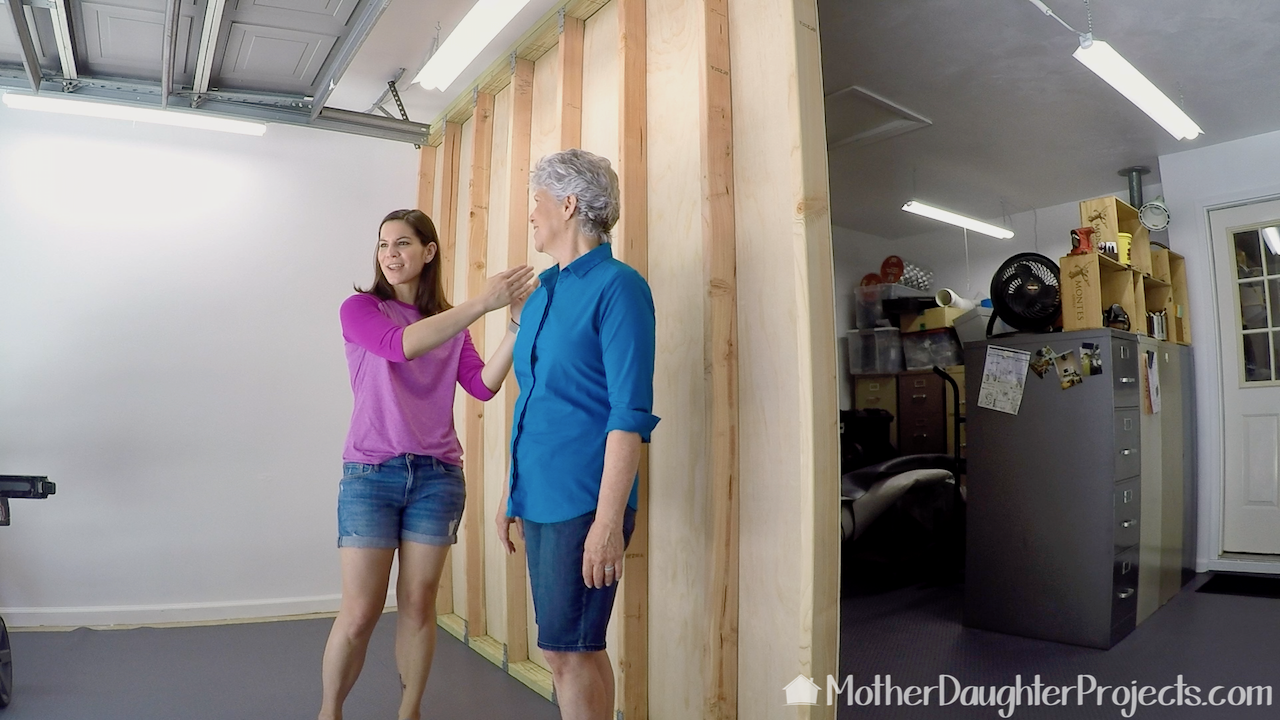
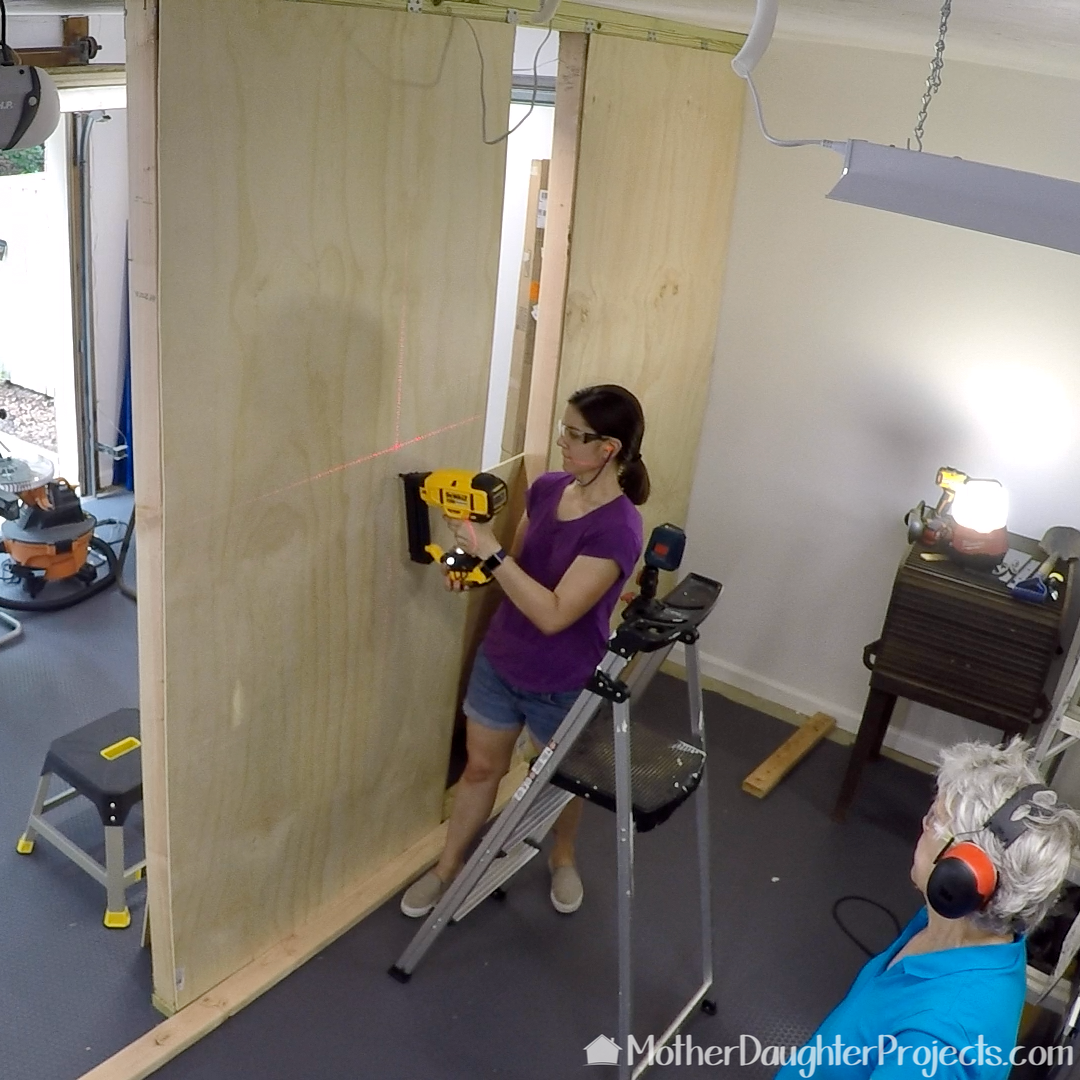
We left the front side uncovered so we could use it in future videos as a demonstration wall. We are also going to use part of this side as outdoor tool storage.
This project had some steep learning curves in it. Prior to starting, we read lots of tutorials and viewed videos to determine the best course of action for this build. When you start reading tutorial you find there are a lot of different ways to do things. We took all the information we found and figured out how we could do this with our skills, strength and available tools. We did not need a permit to build our partition wall, but always check in your area to see if permits are needed. Also, shout-out to our friend Gary who answered some of our questions we couldn't find on google!
To finish up the storage area, we are building a portable wall to semi-enclose the area. That tutorial is coming soon! I love that we no longer have to see all the stored junk all the time! Have you ever build a wall? Do you have any tips?
We acknowledge that The Home Depot is partnering with us to participate in the ProSpective 2018 Campaign. As a part of the Program, we are receiving compensation in the form of products and services, for the purpose of promoting The Home Depot. All expressed opinions and experiences are our own words. Our post complies with the Word Of Mouth Marketing Association (WOMMA) Ethics Code and applicable Federal Trade Commission guidelines.
FYI: We are not professionals, and we don’t claim to be. This is what we found worked for our project. Yours may need a little different approach. Safety first! FYI: Affiliate links are being used on this page. Purchasing via these links help support MDP! Related Projects
0 Comments
Leave a Reply. |

Mother Daughter Projects
|