|
text by Vicki Sign up to get Mother Daughter Projects updates in your email!
This post is sponsored by The Home Depot.
Cleaning out the garage has been really hard for me. As a collector of stuff, sometimes I find it hard to let go. I commented to Steph during the huge purge of the garage that I really appreciated her not judging those things I wanted to keep. She didn't offer judgement on those things but simply put them aside in the "keep" pile. She was extremely kind and compassionate!
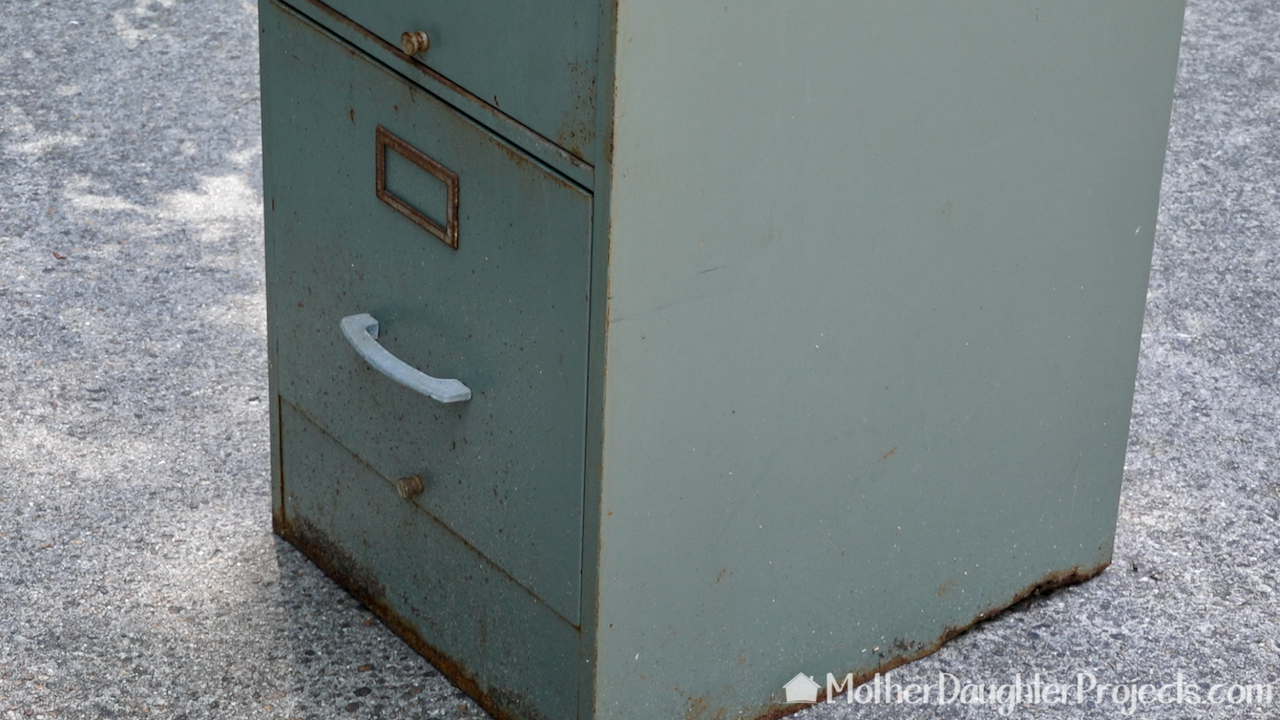
I've since gotten rid of many of those "keep" objects, but there still are a few I've held on to. One object was this ordinary file cabinet. It's well used, extremely rusty and has seen better days--I just couldn't get rid of it! Steph did kind of flash "judgment eyes" when I said I wanted to keep it, but once I explained the reason behind it she understood.
When my parents became full-time RVers in the early 2000s, they used my house as kind of a home base. My dad set up a little workshop in the corner of the garage (that is now the storage space) and that little file cabinet was part of his set-up. The cabinet was a reminder of how much time I got to spend with them before they retired from RVing and moved into a house in south Florida. My dad moved almost all of his workshop stuff into the garage in his new home. The little cabinet was left behind. Steph came up with a perfect idea on how I could keep part of the cabinet as a memento and trash the rest. Read on to see how we made a little art piece out of part of the cabinet. 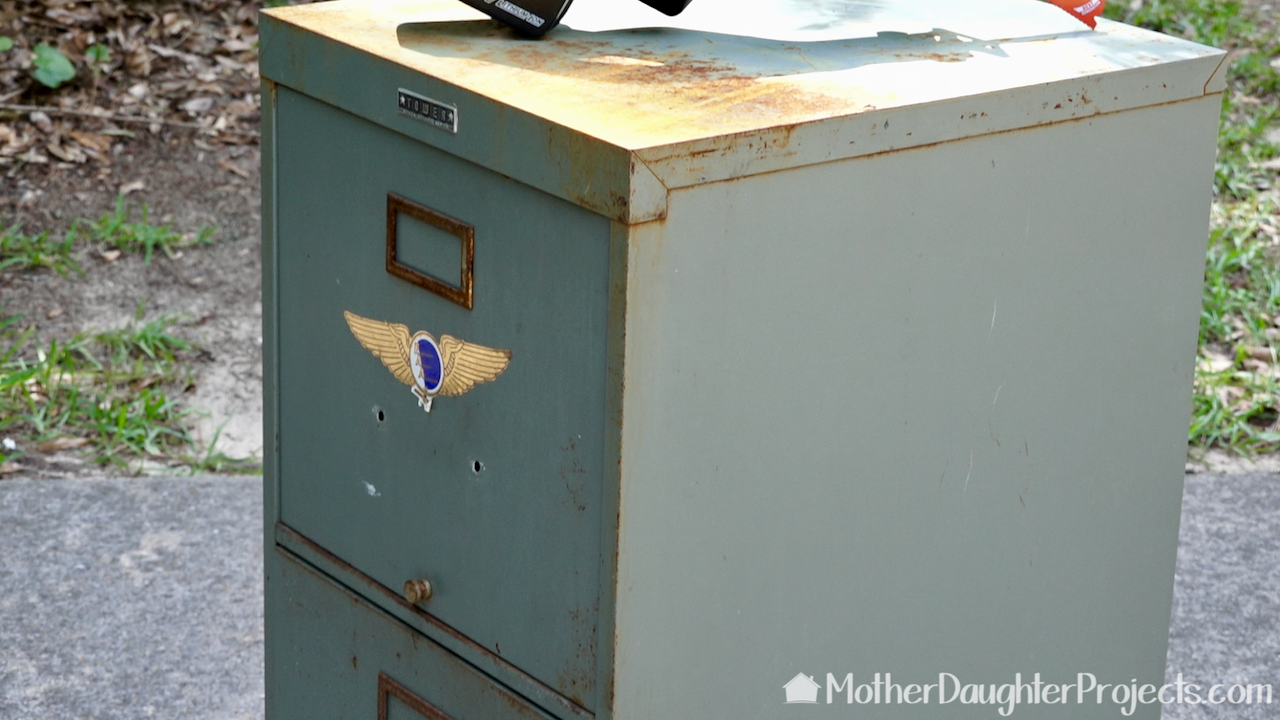
The top part is what I wanted to keep.
Tools:
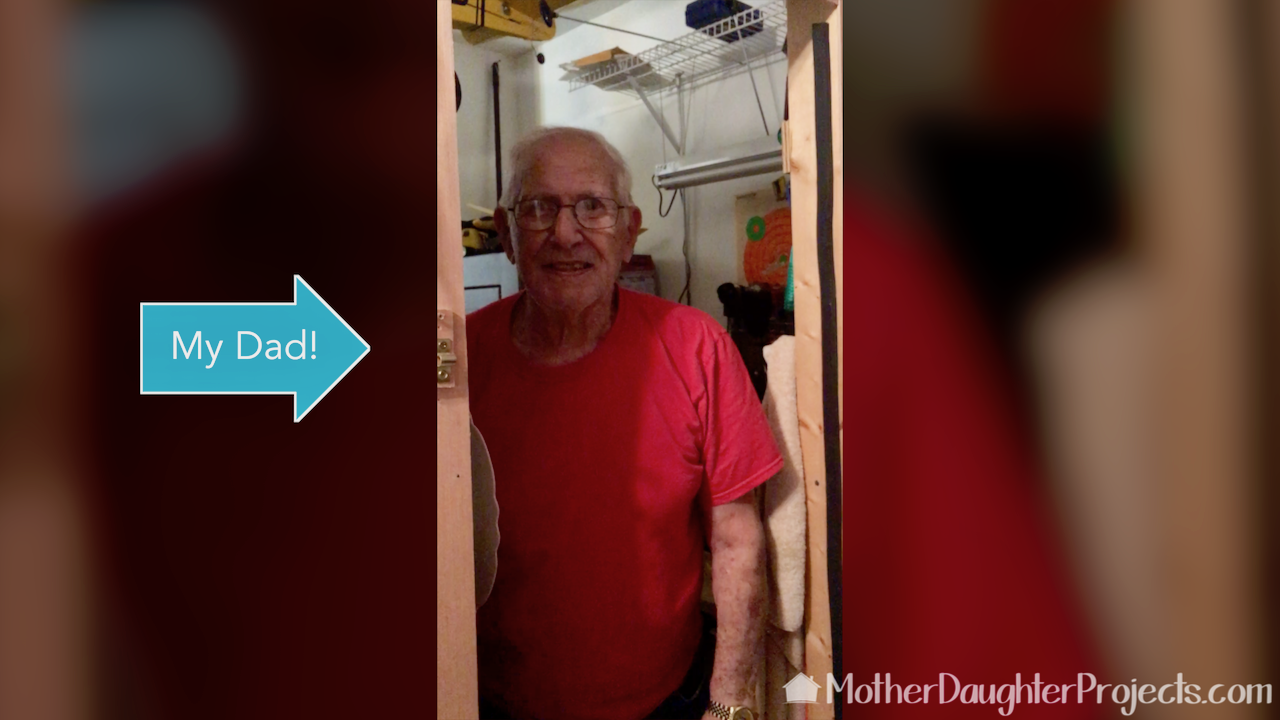
Here's my dad in his little workshop space in his garage. He actually built a little room with A/C so he could putter in comfort!

We have been doing a lot of moving of tools between our houses since the #garagemakeover. This Husky mobile tool box is perfect for packing up and hauling what we need. It rolls easily and is light enough for me to even pick up.
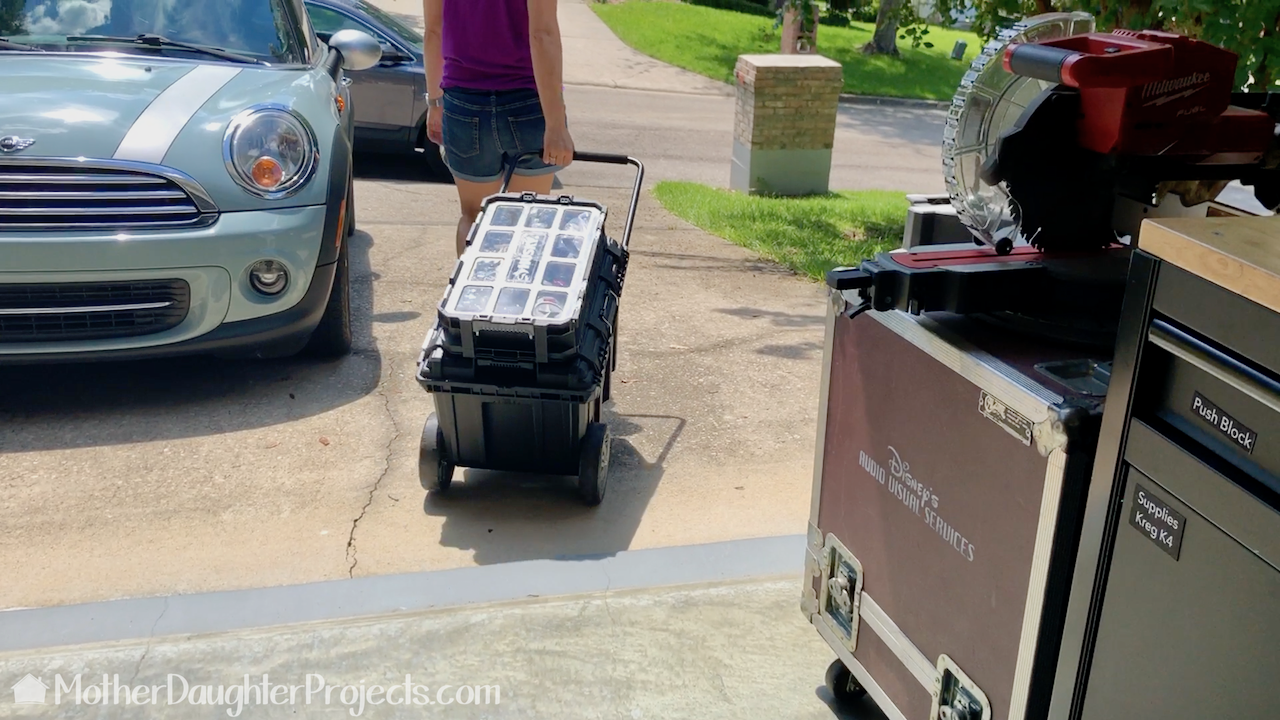
The box is very portable. The parts organizer is sold separate but clicks nicely into place. This is just the right size for Steph's Mini Cooper!
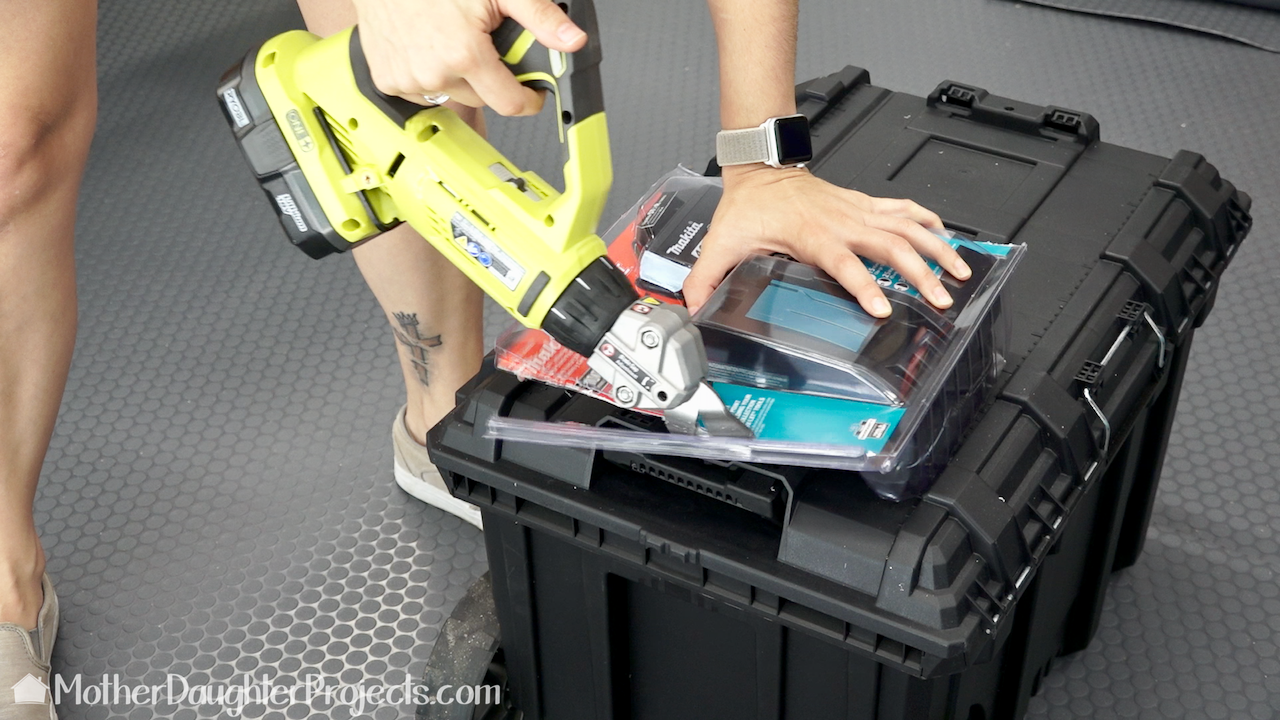
Since we were going to be using a Makita reciprocating saw, we took a battery out of the packaging so we could get it charged. The Ryobi battery powered shears, powered through the tough clamshell packaging!
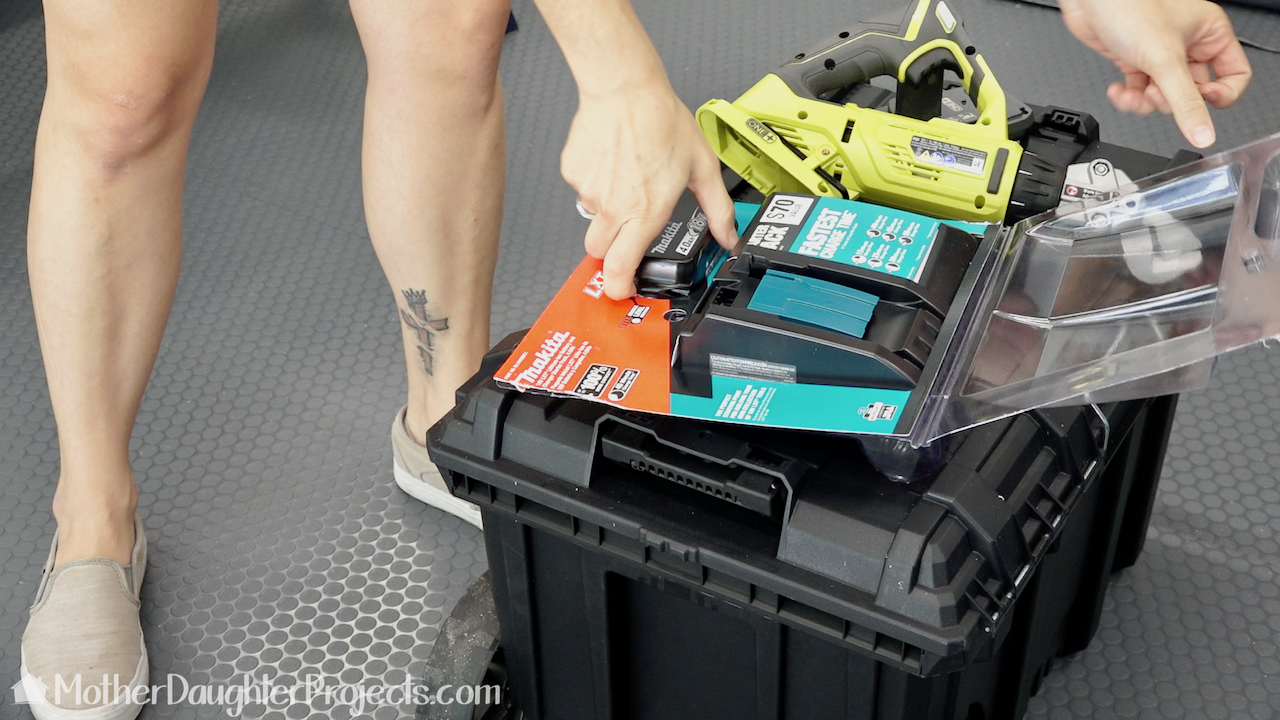
That plastic is the worst! I think these will stay at my house to assist with opening all the things with this kind of packaging. The battery quickly charged to full capacity in about 40 minutes!
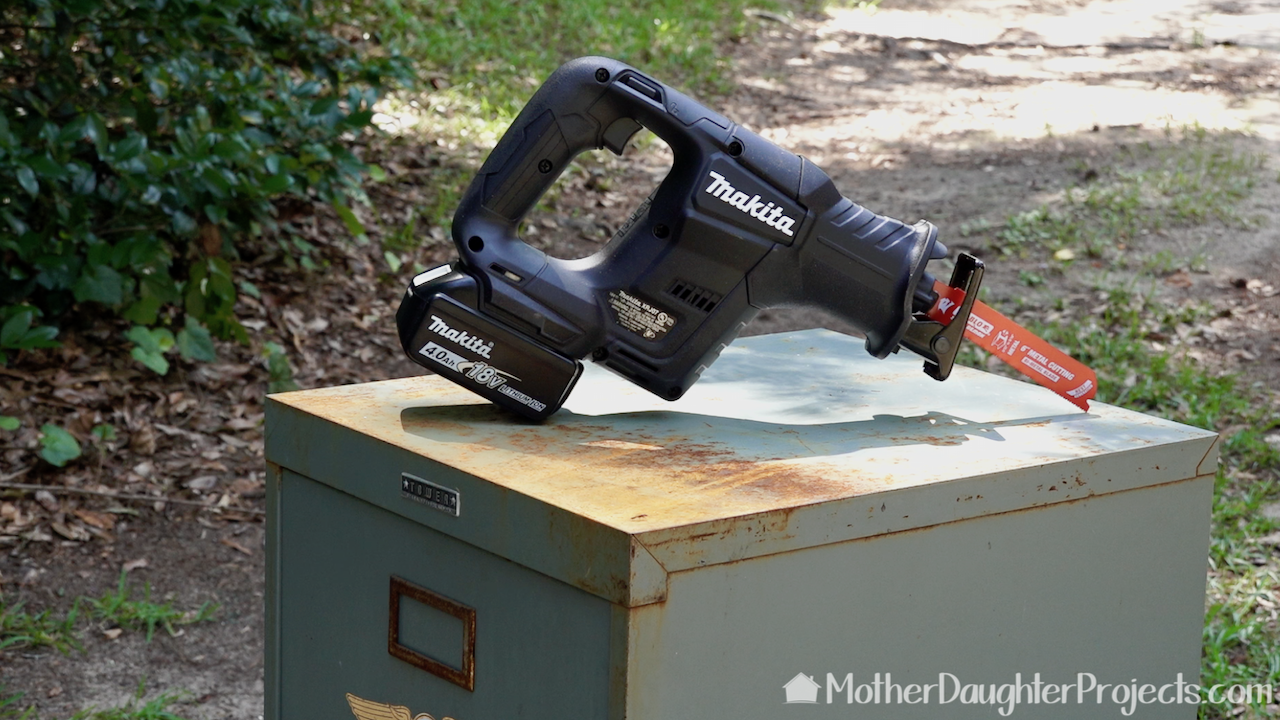
We are using the Makita subcompact reciprocating saw. with a Diablo metal cutting blade. The saw has all the power of a full-size model but is lighter and can get into tighter spaces.
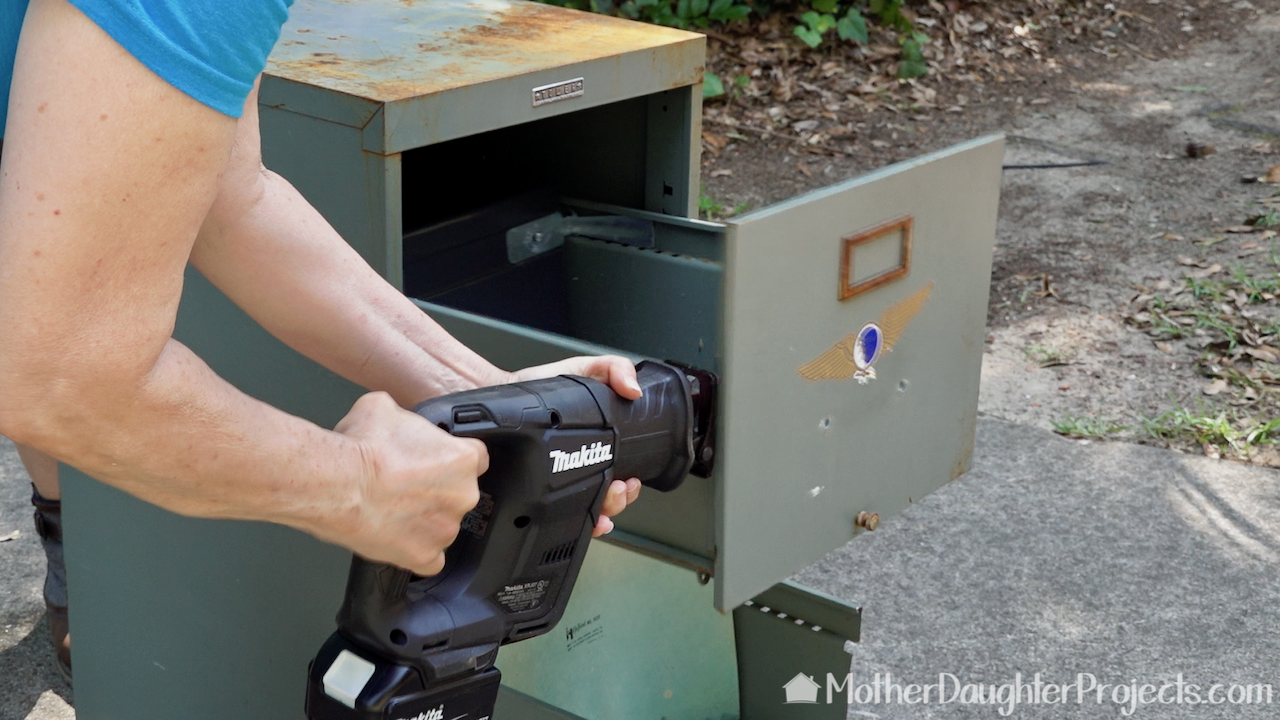
This thing cut through the metal file cabinet with little effort! Totally fun. I should have given Steph a chance to use it, but I didn't.
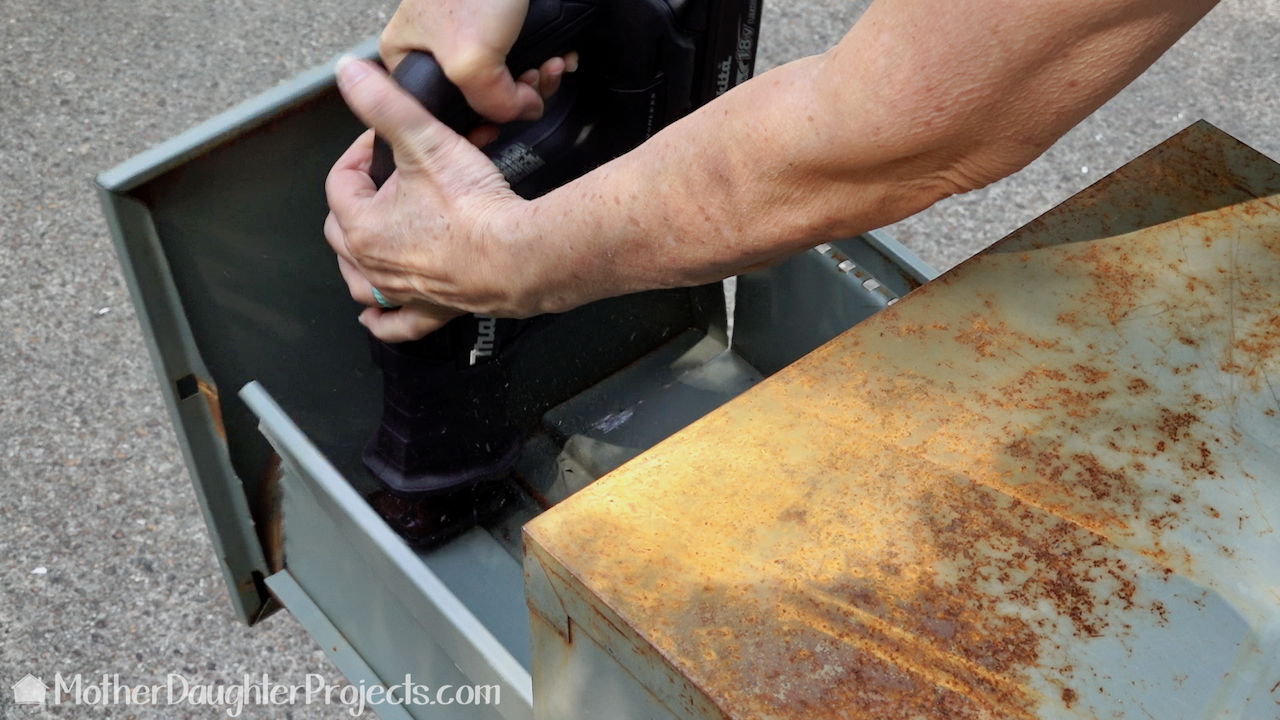
It handled well and was quite maneuverable.
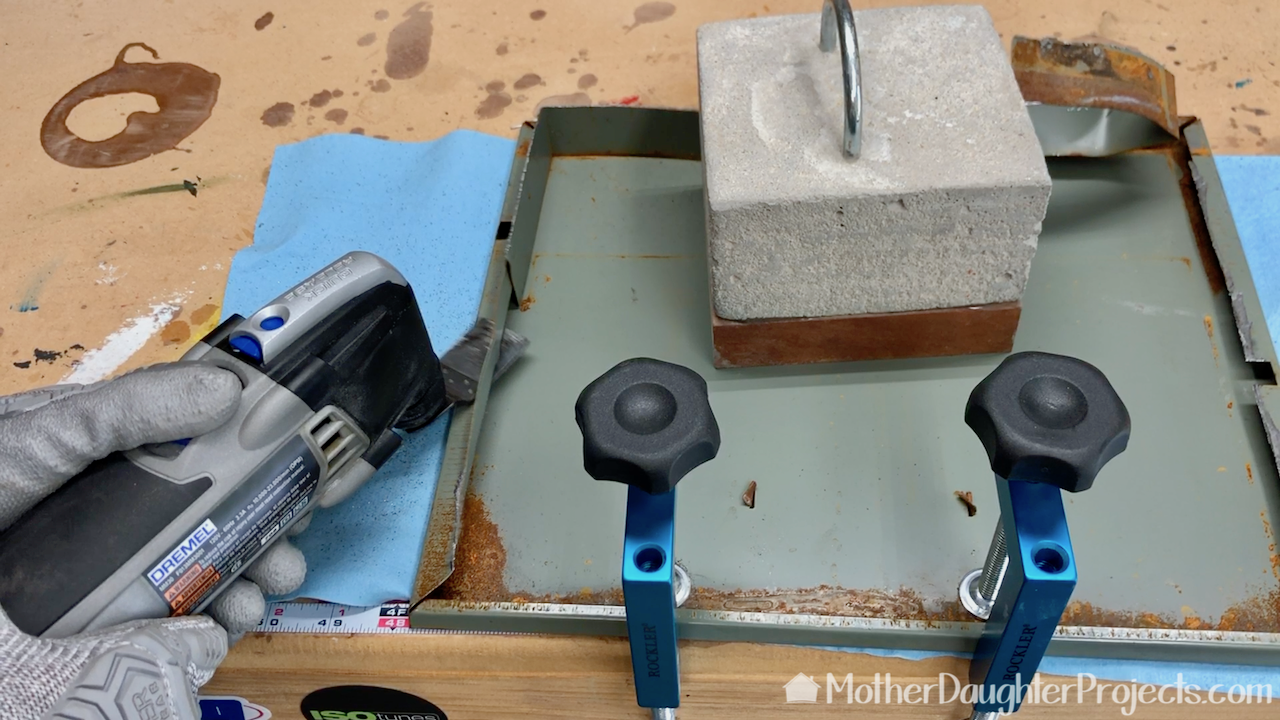
Once the drawer front was freed, Steph took it to her house. She used the Dremel Multi-max with metal blade to clean up the edges.

Steph was going to get fancy and file down the sharp edges, but realized the easiest thing to do would be to generally hammer the edges out of the way.
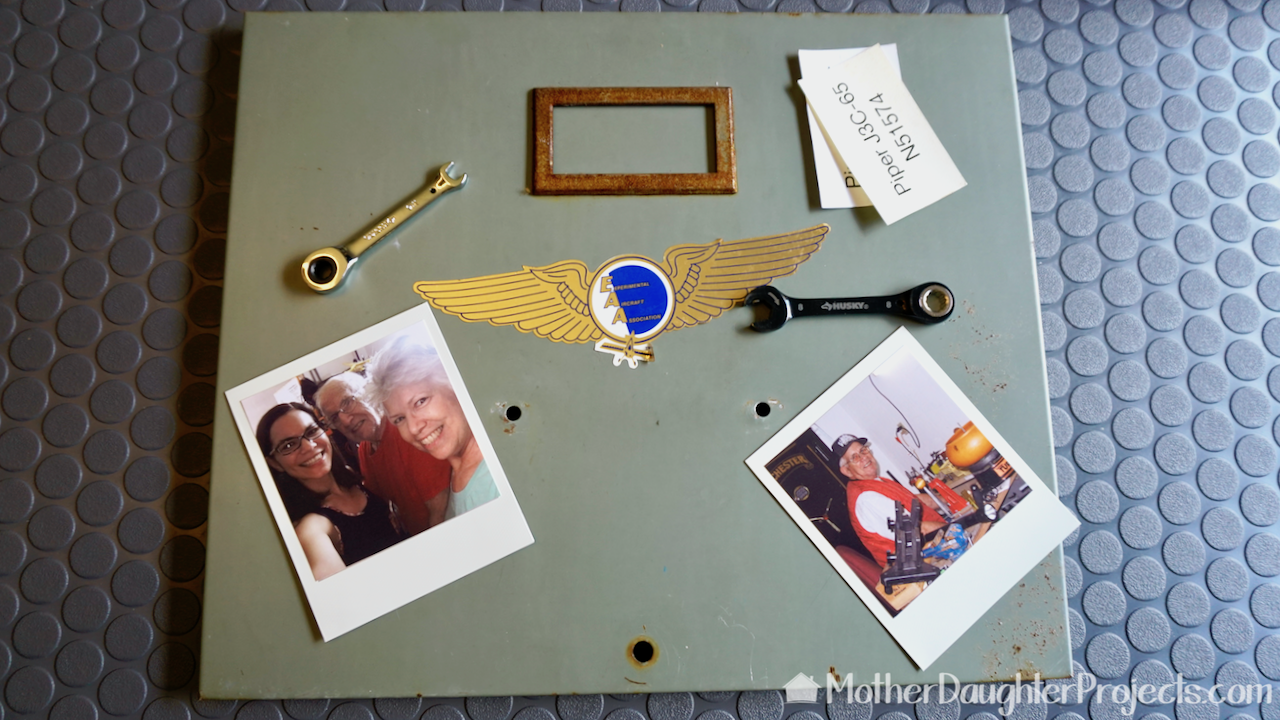
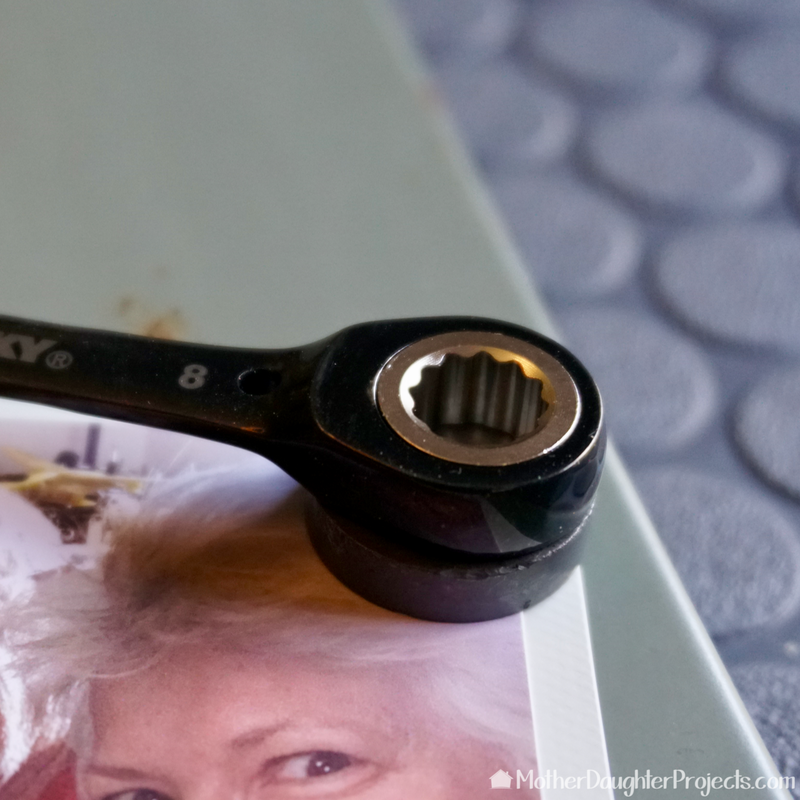
Here we are deciding what to put on the front--pictures and mini wrenches.
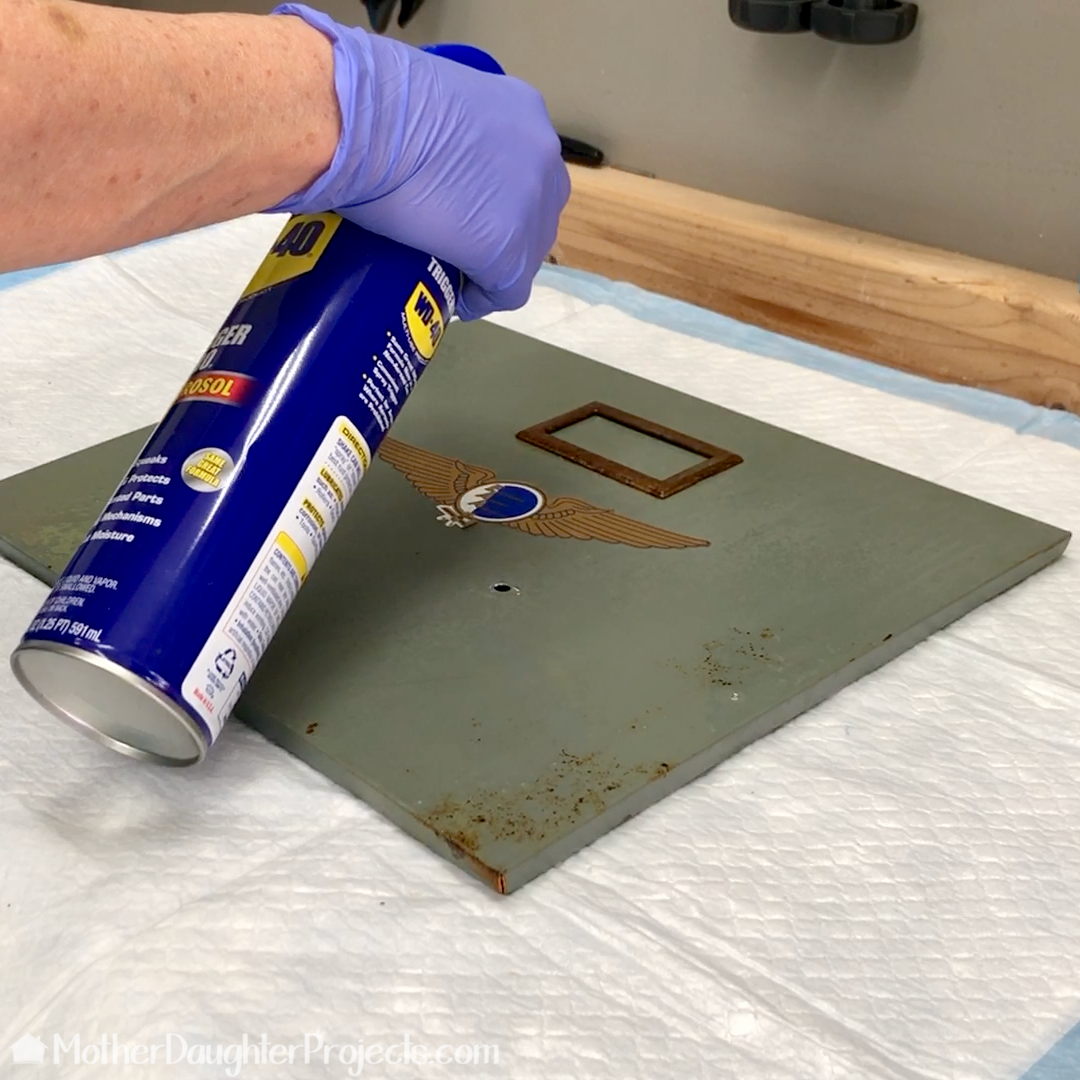
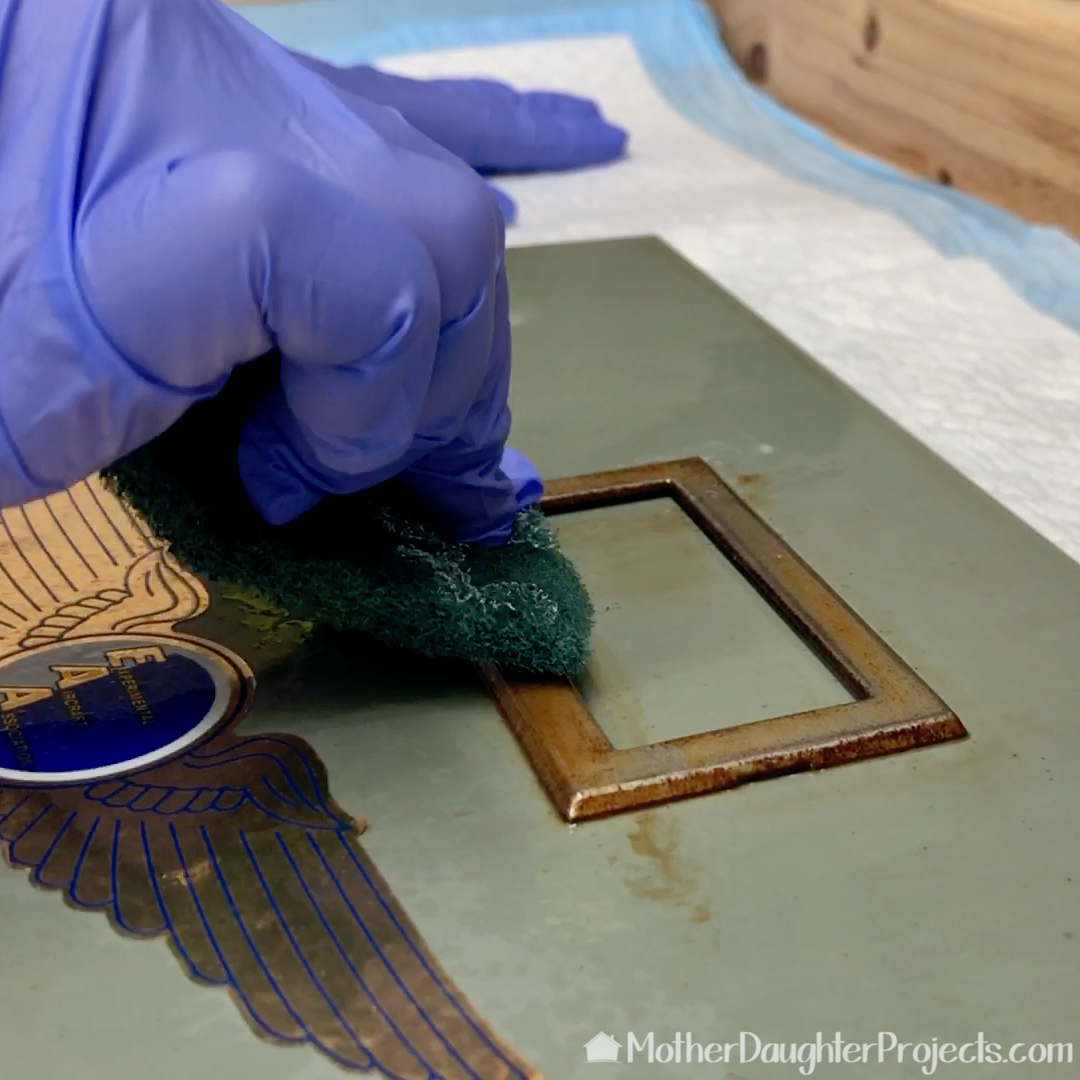
Steph printed out a couple of pictures and a card to put in the label holder. We decided to use these cute little wrenches as magnets. We were going to glue on magnets, but realized they'd work without having to attach them. Without the magnets they can still work as wrenches as they are fully functioning tools. We cleaned up the front with a little WD40. This was especially effective on the label holder as almost all the rust came off!
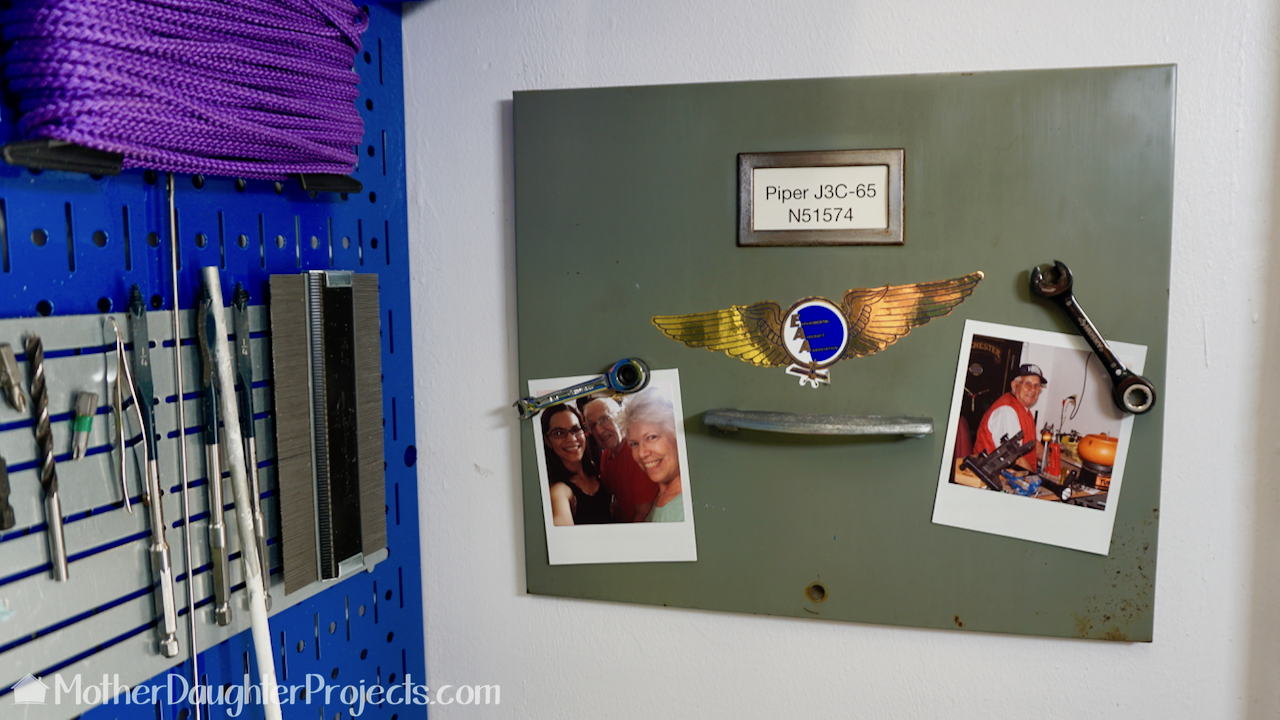
All finished and in place. The drawer front is held in place by hooking the top edge over a couple of screws we put into the wall.
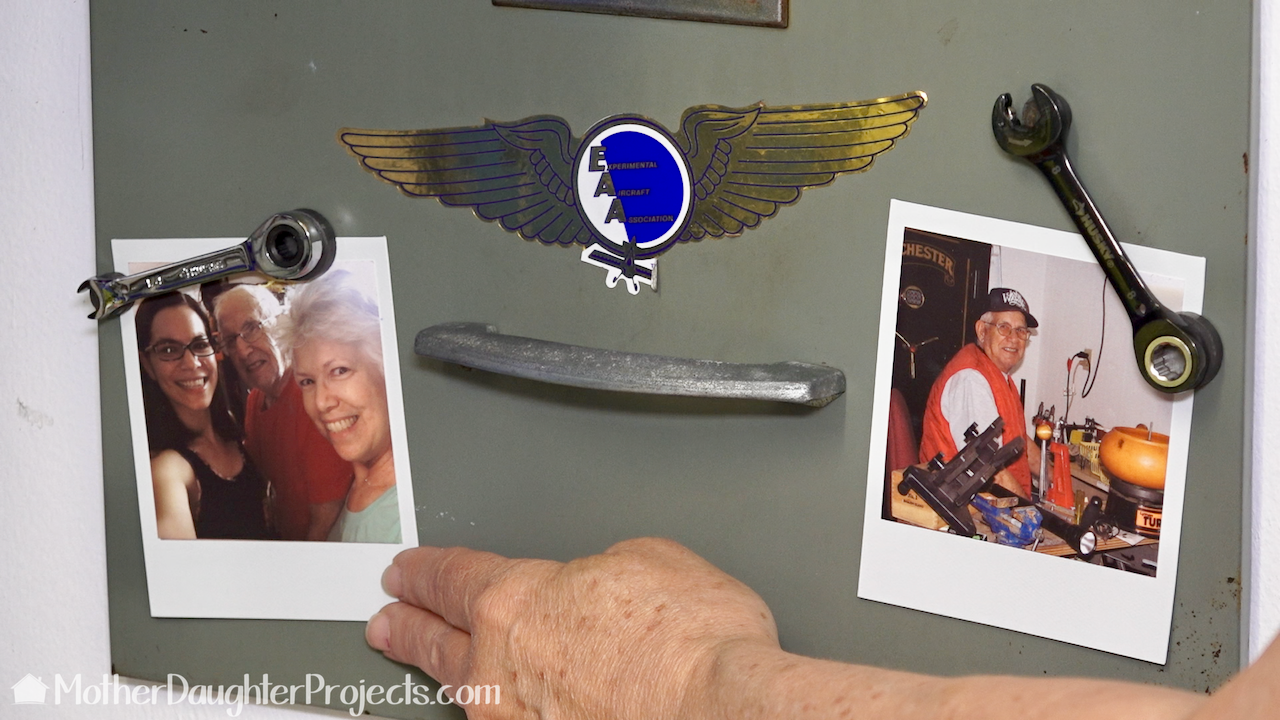
The picture on the left is in my dad's new workshop space and the one on the right was his little space here in my garage! The label has the name and registration number of a plane he used to fly many, many years ago. He has a model of it in his shop which also decorated my garage for many years. If you look at the picture of my dad near the top of the post you can see part of the yellow plane just above his head.
We acknowledge that The Home Depot is partnering with us to participate in the ProSpective 2018 Campaign. As a part of the Program, we are receiving compensation in the form of products and services, for the purpose of promoting The Home Depot. All expressed opinions and experiences are our own words. Our post complies with the Word Of Mouth Marketing Association (WOMMA) Ethics Code and applicable Federal Trade Commission guidelines.
FYI: We are not professionals, and we don’t claim to be. This is what we found worked for our project. Yours may need a little different approach. Safety first! FYI: Affiliate links are being used on this page. Purchasing via these links help support MDP! Related Projects
2 Comments
Arlene
7/27/2018 08:32:02 am
What a sweet idea! I can see why you would want to keep a part of this cabinet. Love your projects!
Steph
7/27/2018 11:31:39 am
Thanks so much Arlene! Leave a Reply. |

Mother Daughter Projects
|