|
text by Vicki Sign up to get Mother Daughter Projects updates in your email
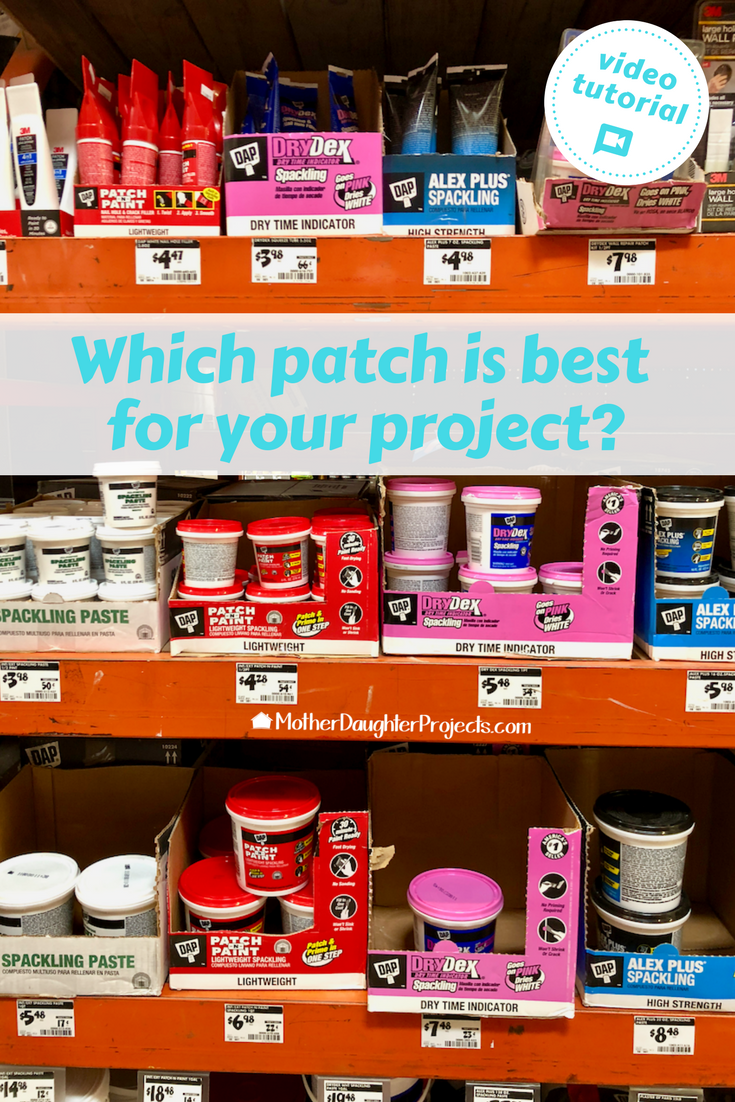
A simple trip to The Home Depot to buy spackling had us standing in the aisle a lot longer than we expected. We fully expected to quickly pick up our standard DAP DryDex with the pink lid and be on our way. However, the red lid variety caught our eye and we paused to take in this different and very lightweight product.
We were intrigued enough that we ended up buying both varieties to try them in a side-by-side comparison. 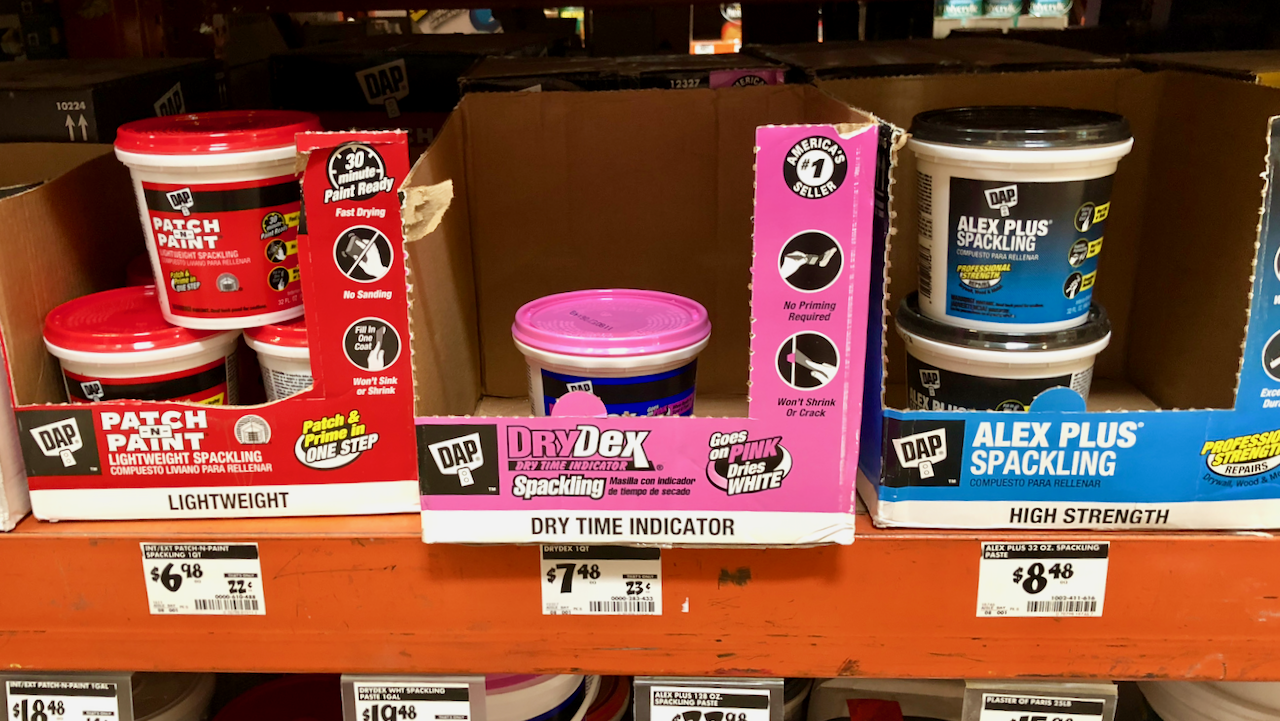
Three varieties are offered. We got the Patch-N-Paint and the DryDex to try out.
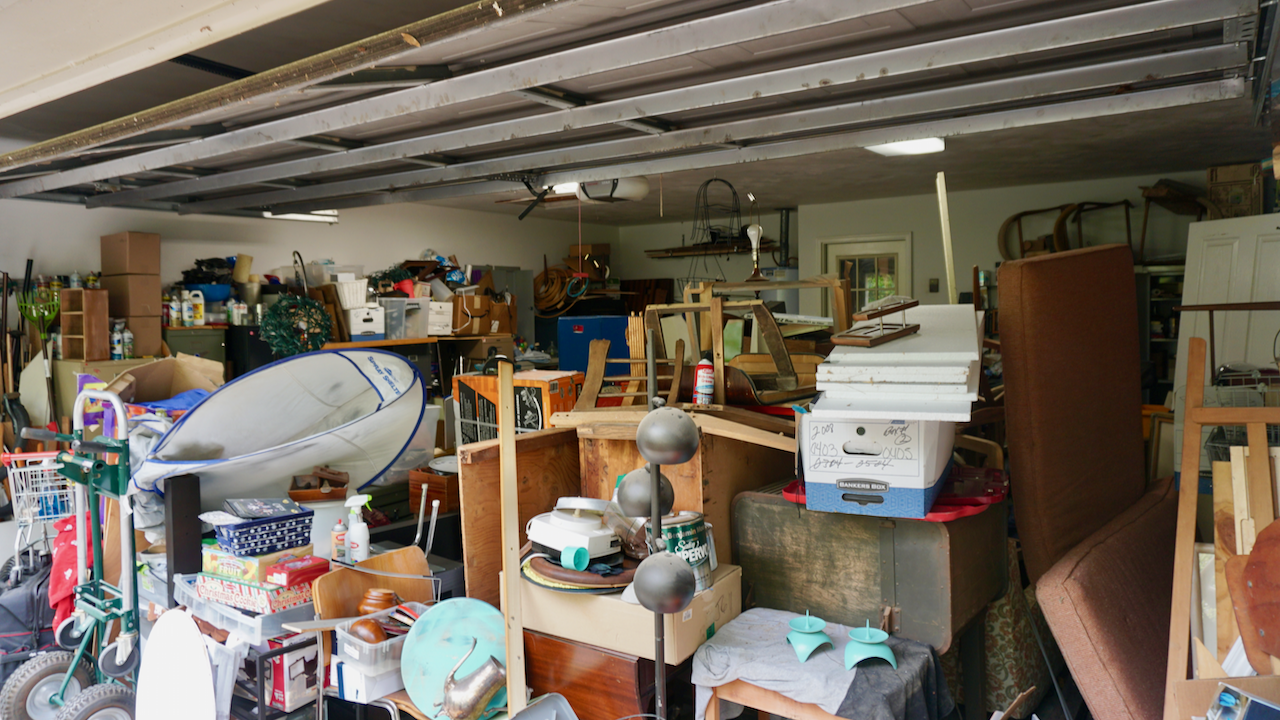
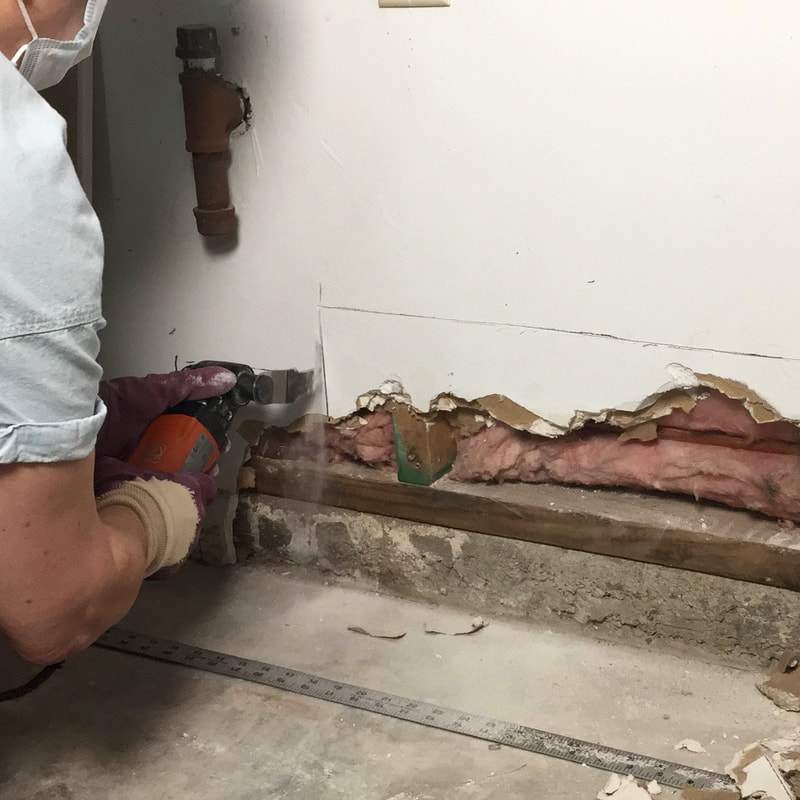
Ug, what a mess! We are working to clear out all of this mess in my garage so that we can work in here. The first step was to purge. Some stuff went directly into the trash, some went curbside (which was picked up by curbside pickers), some was donated, some was sold on Craigslist, and additional stuff was sold at our garage sale. A fraction of this stuff was kept, which will remain in the garage.

The stuff we kept was moved away from the walls and staged in the center of the garage. The walls are now available to be prepped and painted.
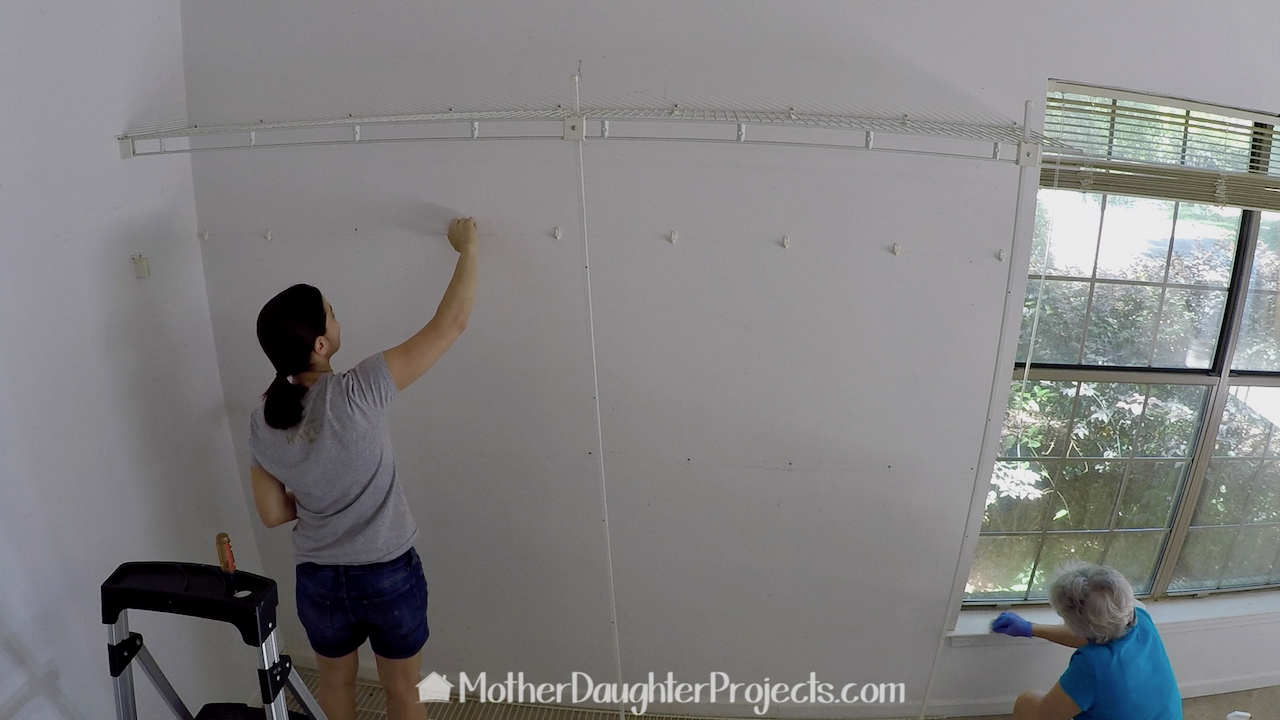
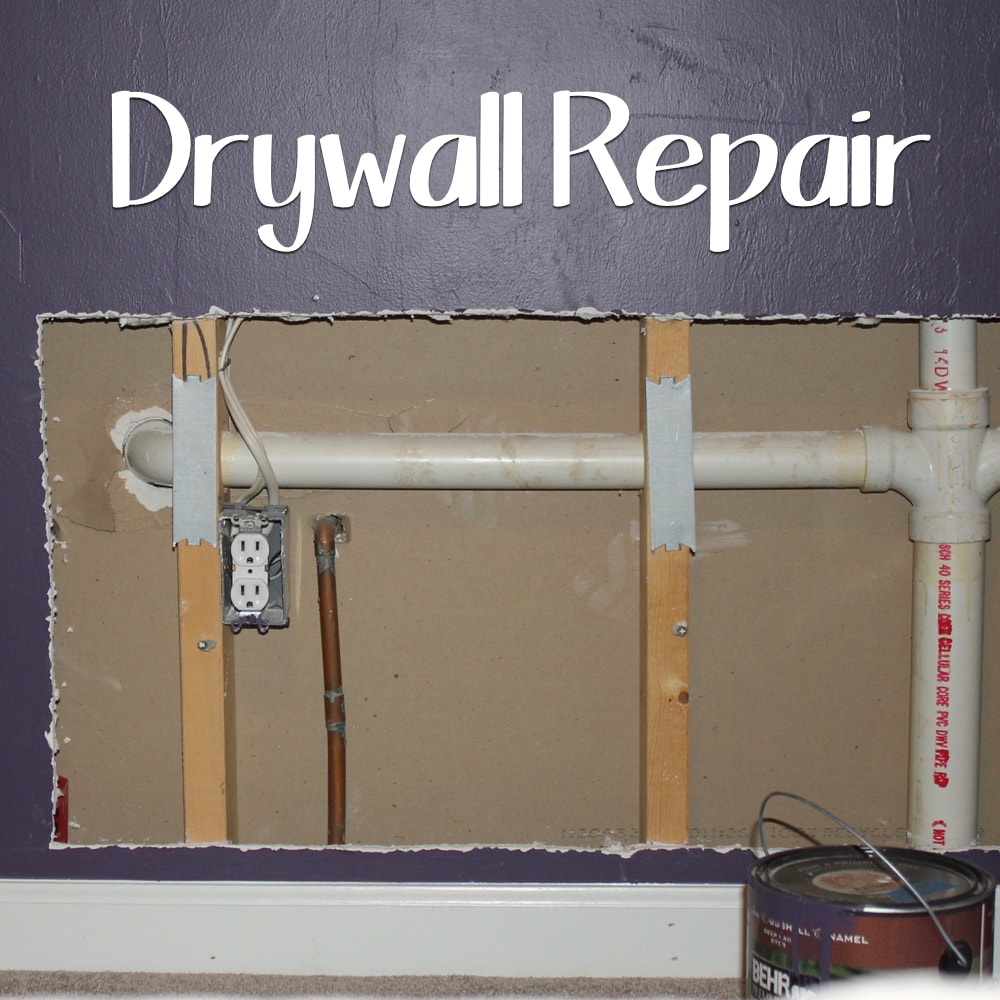
Wall prep began with the removal of this old wire shelving. If you've ever taken it down, you know it leaves rather large holes from the drywall anchors.
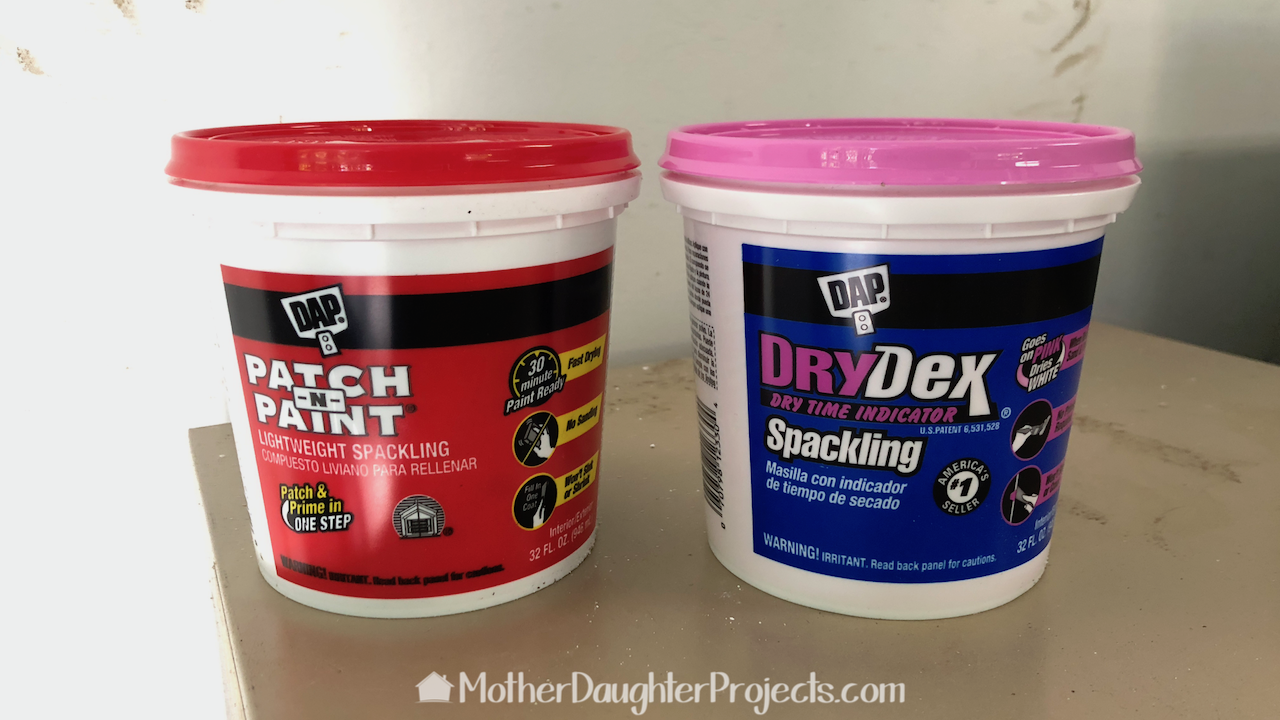
Here are the two spackling products we are going to compare.
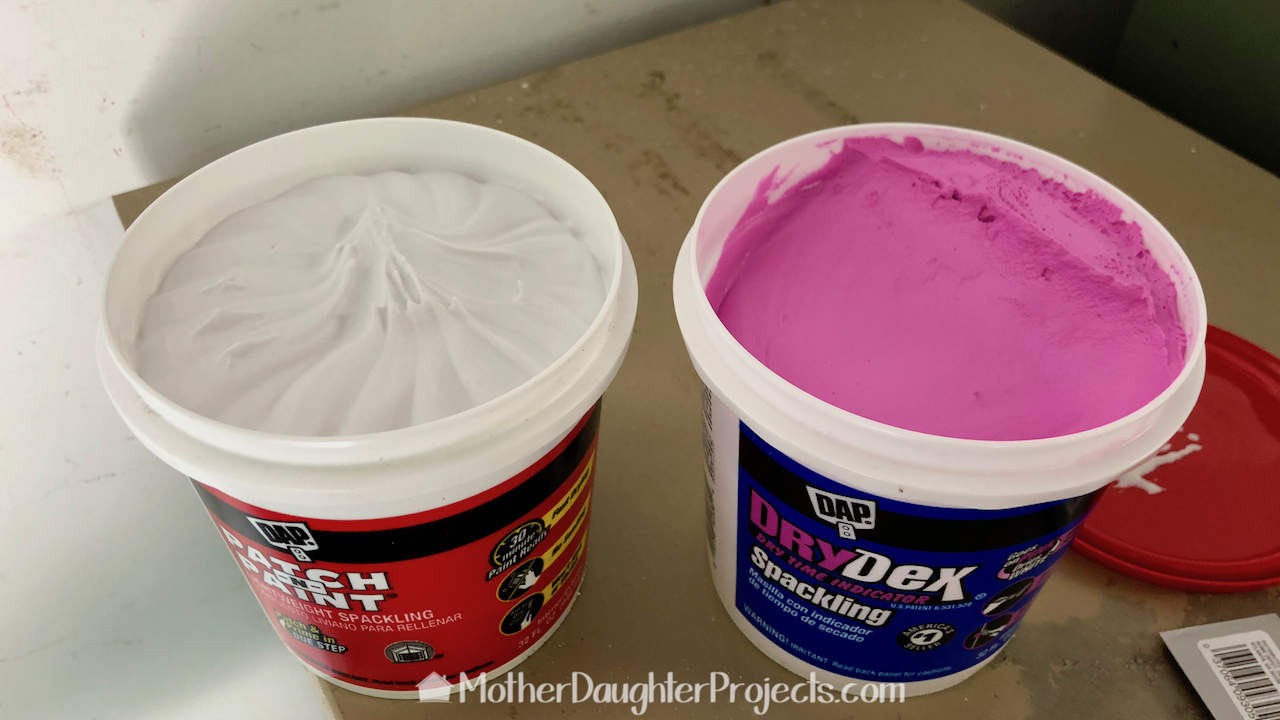
The most noticeable difference is the Patch-N-Paint almost has the consistency of whipped frosting. The product is considerable lighter than the pink on the right.
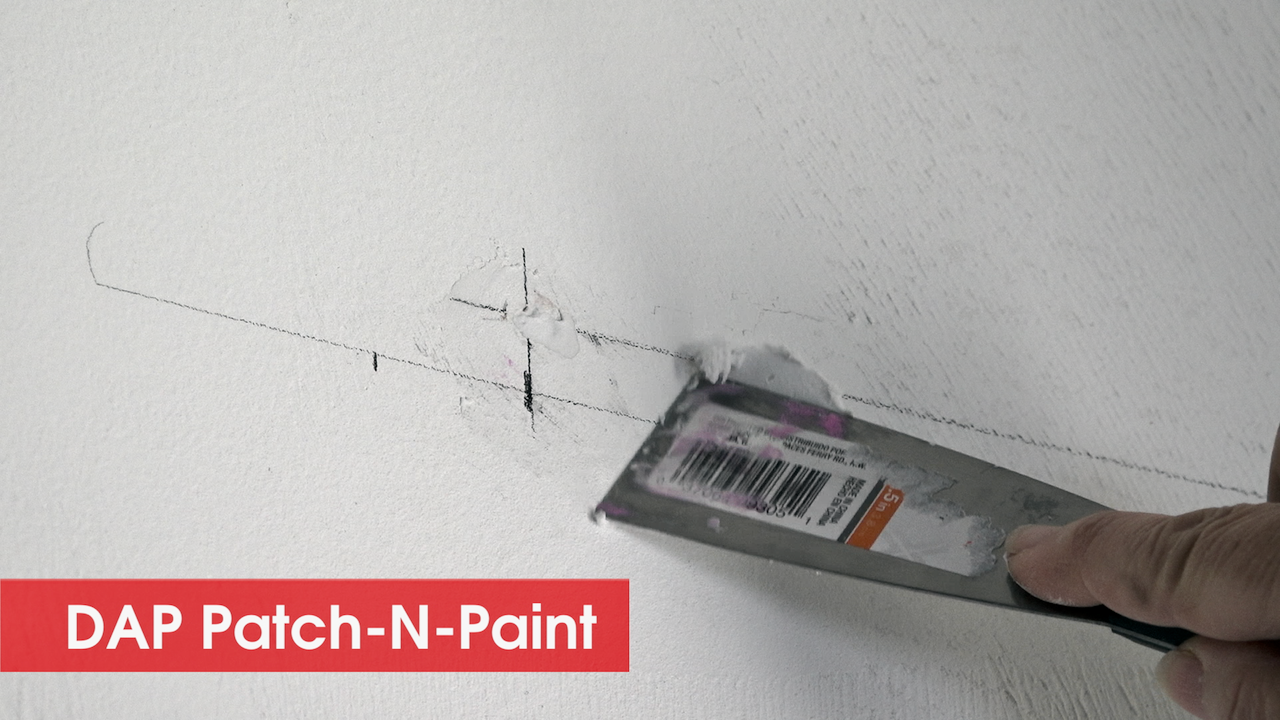
The white Paint-N-Patch goes on easily with little fussing to get it smooth.
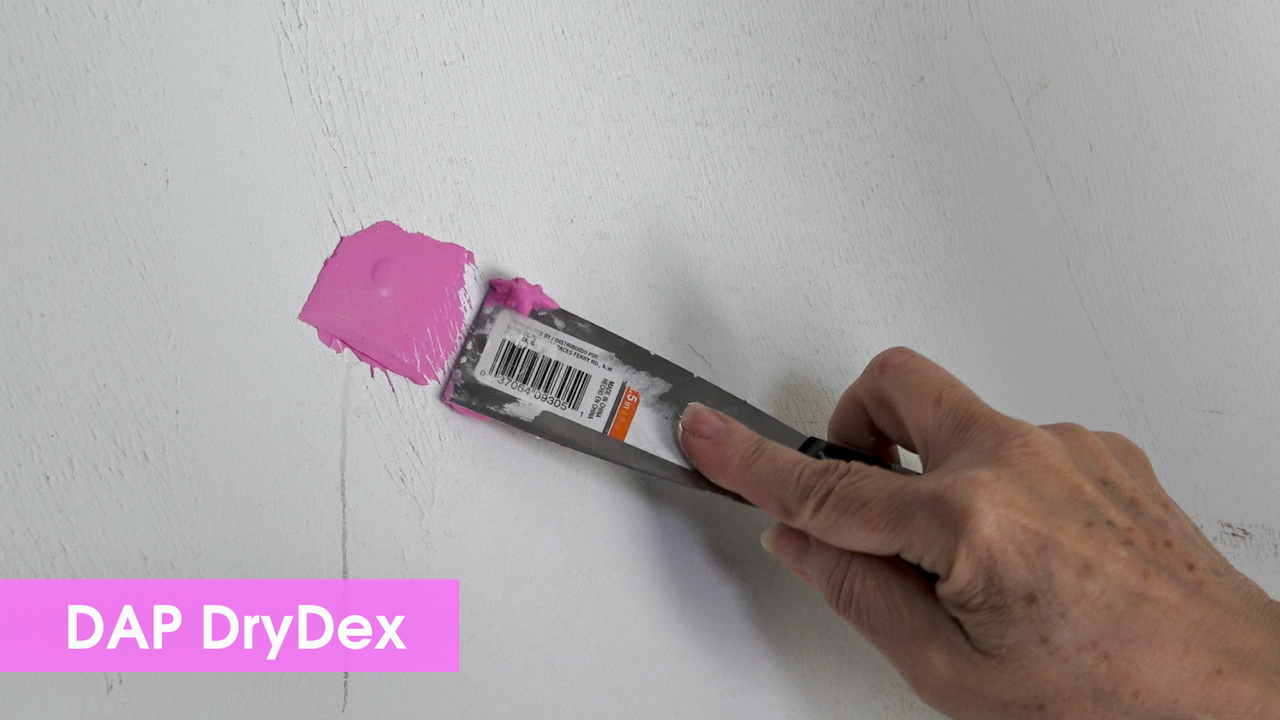
No surprises with the DryDex as we've used this countless times. It takes a little more finessing to get it smooth, but even so it will need to be sanded once dry.
The verdict?
There's a place for both of these spackling products. The Patch-N-Paint went on the smoothest and quickest and is marketed as not needing sanding. I did sand this a bit and was pleased that it sands without a lot of mess. Once dry, it does appear that the patched holes do have a little give to them, so I would probably use this on small nail holes rather than the anchor holes that we used it on (although, this being a garage, it won't be a problem).
The DryDex is great for filling those large holes. It does have to be sanded and it does make a big mess when sanded. We do like that it starts out pink and dries white so you know exactly when it is dry and ready for sanding. This is part of our #garagemakeover series. Follow along in the next few weeks for more garage projects!
Please note: We are not sponsored by any of the companies/products that we used. These products were picked and bought by us.
FYI: We are not professionals, and we don’t claim to be. This is what we found worked for our project. Yours may need a little different approach. Safety first! FYI: Affiliate links are being used on this page. Purchasing via these links help support MDP! Related Projects
6 Comments
William Bielecki
5/10/2018 10:11:35 am
I have used the Patch N Paint. I really like it that it's light, goes on smooth, and does not shrink. It is great for small jobs.
Steph
5/11/2018 07:15:37 am
Thanks for sharing William!
Tammara
5/10/2018 02:44:02 pm
Thanks for the comparison! Another tub to purchase for the holes in the plaster walls.
Steph
5/11/2018 07:16:16 am
You're welcome Tammara!
Stoney
9/19/2019 06:43:35 pm
Here’s a tip... Before patching or filling holes in blue board take some time to prep the areas... Cut and remove any loose paper and cut a V in any tight joints to get a nice smooth finish Leave a Reply. |

Mother Daughter Projects
|