|
text by Vicki Sign up to get Mother Daughter Projects updates in your email!
This post is sponsored by our favorite, The Home Depot!
There is nothing more frustrating when crafting or making than knowing you have what you need, but you can’t find it! I read a quote once that stated “if you can’t find it, you don’t own it!” I think of that often when I can’t find something and have to buy again in order to start or finish a project.
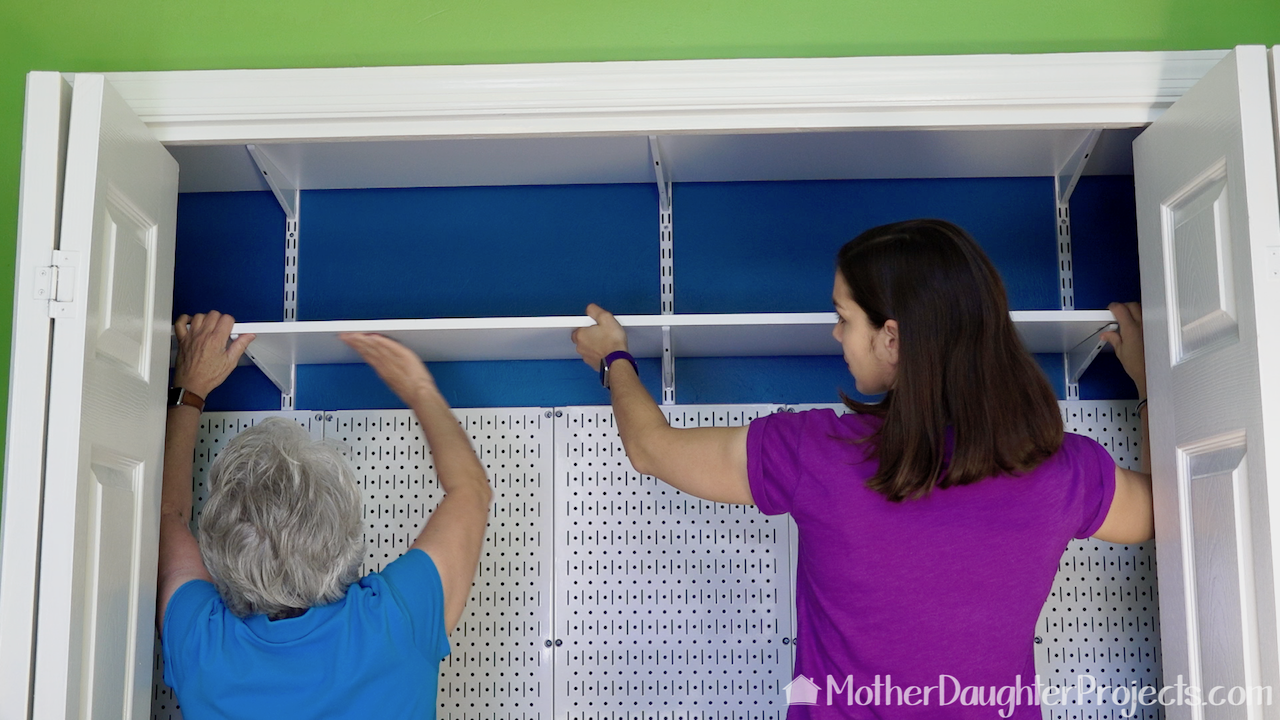
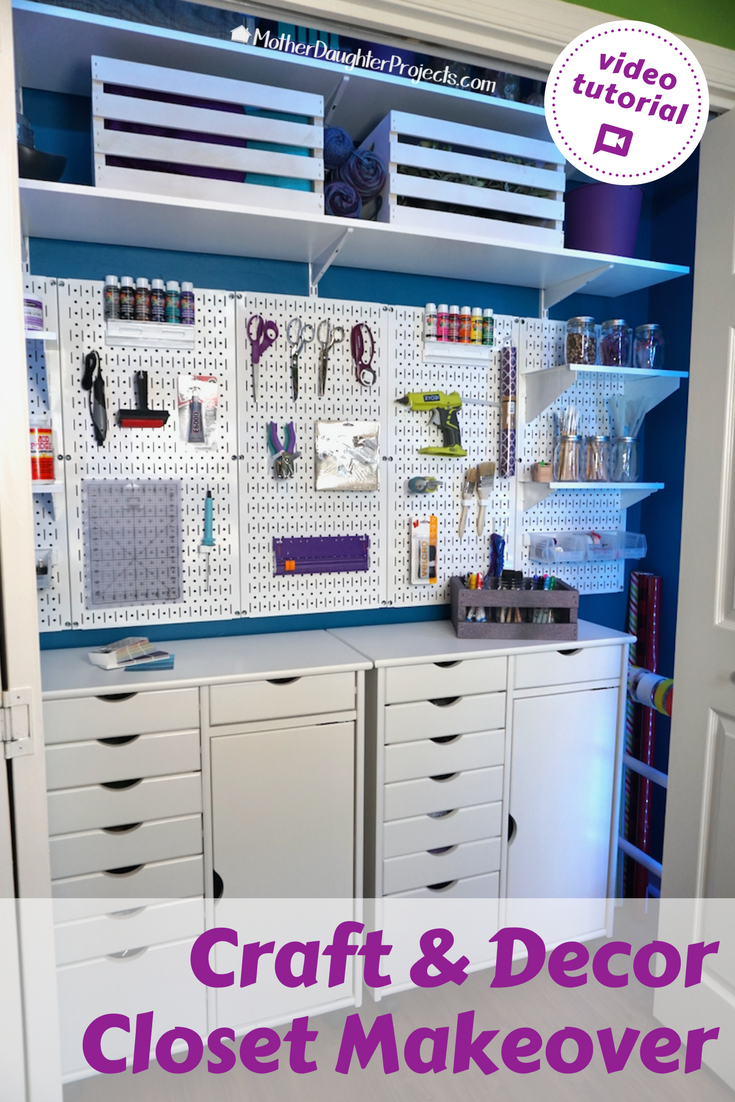
Although we have lots of craft/maker supplies for Mother Daughter Projects stored at Steph’s house, they were becoming more and more inaccessible due to lack of organized storage. Over Christmas Steph decided she had had enough of the mess and started to digitally put together an idea to install an organizational system into the closet in her Lego room. The closet we are working with is 86" wide x 96" tall x 23" deep. Seeing that everything we wanted to use was from The Home Depot, we reached out to them to see if they wanted to partner with us on the project. We felt it had universal appeal to others like us who wanted to buy and install pre-made components to get the job done fast! We are calling this a semi-DIY because we are not actually building anything. With the exception of cutting a few pieces of closet rod, all the other components are ready to be installed and come with all their parts to get the install done. Please watch the video above to see how it came together, and get more details below! 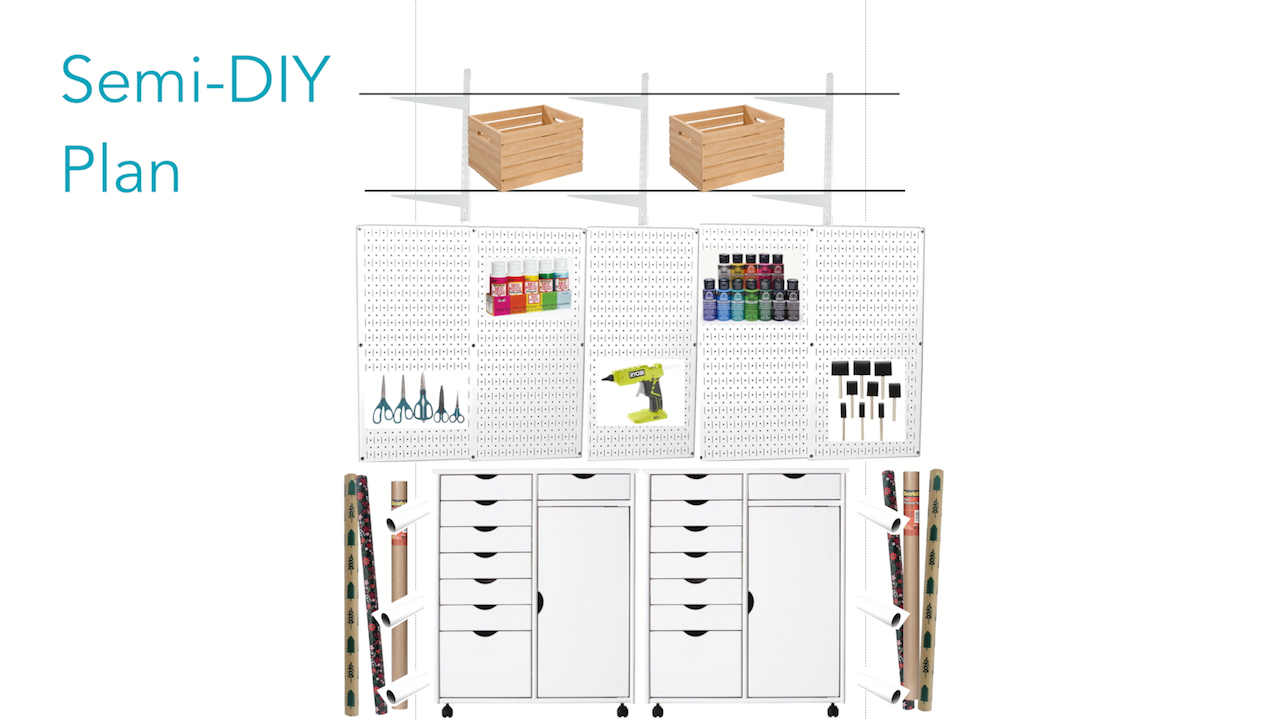
Steph's rough outline of the plan
Materials:
Tools:

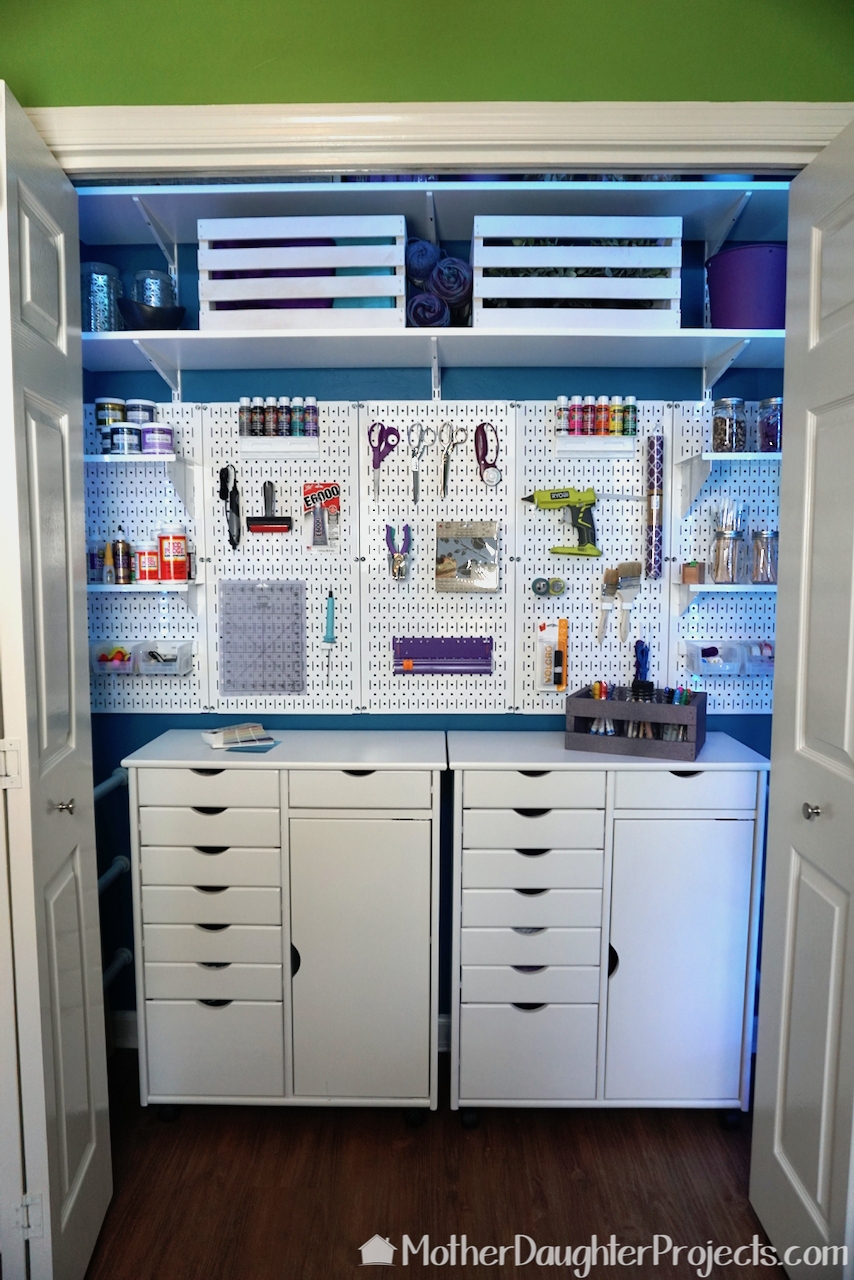
We started by completely emptying the closet and then painting it 'The Real Teal' (P470-7) by Behr Paint. We love how it really pops against the existing green in the room.
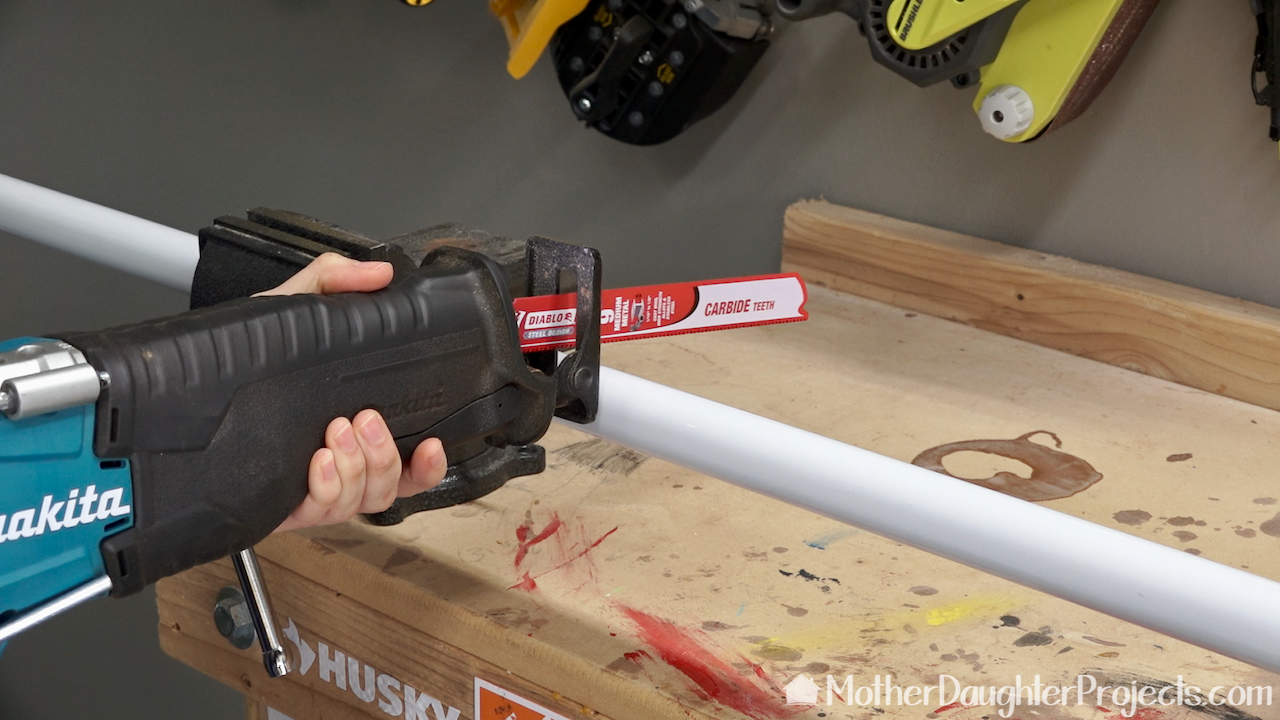
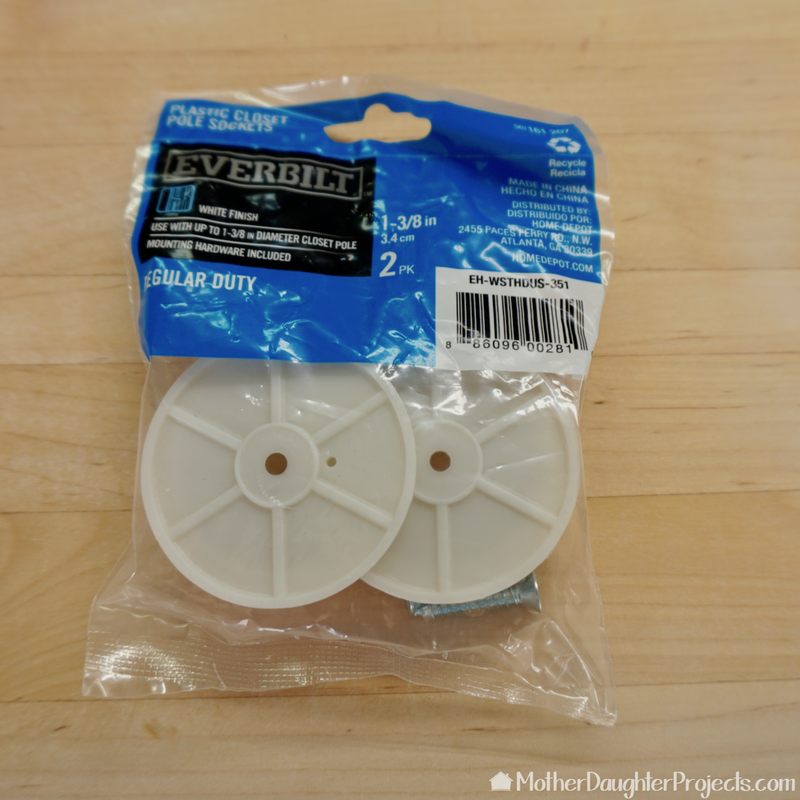
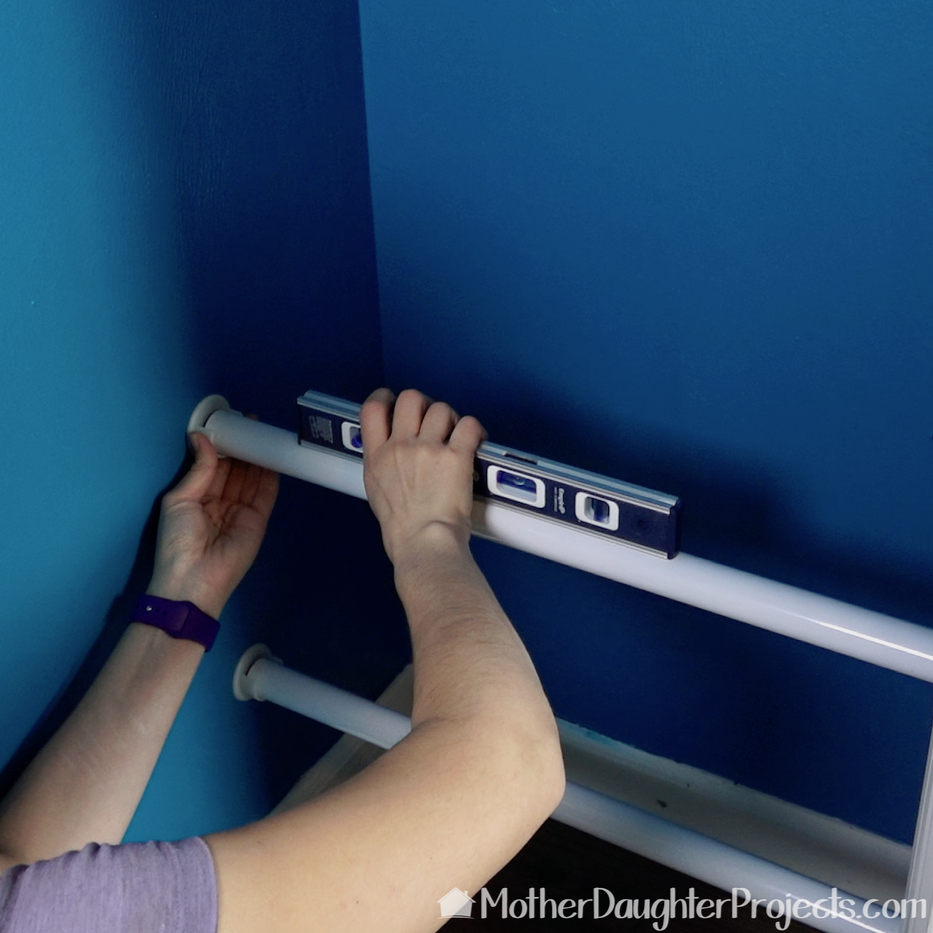
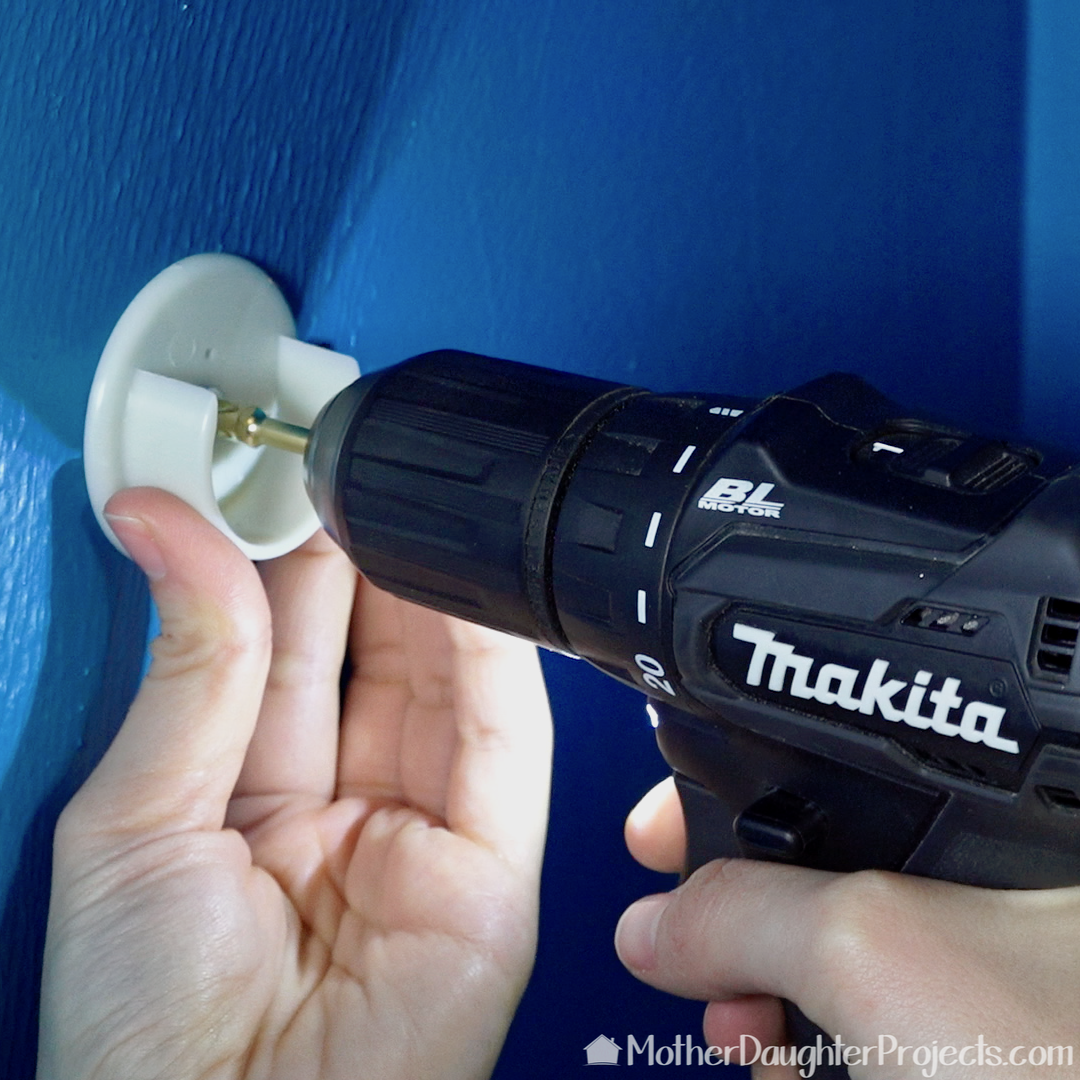
Part of the closet design is to provide storage for tall skinny items that are difficult to store. We used metal closet rods which we cut down to size with a reciprocating saw and Diablo metal cutting blade. We almost exclusively us Diablo blades because we get quality results every time.
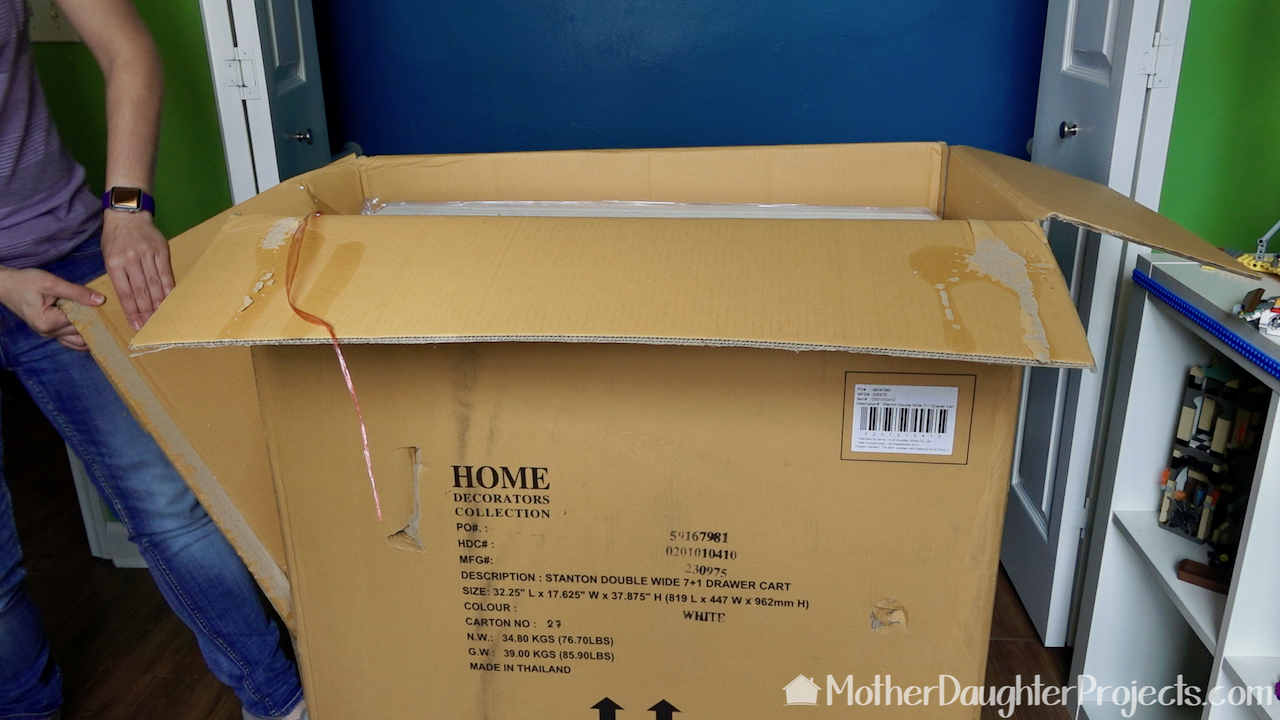
We used two of these units in the closet. They come preassembled and only require the wheels to be attached.
The wheels and hardware are all included. We found what we needed in the top drawer of the unit. Although the units are not that heavy, it's best to have a buddy on hand to help right it once the wheels are in place.
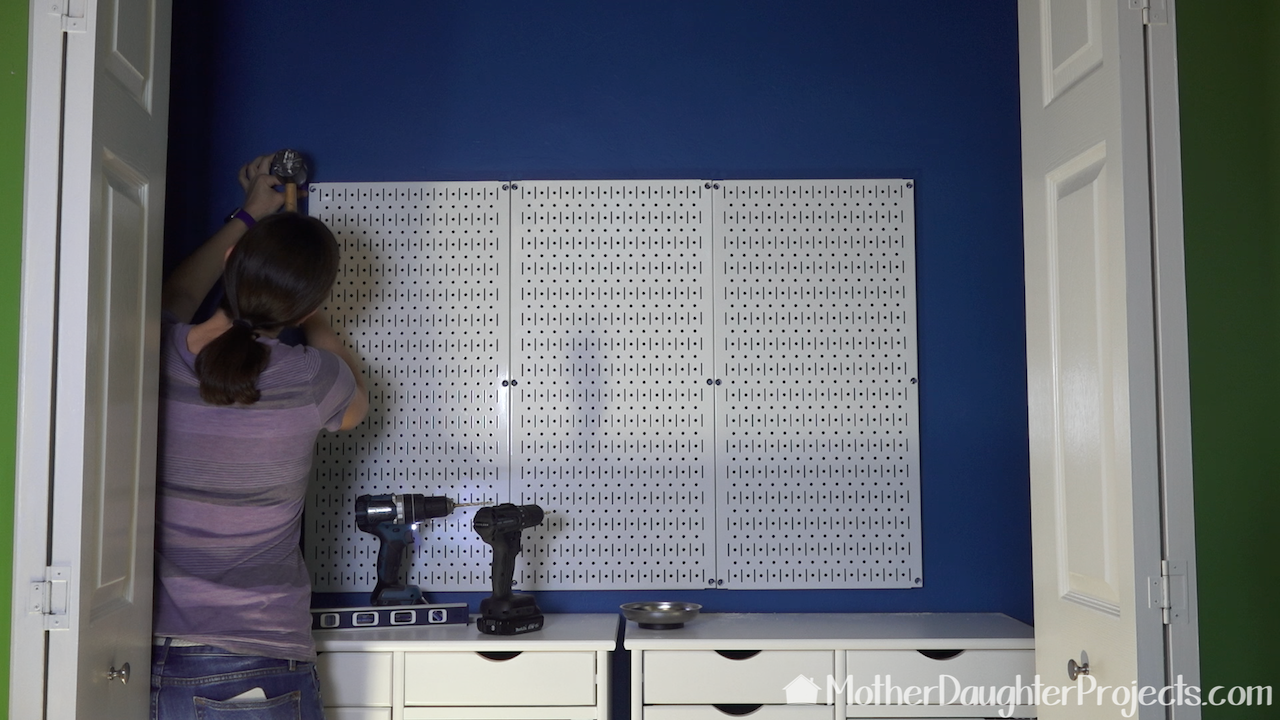
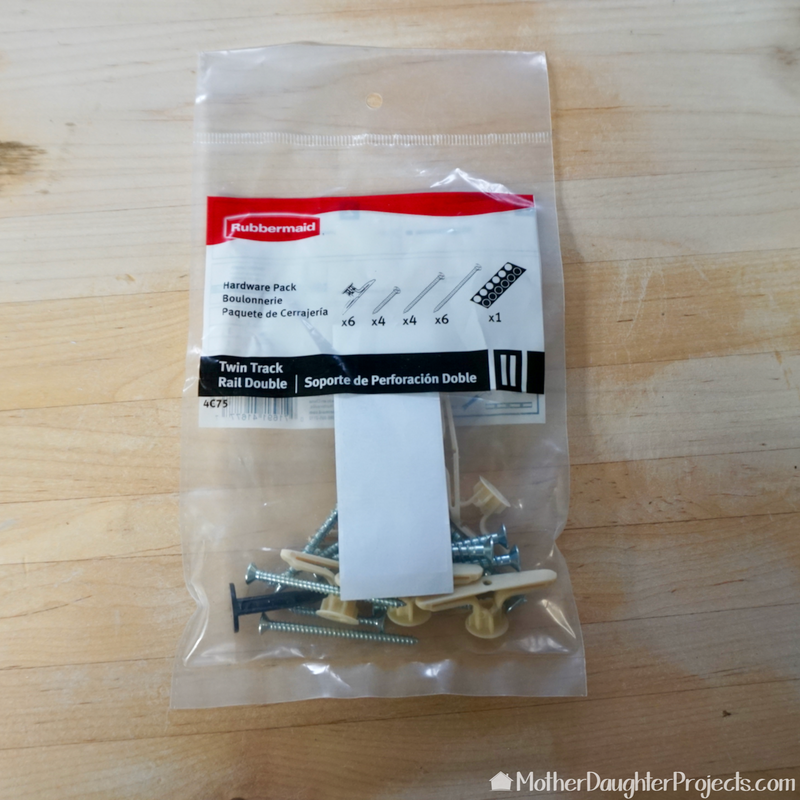
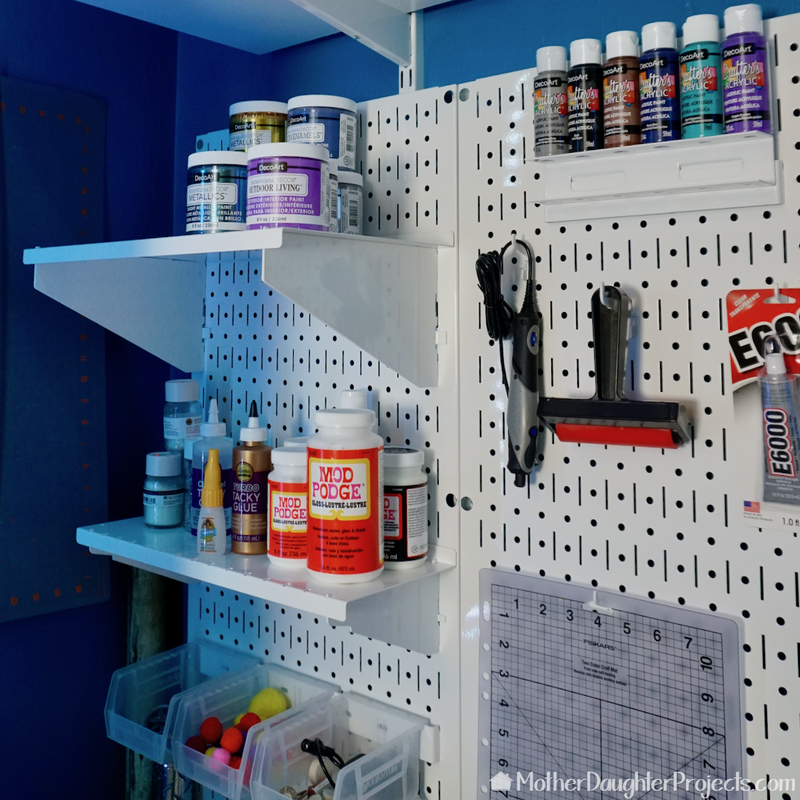
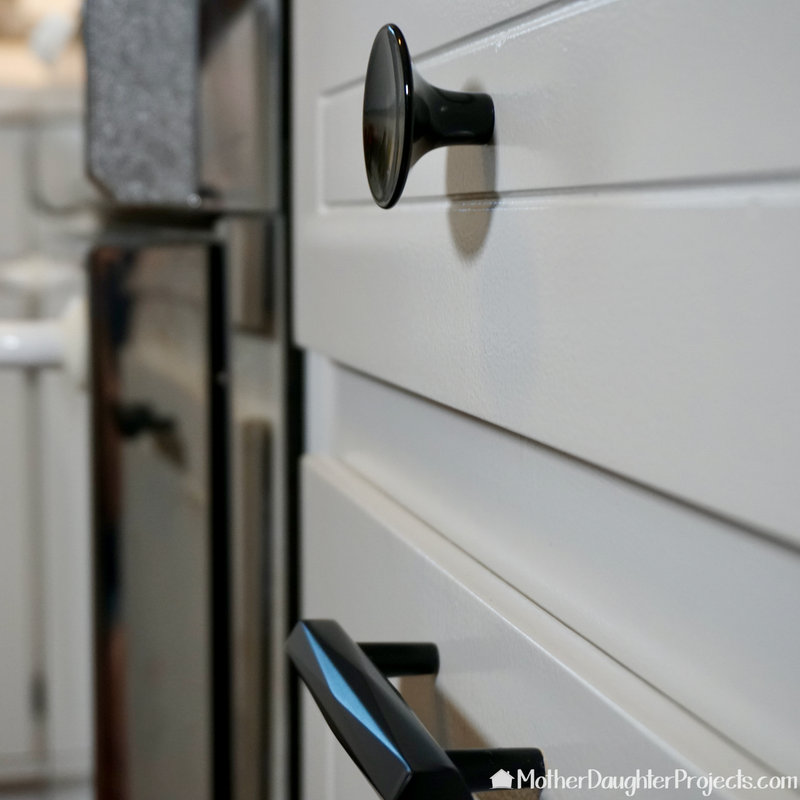
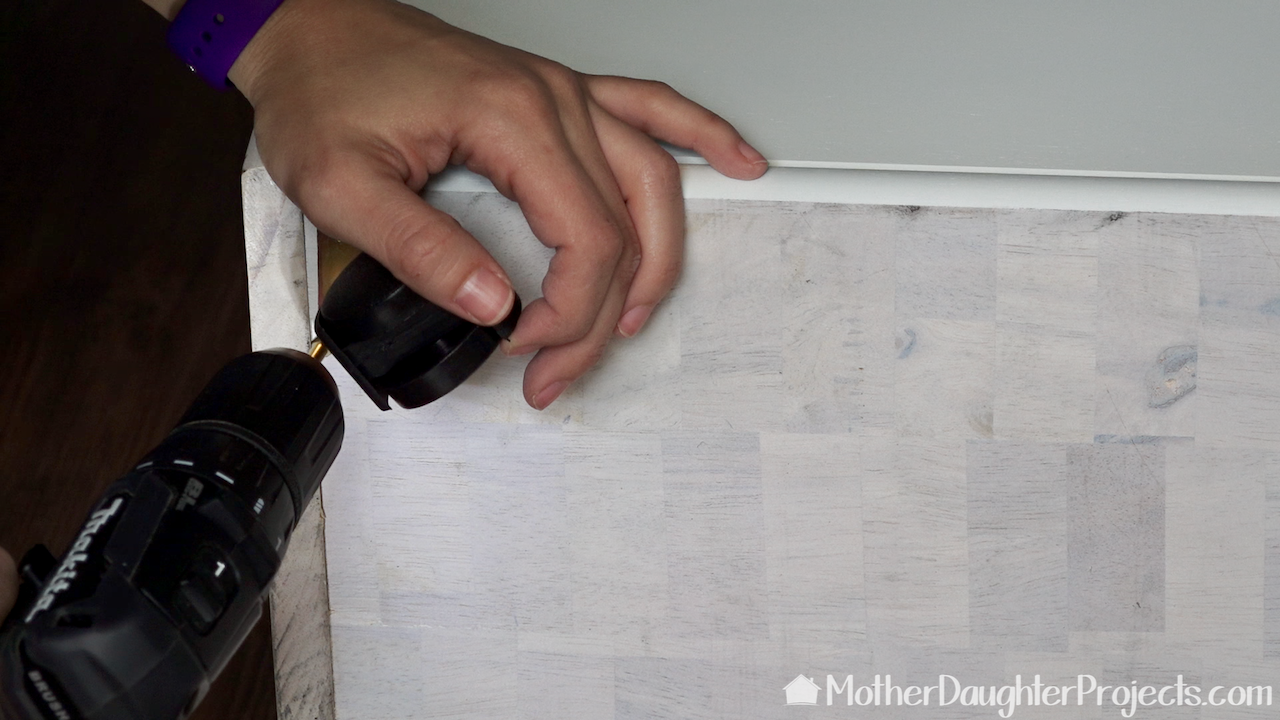
These wall control pegboard panels were really easy to install. We first found and marked the wall studs then found the center of the closet and centered the first panel on that. Any panel that didn't fall on a stud got a wall anchor and screw. Once the first one was up, it was a really fast install after that.
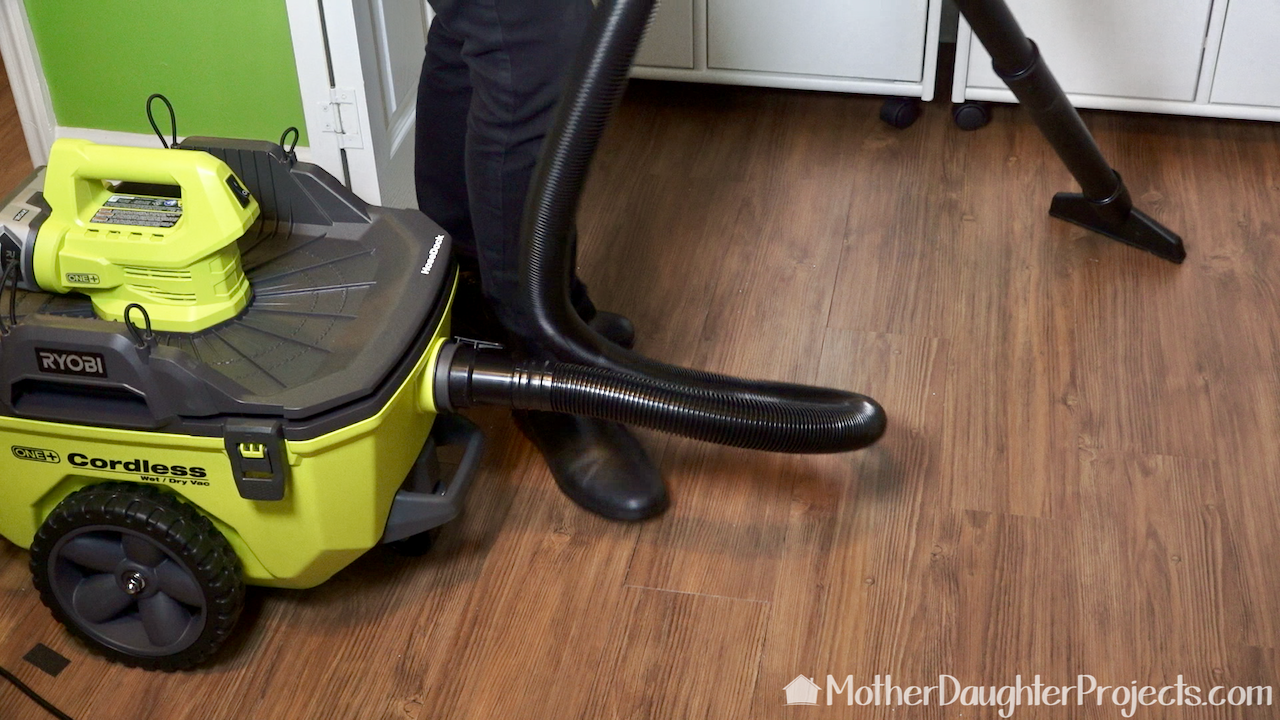
We decided to bring our new Ryobi cordless wet/dry vac to help clean up the space. It was so nice not to have to search for an outlet since there wasn't one nearby. It worked as well as a corded version, which really surprised us as well as how light and easy it is to carry and maneuver in our small space.
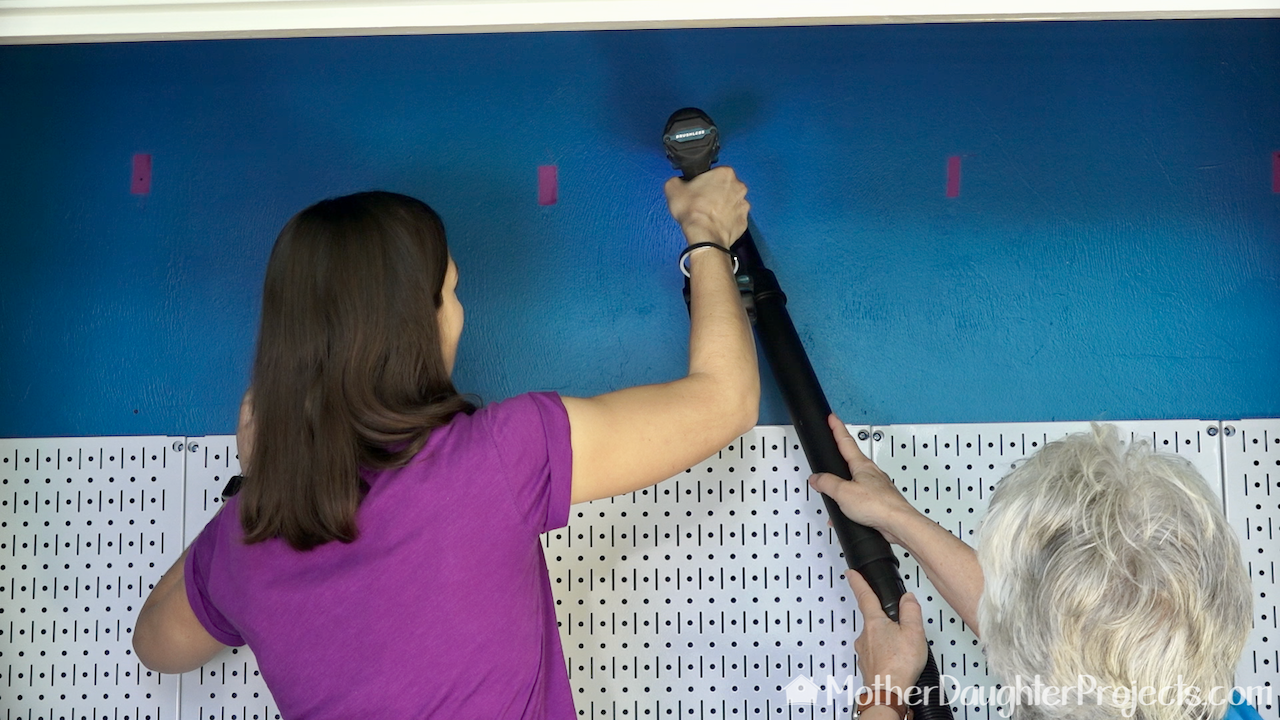
After having to clean up drywall dust from drilling the holes for the wall panels, I got the brilliant idea to hold the Ryobi hose up to collect the dust as Steph drilled. Such a "duh" moment!
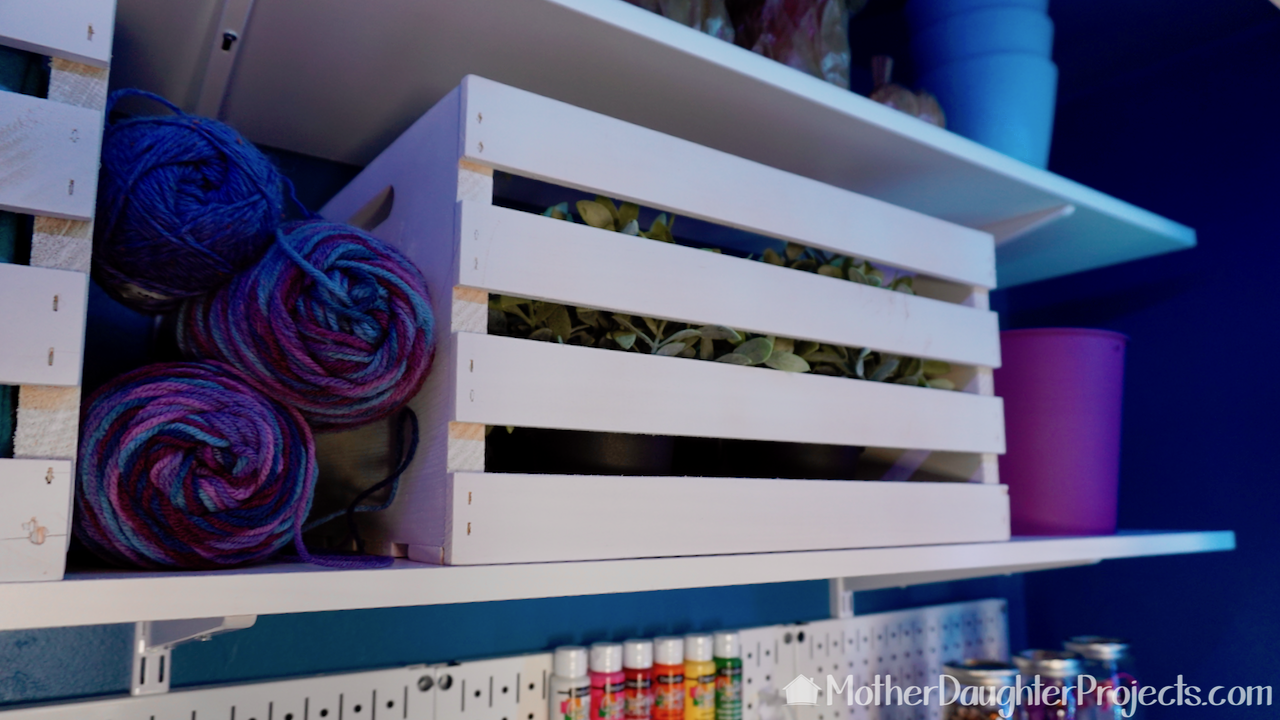
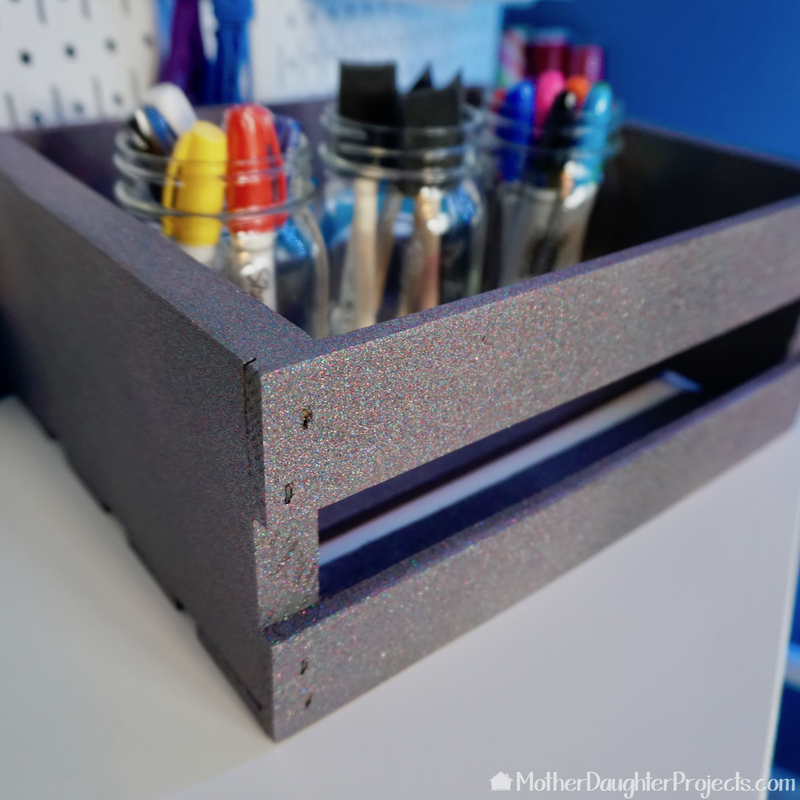
We painted the two larger crates white to add to the bottom shelf.
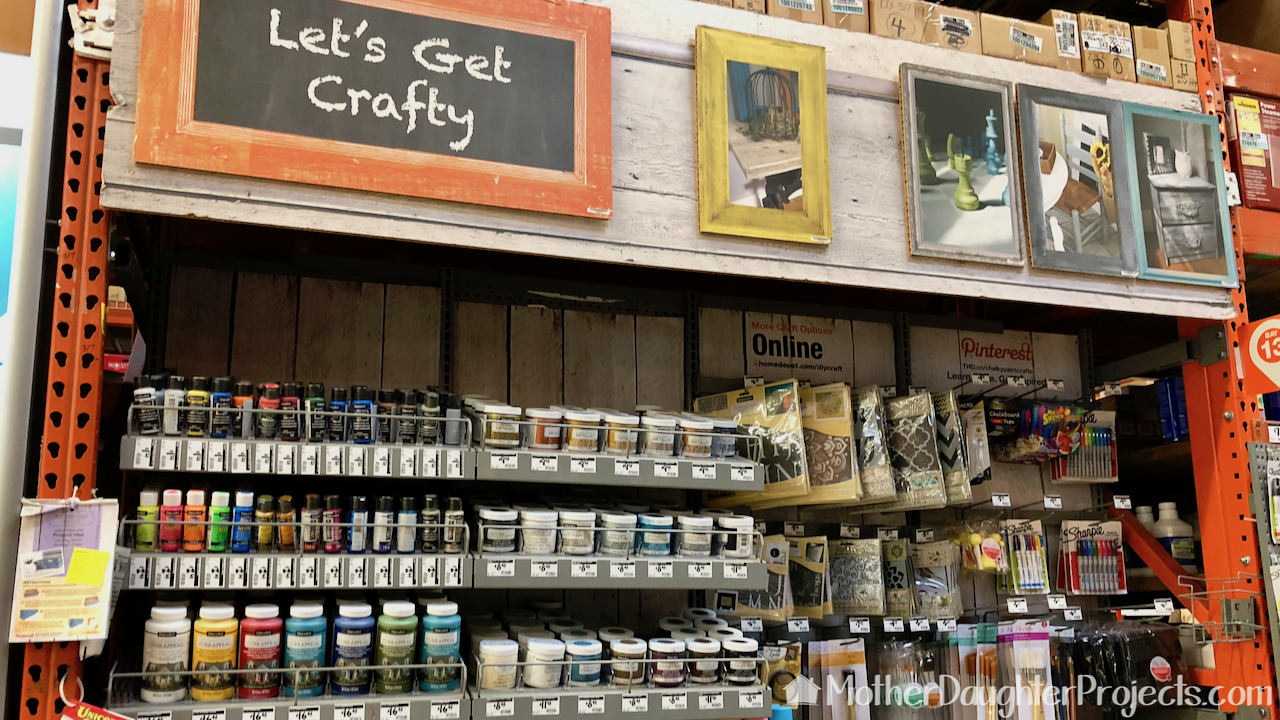
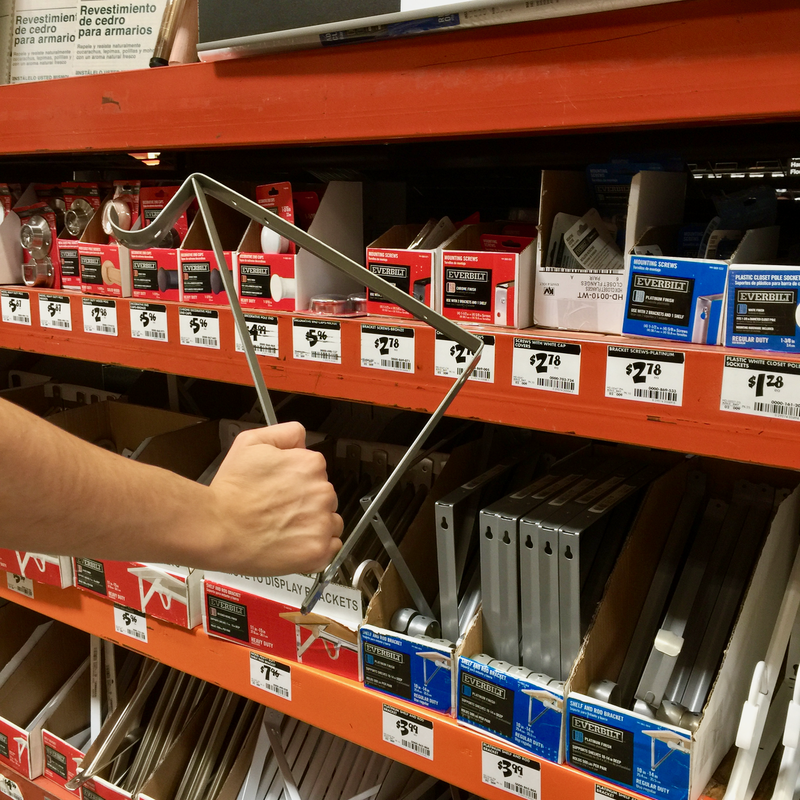
Our Home Depot (store #254) has a great selection of basic crafting supplies and paints. This section is conveniently located right across from the spray paint section. Not all Home Depot stores have an in-house craft section but everything is available via the web with free shipping to the store.
Using pre-made components for this project meant is was finished and ready for use in a very timely matter. Yes, we could have built cabinets and cut our own shelving, but that would have added more time to the project. As we were anxious to get all our stuff organized we decided to semi-DIY this project with pre-made components.
We were very impressed with the ease of install of the Wall Control pegboard panels. This is a family owned company out of Georgia that has been in business since the sixties with the Wall Control brand founded in 2002. Everything is made in America! We ordered everything online at HomeDepot.com, and the items not in store were shipped to the store for free. We received notification when the items were in the store. It was VERY convenient to do it this way. When you have stuff shipped to the store, pick up is at the front desk. If it's something heavy, they bring it to you and will even put it in the car for you!
We acknowledge that The Home Depot is partnering with us to participate in the The Home Depot ProSpective Campaign. As a part of the Program, we are receiving compensation in the form of products and services, for the purpose of promoting The Home Depot. All expressed opinions and experiences are our own words. Our post complies with the Word Of Mouth Marketing Association (WOMMA) Ethics Code and applicable Federal Trade Commission guidelines.
FYI: We are not professionals, and we don’t claim to be. This is what we found worked for our project. Yours may need a little different approach. Safety first! FYI: Affiliate links are being used on this page. Purchasing via these links help support MDP! Related Projects
2 Comments
2/15/2018 08:57:05 pm
Loved this segment. I have a closet that is screaming to be organized! I’ll be checking out options on Home Depot’s website. Thanks for sharing useful info in an entertaining way!
Steph
2/16/2018 08:45:42 am
Glad you enjoyed it Melanie! Leave a Reply. |

Mother Daughter Projects
|