|
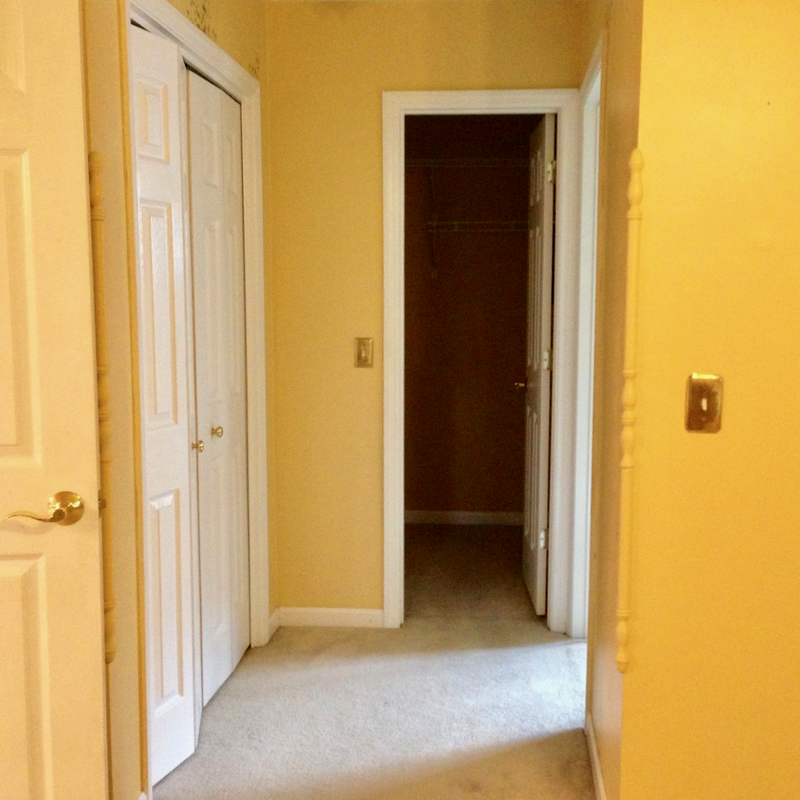
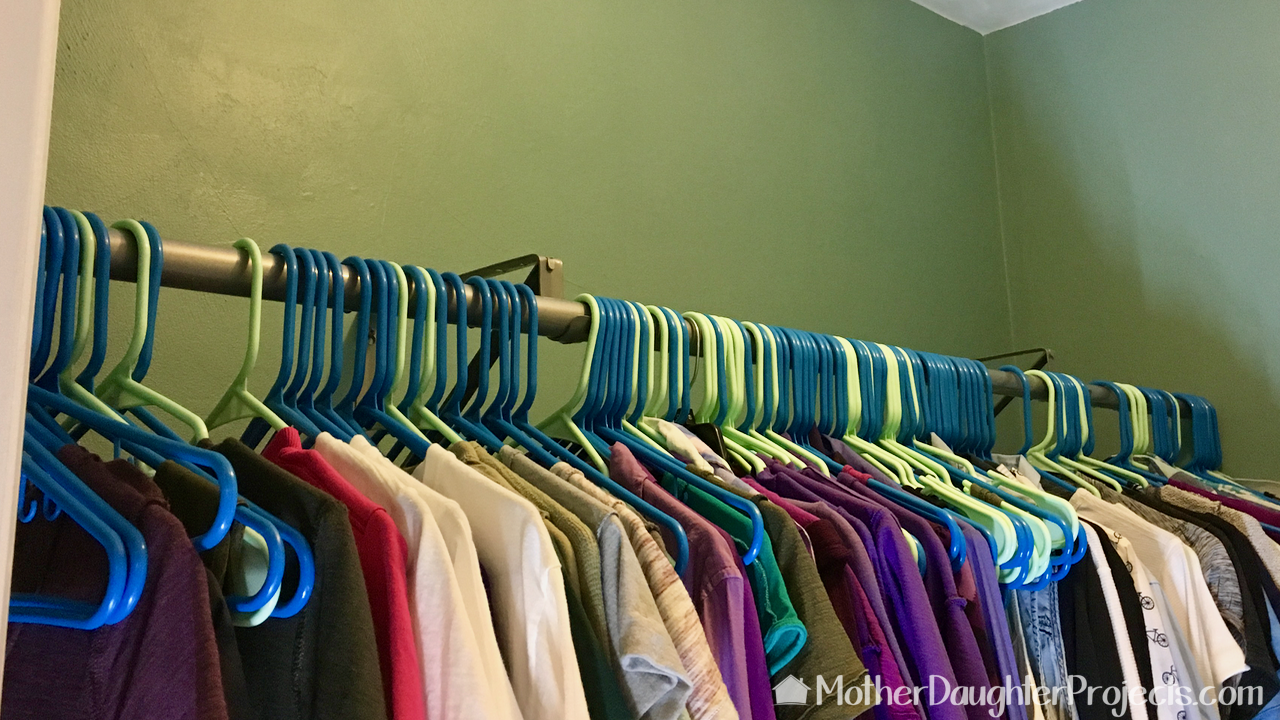
When I moved into my (Steph) house 4 years ago, the master bedroom had a closet in the hallway and a second, walk-in closet. I thought the hallway closet was adequate and the walk-in would be a great room for storage and an audio recording booth (I know, nerdy and not really on most peoples' 'must' list- but it was on mine).
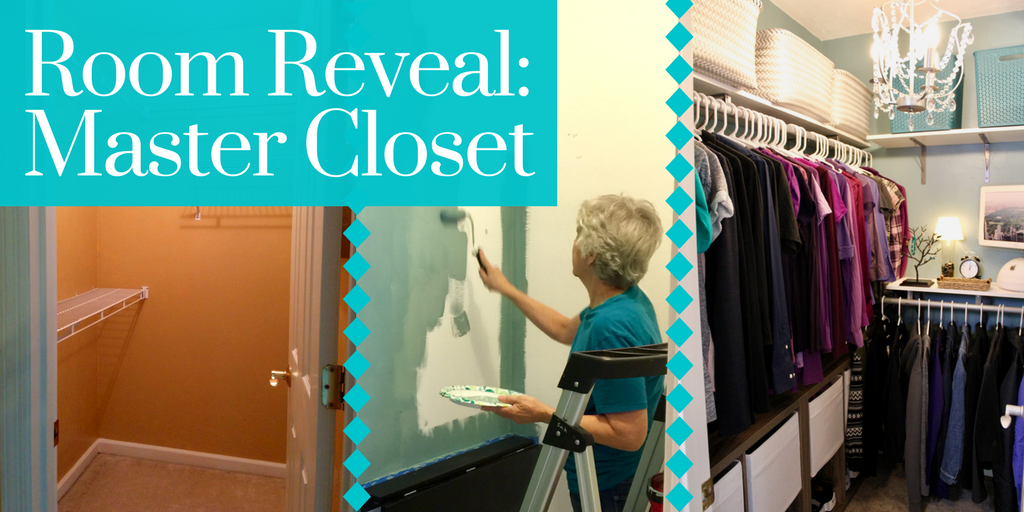
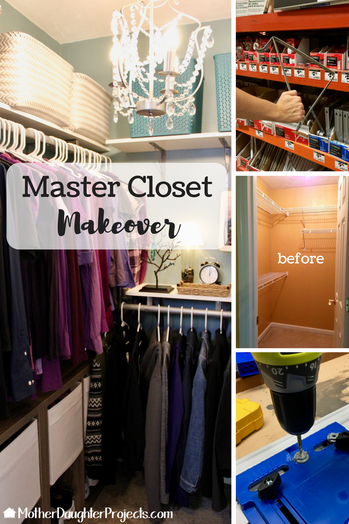
Now that I have made a recording booth in my office closet, I was ready to make the walk-in closet- well, a closet! Follow the journey below...
Step 1: Shop
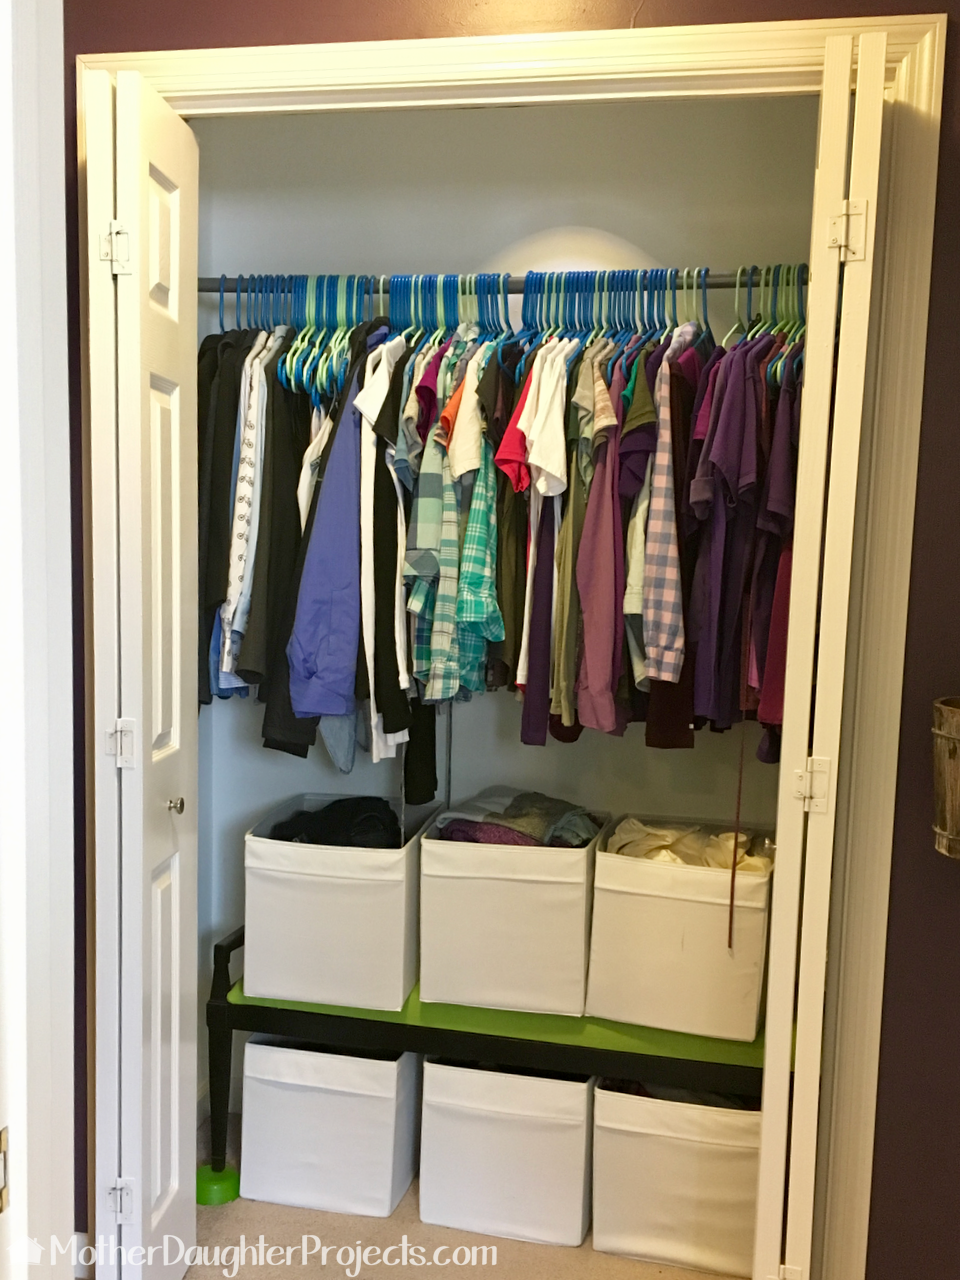
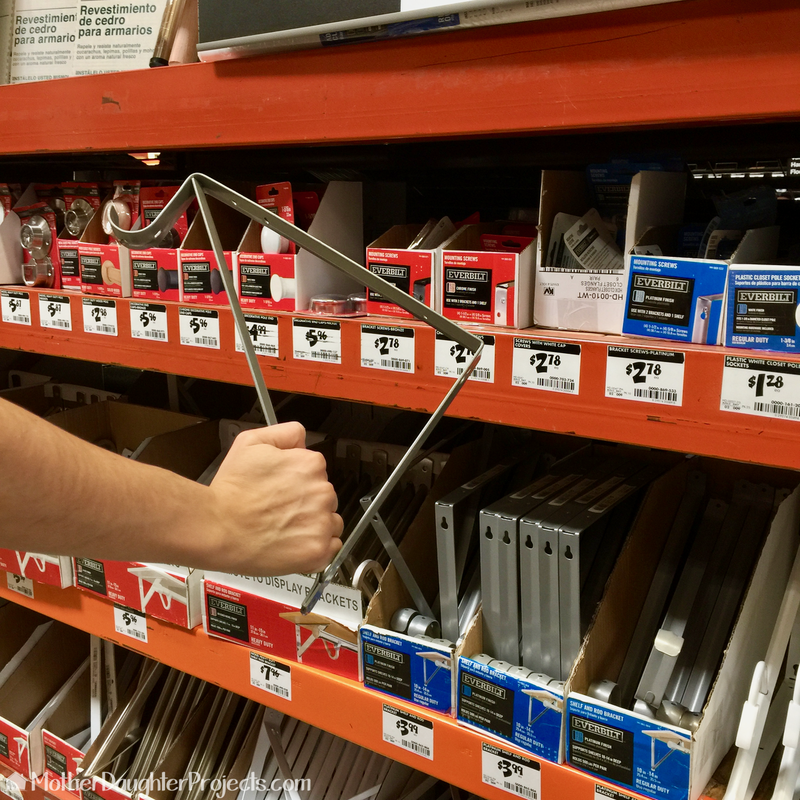
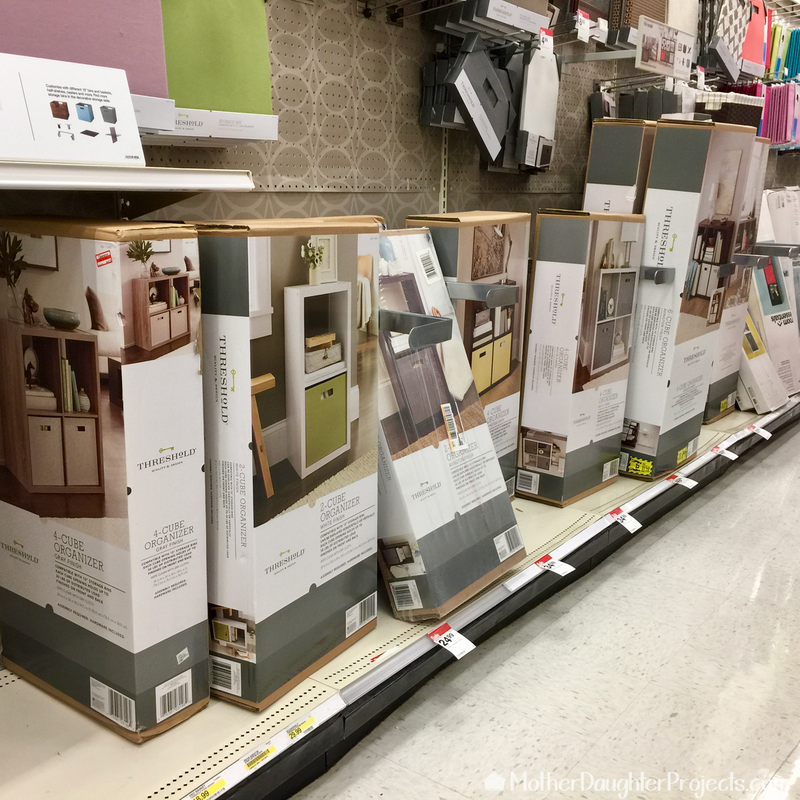
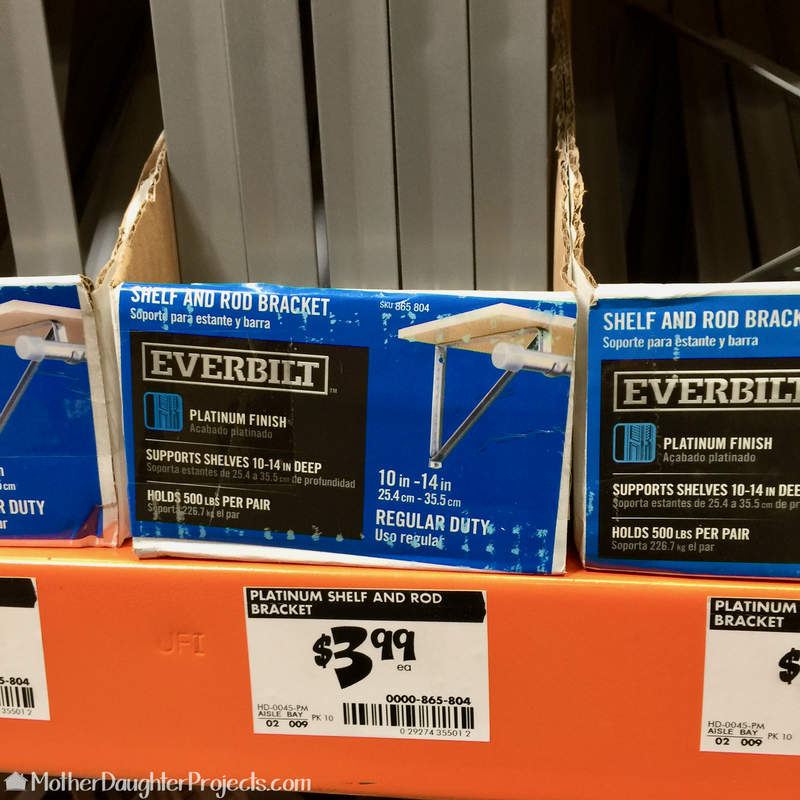
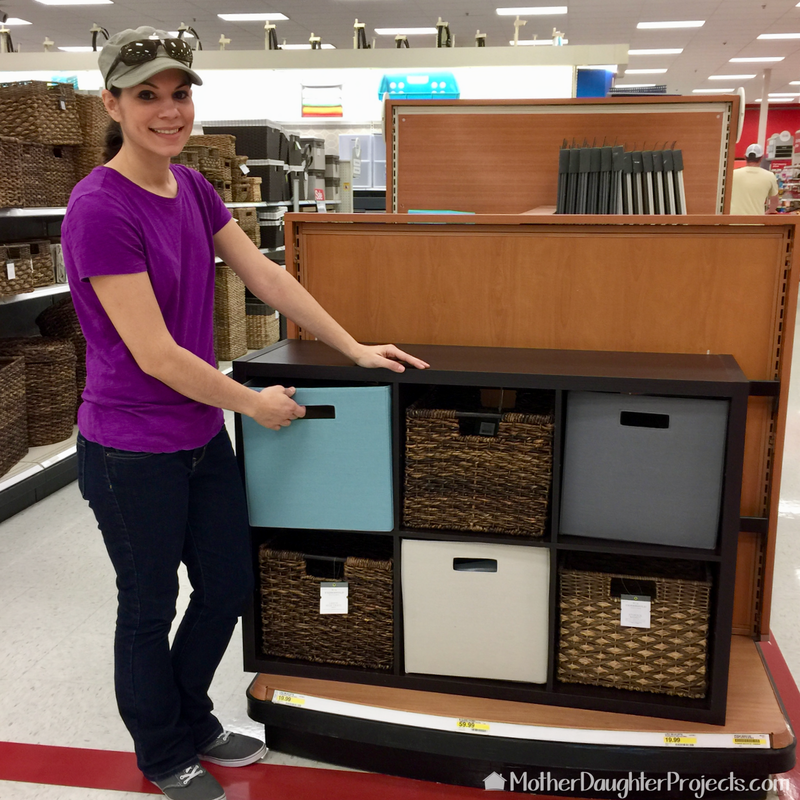
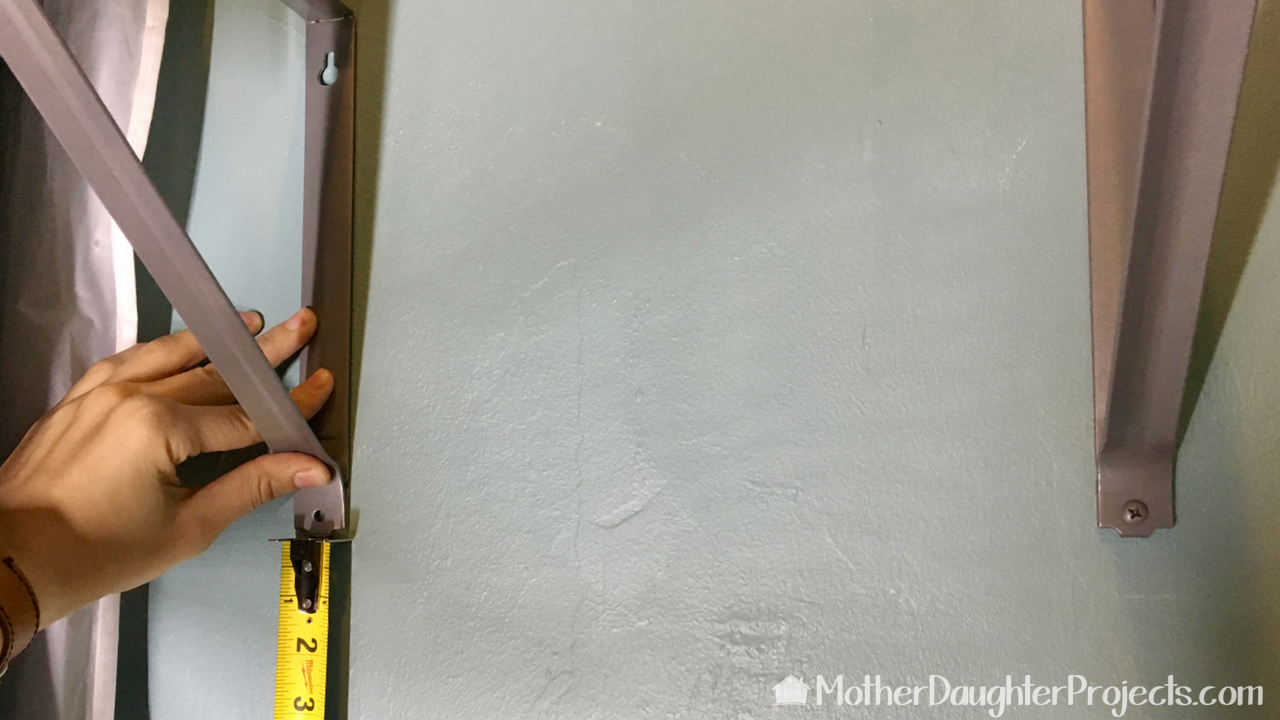
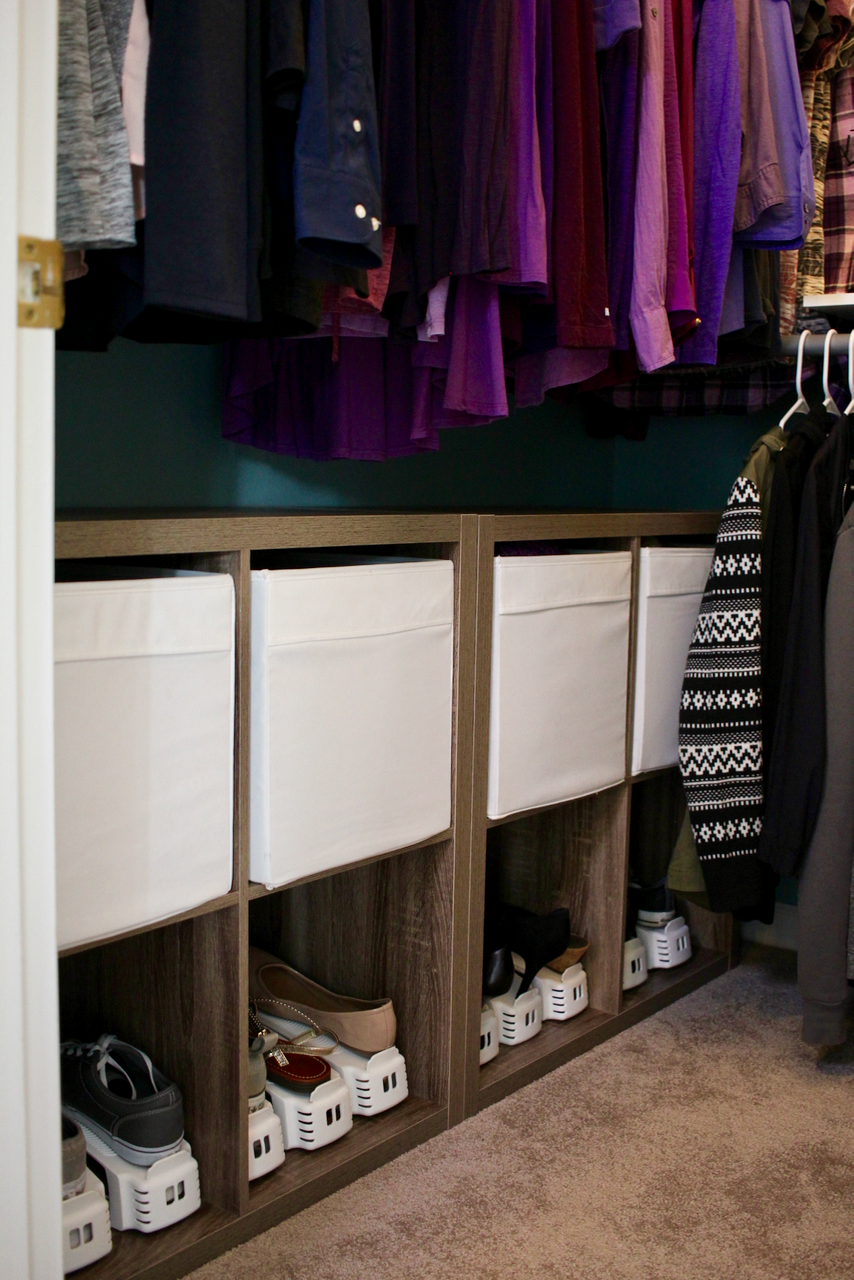
We started by doing some shopping. We found brackets that had a rod and a shelf support built in. We also found some cube storage at target. As you can see in my original closet, I like using boxes to hold clothes but didn't have a place to store them. We thought about making a cubby holder, but the price was right at target and they fit the space.
Step 2: Paint and Plan
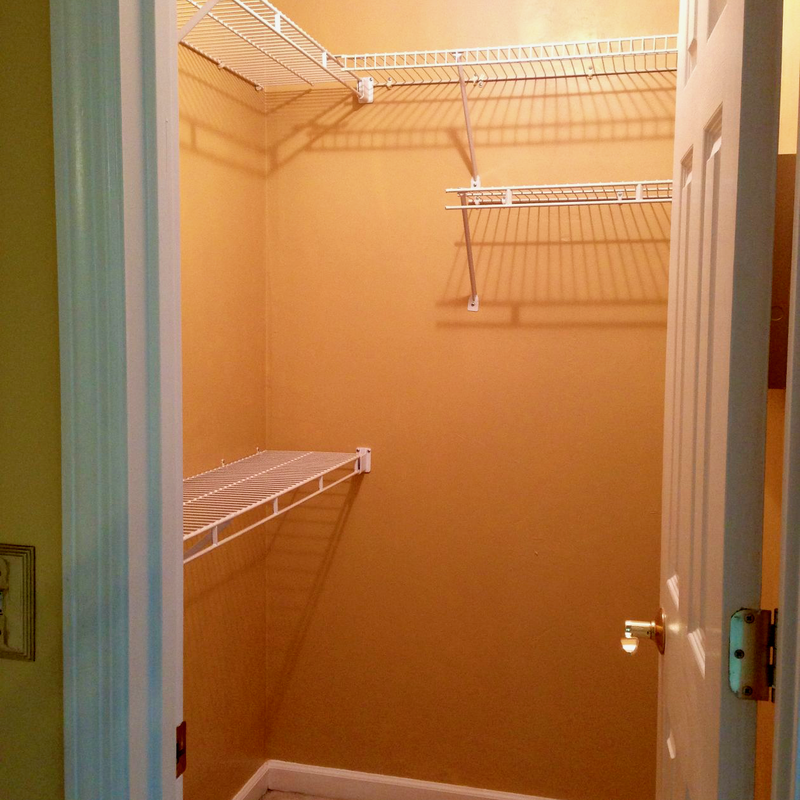
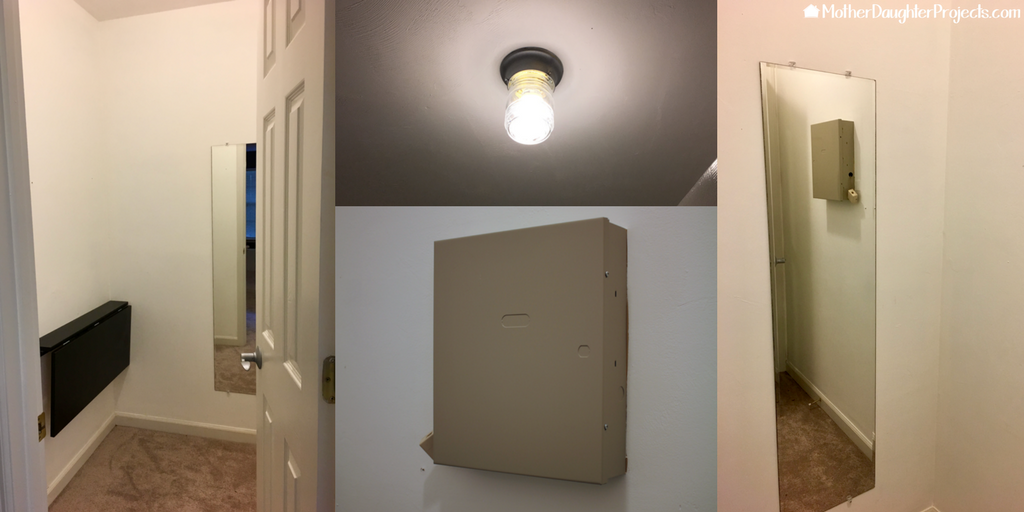
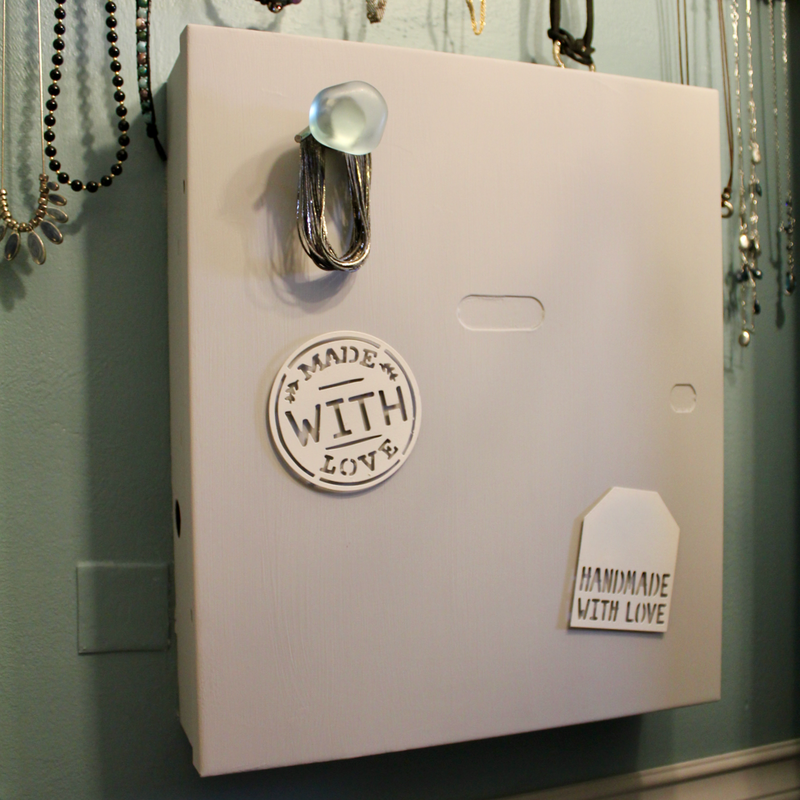
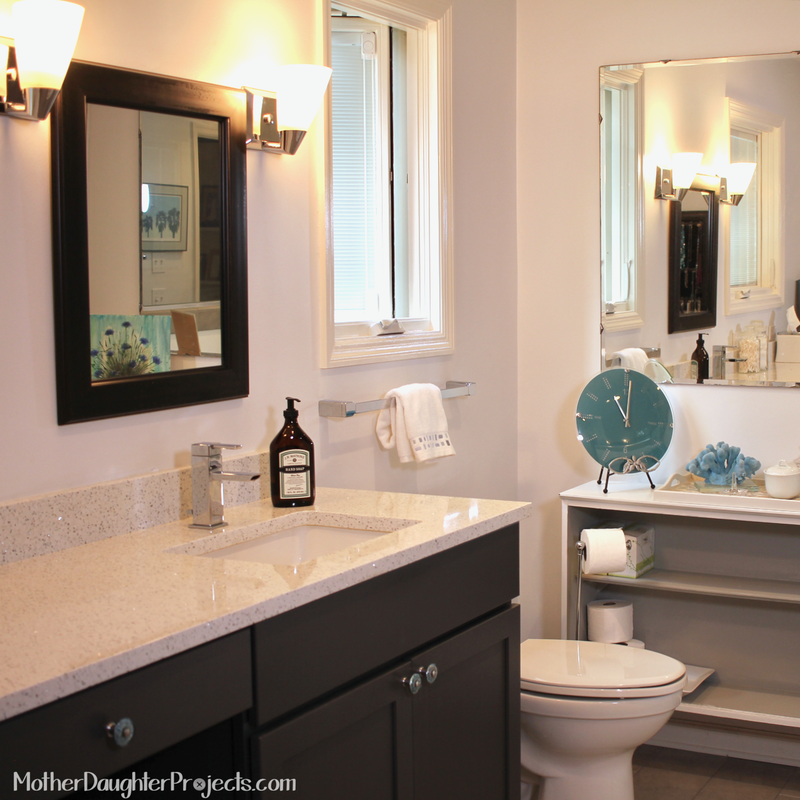
When I moved in my house, we painted the closet white as a base. I started making it a recording booth, you can see the collapsible table I had installed. Also, the closet had this electrical box for the alarm system in the middle of one of the walls. I also wanted to replace the builders grade light with something fun! Mom painted over the white walls with the same color paint that we used in my master bathroom.
Step 3: Install Shelves
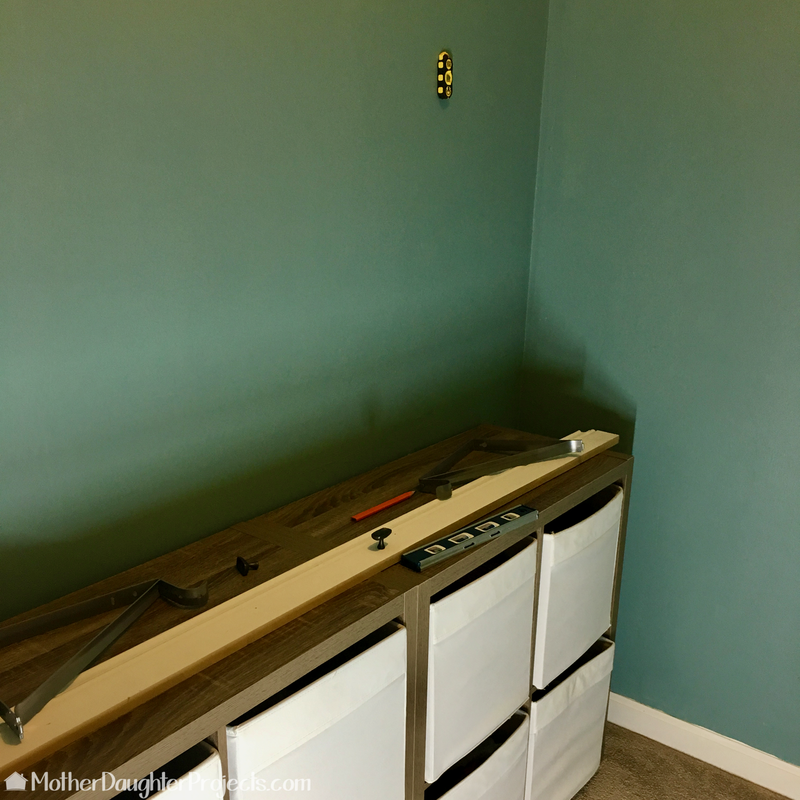
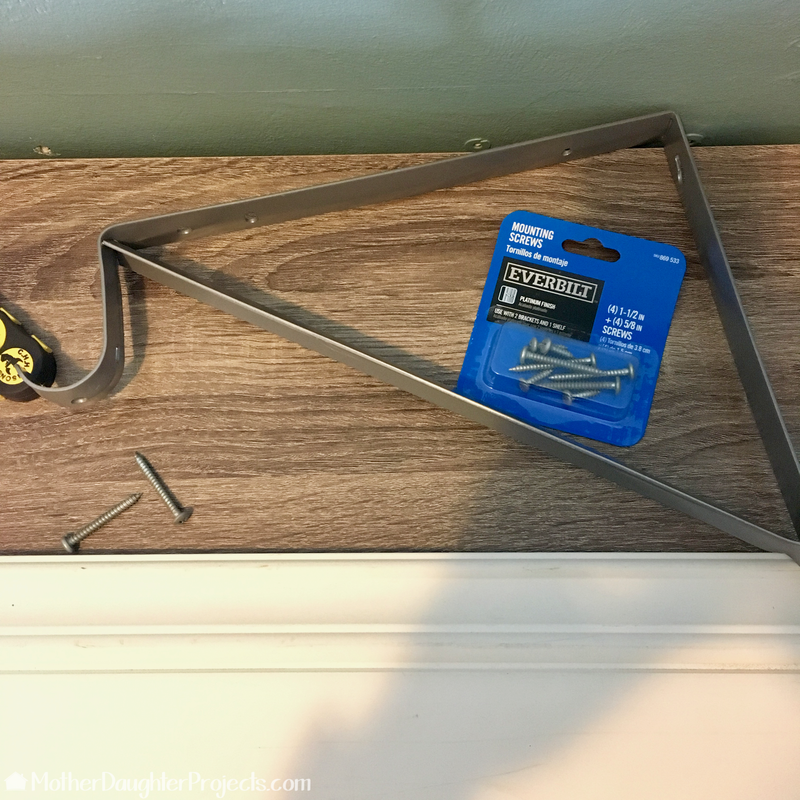
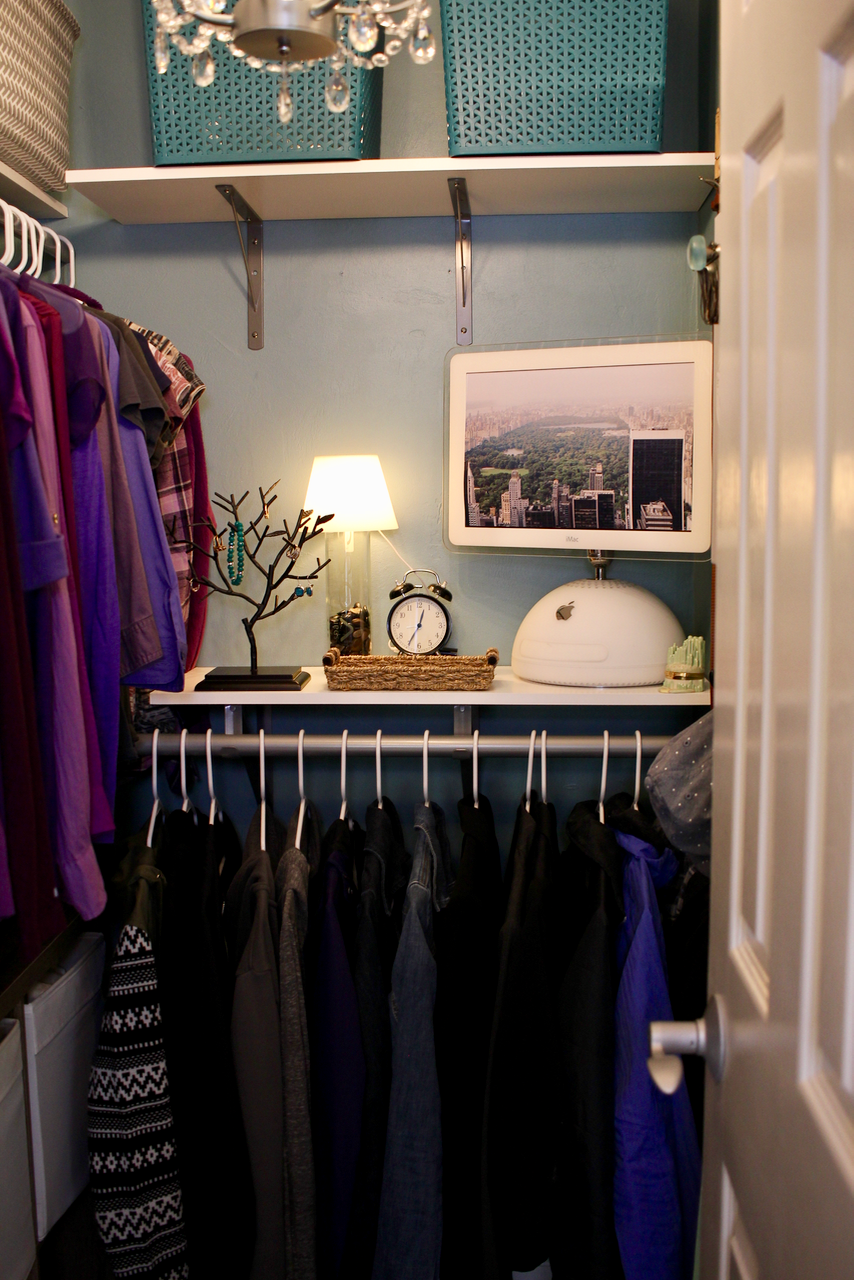
After the paint dried, I installed 3 sets of brackets and shelves. The key was finding the studs in my wall so the brackets would be nice and strong. Our favorite tool, the magnetic stud finder makes finding studs a breeze!
Step 4: Install Accessory Organizers
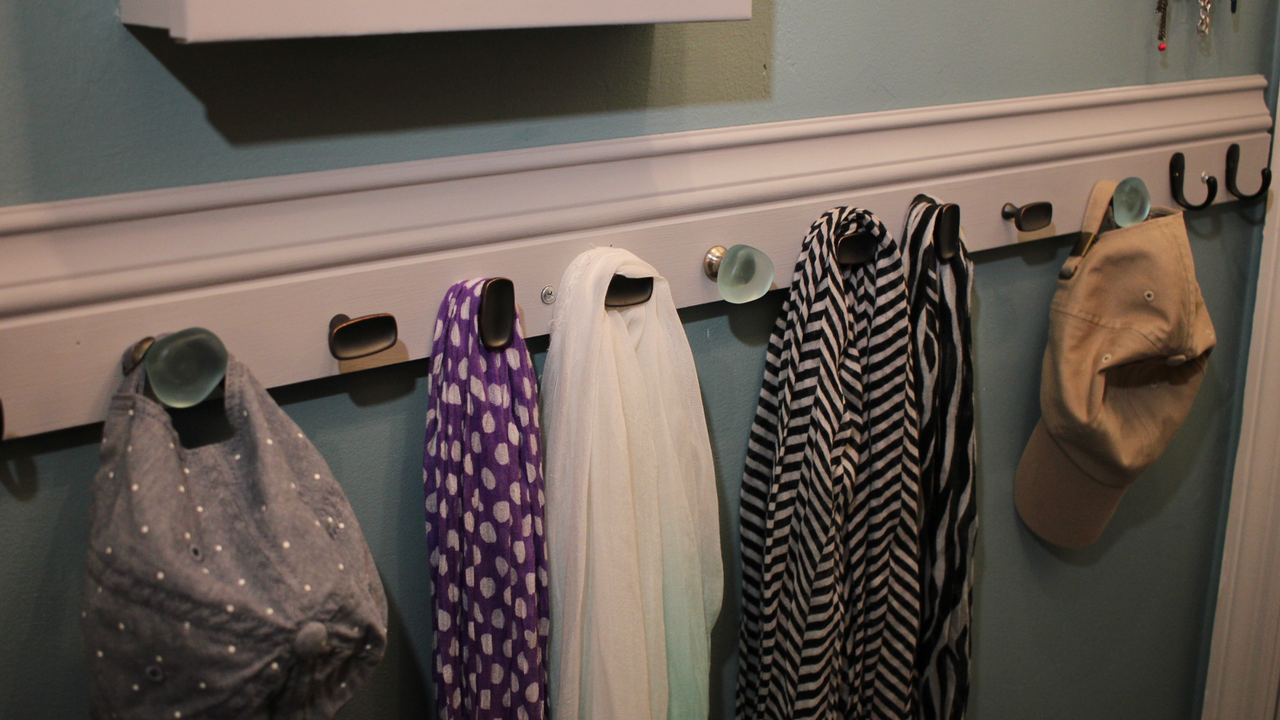
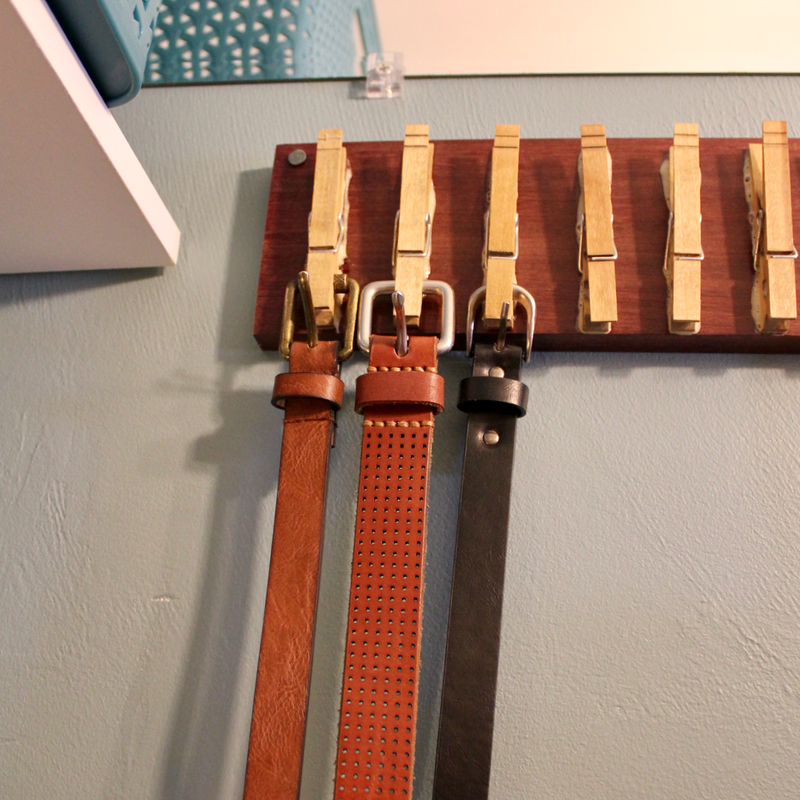
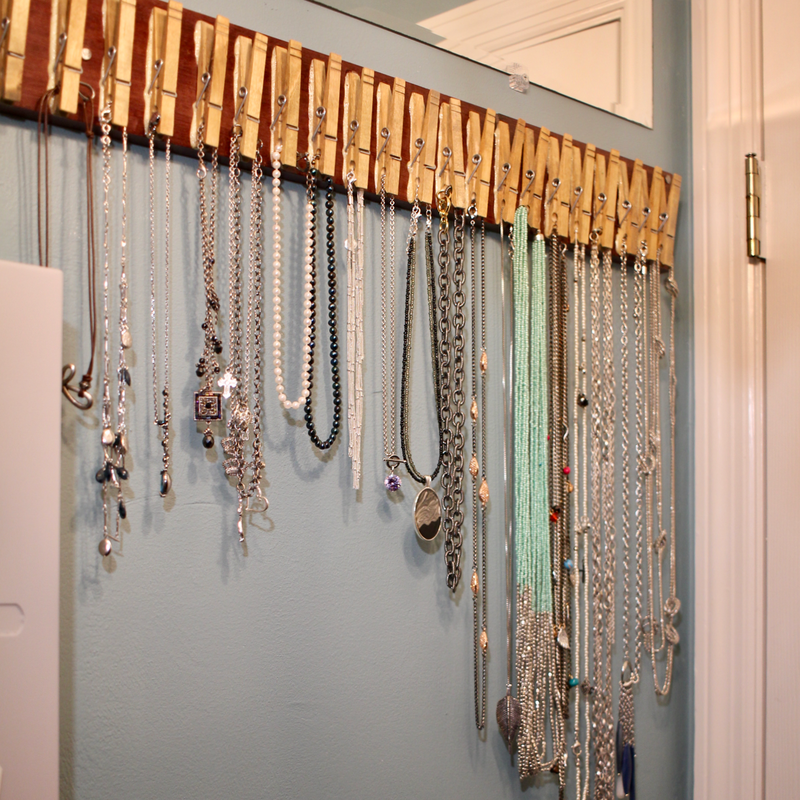
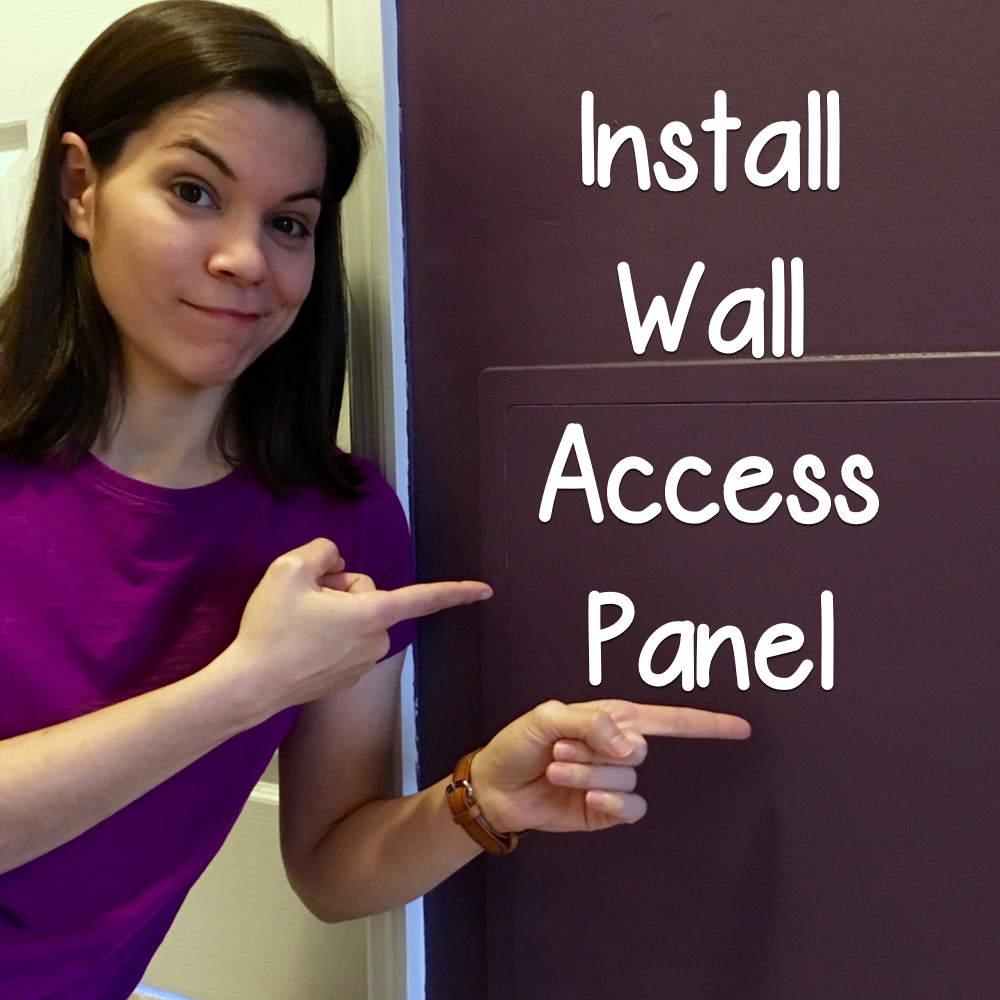
Previously, we had made a jewelry and belt organizer and recently made a scarf and hat organizer. I installed those, again attaching them to studs for a strong hold. We also painted the electrical box with chalk paint and added some magnets, so now it doesn't look so out-of-place!
Step 5: New Lighting
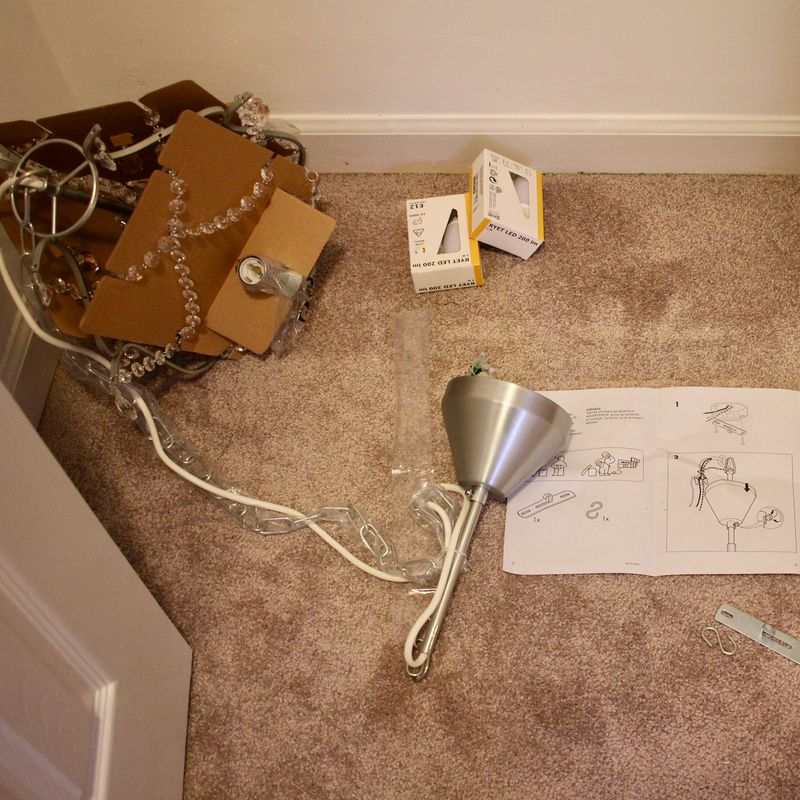
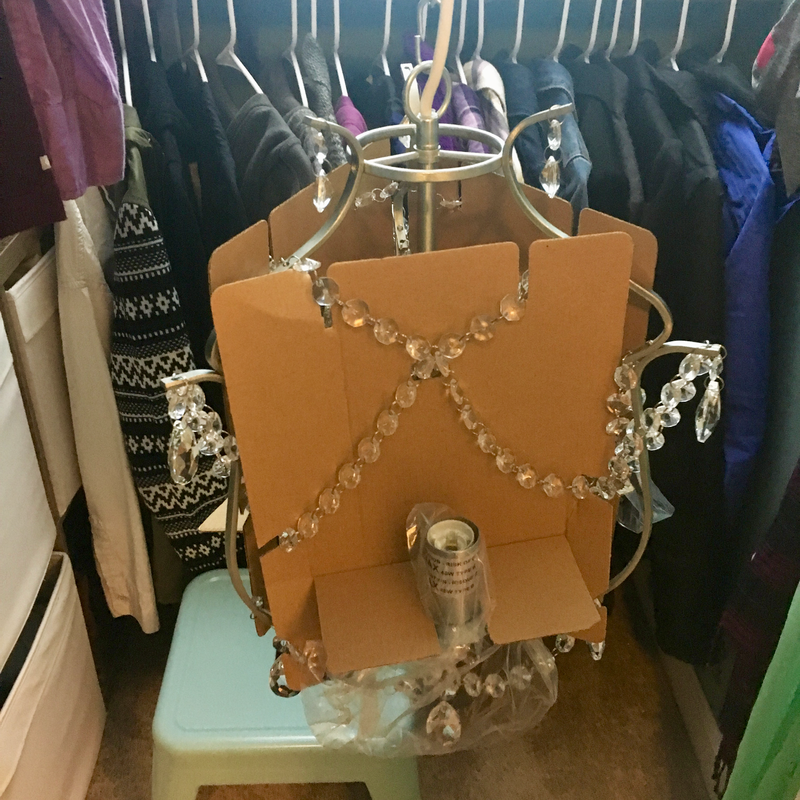
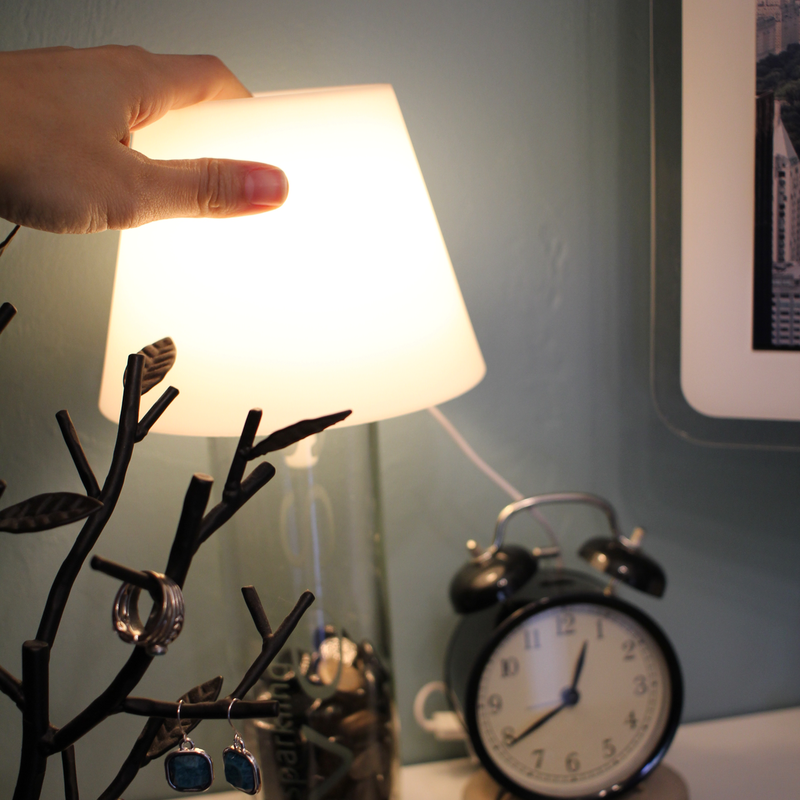
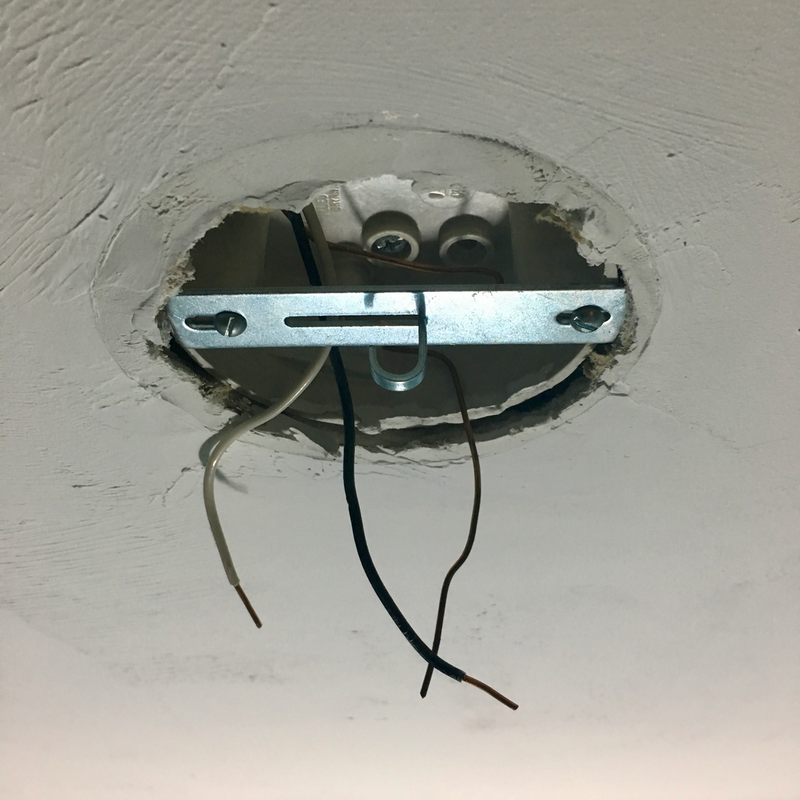
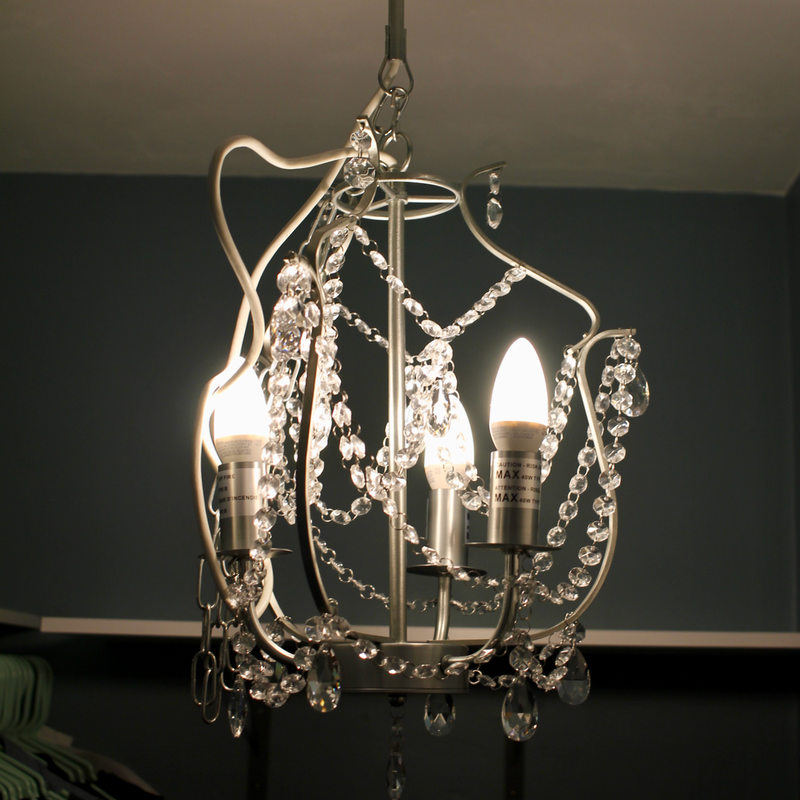
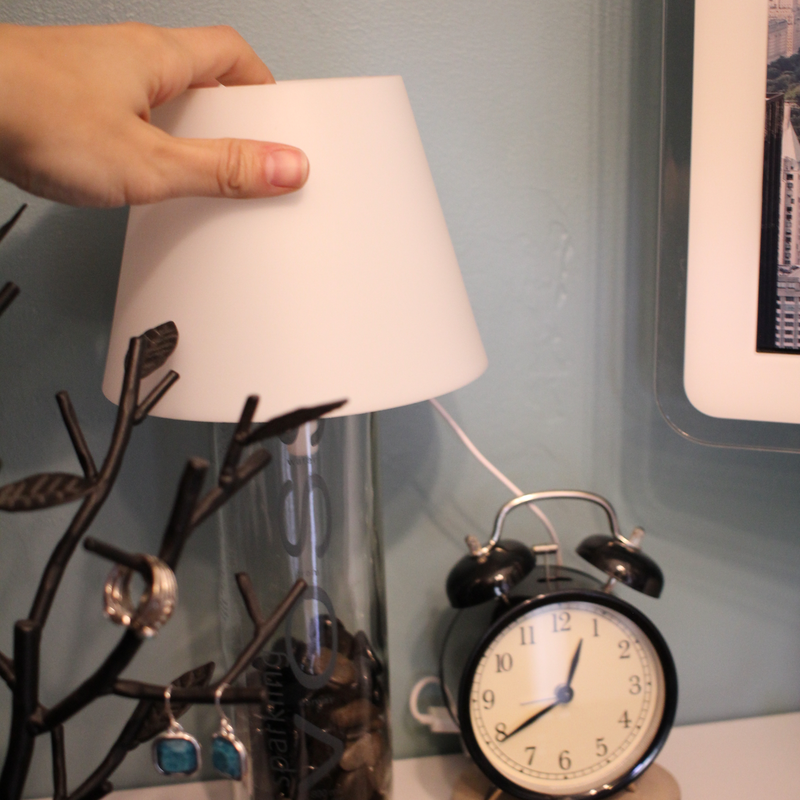
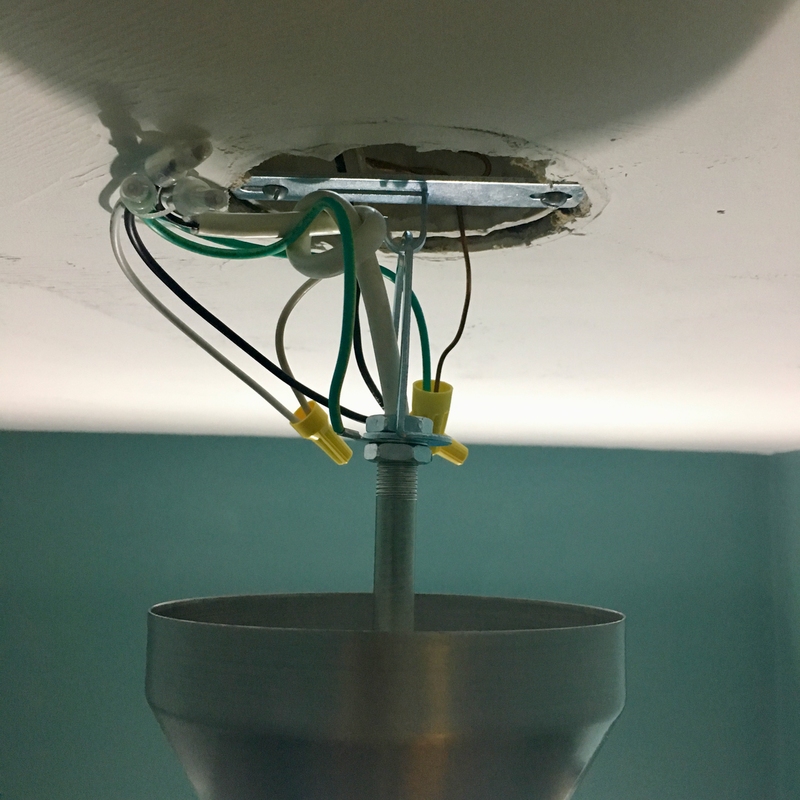
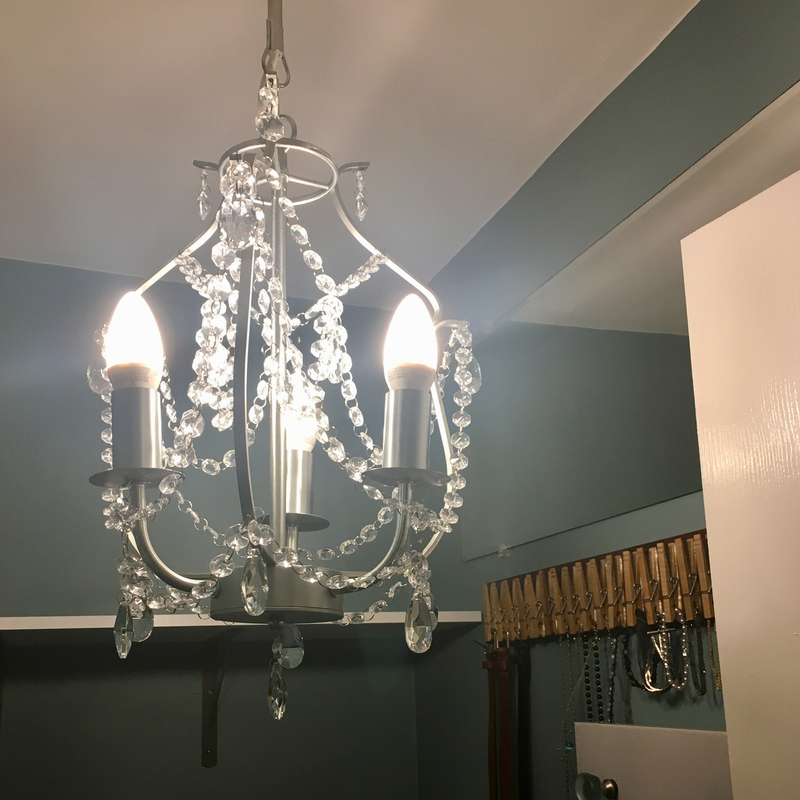
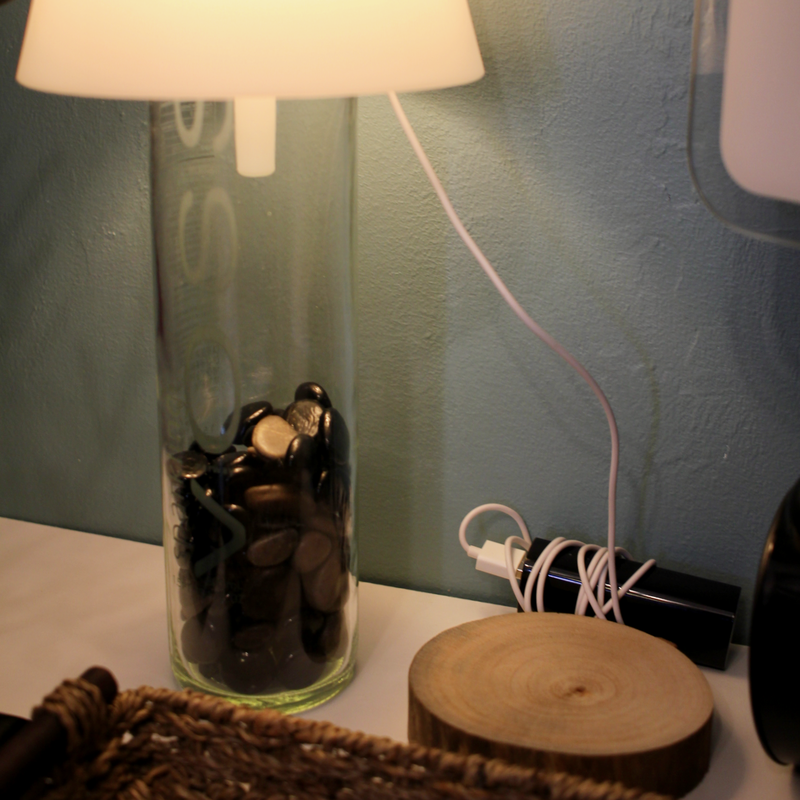
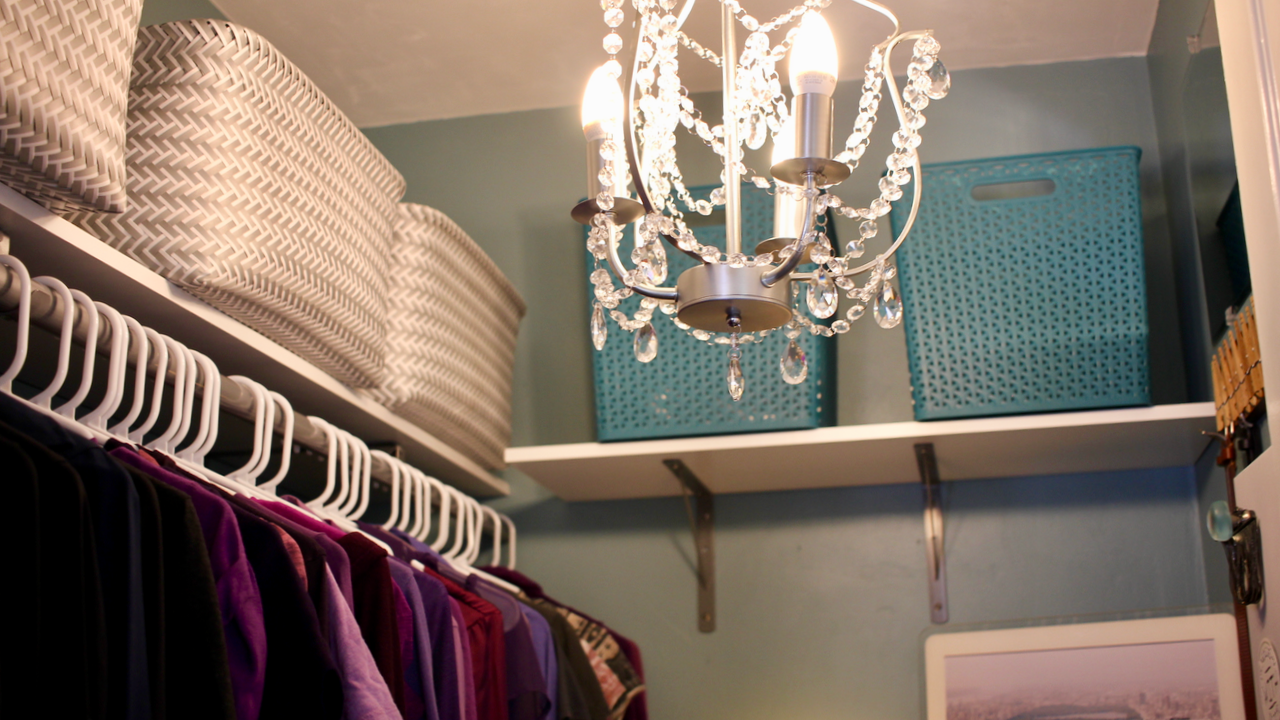
I wanted a fun light for the closet so we found this chandelier at Ikea. I removed the old light and installed the new one, but I found out the new light was way too long. It had an adjustable chain but it was too long so I removed the chain and connected the chandelier to the highest point it could connect. Also, we added this LED light that has a tap on feature. It's powered through a USB cable so we are able to power it through a USB power brick (like what you would charge an iPhone on-the-go).
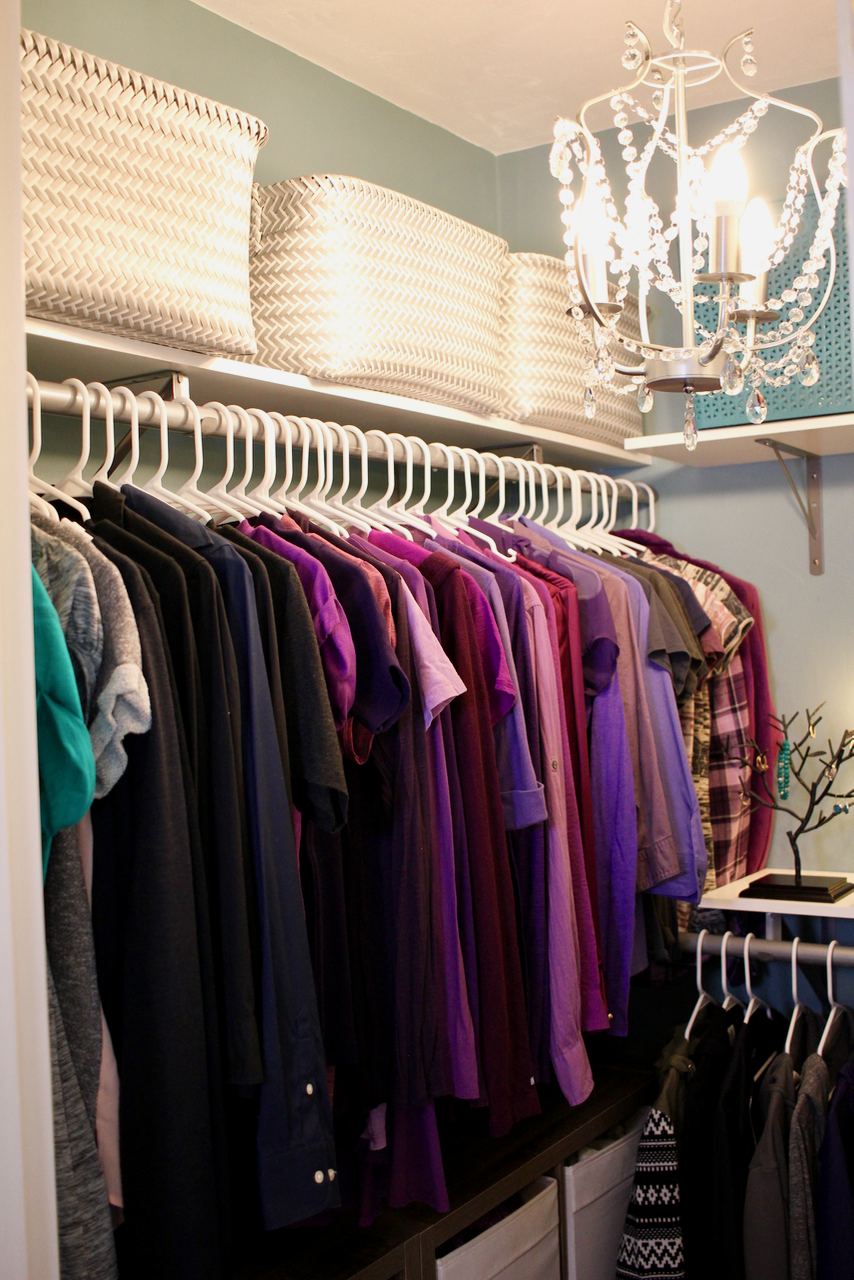
My walk-in closet has a great feel and is very functional now. I didn't go with a pre-designed system because I wanted to design it for my needs. I considered building shelves and built-ins, but I think it would have cost more money than buying ready made.
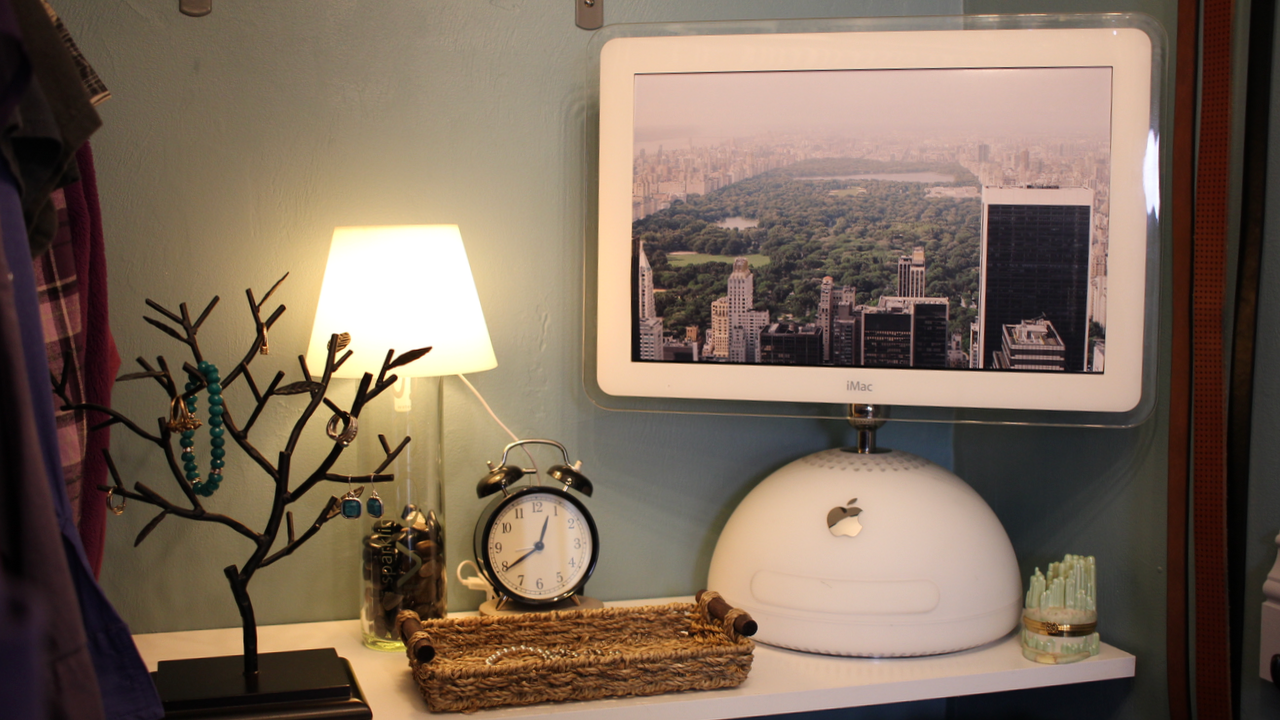
If you're wondering about the computer in my closet...that is my very first iMac that I bought in 2002 and I just don't want to get rid of it, because it means a lot to me. And you know what? It actually works! It's crazy slow so I don't use it but it does work. This seemed like a great place to store it, and I like using it as a picture frame for one of my favorite pictures of NYC. What room or space have you been wanting to makeover? What's holding you back from getting started? Let us know in the comments below or find us on Facebook.
Please note: We are not sponsored by any of the companies/products that we used. These products were picked and bought by us.
FYI: We are not professionals, and we don’t claim to be. This is what we found worked for our project. Yours may need a little different approach. Safety first! FYI: Affiliate links are being used on this page. Purchasing via these links help support MDP! Related Projects
3 Comments
Steph
3/10/2017 01:58:14 pm
Hi Debbie! Those are called Shoe Slotz and I found them on amazon. They are made out of white plastic and they stack your shoes so you can store more in a smaller space. There is a link in our materials are the top of the post.
Reply
meropi papadaki
7/21/2017 12:09:26 am
Reply
Leave a Reply. |


