|
text by Vicki Sign up to get Mother Daughter Projects updates in your email!
One of the goals, alright the entire #garagemakeover was based on this- to make the garage a comfortable space to work. By comfortable, we mean, not ninety plus degrees inside the garage in the summer!
A couple of projects that made the biggest difference in comfort level was the replacement of the garage seal. The old weather seal allowed hot air in and any cool air out, as well as bugs and a snake at one point. The second project was the installation of insulation on the backside of the door. With these two, along with a shade on the window, and four fans, we're seeing about an 8 to 10 degree difference between the inside and outside temperature. That might not seem like much, but in Steph's garage, the inside temperature was ALWAYS higher than the outside temperature. Take a look at the video to see how it all came together or read on for all the details. 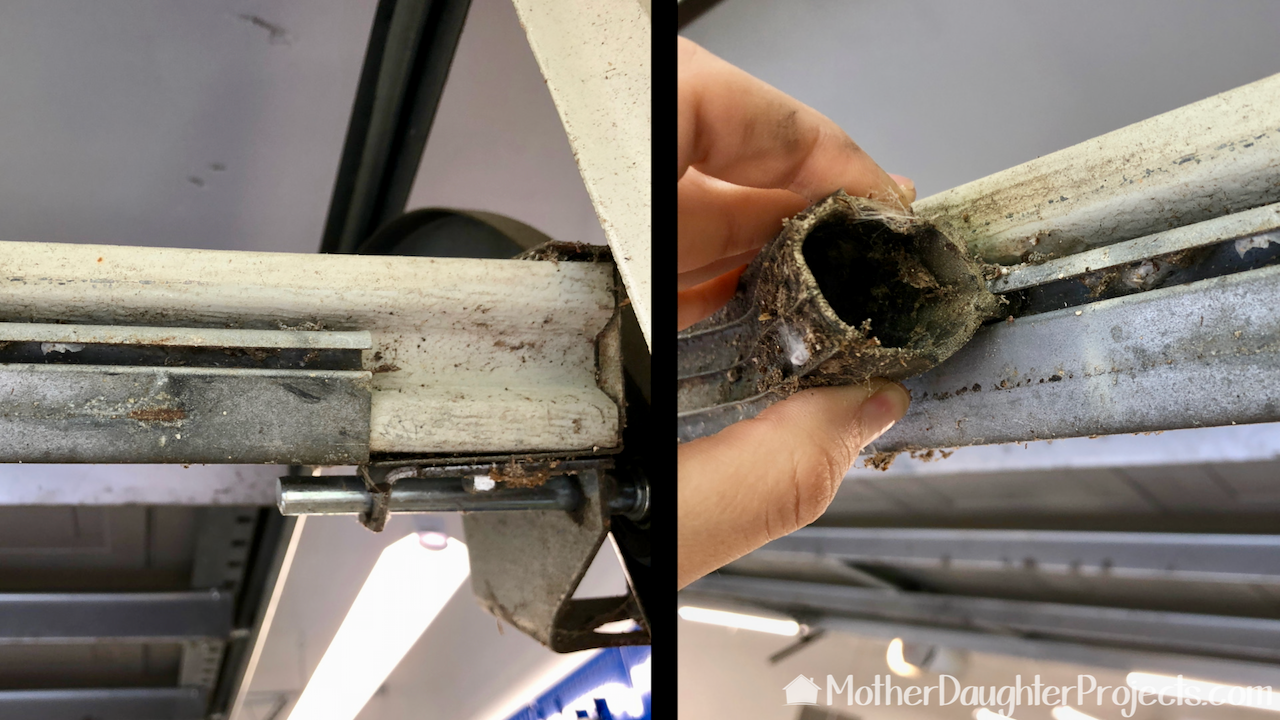
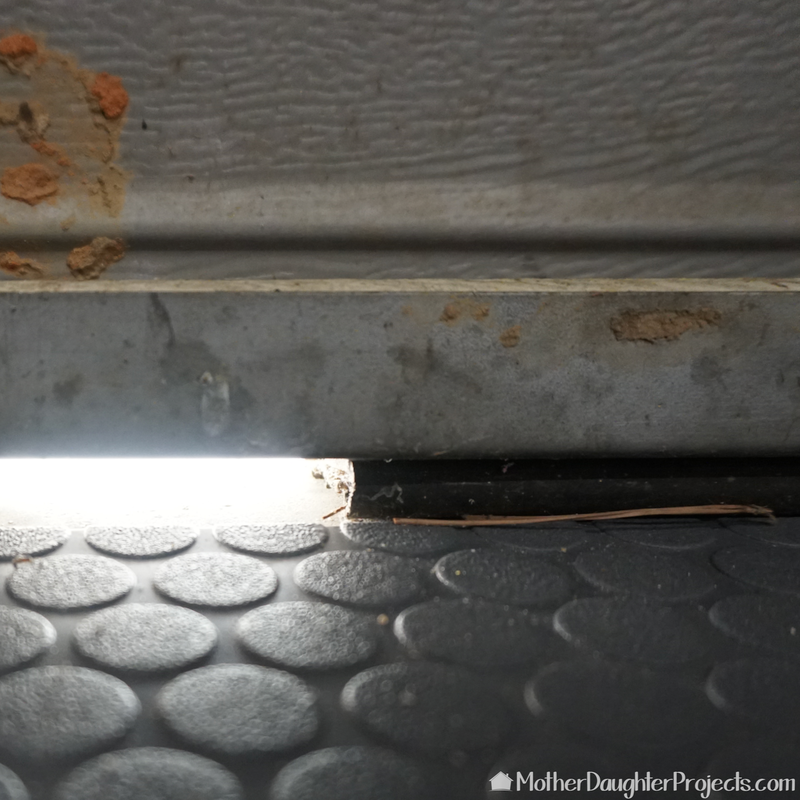
This is the old seal on the bottom of the garage door. It had shrunk to the point that it no longer stretched the entire length of the door. It had also lost its flexibility and ability to really seal the door well. A new one was needed!
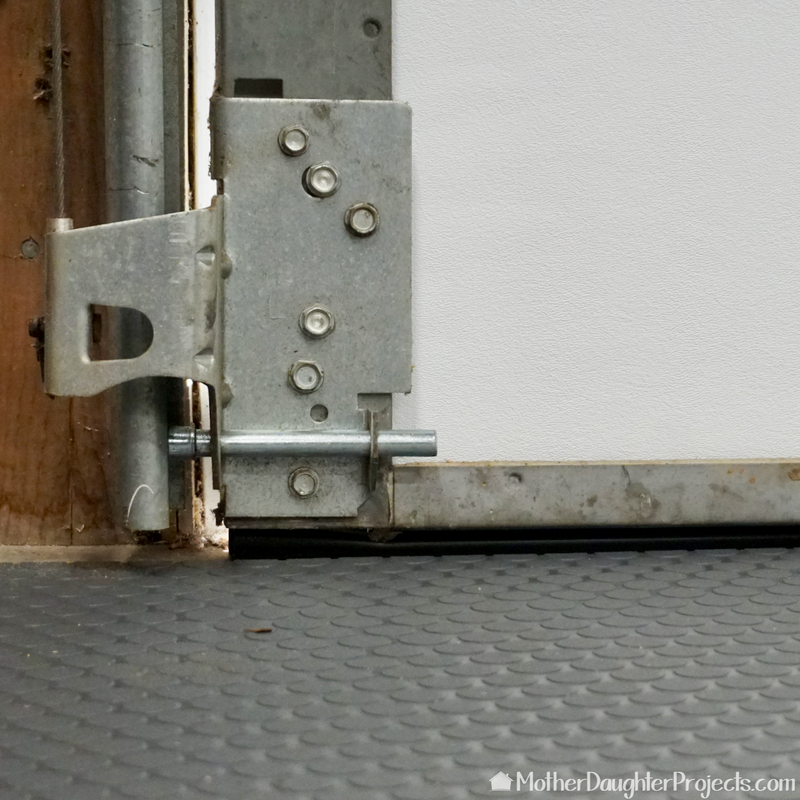
Because of the age of this seal, it was hard to find an exact replacement. We shopped our local Home Depot store but came away empty handed. We checked at homedepot.com and found what we thought would work. We ordered it and it was delivered right to my door. We did a test fit and it looked like it was going to work.
Product:
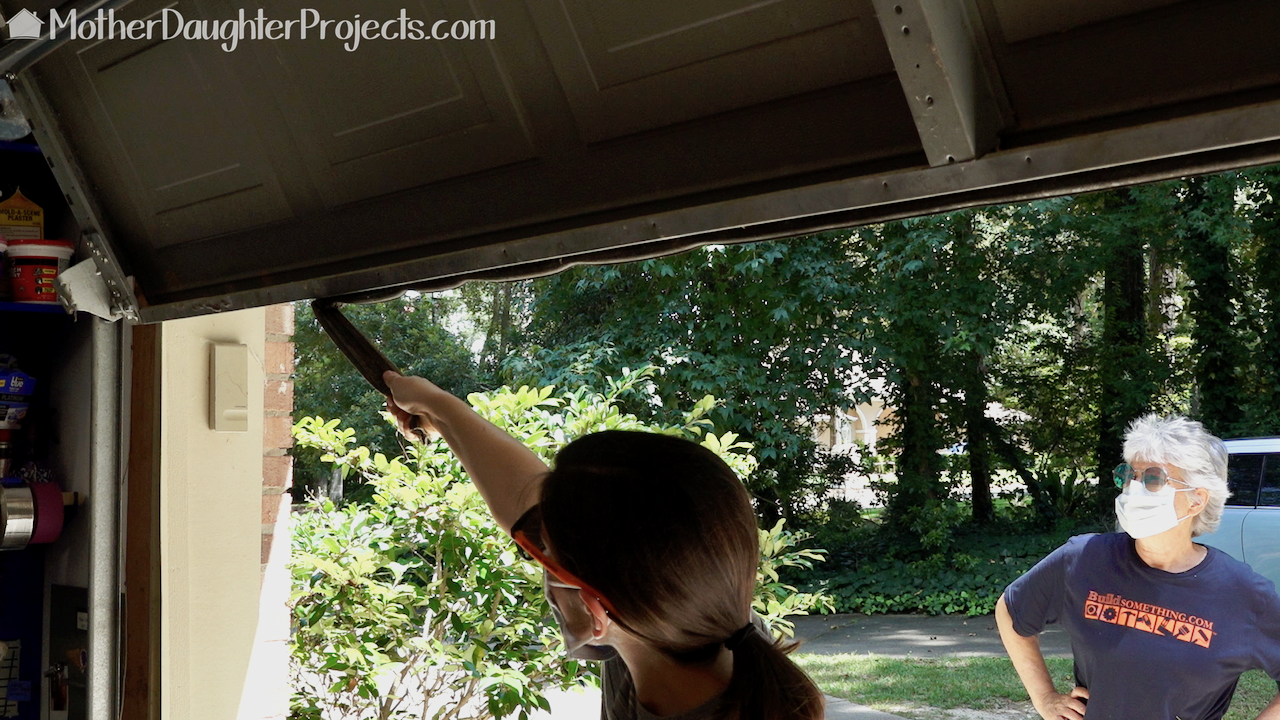
The instructions for this product were limited so we were on our own to figure out how to get the old seal out of the channel. A little muscle to pull it out did the trick. We are wearing masks because there was a lot of dust and dirt thrown into the air from the seal removal.
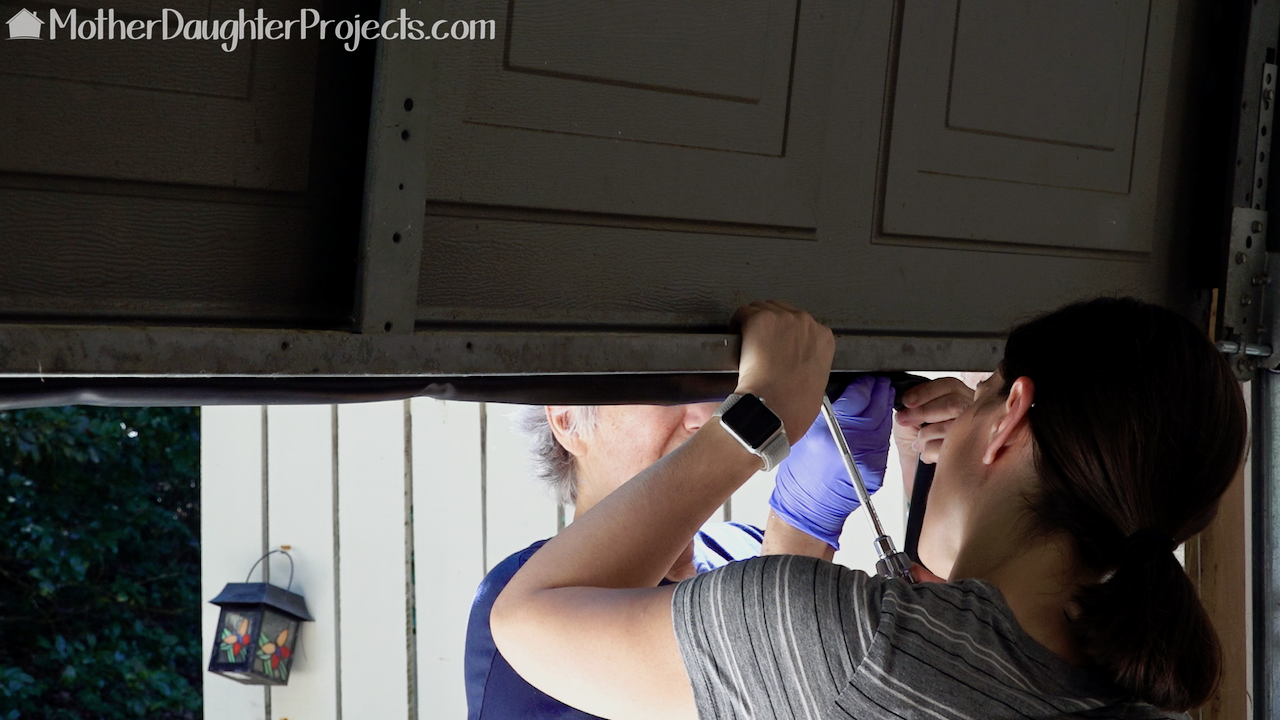
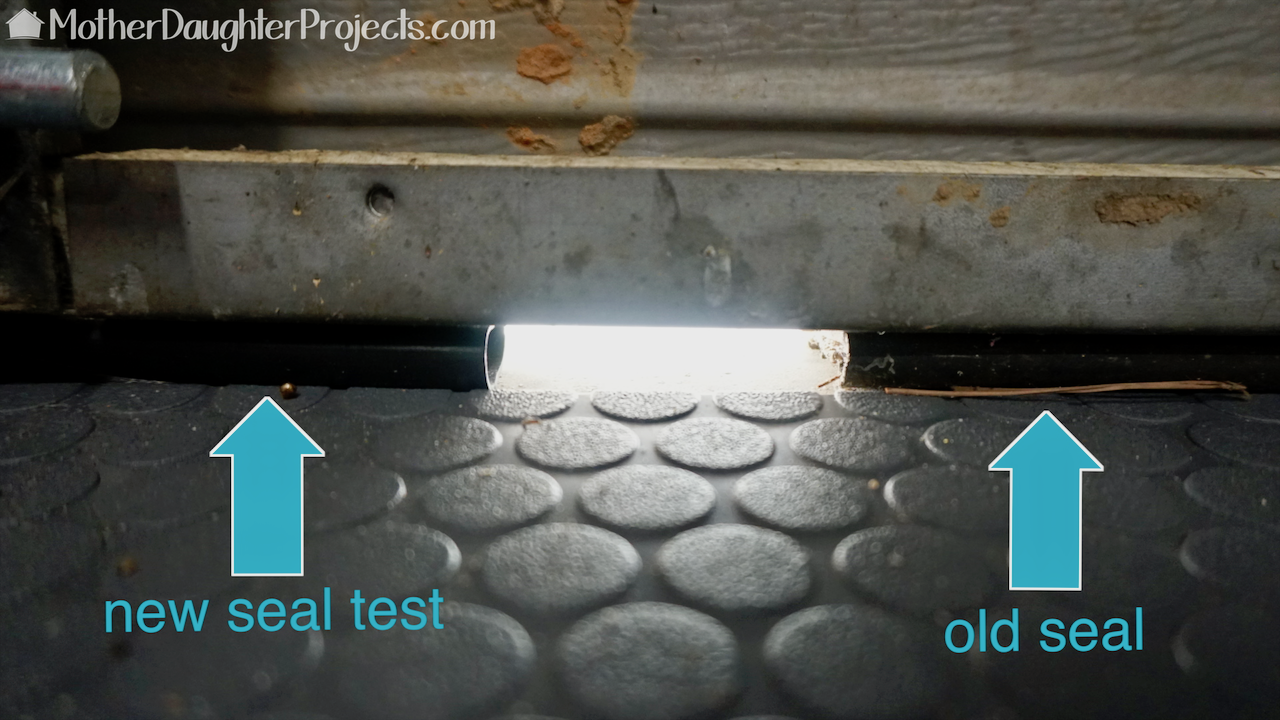
Again, the instructions for adding the new seal were limited. It was suggested to put the seal into soapy water, insert the "T" into the channel and pull it across! Ha, we wish it had been that easy! We tried that method for about 30 minutes but only succeeded in getting it pulled into place for about 12" before it would slip out of place. You can't tell it, but it was so hot when we tried this. Our patience was really wearing thin. Finally, I suggested we just try to force it into place with a slotted screw driver. It took some coordination between the two of us but we were successful!
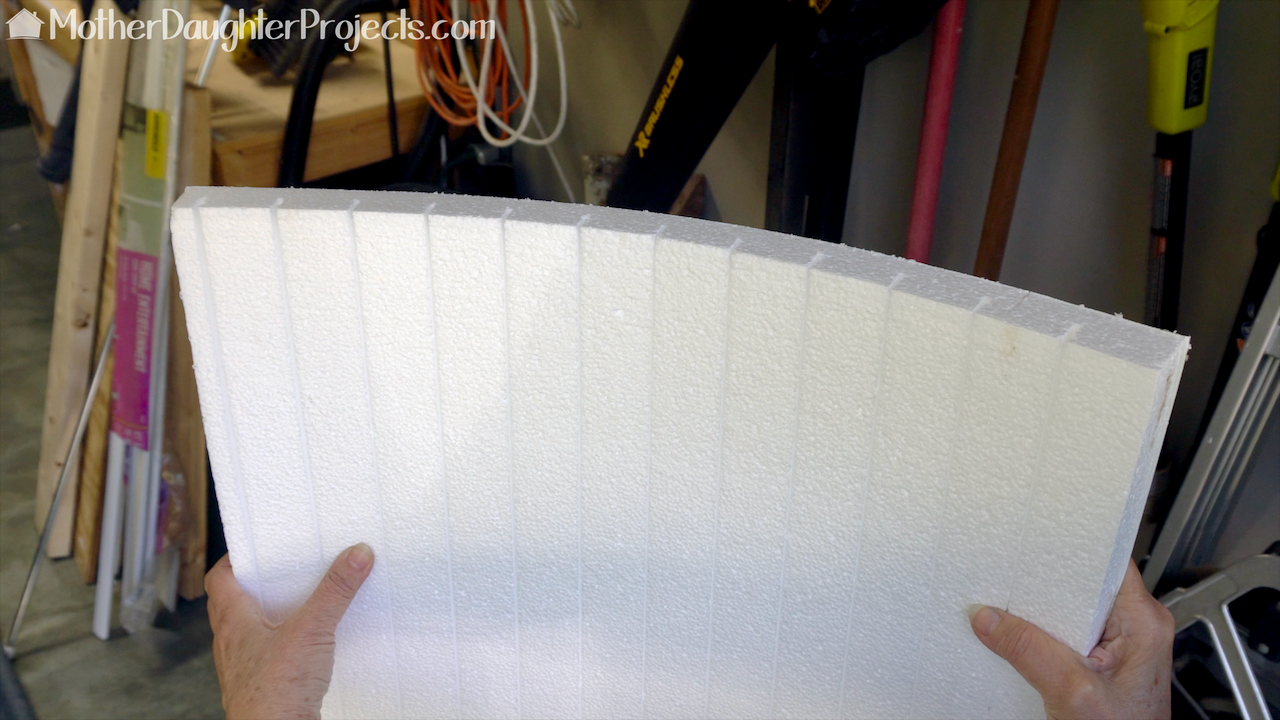
Next, we moved onto install the insulation. It was super simple- although really messy. We are using a product specifically designed for garage doors. It's flexible on one side and has a tough plastic like coating on the front side. It's flexible so you can get it into tight places on the back of the garage door.
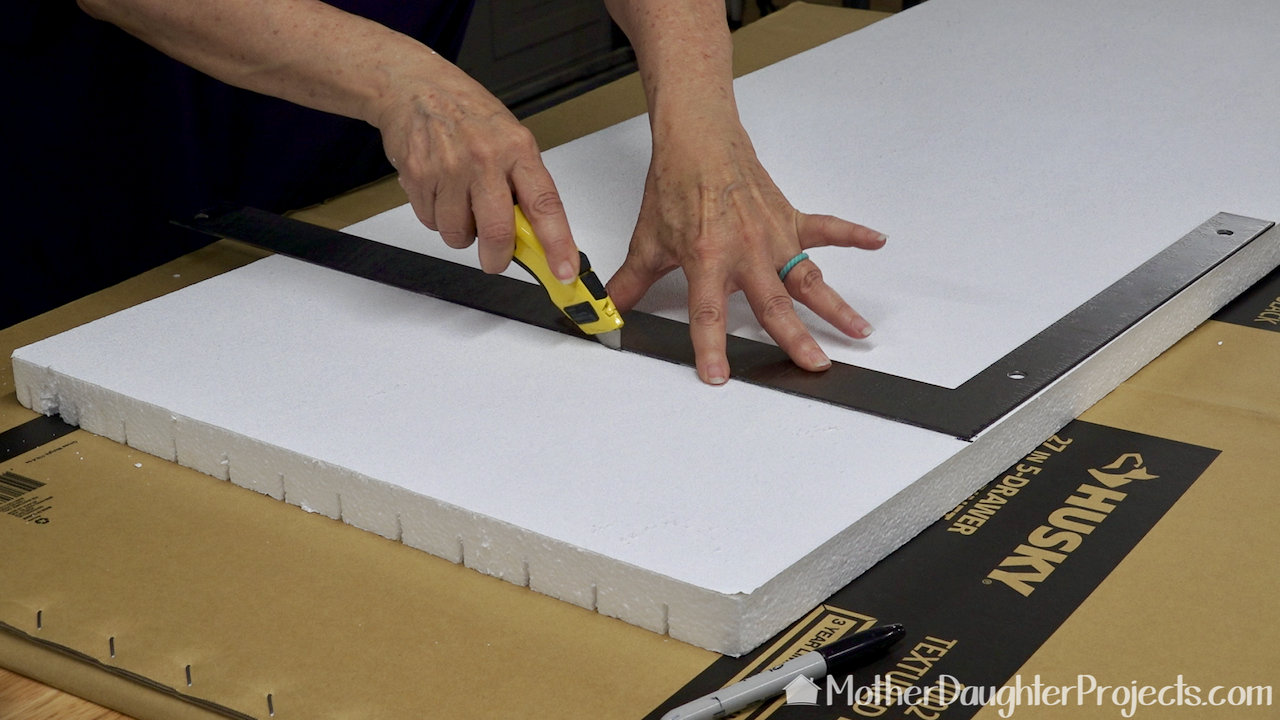
There was nothing standard about my garage door so most of the panels had to be cut to size. It was easy to do with a utility knife and ruler.
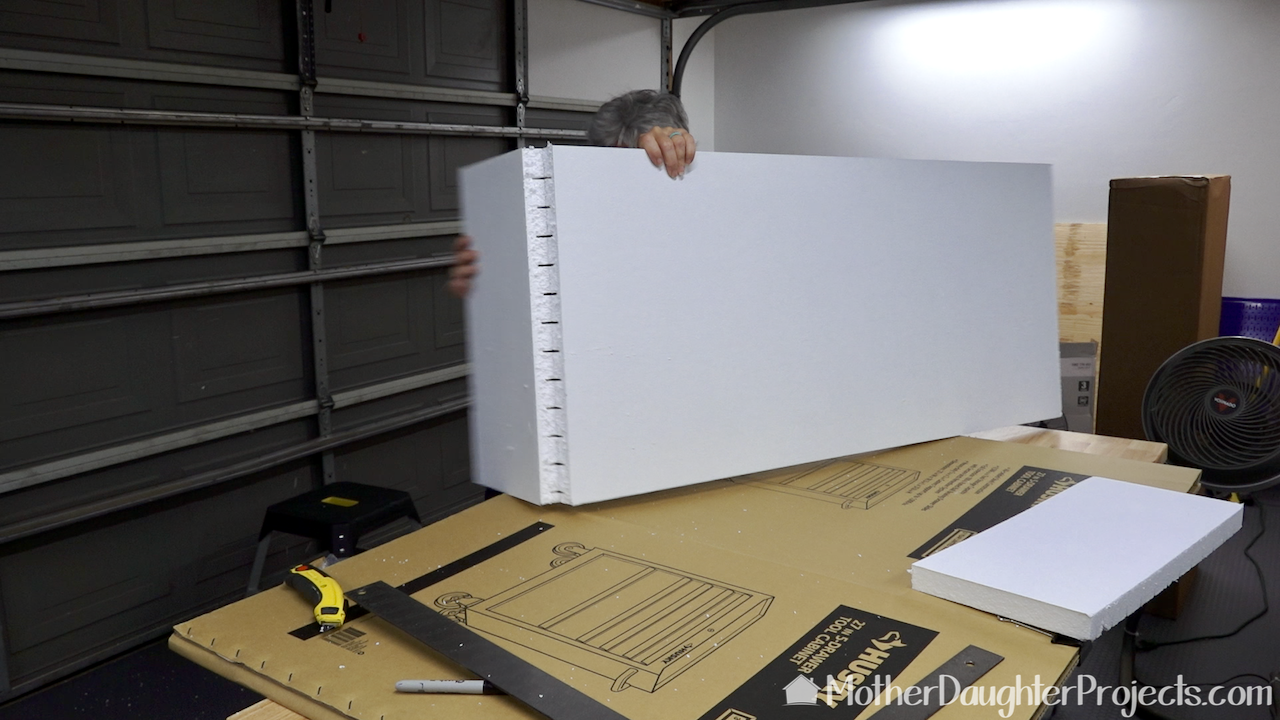
Once the panel was cut through the plastic like coating, it was easy enough to snap them apart. See those beads of white styrofoam on the cardboard? The garage was covered in them! But it was easily cleaned up with our wet/dry vac.
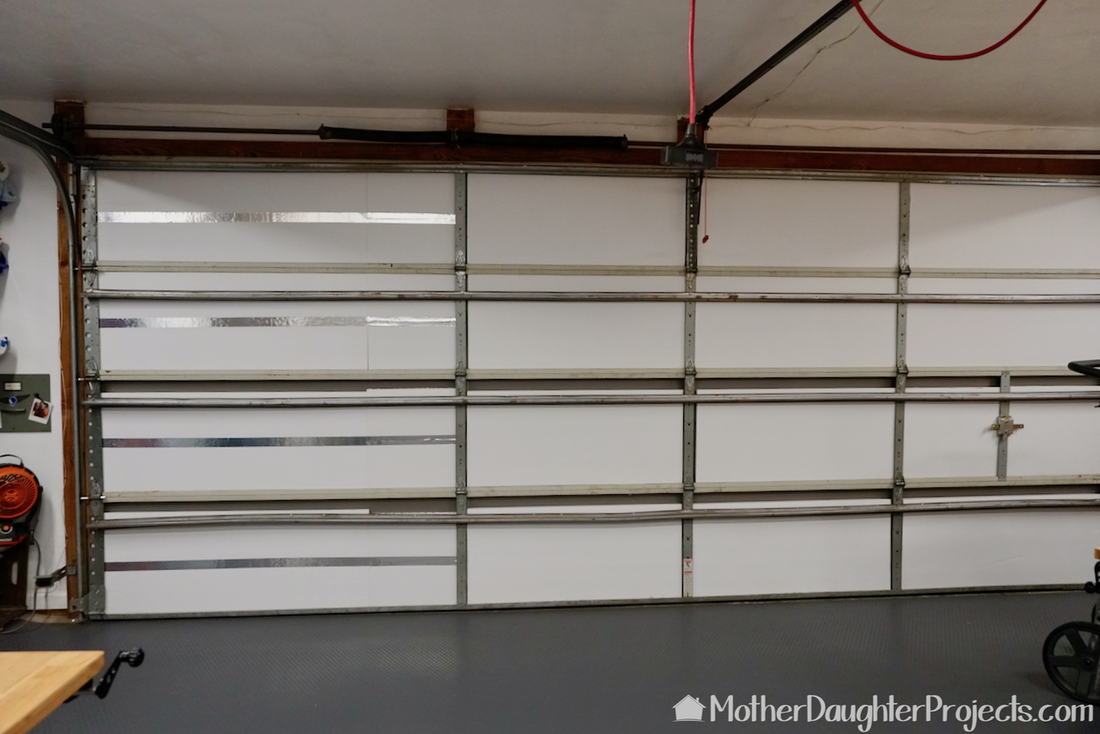
All finished!
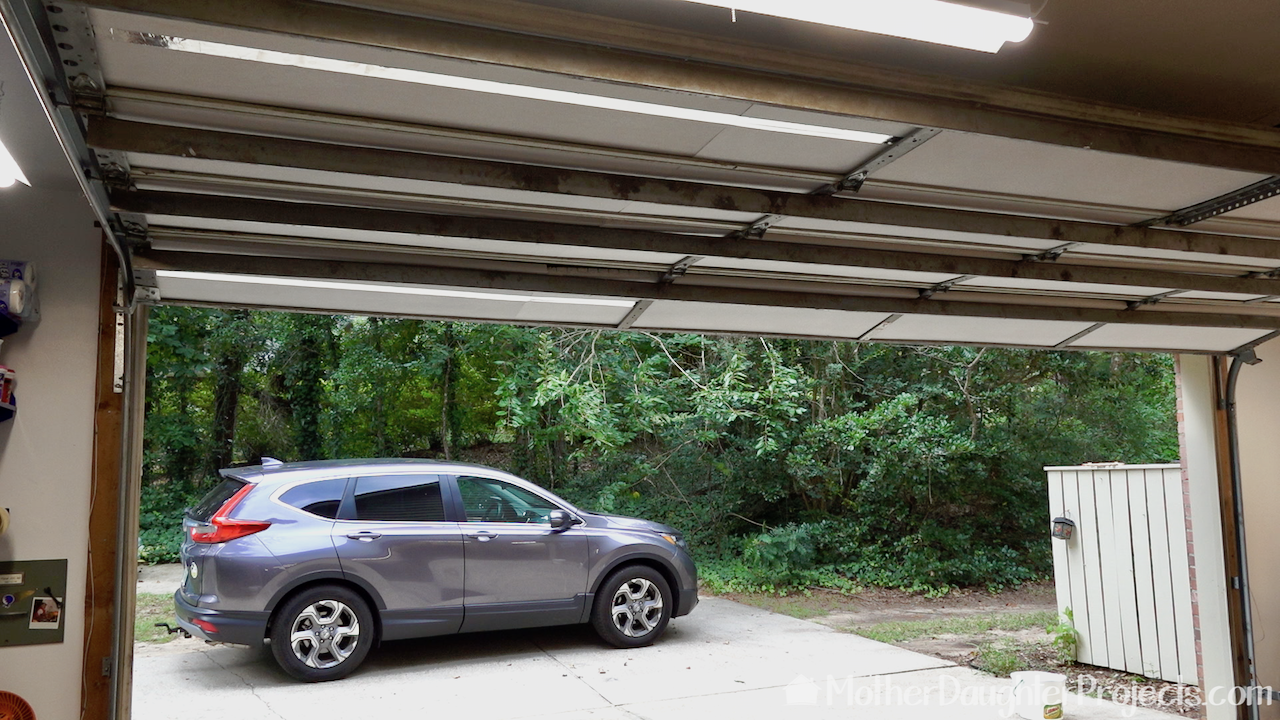
Sometimes adding weight to a garage door can change the balance and requires adjustment to the lifting mechanism. The added weight did not affect the opening and closing of the door and the panels stayed (and have stayed) in place during movement.
These two upgrades made such a difference in the comfort level of the garage. With the new seal in place, we no longer get bugs and leaves from outside and it keeps hot air out and cool air in.
The panels are helping to keep the garage at tolerable temperatures and look good too! The inside door just looks a lot cleaner now. Plus, with the panels in place, the mud daubers can no longer make their home in the garage door! Big thanks to Home Depot for providing the product we used in this project! FYI: We are not professionals, and we don’t claim to be. This is what we found worked for our project. Yours may need a little different approach. Safety first! FYI: Affiliate links are being used on this page. Purchasing via these links help support MDP! Related Projects
6 Comments
Mary
9/28/2018 10:50:51 pm
Hi Ladies! Our garage started acting up 3 years ago. Finally gave in and had a professional come to fix it. Turned out it was the "light" insulation panels we had put on several years before. The extra weight had thrown it off and eventually became too much. We had to install a heavier motor. - I love watching your projects!
Steph
10/1/2018 09:16:18 am
Hi Mary- thanks for sharing- that's good to know!
Macy
10/10/2018 11:58:26 am
You inspired me to insulate my garage and sent my husband who found cheaper insulation material at HomeDepot similar to what you used. It helped with lowering the temperature in the garage. I just wish I found this sooner. Thanks.
Steph
10/15/2018 04:18:29 pm
Awesome! You're welcome Macy! Leave a Reply. |

Mother Daughter Projects
|