Mother Daughter Projects

  • About
    • Contact
    • Privacy Policy
  • Maintenance
  • Improvement
  • Decor
  • Tech
  • Tools
  • About
    • Contact
    • Privacy Policy
  • Maintenance
  • Improvement
  • Decor
  • Tech
  • Tools

DIY for Homeowners

5-in-1 Garage Storage Unit + Kiddie Car Garage

8/13/2018

0 Comments

 
text by Vicki     Sign up to get Mother Daughter Projects updates in your email!

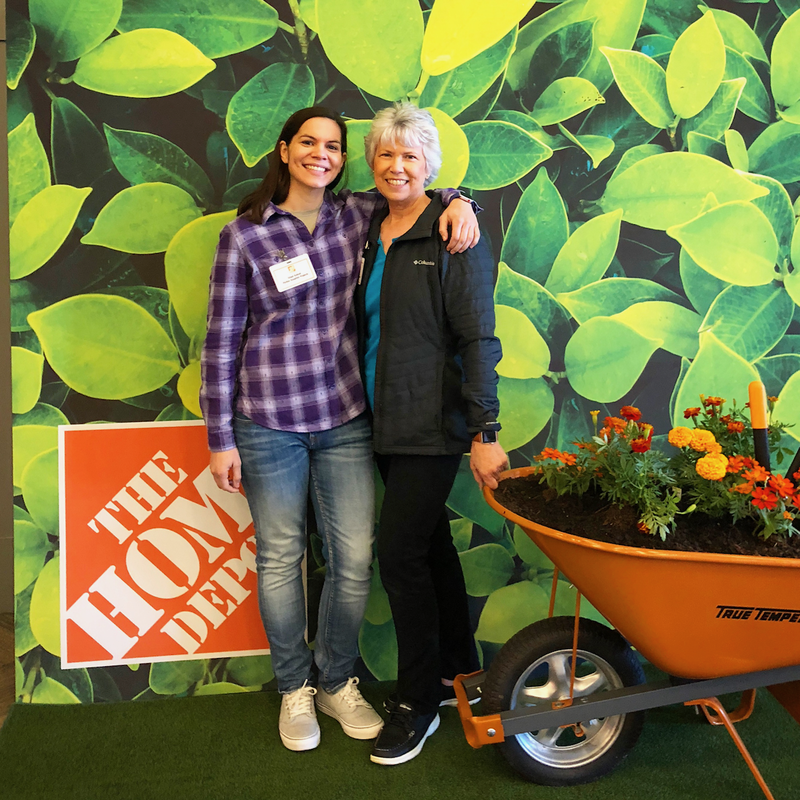
This post is sponsored by The Home Depot.
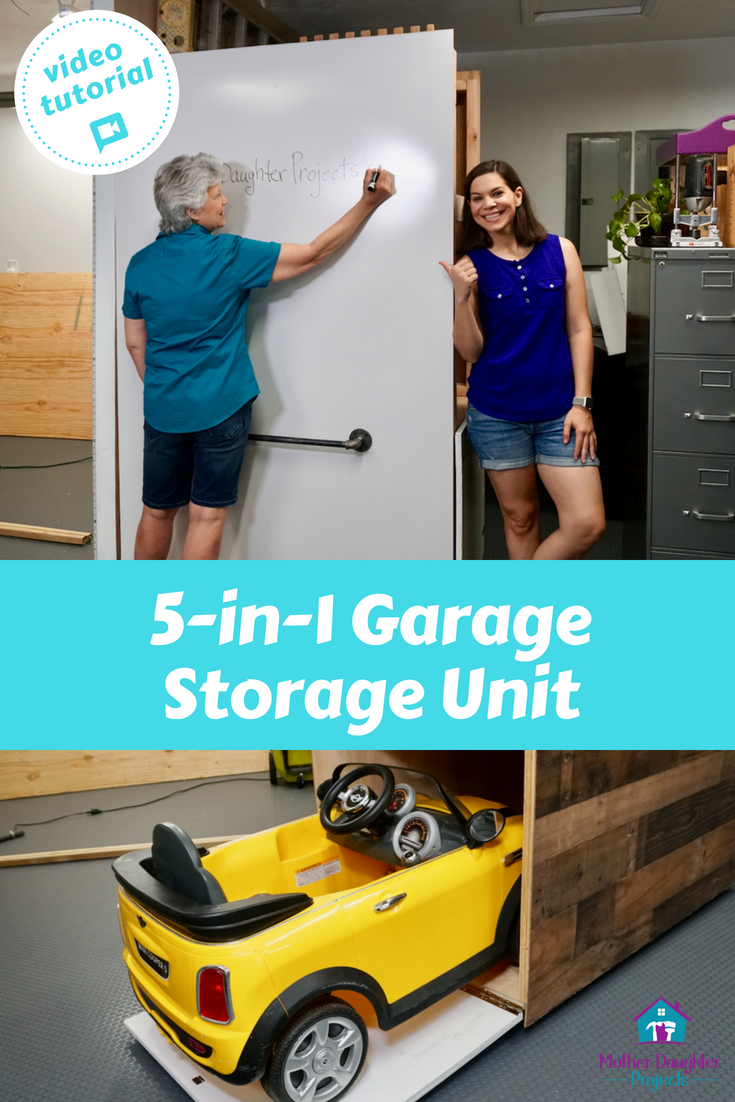
Our #garagemakeover project was designed out of necessity. When we were in the planning stages of the garage makeover, I said I wanted a way to store the grandkid's toy car. I needed it out of the way, but accessible. Toy cars are notoriously difficult to store efficiently! 

The car storage started out as a simple box with a little open storage on top. I had envisioned it sitting next to our large shelving unit right beside the door. Well, as things do, the project evolved into something totally different and way more functional!
Material to build the kiddie car storage.
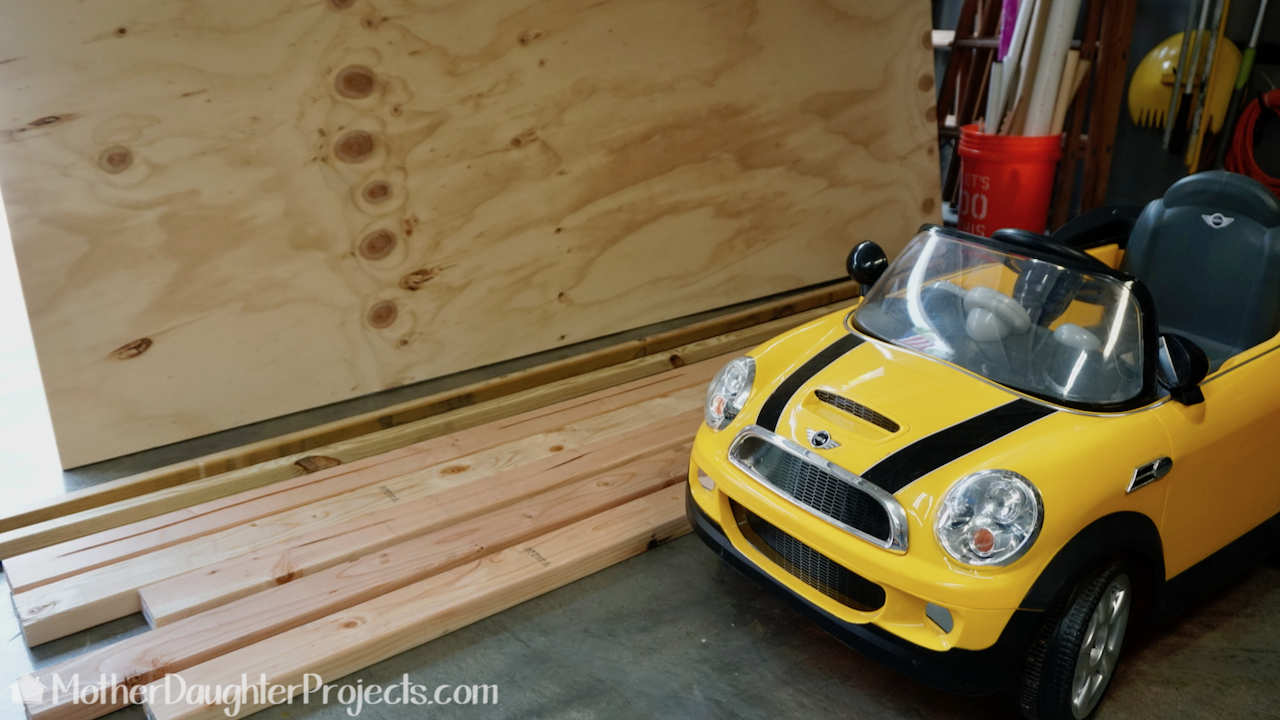
The shell of the structure is made with plywood and 2x4s.

Materials:


  • Plywood (Home Depot)

  • 2 in. x 4 in. x 96 in. Premium Kiln-Dried Whitewood Stud (Home Depot)

  • Authentic Pallet 32 sq. ft. MDF Paneling (Home Depot)

  • Marker Board (Home Depot)

  • Everbilt 3 in. x 3 in. Black Strap Surface Mount Hinge (2-Pack) (Home Depot)

  • Everbilt 3 in. Caster (Home Depot)

  • Everbilt 1-1/2 in. x 72 in. Bright Nickel Continuous Hinge (Home Depot)

  • Everbilt High Rise Magnetic Door Catch in White (Home Depot)

  • 1/2 in. Black Iron Floor Flange (2-Pack) (Home Depot)

  • 1/2 in. Black Iron Pipe 90-Degree Elbow (2-Pack) (Home Depot)

  • 1/2 in. x 2 in. Black Steel Pipe Connector (2-Pack) (Home Depot)

  • 1/2 in. x 24 in. Black Steel Pipe Connector Industrial Steel Grey (Home Depot)

Tools:


  • Makita 12 Amp 6-1/2 in. Plunge Circular Saw (Home Depot)

  • RIDGID 18-Volt Lithium-Ion Cordless Brushless Drill/Driver (Home Depot)

  • DEWALT 20-Volt Max Lithium-Ion 18-Gauge Cordless Brad Nailer Kit (Home Depot)

  • RIDGID 15 Amp 12 in. Corded Dual Bevel Sliding Miter Saw (Home Depot)

  • Kreg Jig Pocket Hole System (Home Depot)

  • Dremel Saw-Max 6.0 Amp Variable Speed Corded Tool (Home Depot)

Everybilt strap hinges for the mini garage.
Later, after deciding to make the car storage look like a mini garage, we went back and purchased some hinges as well as a handle.
This faux pallet paneling is available at The Home Depot.
On still another trip to The Home Depot, we picked up a sheet of dry erase board and a sheet of faux pallet paneling.
Measure around the kiddie car to find the measurements needed for the storage box.
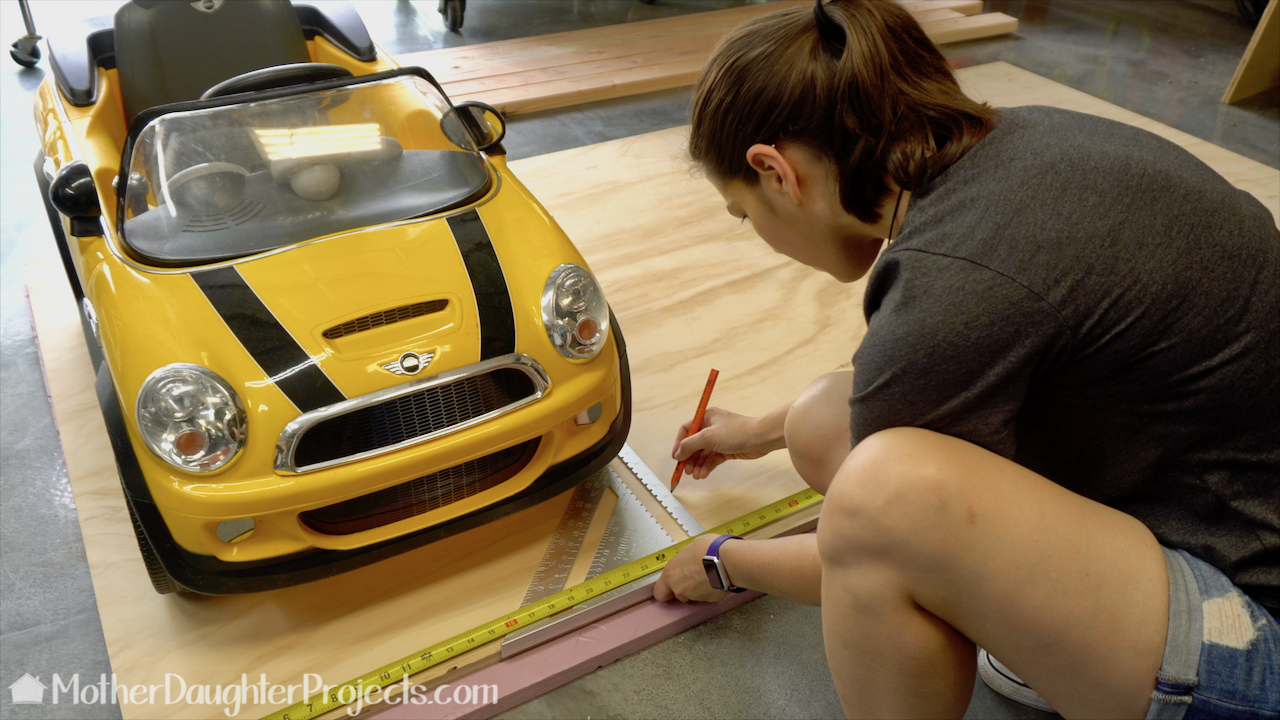
To keep the math simple, we put the car on the board and estimated the space needed for it to fit. Easy!
Using the Makita track saw to cut four pieces of plywood.
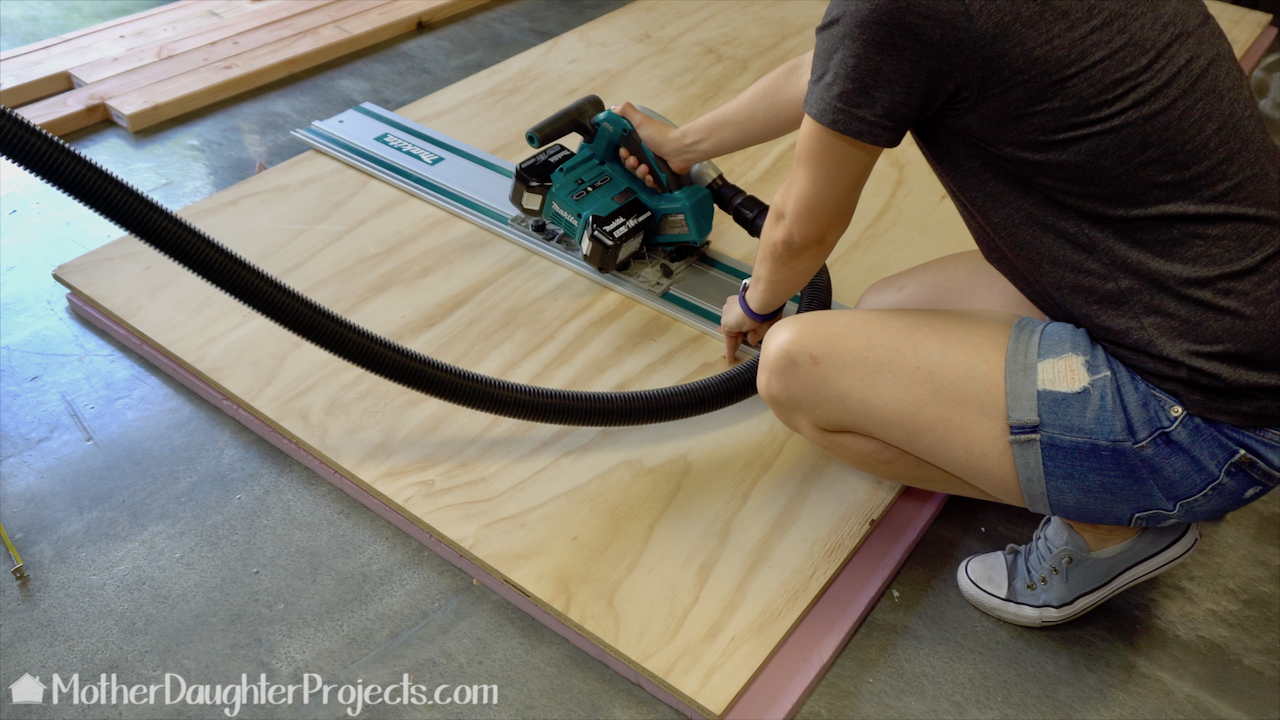
With the Makita track saw, we cut out four identically sized pieces of plywood. We are after all making a simple box!
Using L brackets to make the kiddie car box.
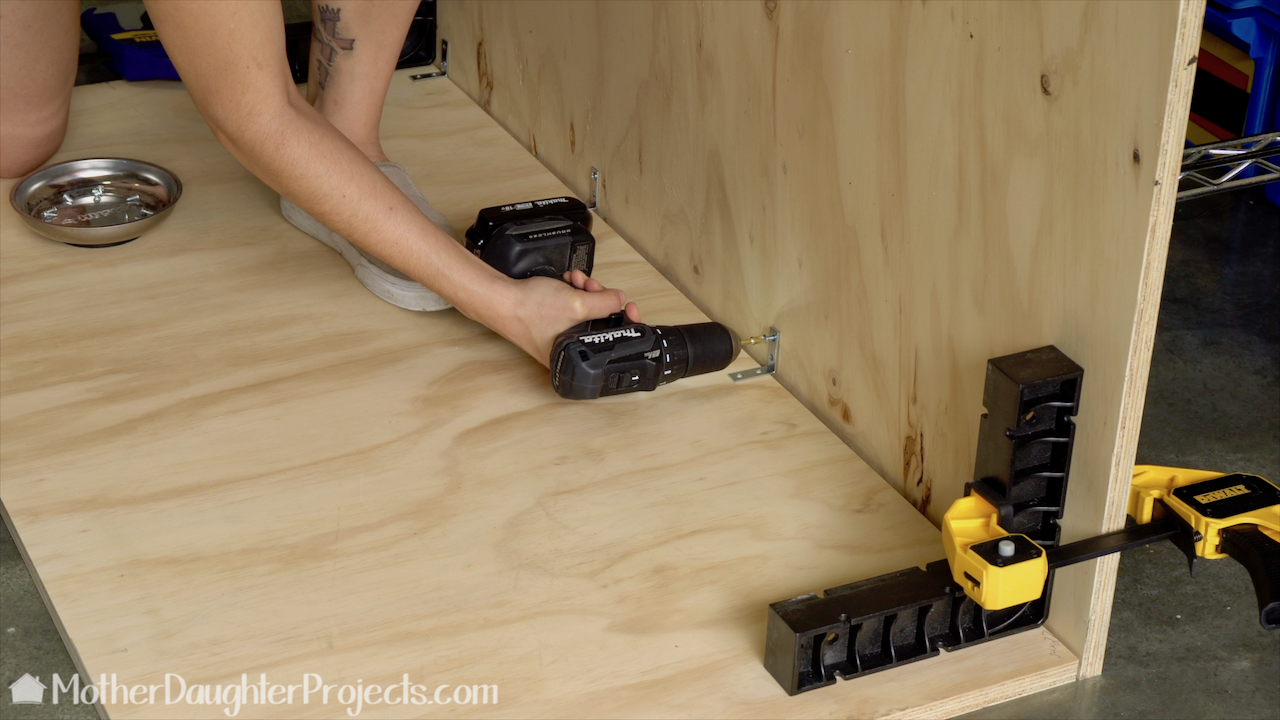
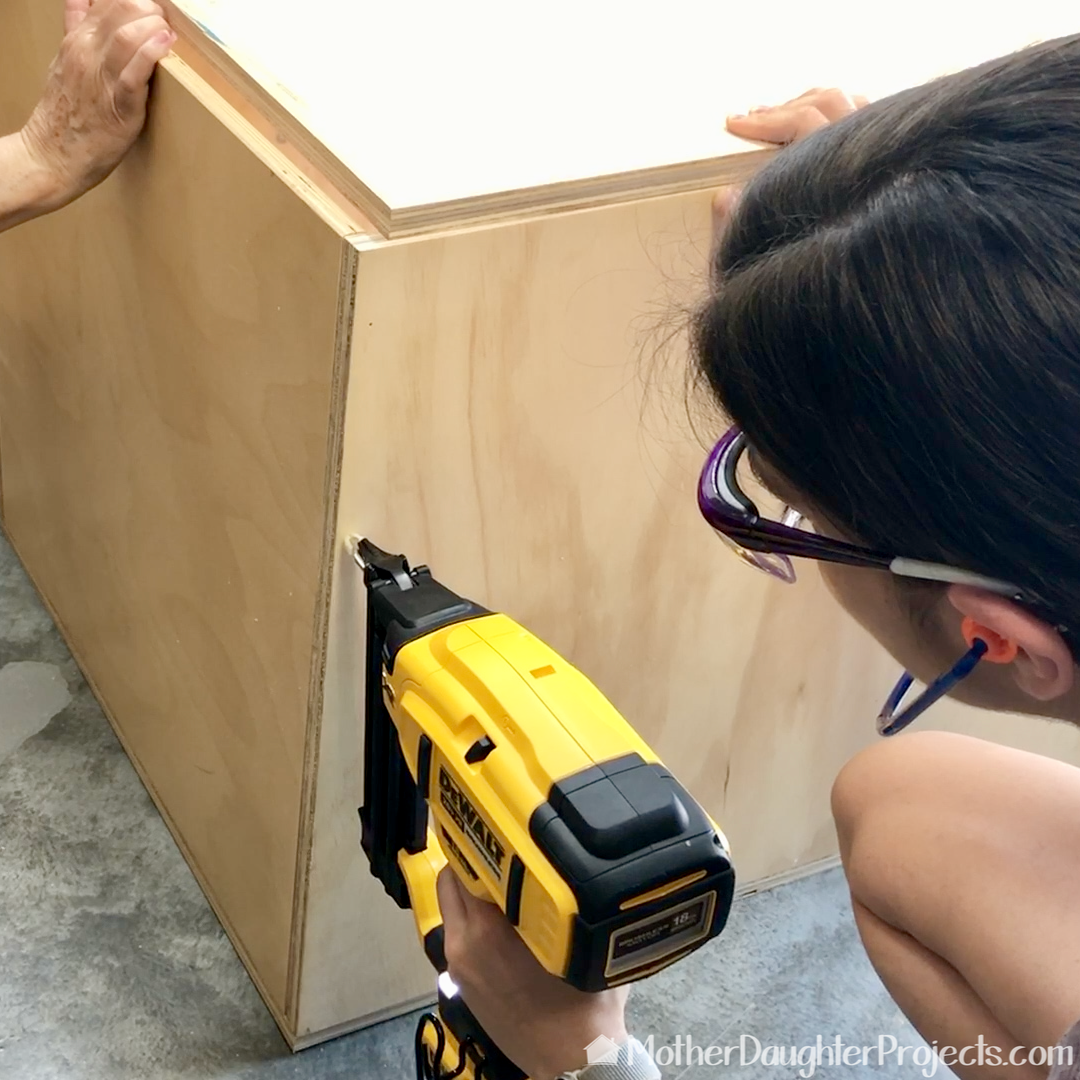
The box was connected using L brackets. It was at this point, that if we had known the changes that we were going to be made to this project, we would have used screws and wood glue. We are comfortable with the support of the build even without wood glue.
Brad nailing the box together.
When it became apparent we were going to change the design, we started to use the brad nailer.
Attaching casters so the garage is movable.
After the box was assembled, minus the door, we turned it over and attached casters.
Cutting the 2x4s to size on the Ridgid miter saw.
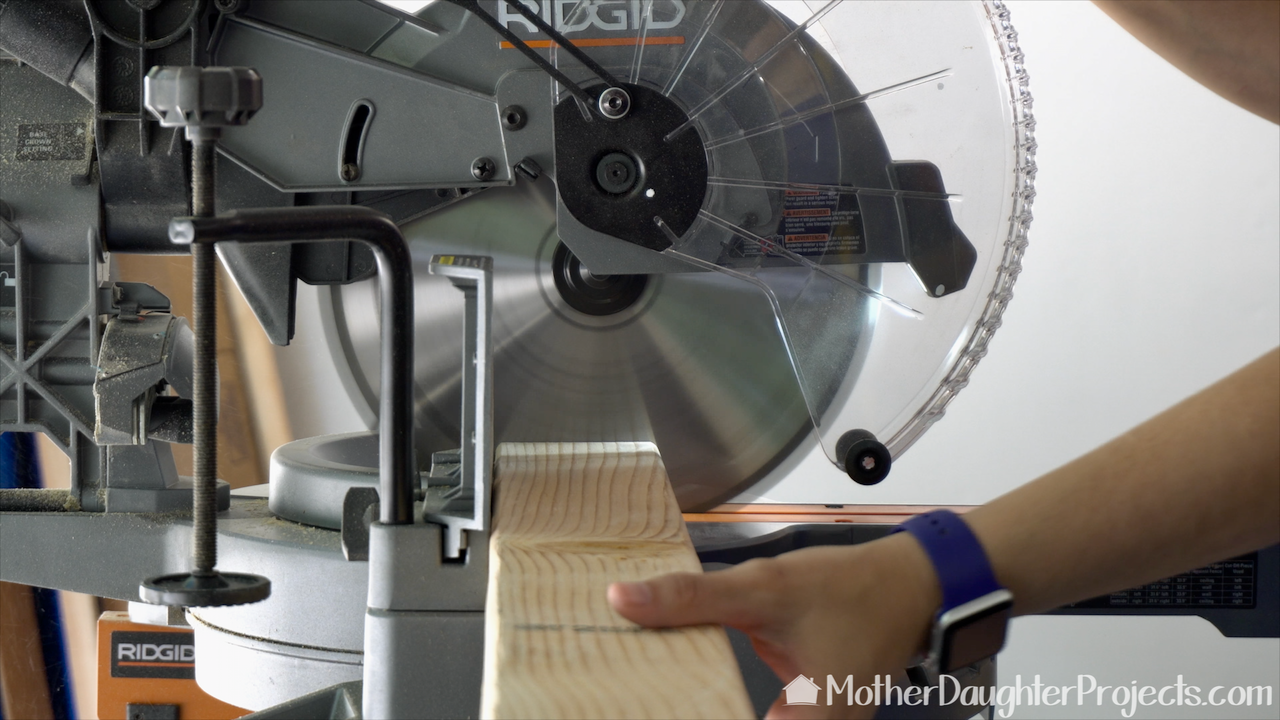
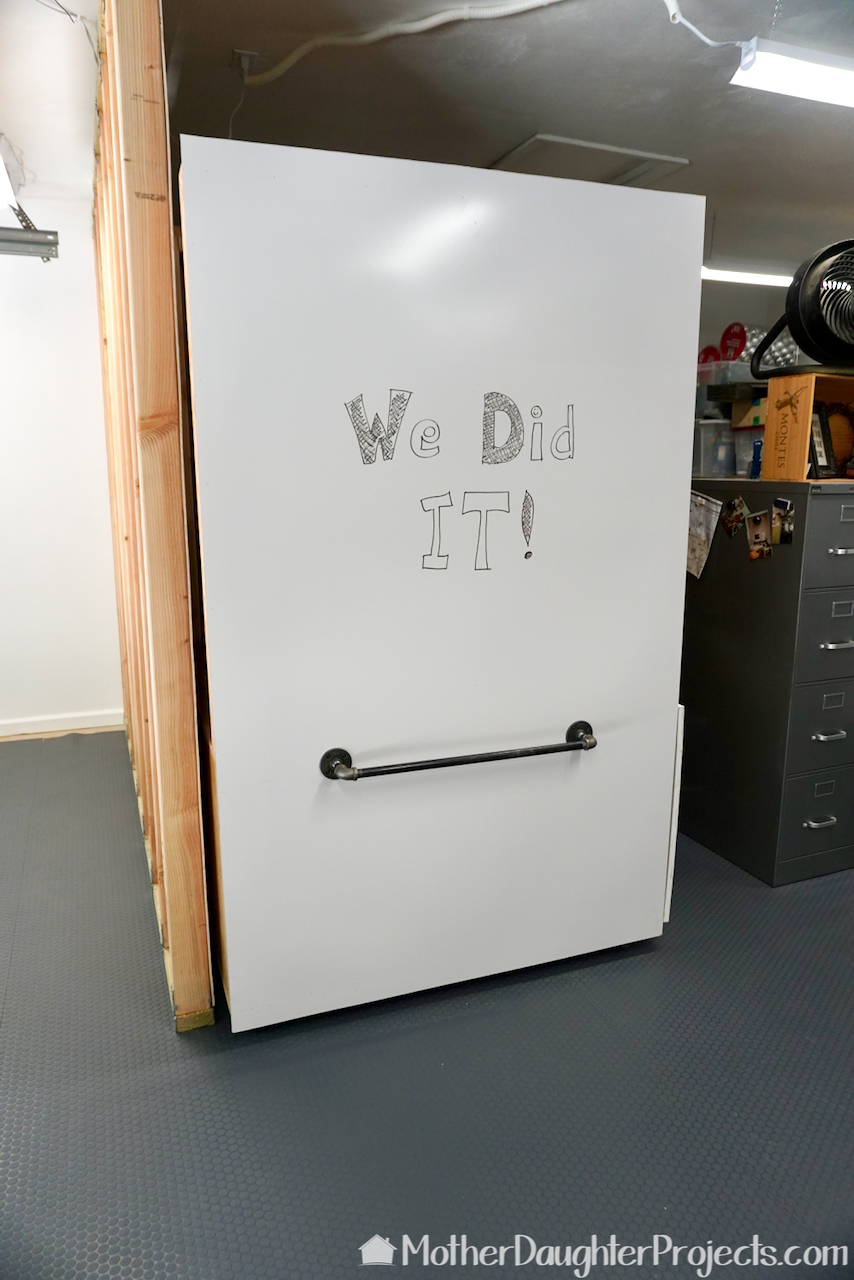
Now this is where the project really veered in a new direction. We decided to create a space for the storage of large bulky items. Mainly we wanted it for the insulation foam we use as a cutting surface. We decided to add a dry erase board to one side and a pretty panel on the other for photo shoots. To do this, we built a frame from 2x4s. Here we are cutting the boards to size on the Ridgid Miter Saw.
Securing the frames to the top of the kiddie car storage unit.
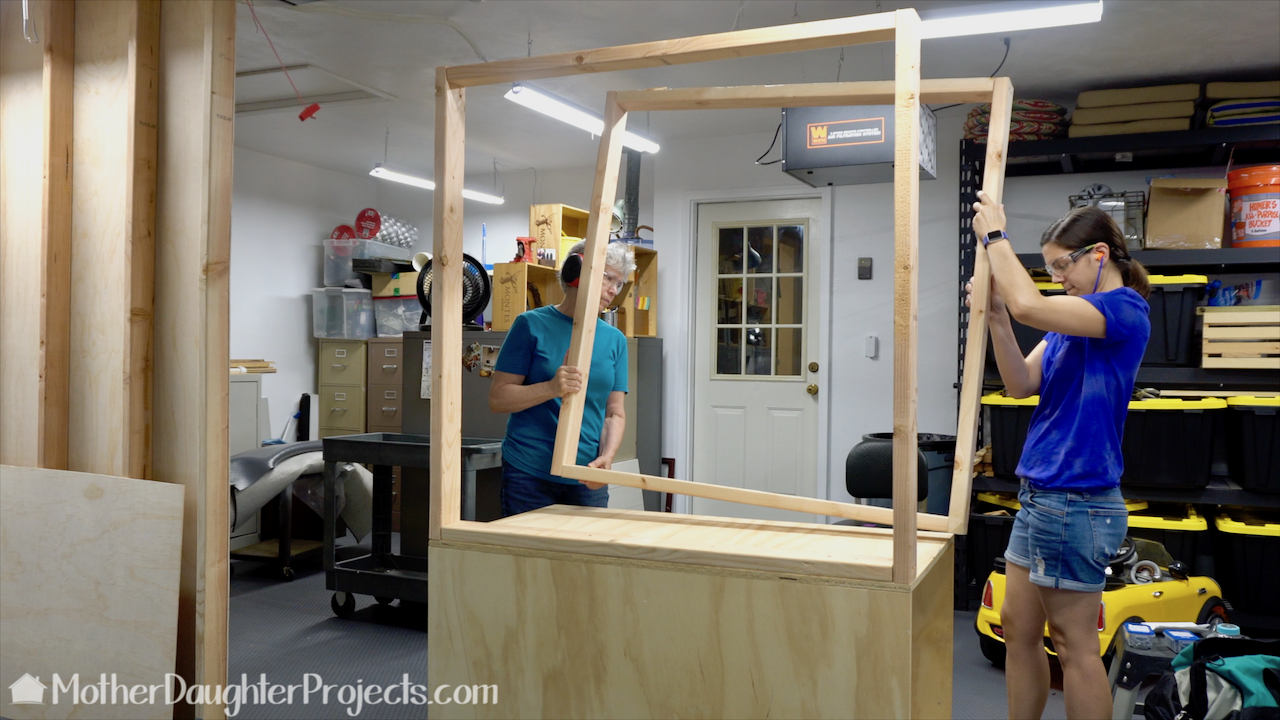
The pieces were assembled then attached to the top of the mini car storage box.
Putting the strap hinges on the min garage door.
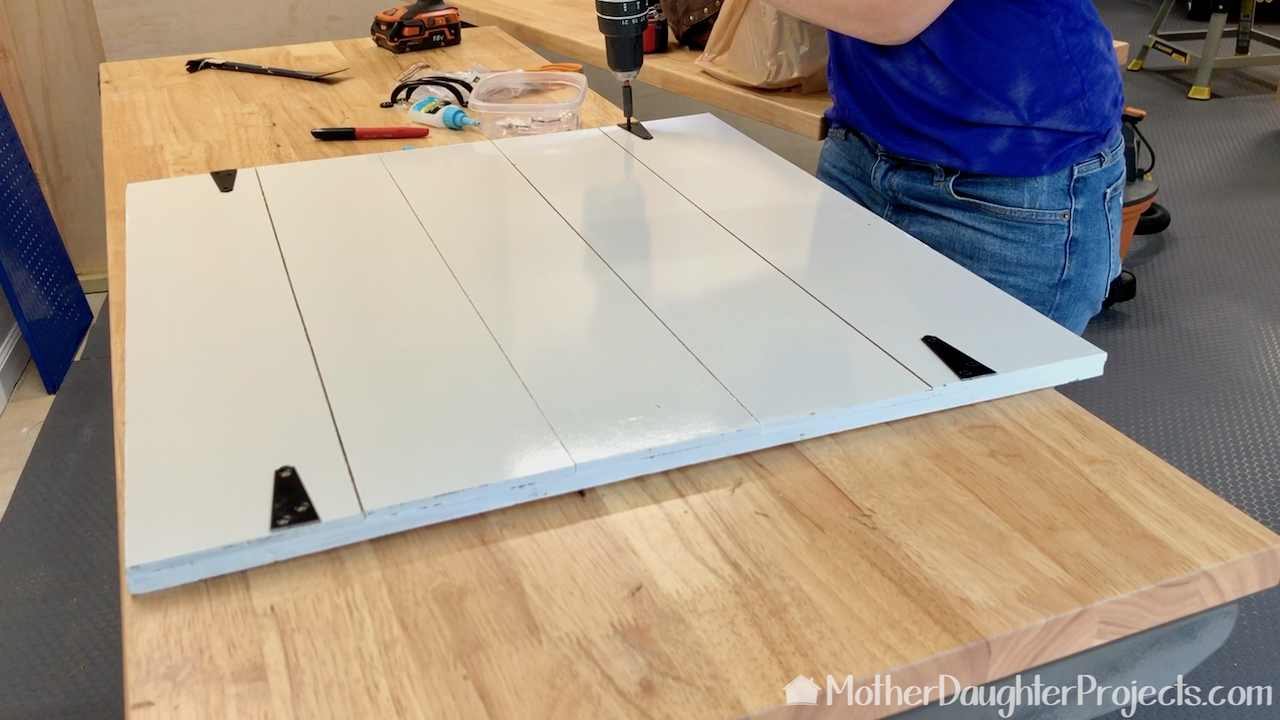
For the "garage" door, we cut panels of white board and glued them to plywood. We cut strap hinges in half and screwed them into place for decoration.
Attaching the piano hinge to the mini garage.
We trimmed a piano hinge to size and attached it to the box so it would open like a ramp. This makes it easy to load and unload the mini Cooper from the mini storage garage.
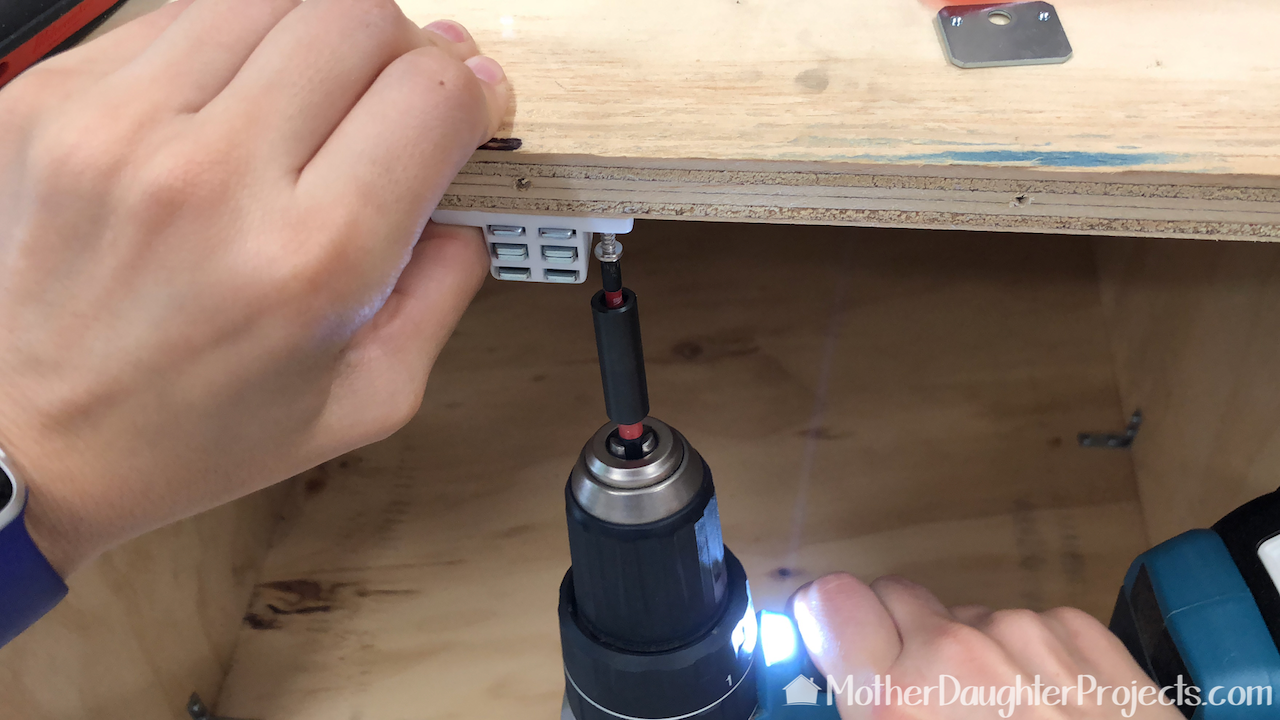
A magnetic cabinet catch keeps the door in place.
Tyler is making pilot holes in the kiddie car garage for the handle.
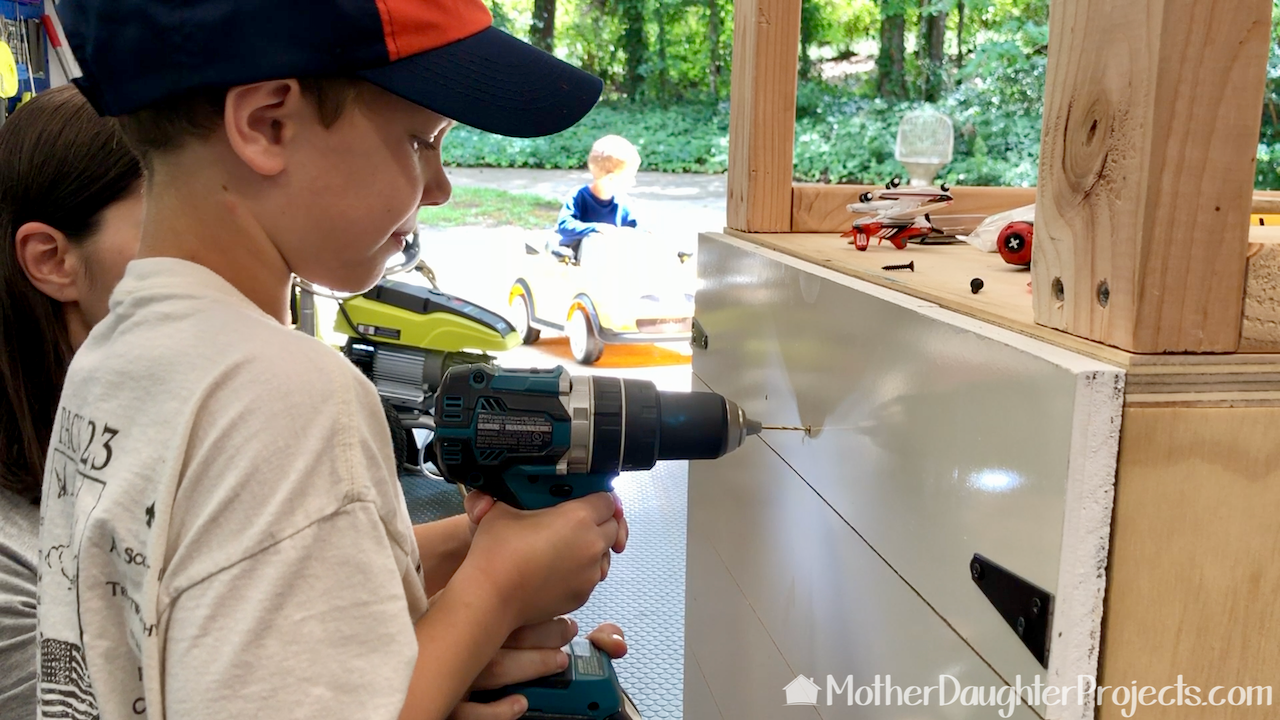
Nephew/grandson, Tyler, was over and wanted to help. Aunt Stephie helped him make pilot holes for the handle. Andrew, in the background, was taking the mini Cooper for a drive while Tyler worked!
Drawing on the outside of the mini garage.
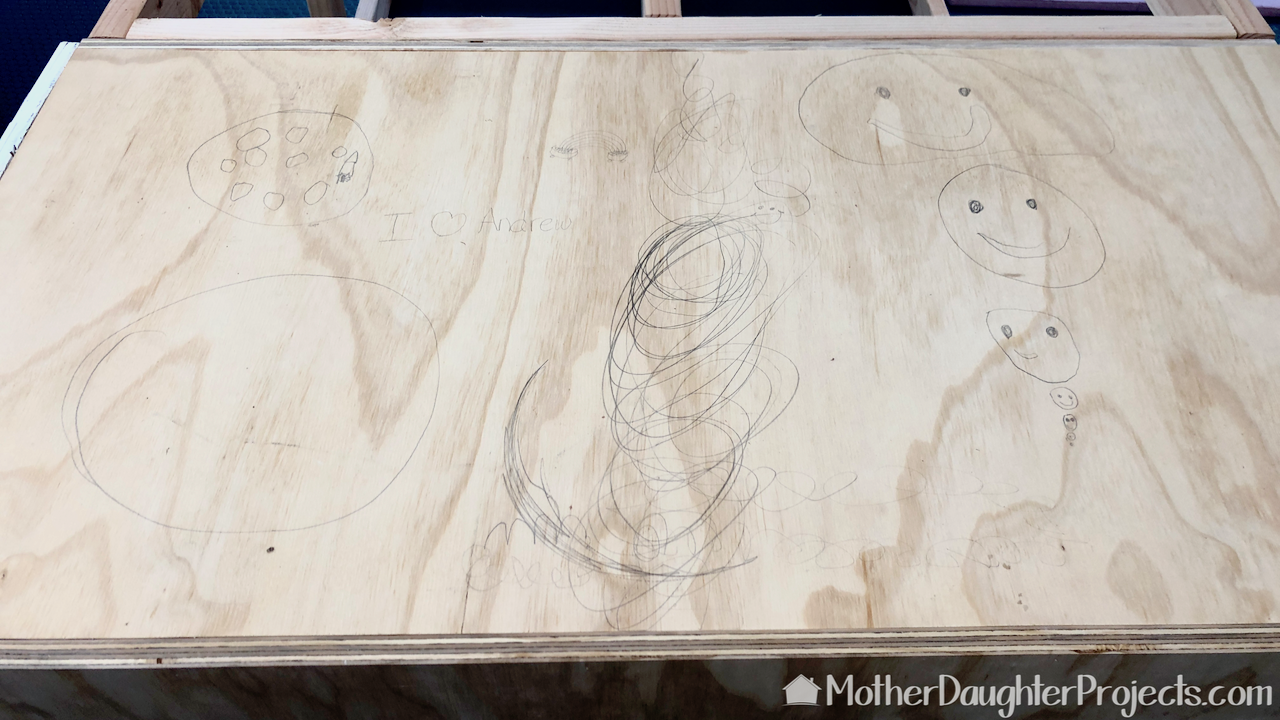
Oma (me) and Andrew had a little fun drawing on the side of the mini garage before covering it with the pallet panel!
Attaching the pallet panel to one side with the DeWalt brad nailer.
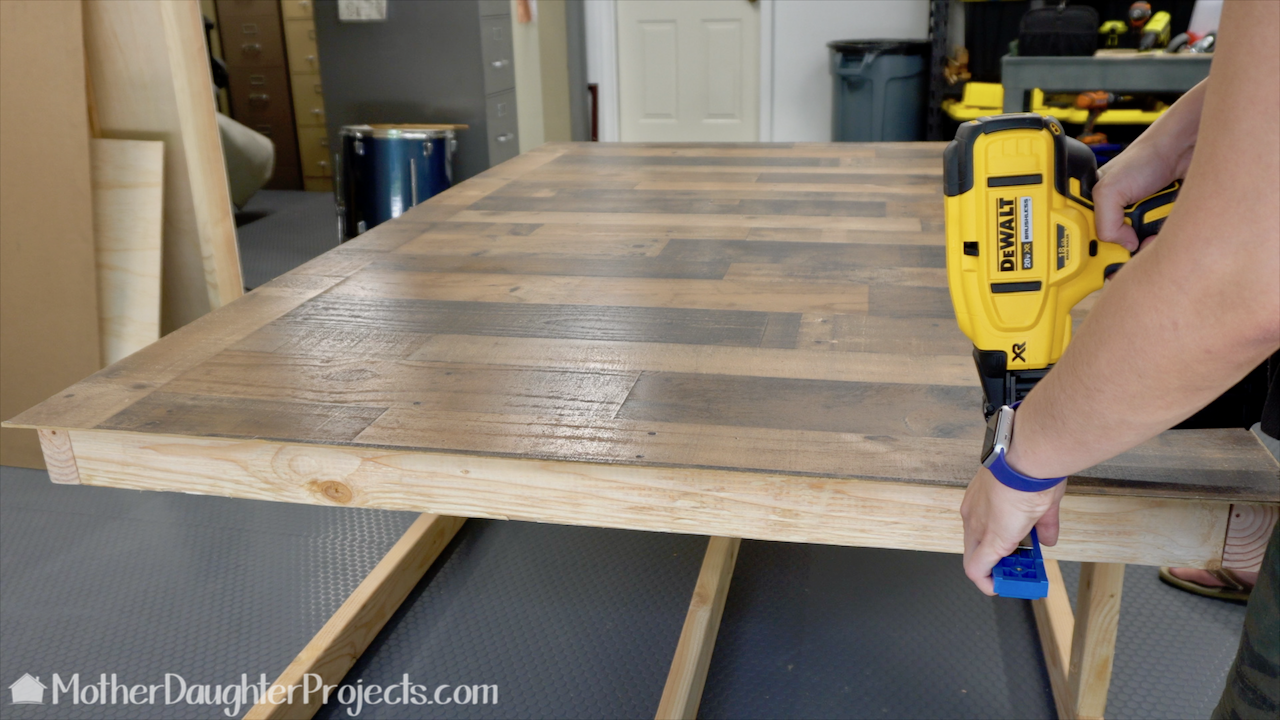
One of the last steps was to attach the "pallet" panel to one side and the dry erase board to the other.
Metal pipe parts for the garage handle.
We decided the unit needed a handle.
Attaching the metal pipe handle.
These pipe parts were perfect for the handle. Plus, we can hang a microfiber cloth from it to use as an easer.
The mini Cooper fits perfectly into the garage.
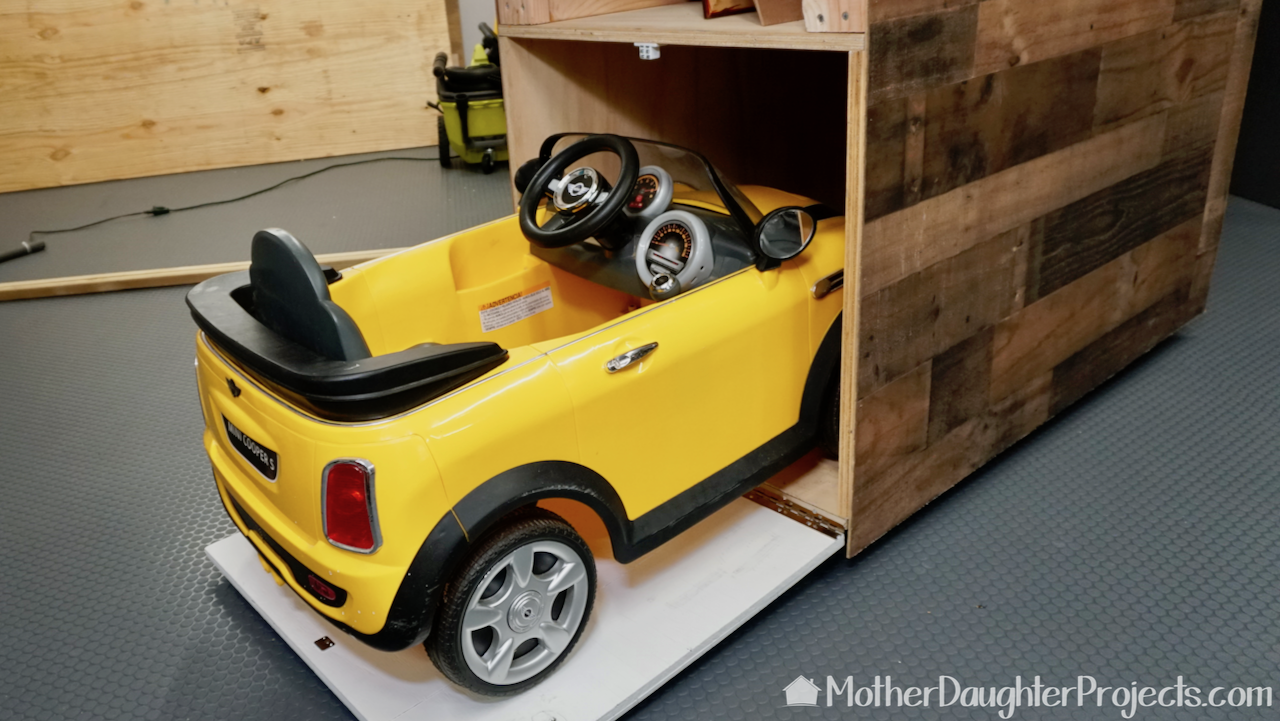
The "garage" is a perfect fit. The toy car is stored efficiently and is out of the way.
The mini garage and storage unit in place.
The unit fills this space exactly the way we envisioned. This is the storage space which we wanted to wall off. The movability of the unit is perfect for this.
The inside storage is easy to access.
It also stores things, we can write on the front and use this pallet wall for photos. It's really versatile.
5 in 1 Garage storage unit for kiddie car storage and more.
Picture
5-in-1 Garage Storage Unit
  1. Wall Partition
  2. Dry-Erase Board
  3. Storage for Bulk Items
  4. Photo Backdrop
  5. Toy Car Garage
We acknowledge that The Home Depot is partnering with us to participate in the ProSpective 2018 Campaign. As a part of the Program, we are receiving compensation in the form of products and services, for the purpose of promoting The Home Depot. All expressed opinions and experiences are our own words. Our post complies with the Word Of Mouth Marketing Association (WOMMA) Ethics Code and applicable Federal Trade Commission guidelines.

FYI: We are not professionals, and we don’t claim to be. This is what we found worked for our project. Yours may need a little different approach. Safety first!

FYI: Affiliate links are being used on this page. Purchasing via these links help support MDP!

Related Projects

Picture
DIY Garage Lighting
Picture
How to Build a Partition Wall
Picture
Outdoor Power Tool Reviews
0 Comments


Leave a Reply.

    MotherDaughterProjects.com

    Mother Daughter Projects
    ​
    Steph & Vicki

    MotherDaughterProjects.com
Mother Daughter Projects, LLC ∙ est. 2015 ∙ Tallahassee, FL by Vicki & Steph ∙ Privacy Policy