text by Vicki Sign up here to join our weekly email newsletter!
I've found I like the challenge of creating different alternative Christmas trees and this year is no exception. I started the challenge by looking for suitable materials that I already had on hand.
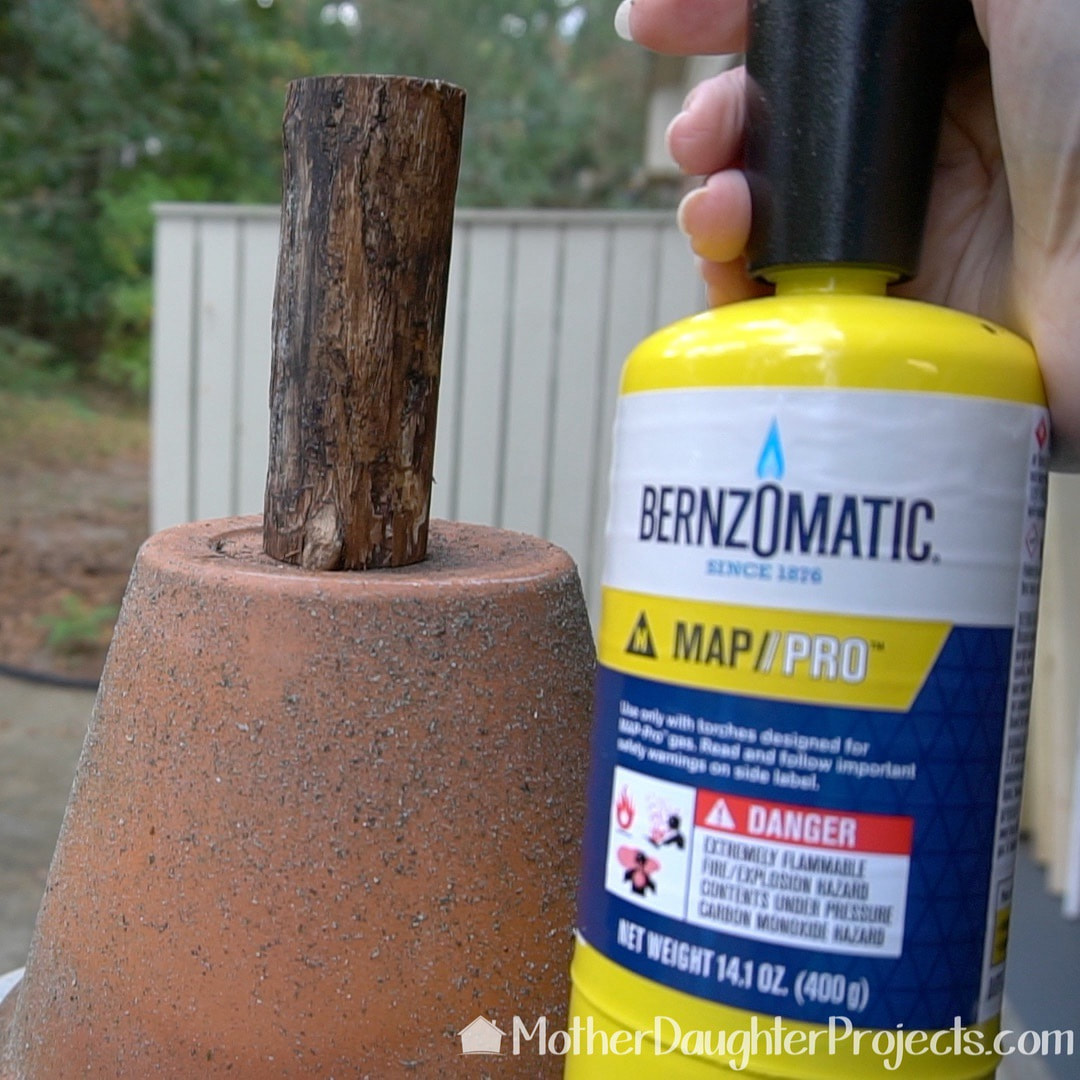
I found a bunch of mini wood crates that I had gotten at a conference that would prove to be the perfect starting point along with some leftover wood dowels (from last year's tree) and a well aged tree branch! Materials/Tools:
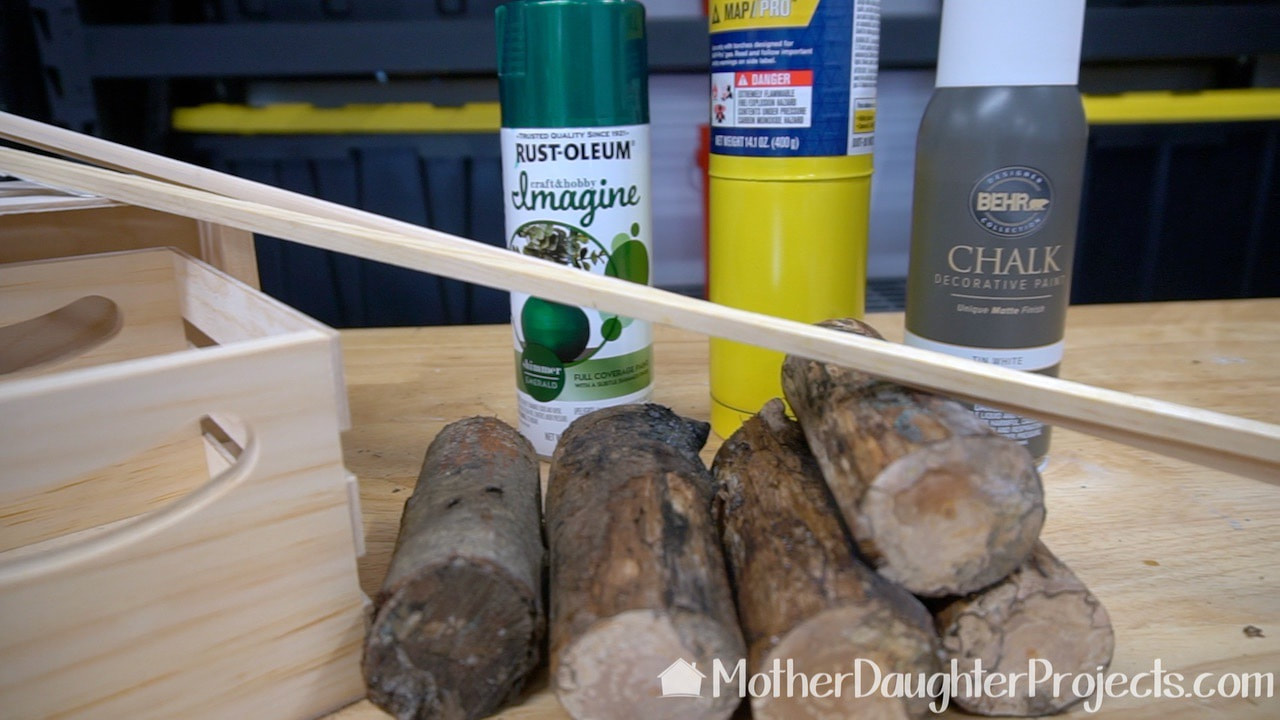
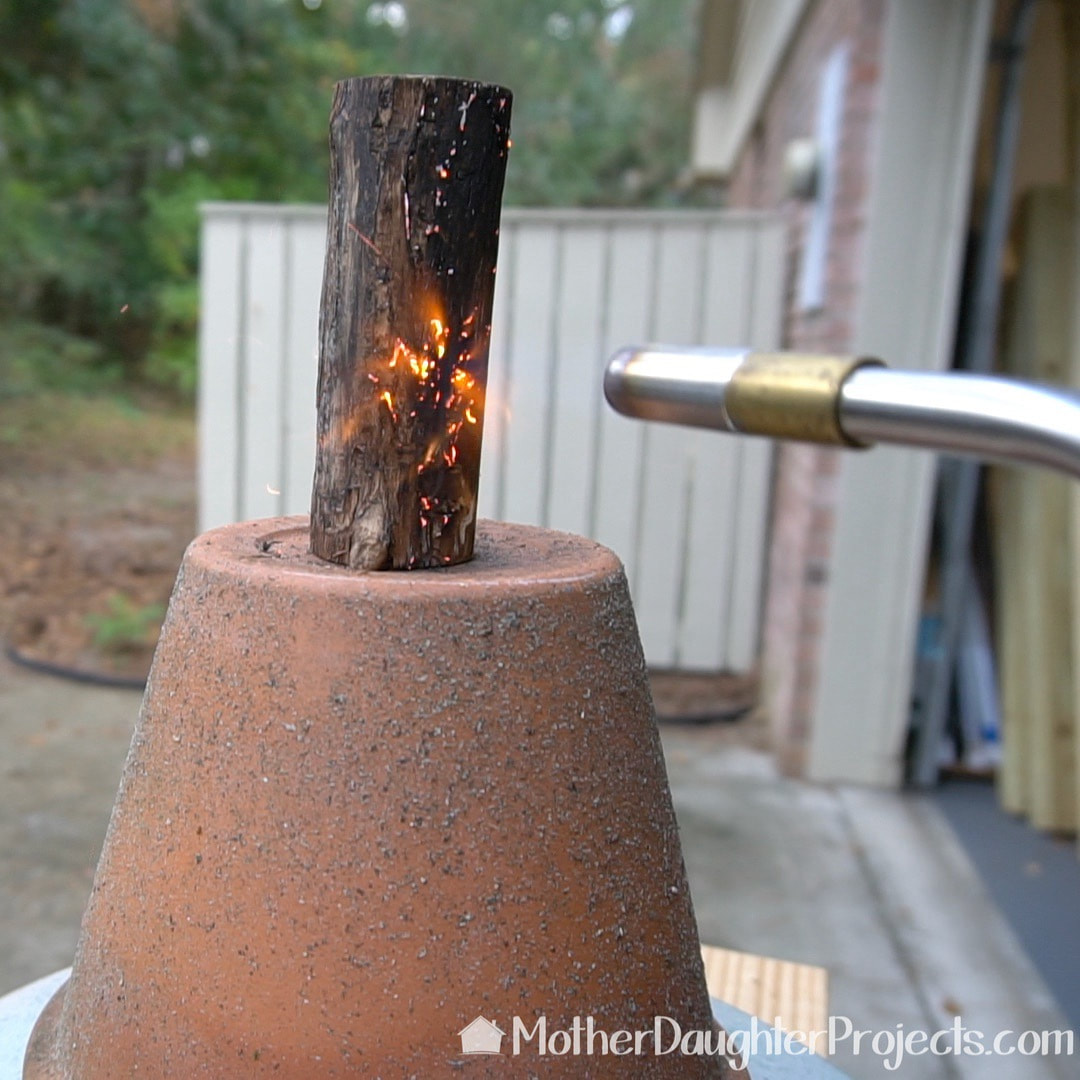
I'm using 12 mini crates, 3/8" square wood dowels, cut pieces of tree branch, a couple of paints and a torch, just because it's fun to torch things!
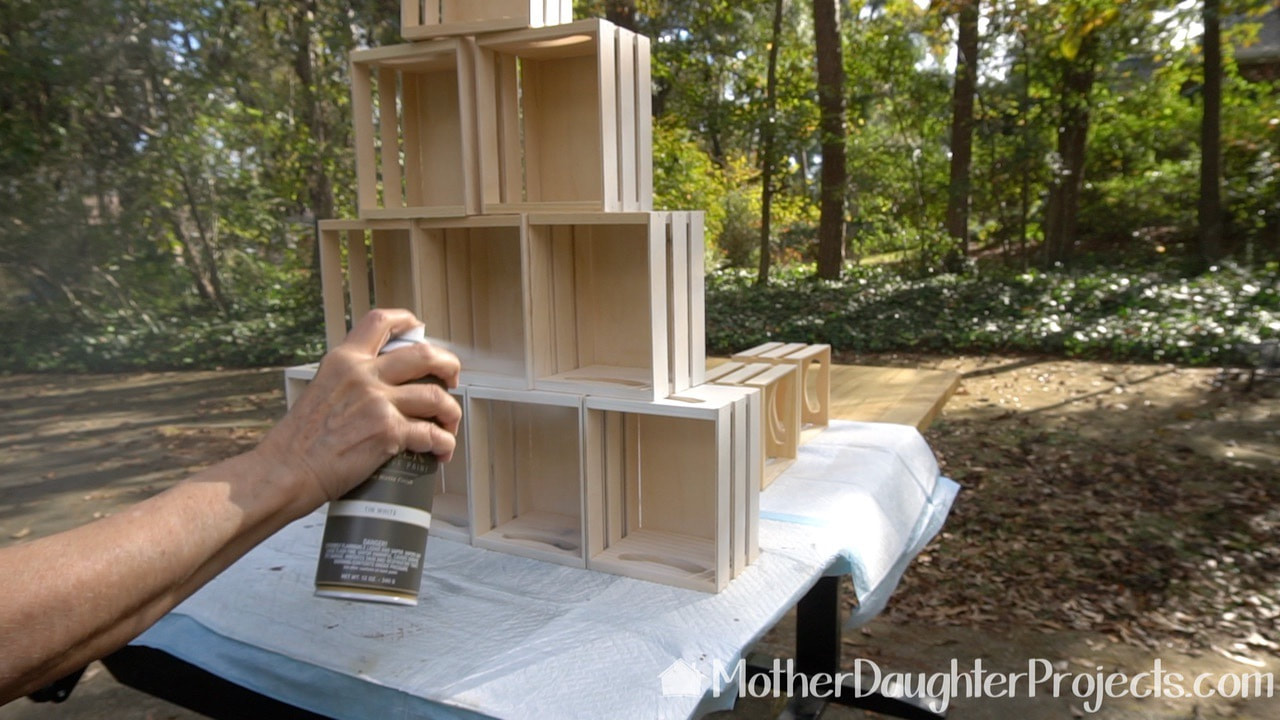
I wanted a rustic look to the crates once painted, but didn't want full coverage, and this Behr spray chalk paint was perfect.
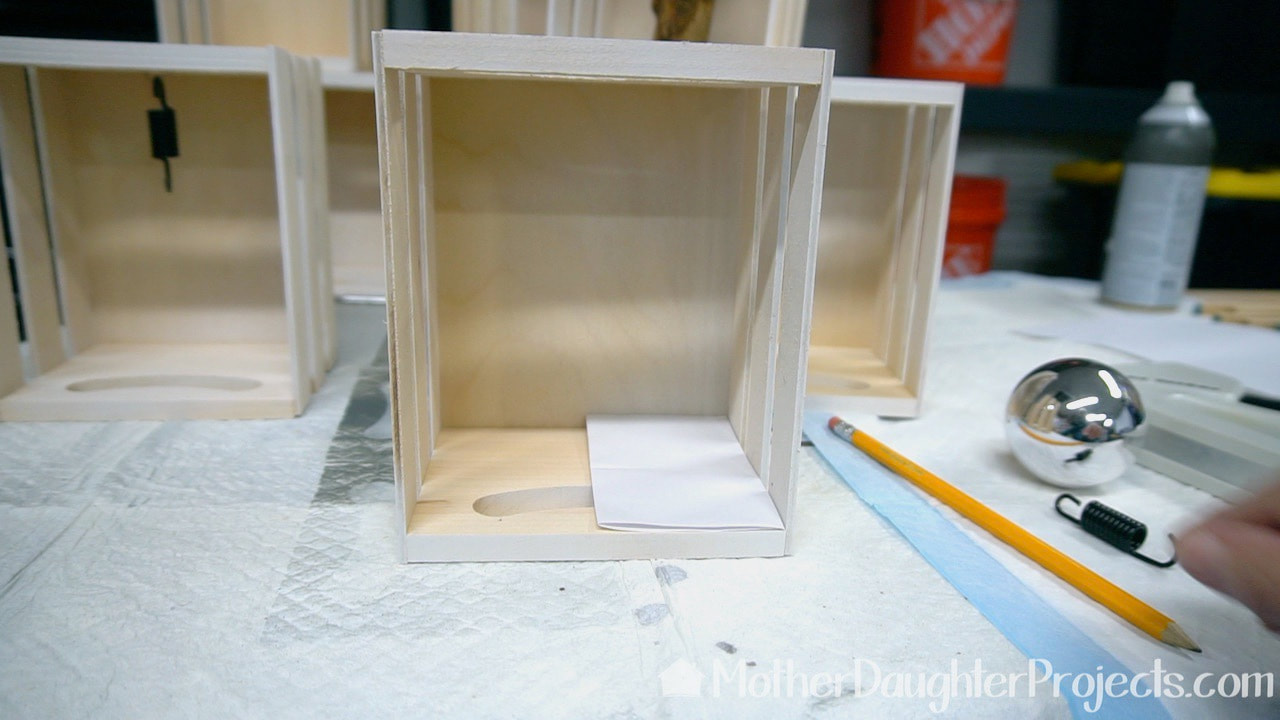
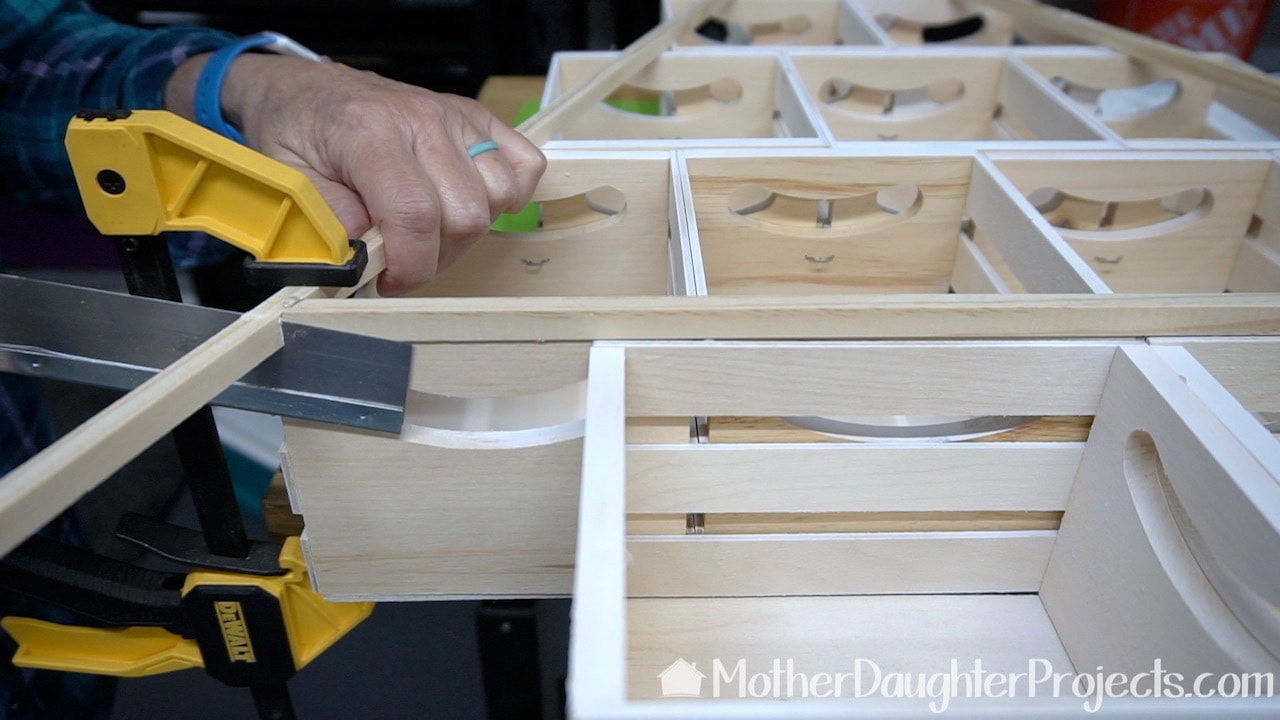
I wanted to add a way to hang an ornament in each crate. I decided to use a light tacker staple as it is not flat like regular staples. I made a quick paper pattern so I could easily mark the center point of the crate.
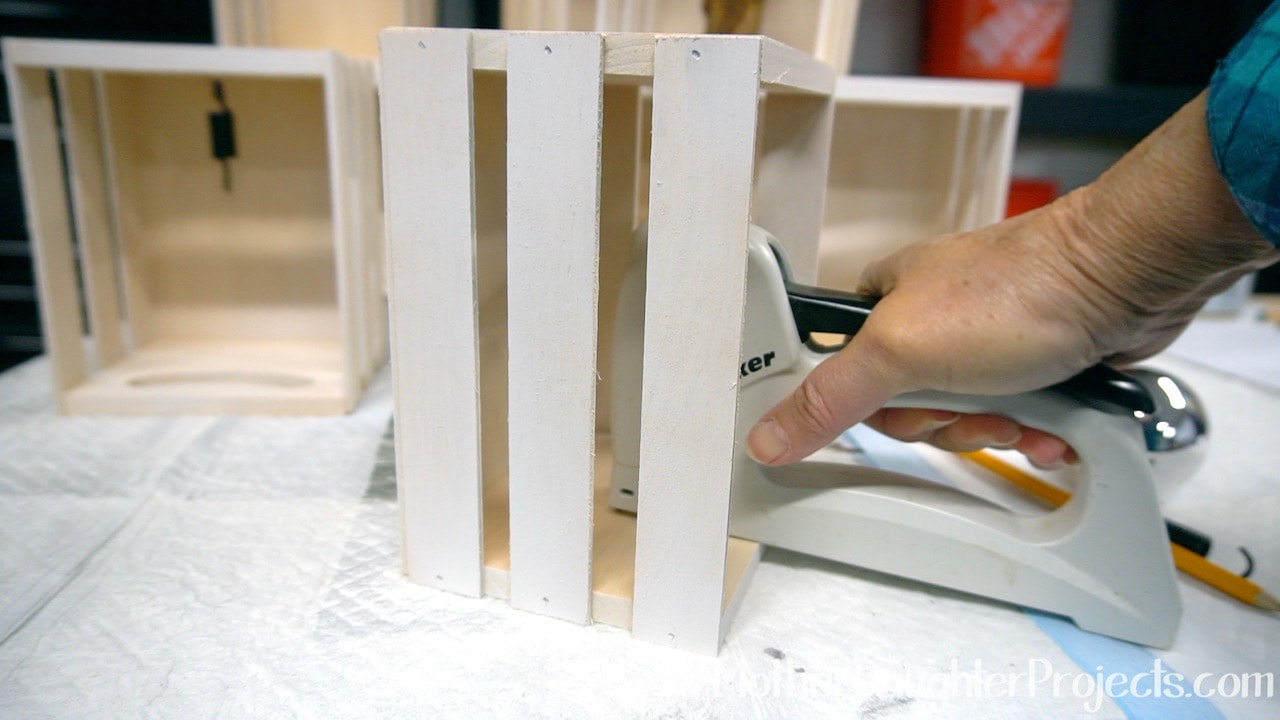
I centered the light tacker over the mark and added a staple.
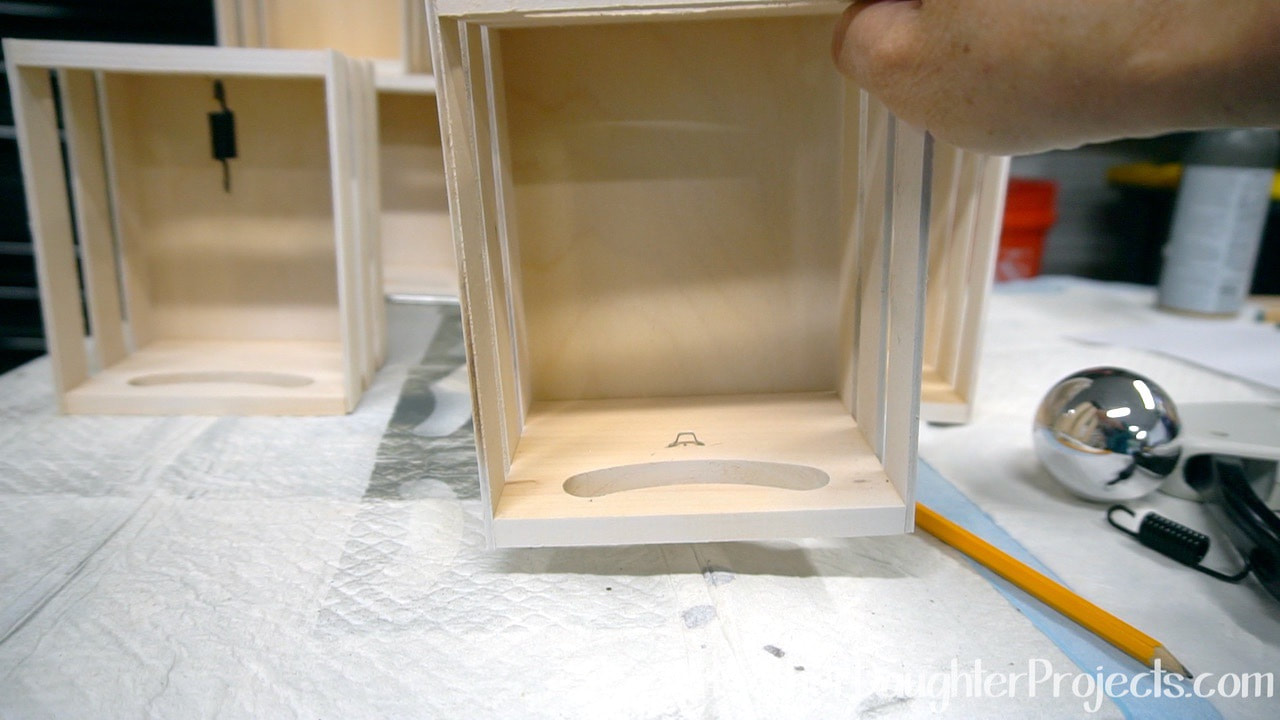
Here you can see the space between the wood and the staple. Perfect for an ornament hook or in this case an upcycled spring. These springs are upcycled from the metal mattress support of an old crib.
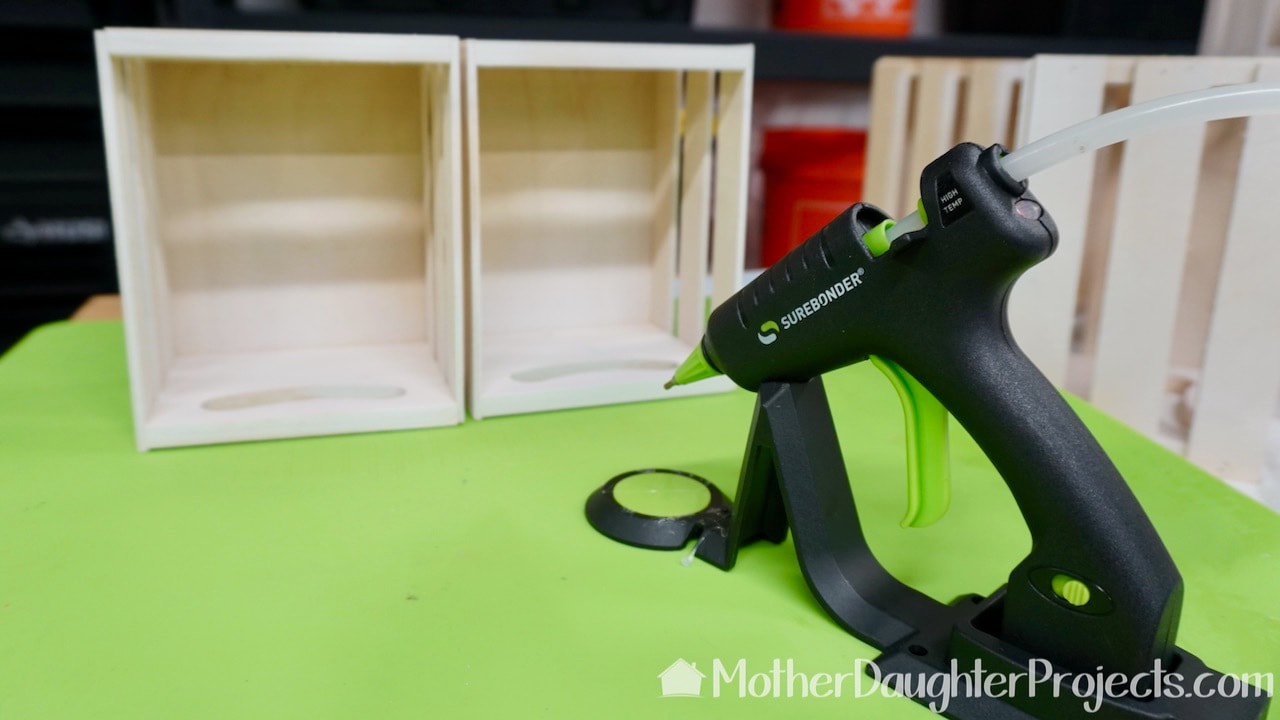
Time to assemble the boxes! All the pieces are glued with hot glue. This is a Surebonder CL-195F Cordless Detail Tip Mini Glue Gun.
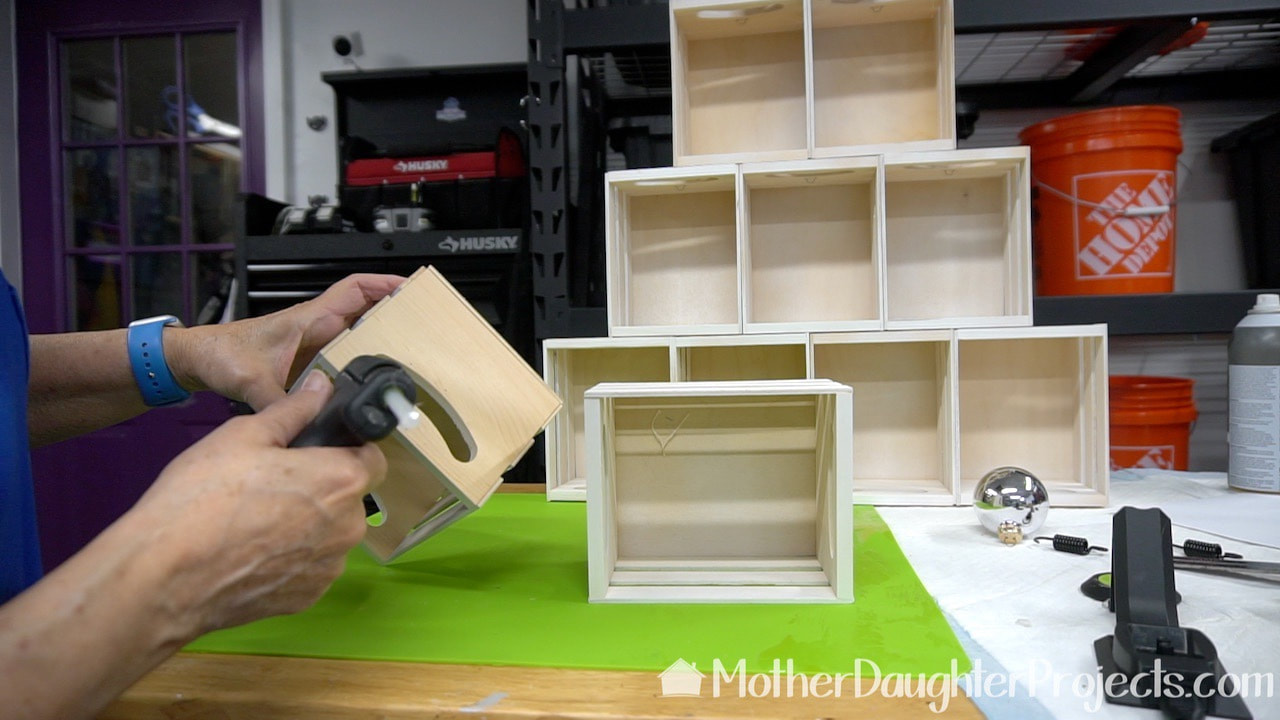
Each row was assembled and then glued to the previous row. After the crates were assembled, I spot sanded areas that needed additional sanding and gave everything another coat of paint.
I wanted one more element to the tree and used the wood dowels to create a simple tree shape overlay. All the angle cuts were done with a tiny little manual saw. This was also assembled with hot glue.

Yes, I was pretty proud that I got these angles at the top of the tree to work. Once this was assembled I spray painted it green.
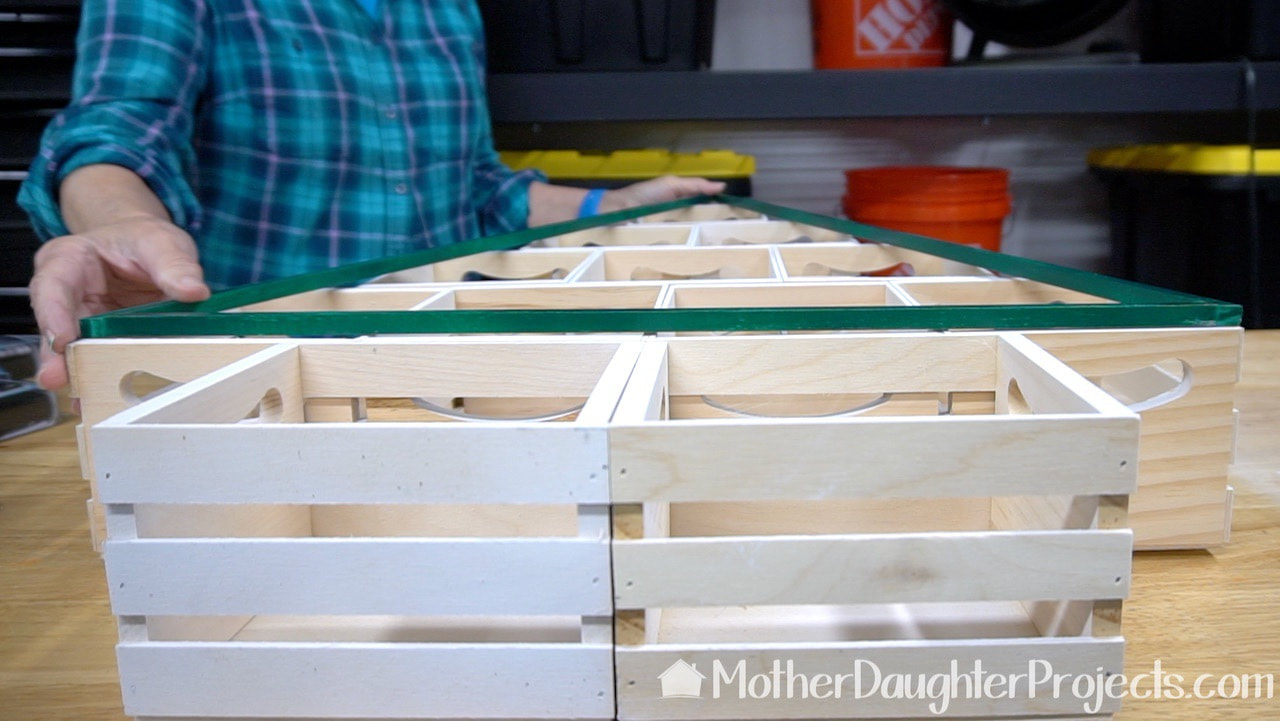
The tree overlay was hot glued to the crates.
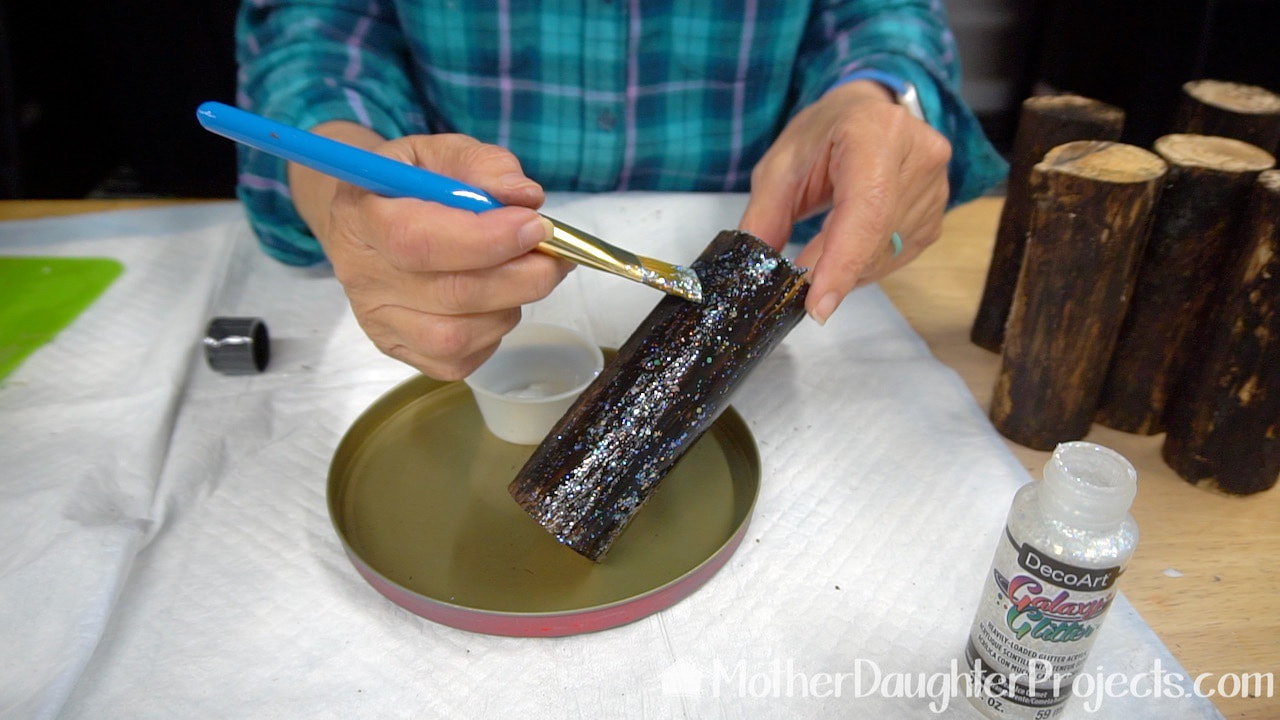
The wood logs were given a bit of shimmer with this DecoArt Galaxy Glitter paint.
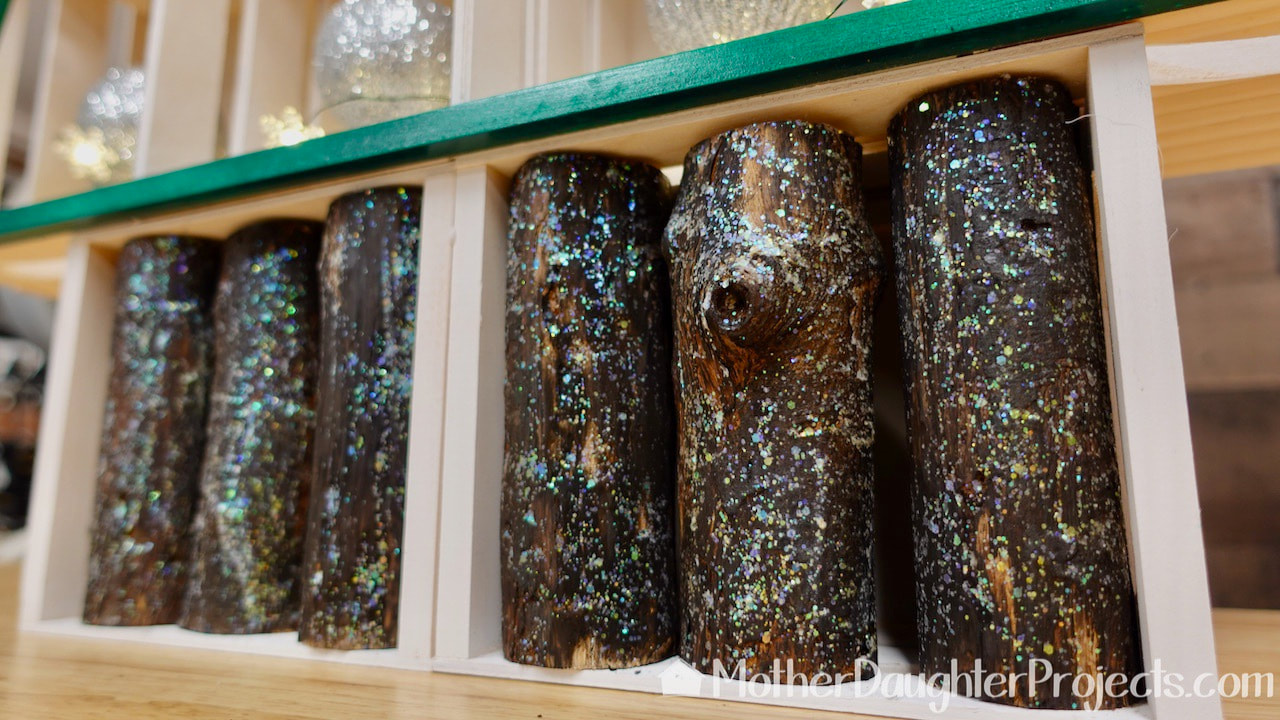
The last step was to put the little logs into place and add the hooks and ornaments!
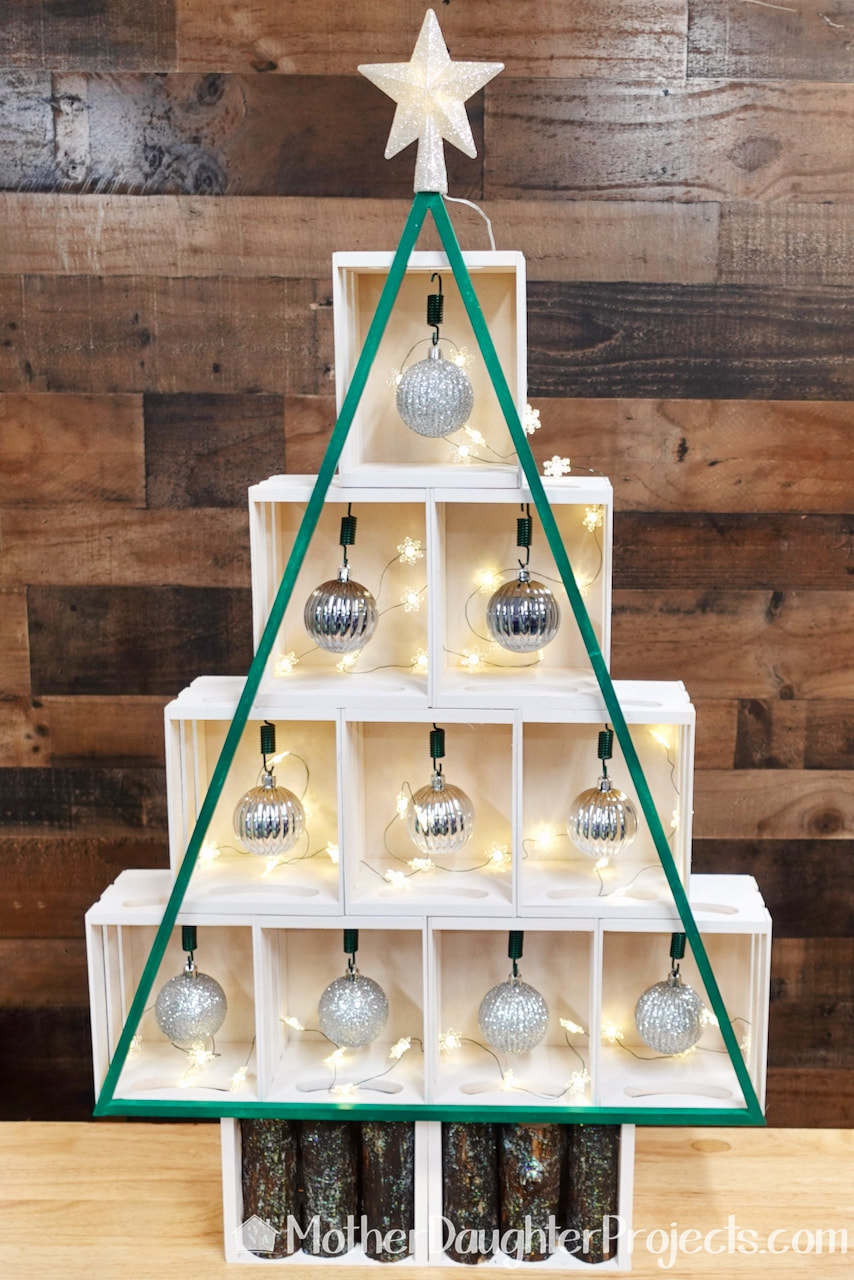
All done, the 2020 alternative Christmas tree using only what I had on hand!
Please note: This is not a sponsored post.
FYI: We are not professionals, and we don't claim to be. This is what we found worked for our project. Yours may need a little different approach. Safety first! FYI: Affiliate links are being used on this page. Purchasing via these links help support MDP! Related Projects
0 Comments
Leave a Reply. |

Mother Daughter Projects
|