|
text by Vicki Sign up to get Mother Daughter Projects updates in your email!
This post is sponsored by The Home Depot as a part of The Home Depot’s ProSpective Campaign. THD provided the Diablo Hole Saw used in this post.
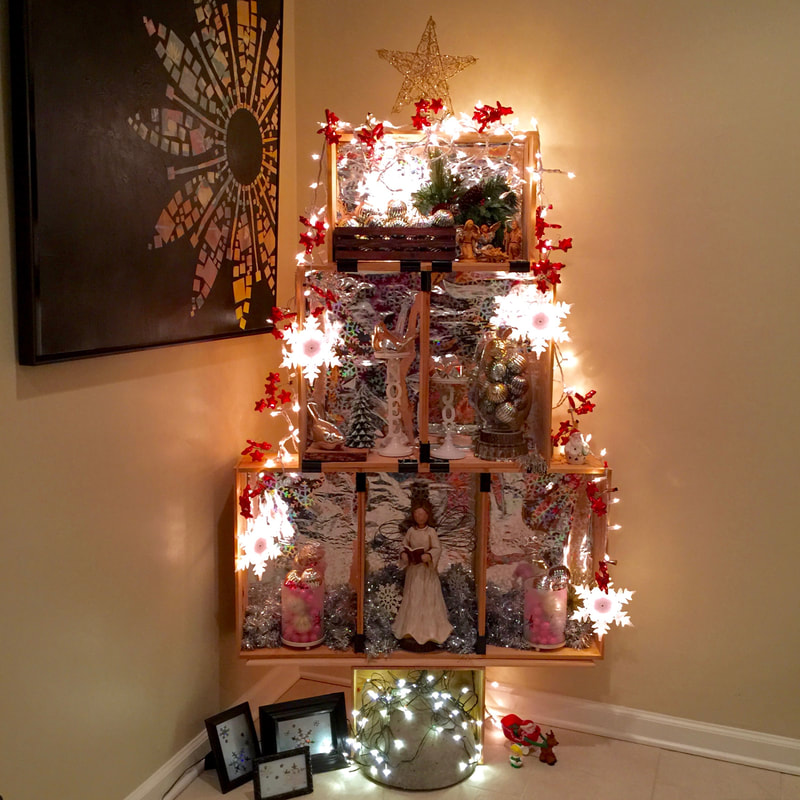
We've designed and created alternative Christmas trees for the last couple of years as we like the look and the creative challenge. We set out to create something new for Steph's house. I don't remember if Steph had an idea, but if she did, I ignored it and lobbied for MY idea.
A few years ago I saw a basic wood tree in a mall window display. It had shelves for merchandise but it was basically a tall skinny wood triangle. We decided to create our own version of the display tree. Ours would have no shelves and would be supported by a concrete base. I really liked the concrete bases we made for Steph's nightstand and thought it would be a great idea to hold the tree up. Also, we designed the tree so that it could easily be taken apart for storage. Take a look at how it all came together! Materials:
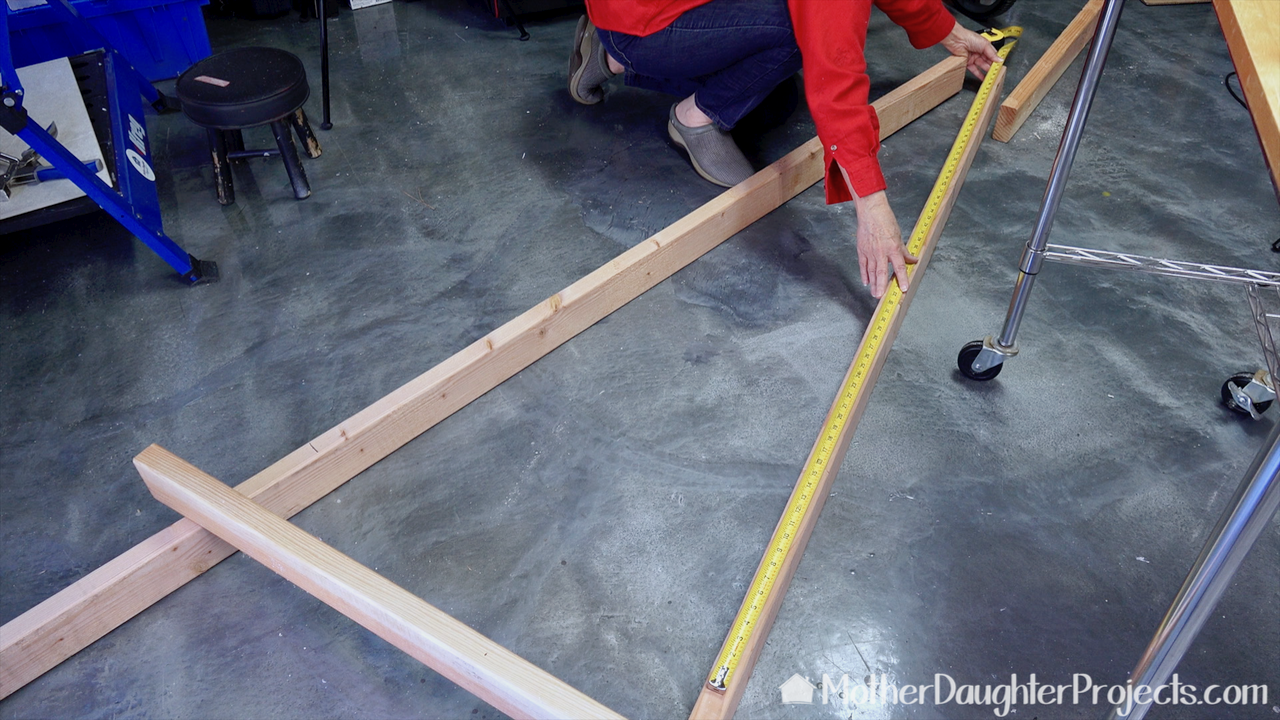
The first step was to lay the 2x4s on the floor to determine the length and width. We marked the cut lines. The two tall pieces are 6 feet and the bottom board is 26.5".
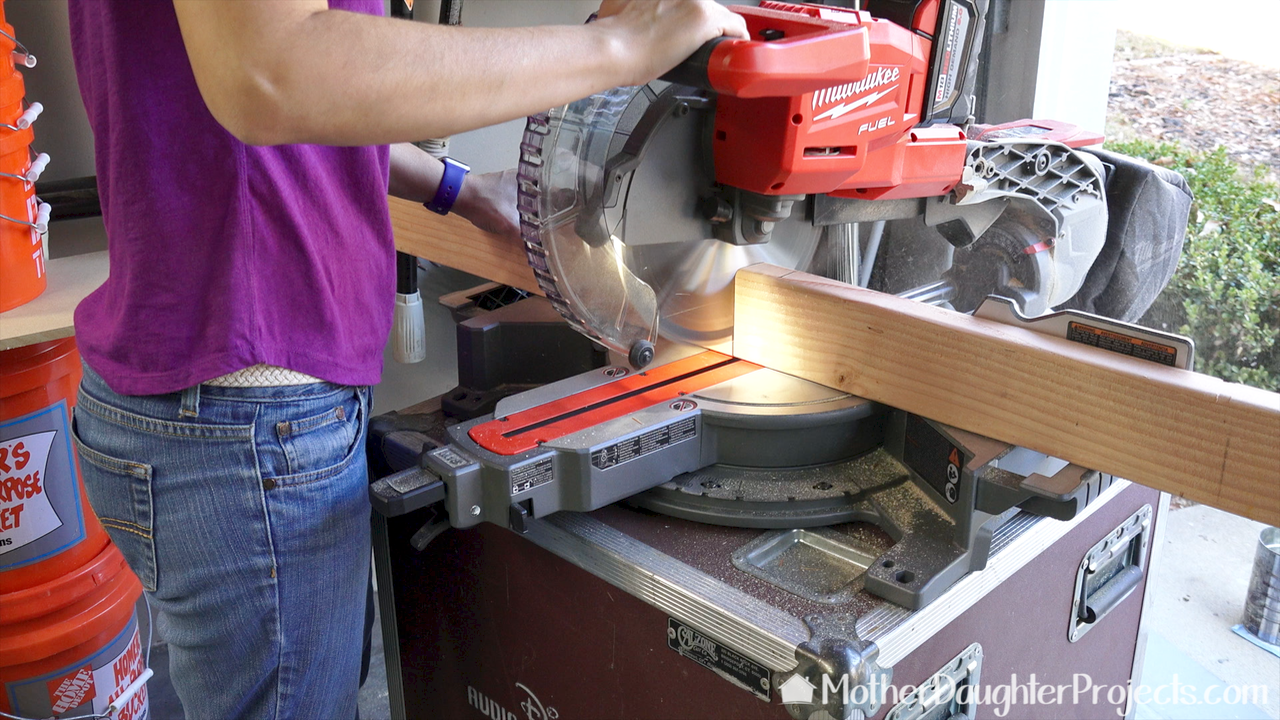
All the cuts were made on the miter saw.
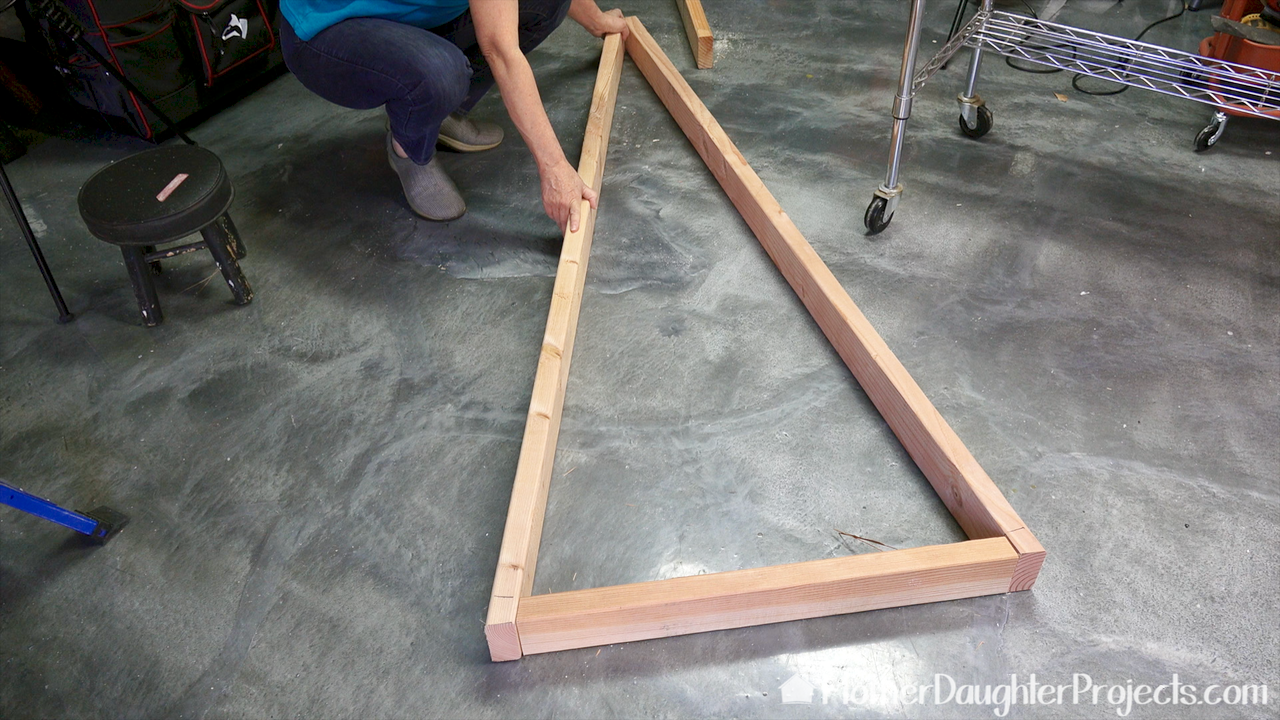
We laid all the newly cut pieces on the floor to check for accuracy. We did have to go back and recut the bottom piece just a bit to get a little cleaner angle cut.
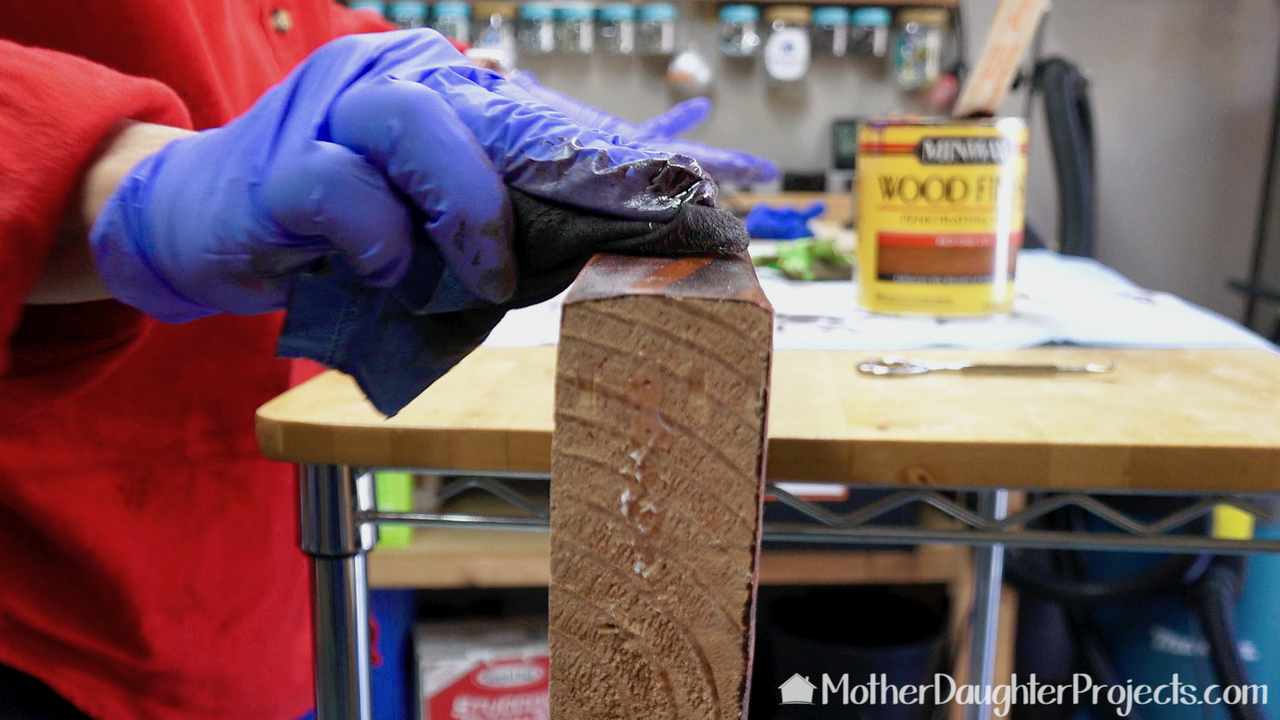
We sanded and stained all the boards. I like to use an old t-shirt to apply and wipe off the stain.
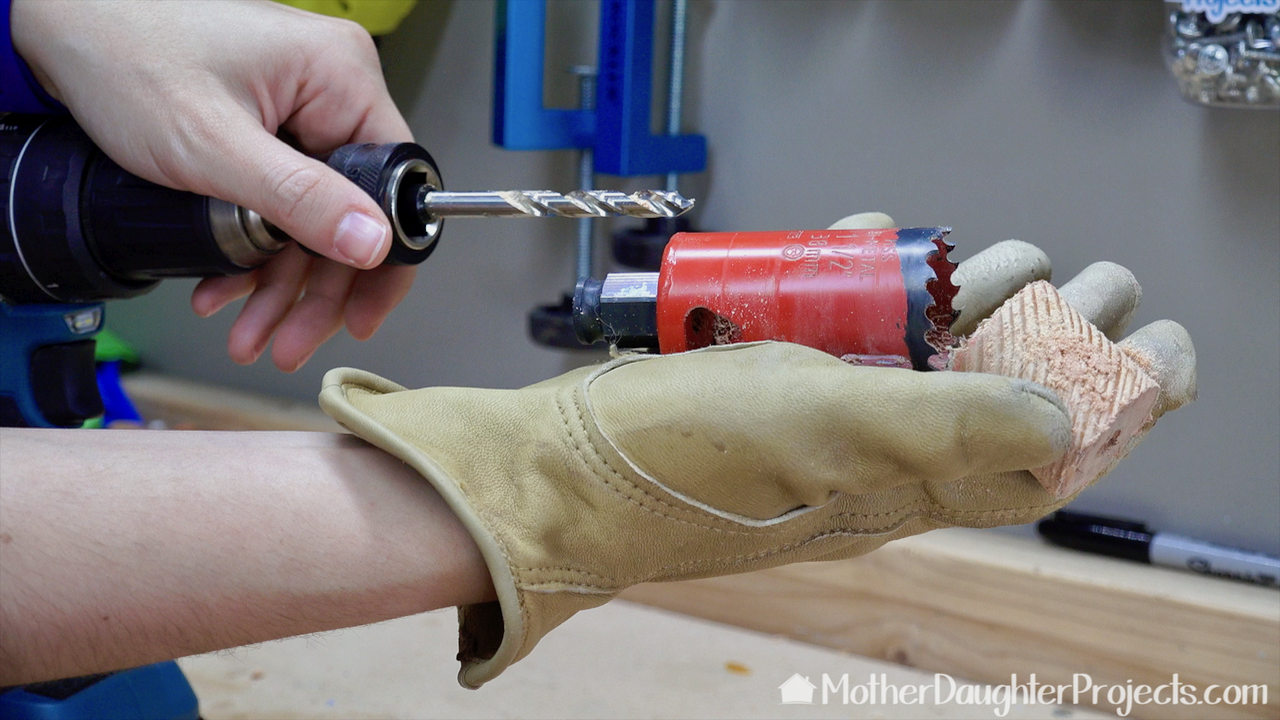
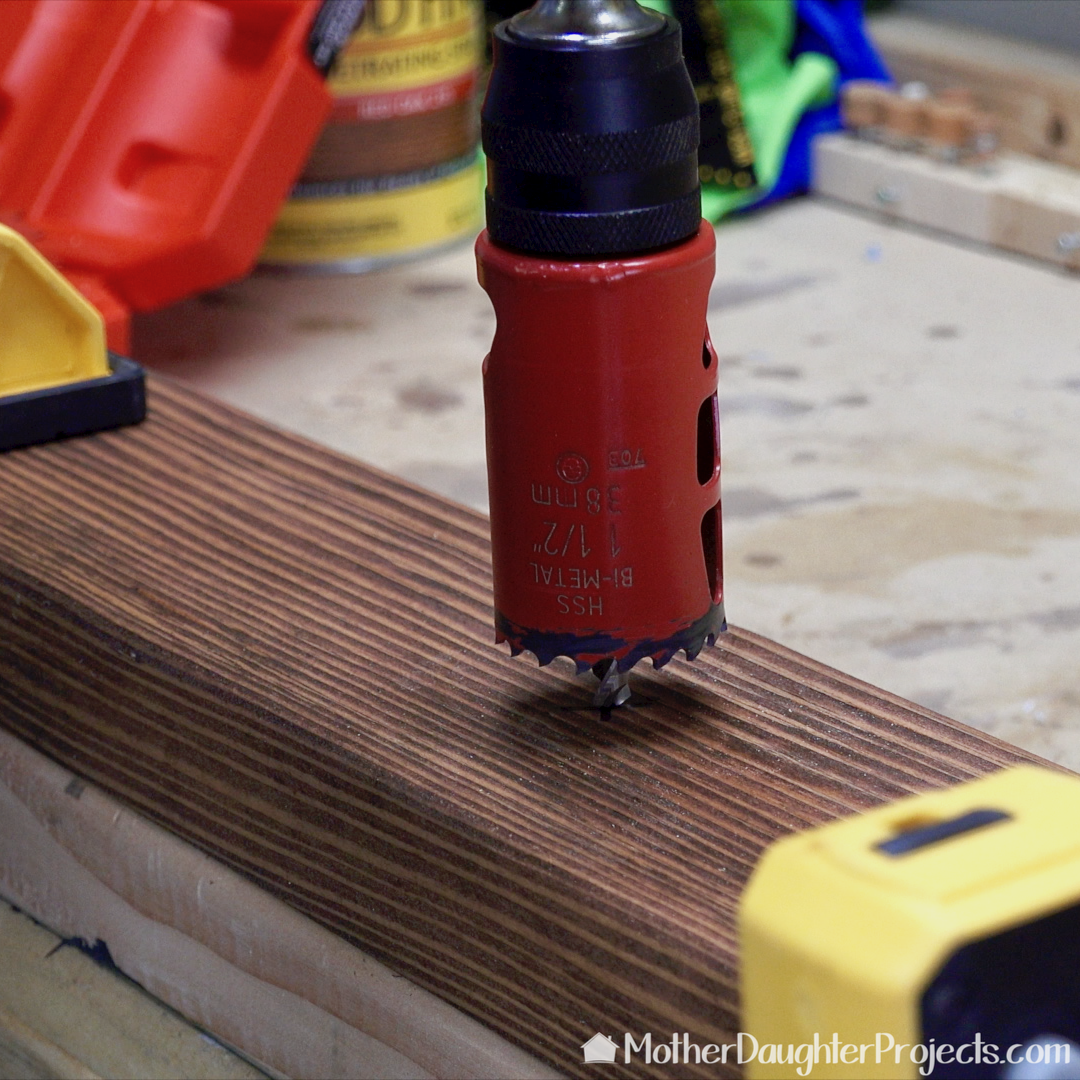
One of the problems with other hole saws is removing the wood plug you just cut. Diablo created a hole saw which makes it easy to remove this plug.
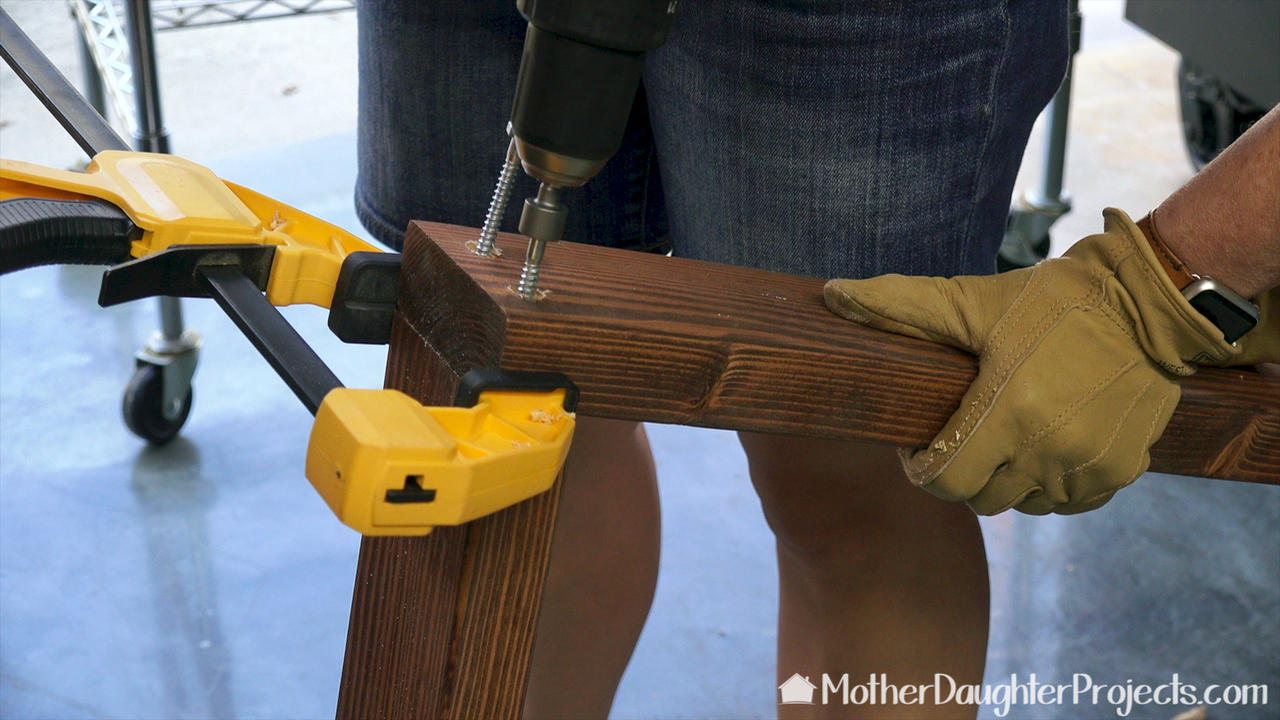
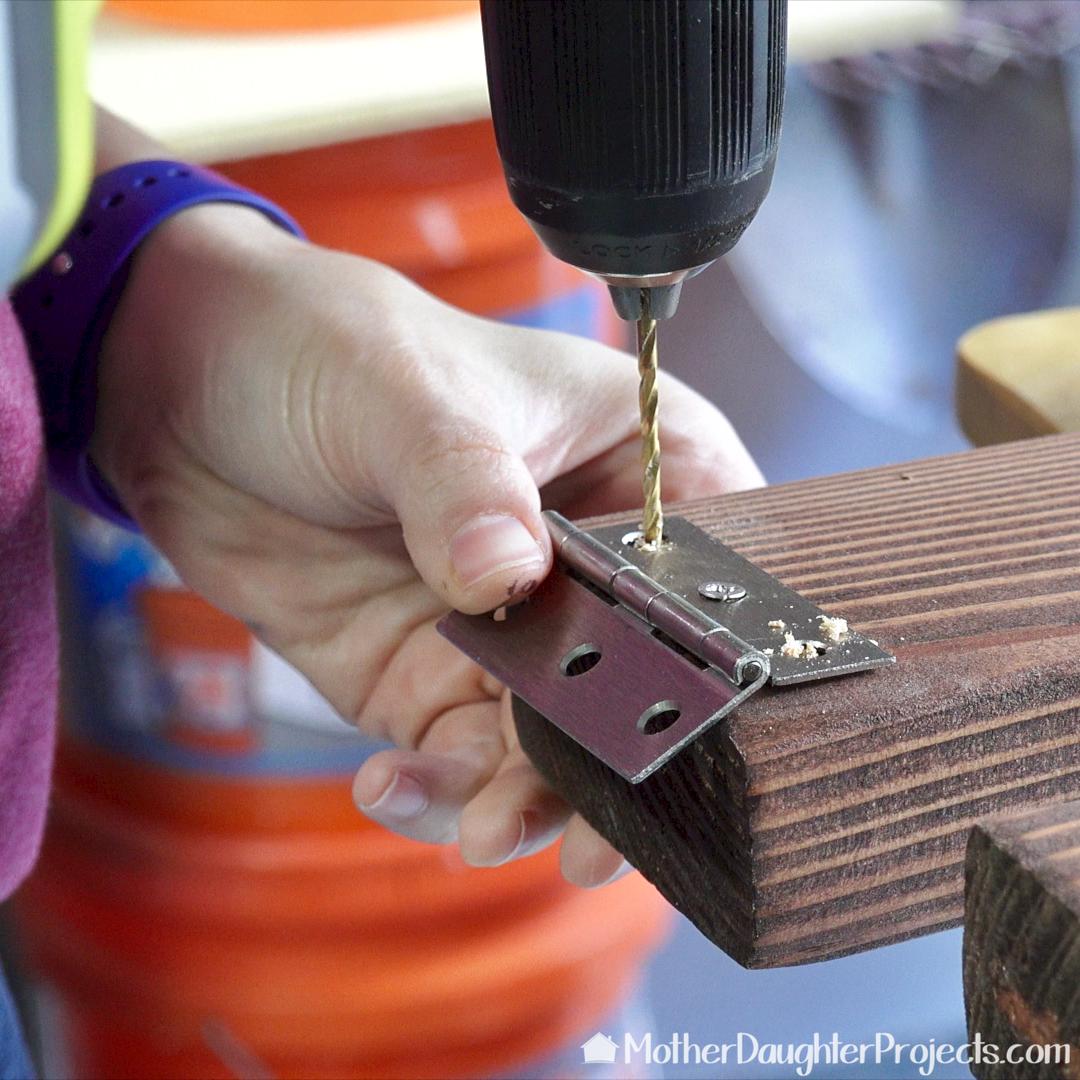
Since we wanted to be able to remove the bottom piece for storage, we decided to use lag screws which can be easily removed. Steph drilled pilot holes, then used a countersink bit and then drove in the screws. It was very helpful to clamp our workpiece in place before trying to put in the screws.
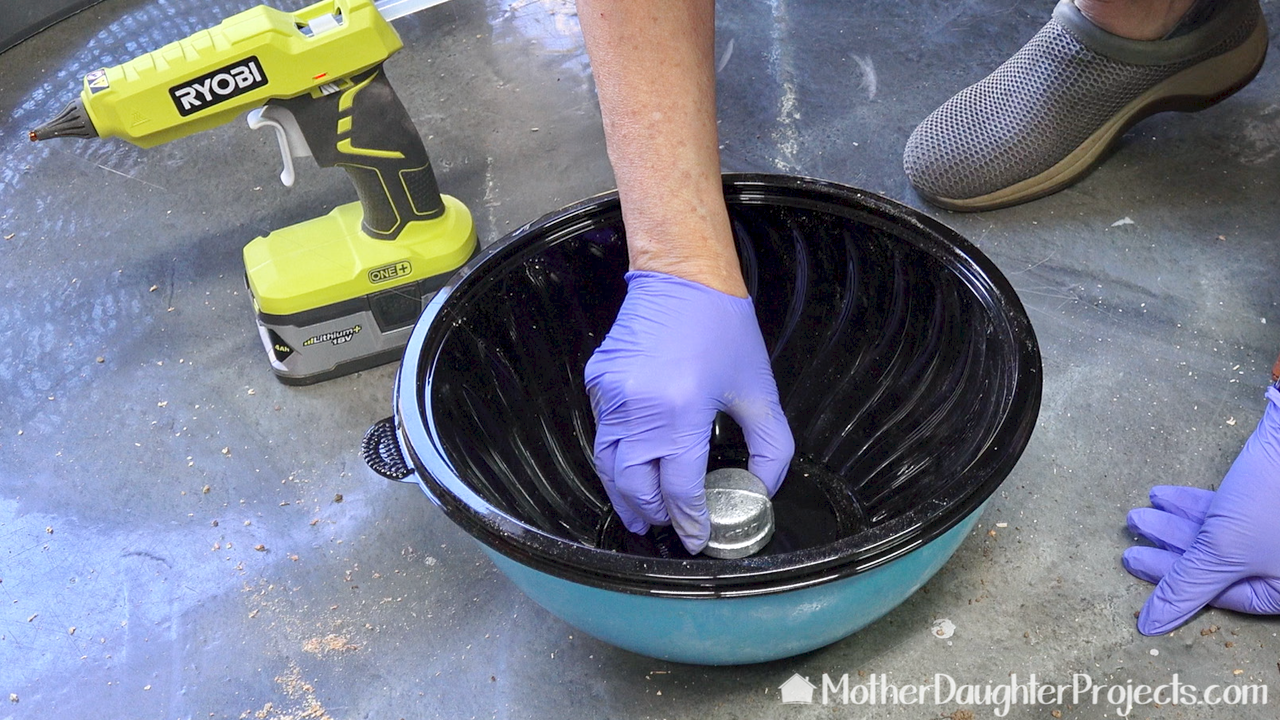
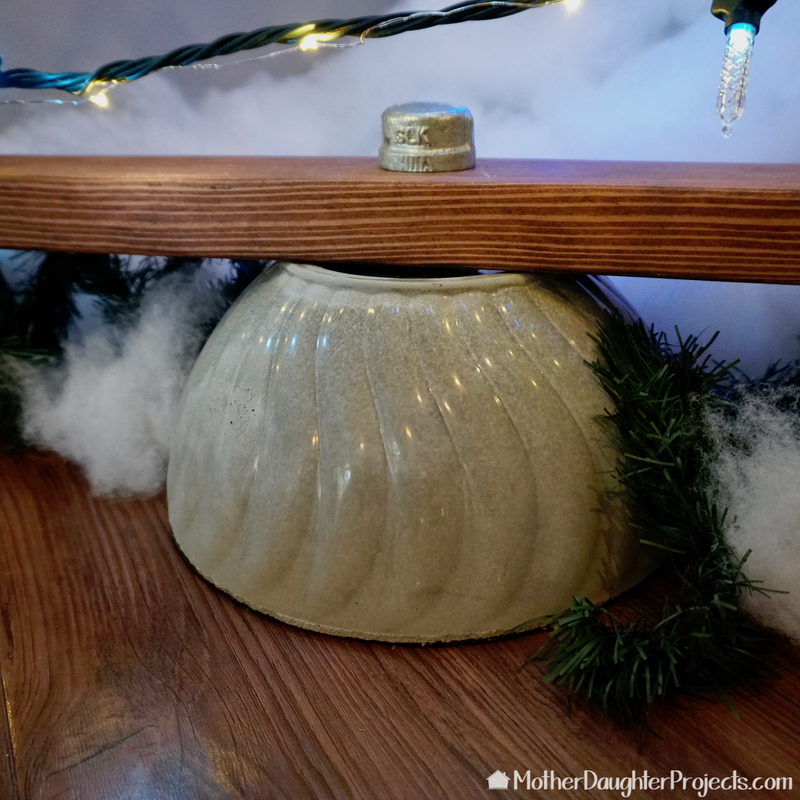
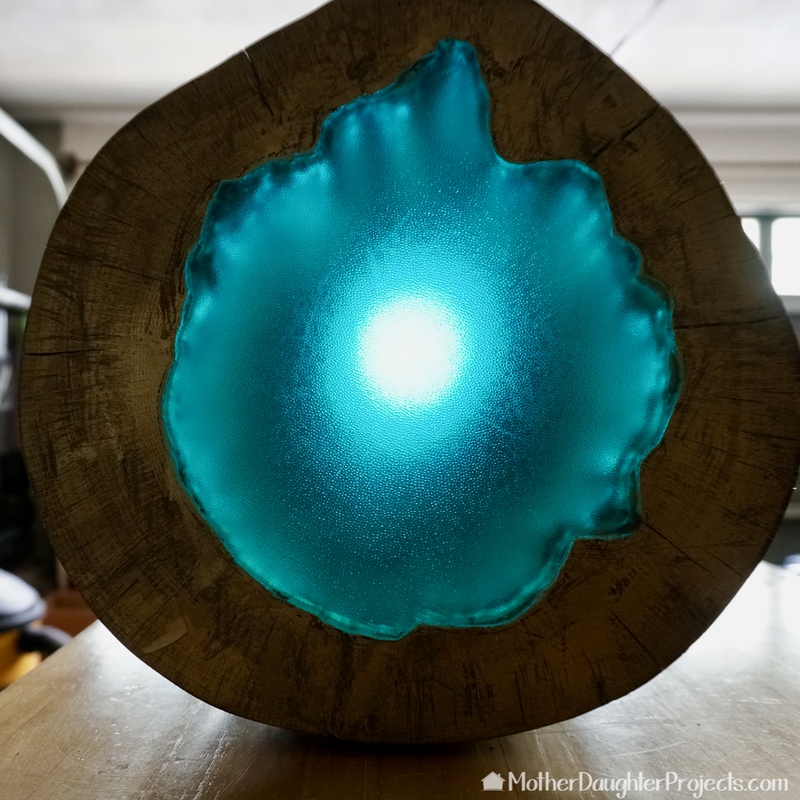
To create our concrete base we found a plastic bowl the size and shape we wanted. (This happens to be a disposable deli bowl. We placed it into a more rigid, stable bowl to keep the sides from distorting or moving.) We hot glued a metal pipe cap into the center of the bottom of the bowl. In the final assembly, a short piece of pipe will be screwed into this pipe cap, the bottom of the tree will be placed over the pipe and all screwed down nice and tight with another pipe cap.
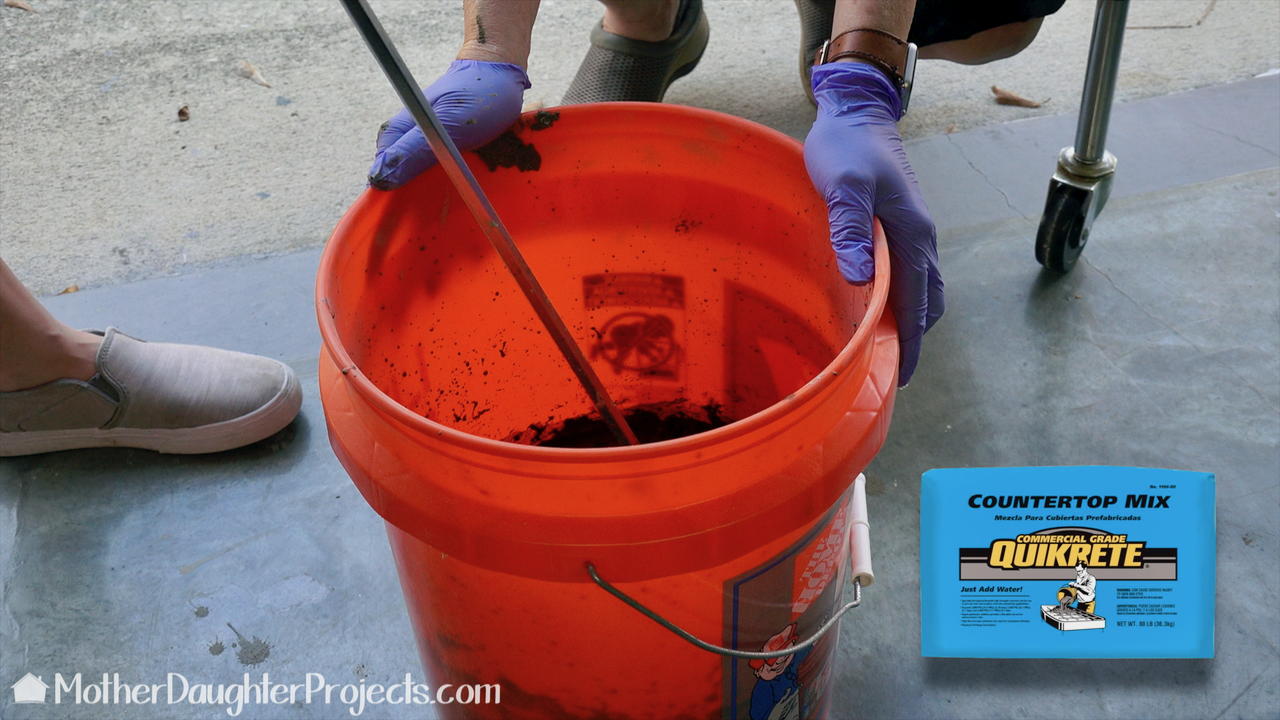
Next we mixed up the concrete using a paddle mixer attached to our drill. This really made very quick work of this usually tiring mixing process. We use Quikrete countertop mix as we like the smooth finish it has when cured.
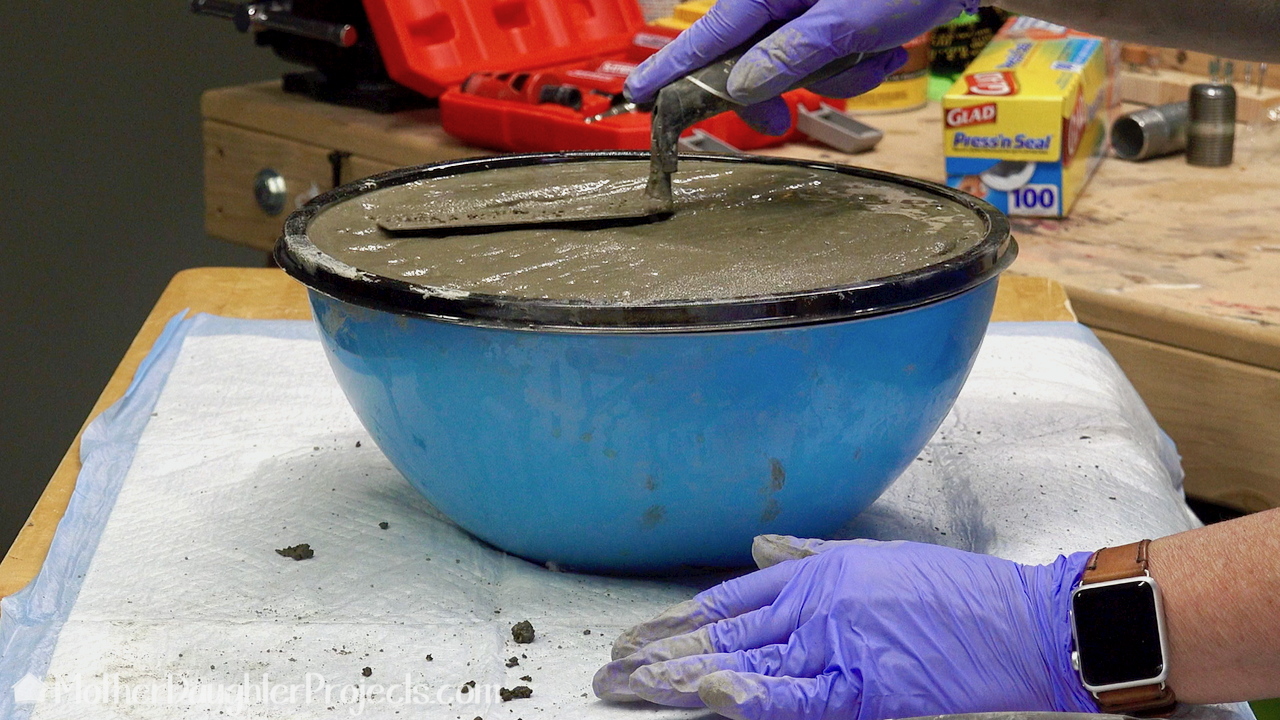
We smoothed out the top as best we could and made sure the bowl was level as the top will become the base of the stand and needed to be as flat and level as possible. We also tapped the sides to bring up air bubbles.
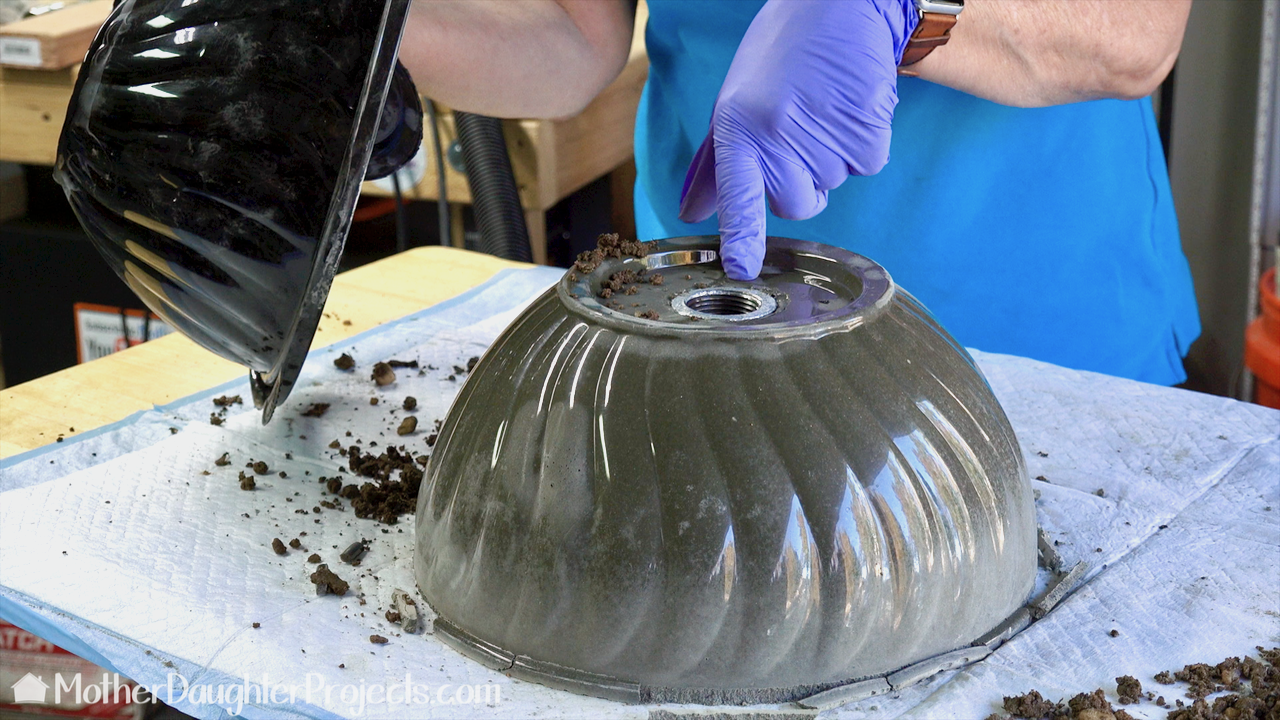
Unmolding is the best! The base turned out exactly has we had hoped. The metal cap remained firmly centered. When we set up the mold, we filled the concave part of the bottom of the bowl with dirt so it would not flex under the weight of the concrete once it was put into the mold.
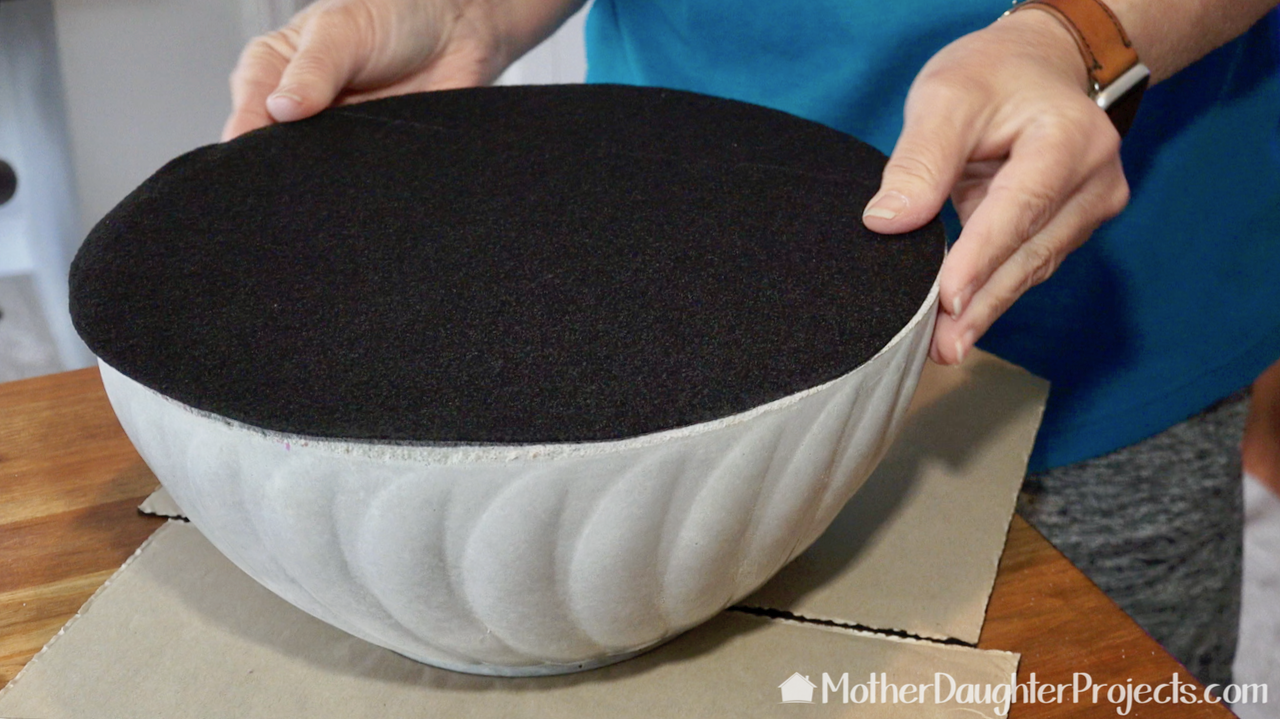
We let the base cure a few days before we added self stick felt to the bottom to prevent scratching of the floor.
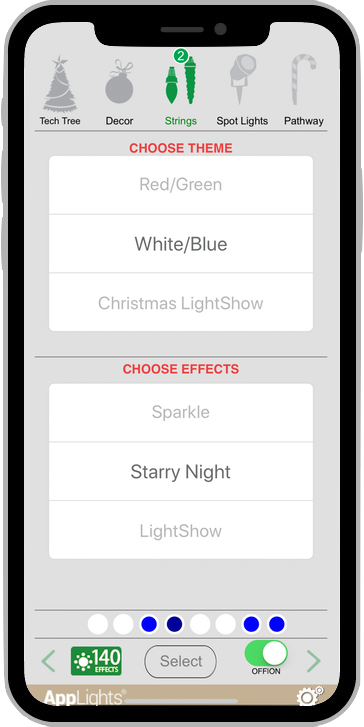
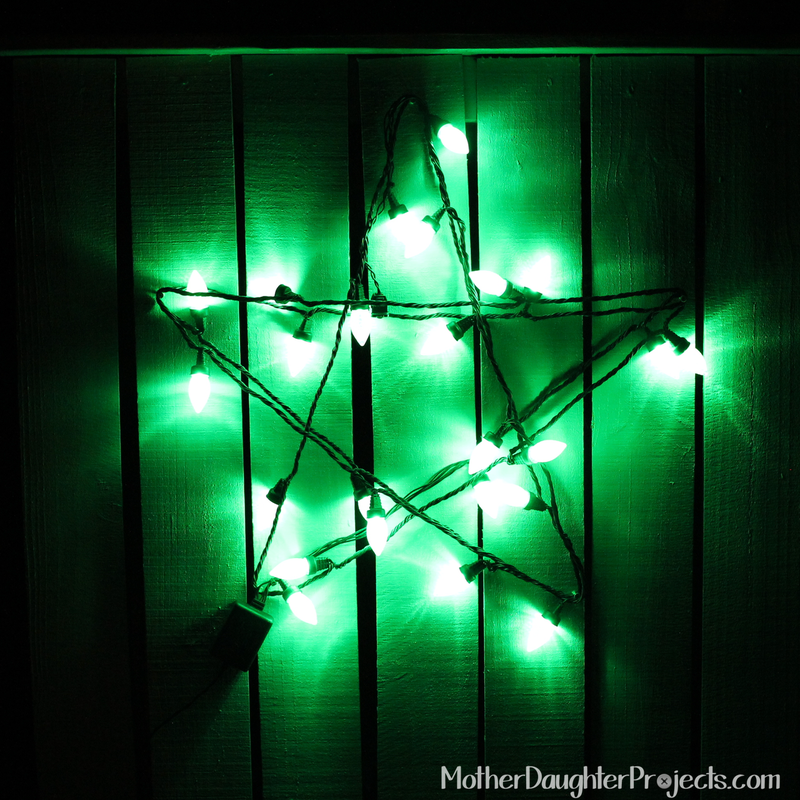
Two different types of lights were wound around the tree. The larger lights are App lights from The Home Depot. They are controllable via an app. We also used two strands of plug-in fairy lights. The App lights went on first and then fairy lights followed the same pattern as the App lights. We finished with about 25 clear plastic balls and topped the tree with a star.
* The star is made from a copper color aluminum sheet by M-D building Products.
I did a google search to look for a star pattern to use. I traced the design onto the metal sheet. I enlarged the graphic so it was about 10” wide. I cut it with regular tin snips. To make the center design I used a flat head screwdriver and a hammer. In the graphic above, the dotted lines were hammered from the front side to create “valleys” and the solid lines were hammered from the reverse side to create “hills.” That’s what gives the star it’s dimensional look. 
We've said it before, but it is such a cool feeling to have an idea and then to see it become a reality. I had sketched a rough idea of this tree and then forgot about the drawing until we were finished. The finished tree came together as envisioned in my very primitive drawing!
We like the simplicity of this tree and the features that make it collapsible and easy to store. The App lights are great as the color scheme can be changed with the touch of a button! We acknowledge that The Home Depot is partnering with us to participate in the The Home Depot ProSpective Campaign. As a part of the Program, we are receiving compensation in the form of products and services, for the purpose of promoting The Home Depot. All expressed opinions and experiences are our own words. Our post complies with the Word Of Mouth Marketing Association (WOMMA) Ethics Code and applicable Federal Trade Commission guidelines. FYI: We are not professionals, and we don’t claim to be. This is what we found worked for our project. Yours may need a little different approach. Safety first! FYI: Affiliate links are being used on this page. Purchasing via these links help support MDP! Related Projects
5 Comments
yolanda rodriguez
7/6/2019 10:23:36 pm
Am trying to tackle making concrete base. How long do you leave the concrete in the mold before you invert it and take the mold off?
Steph
7/7/2019 08:17:00 am
24 hours. Good luck with the project!
Sue
3/21/2020 03:44:19 pm
Is there a pic of the final placement of the hinge on the top?
Louis Crecchio
8/26/2020 03:33:11 pm
Hello, Im going to make this with my daughter. great idea, when you put the cap in the bowl when you glued the cap to the bowl did you cut a small hole for the cap? 3-2x4x6? what is MD metal in the supply list
Steph
8/28/2020 07:10:54 am
Hi Louis! We didn’t cut a hole, just hot glued the cap right to the bottom of the bowl. The MD metal is for the metal star we added to the top of the tree. Leave a Reply. |

Mother Daughter Projects
|