|
text by Vicki Sign up to get Mother Daughter Projects updates in your email!
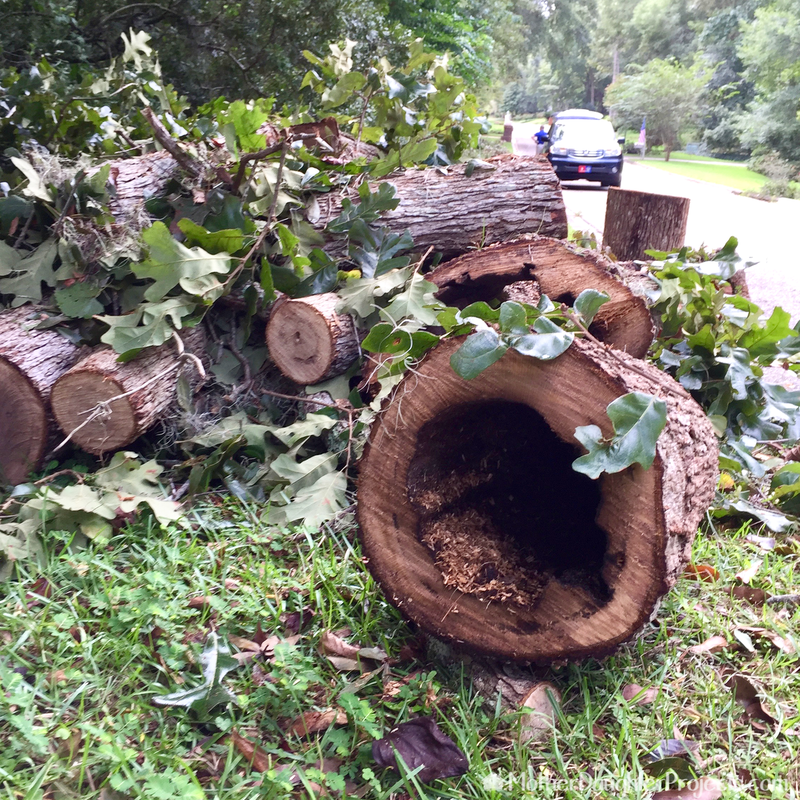
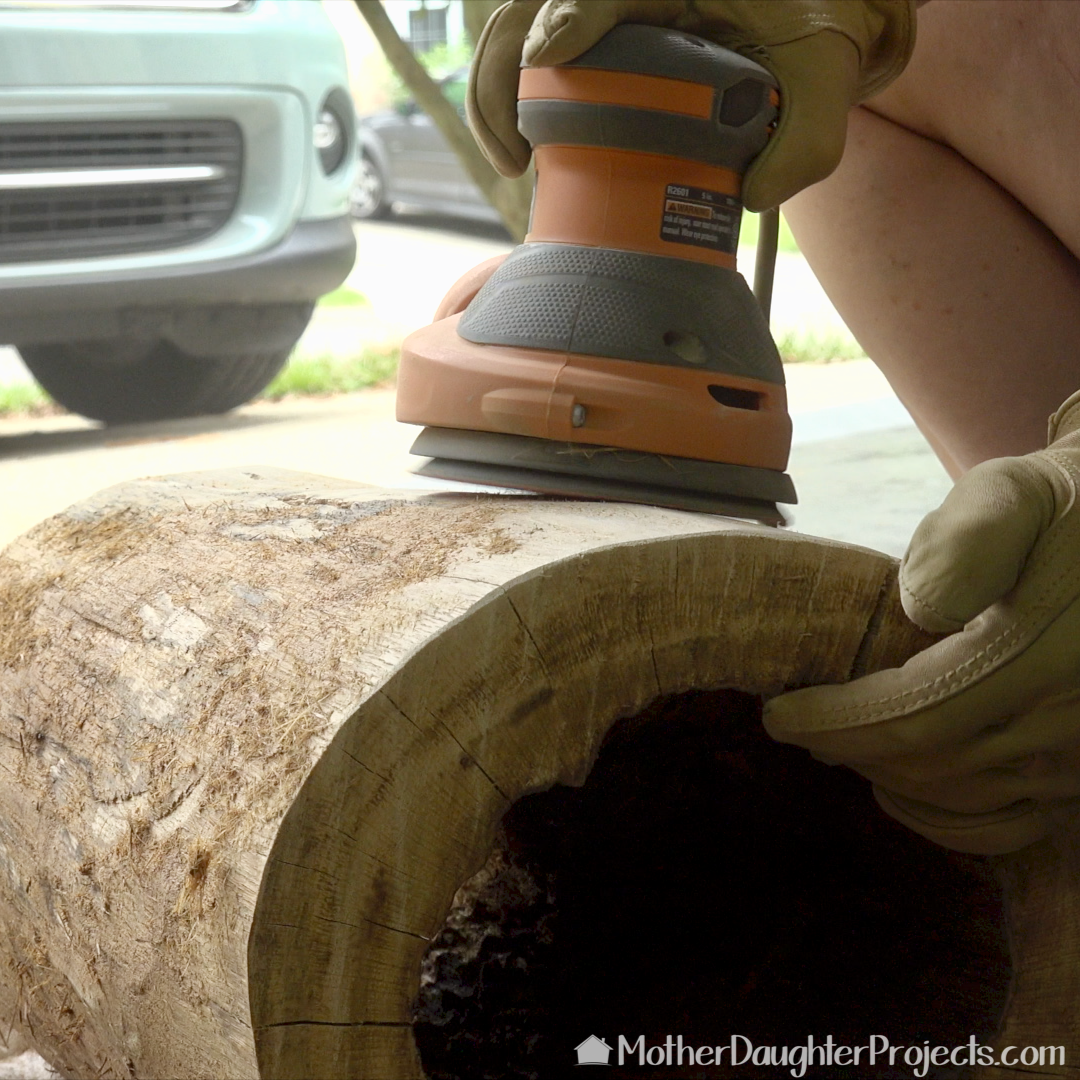
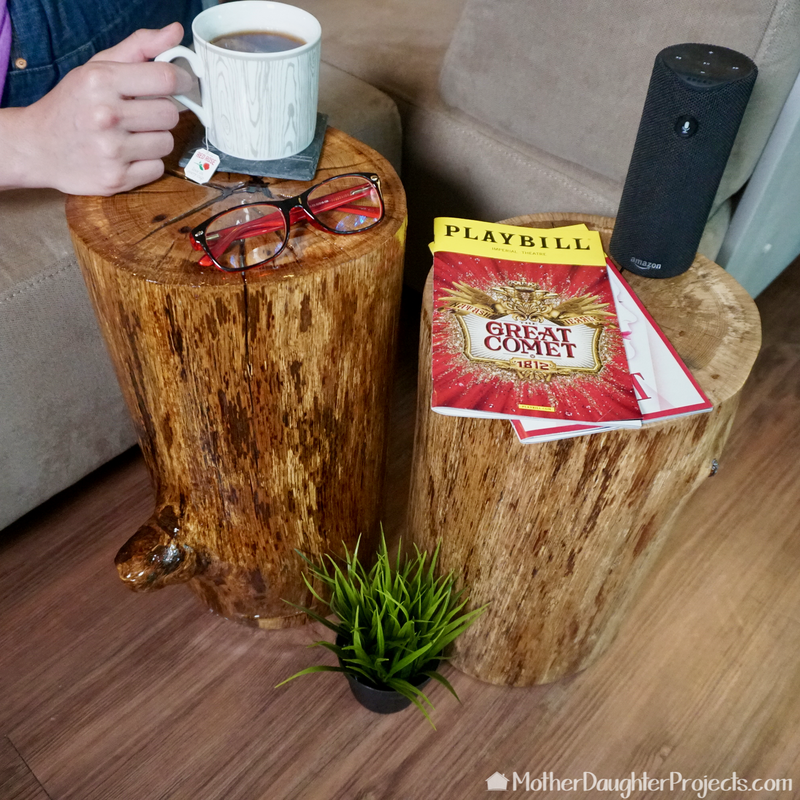
After a storm here in Tallahassee in September 2016, we picked up a bunch of cut up logs from the neighbor across from my house. The logs have been drying all this time in Steph’s garage and are now ready for projects. We’ve already used two in a previous project.
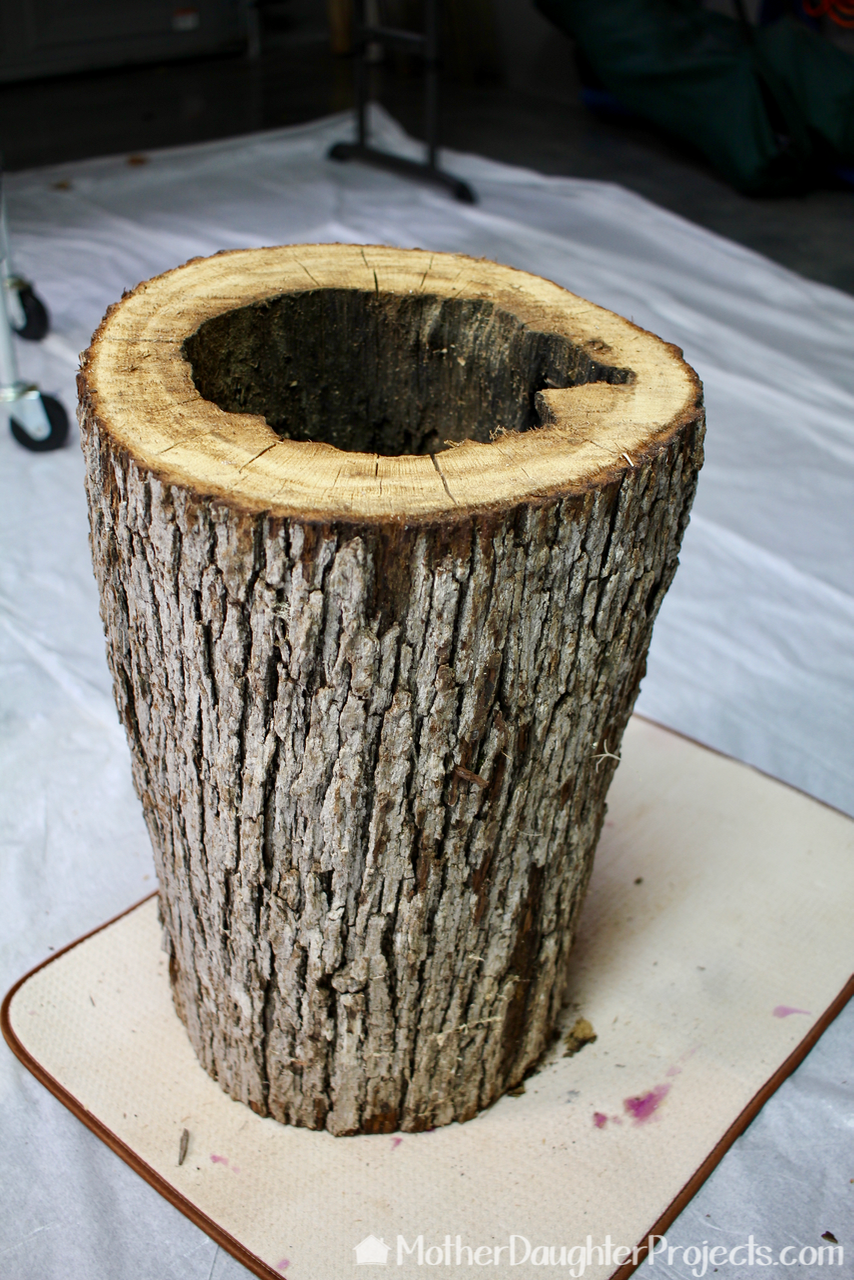
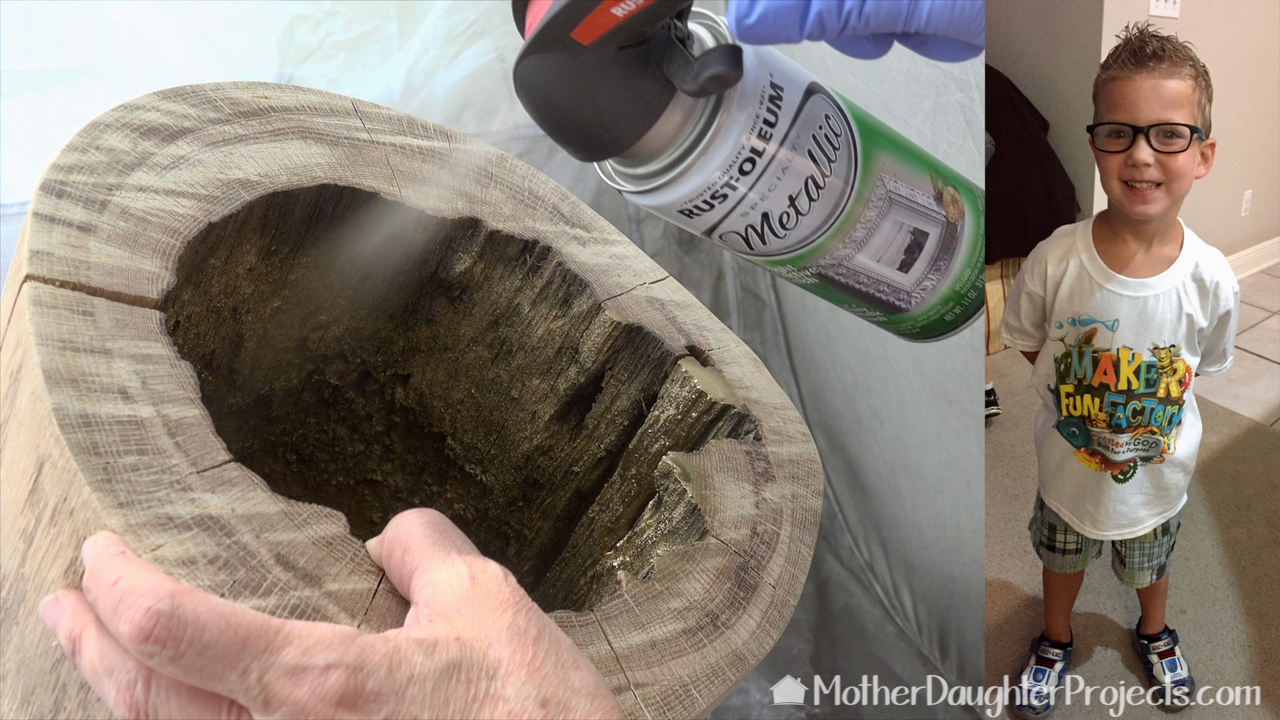
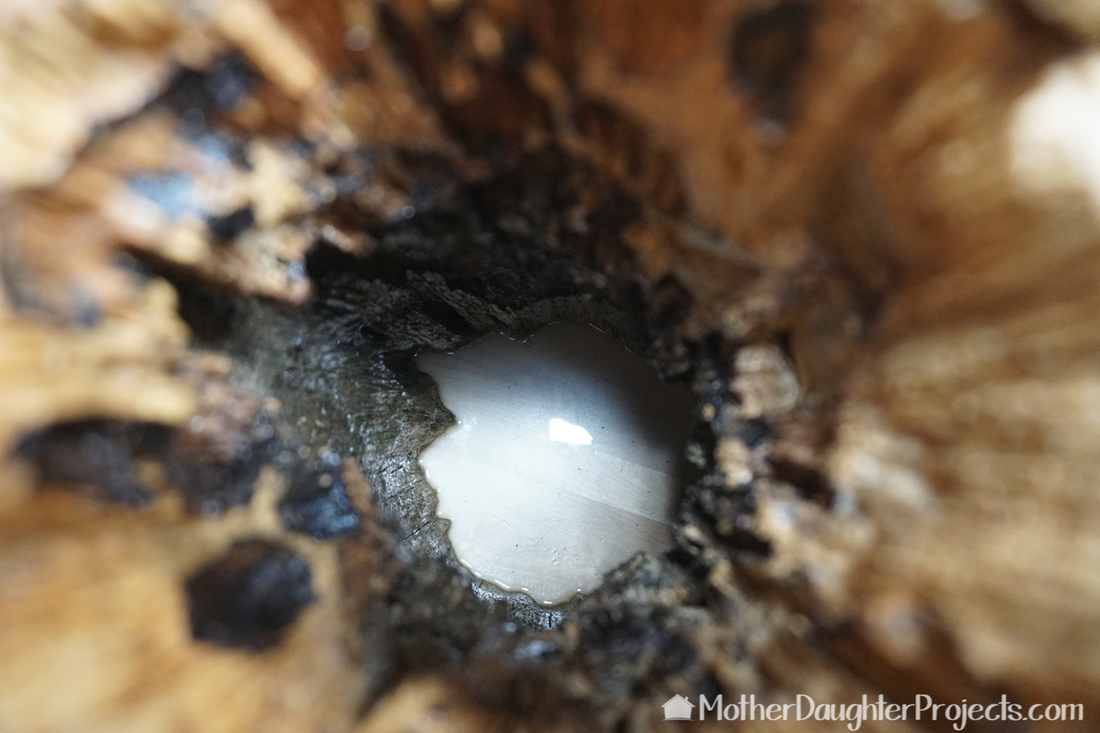
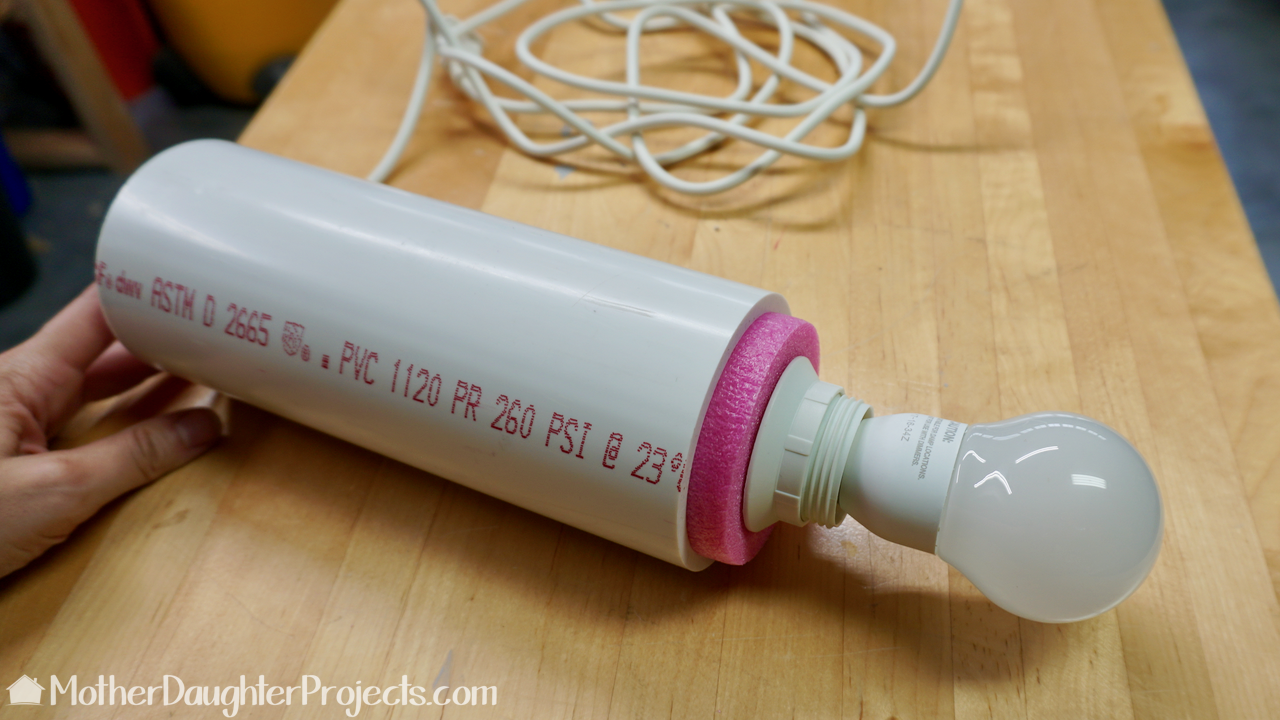
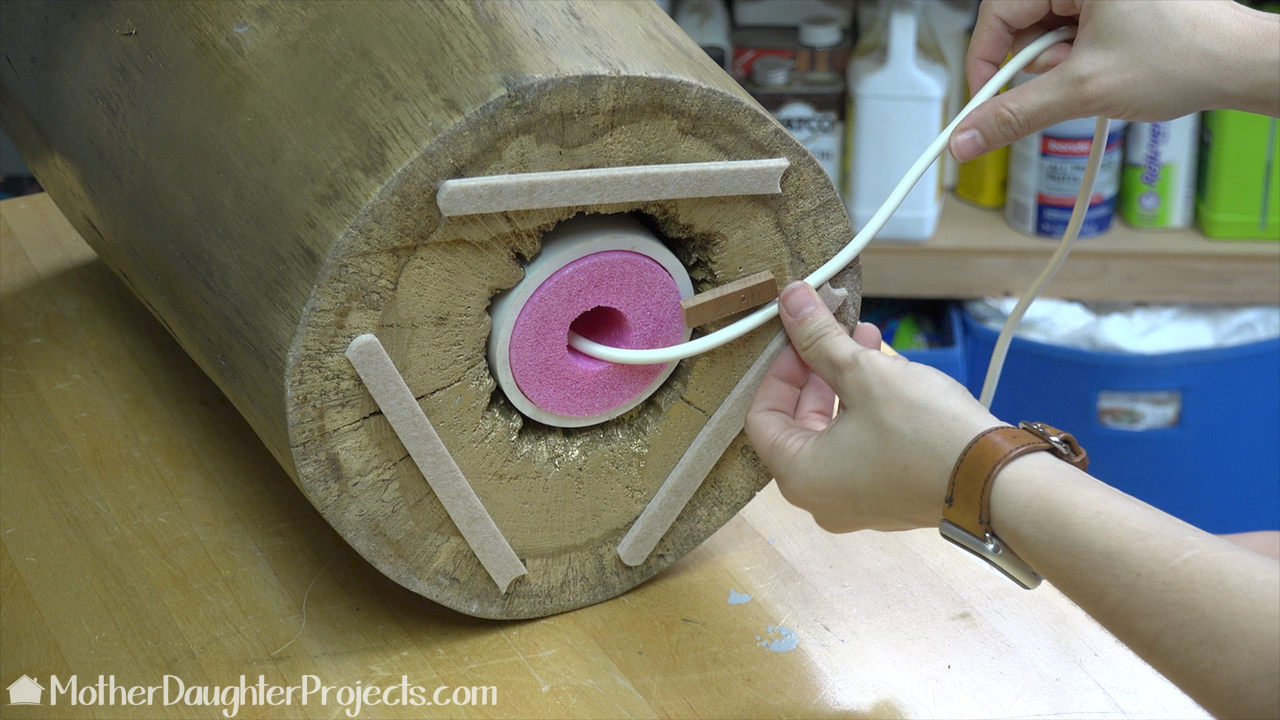
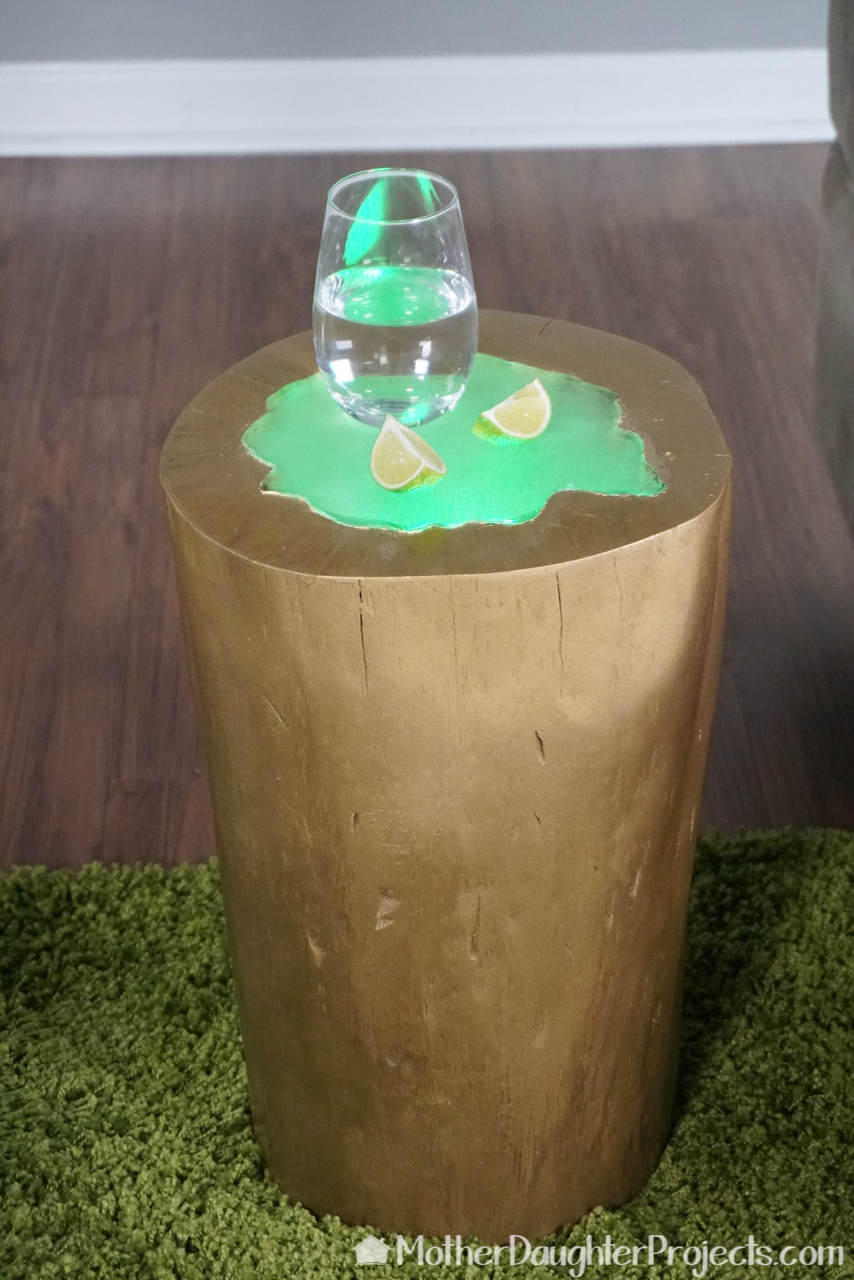
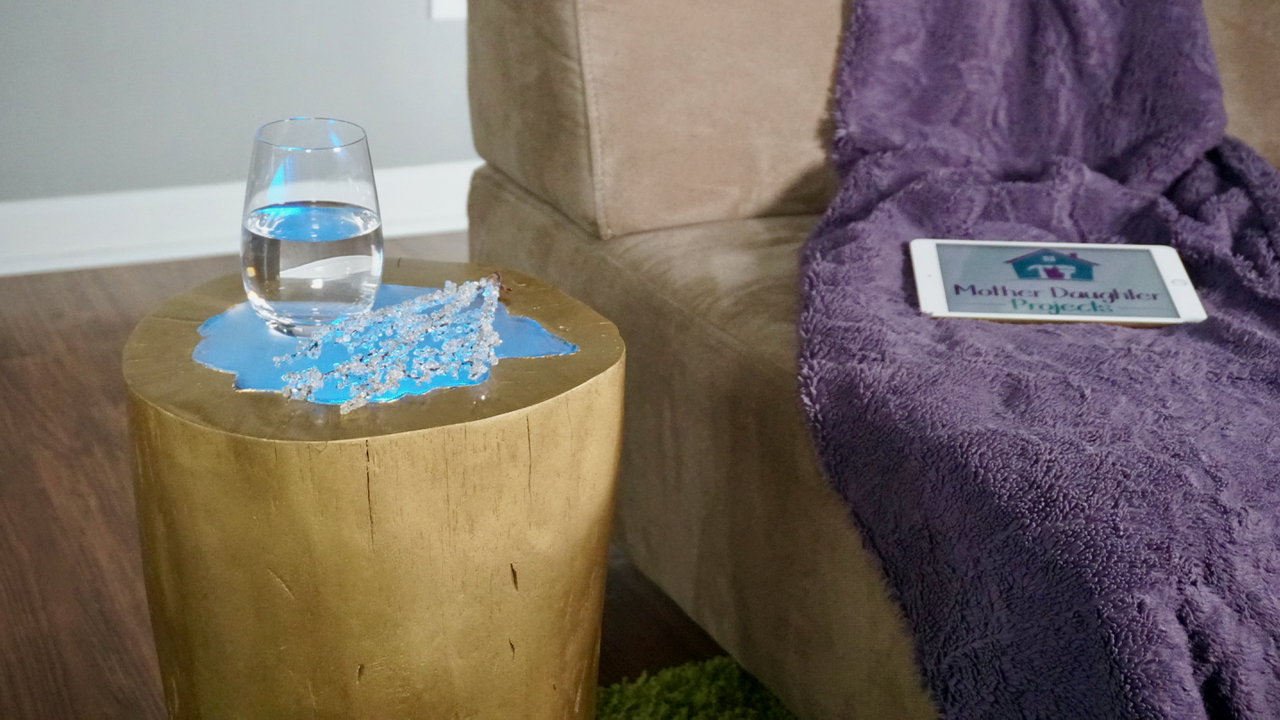
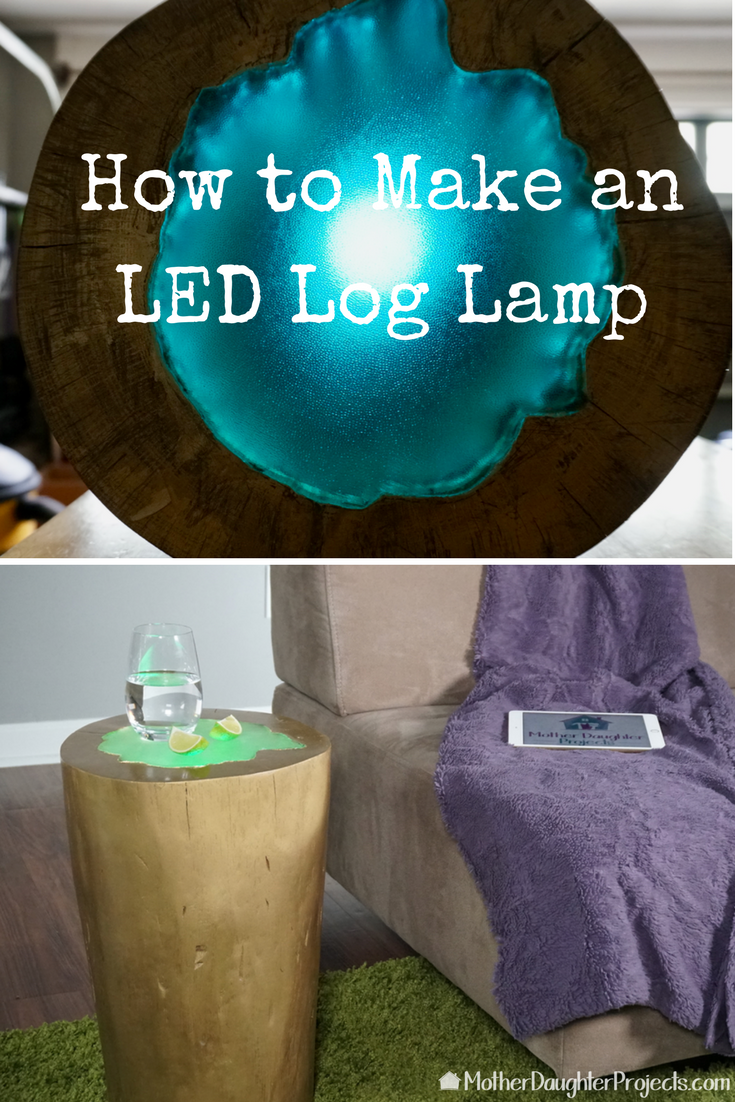
The most interesting of the salvaged stumps was the one with a hole partially through it. We knew it would make some kind of cool project and thought a lamp would be interesting to try.
Materials:
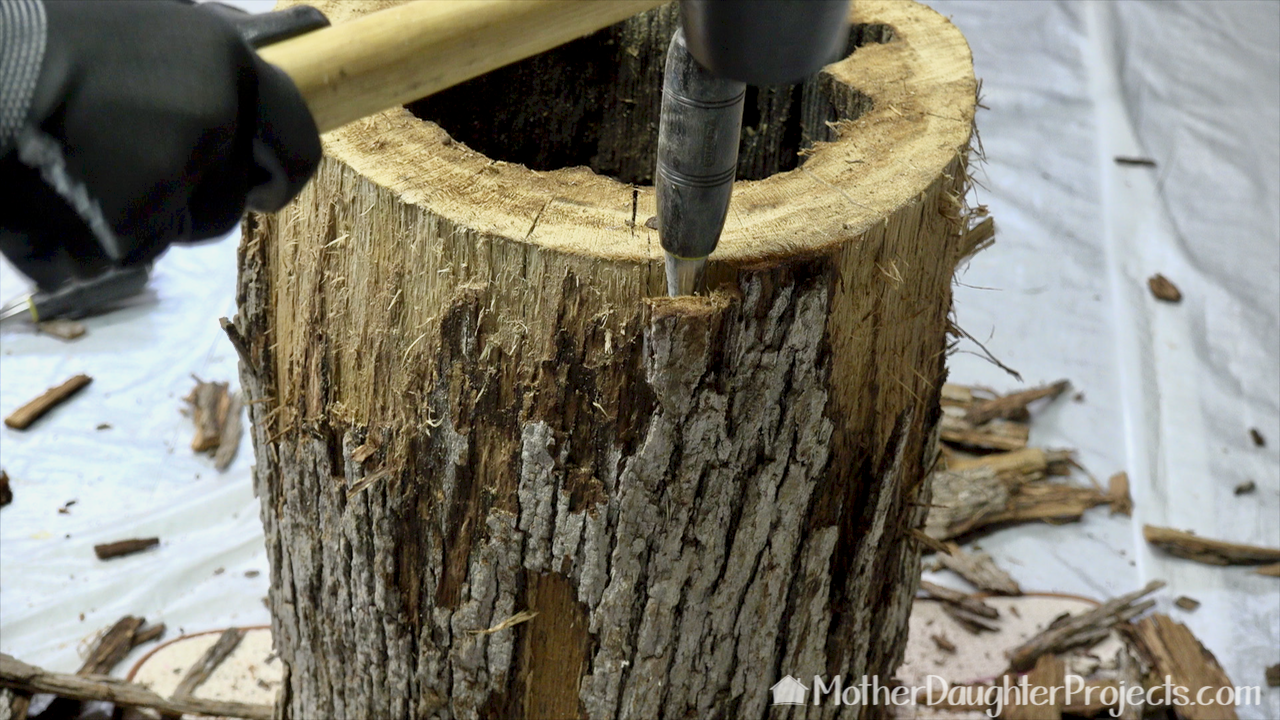
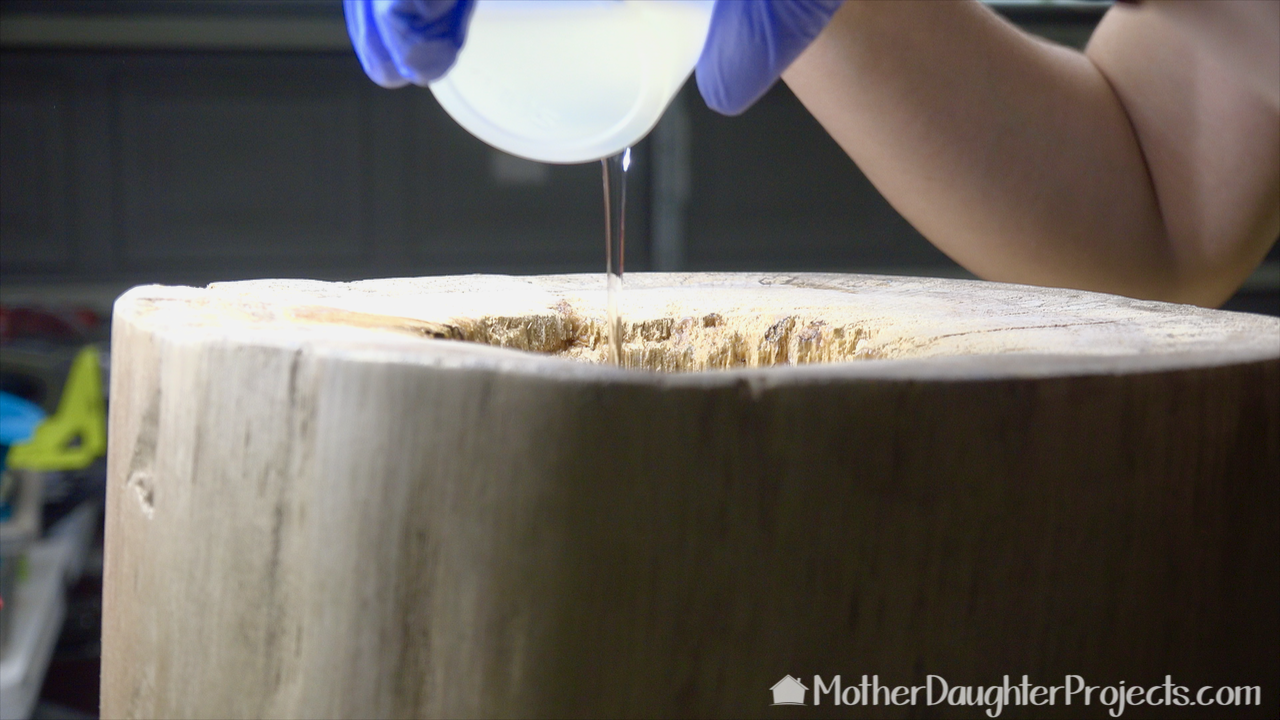
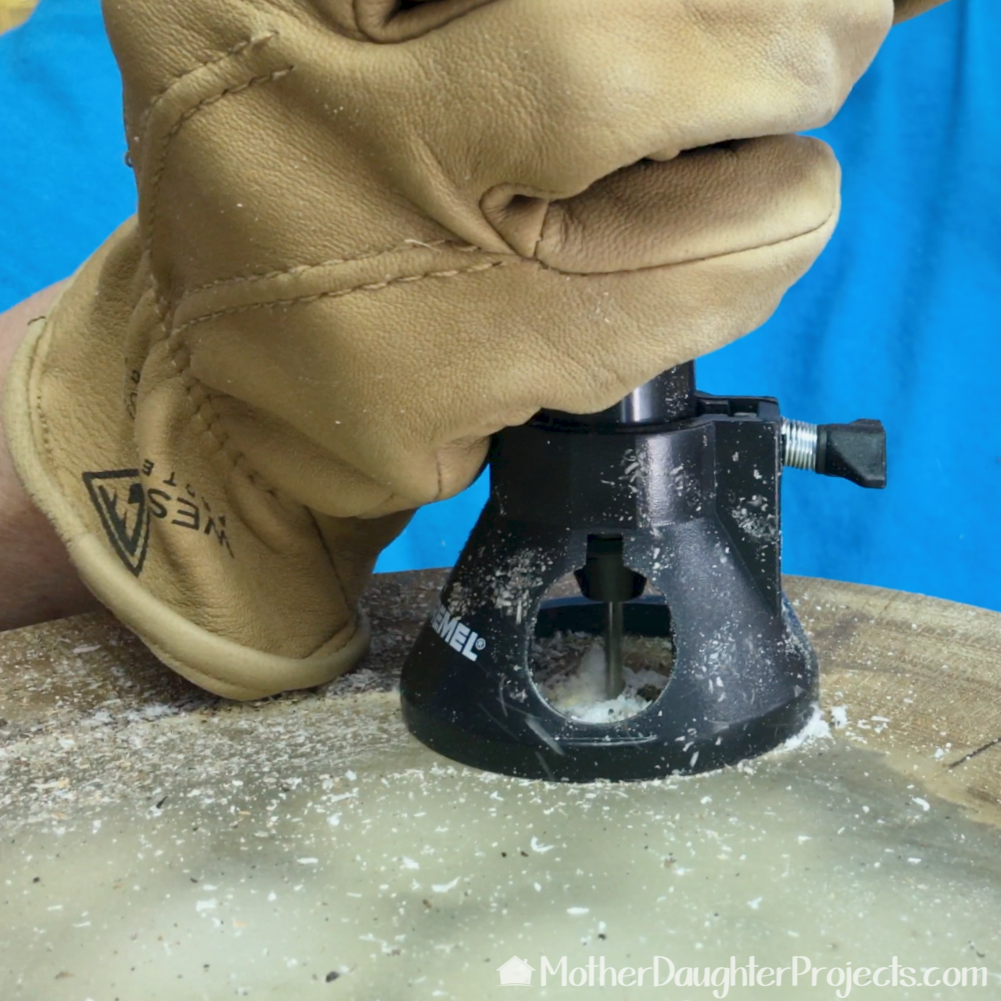
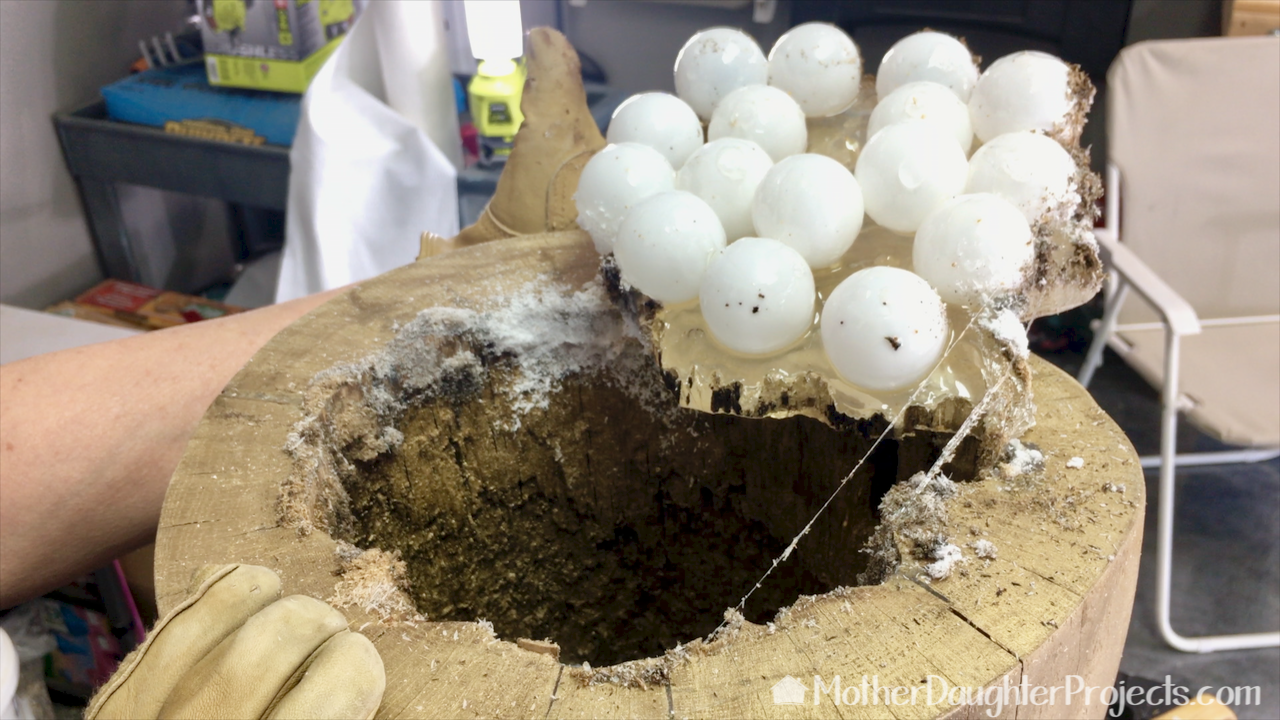
This has been a fairly long-drawn out project! Not because it’s difficult, but because the logs have to dry out before using. Steph debarked the log this past winter and here it is summer and we are just finishing. Also, we hit a bit of a roadblock when Steph got a little over ambitious with the epoxy and poured a second layer before the other was finished curing. It resulted in a sticky mess that never cured. We ended up having to use a Dremel to carve it out, then repair the top and poured a second round of epoxy.
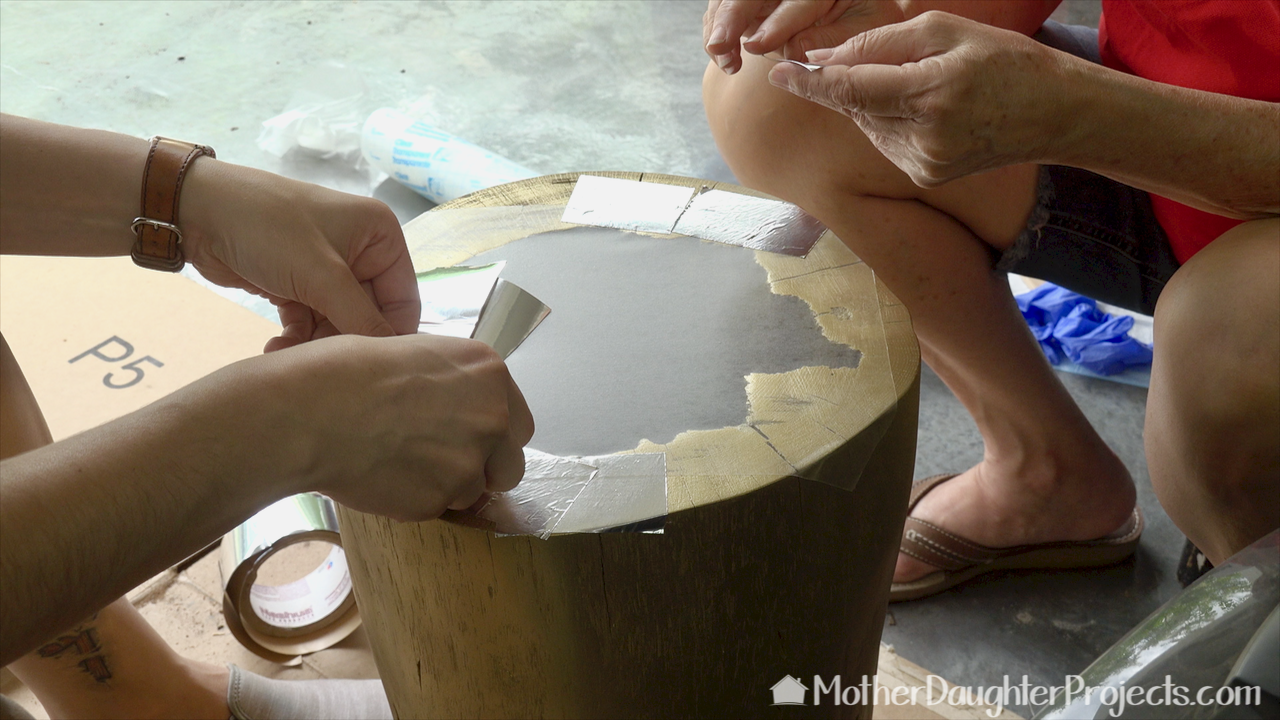
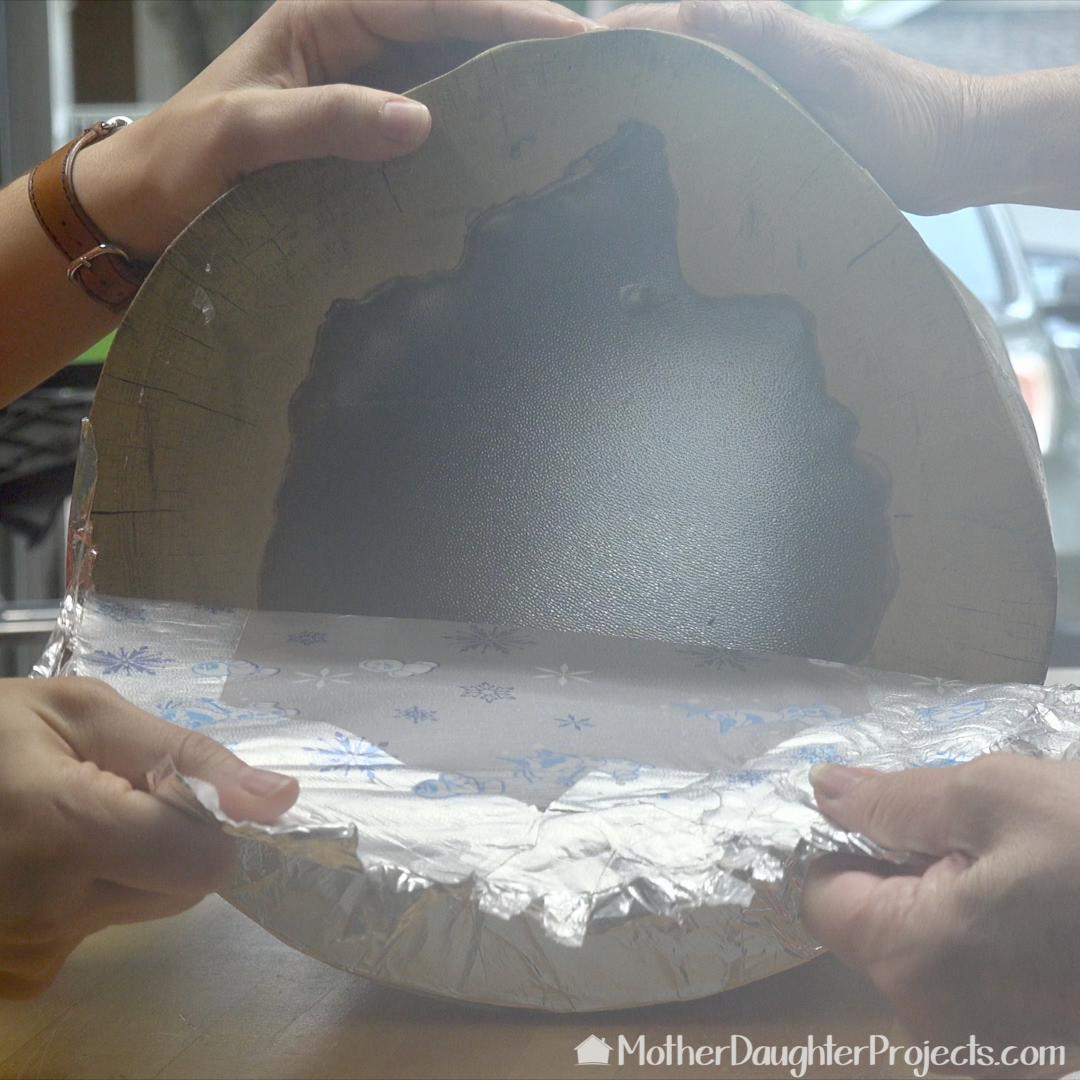
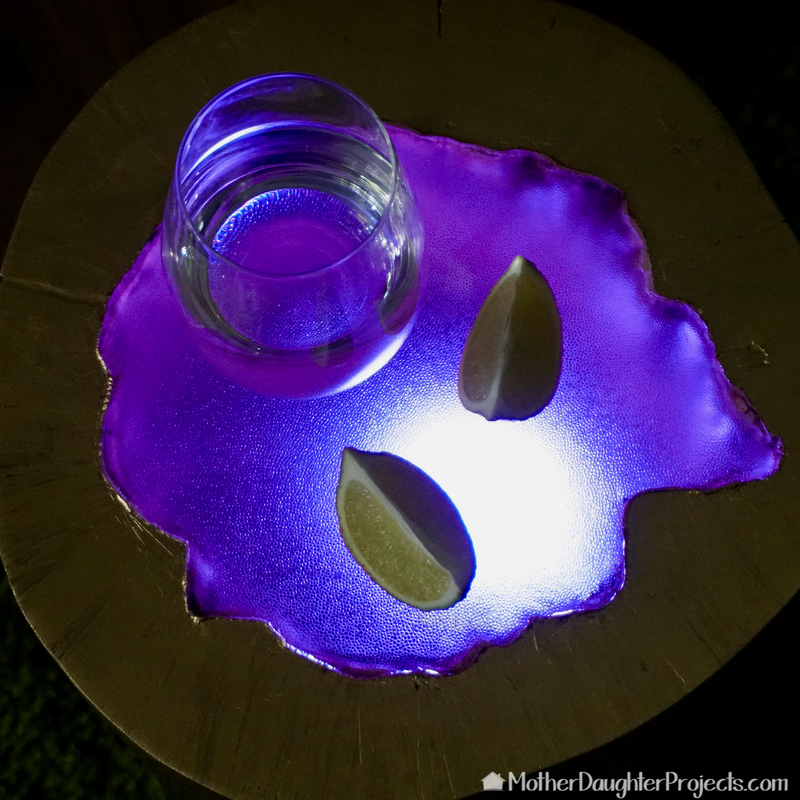
In the second round of pouring epoxy, we covered the top of the stump with peel 'n stick wrap which worked very well. We still had some seepage but it was repairable. The press 'n seal gave the epoxy texture that we really like. It was just by accident that we got the look that we did and we love it. The light that shines through is diffused giving the table a cave like look. This is one project we’d be happy to repeat—now we just have to find another hollow log! Please note: We are not sponsored by any of the companies/products that we used. These products were picked and bought by us. FYI: We are not professionals, and we don’t claim to be. This is what we found worked for our project. Yours may need a little different approach. Safety first! FYI: Affiliate links are being used on this page. Purchasing via these links help support MDP! Related Projects
2 Comments
Nadine
7/12/2017 02:26:10 pm
It's beautiful. It would have been interesting to see what the effect with the ping pong balls would have looked like. I have only worked with that epoxy stuff once so I am no expert. When I was reading about using it there were 2 things that stand out that are probably the reason. 1 either the amounts were not a correct ratio. epoxy to hardener or it wasn't stirred enough. the stuff I used I measured by weight with a scale and stirred it for the time said in the directions and then poured it into another container and stirred again for the time the second pour said. it was probably a total of 3 or 4 minutes. the bubbles were insane. I had to use a lighter to pop them all. later someone said a hair dryer would have worked. I so hope you find another hollow log and try the ping pong balls again.
Reply
Steph
7/12/2017 09:31:51 pm
Hi Nadine! Yes, we would still like to try the idea. What happened in our case was the epoxy we used can only be poured 6oz at a time but I did more than that so it never had a chance to fully cure. My bad!
Reply
Leave a Reply. |

