|
text by Vicki Sign up here to join our weekly email newsletter!
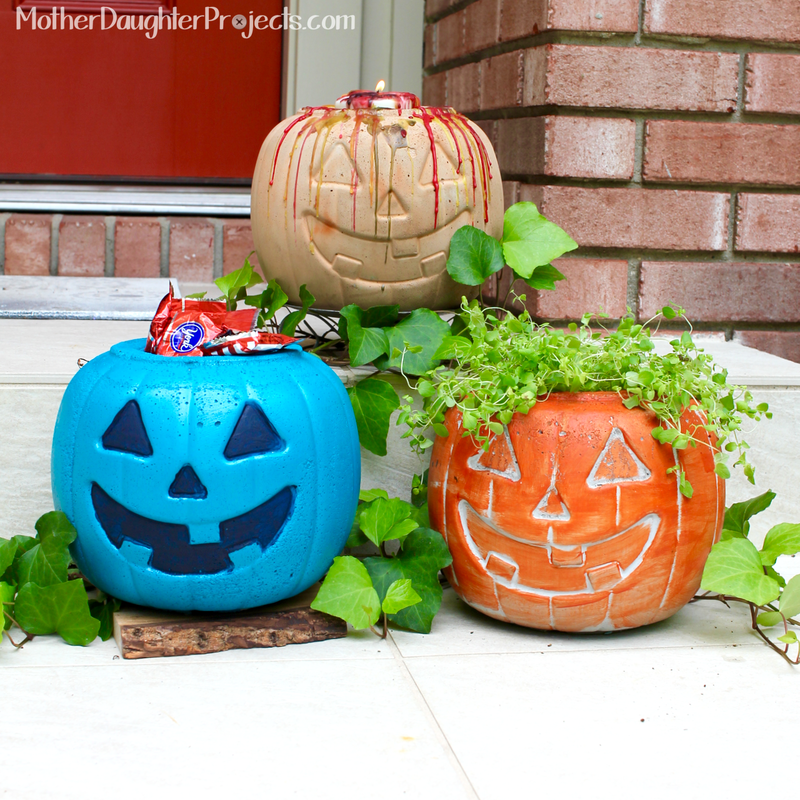
Fall and Halloween decorating is in full swing. We're all ready for a little change of season and a little fall decor both inside and outside of our homes. In partnership with the Home Depot, we created a DIY pumpkin topiary for fall that can be swapped out for a spooky Halloween tree complete with DIY ornaments!
Head to the Home Depot to see the full video on how to build the topiary. In this post, we'll go into more detail on how to deck out your Halloween tree. Material/Tools for Halloween Tree:Tree Stand:

The complete tutorial including materials and tools needed can be found on The Home Depot website. It's the fall DIY On-Trend workshop.
Here are the Materials needed to build complete Pumpkin Topiary. The base is used for the topiary AND the Halloween tree:
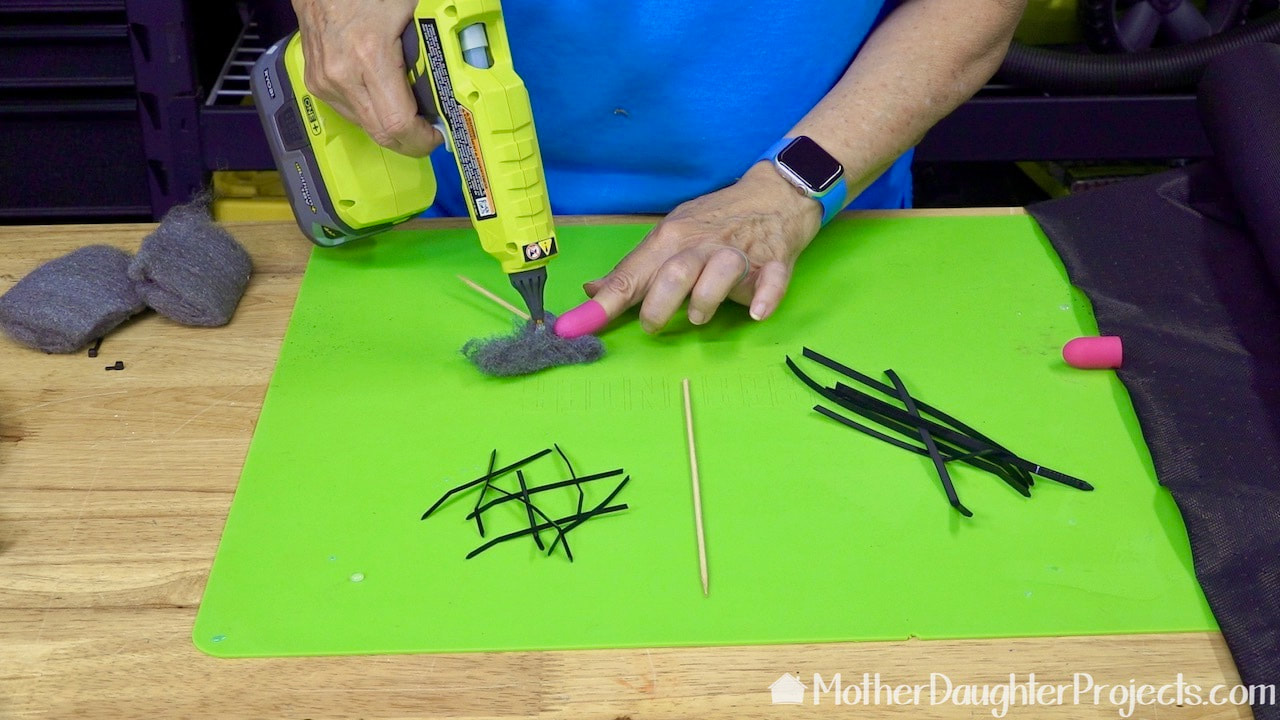
We're starting from the bottom up with our decorating. To cover the foam in the base of the topiary, we made spooky grass bundles. The first step is to hot glue a wood skewer around a piece of steel wool. Why steel wool? Well, I looked around my garage and happened upon steel wool which looked like it would make a good center for the bundles. And, it totally works.
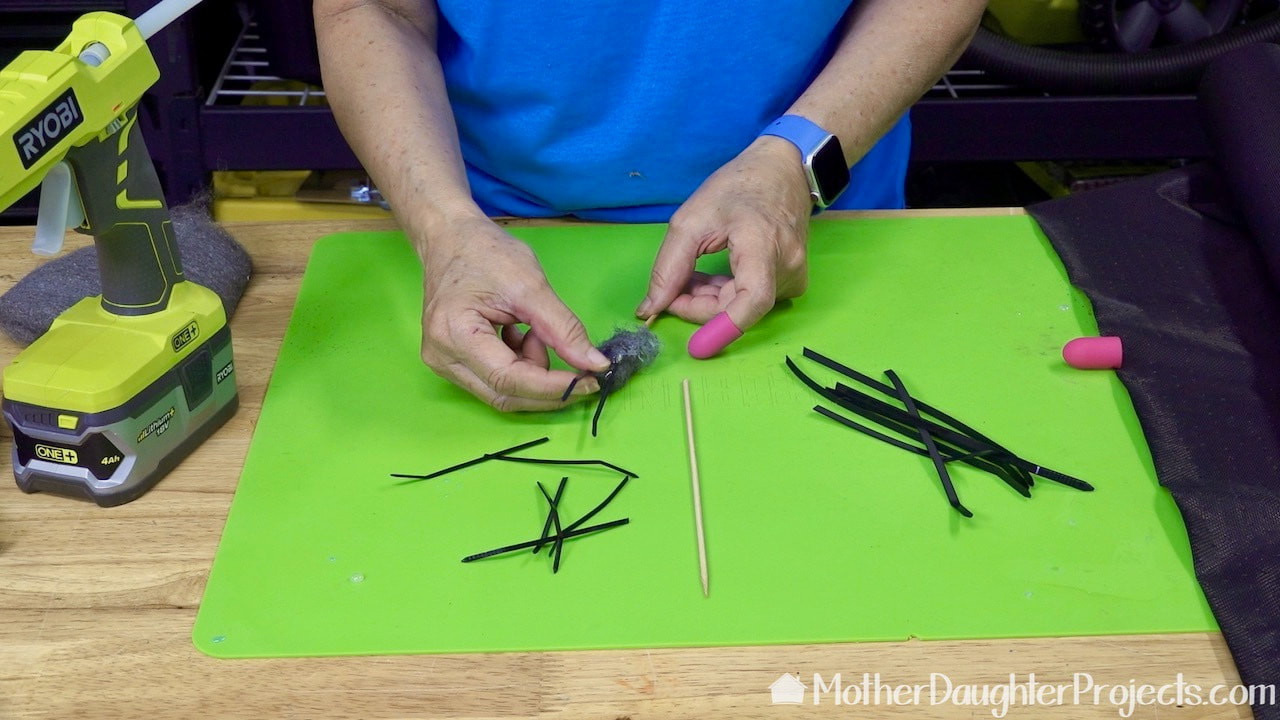
Next, I used hot glue to attach various sizes of zip ties all around the steel wool--sort of like petals on a flower. That pink fingertip is to help guard against hot glue burns!
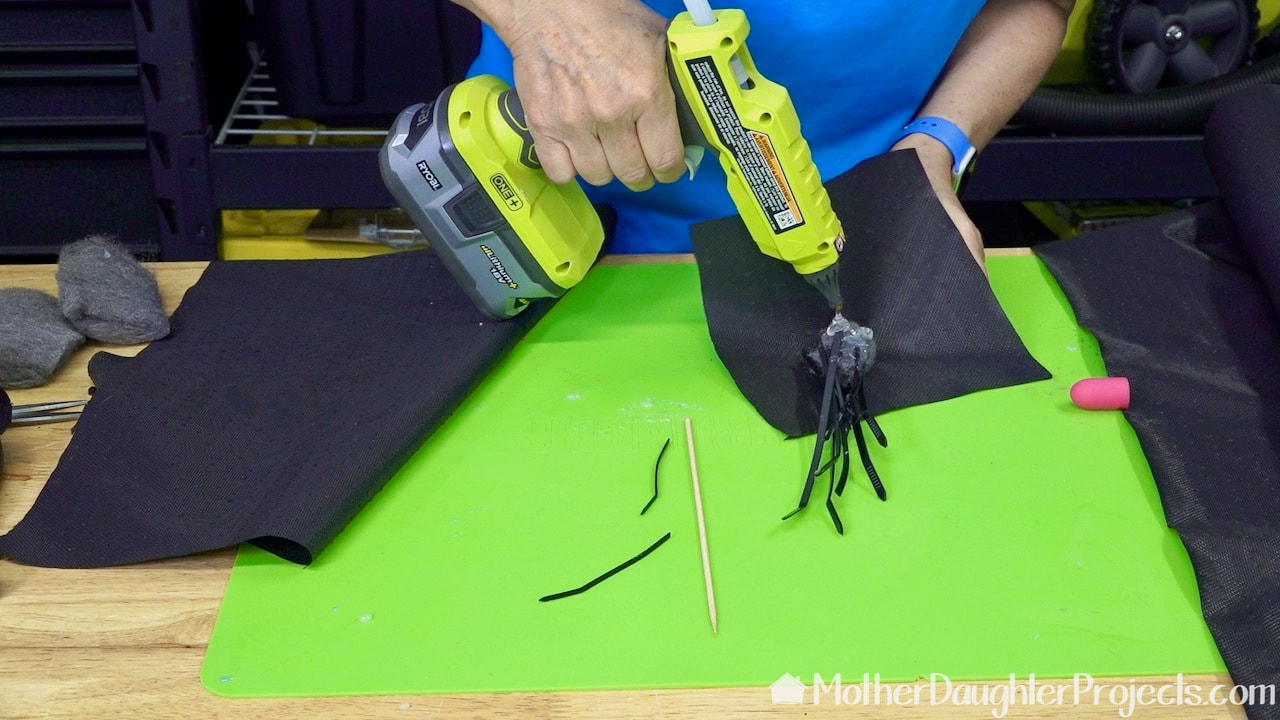
Lastly, I cut a square of landscape fabric and hot glued it around the base of the "grass" bundles. Watch your fingers so you don't get burned on this step.
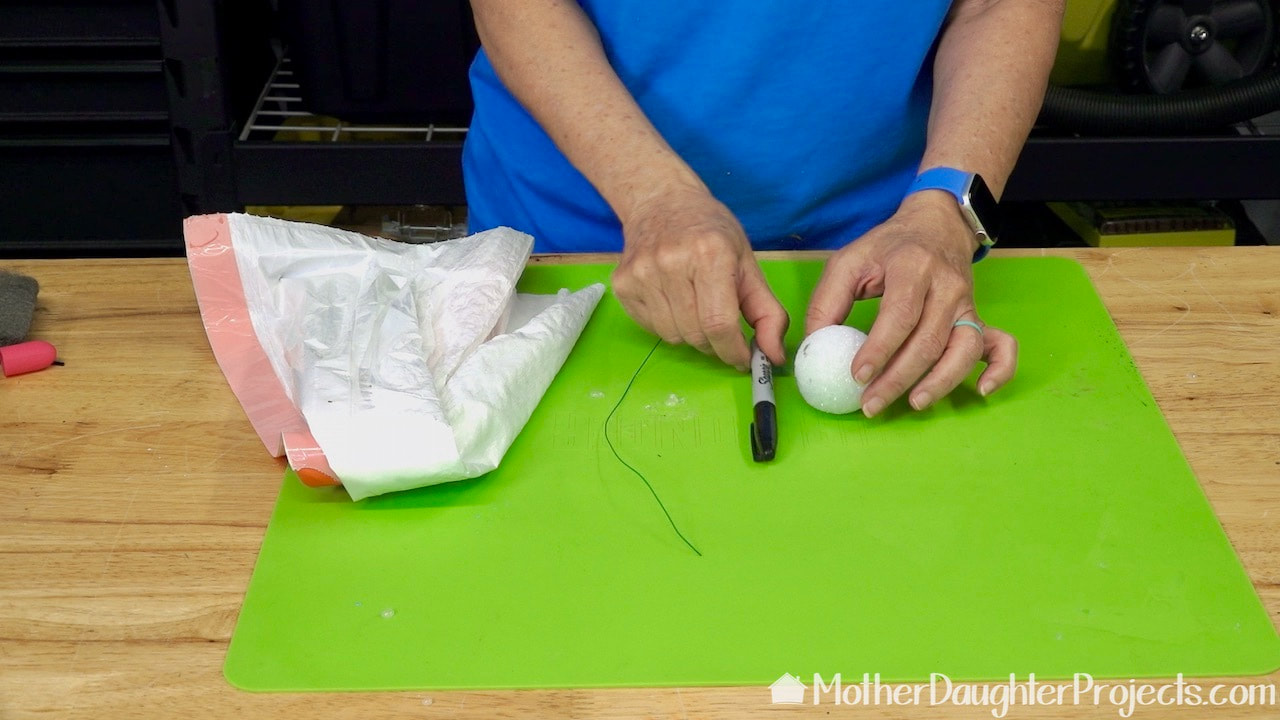
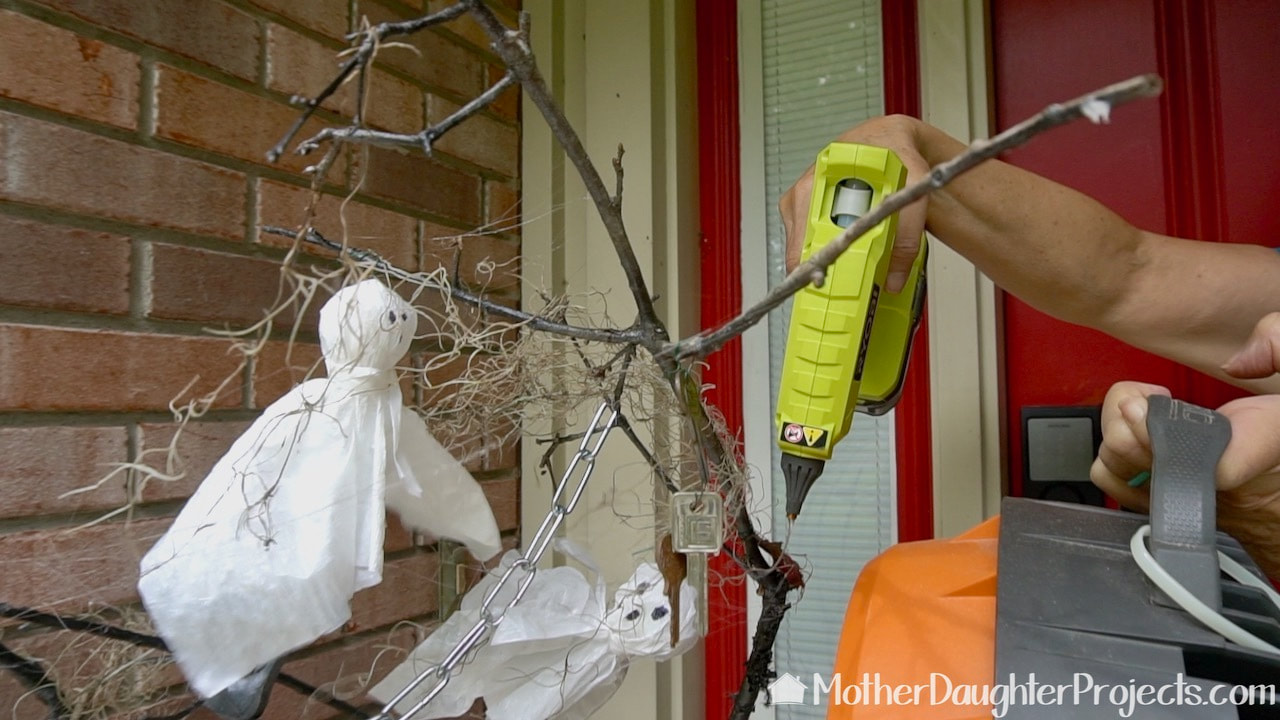
Using more found items, we made some ghosts with kitchen garbage bags, a piece of wire, small styrofoam ball and a black sharpie.
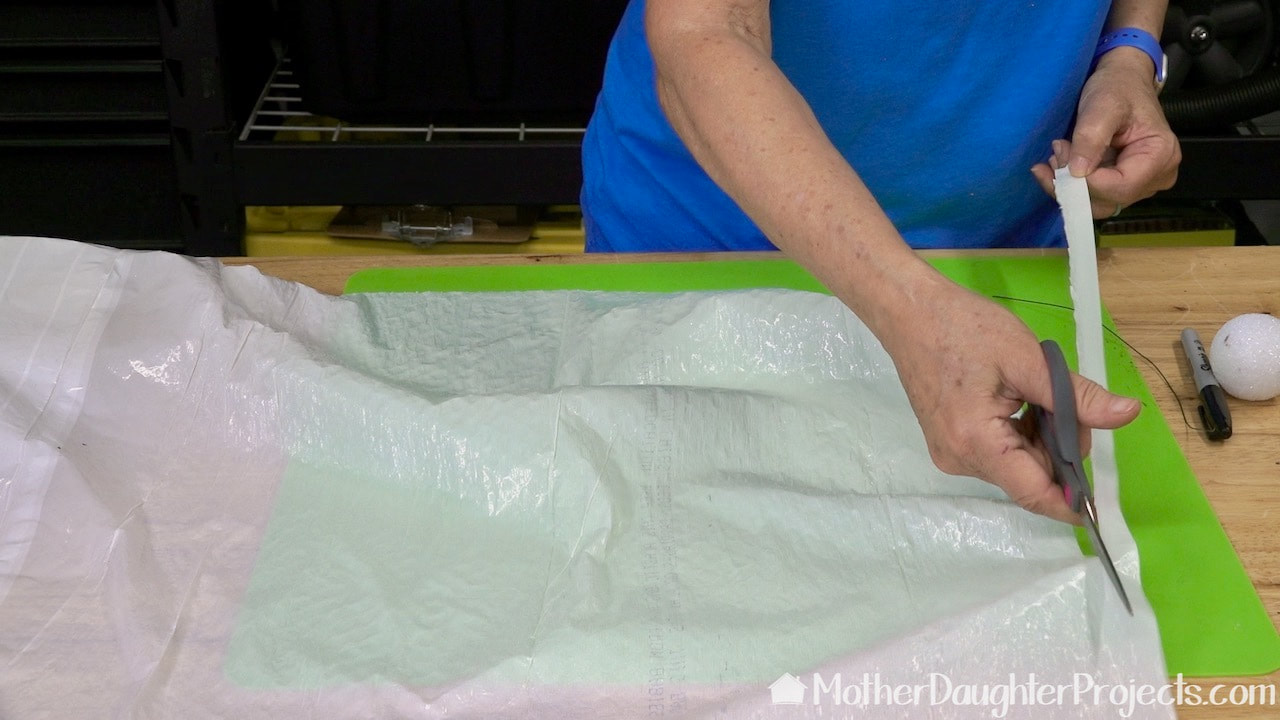
First, cut the edge off the bottom of the bag. Fold the bag in half lengthwise and cut.
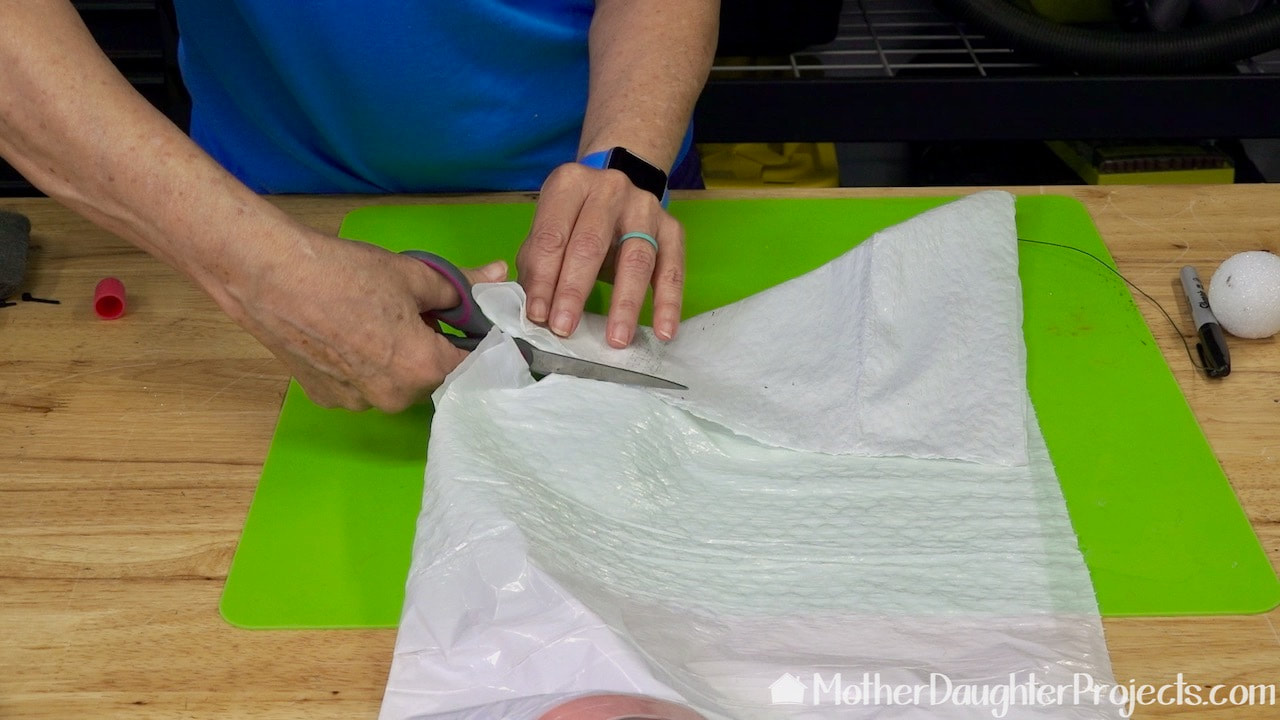
Cut a square piece of the kitchen bag.
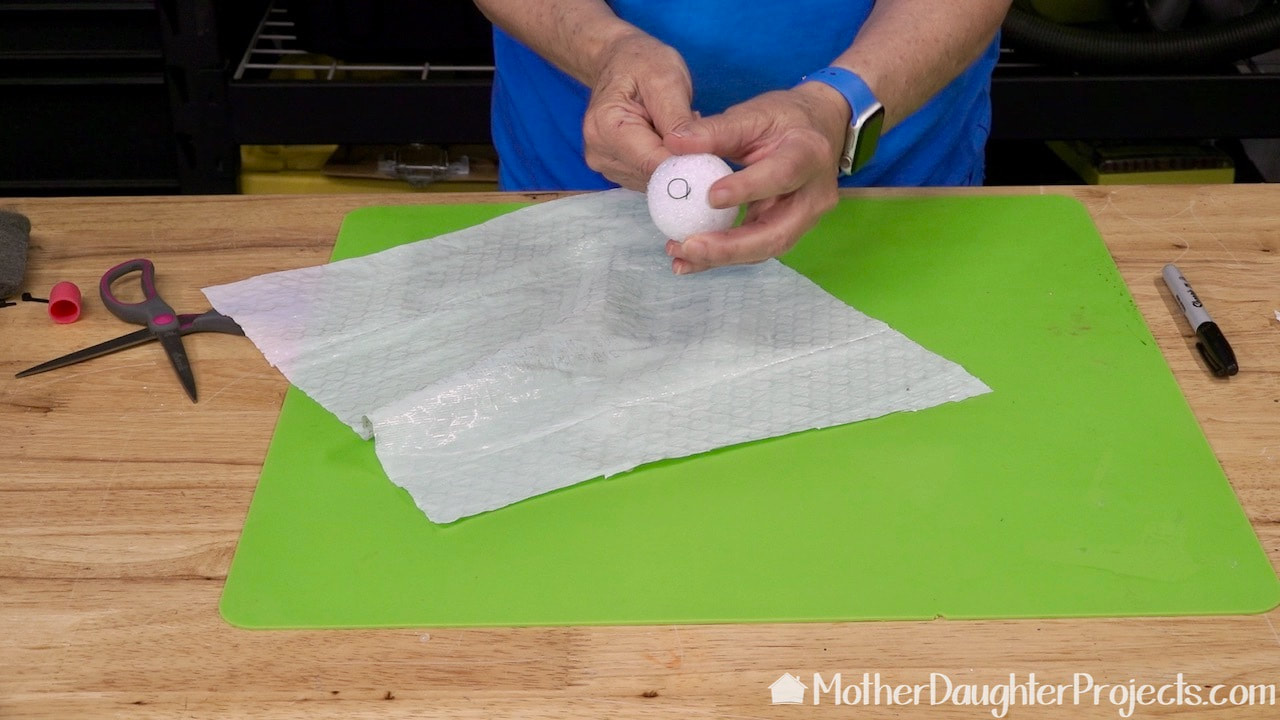
Poke the wire through the styrofoam ball and curl the end to keep it from coming out. Find the center of the plastic bag and poke the wire through it.
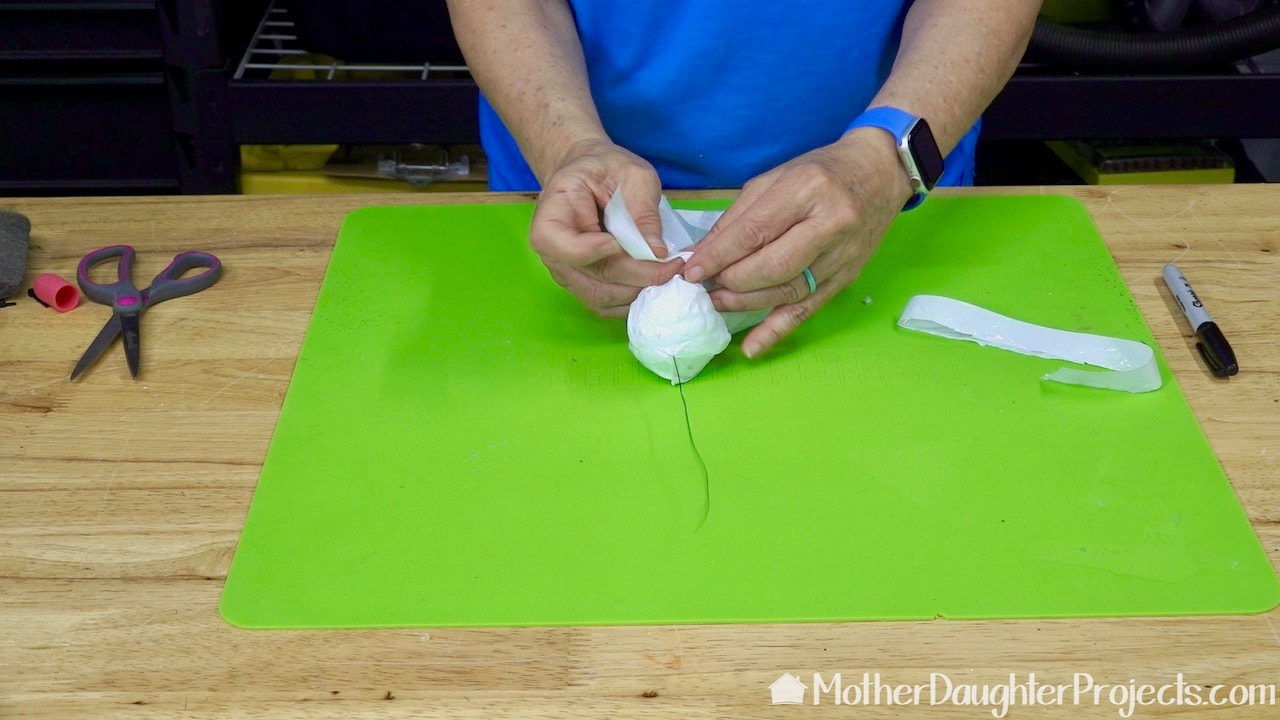
Gather the bag around the head of the ghost and use the plastic strip you removed in the first step to tie around the neck. Use the sharpie to draw a ghost face. The wire allows the ghost to be securely fastened to the branch of your Halloween tree.
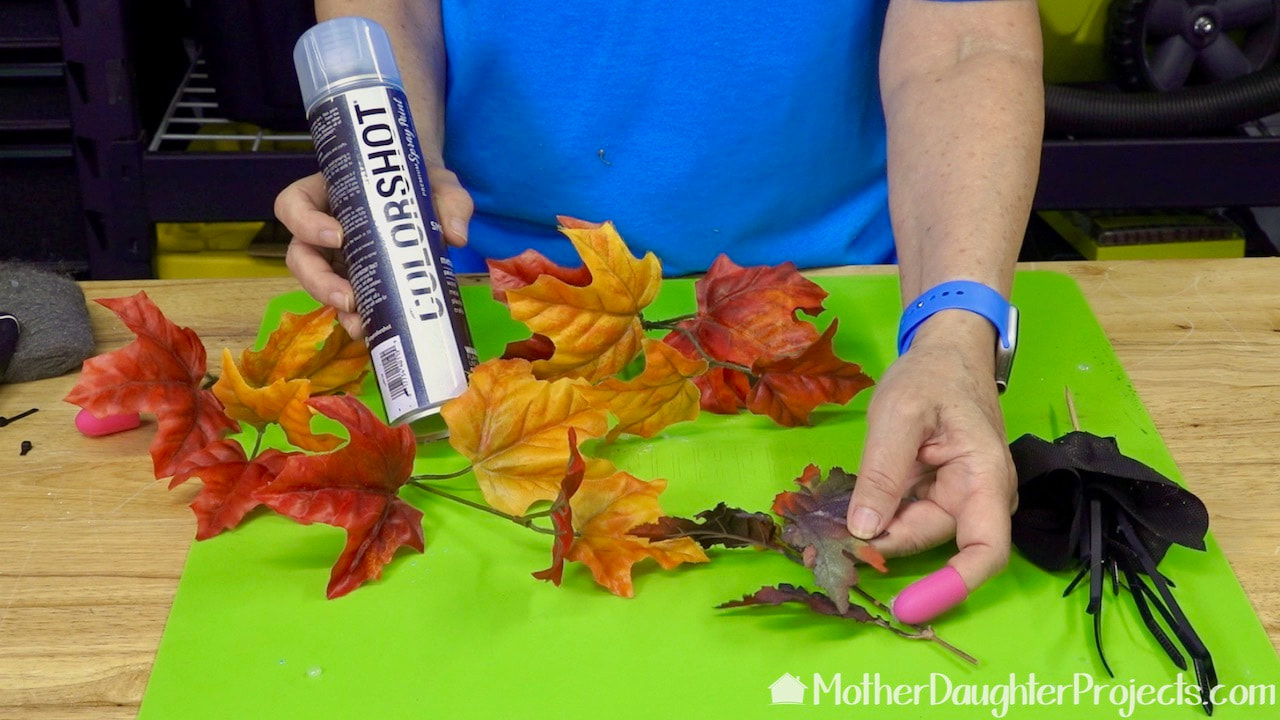
I had a bush of faux fall leaves so I cut them off and lightly sprayed them with a shimmery black spray paint.
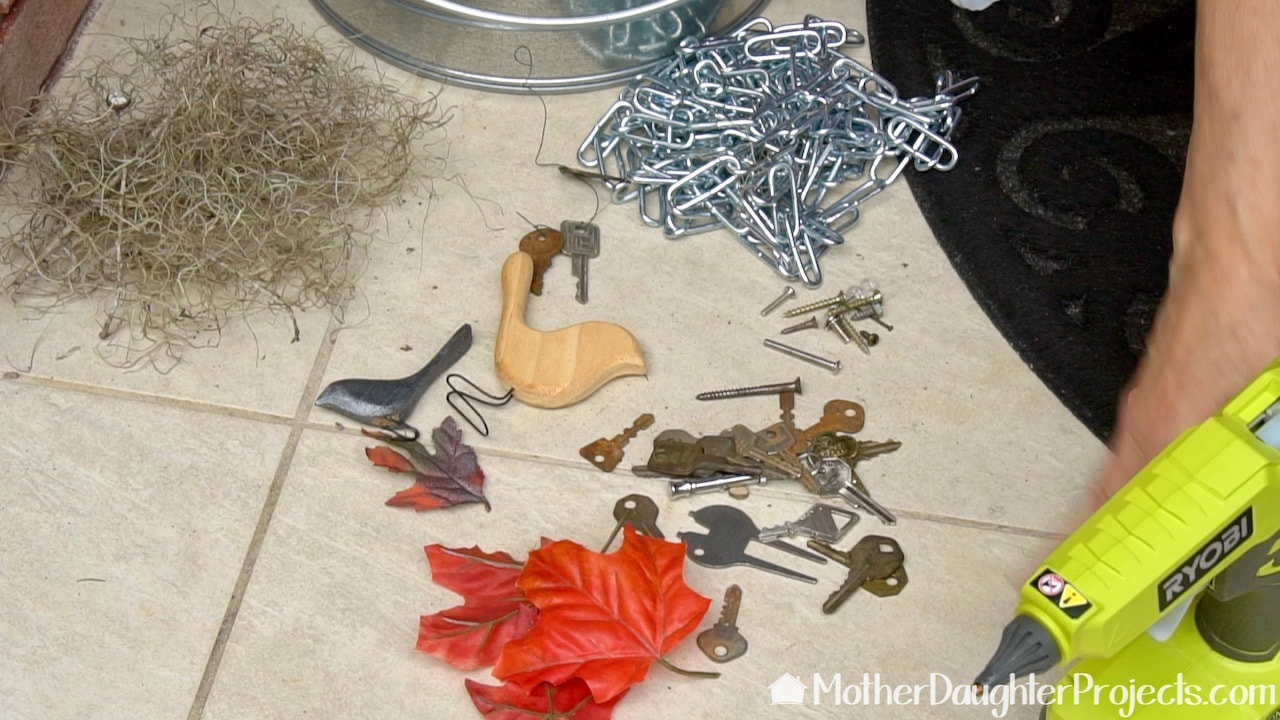
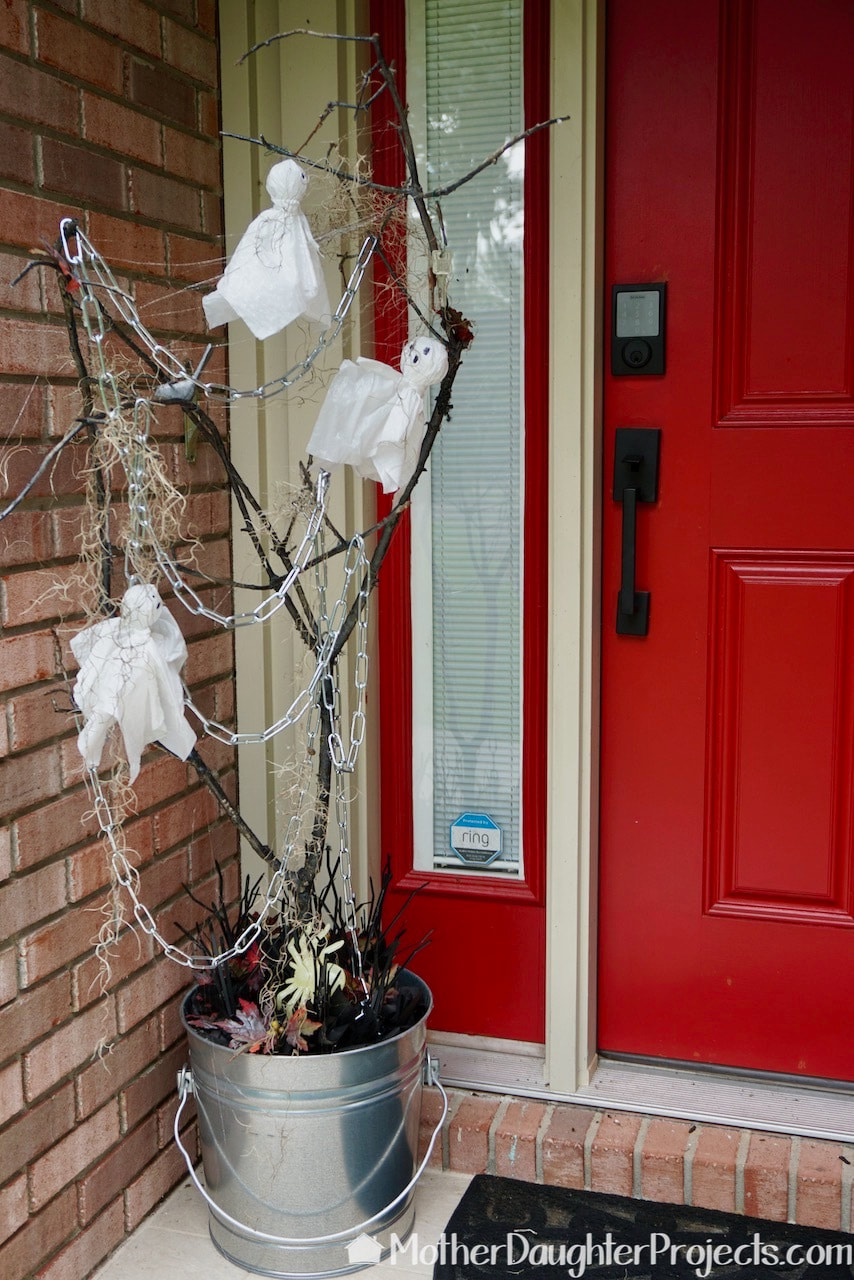
We used found objects to decorate the tree. It was a lot of fun to see what I had in storage that could be used. The only thing we did buy was the length of chain, but I feel like if I had searched long enough, I would have come up with that as well! Use a thin wire to securely fasten the decorations to the tree branches.
If you want the look of cobwebs, you can stream hot glue in front of a fan and it will give you weblike strands. Watch out, this can be very messy so protect any area that you don't want to get glue on.
You can see those "cobweb" strands in this pic.
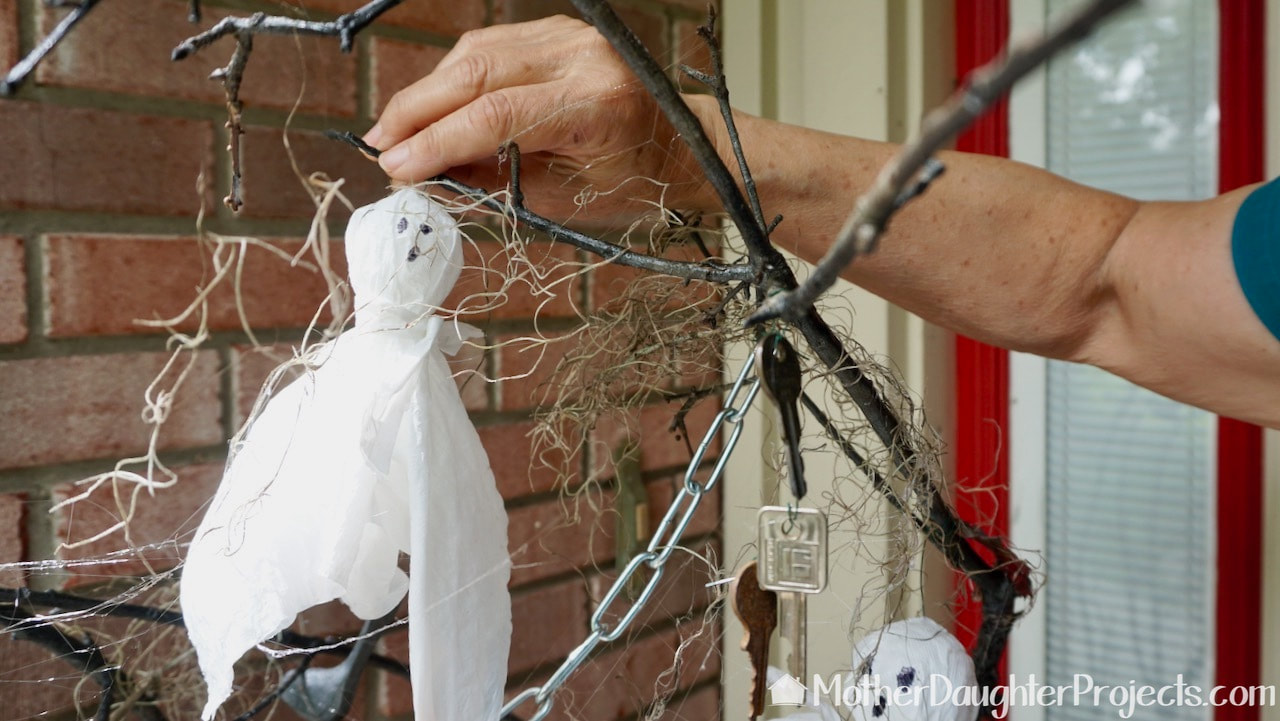
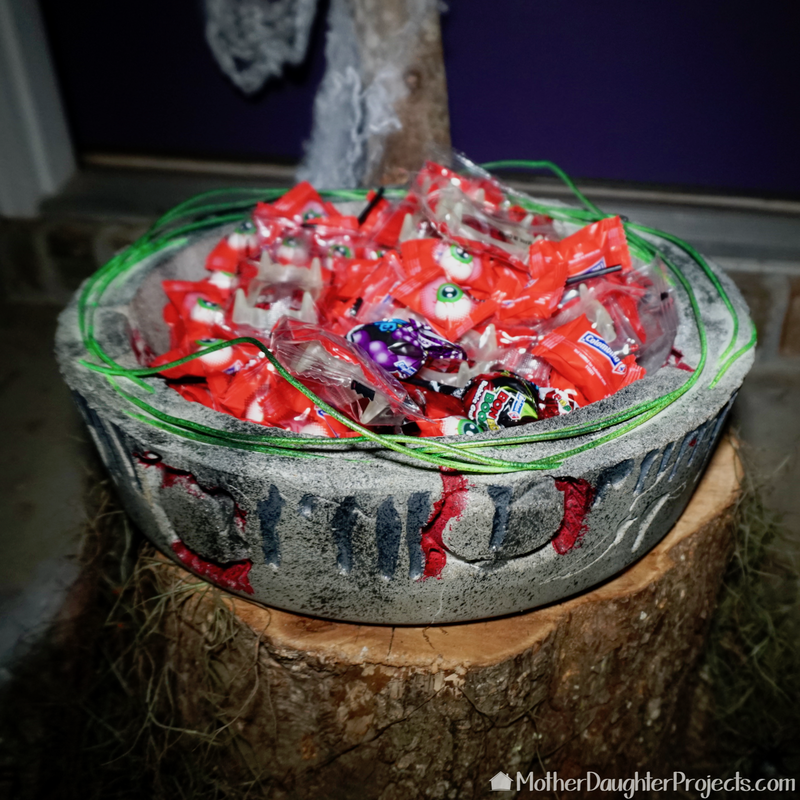
The ghosts and other decor attaches easily. We found the Spanish moss in my yard, but you can purchase it at The Home Depot.
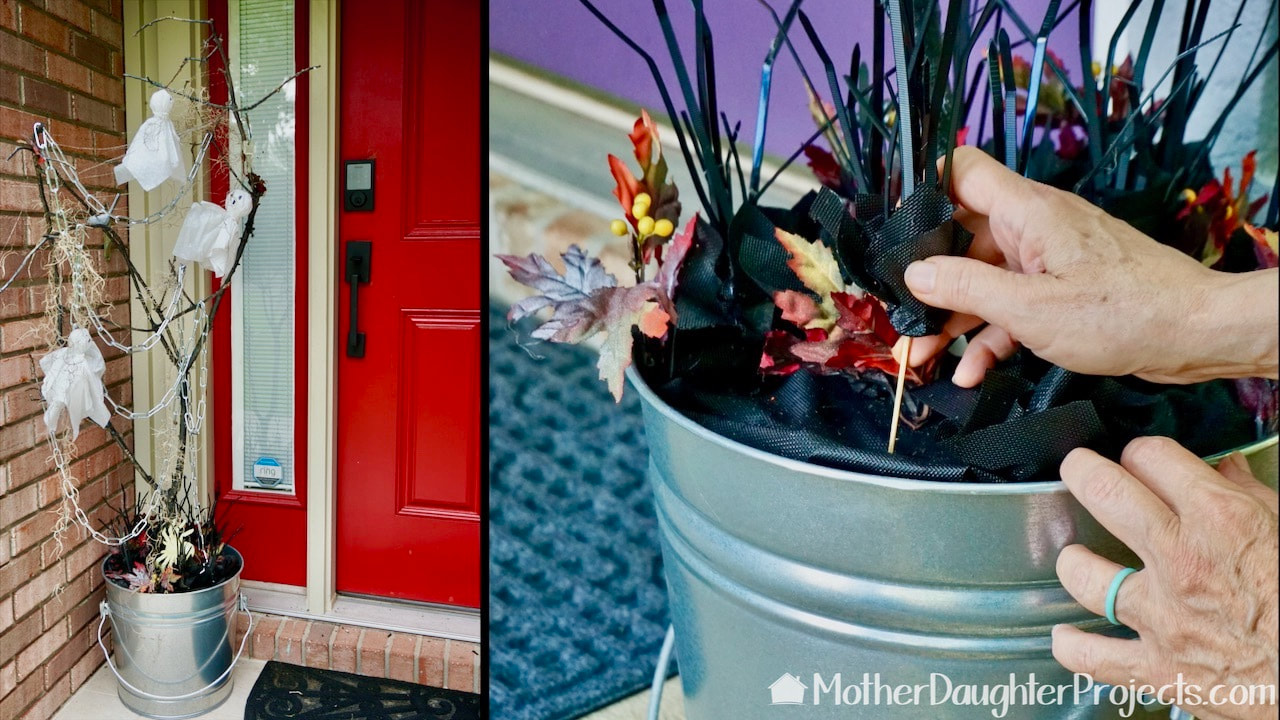
The bundles of "grass" and leaves are simply poked into the base foam. The foam is first covered with landscape fabric. You could also use a black trash bag for this.
We really like the idea of being able to use the pumpkin topiary base to create a Halloween tree. After Halloween, the tree can be removed and the pumpkin put back in placed and used until Thanksgiving.
What decor would you put on your tree? We'd love to see your ideas. Please note: This is not a sponsored post. FYI: We are not professionals, and we don't claim to be. This is what we found worked for our project. Yours may need a little different approach. Safety first! FYI: Affiliate links are being used on this page. Purchasing via these links help support MDP! Related Projects
0 Comments
Leave a Reply. |

Mother Daughter Projects
|