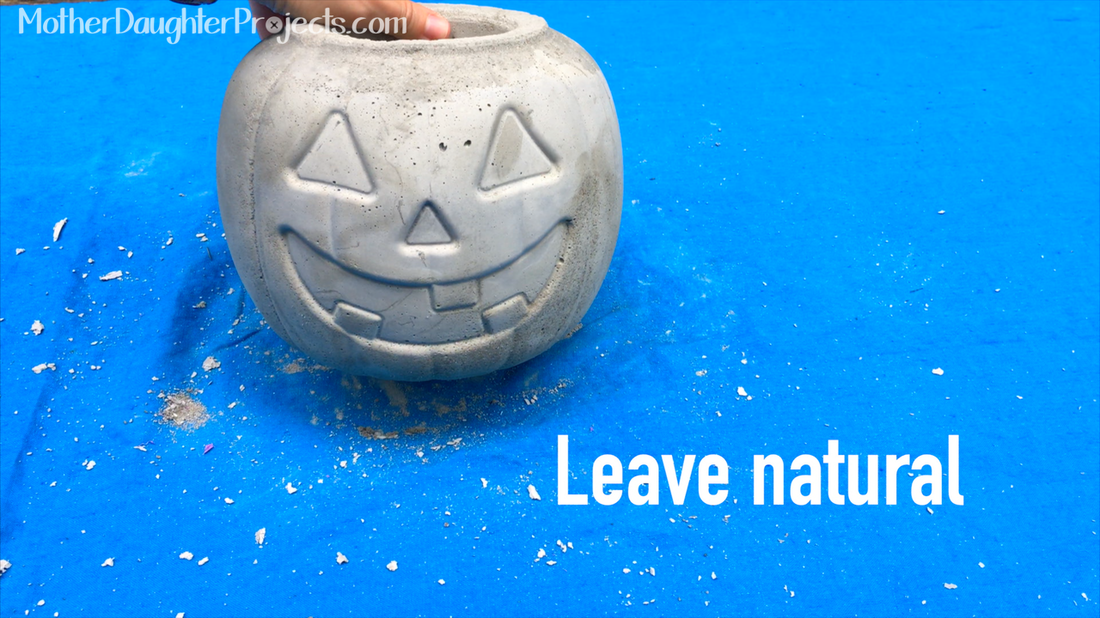
Having just discovered how fun and easy it is to work with concrete, Steph thought a plastic pumpkin would make a great concrete mold.The advantage for those of us living in warm to hot autumn weather is a concrete pumpkin will not rot and can be left out all October. Win!
All of these pumpkins start with a mold made from a $1 plastic pumpkin. Seems like these are in every big box store you go into these days! We picked up three (purple of course). 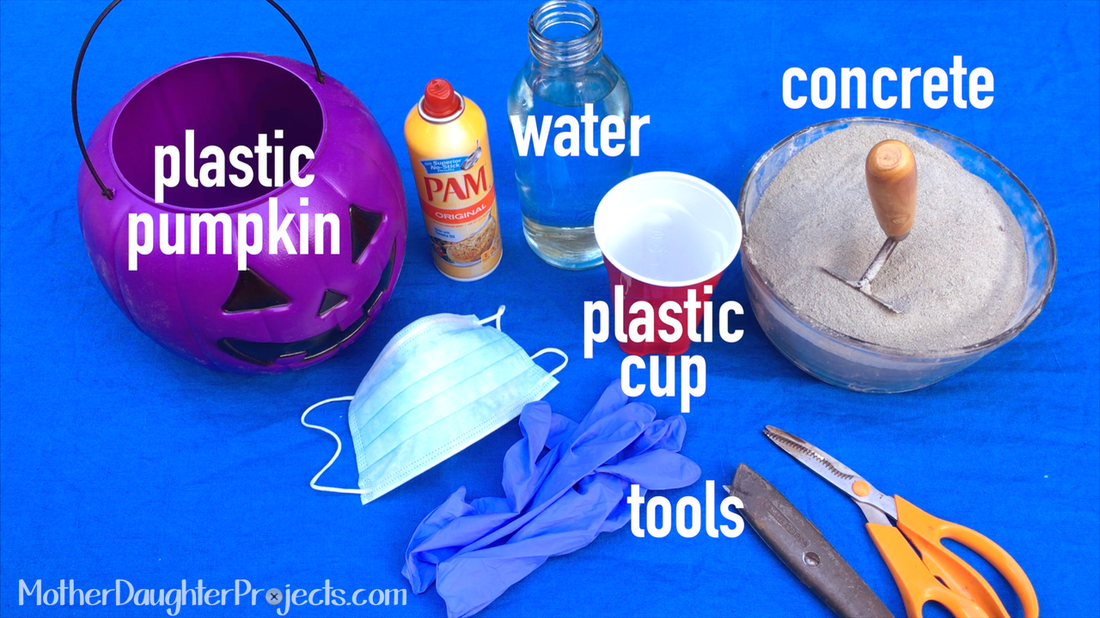
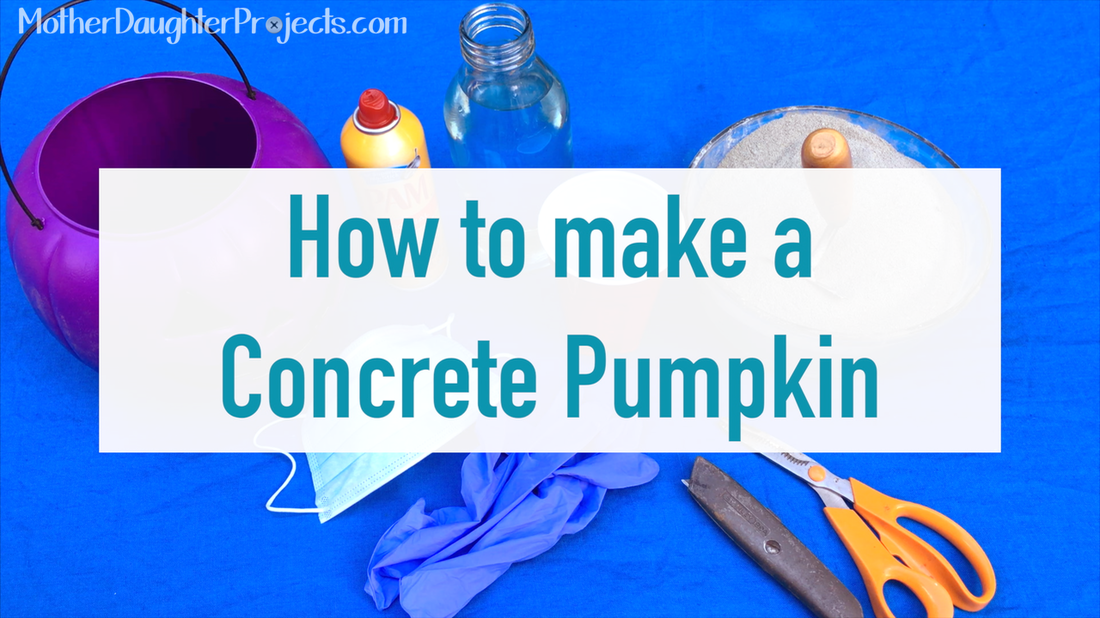
Materials/Tools
Optional:
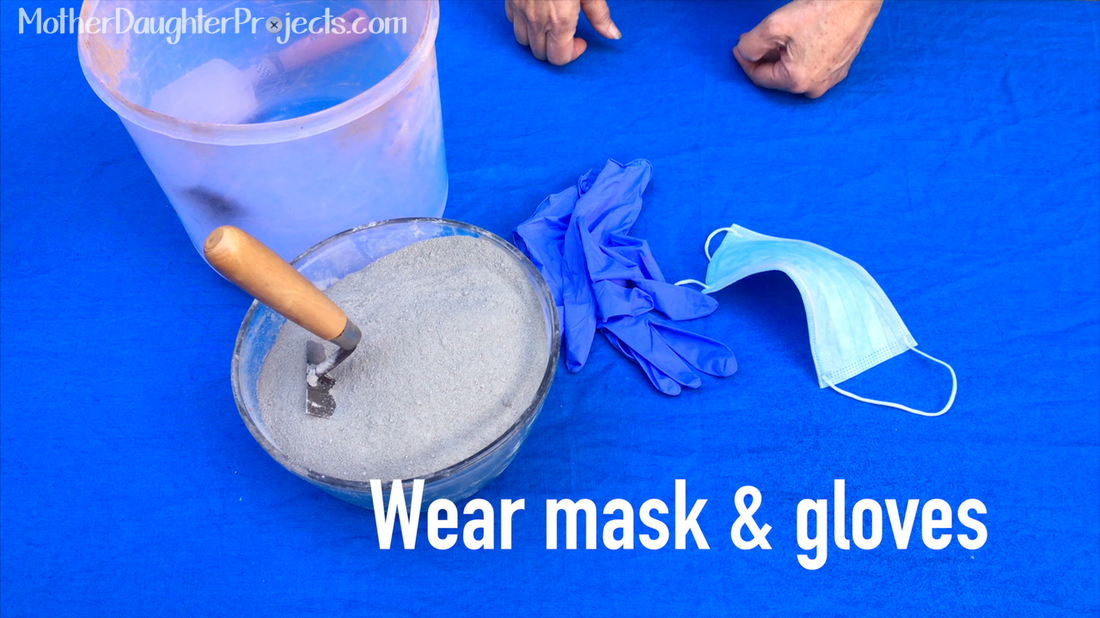
Let’s get started. First things first, put on the mask and gloves. Concrete/cement products create lots of fine dust—you don’t want to breathe that stuff in and the product is very drying to your hands—protect them with gloves.
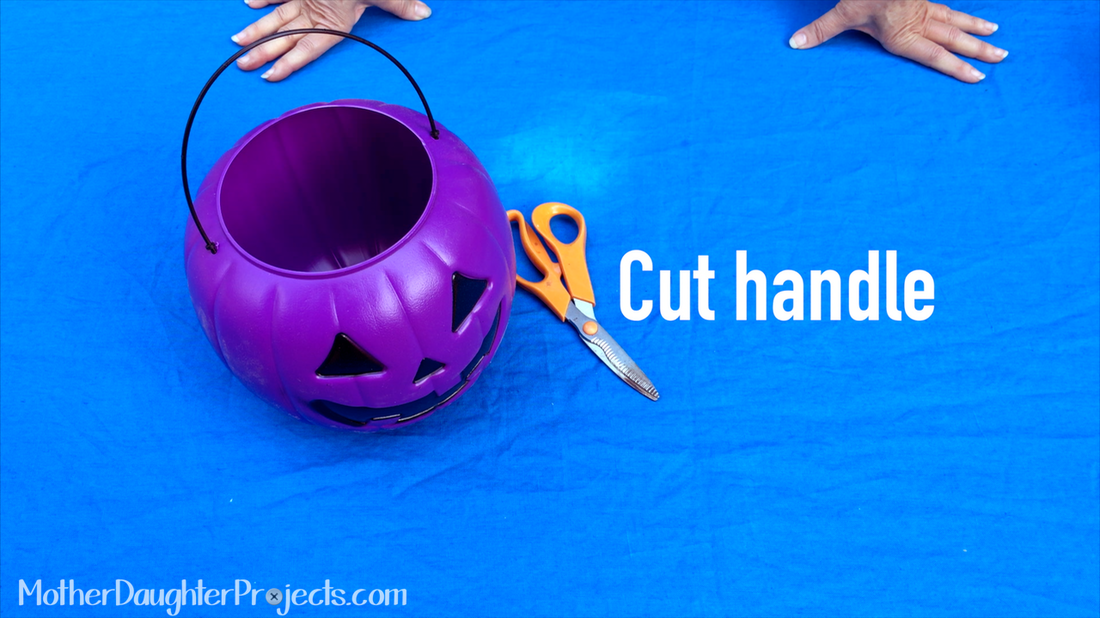
Cut the handle off the bucket.
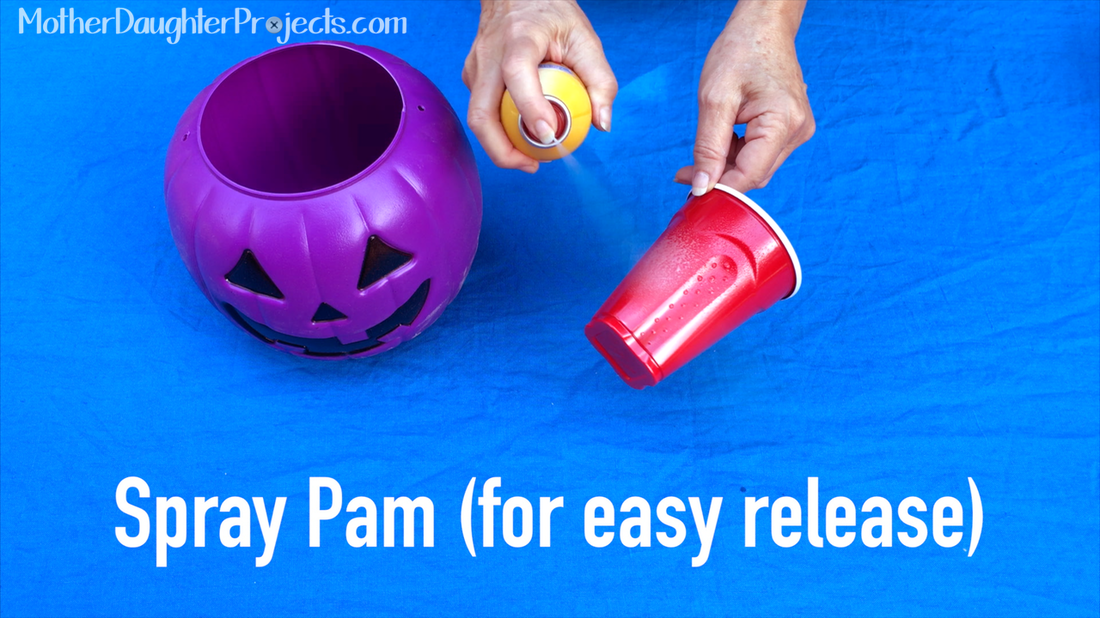
Using the Pam, cooking spray, or silicone, spray the outside of the cup and inside the pumpkin, set aside (this will help the plastic release from the concrete once it’s cured).
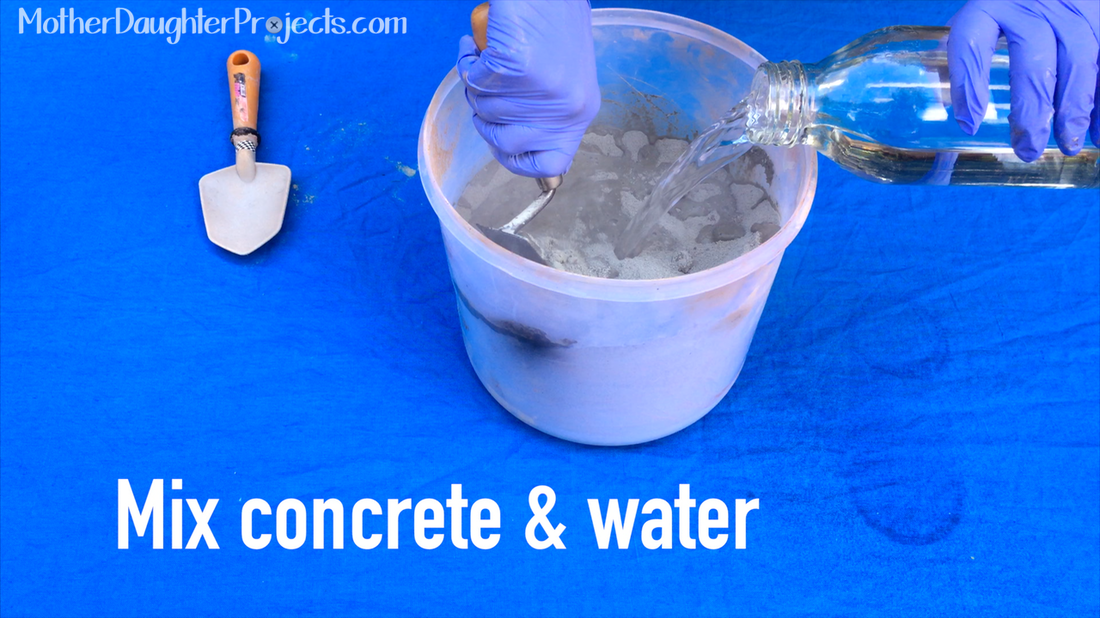
Mix up the concrete, cement, or mortar. For the orange pumpkin, we used concrete in which we sifted out the rocks. We used mortar for the other two. Slowly add water to the concrete and mix until all is well mixed. Err on the side of too little water than too much. You want a mixture about the consistency of brownie batter.
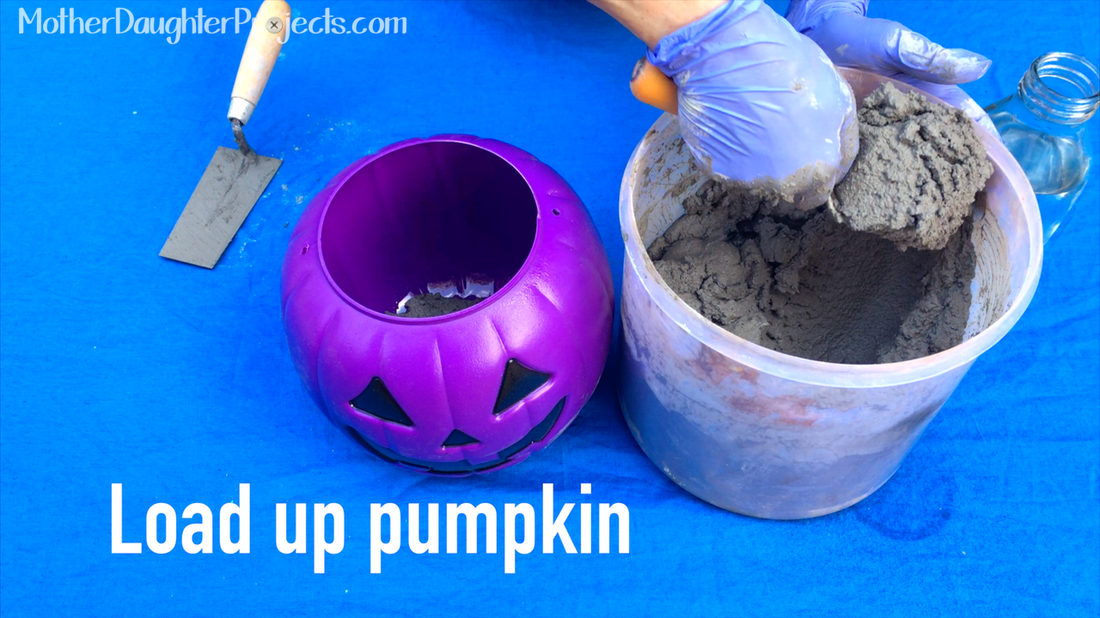
Add concrete mixture to pumpkin.
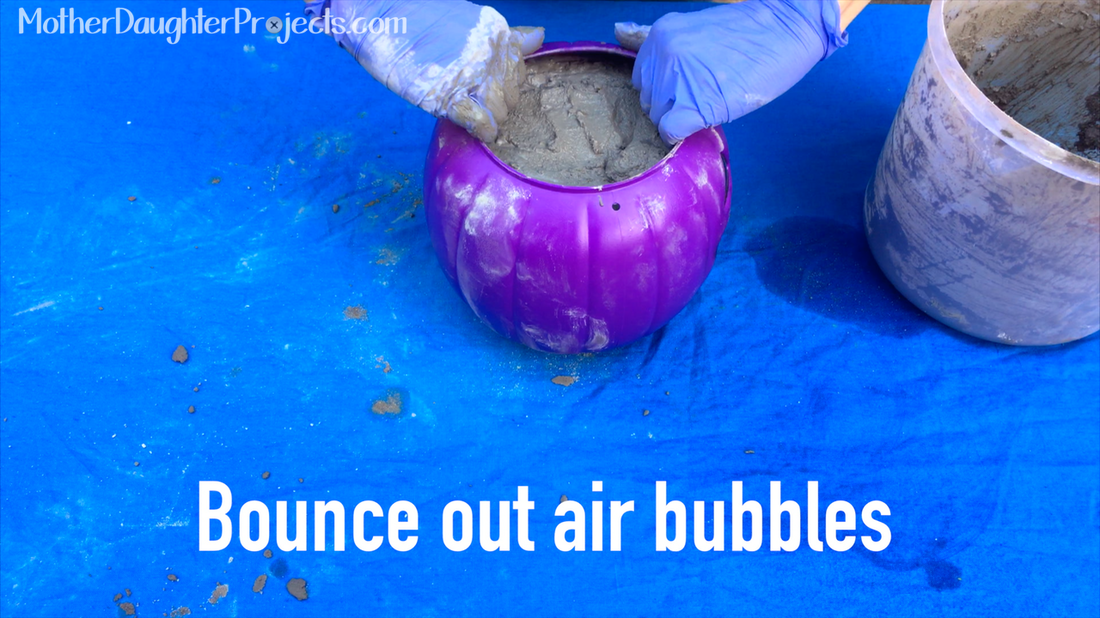
Gently tap pumpkin on the ground or table to bring air bubbles to the surface—continue mixing up concrete and adding to the pumpkin until nearly even with the top.
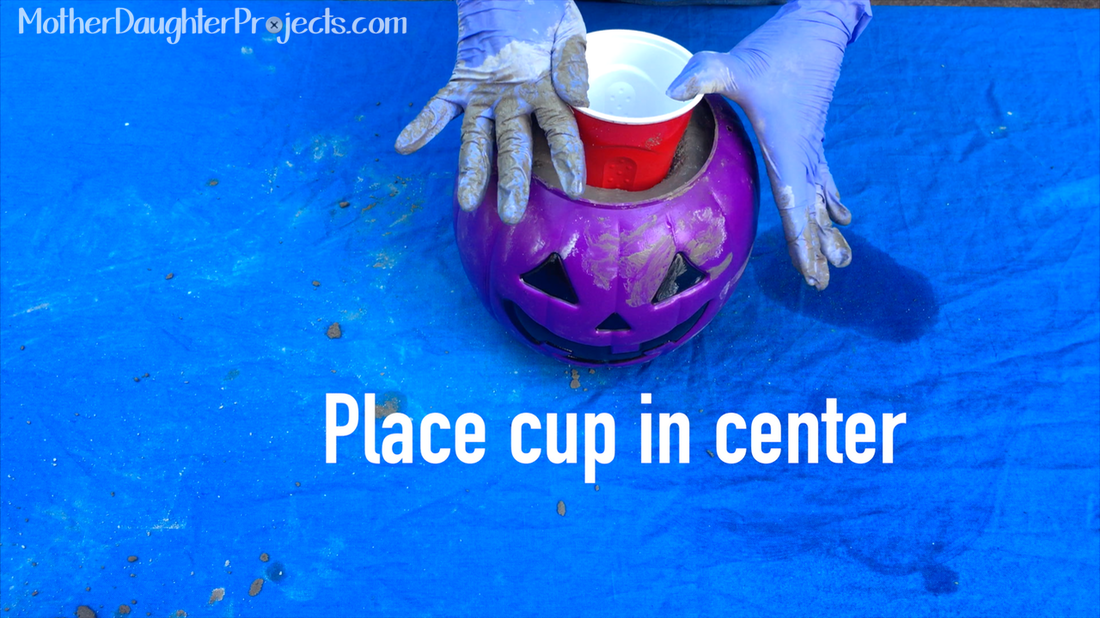
Center the cup and push down into the center of the pumpkin opening. Remove any excess concrete that oozes out the top sides.
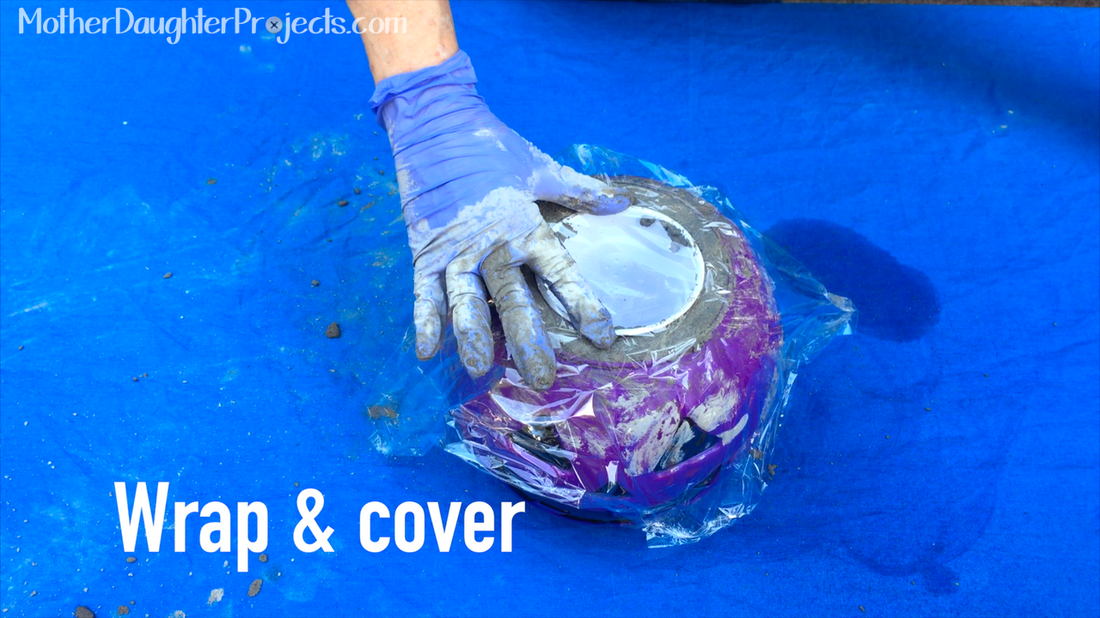
Cover with plastic wrap and place a large, heavy, flat object on top to keep the cup from floating up out of place.
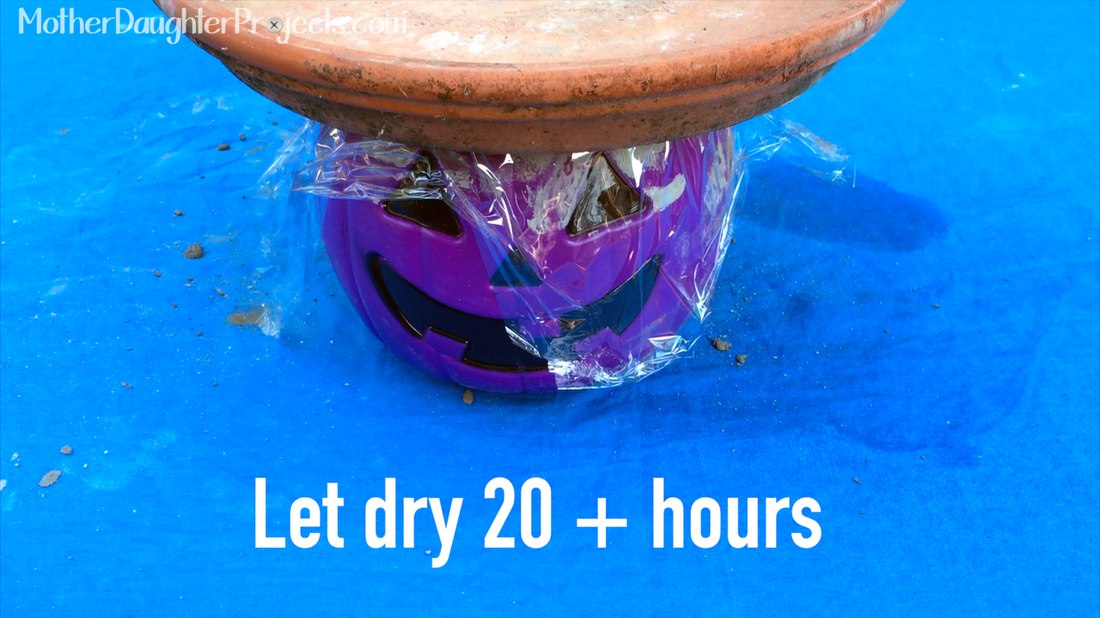
Leave undisturbed for at least 20+ hours.
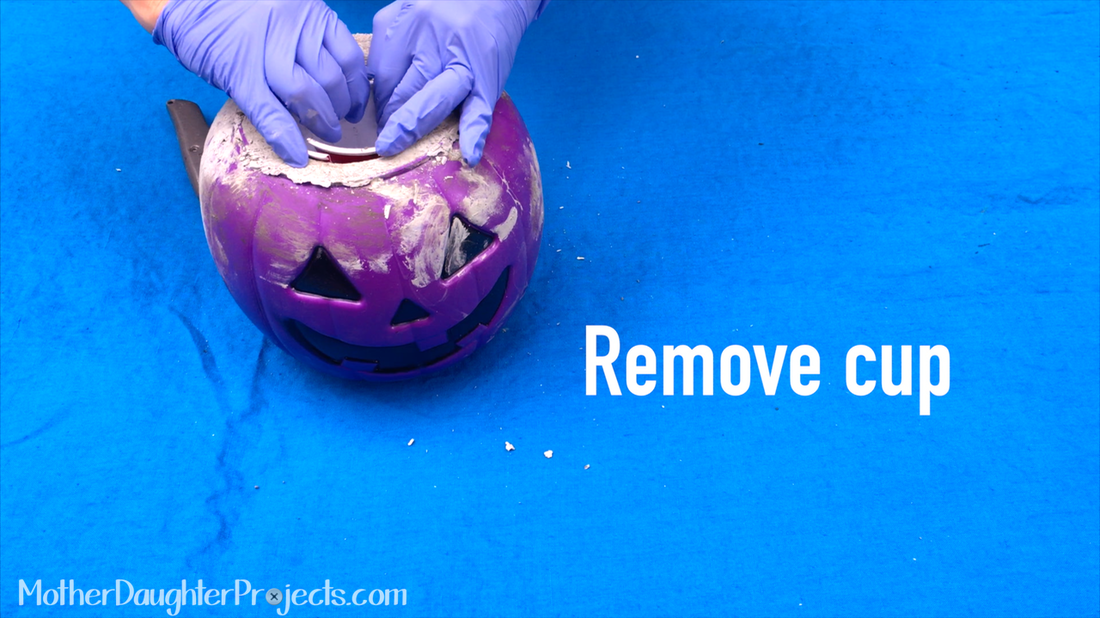
Use the utility knife to cut through the plastic to remove.
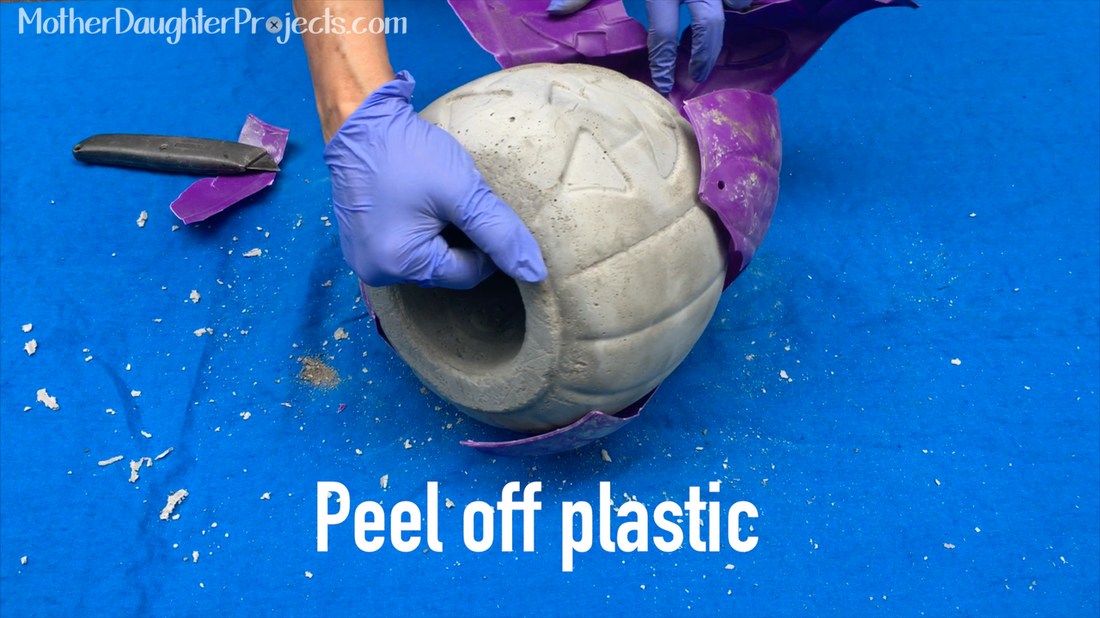
Let dry another 24 hours before painting or staining.
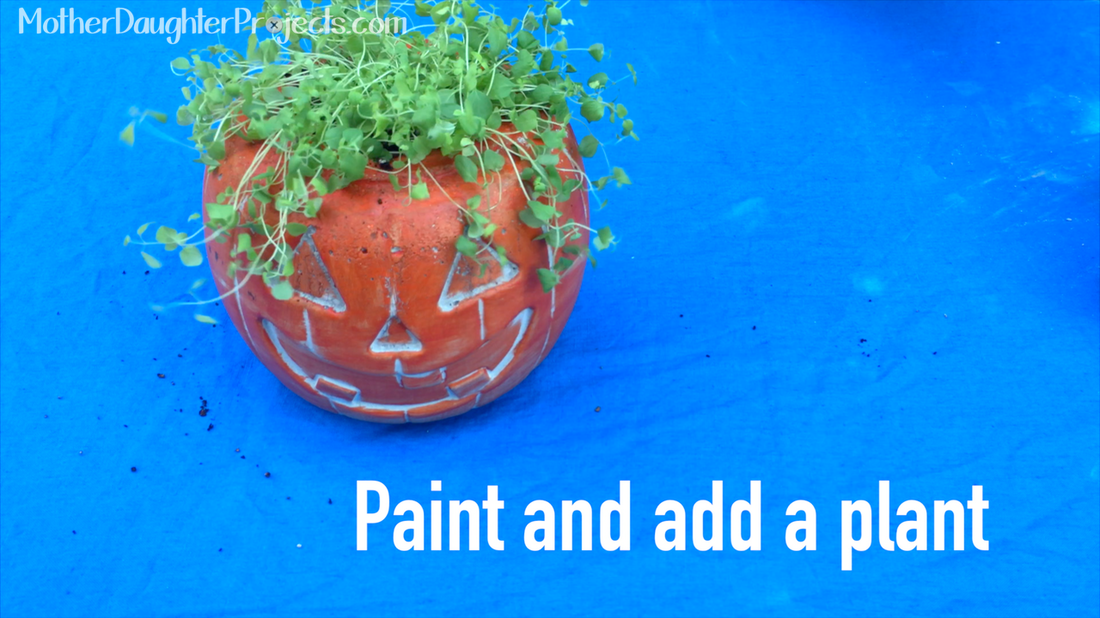
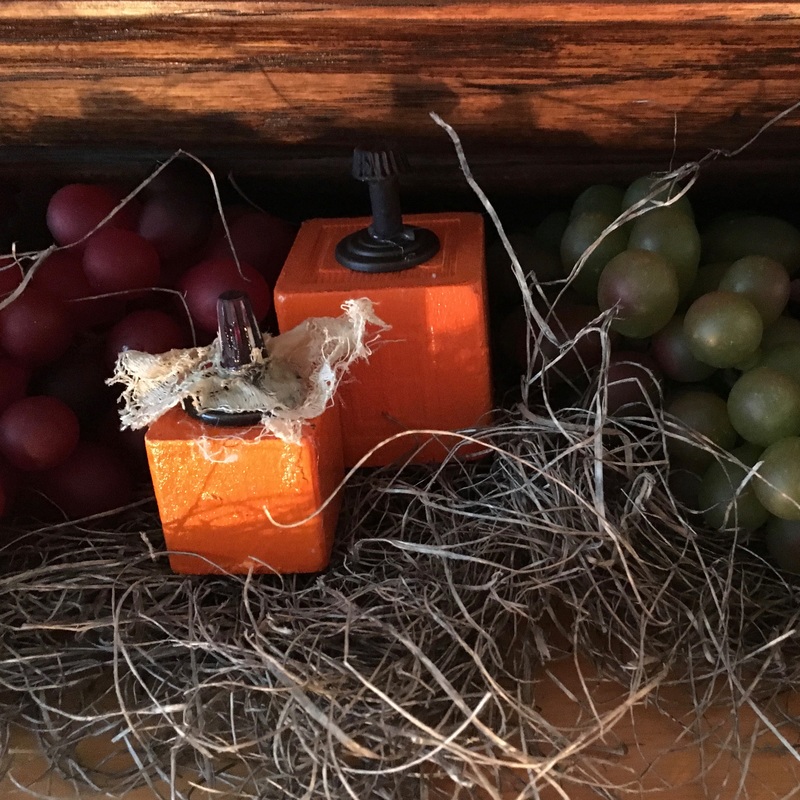
Orange Pumpkin: stained with DecoArt Color stain. This pumpkin does double duty as a plant pot. That’s an oregano plant that makes the fun hair.
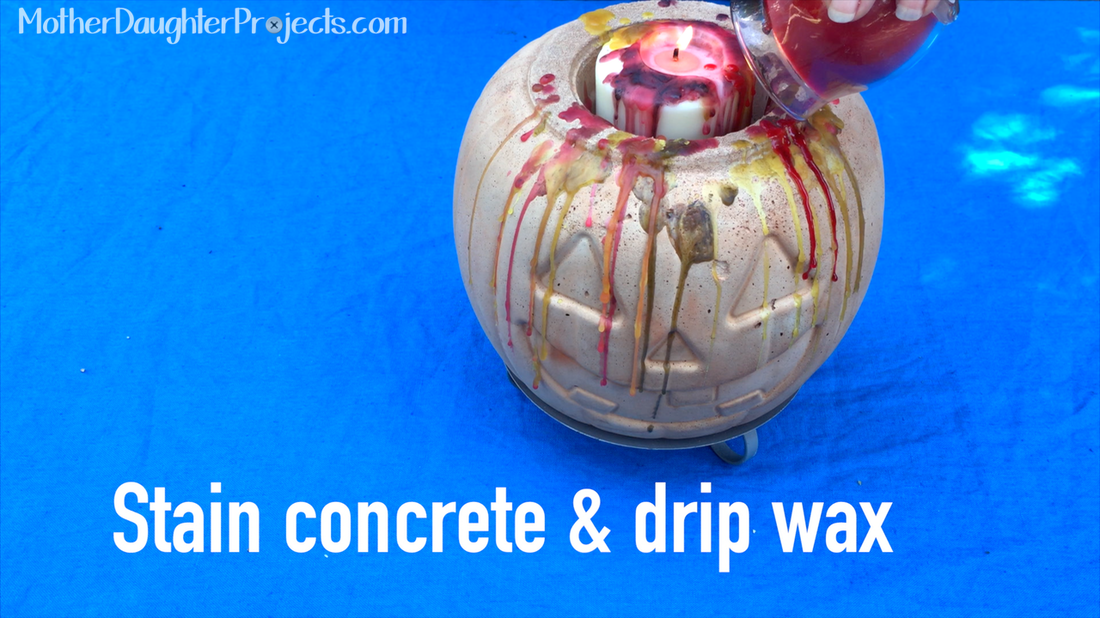
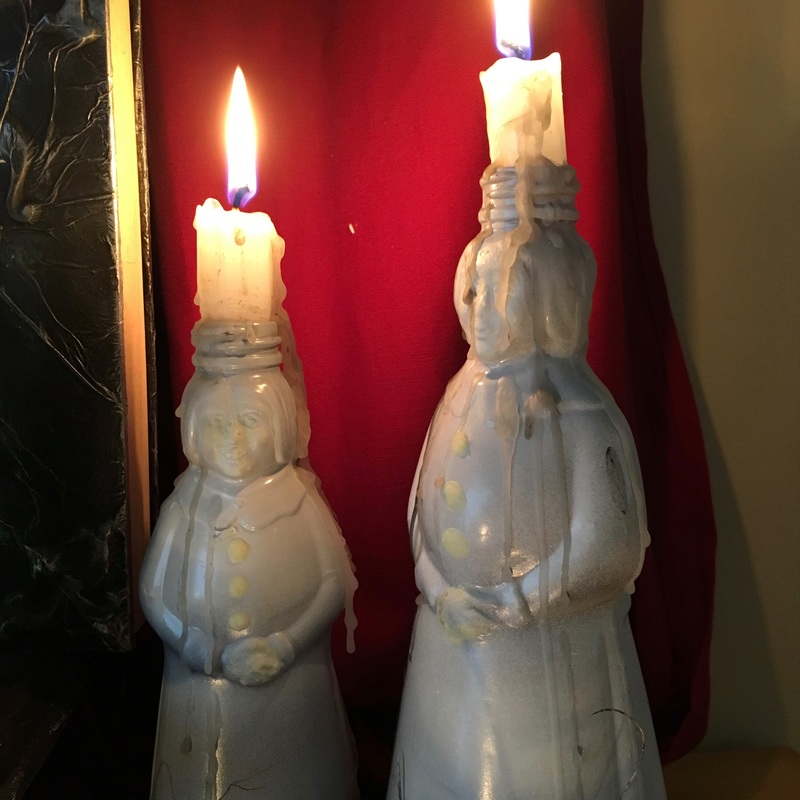
Waxed Pumpkin: This had a concrete terra cotta colorant added to the concrete/water mix. We dripped three colors of candles onto it. It does double duty as a candle holder.
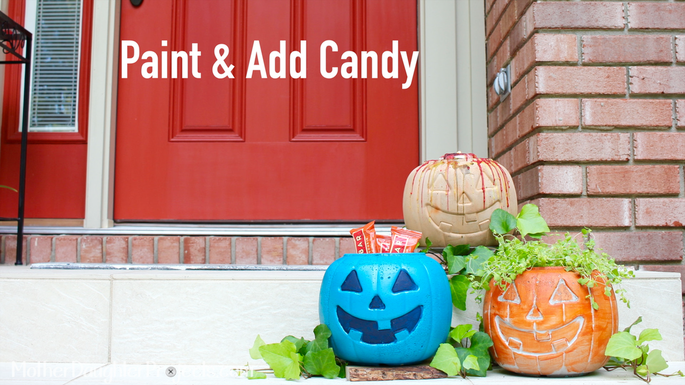
Blue Pumpkin: This guy was painted with Rust-Oleum Lagoon spray paint and his face is painted with DecoArt Chalky finish paint. It does double duty as a non-candy holder to bring awareness of those little ones that have food allergies. This one is very close to us as my two grandsons have to be mindful of what they eat everyday—both have different food allergies.
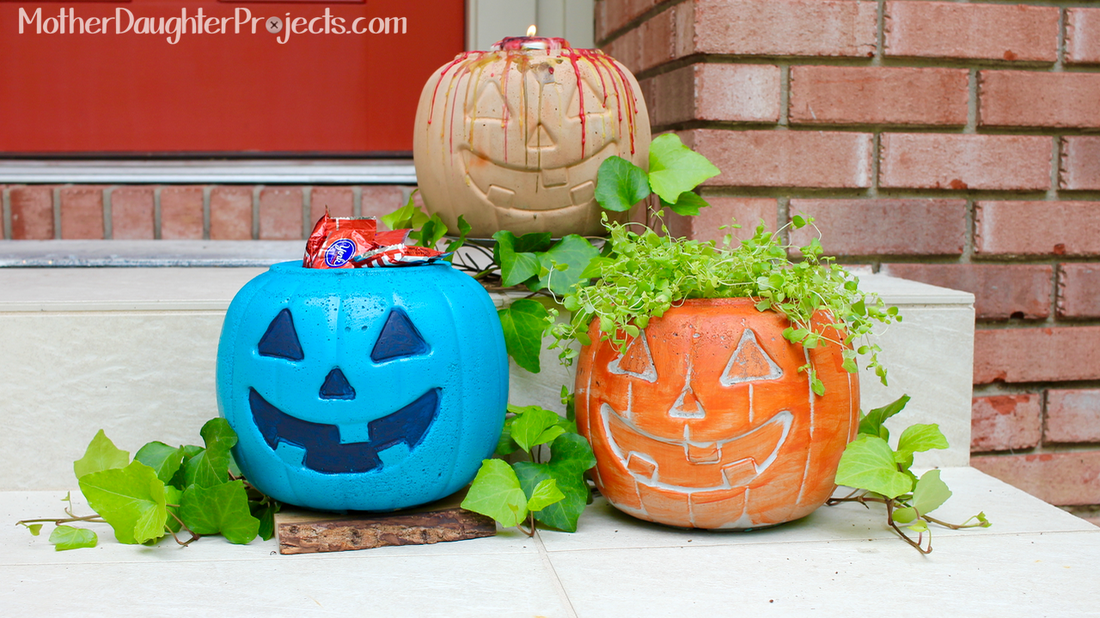
We love how our three concrete pumpkins turned out!
Please note: We are not sponsored by any of the companies/products that we used. These products were picked and bought by us.
FYI: We are not professionals, and we don’t claim to be. This is what we found worked for our project. Yours may need a little different approach. Safety first! FYI: Affiliate links are being used on this page. Purchasing via these links help support MDP! Related Projects
16 Comments
Steph
10/6/2016 08:20:58 pm
Hi Meg! One 50lb bag would do three. For two of them we used mortar mix which is like the concrete mix but it's a bit of a smoother finish.
Dorothy
10/13/2016 12:04:33 pm
Bought an 80lb bag made three. Need another to make six
Nikki
10/8/2016 04:09:11 am
Where did you get that specific pumpkin pail? I searches Wal-Marts and Targets website and Googled and couldnt find that one. I like the proportion of the face better on these than the ones of seen. Havent actually shopped yet as i just saw the viseo about 30 minutes ago. Thank you!
Steph
10/8/2016 01:44:18 pm
Hi Nikki, we picked up these plastic pumpkins a few weeks ago at a local walmart here in tallahassee, fl. Hope you can find them!
Gail
10/22/2016 02:57:24 pm
Bummer! A TEN pound bag of Quickcrete only fills the pumpkin half way! I wish that would have been stated in the primary instructions !!
Steph
10/22/2016 04:21:48 pm
Sorry, we used a 50lb bag for these. Hi, I used mortar and made my pumpkins a week ago and I thought they were finally dry but when I went to cut the plastic away some of the outside was crumbly. Is that from the pam, is that normal? Will it smooth out after drying in the air. I don't know if I had the right ratio. Is it salvageable or should I toss it?
Steph
10/23/2016 10:14:17 pm
Hi Cindy! I'm not sure about the crumbly. From our experience they can usually be removed from the mold in 20 hours and the concrete continues to cure fully for several days after. You might want to just let them sit and see if they get stronger for you. Which brand did you use?
Nicolle Watts
10/27/2016 01:49:16 pm
A 20 lb bucket of vinyl cement patch was enough for 1 pumpkin with a little left over. I used an 18 oz SOLO cup in the middle. I which I'd thought about putting a big straw or something to make a drainage hole. Next time...
Nicolle Watts
10/27/2016 01:51:40 pm
wish not which...
Steph
10/28/2016 09:32:00 am
Great to know thanks Nicolle! 10/12/2017 06:15:21 pm
WOW!!!!! When you pulled that out of the mold, I was blown away! It looks so amazing! I absolutely have to try this! Why am I yelling?! Ahhh!
Steph
10/13/2017 07:44:07 am
Haha thanks Andrew!
Anna Ibarra
10/25/2018 06:59:44 am
Just came across your HT and DIY videos. Love this concrete pumpkin. Where have you two been all my DIY days. You two are so cute together. I dream of my daughter and I to do this, but she is still in her after college days of discovering herself. LOL Thanks
Steph
10/25/2018 12:39:58 pm
Hi Anna! Thanks for the kind words. So glad you found us! Leave a Reply. |

Mother Daughter Projects
|