|
text by Vicki Sign up to get Mother Daughter Projects updates in your email!
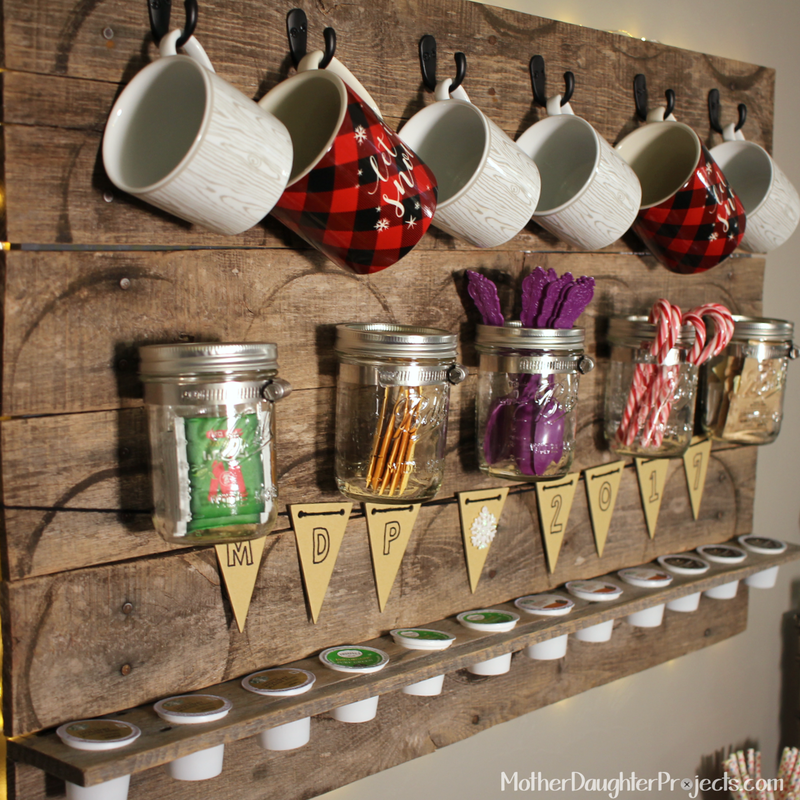
If you've followed us for some time, you know that we like our pallets! We have utilized pallet wood in a number of projects including shelves, a coffee station, sign and now we add a pallet wood tray to our inventory of posts!
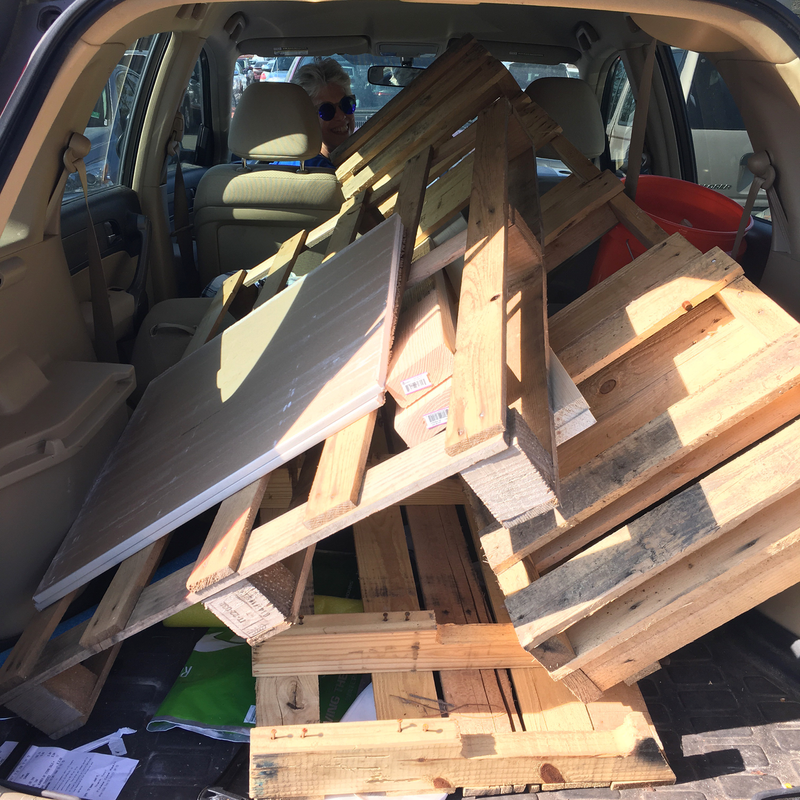
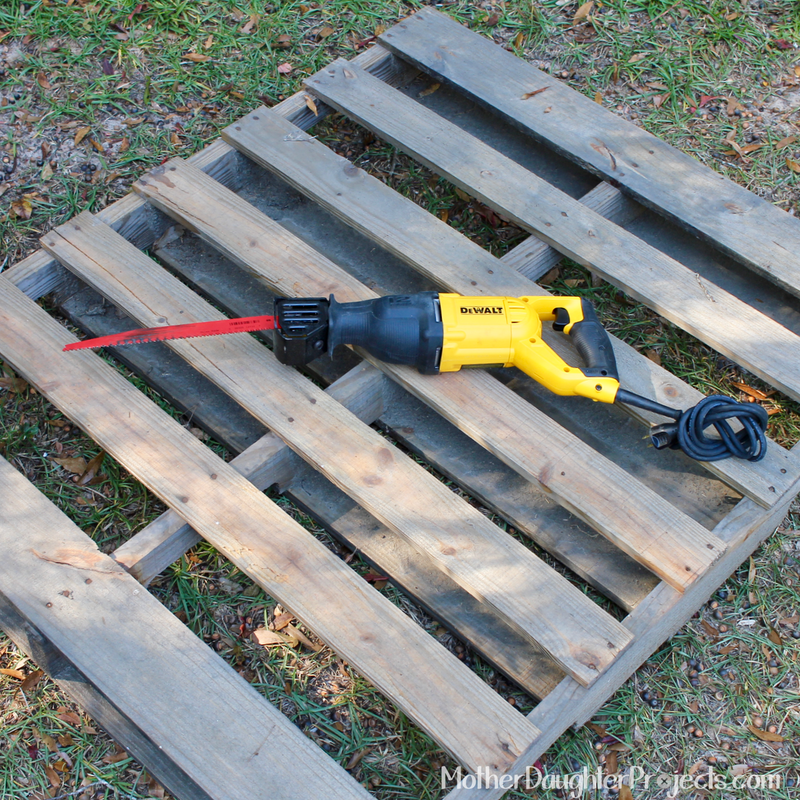
For a presentation of Power Tools 101 this spring at the Tallahassee French Country Market, we created this tray out of pallet wood. We used the build to demonstrate how to use various power tools in real time. As far as pallet projects go, this is more straight forward than most. We used a pallet we found at a motorcycle shop. It ended up being the exact width we needed for our tray so no trimming of the boards, with the exception of the end boards was needed! 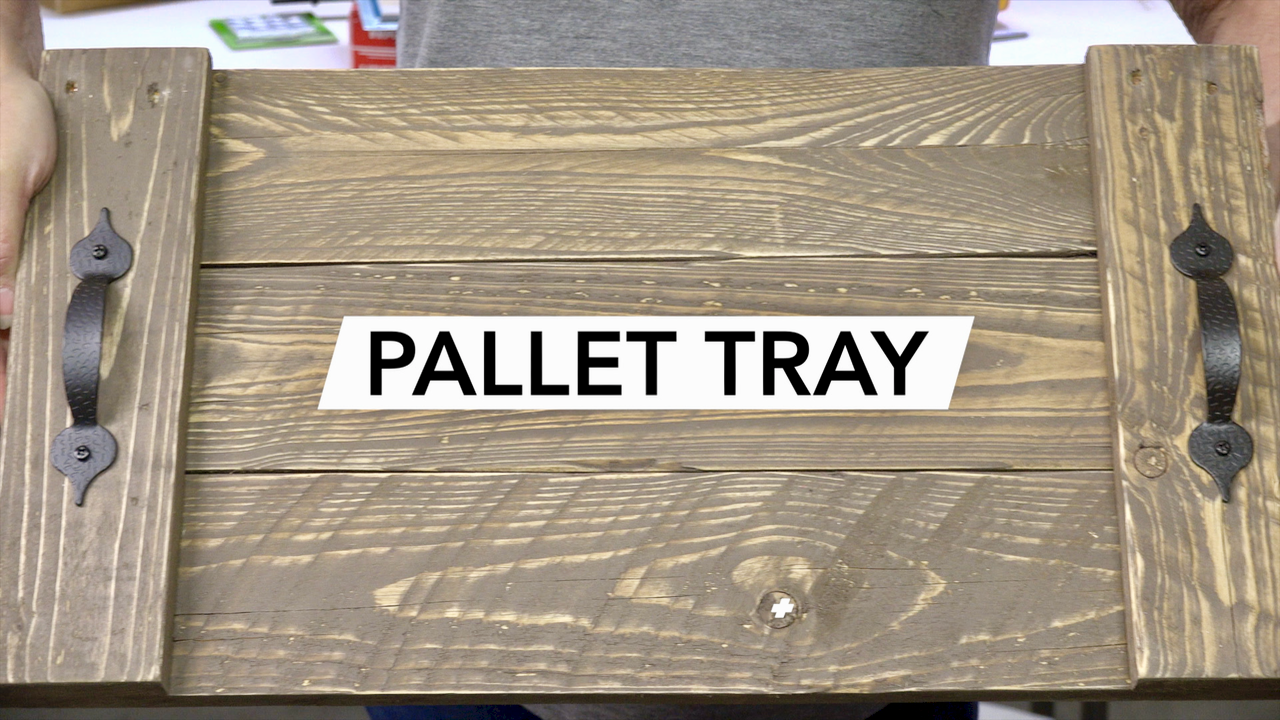
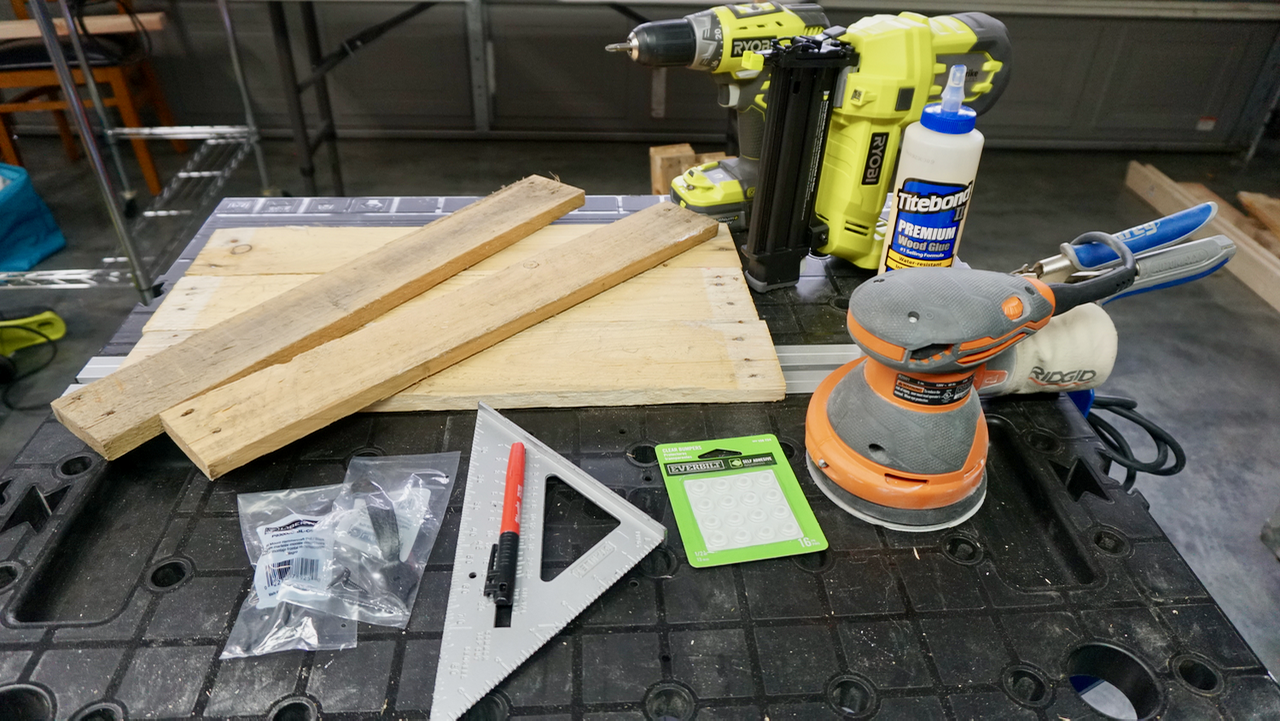
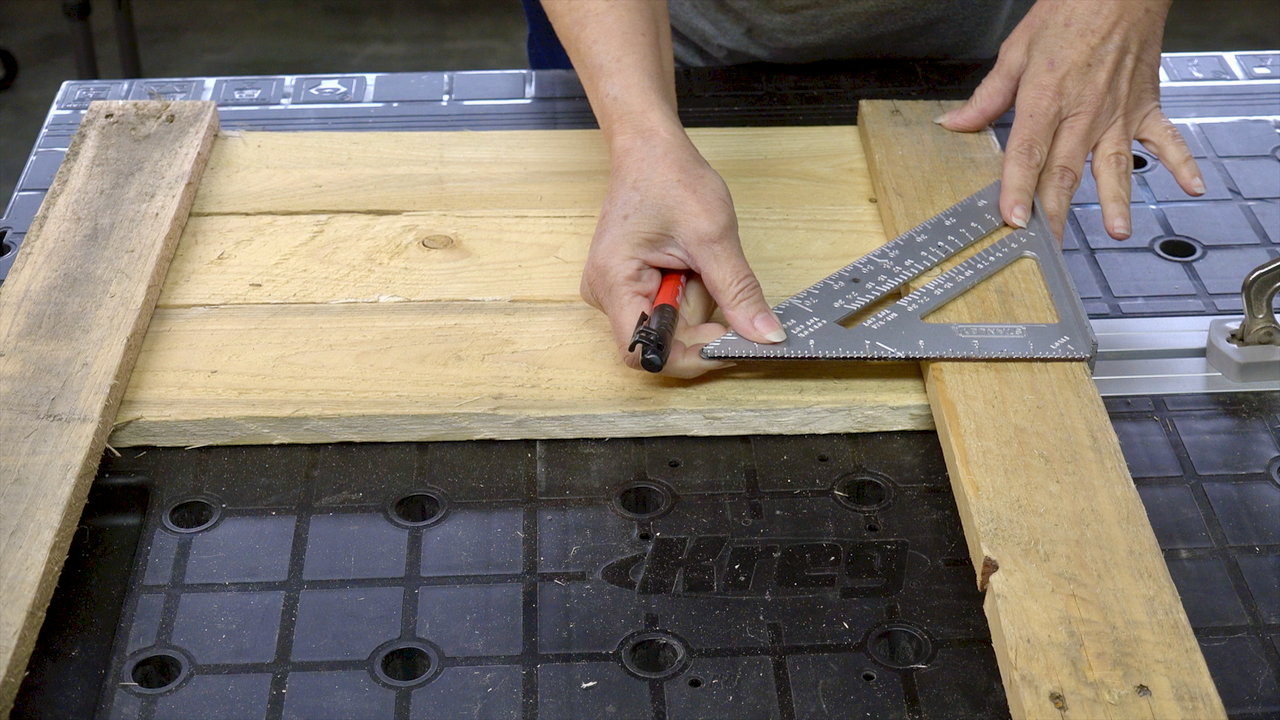
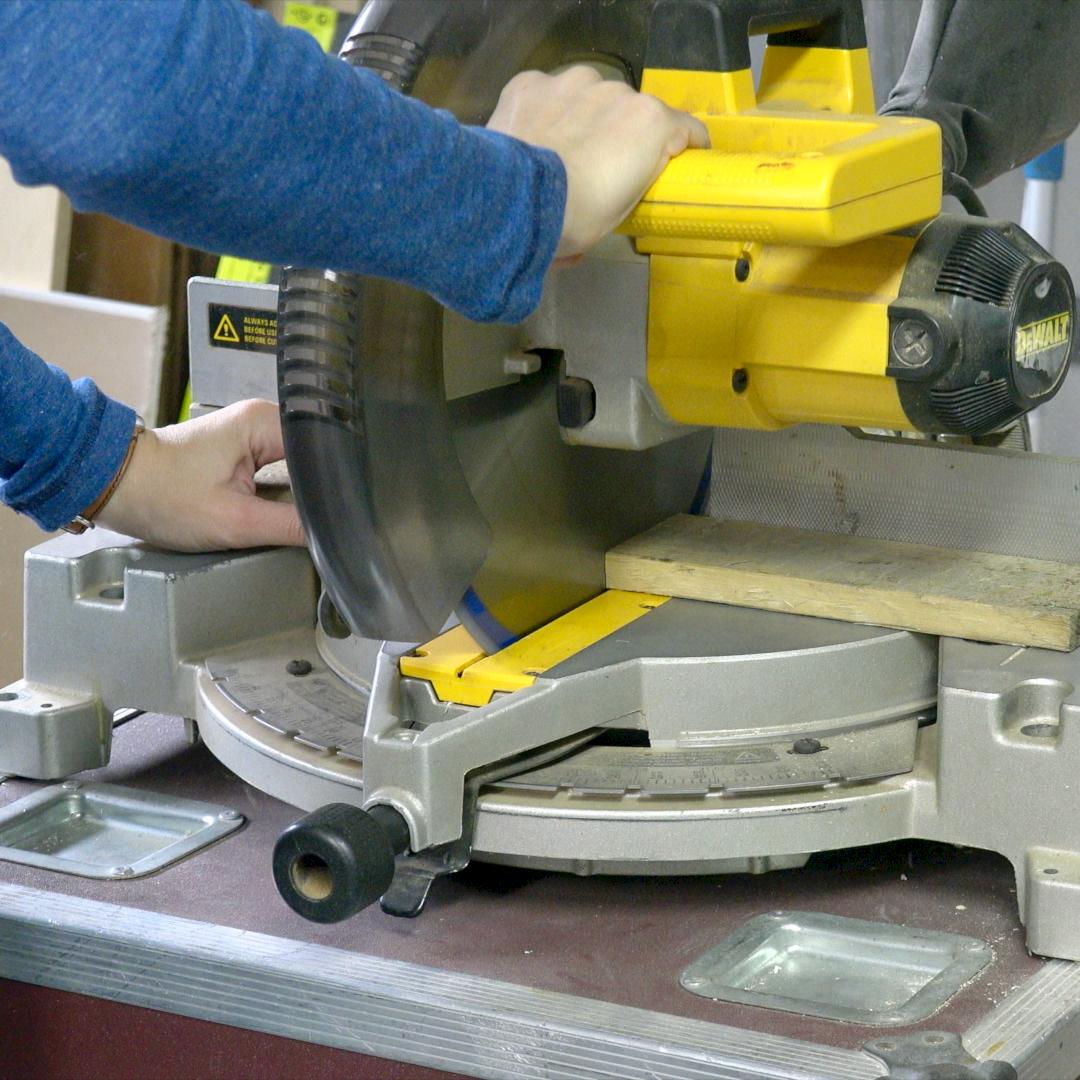
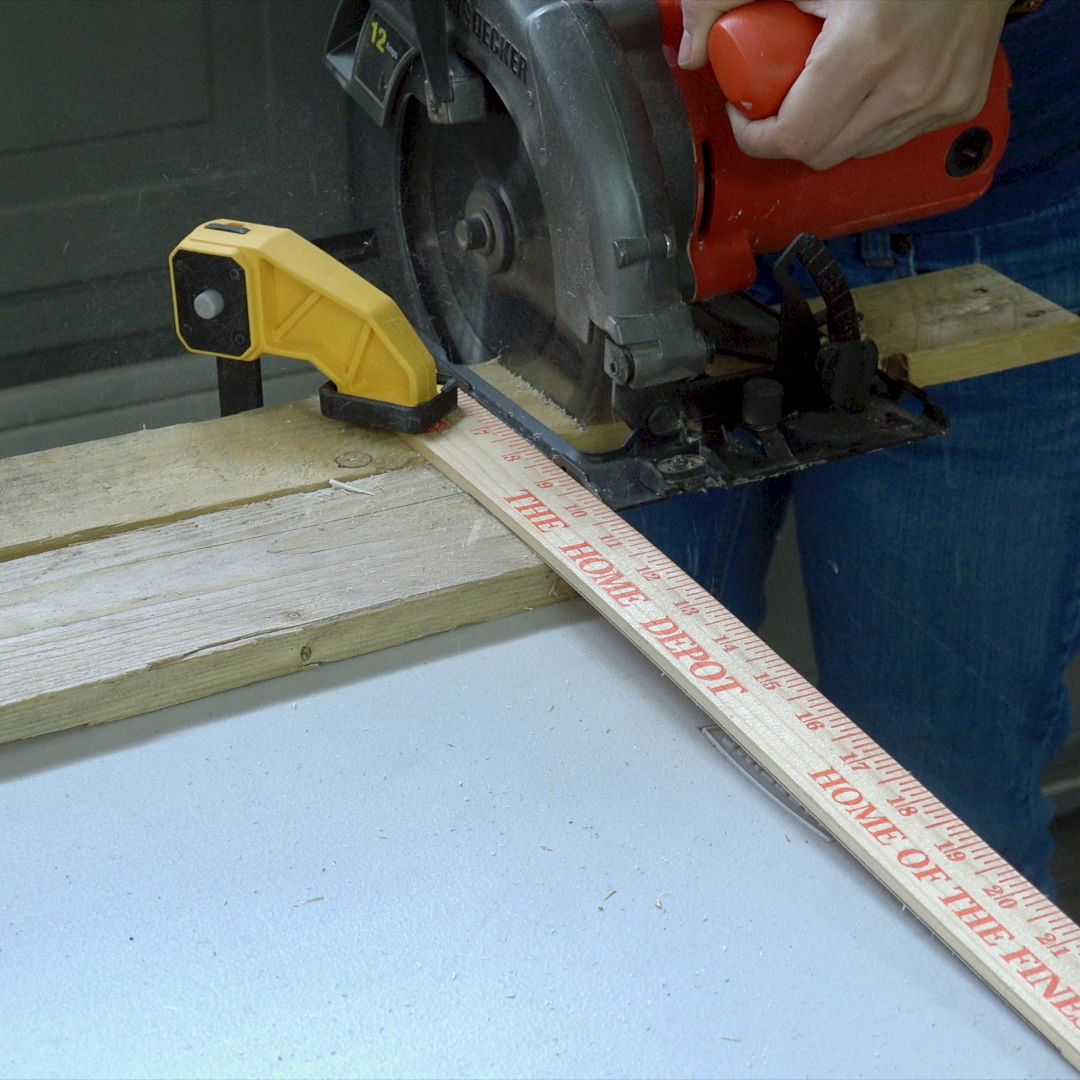
The three main boards were the size we needed without cutting, but the side pieces needed to be marked and cut. We used a speed square and marker to accurately mark the cut line.
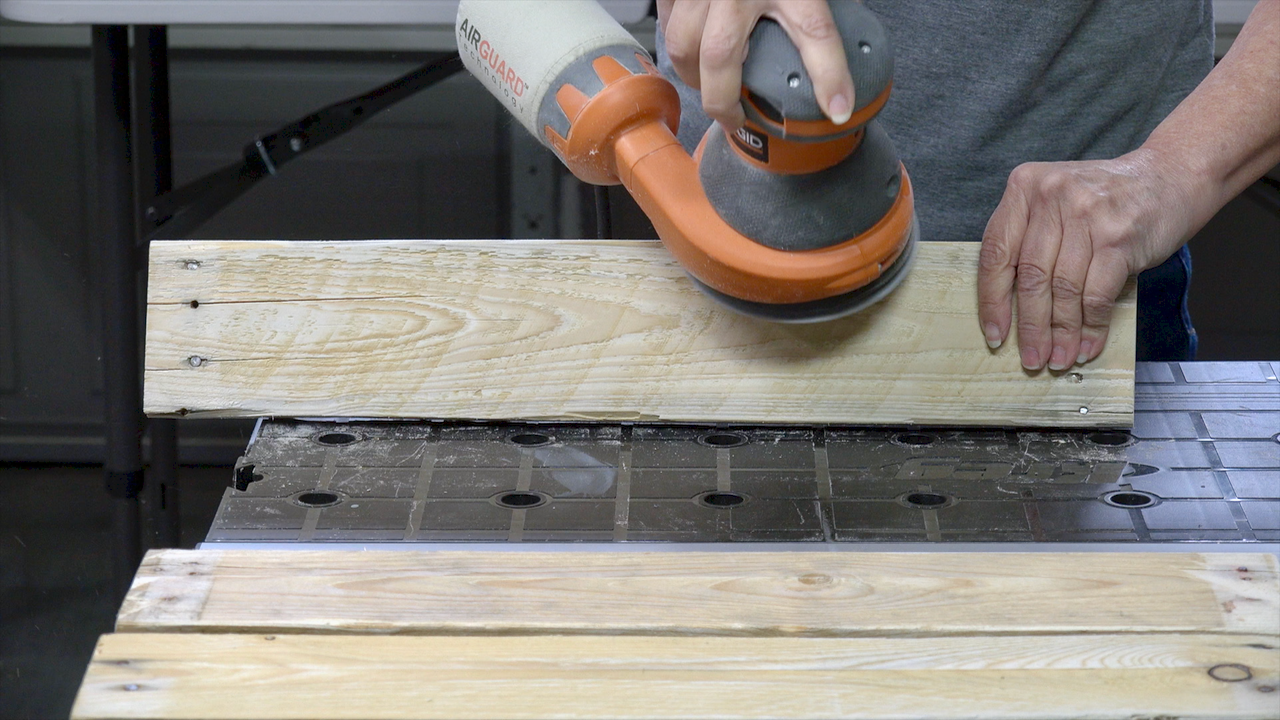
Sand the boards starting with 60 grit ending with 220 grit. Wipe down with tack cloth.
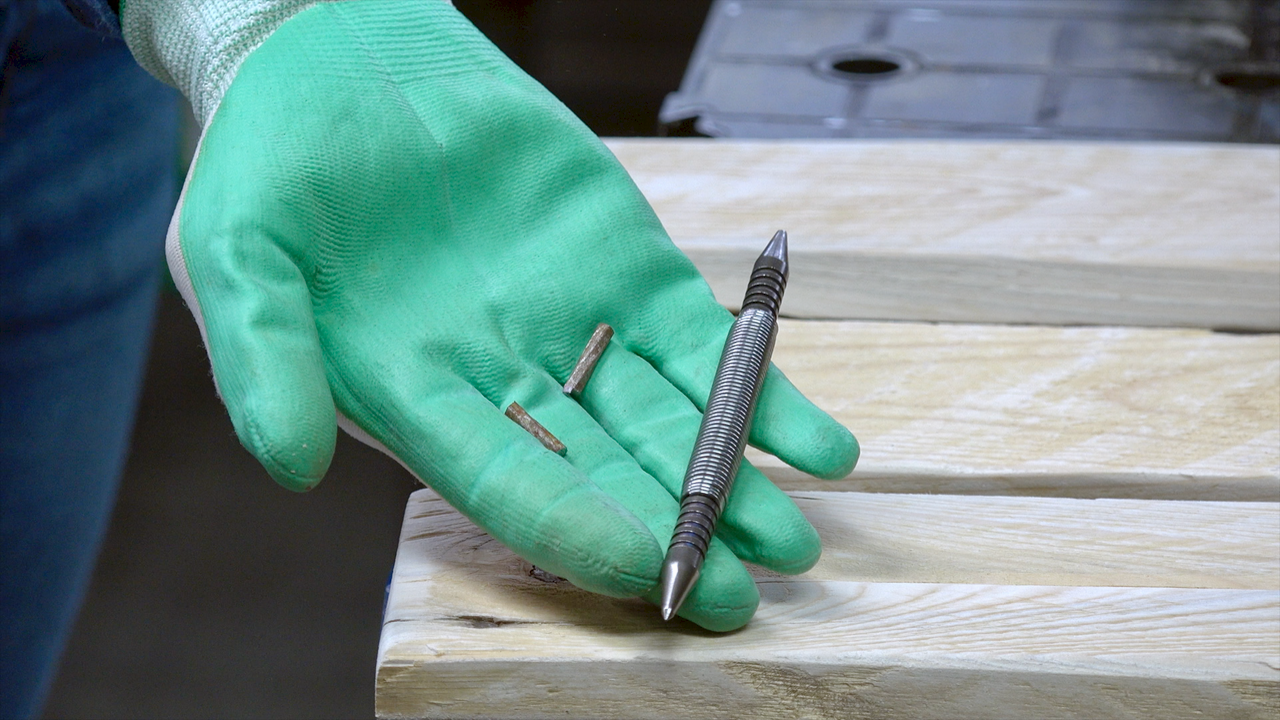
Nails remaining in the pallet wood can be removed using a nail set. Our boards covered the ends so these did not have to be removed.
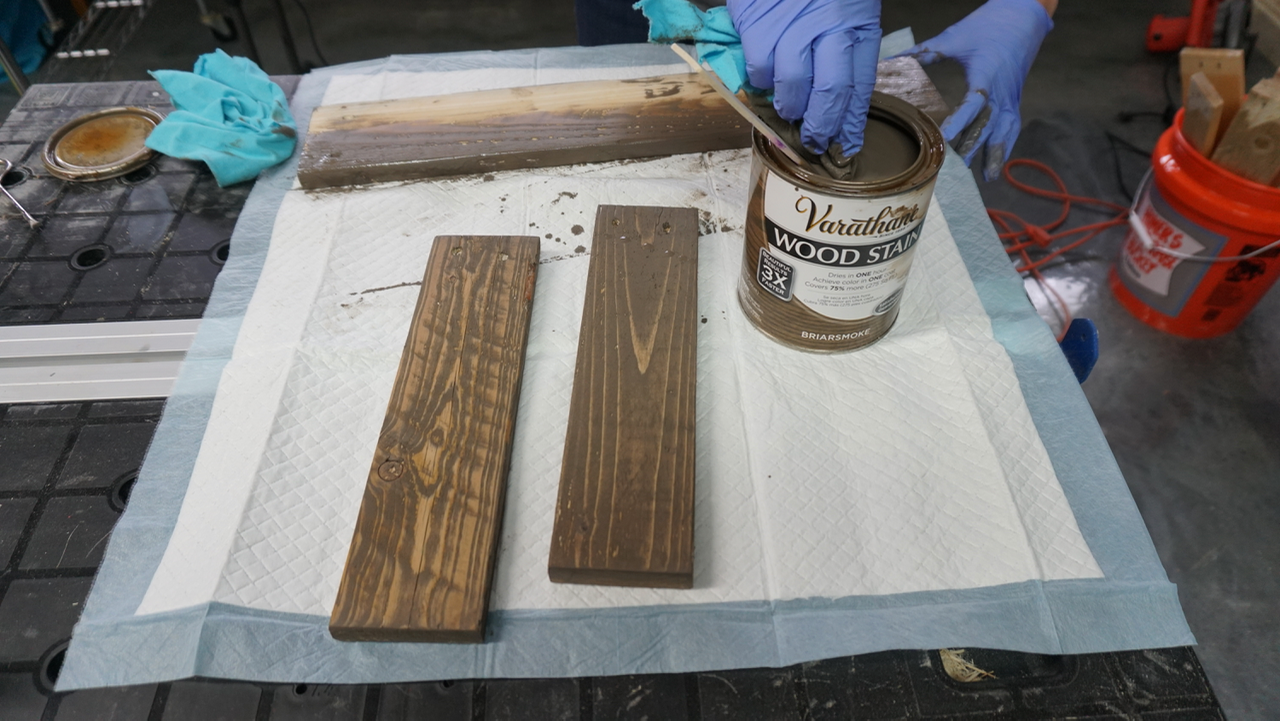
We used wood stain to finish the boards. The tray can be finished with paint or left natural.
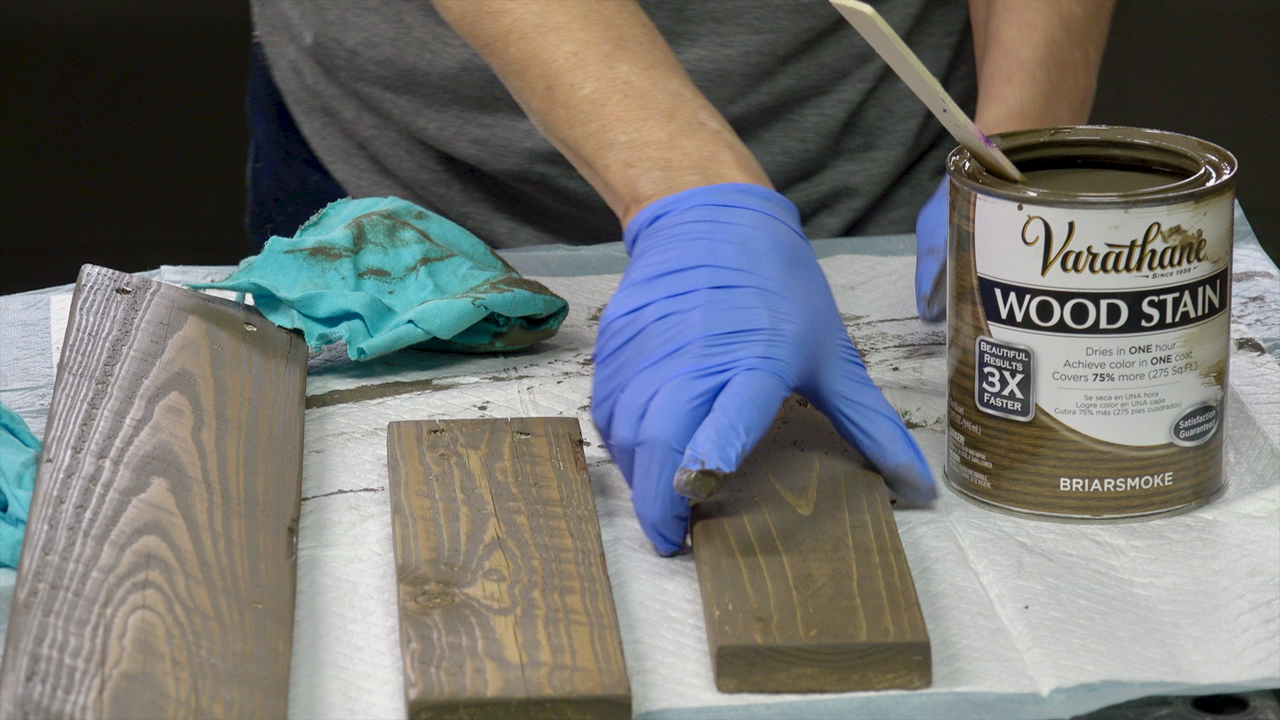
The stain really brought out the grain of the wood. We also lightly distressed once everything was dry with 220 grit sandpaper.
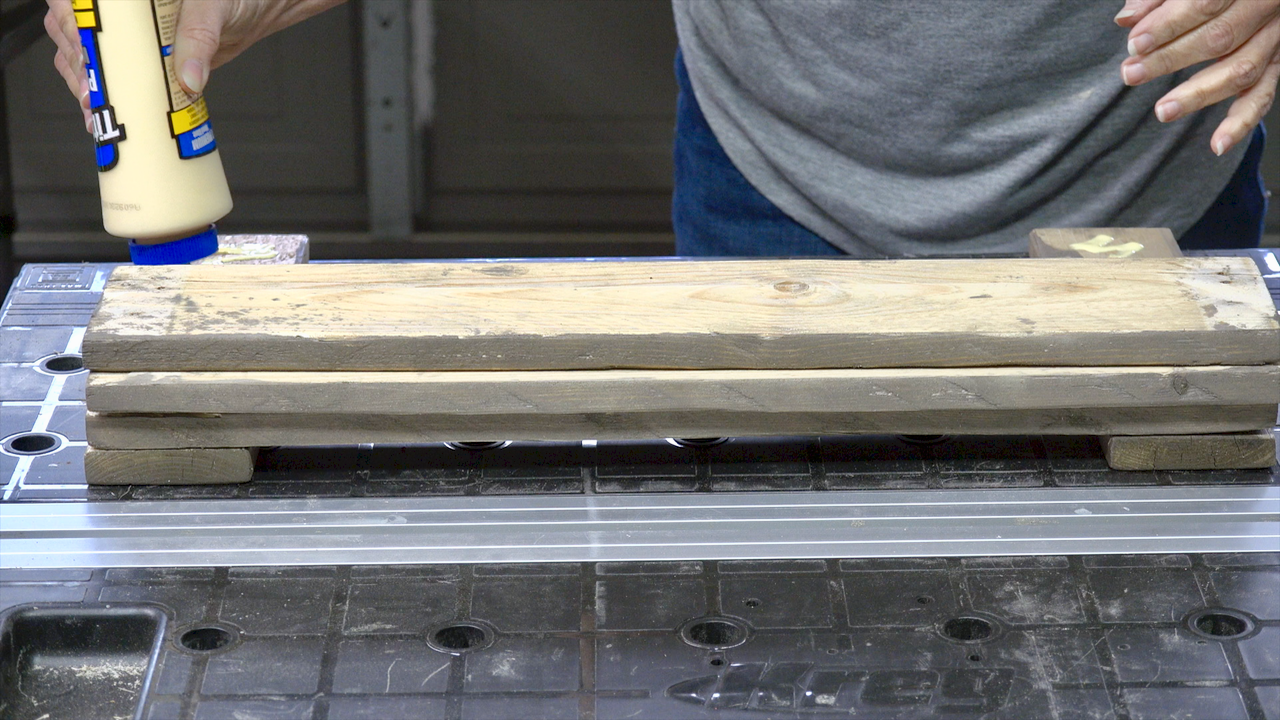
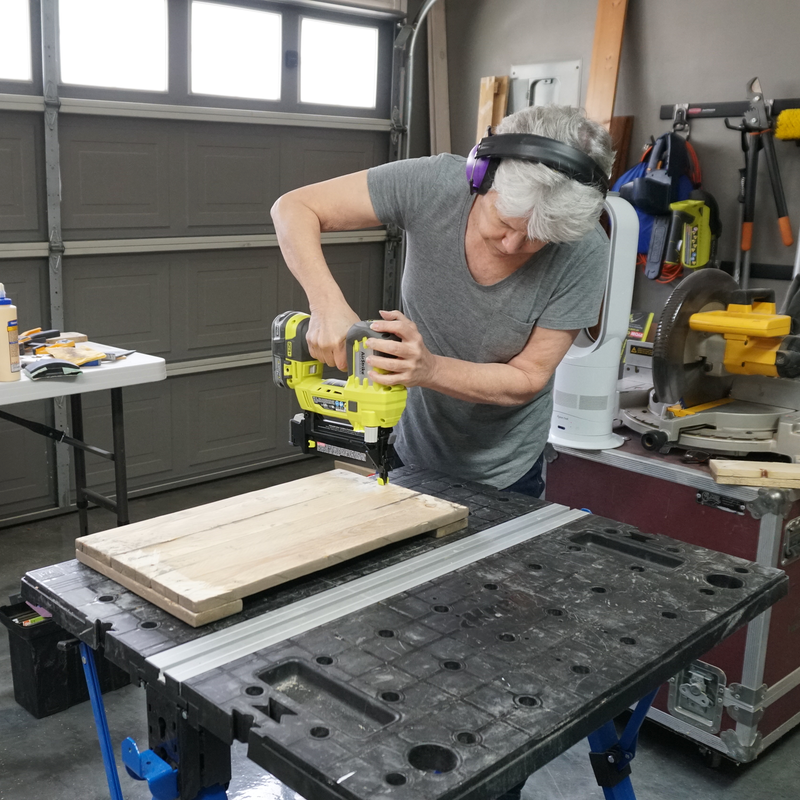
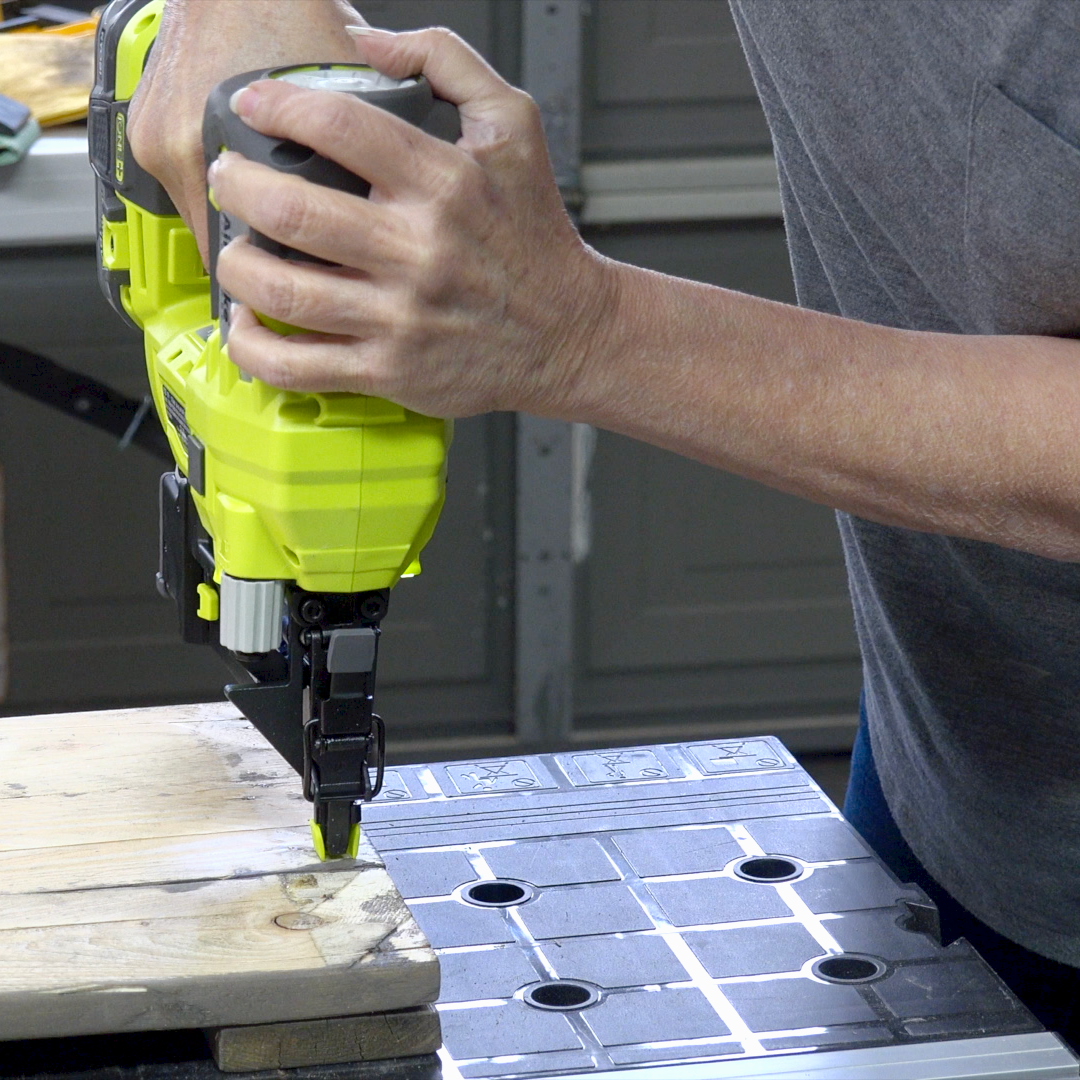
Once dry, everything was turned upside down and positioned into place. Wood glue was applied and then nailed into place with the Ryobi AirStrike.
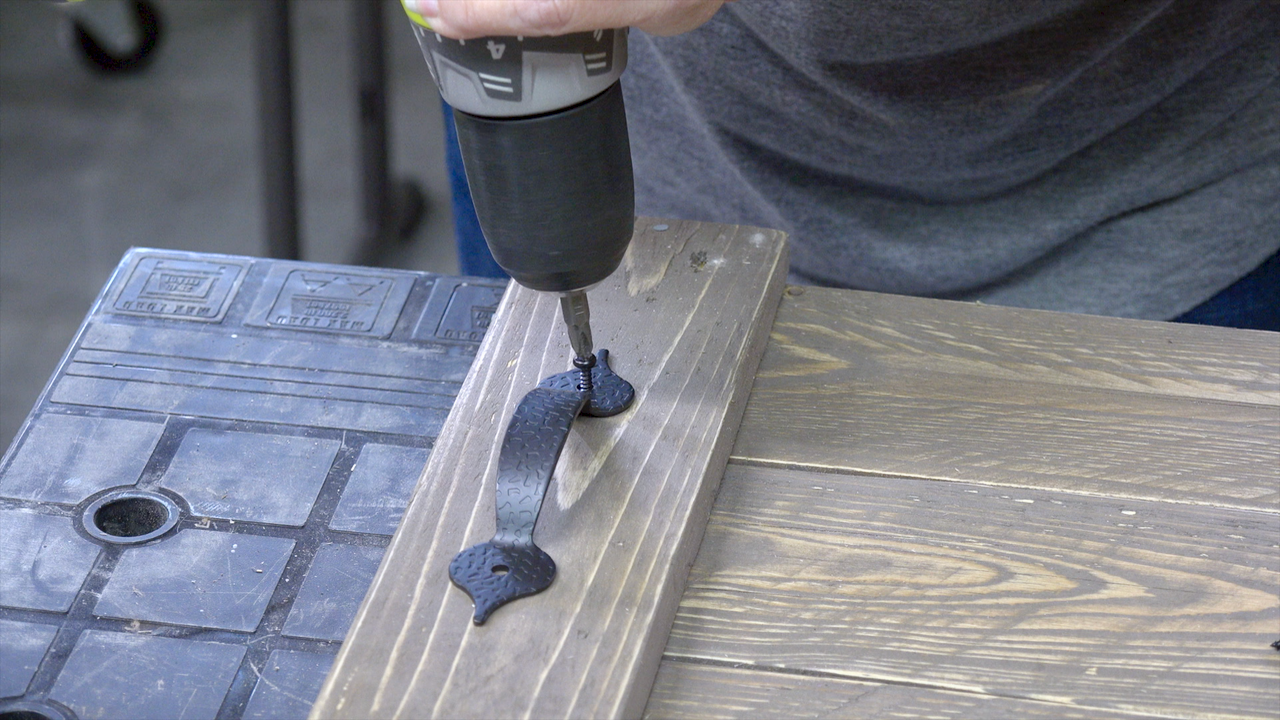
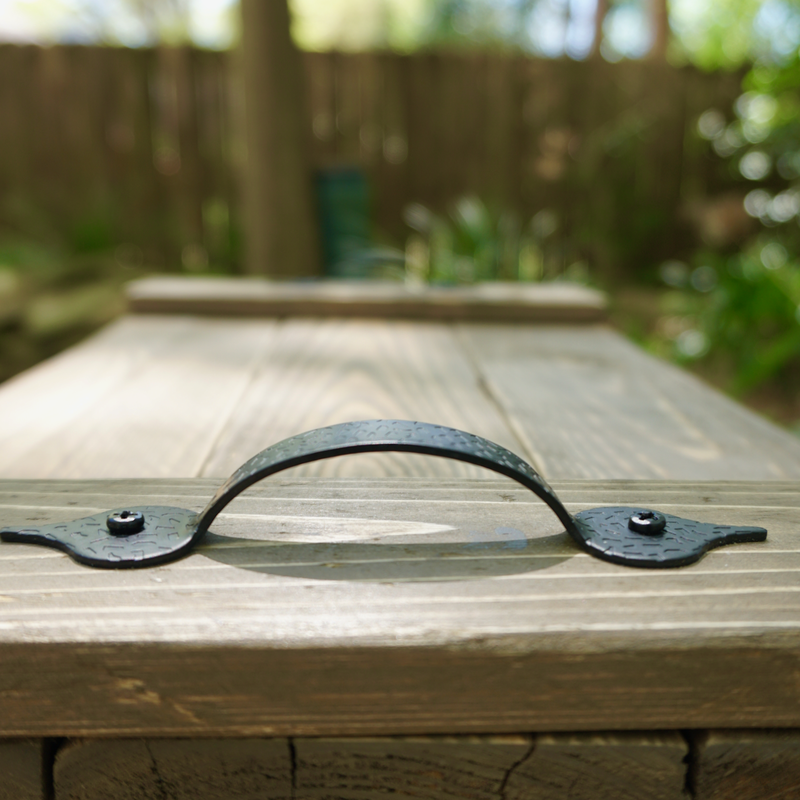
The handles were screwed into place with the drill/driver.
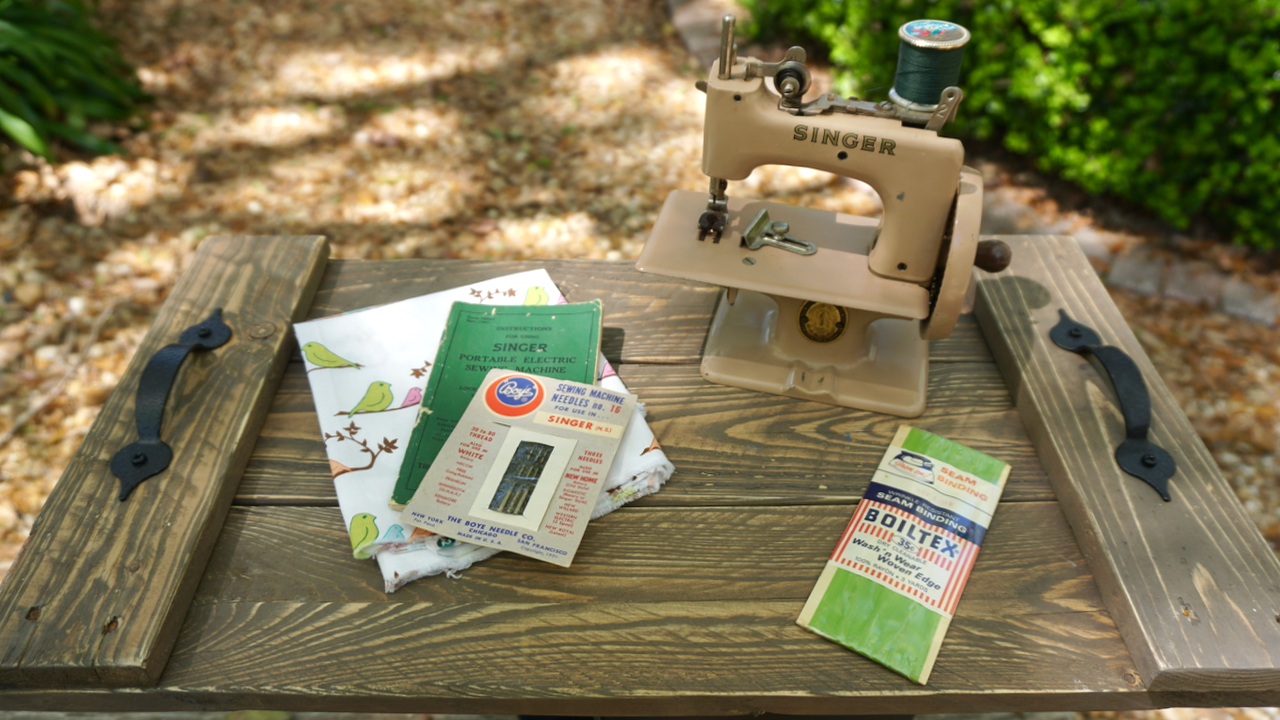
The pallet tray is now ready for home decor display, breakfast in bed, or even a laptop holder.
One thing we learned through this project is that all pallet wood is NOT created equal. The pallet we found was really good quality, very clean, and very uniform throughout the piece. Once sanded and stained it revealed very interesting grain.
We also learned about the IPPC label that is found on all international and some USA made pallets. To be safe, it should have HT on the label which means it is heat treated rather than chemically treated. Although this project was made with power tools, the build could be adapted using hand tools only. Use what you have (and borrow the rest!) How would you finish your tray--stain, paint, or left natural? Let us know in the comments below or on Facebook. FYI: Affiliate links are being used on this page. Purchasing via these links help support MDP! Related Projects
0 Comments
Leave a Reply. |

Mother Daughter Projects
|