|
text by Vicki Sign up here to join our weekly email newsletter!
This post is sponsored by The Home Depot.
We built this portable, folding pallet wall for a booth in which to promote Steph's book at a professional conference. There was never any question we would DIY all the elements of the booth!
Steph had this idea for a pallet wall and other elements, and I just went along with what she wanted. Actually, I really never had a clear idea of the end result, but just completed the tasks as she gave them to me. It wasn't until everything was done and put together that I saw the "vision!" Read on to see how we made it and then check out some of the applications it could have in your own home.
Measurements:
Assembled: 82” high x 38-1/4” wide x 26.5” depth (at base) Each pallet before cut: 54” x 40” Each pallet after cut: 38-1/4” x 40” Base support: (3) 24” 28-3/4” (2) 32.5” with 45 degree angle on both sides Cover for base 29-1/4” x 14-3/4” 
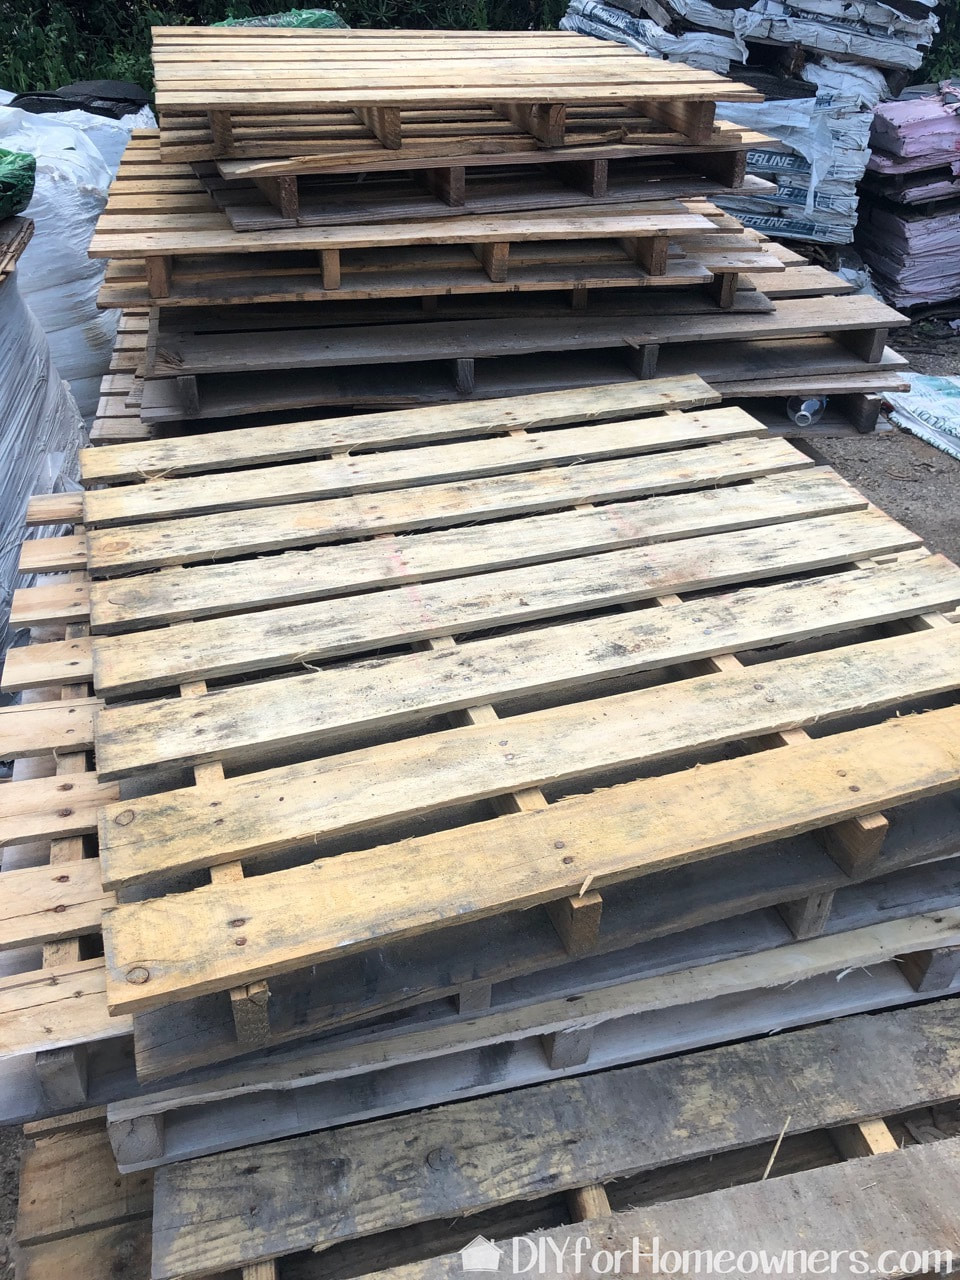
These pallets were so gross! So gross, that I suggested we actually pressure wash them before doing anything with them. This Ryobi electric washer is easy to use.
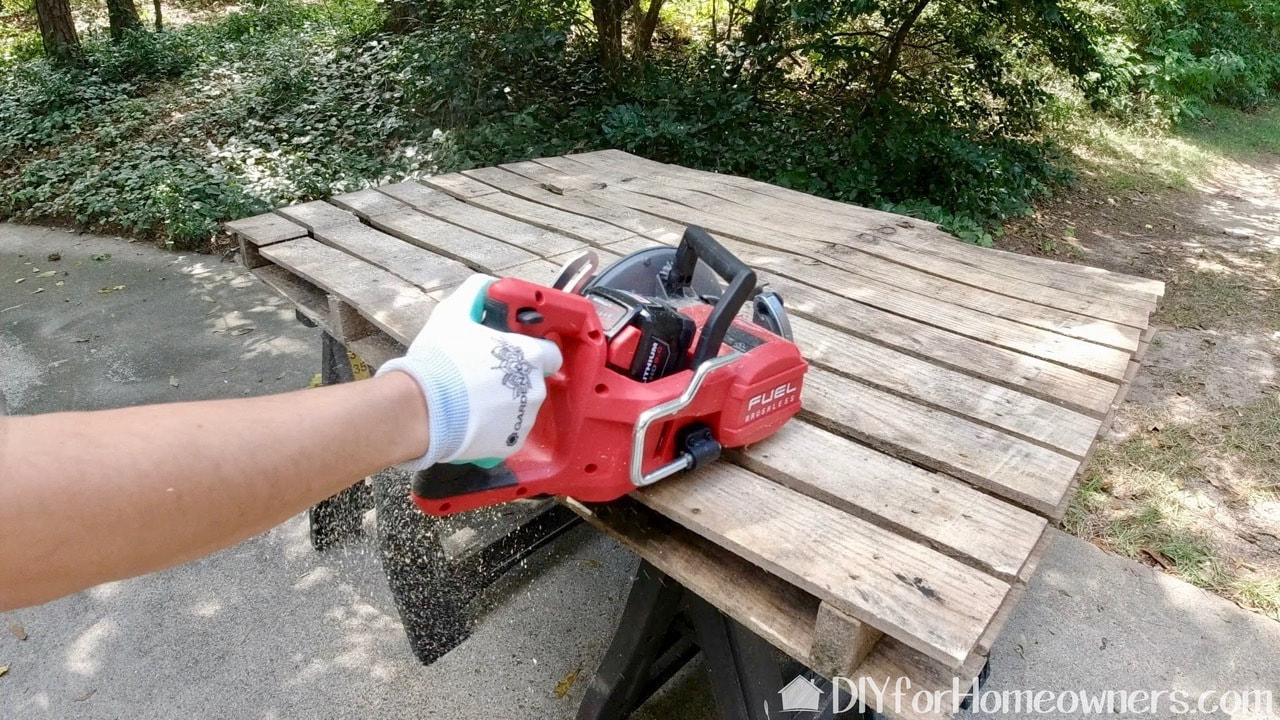
Steph needed to cut these pallets down to size and is using a rear handle circular saw--it's pretty cool--no cord! It's by Milwaukee and generates the power of a 15A corded circular saw.

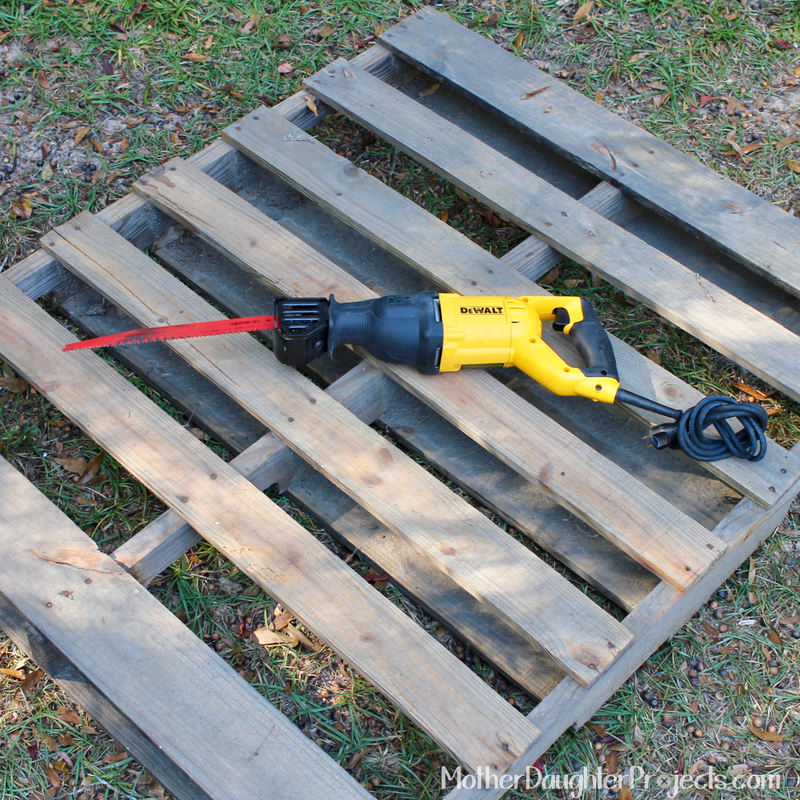
Once the circular saw cuts were made, Steph used a reciprocating saw to continue the deconstruction. We're using a Diablo blade which gives us great results.
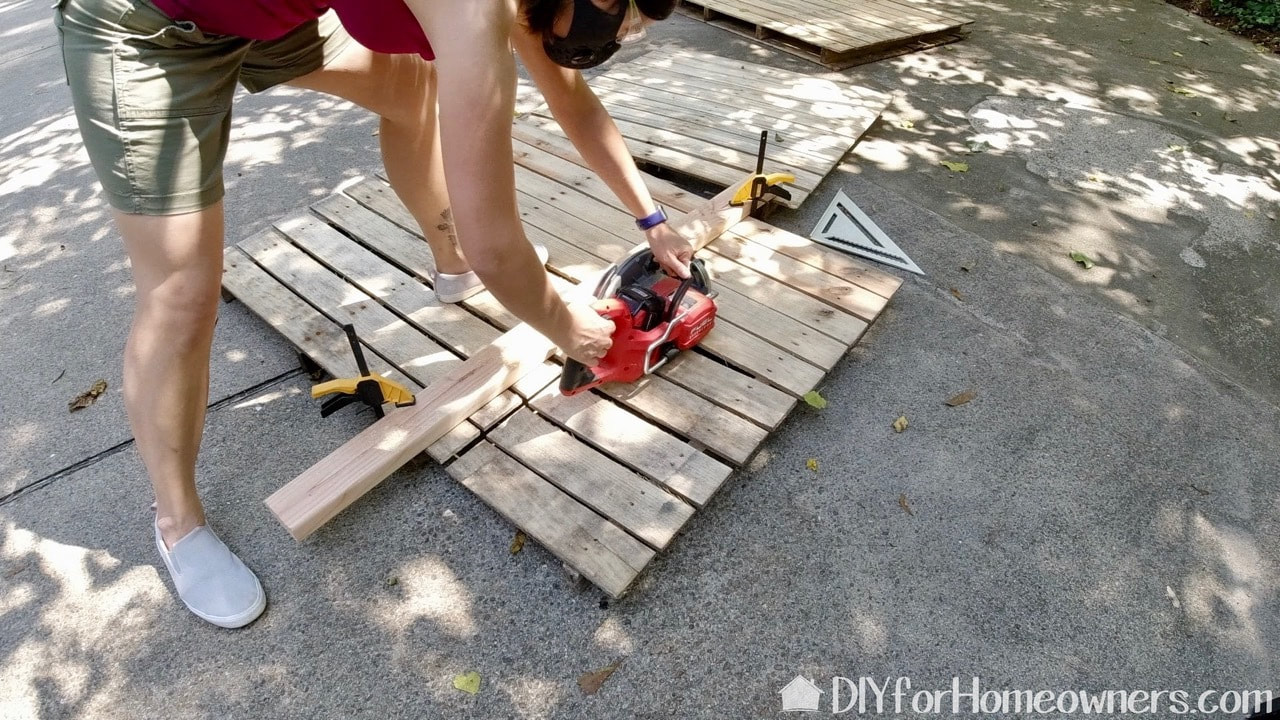
Once the back was cleaned up, Steph again used the rear handle Milwaukee circular saw to finish cutting the front of the pallet to size.
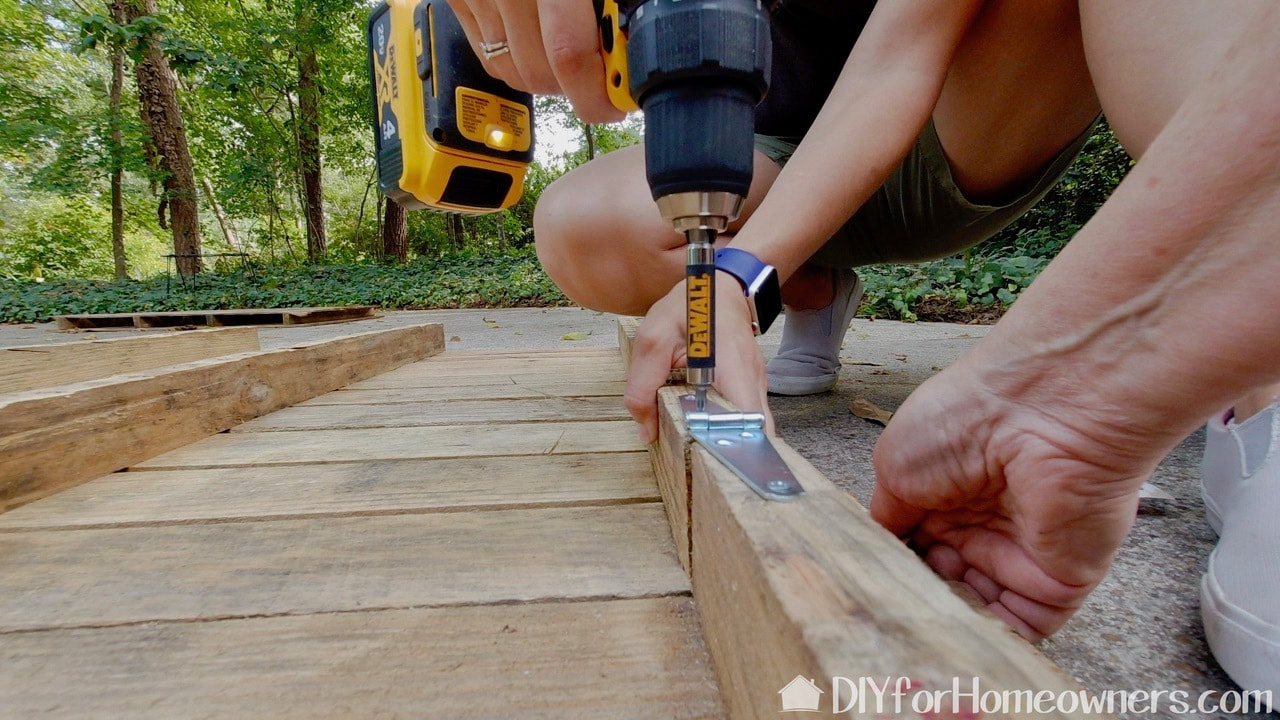
We cut two pallets down for this projects. We want this to fold to make it easier to travel with and to save space when it's not in use. We used a couple of strap hinges to connect the two pieces. The next step was to stain and poly the pallets.
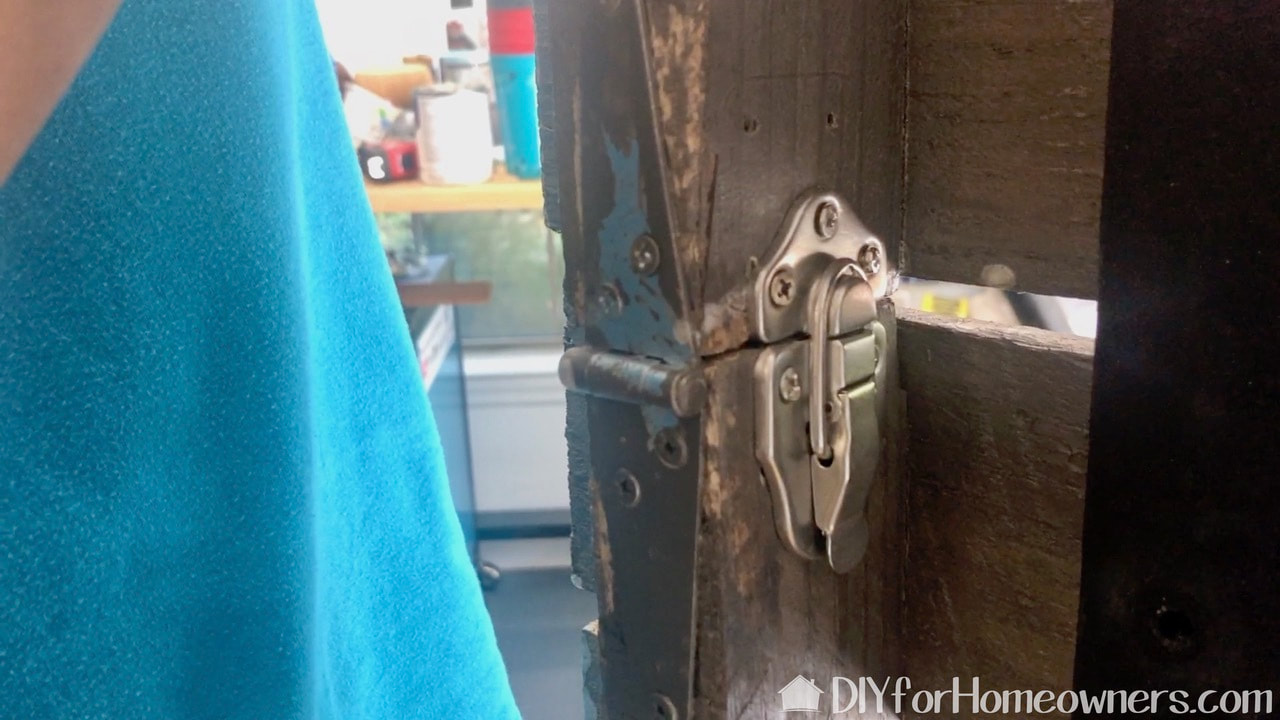
We needed a way to "lock" the pallets into place. We tried three different kinds of hardware and found this one to be the most secure. There is one on each side.
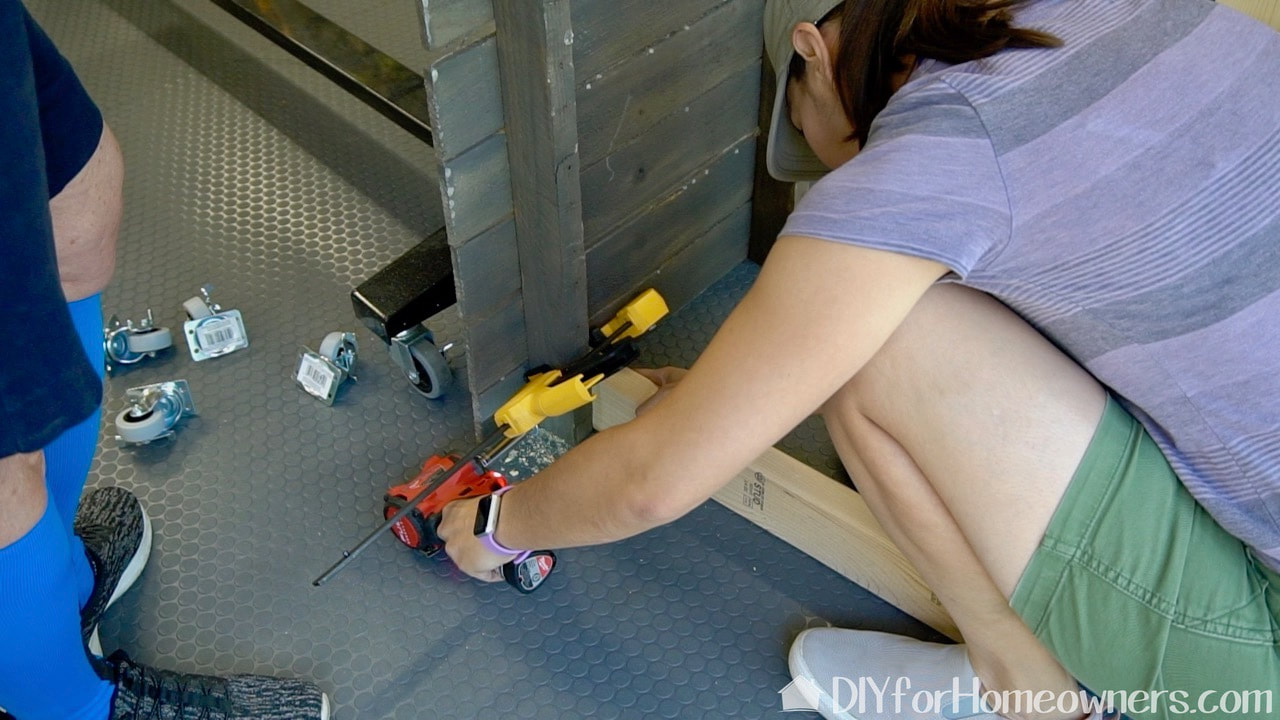
Truth be told, when Steph got to this step in her plan, I was extremely doubtful that this would ever stand on it's own! But you know what? She was right, her build came together as designed and with the addition of the back support and wheels, the pallet stood and didn't fall over!
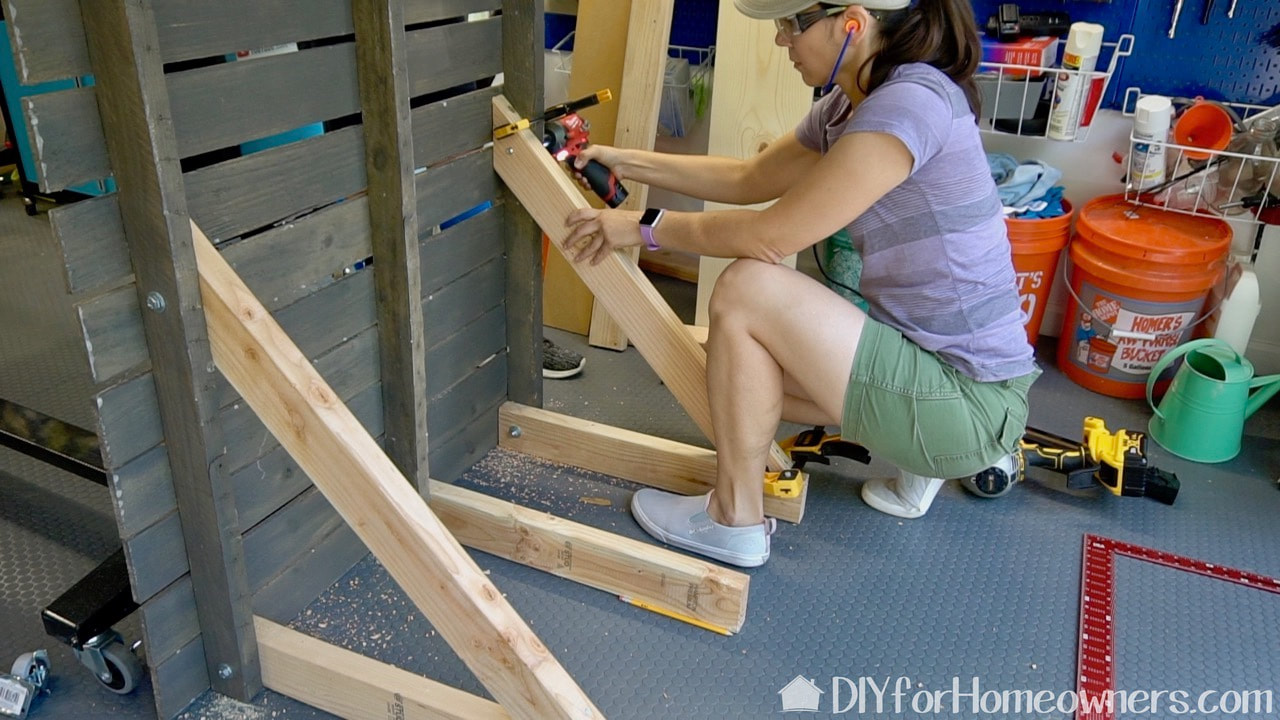
Steph is attaching the back supports with long bolts and nuts. This was another feature so that the entire thing could be taken apart and stored. Steph is using the Milwaukee M12 FUEL 12-Volt Lithium-Ion Brushless Cordless Stubby 3/8 in. Impact Wrench. This tool, that fits into tight spaces, proved to be the MVP of this build. We even took it with us to the conference site to aide in putting together our booth.
Steph is finishing up the back support and securing everything into place.
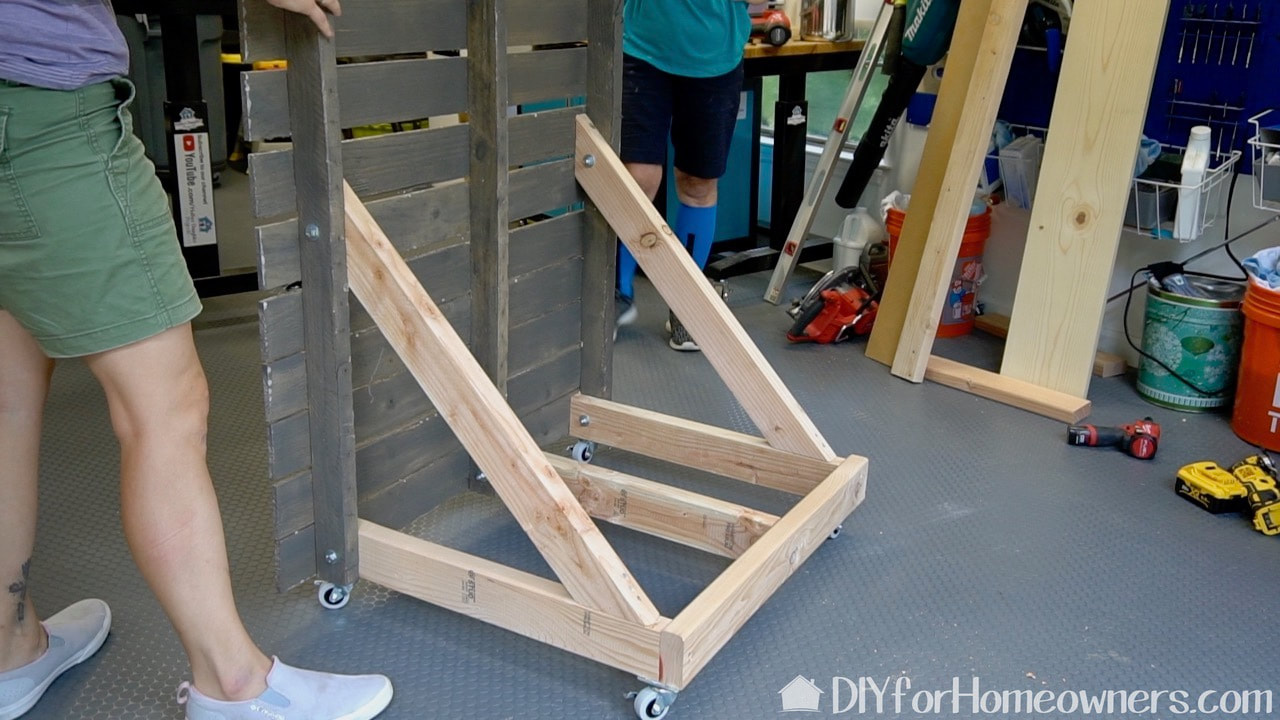
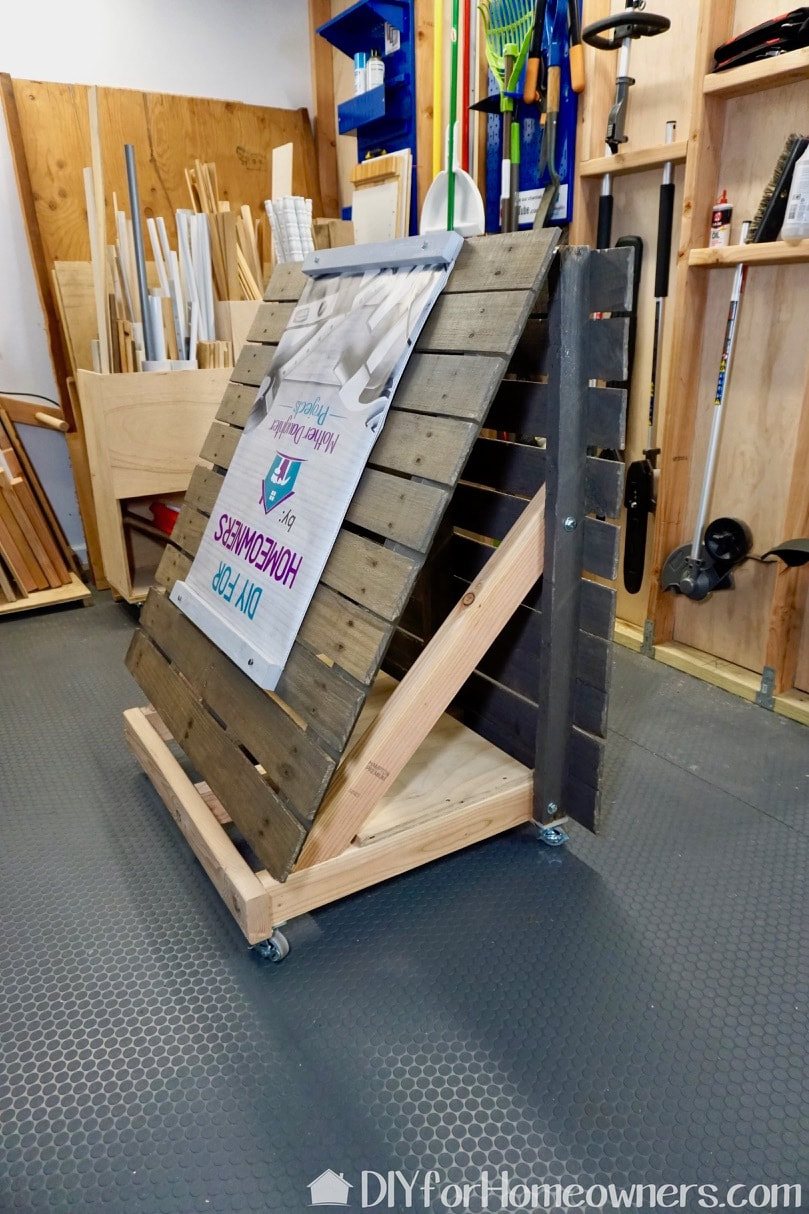
Moment of truth! Wheels on, it moves and stands on it's own! Success. We later added a board across the back of the support for storage.
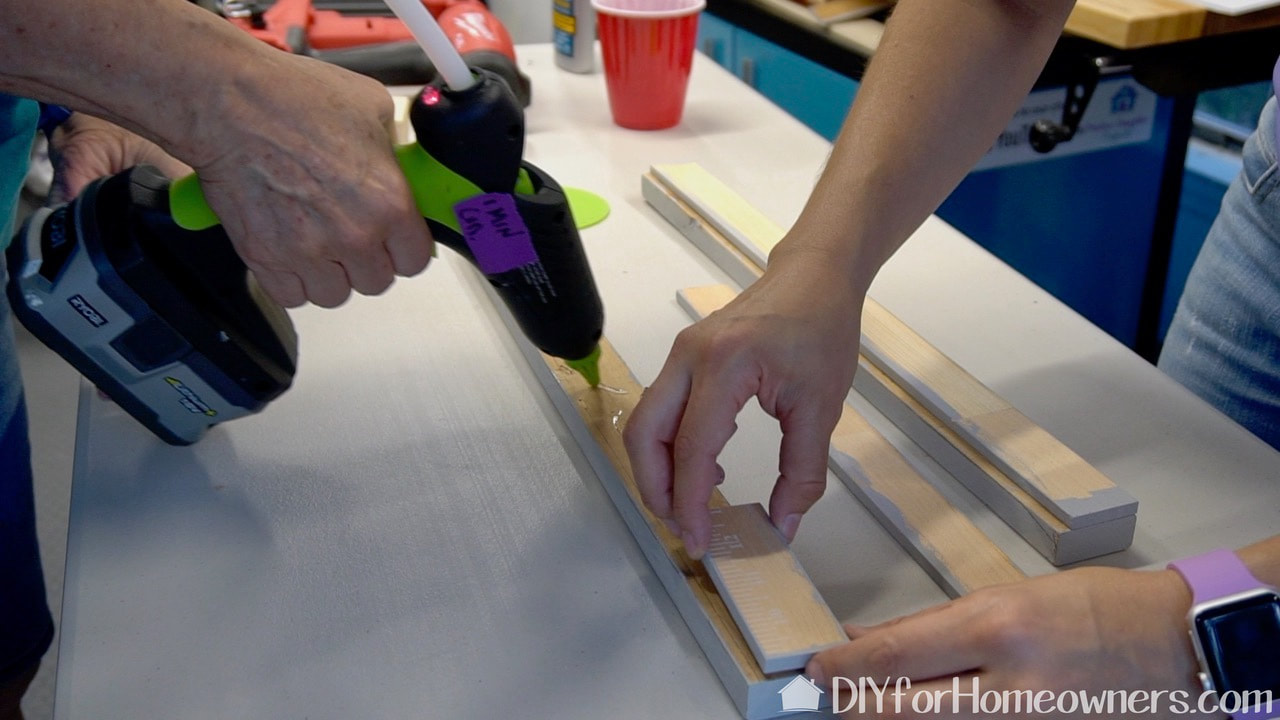
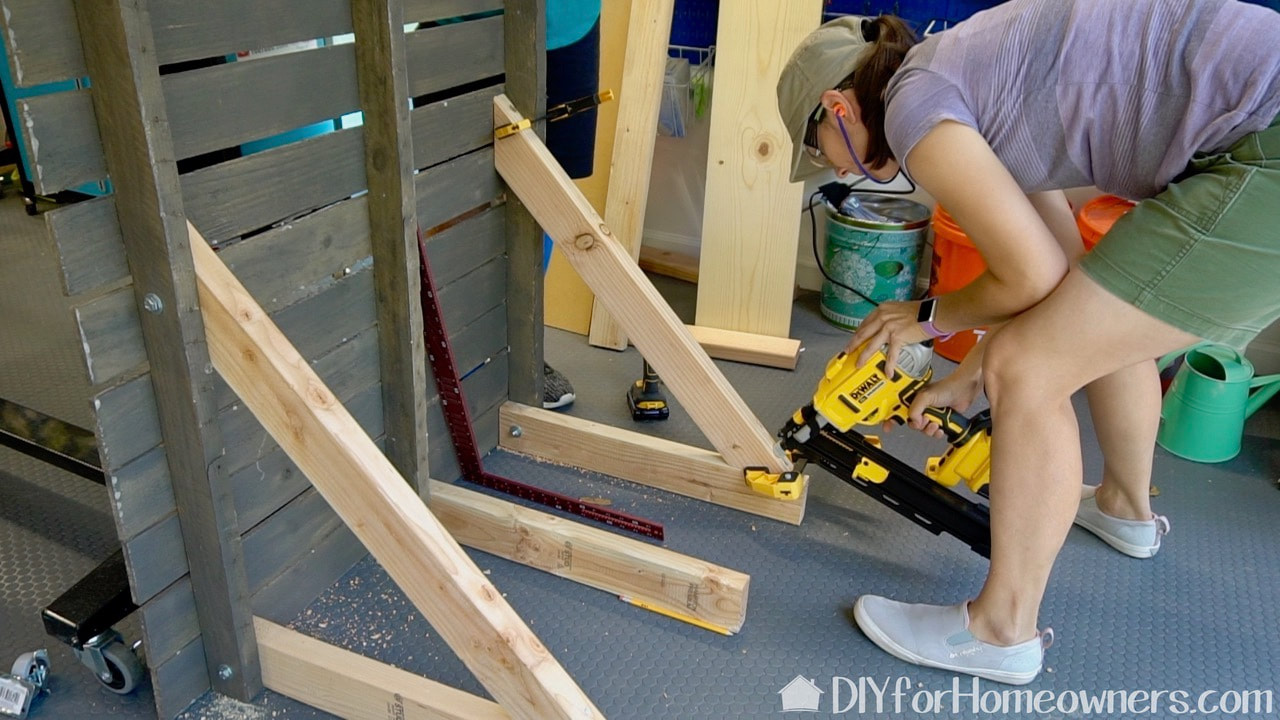
The purpose of the pallet backdrop in the booth is to hold a poster. Here we are hot glueing pieces together to make the holder for the sign. The glue we are using is a hot glue construction adhesive which is different from standard hot glue. Surebonder makes it and a lot of other varieties.
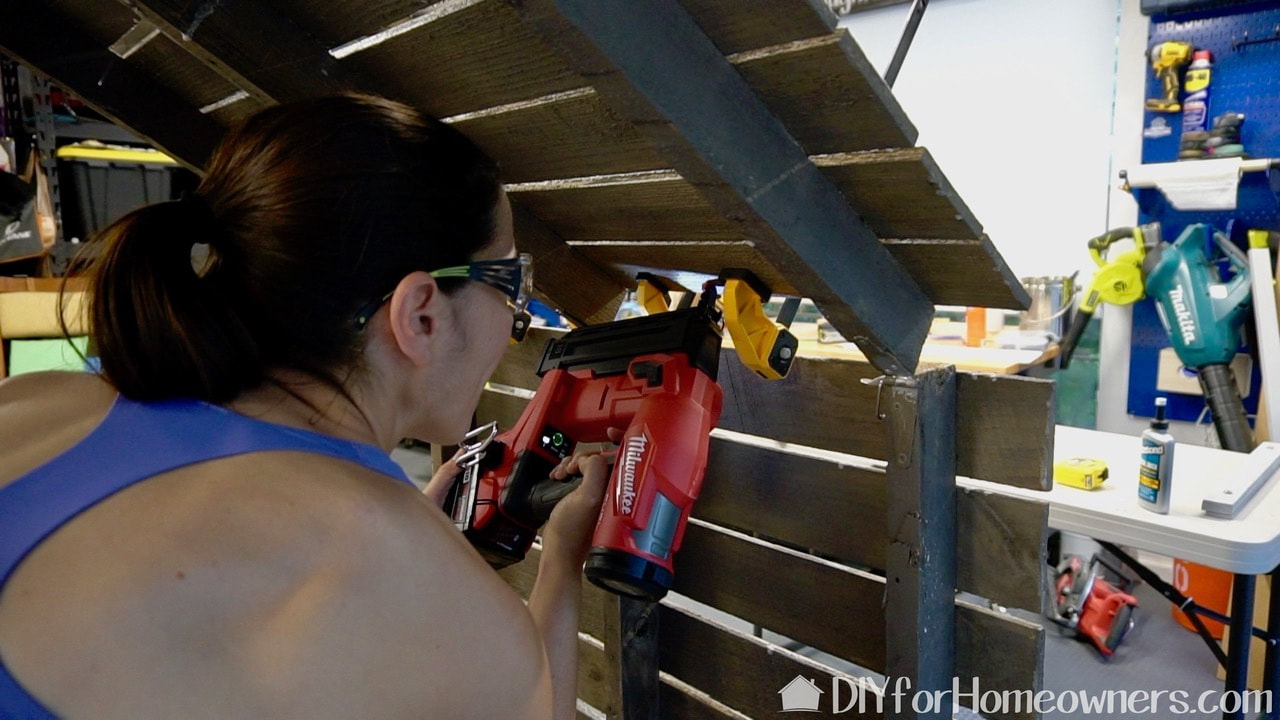
It was a little tricky to attach the poster holder pieces. Steph had to go under and behind to secure the pieces. She using the Milwaukee M18 FUEL 18-Volt Lithium-Ion Brushless Cordless Gen II 18-Gauge Brad Nailer to secure them into place. This tool is compact and lightweight, making it perfect for this awkward situation!
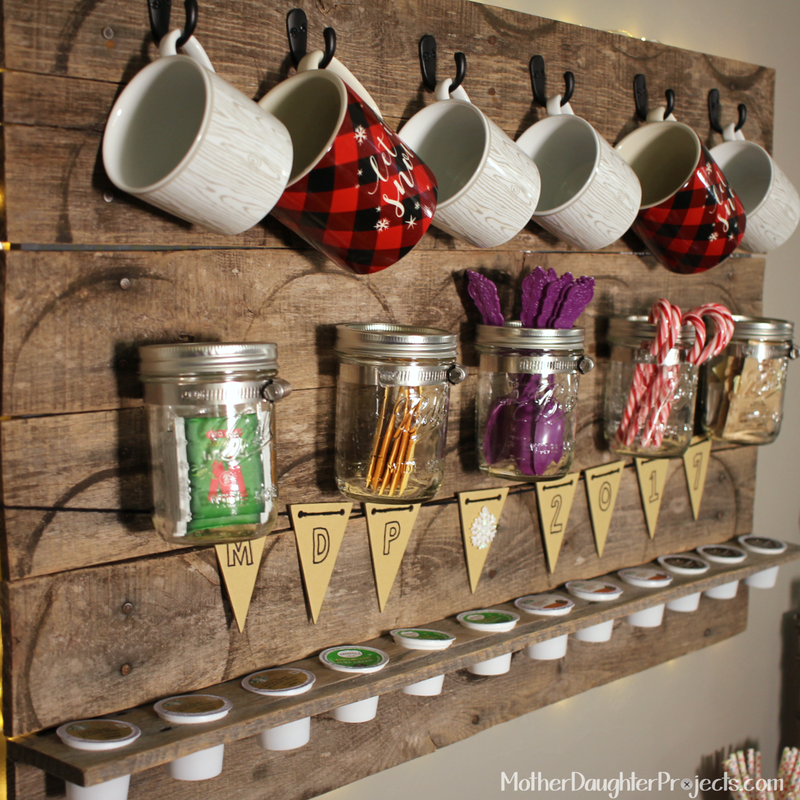
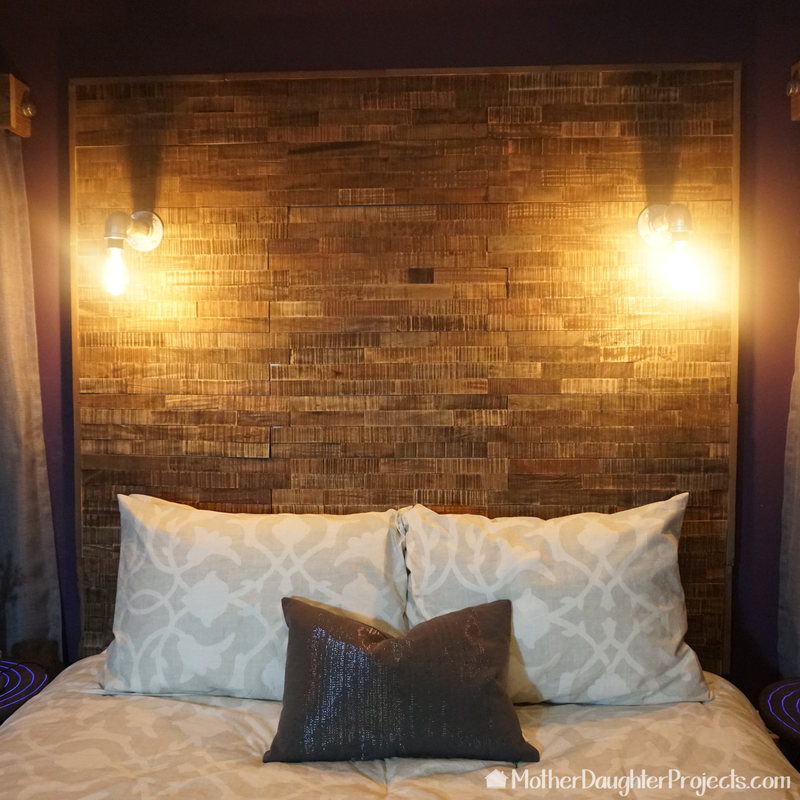
We know this project is very specific for us, but we presented it as we thought others might see a way to use it in their own businesses or homes. If you're a craft seller, it would be perfect for your next show.
Here are some ways it could be used:
What are some other ways it could be used? Share your ideas in the comments. We acknowledge that The Home Depot is partnering with us to participate in the ProSpective 2019 Campaign. As a part of the Program, we are receiving compensation in the form of products and services, for the purpose of promoting The Home Depot. All expressed opinions and experiences are our own words. Our post complies with the Word Of Mouth Marketing Association (WOMMA) Ethics Code and applicable Federal Trade Commission guidelines. FYI: We are not professionals, and we don’t claim to be. This is what we found worked for our project. Yours may need a little different approach. Safety first! FYI: Affiliate links are being used on this page. Purchasing via these links help support MDP! Related Projects
8 Comments
Summer
11/23/2019 07:06:46 am
Y'all are so cute! I love y'all and this folding backdrop.
Steph
11/25/2019 07:14:21 am
Thanks Summer!
Bonnie
2/18/2020 11:31:55 pm
you're missing the 2x4 info... how long were the pieces you cut for the stand? there aren't really any instructions for this part and it looks like the most tricky part. thanks!
Steph
2/20/2020 01:47:19 pm
Back: 28-3/8in long
Adam
5/1/2022 06:17:38 pm
Do you use this outdoors and if so how do you keep the wind from blowing it over?
Donna Jackson
4/16/2023 12:47:53 pm
I would think a sandbag at the back would help if it was a windy day. But the slats will allow air to pass theough
Kim
6/12/2023 12:25:06 am
I made 2 of these and used theme for…
Steph
6/12/2023 08:29:27 am
That's so great! Thanks for sharing!! Leave a Reply. |

Mother Daughter Projects
|