|
text by Vicki Sign up here to join our weekly email newsletter!
In our last post, we shared an overview of the entire process of removing the old front door step tiles though the reinstallation of the tiles.
In this video, we take a closer look at how we removed all the mortar, cleaned up the tiles, and then reinstalled them. Products:
Tools:
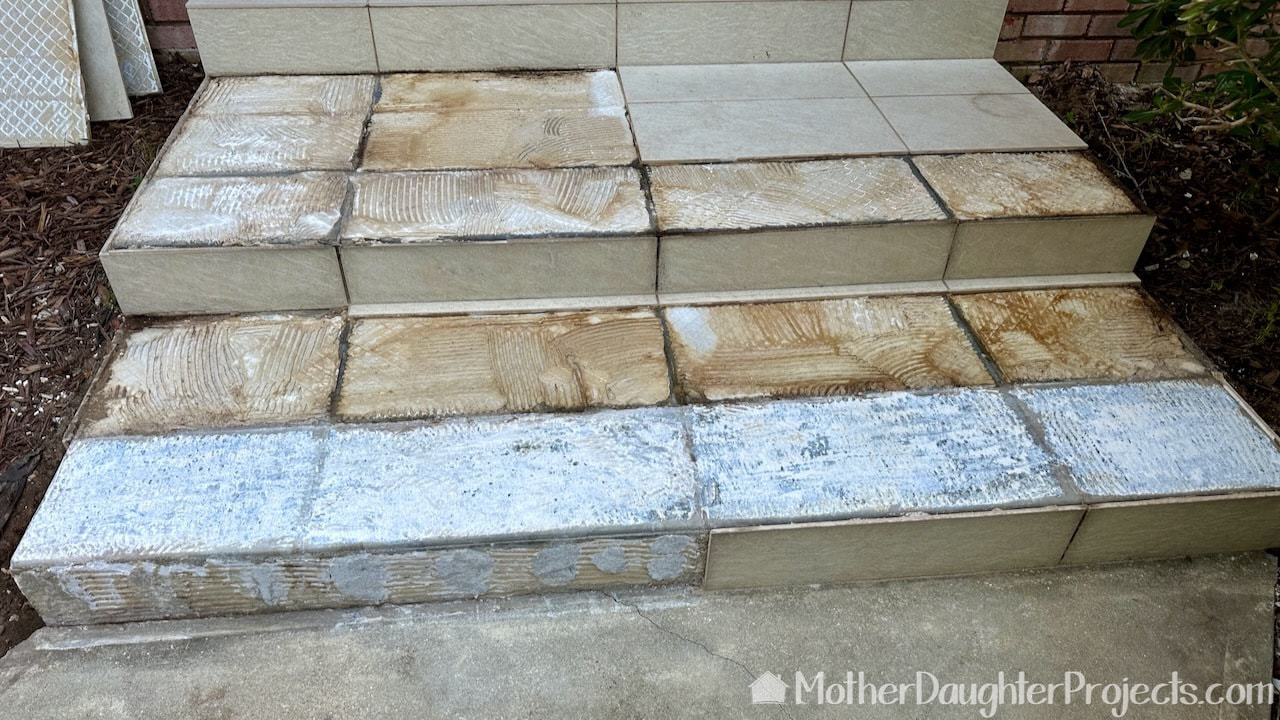
In all, we removed all the tiles on the first and second steps. We also removed the four vertical tiles on the first step. The verticals on the second step were holding tight so we did not remove those.
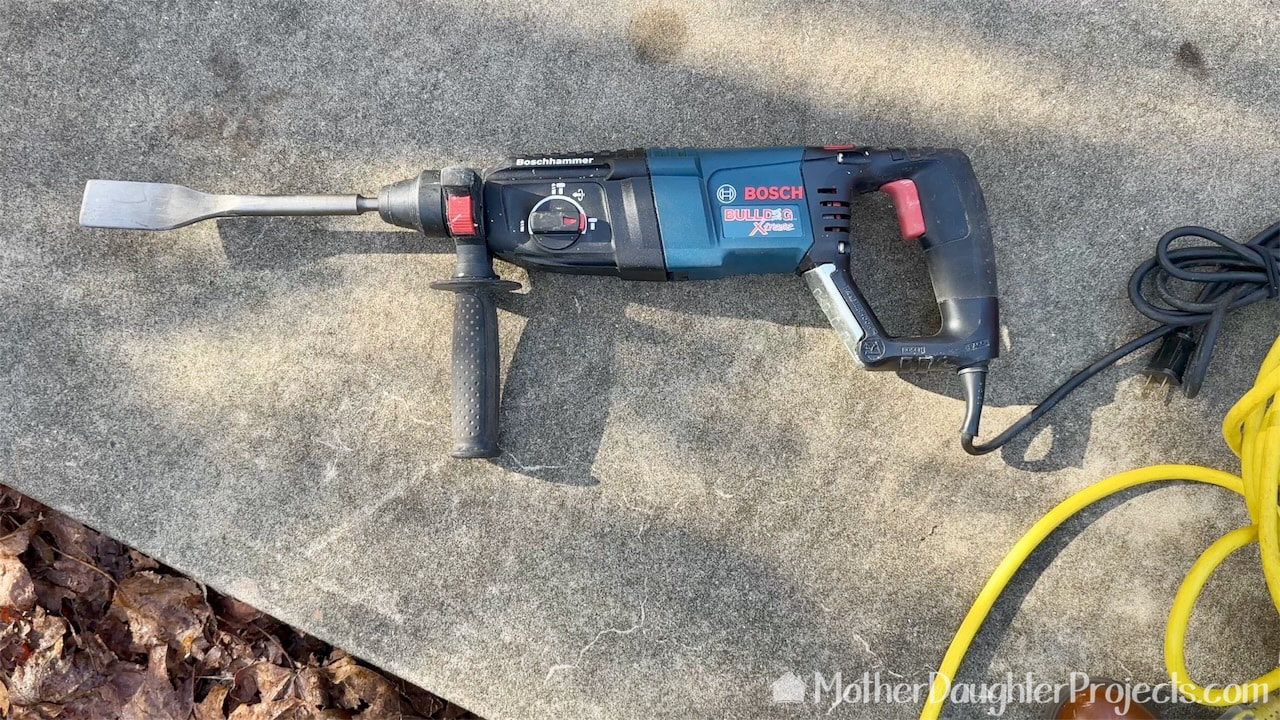
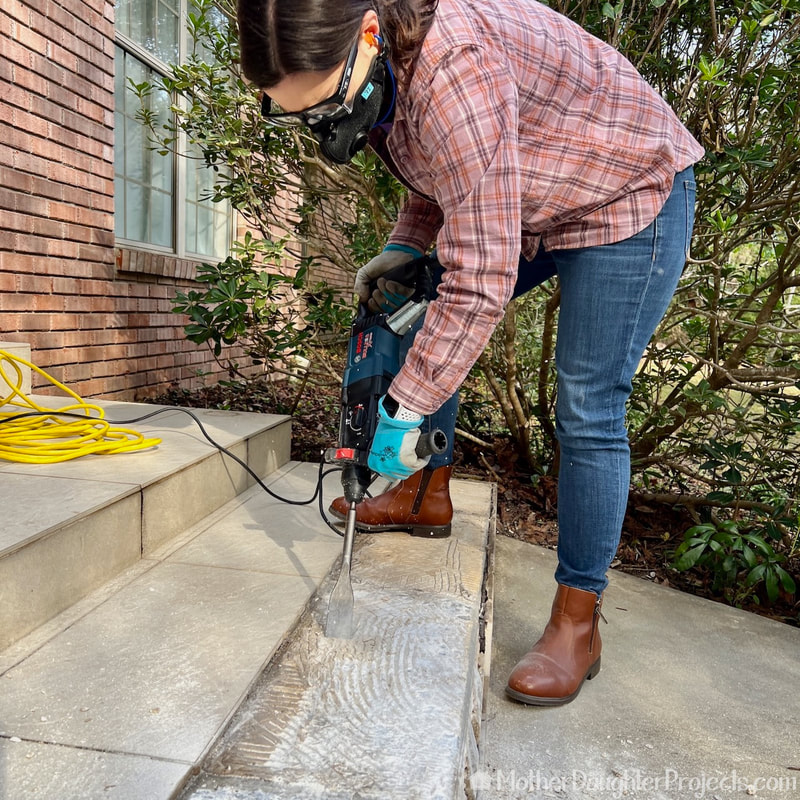
We are using a Bosch rotary hammer drill with a chisel blade to remove the mortar. We own this tool, but rentals may be available at your local tool rental store.
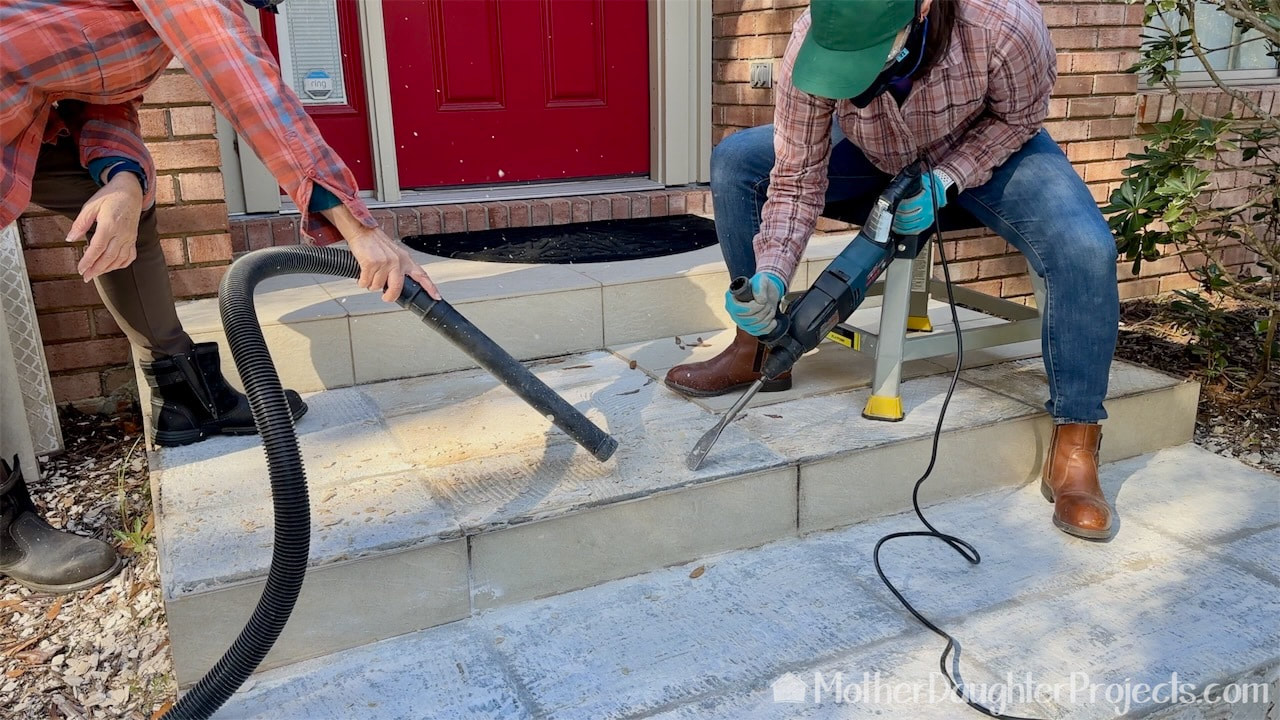
It took a bit of trial and error to come up with a comfortable way to use the tool. Steph actually used it upside down while sitting on a short stool. She took frequent breaks as it is a fatiguing tool to use. It's effective thought!
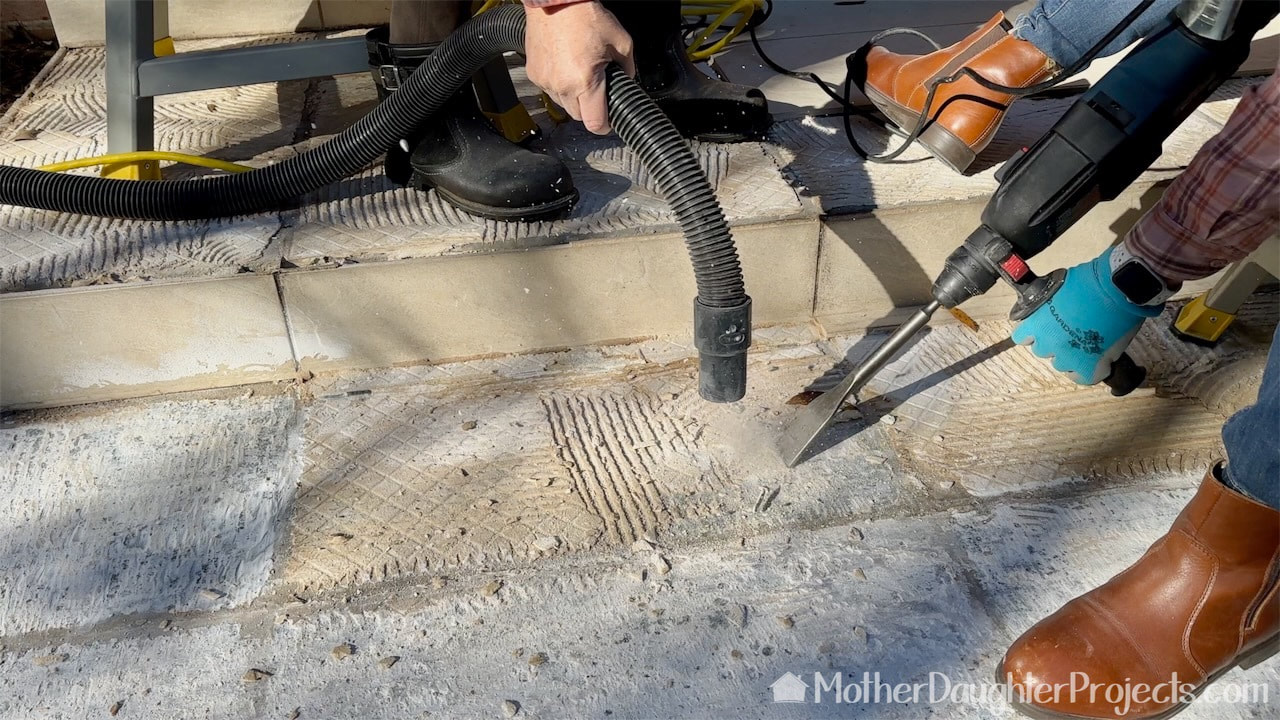
We certainly could not control all the flying debris, but we were able to capture much of the dust that the removal produced. We are both wearing protective gear while we work to protect eyes, ears, and lungs. We are wearing respiratory masks.
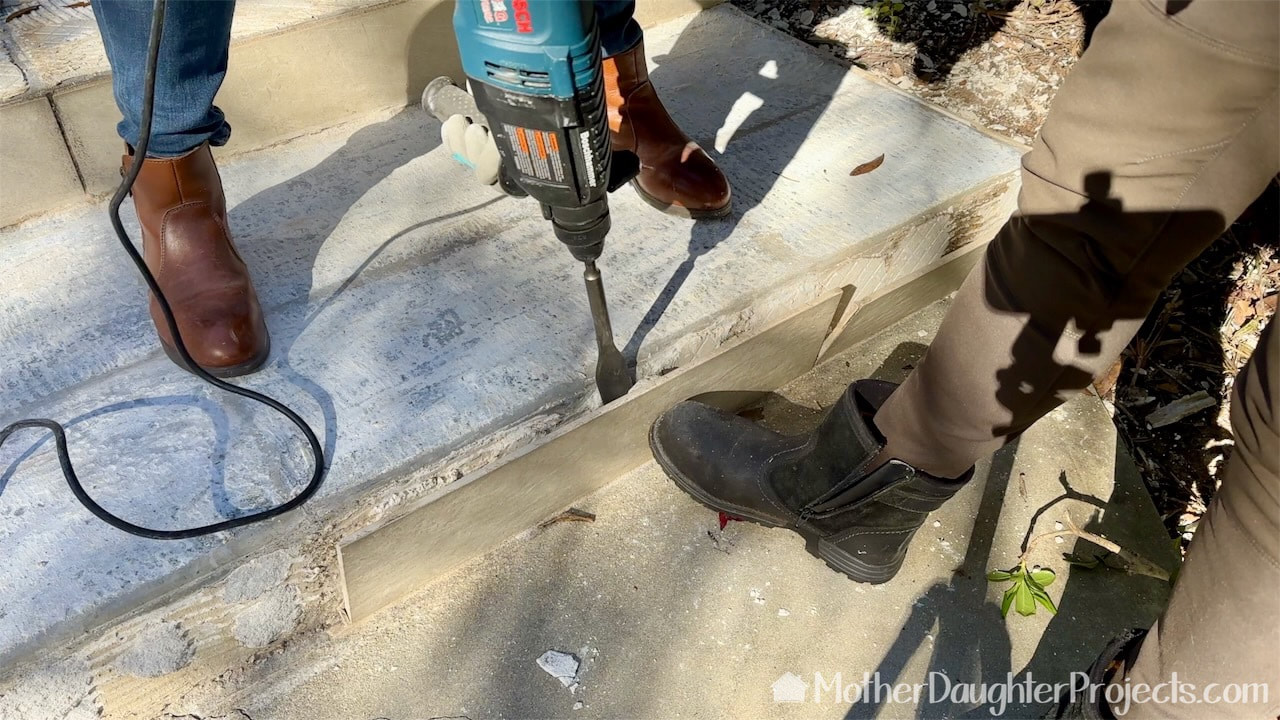
Any tiles that were actually stuck in place, we gently removed with the Bosch. We wanted to reuse as many tiles as possible.
Removing the old mortar is the hardest and most fatiguing part of this process. Pace yourself!
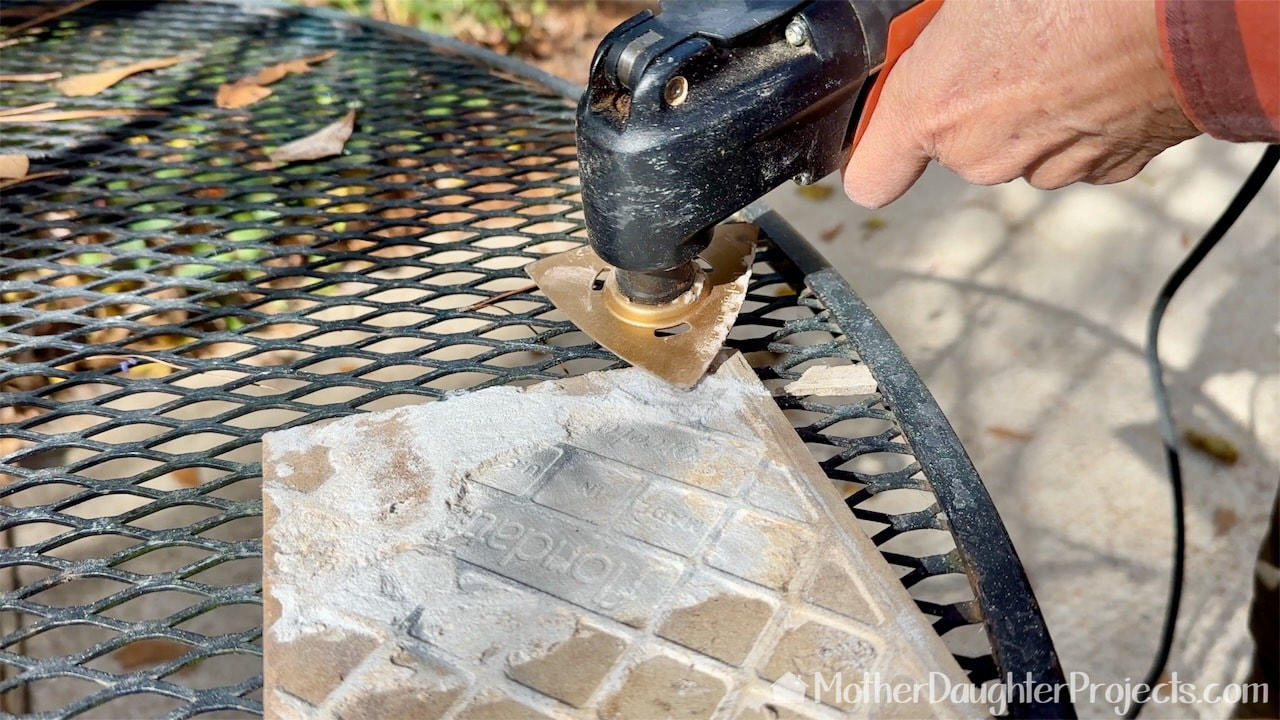
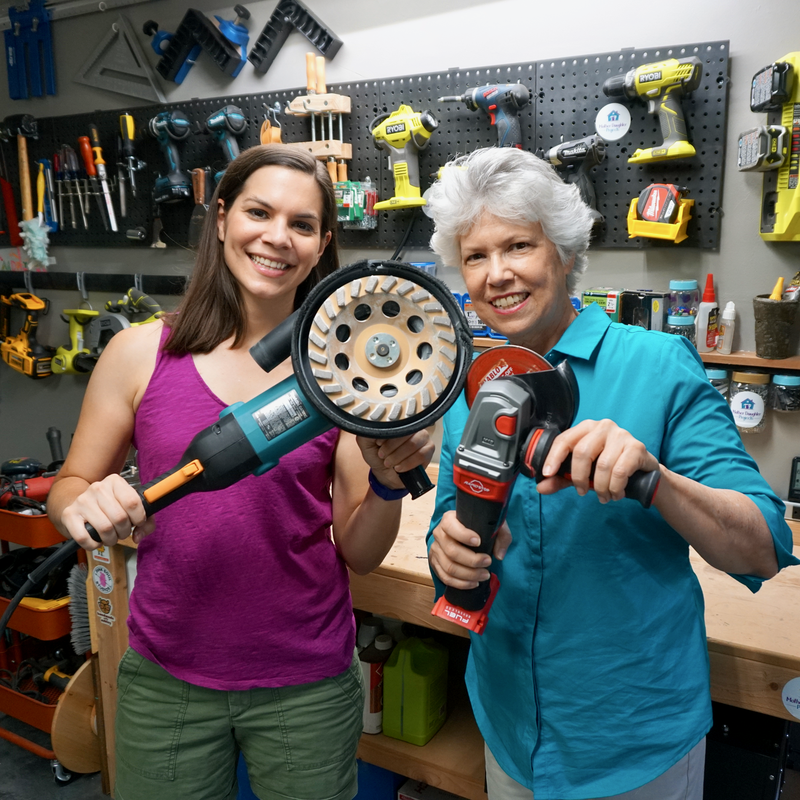
All of the mortar on the old tiles had to be removed so we could use them again. I used a variety of tools to clean this including a Fein multi-master with carbide rasp. It worked really well.
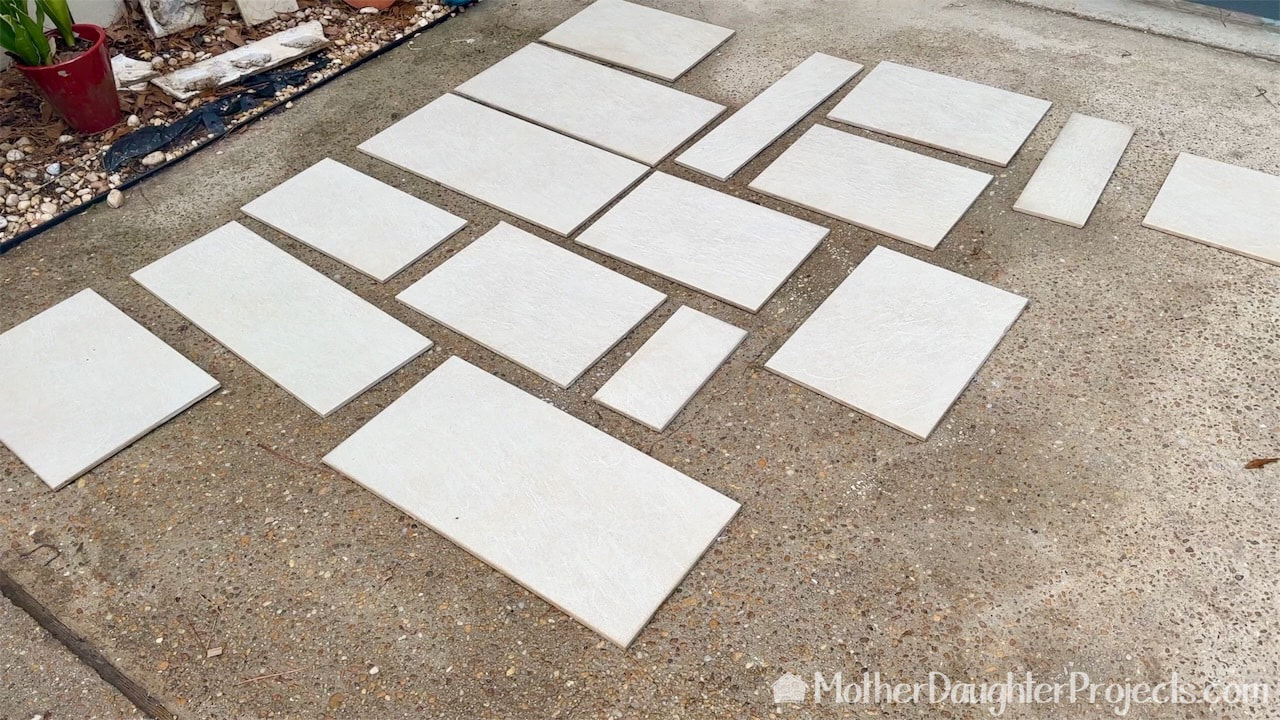
All of the original tiles and a few new ones we needed to cut, were laid out on the driveway to be cleaned. Use Mold Armor Rapid Clean remediation to clean the outdoor tiles of algae, mold, and dirt.
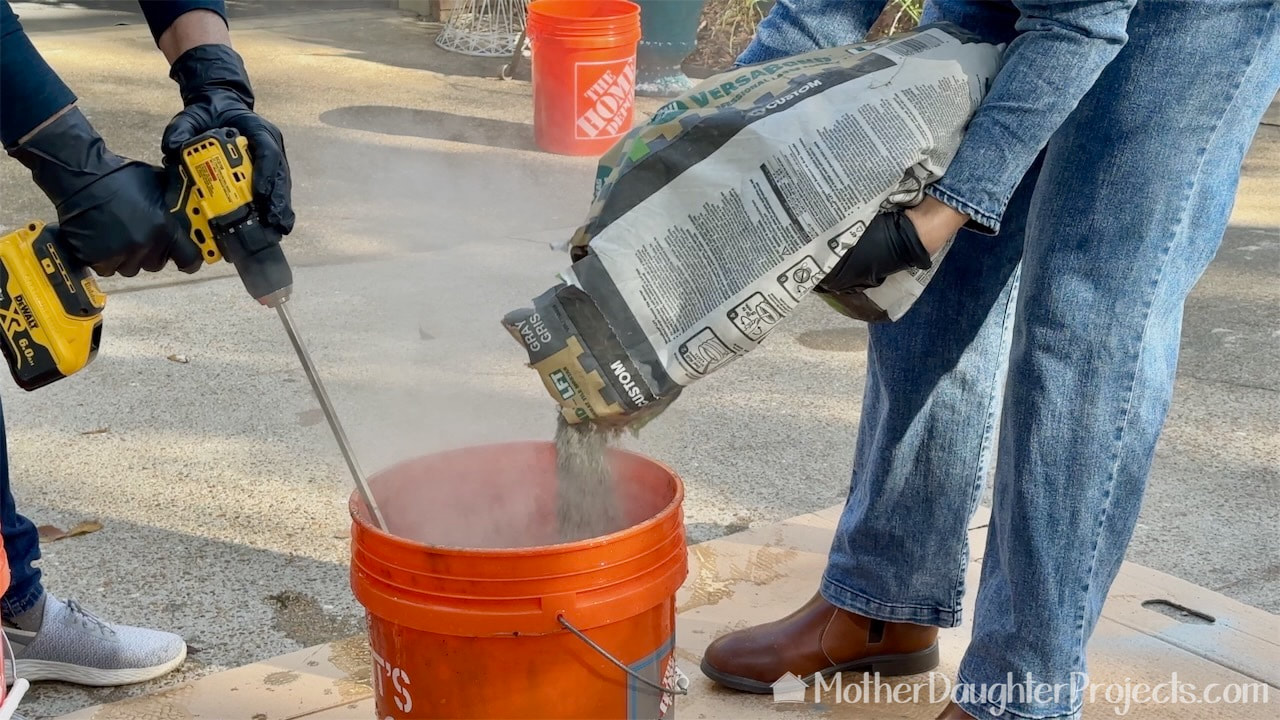
We mixed up the mortar following the instructions on the bag. We added way too much water initially so we had to add more powder. Start with a little water and slowly add to it to better control the consistency. The mixer attachment to the drill was extremely helpful. Again, use appropriate protect equipment so you're not breathing in the mortar dust.
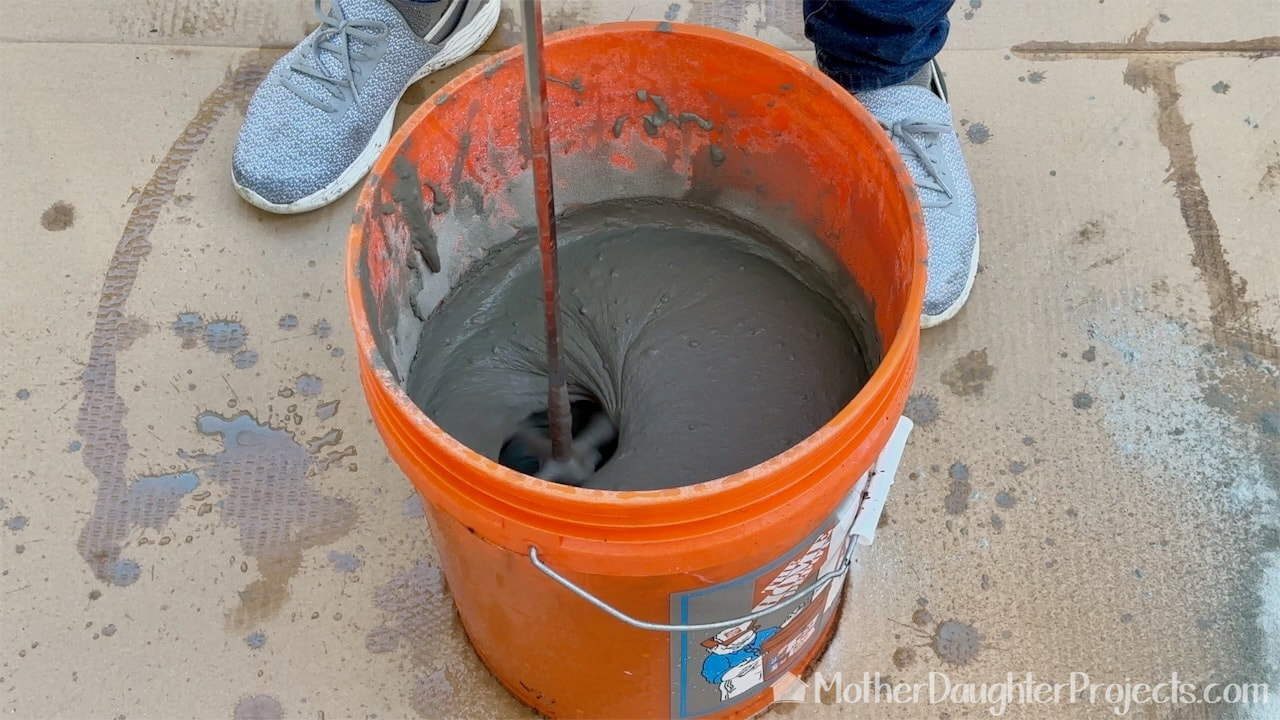
We mixed according to the instructions creating a nice smooth consistency.
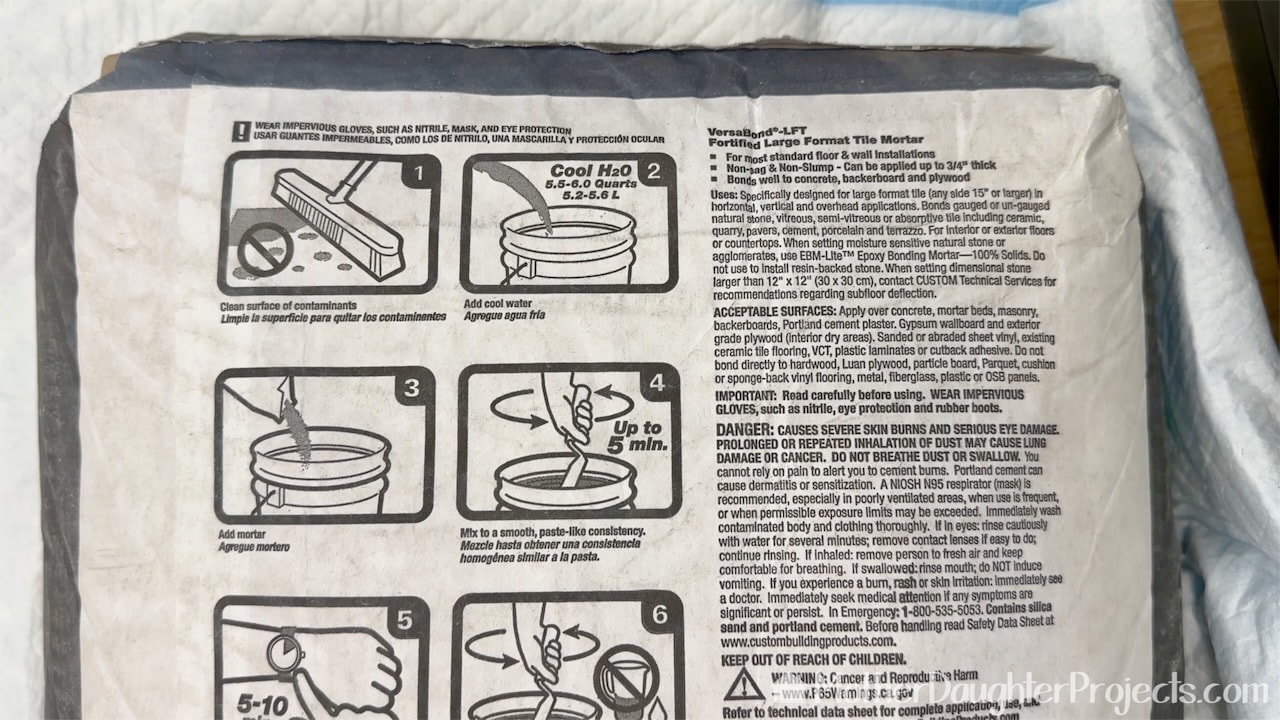
Hint: before opening the bag, take a picture of the instructions so you can easily refer to them.
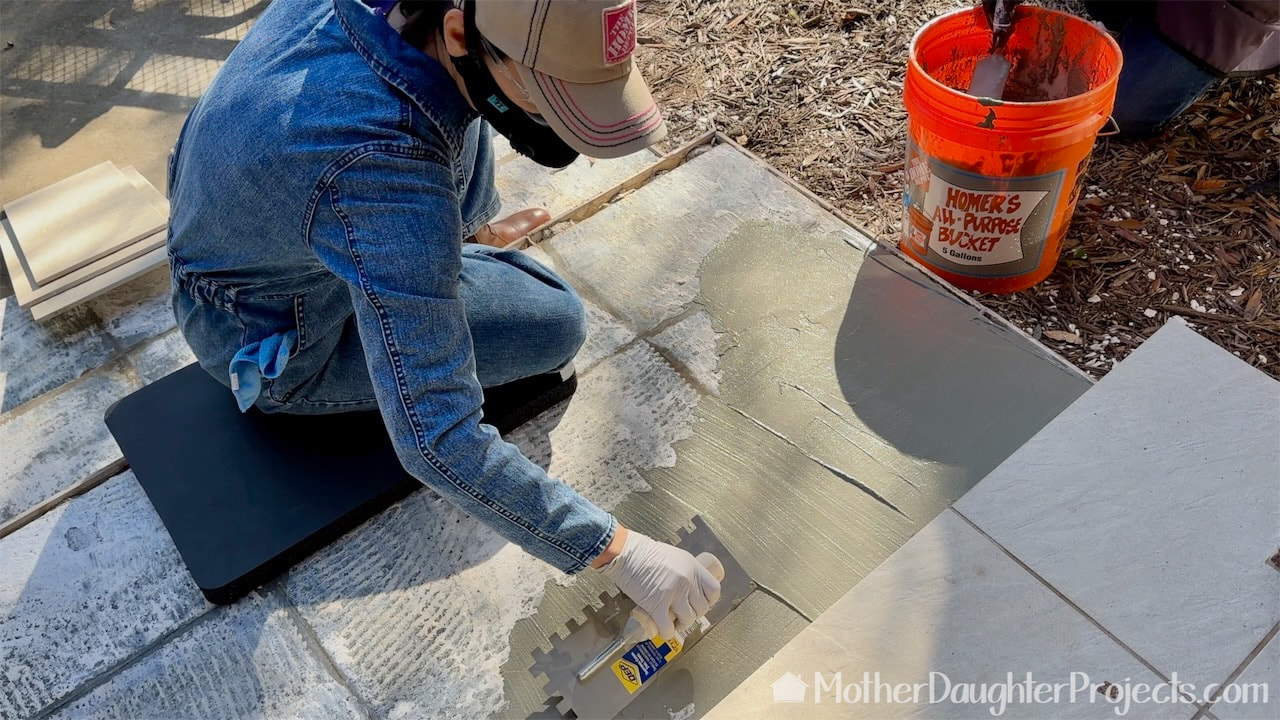
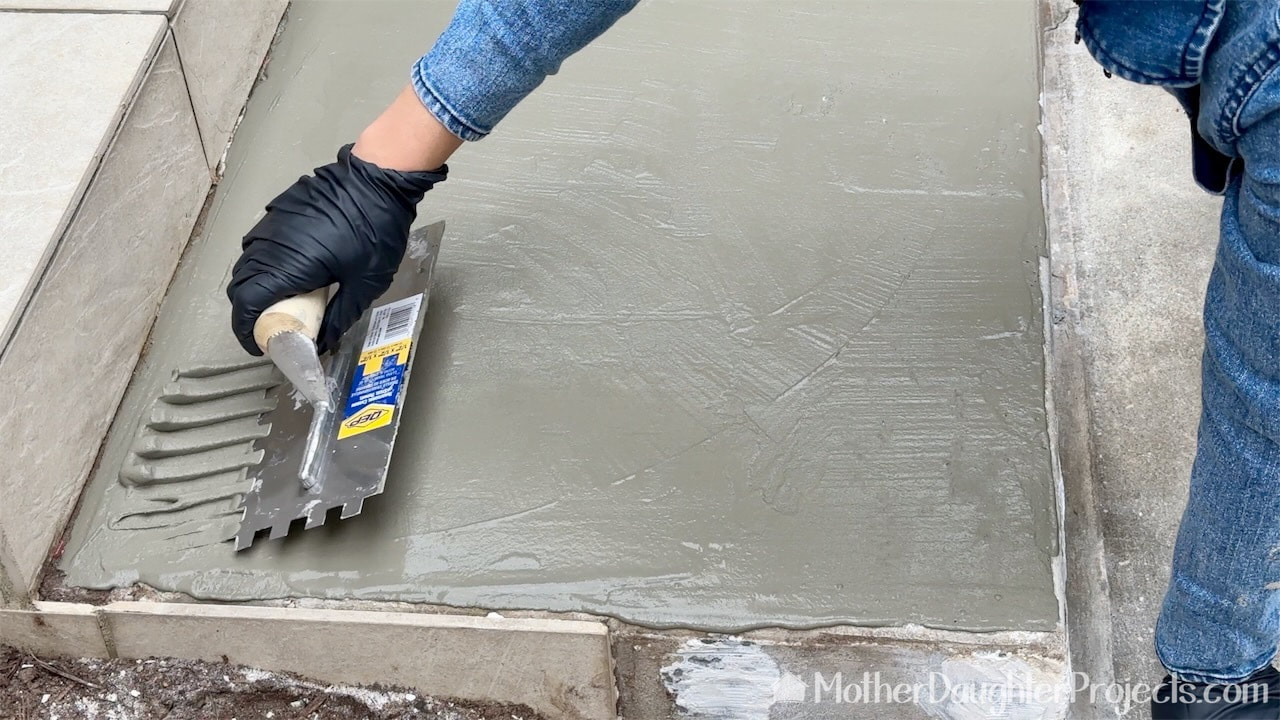
The mortar is spread in a skim coat with a notched trowel. This size was one suggested for the large tile we are installing.
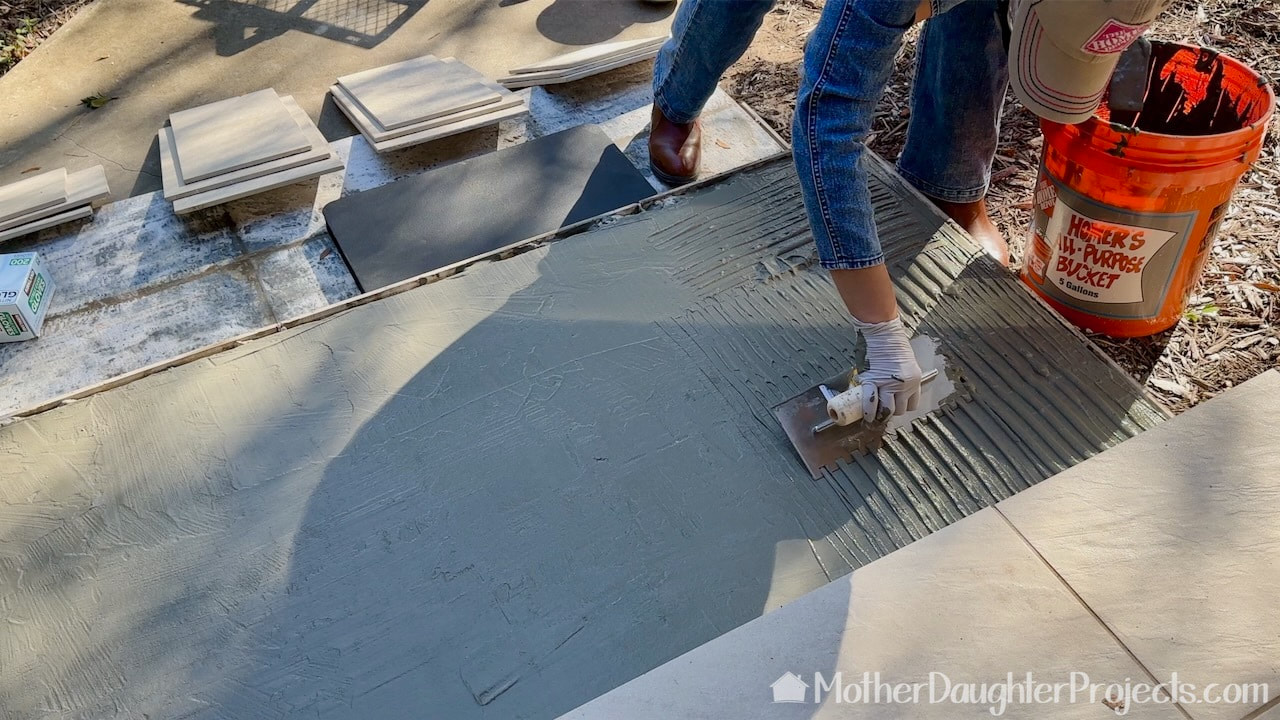
The mortar is then notched
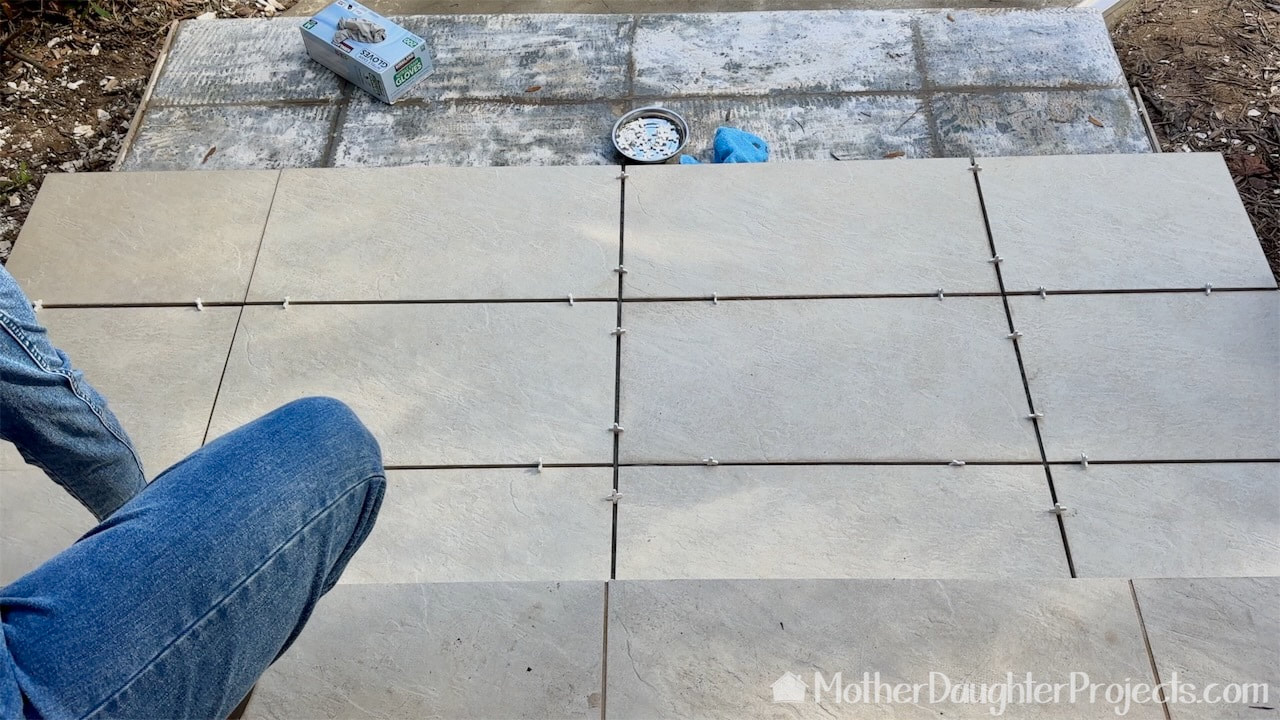
We set the tiles in place using plastic spacers.
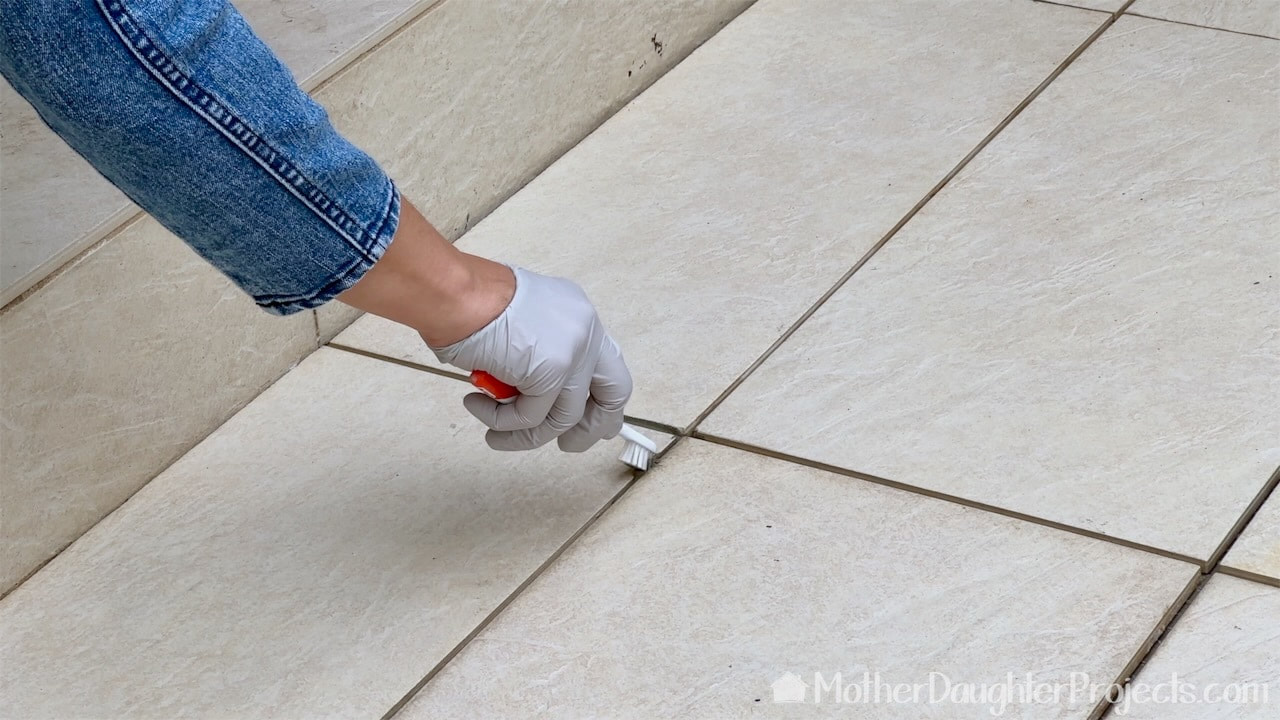
We used a toothbrush to help clean up between the tiles prior to adding the grout. We wiped the face of the tiles clean of mortar with a damp microfiber cloth.
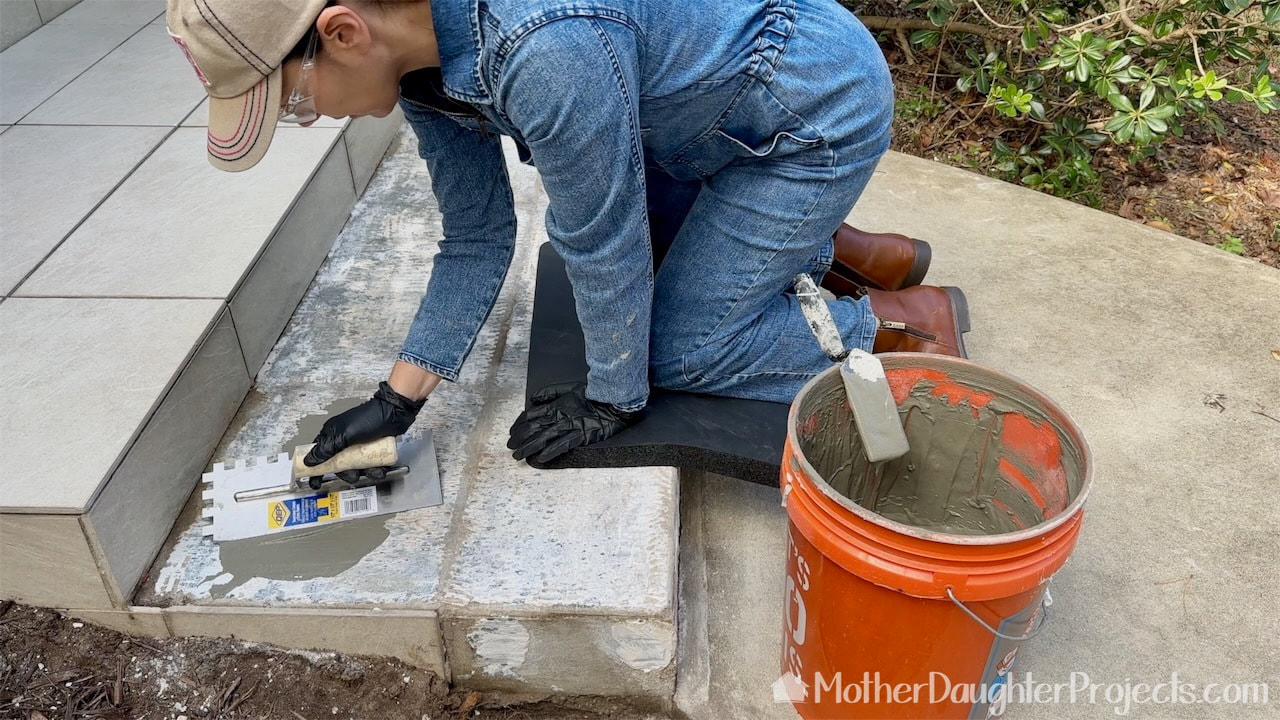
We repeated the entire process on the second step. A kneeling pad like this one from Husky helps to save your knees.
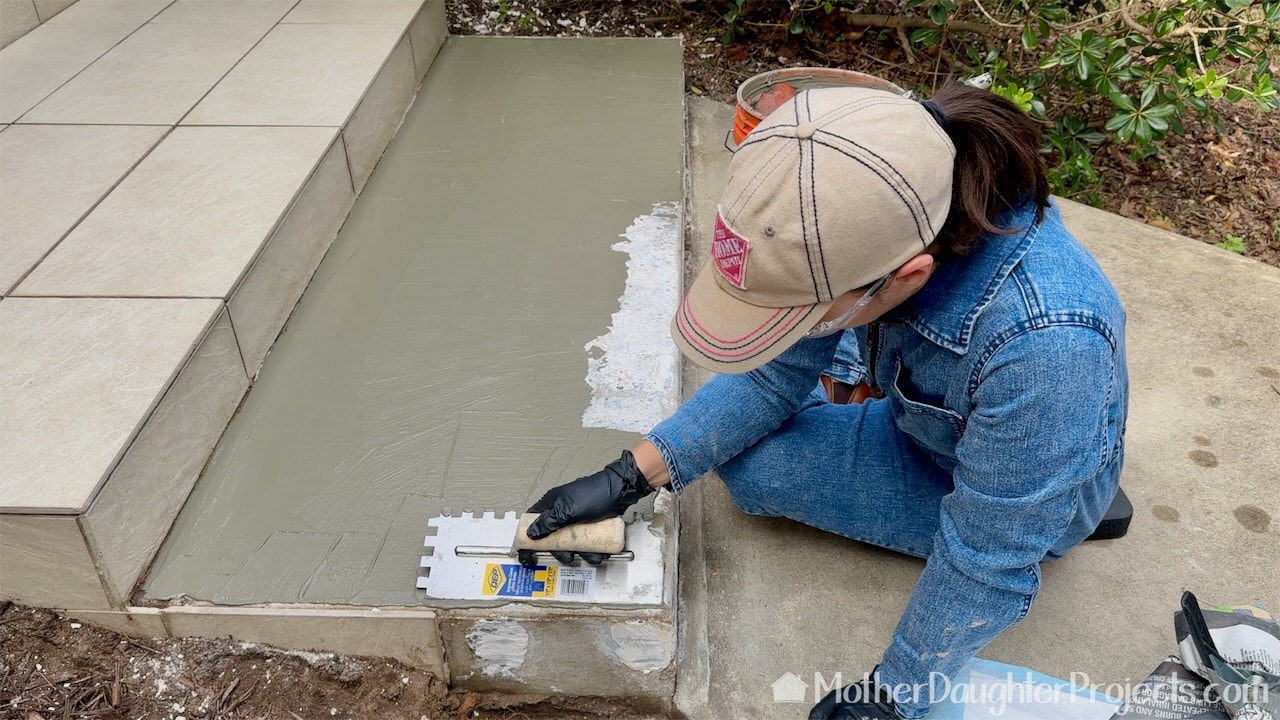
Finishing up the skim coat on the first step.
Trying to hold the trowel at a 45 degree angle for the notching. It was awkward but Steph got better at it as the project progressed.
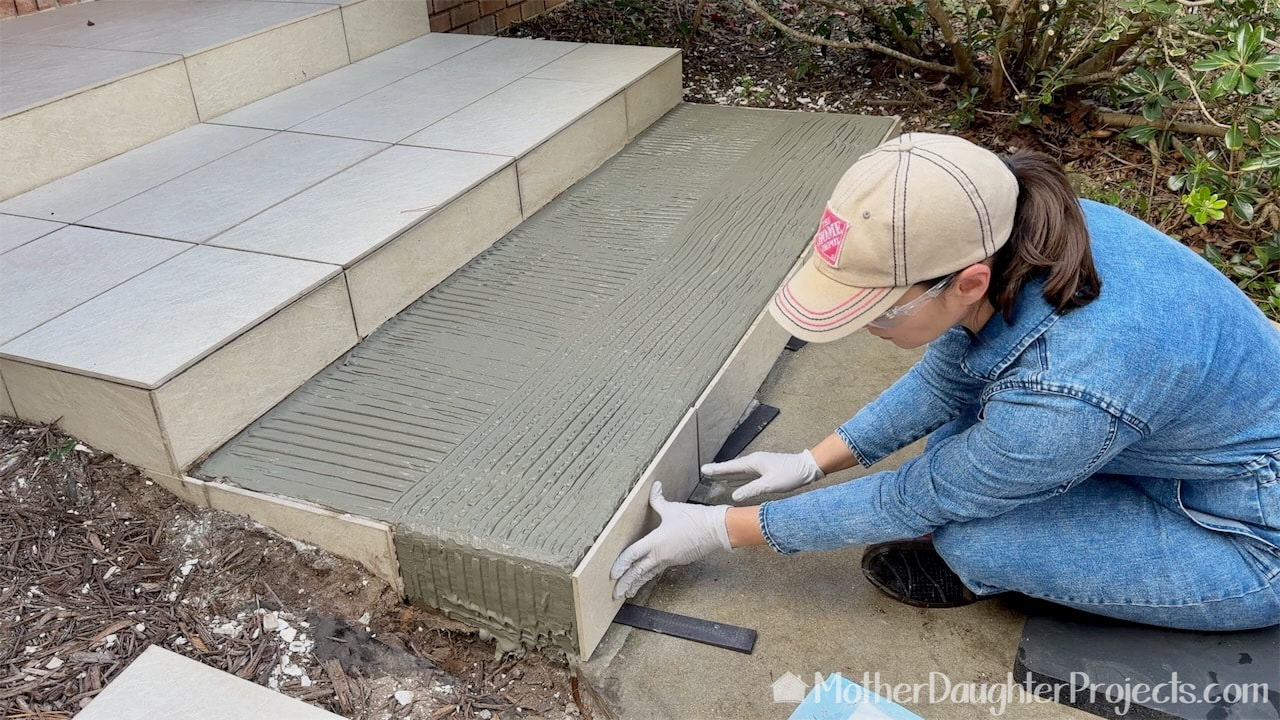
The vertical tiles were tricky to keep in place. We used plastic shims for spacing and heavy objects to keep the tiles against the concrete step.
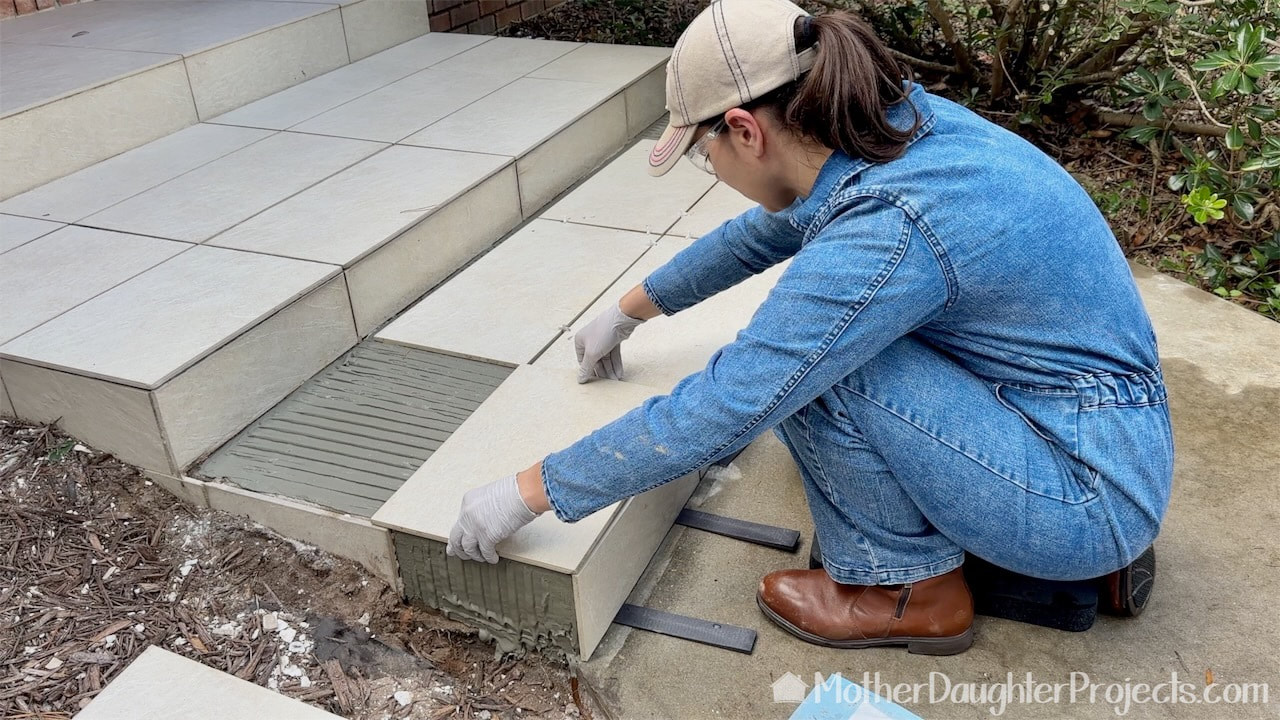
Putting the tiles into place.

Checking to see if the tiles are level to each other.
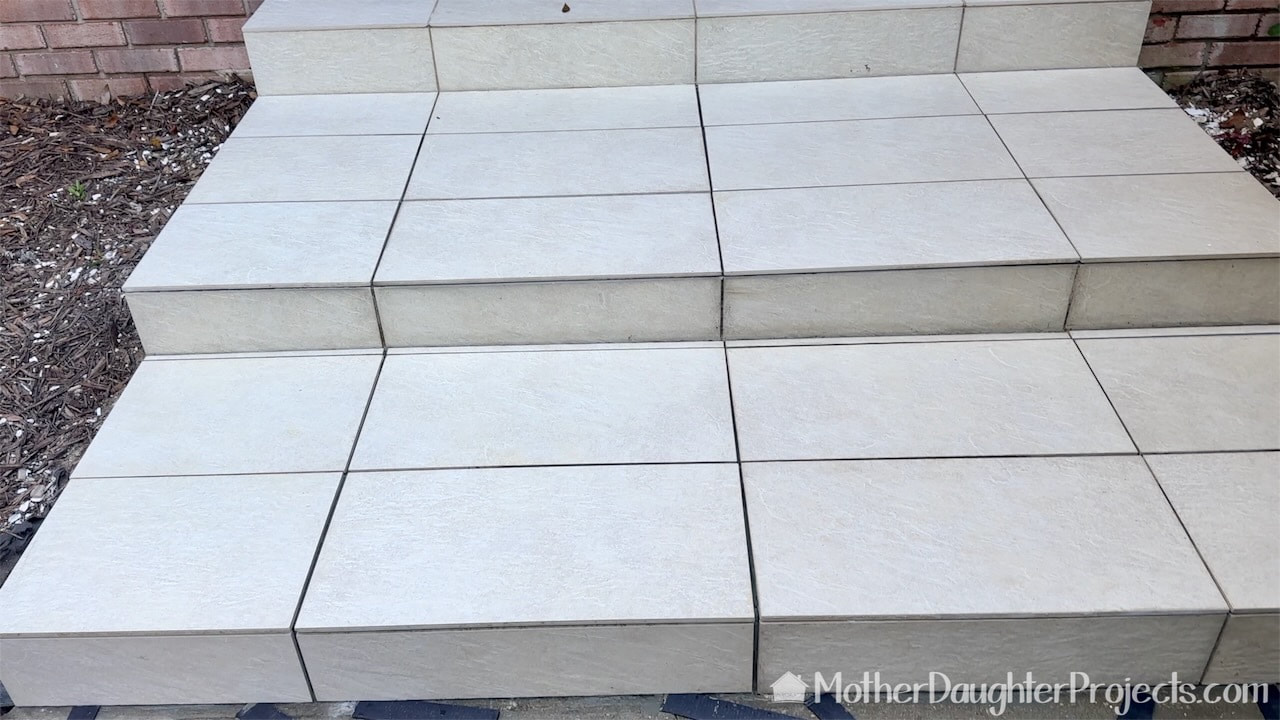
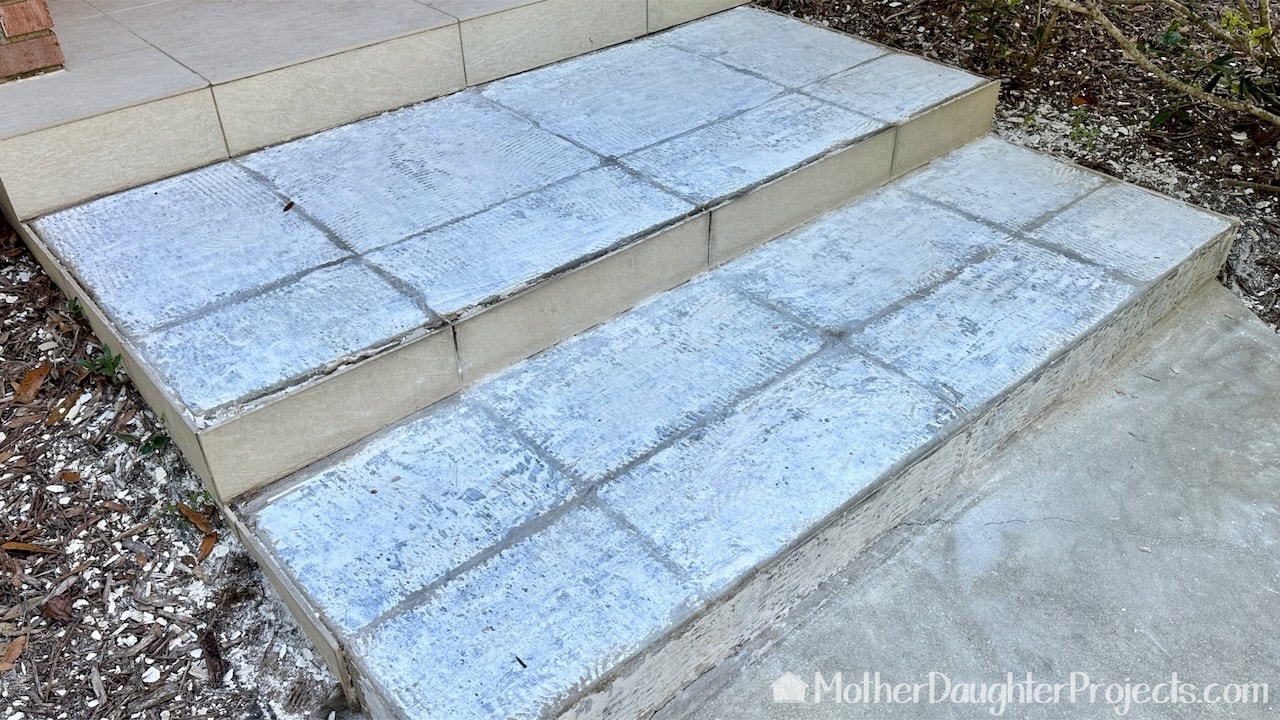
All finished and ready to grout which we did 24 hours later.
Whew! The mortar removal and tile clean up were very labor intensive, but the actual tiling process was fairly quick and very satisfying to see it all come together.
Please note: This is not a sponsored post. We are not professionals, and we don't claim to be. This is what we found worked for our project. Yours may need a little different approach. Safety first! Affiliate links are being used on this page. Purchasing via these links help support MDP. Related Projects
0 Comments
Leave a Reply. |

Mother Daughter Projects
|